

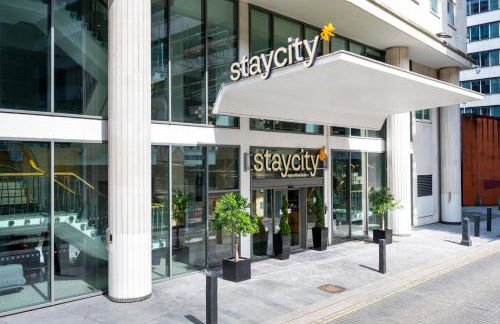

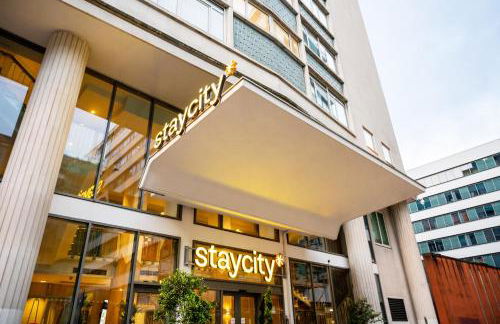


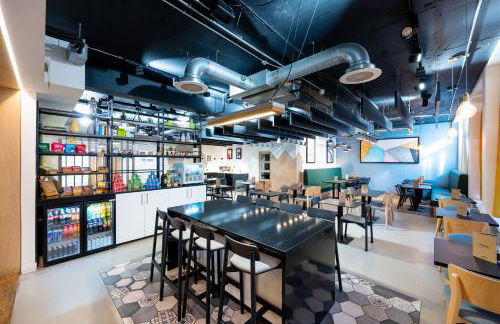


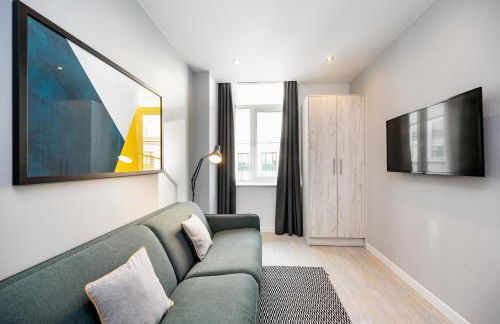

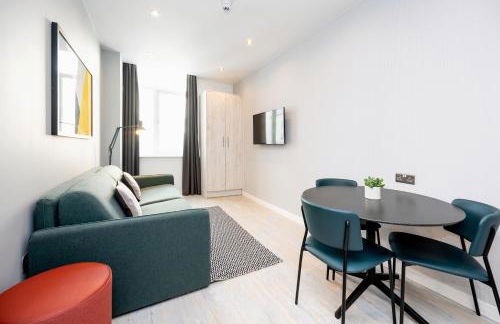


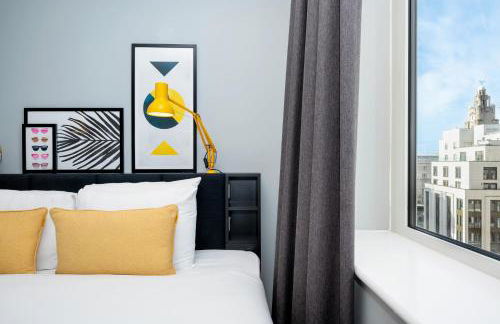

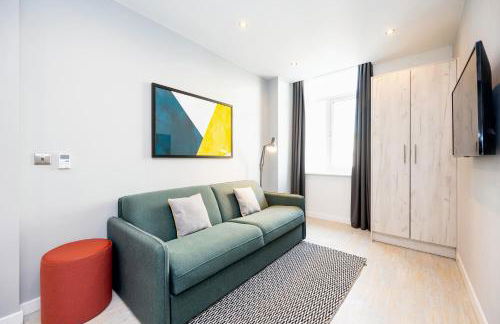


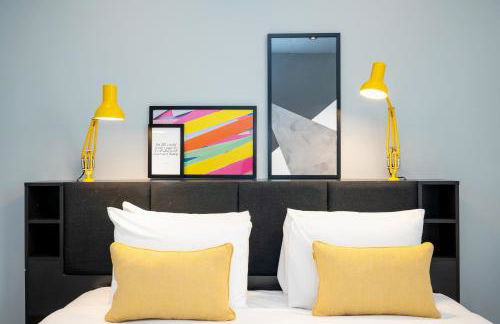

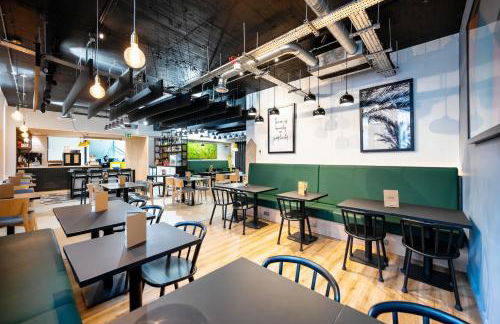


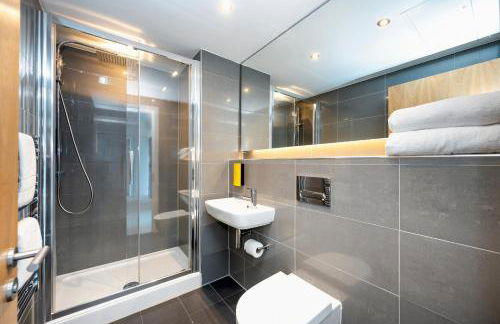

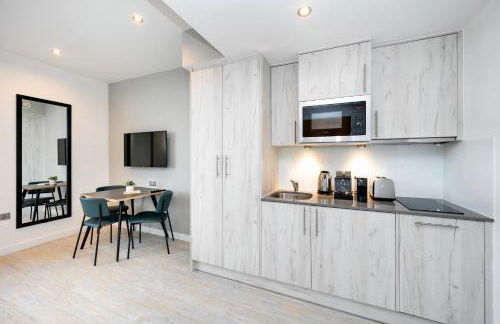


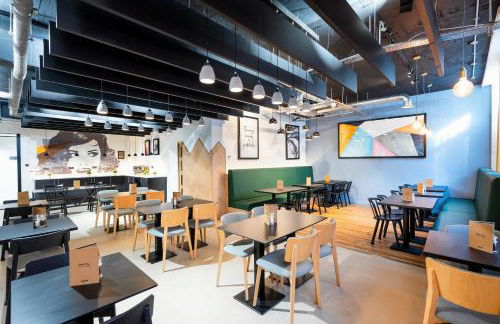


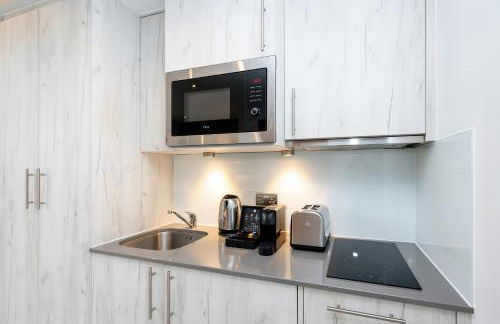


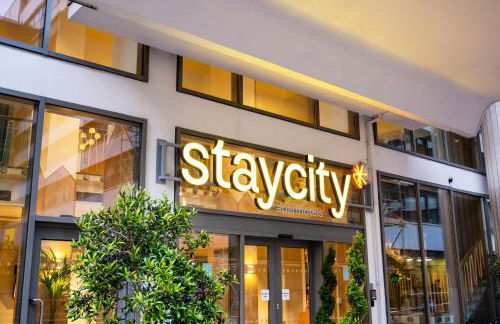


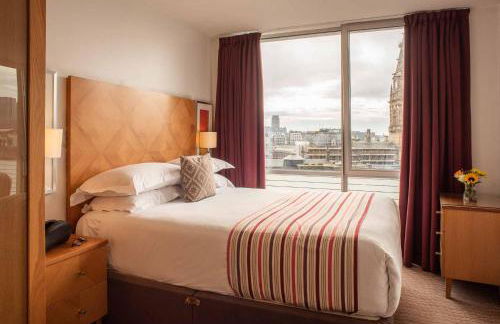
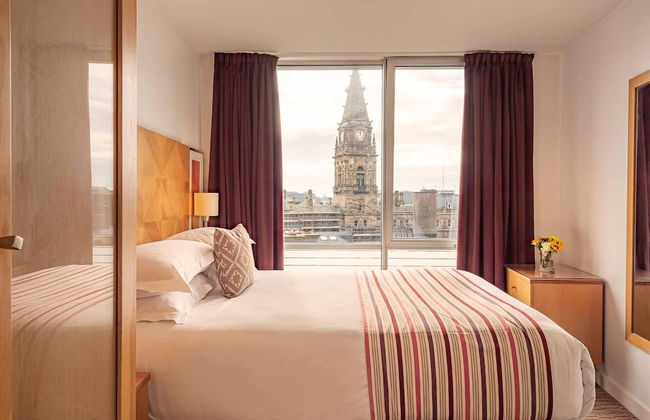
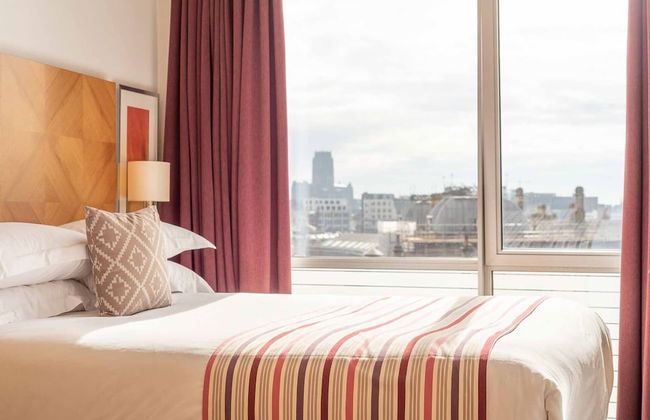
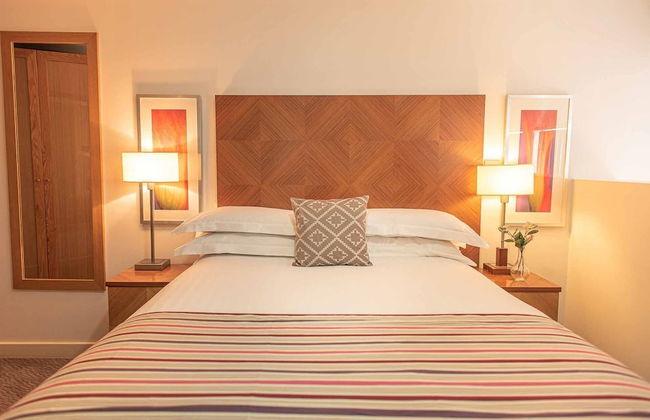
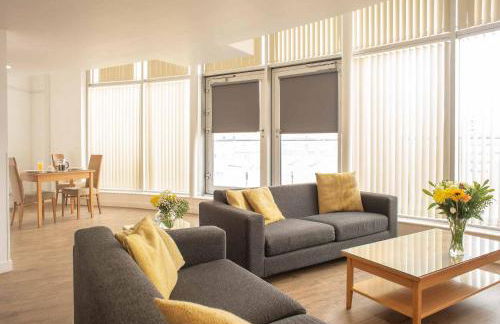
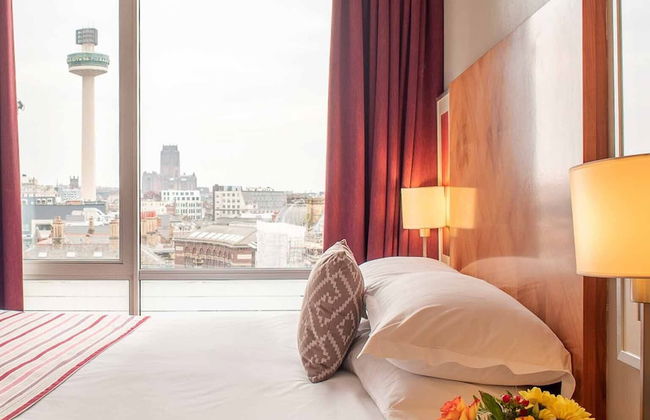
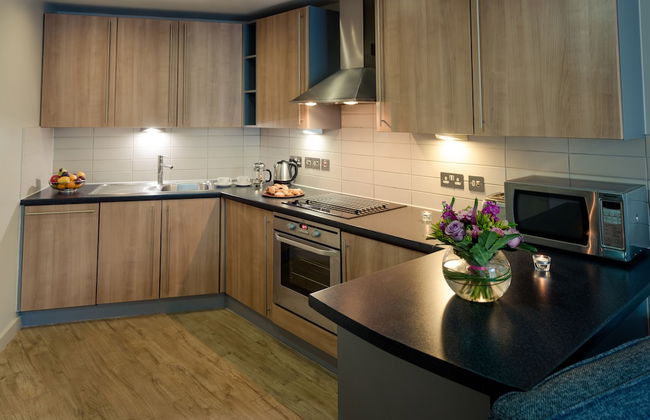
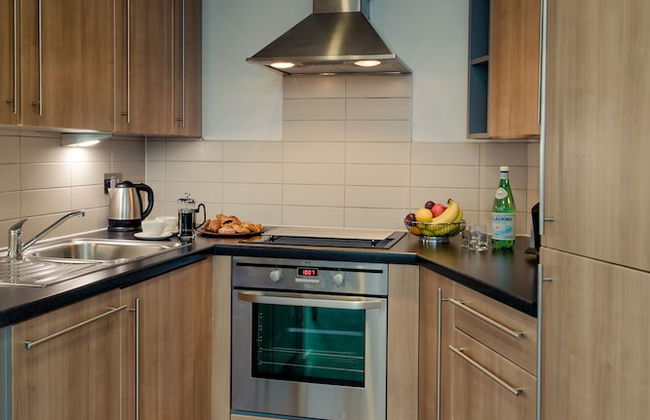
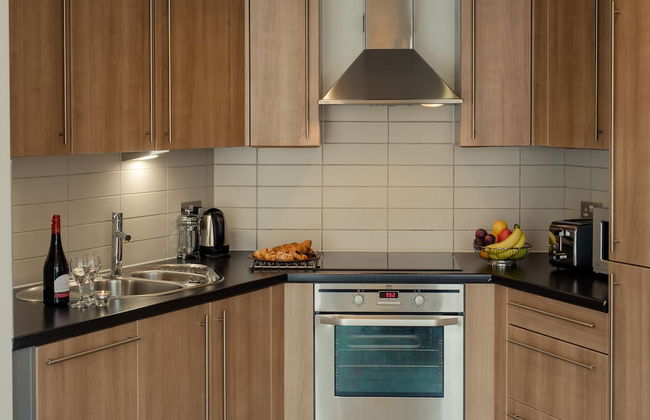
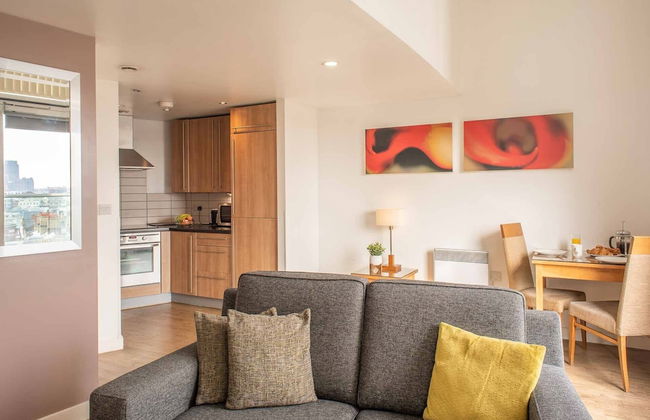
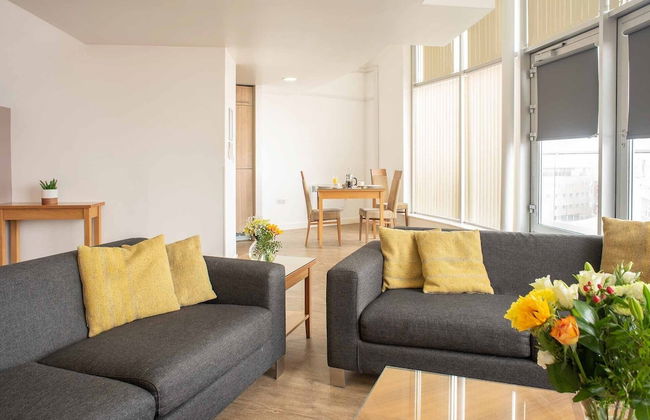
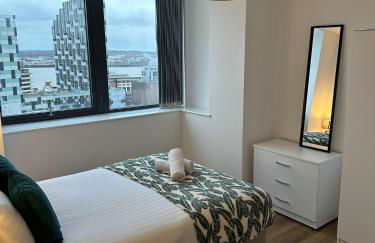
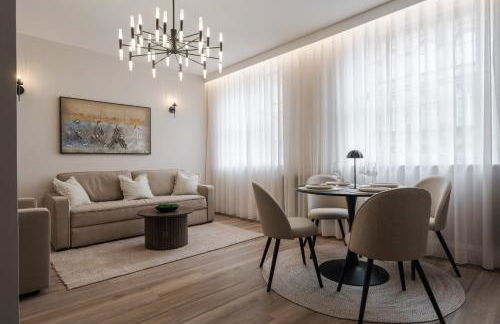
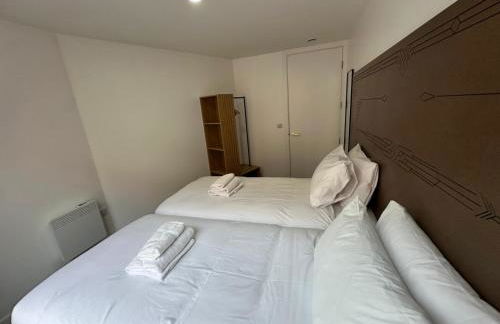
Staycity Aparthotels, Liverpool, Waterfront
Liverpool - Commercial District - 550 m do centro
- 50 M2
- 2 quartos
- 6 pessoas
- Kitchenette
- Ar-condicionado
- Aquecimento
- Estacionamento
- Elevador
- Tv
- Toalhas
- Lençóis


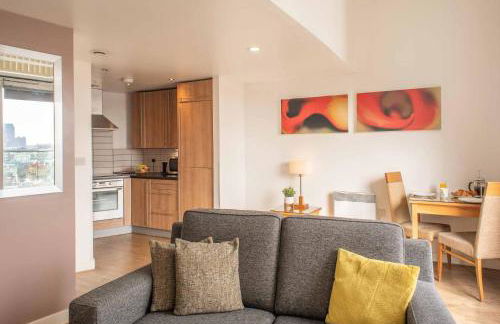
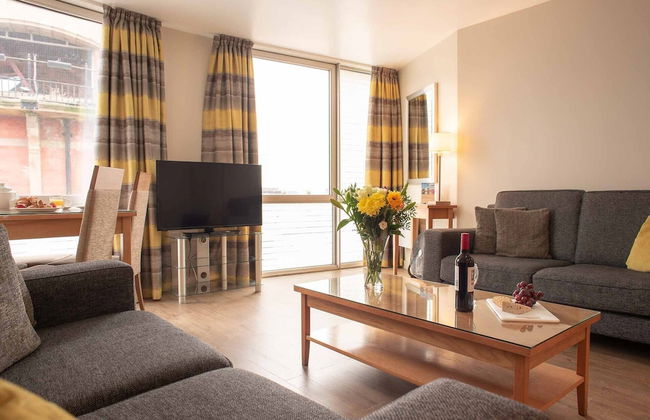
The Penthouse Collection by EPIC
Liverpool - Commercial District - 500 m do centro
- 199 M2
- 13 pessoas
- Aquecimento
- Terraço
- Tv
- Toalhas
- Lençóis

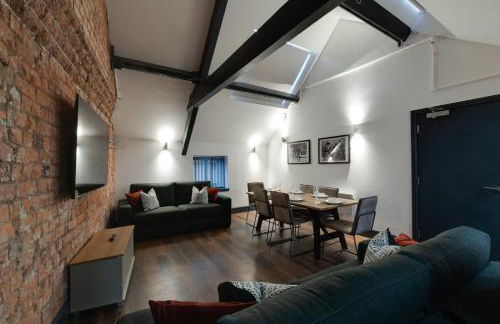


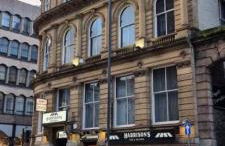


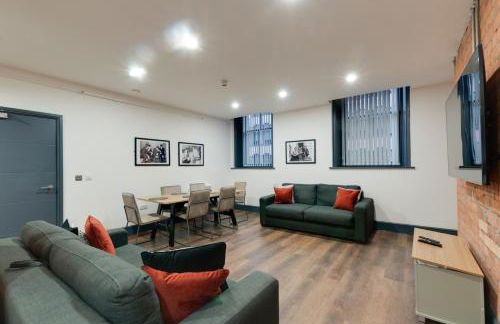

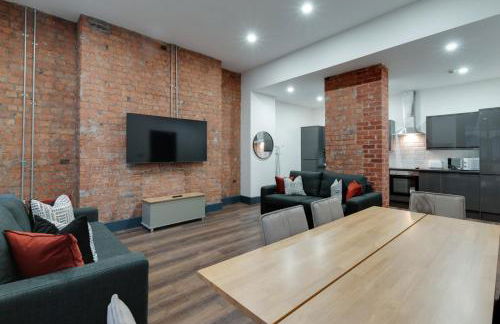

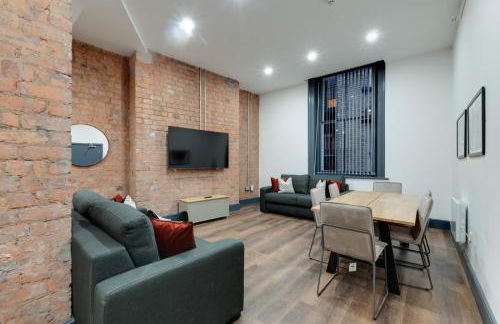


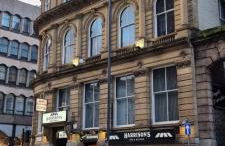


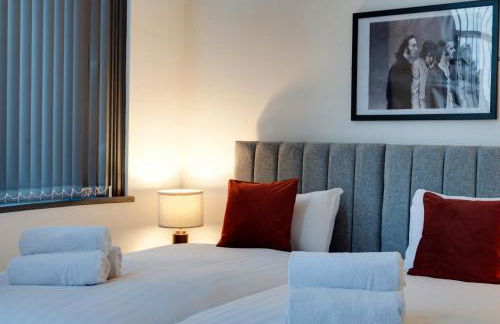

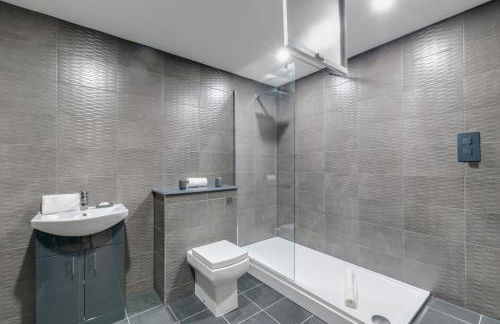


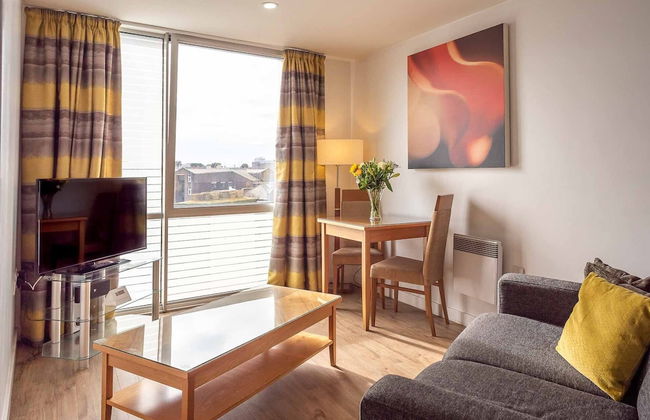
Harrisons Aparthotel Liverpool
Liverpool - Commercial District - 280 m do centro
- 30 M2
- 1 quarto
- 11 pessoas
- Kitchenette
- Ar-condicionado
- Aquecimento
- Estacionamento
- Tv
- Máquina de lavar roupa


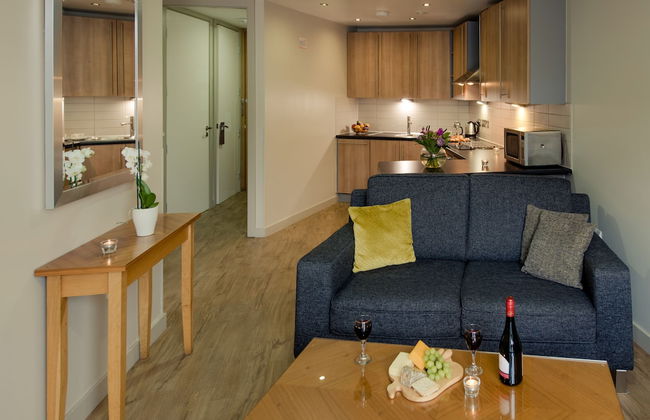
The Castle Collection - 25 Castle Street
Liverpool - Commercial District - 410 m do centro
- 135 M2
- 4 pessoas
- Aquecimento
- Estacionamento
- Tv
- Máquina de lavar roupa
- Toalhas
- Lençóis


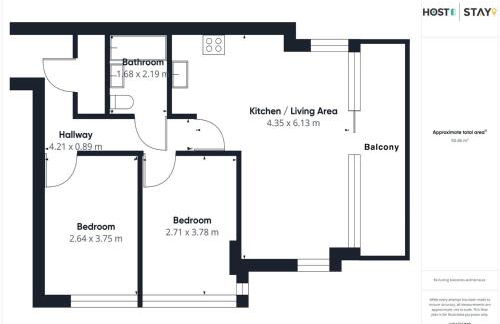


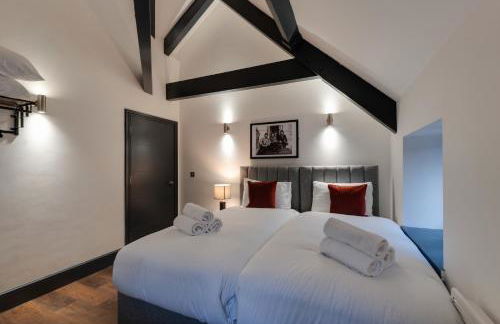
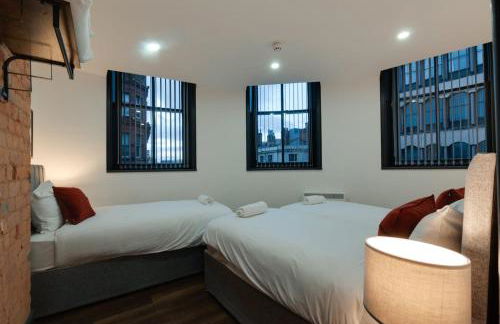
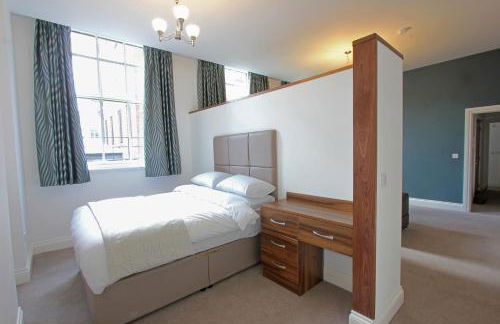
Host & Stay - The Municipal View Abode
Liverpool - Commercial District - No centro
- 62 M2
- 2 quartos
- 4 pessoas
- Aquecimento
- Estacionamento
- Varanda
- Tv
- Máquina de lavar roupa
- Toalhas
- Lençóis


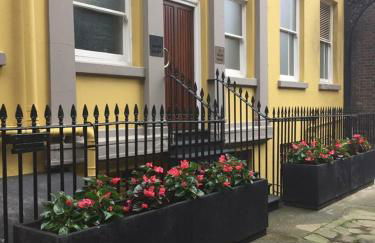


The Castle Collection - 3 Union Court
Liverpool - Commercial District - 360 m do centro
- 74 M2
- 1 quarto
- 2 pessoas
- Aquecimento
- Estacionamento
- Tv
- Máquina de lavar roupa
- Toalhas
- Lençóis

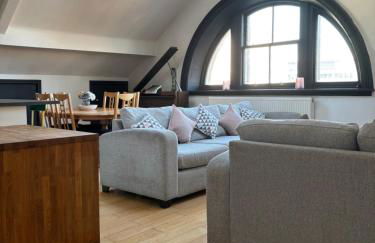

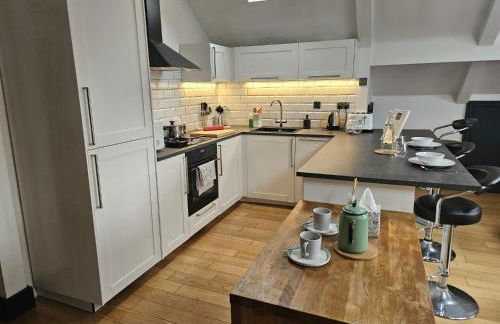

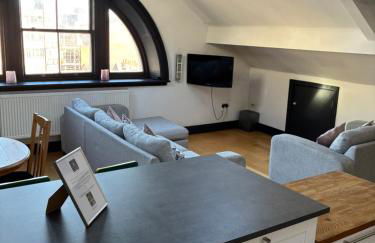
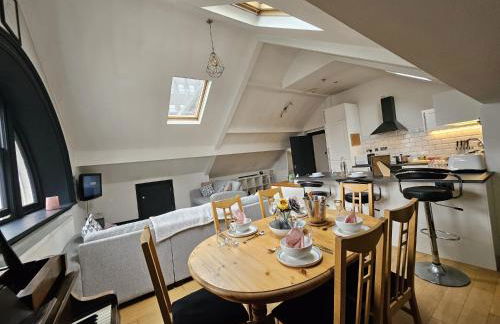


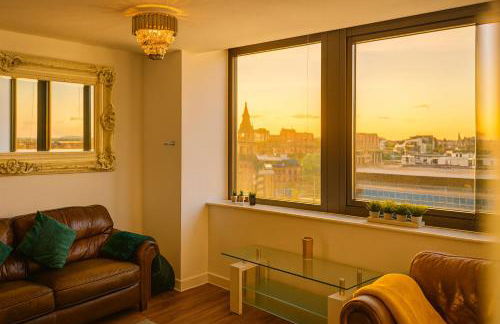
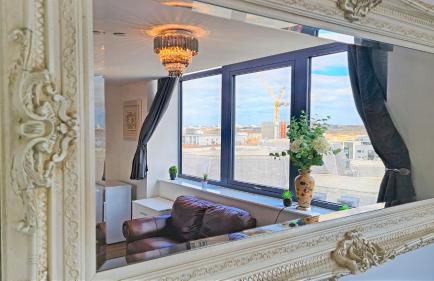
2 Bedroom City Centre Penthouse Loft Apartment
Liverpool - Commercial District - 380 m do centro
- 100 M2
- 2 quartos
- 4 pessoas
- Aquecimento
- Estacionamento
- Elevador


City View One Bedroom Apartment by StaySavvy Accommodation
Liverpool - Commercial District - No centro
- 80 M2
- 1 quarto
- 3 pessoas
- Aquecimento
- Estacionamento
- Elevador


Stylish Loft Apartament - City Center L1
Liverpool - Commercial District - No centro
- 80 M2
- 1 quarto
- 4 pessoas
- Aquecimento

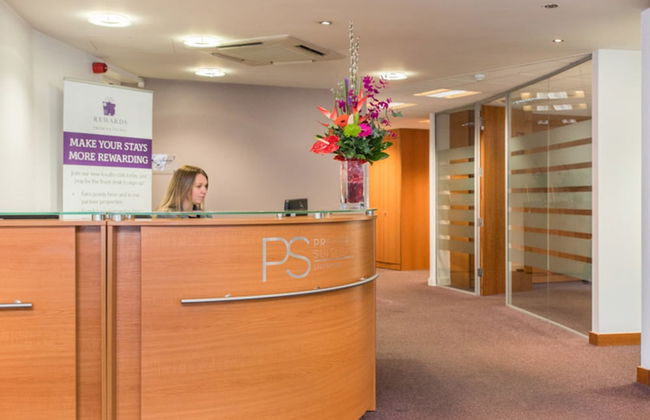
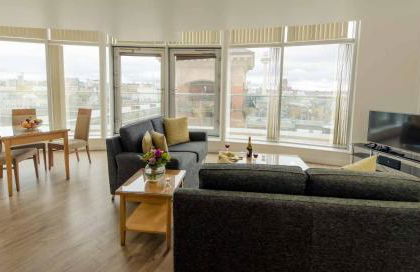
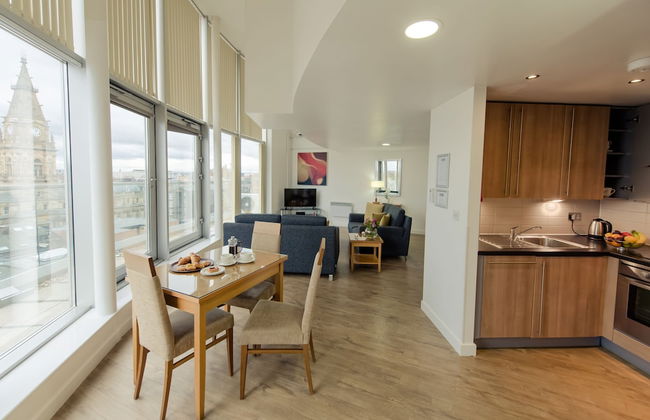
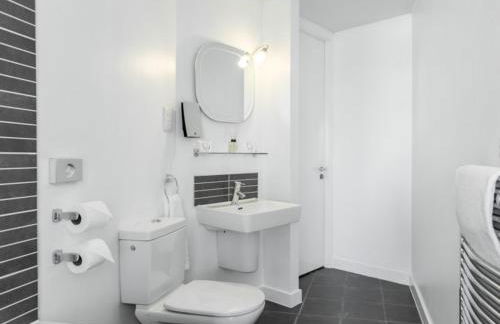

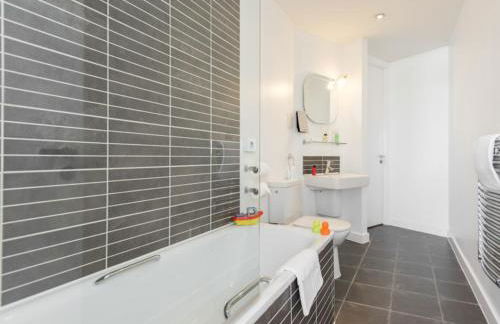


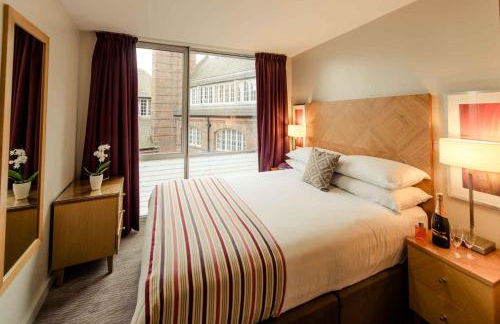
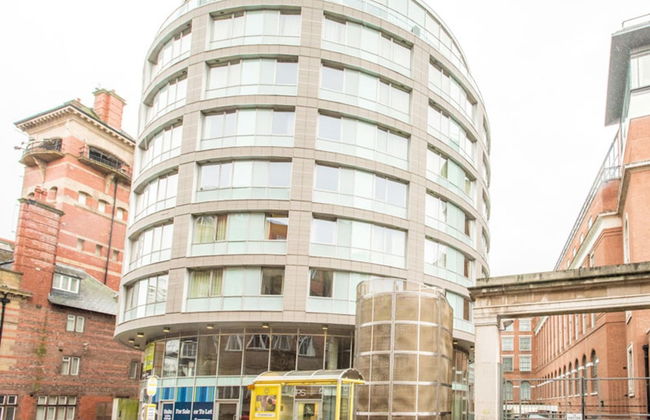
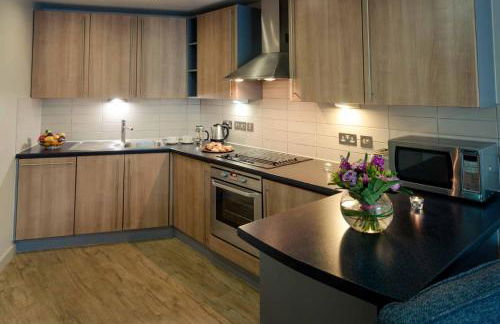
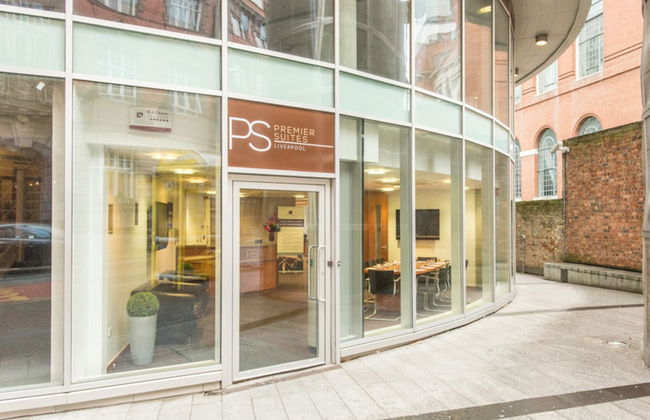

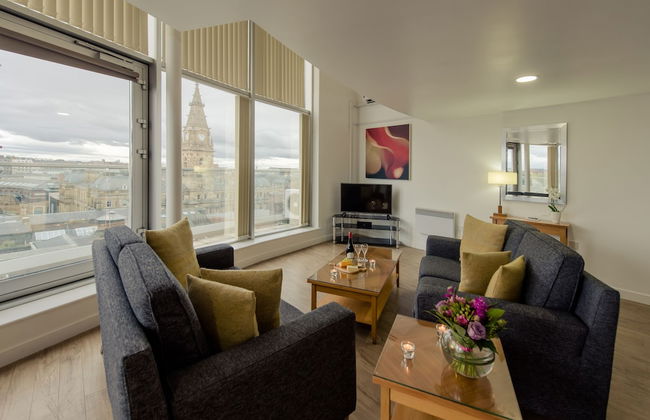


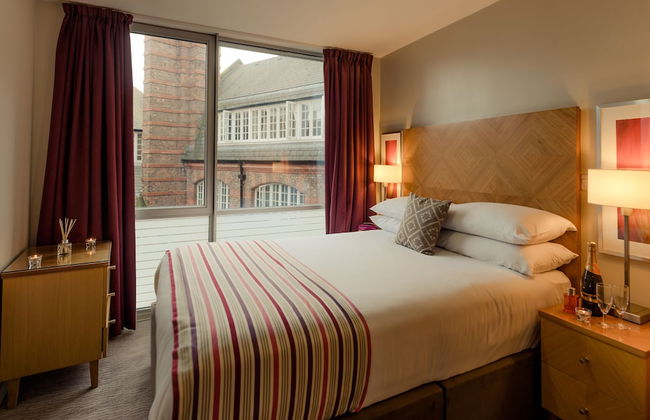


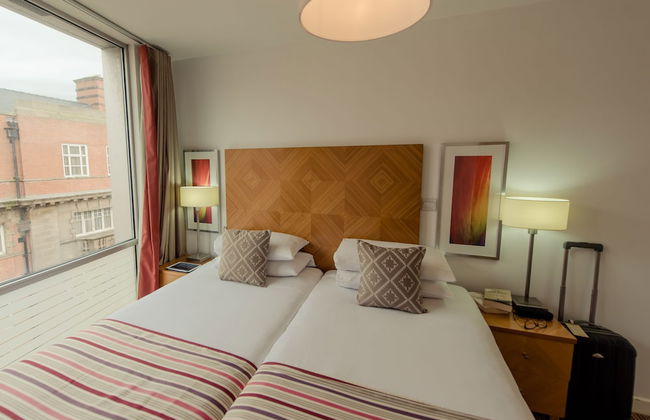


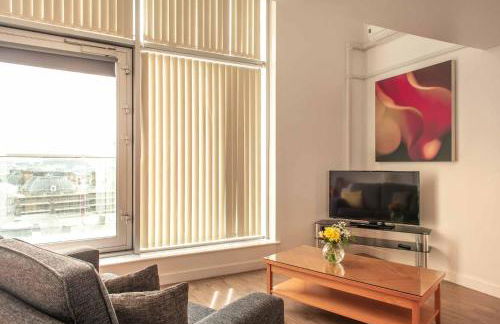
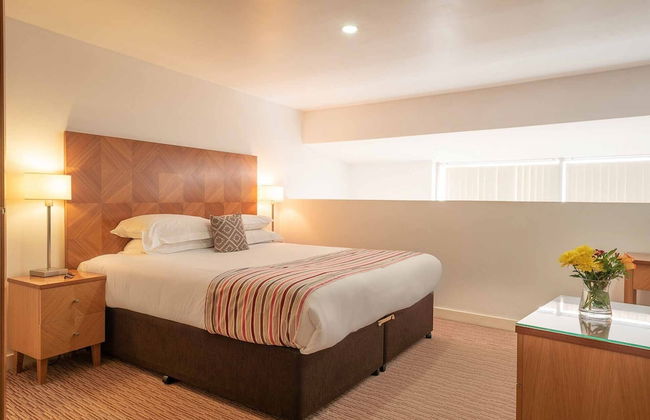


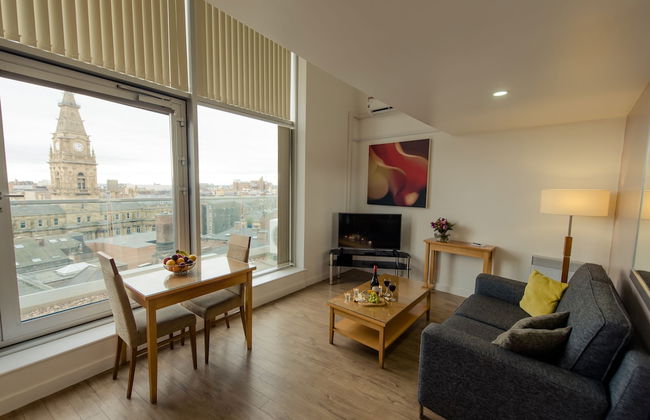

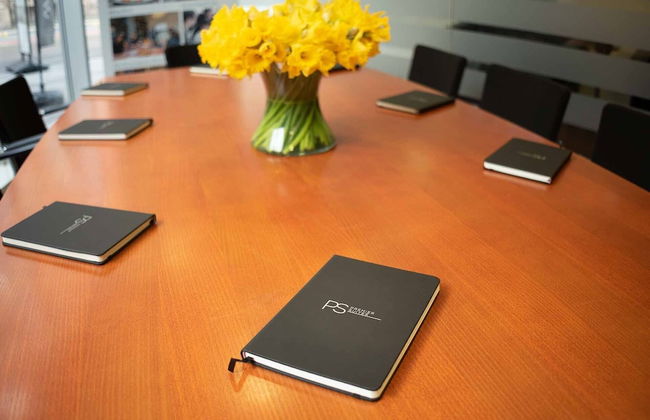


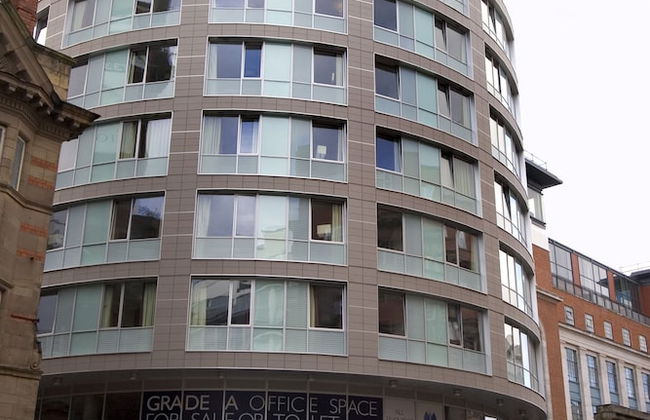
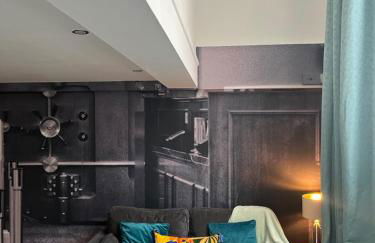
PREMIER SUITES Liverpool
Liverpool - Commercial District - No centro
- 67 M2
- 2 quartos
- 4 pessoas
- Aquecimento
- Terraço
- Estacionamento
- Elevador
- Tv
- Máquina de lavar roupa
- Toalhas


5 Halifax House, apartment 3
Liverpool - Commercial District - 500 m do centro
- 2 quartos
- 5 pessoas
- Estacionamento


Stunning City View Apartment by Central Stay
Liverpool - Commercial District - 410 m do centro
- 700 M2
- 2 quartos
- 4 pessoas
- Aquecimento
- Estacionamento
- Elevador


Stunning Liverpool City Center Apartment
Liverpool - Commercial District - No centro
- 100 M2
- 1 quarto
- 4 pessoas
- Aquecimento
- Estacionamento


Sunnie stays apartment harrington chambers
Liverpool - Commercial District - 320 m do centro
- 100 M2
- 2 quartos
- 6 pessoas

2 bedroom city centre apartment 35 Victoria street
Liverpool - Commercial District - No centro
- 2 quartos
- 4 pessoas


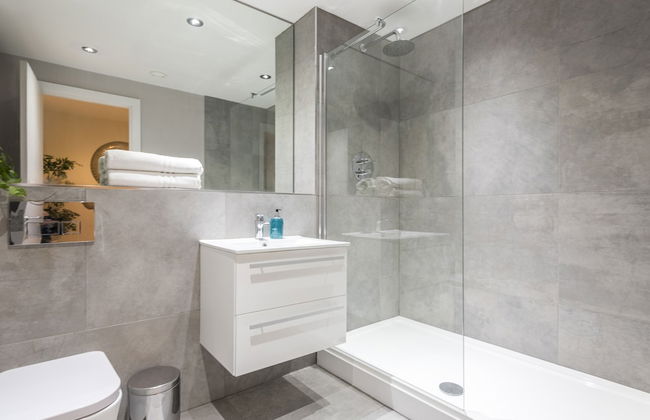
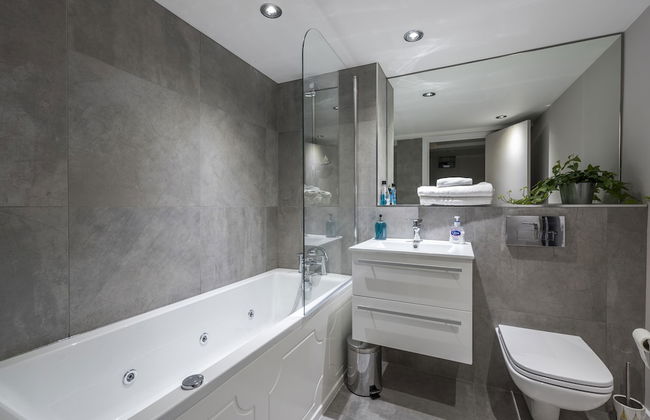

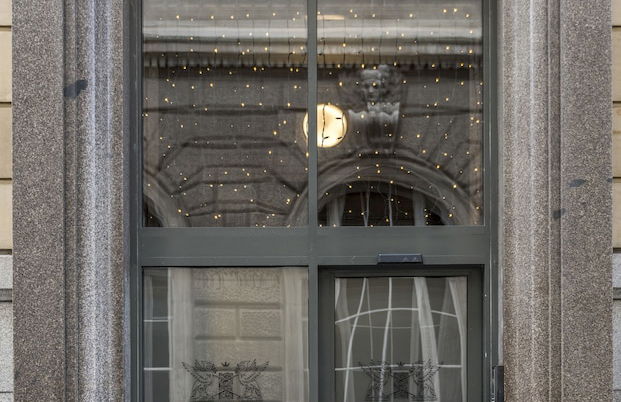
Union Bank Apartments
Liverpool - Commercial District - 500 m do centro
- 6 pessoas
- Estacionamento
- Elevador
- Tv
- Máquina de lavar roupa
- Toalhas


2 bed apartment Liverpool city centre
Liverpool - Commercial District - No centro
- 7 pessoas
- Estacionamento
- Elevador
- Jardim


Liverpool Hatton Garden 1 & 2 Bedroom Apartments - WiFi & Secure Parking
Liverpool - Commercial District - No centro
- 65 M2
- 2 quartos
- 5 pessoas
- Aquecimento
- Estacionamento
- Elevador


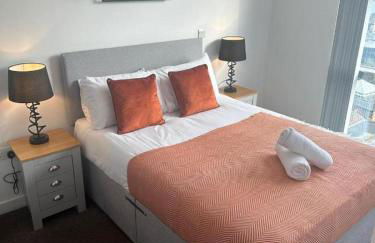
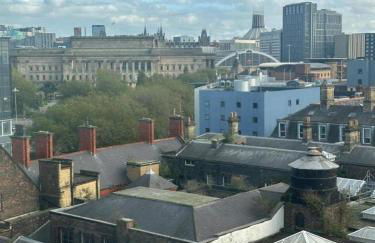
Sidemersey Livings - 2 Bedroom Central Apartment with views
Liverpool - Commercial District - 380 m do centro
- 65 M2
- 2 quartos
- 6 pessoas
- Aquecimento
- Estacionamento
- Elevador


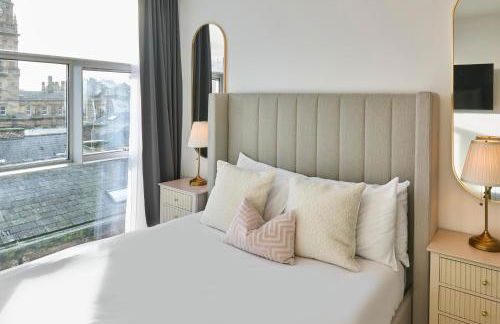
Host & Stay - Bands Warehouse VI
Liverpool - Commercial District - No centro
- 74 M2
- 1 quarto
- 4 pessoas
- Aquecimento
- Varanda
- Tv
- Máquina de lavar roupa
- Toalhas
- Lençóis