
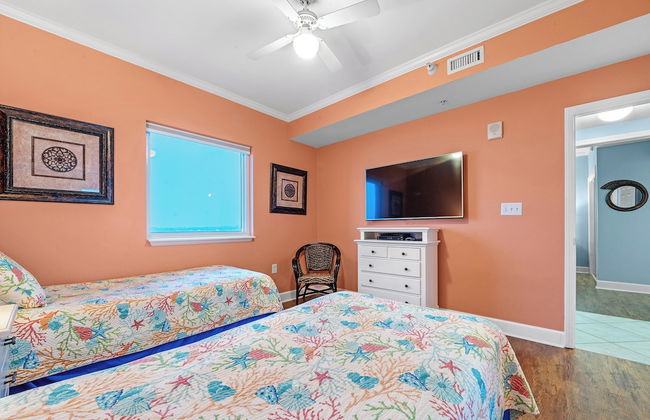
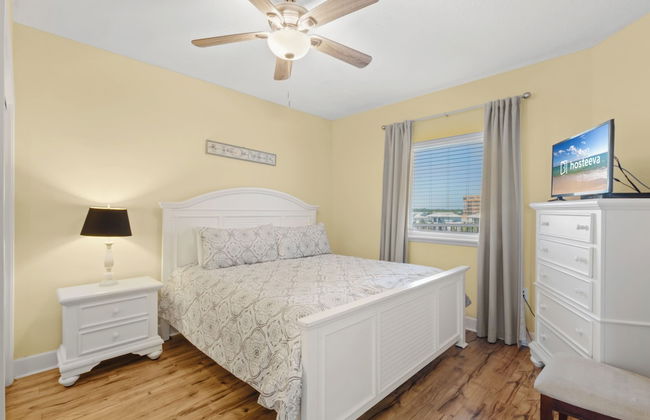
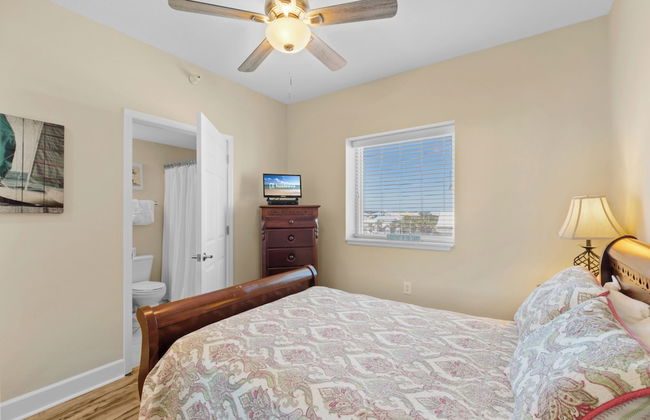
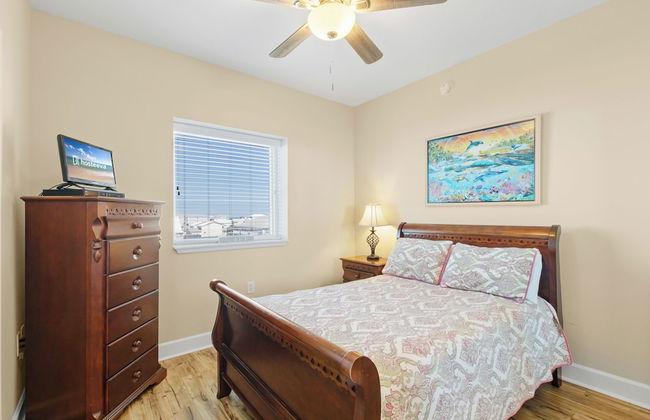
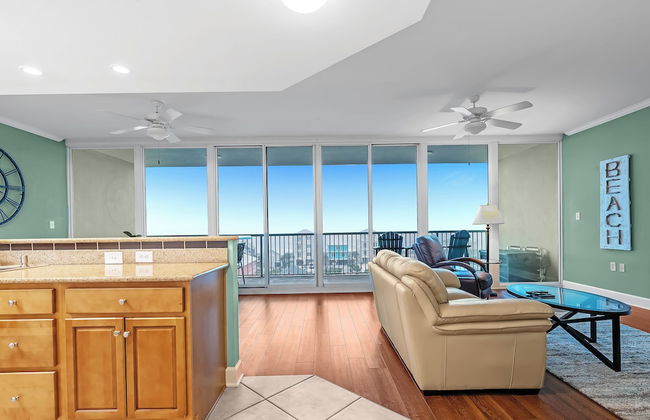
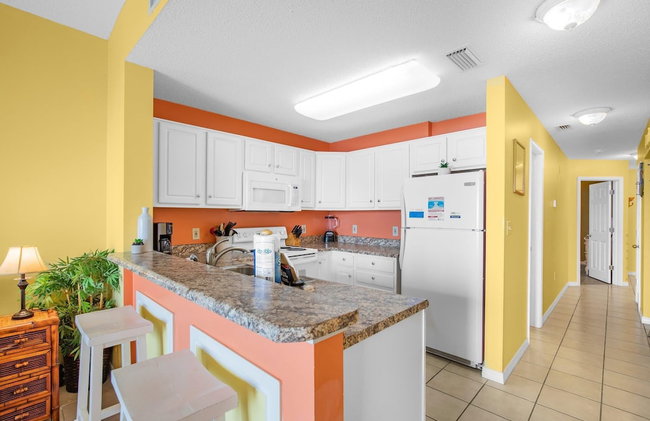
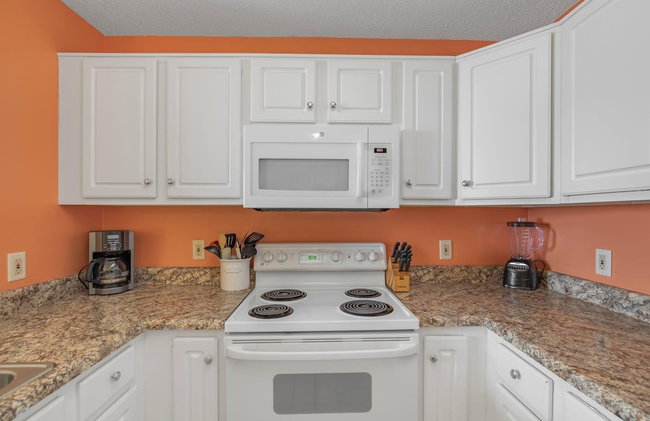
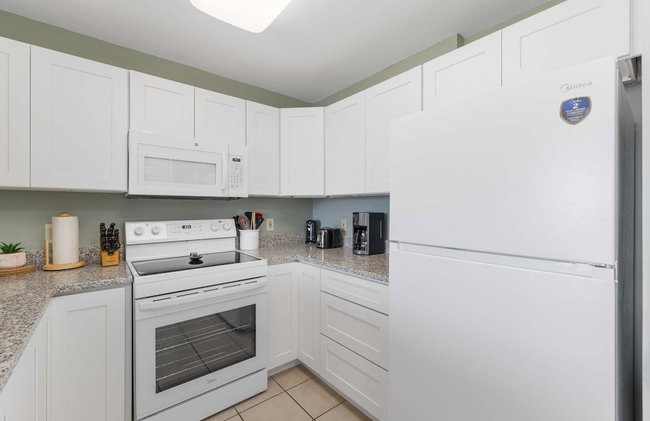
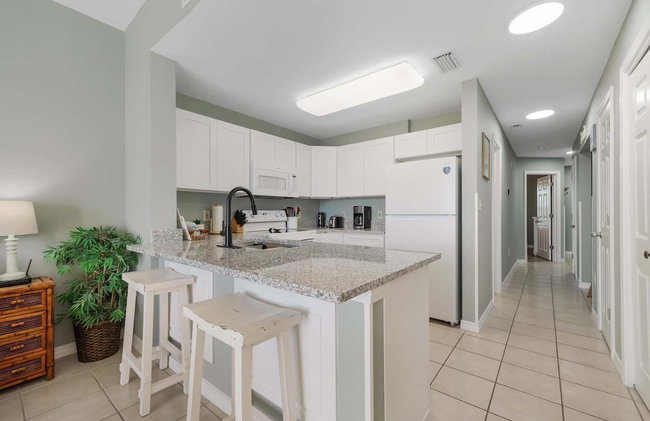
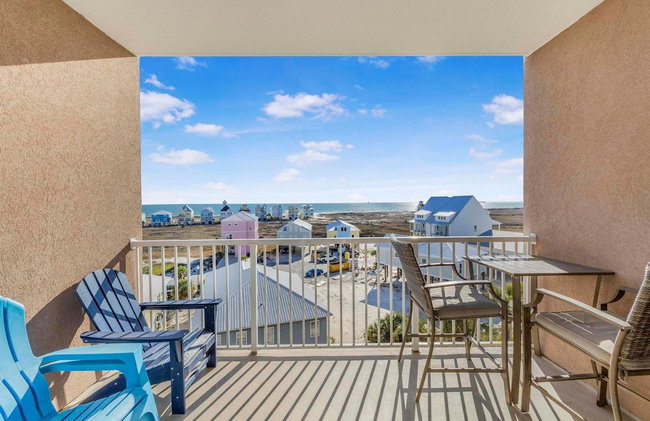
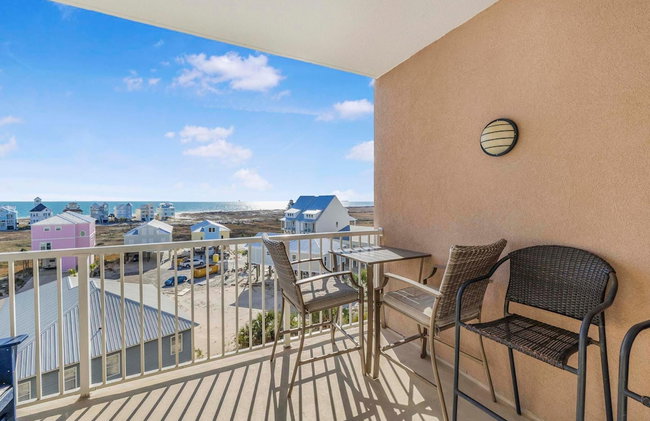
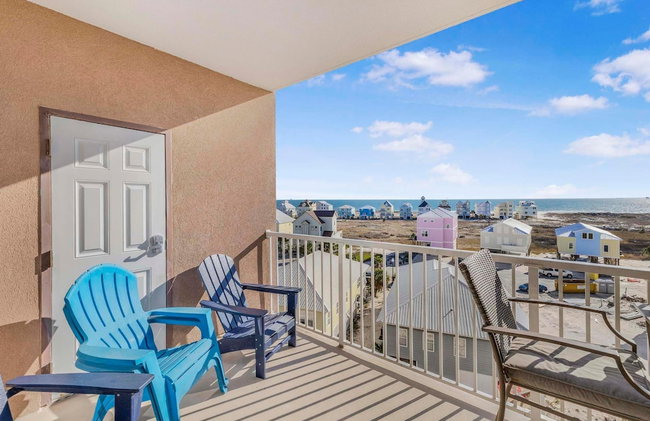
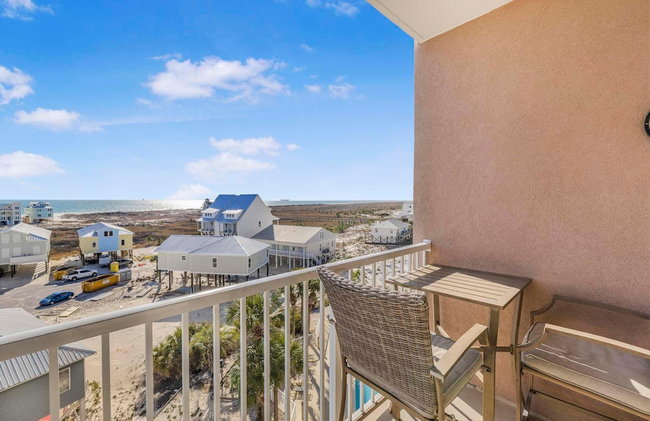
2026 Apartamentos em Gulf Shores


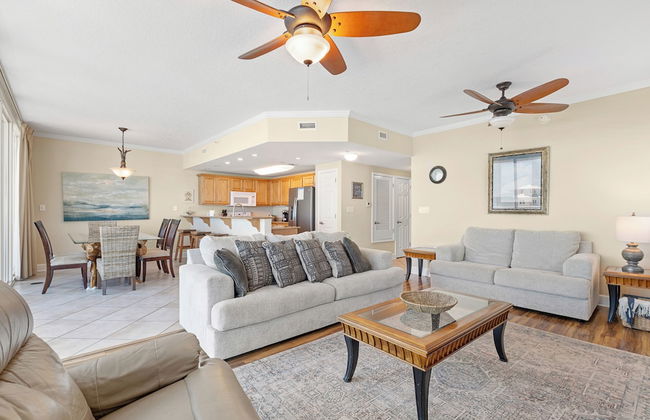
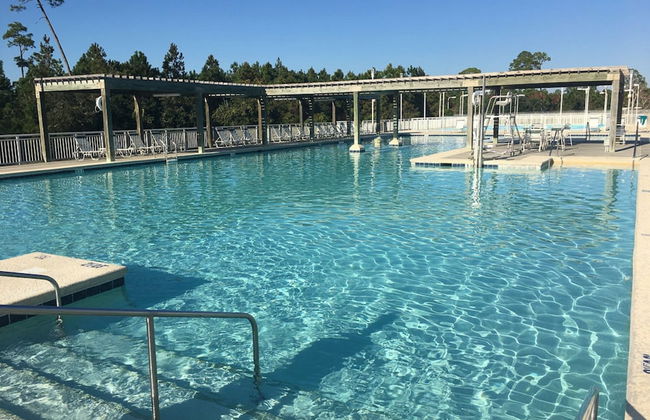
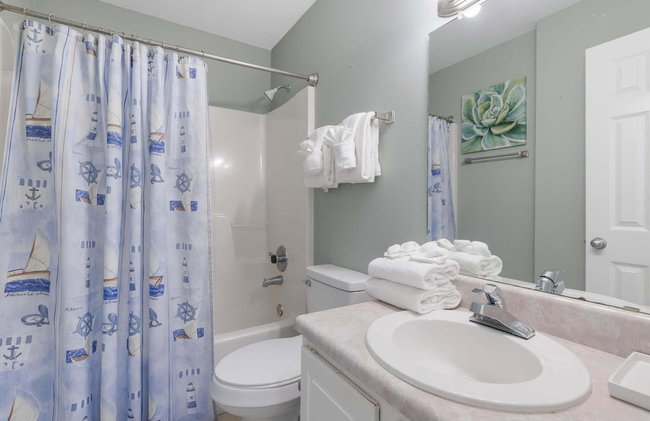
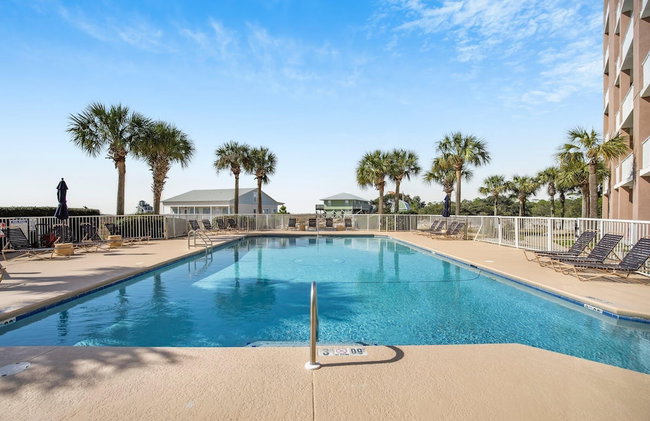
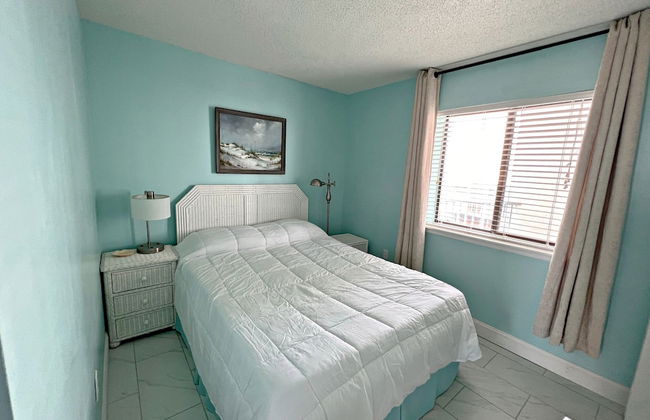
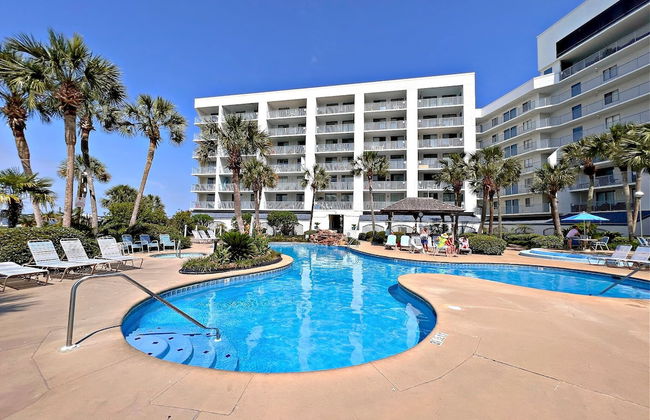
The Cabins at Gulf State Park
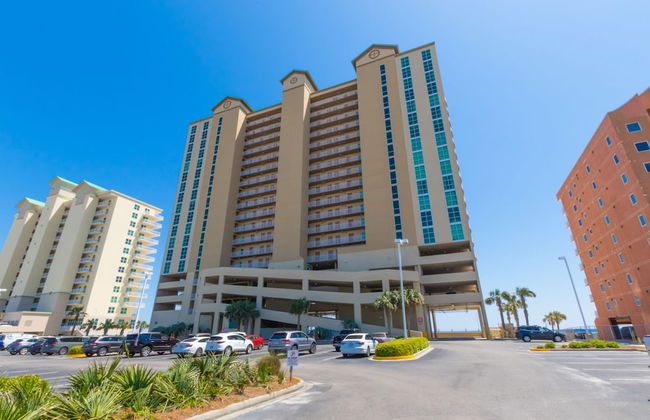
Gulf Shores - 740 m do centro
- 149 M2
- 8 pessoas
- Kitchenette
- Ar-condicionado
- Aquecimento
- Piscina
- Estacionamento
- Varanda
- Tv
- Chaminé
- Churrasco
- Toalhas
- Lençóis
57 avaliações
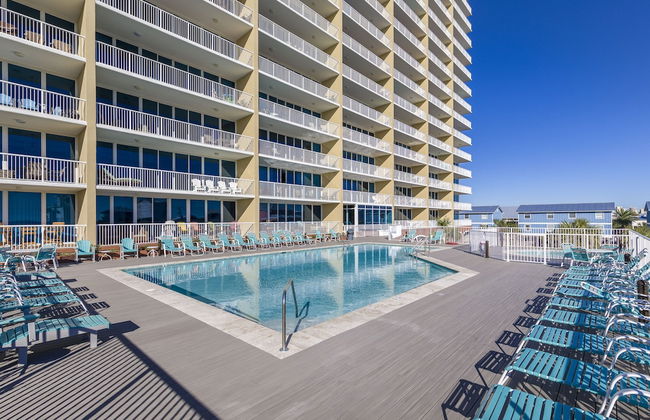


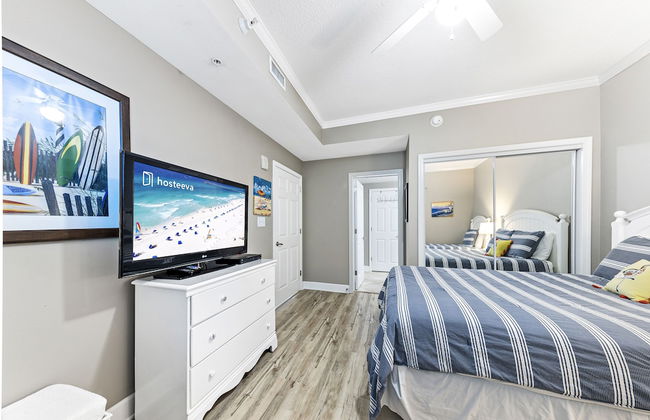

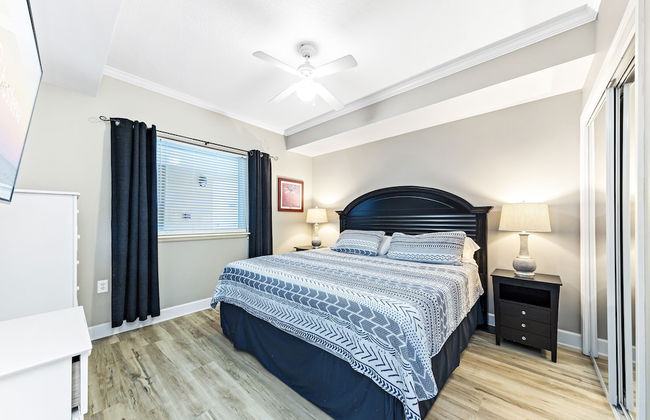

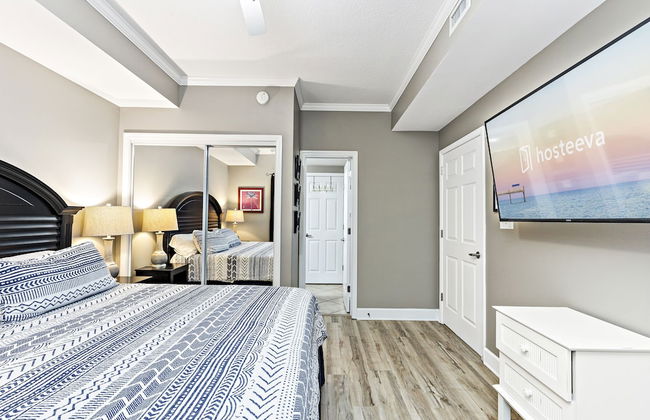


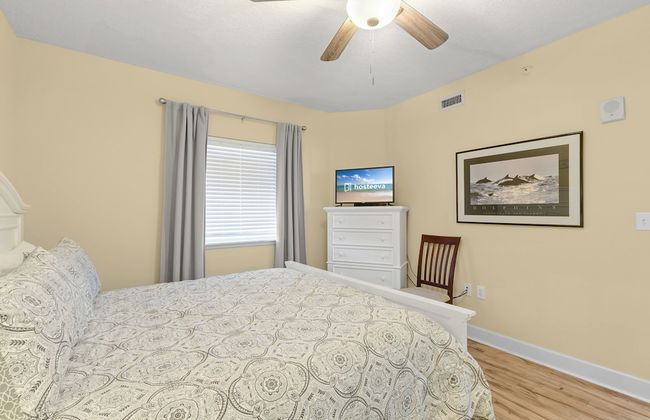


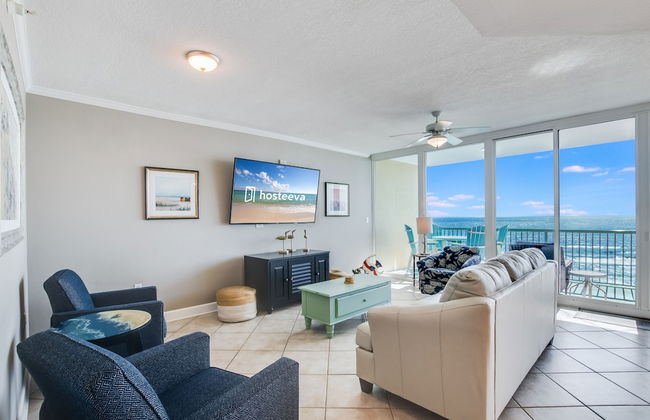

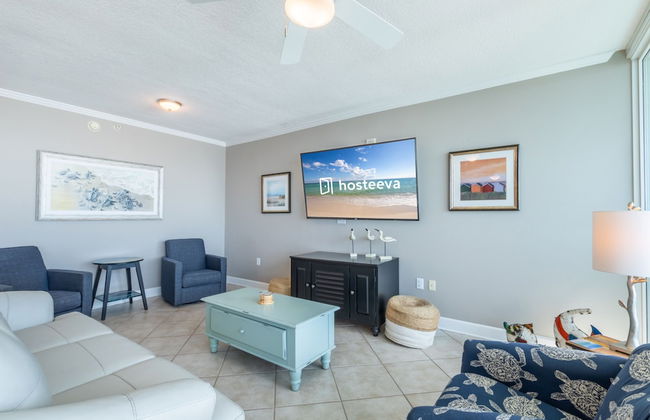

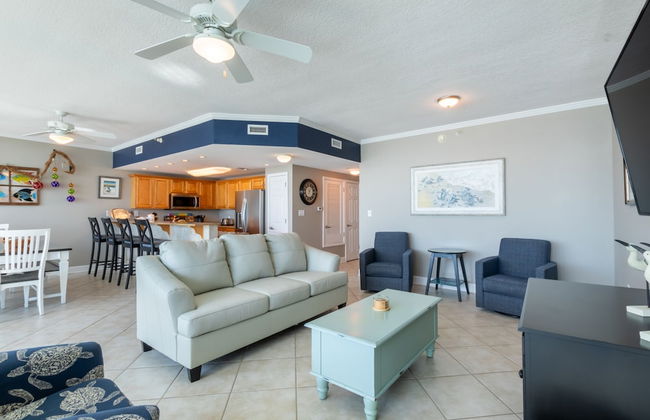

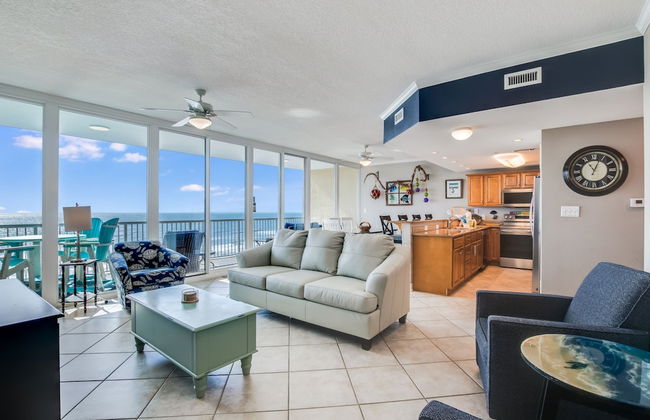


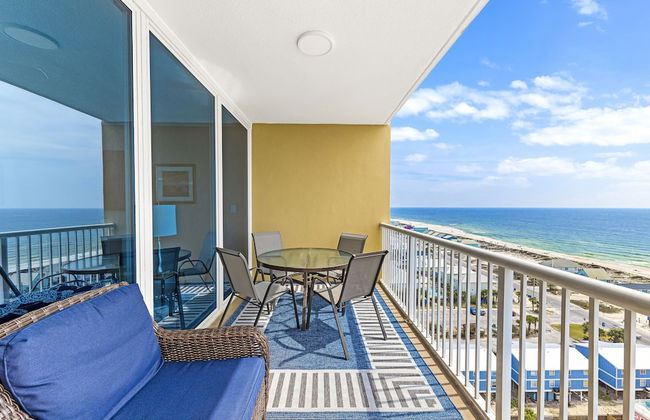


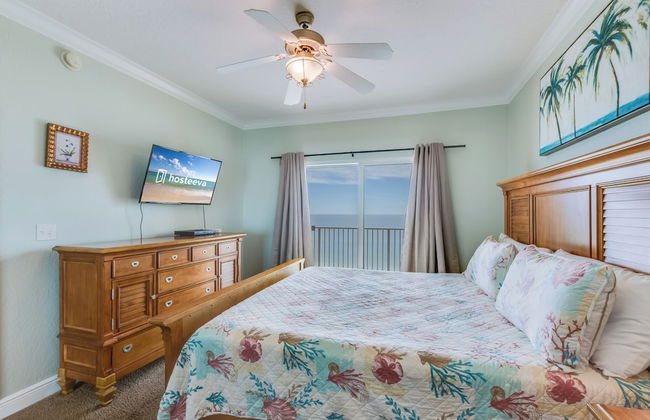
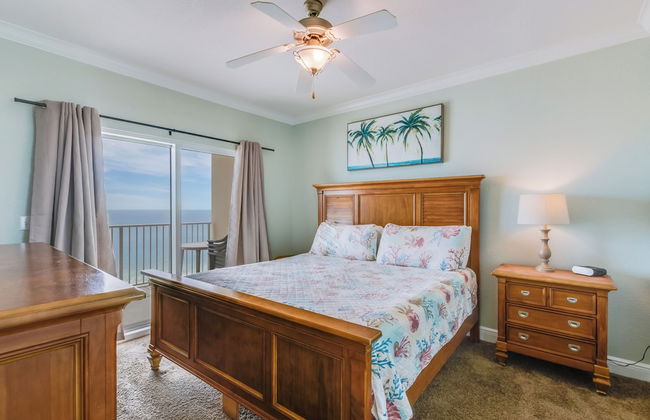
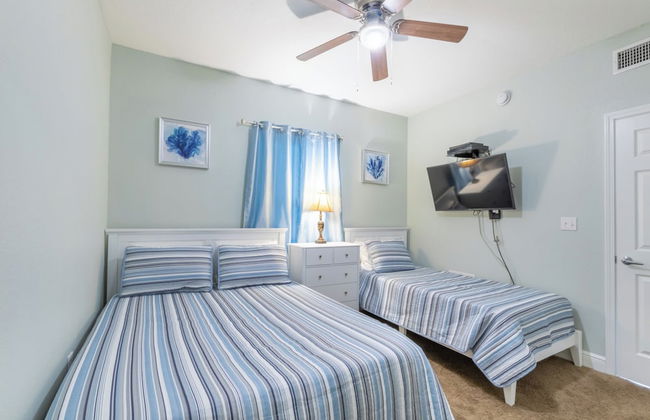
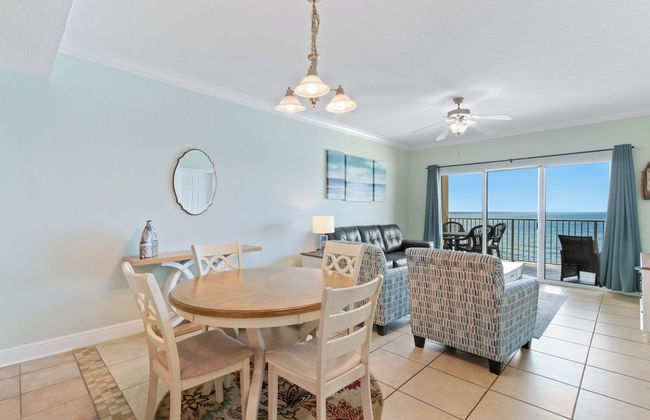
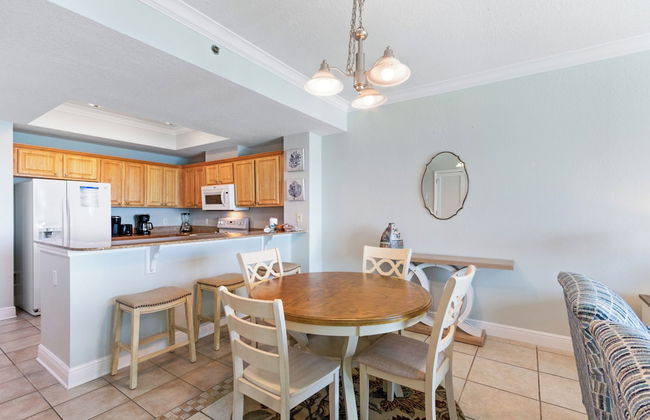
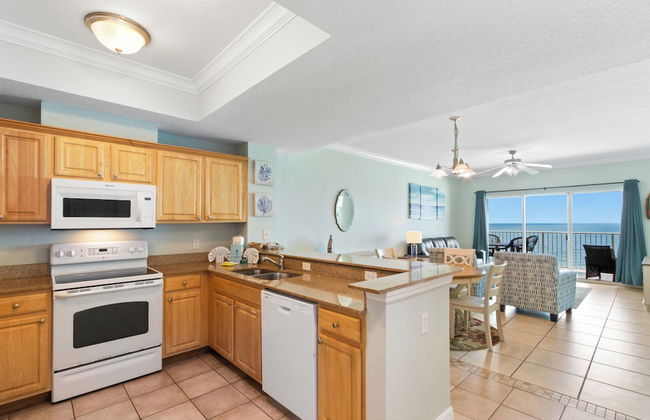
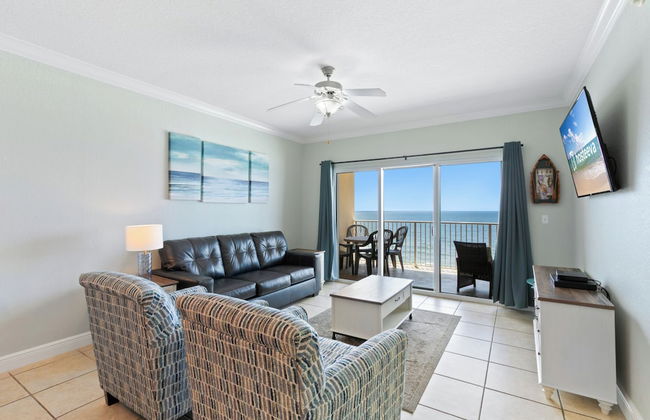
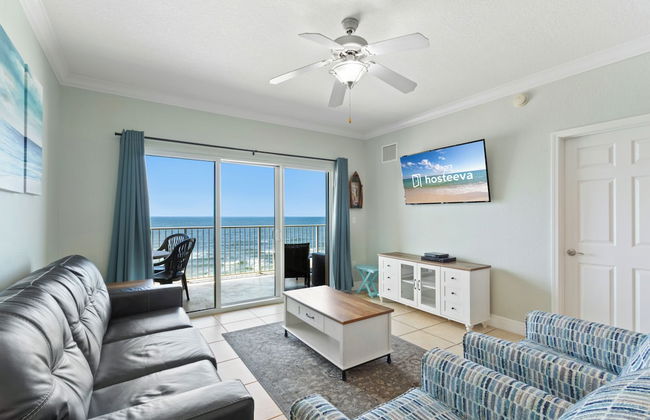
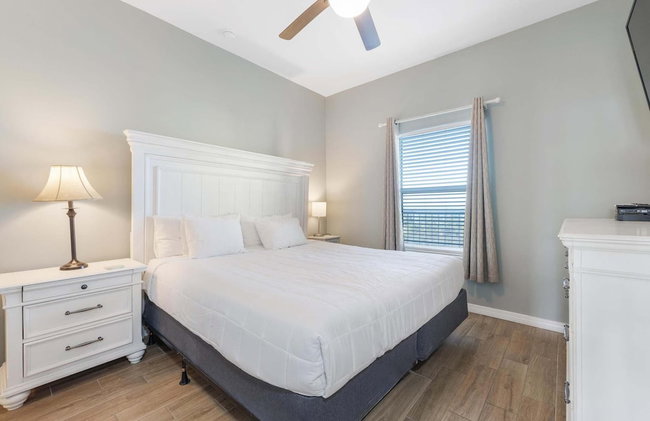
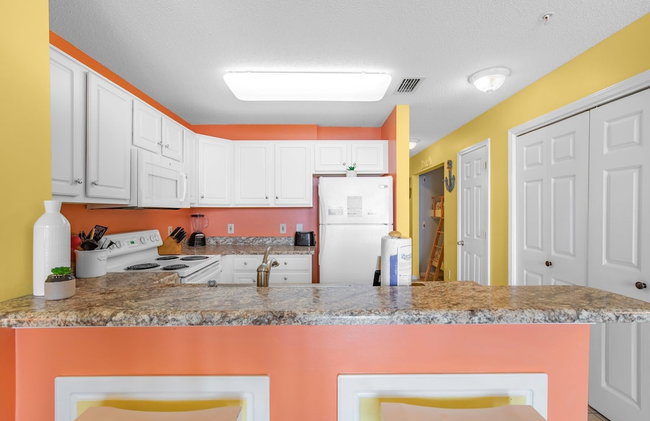
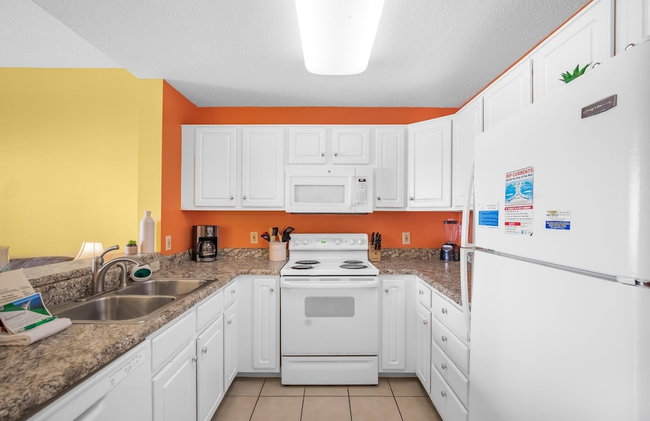
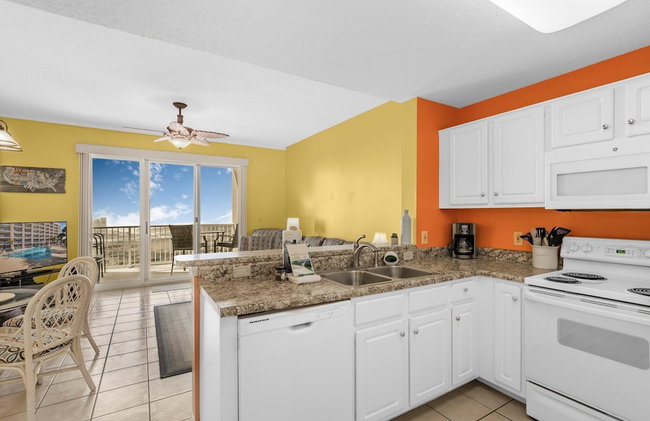
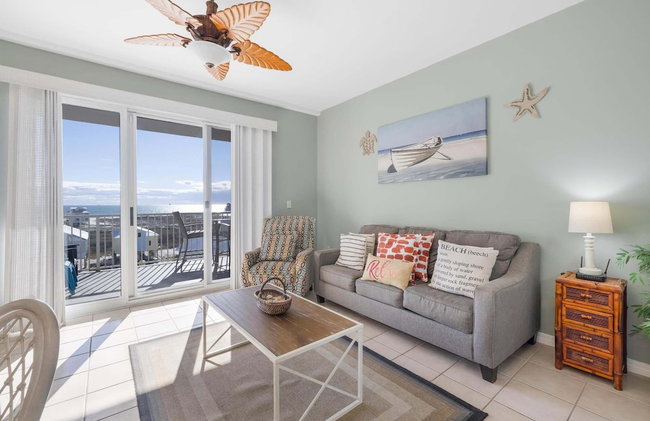
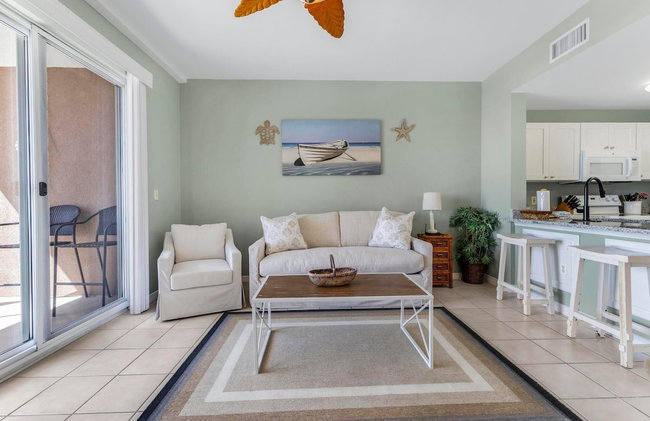
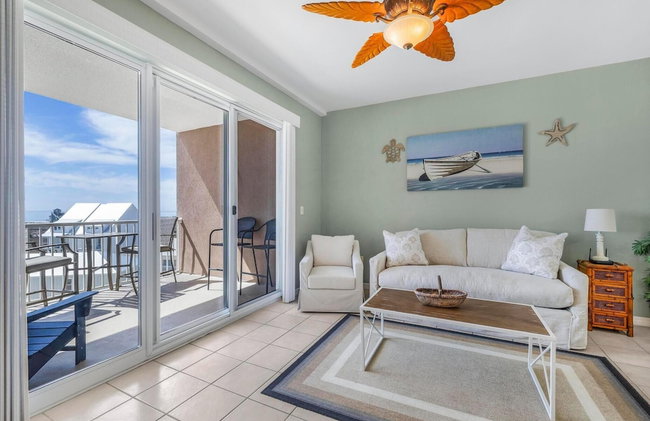
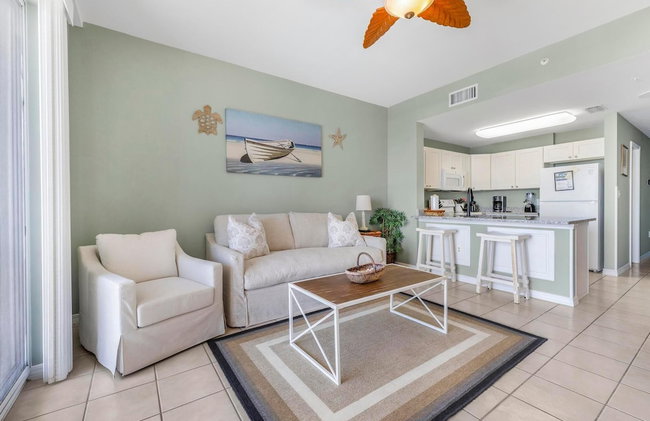
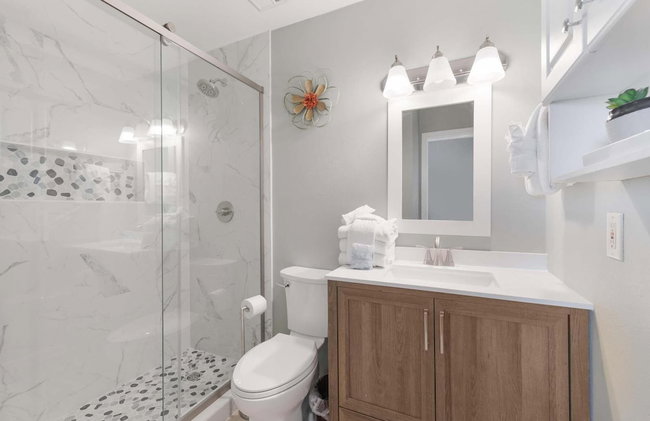
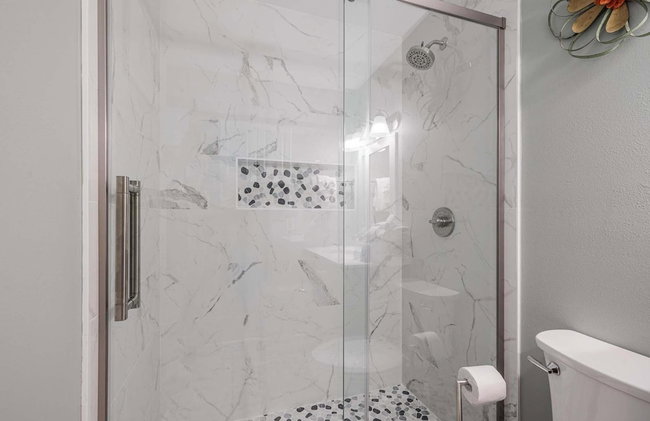
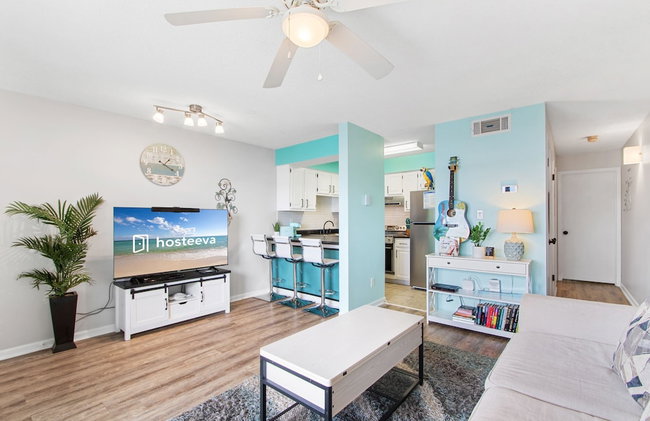
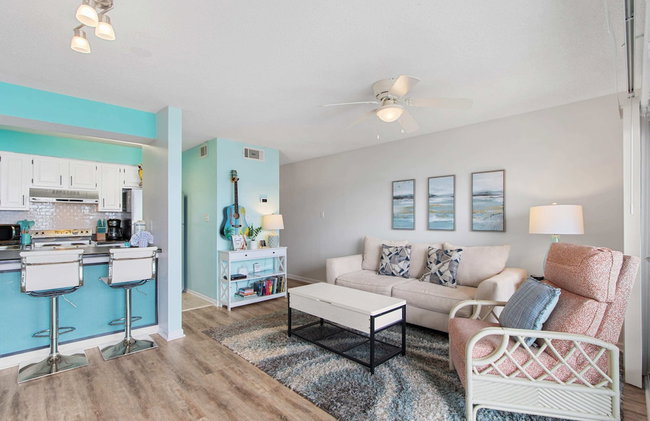
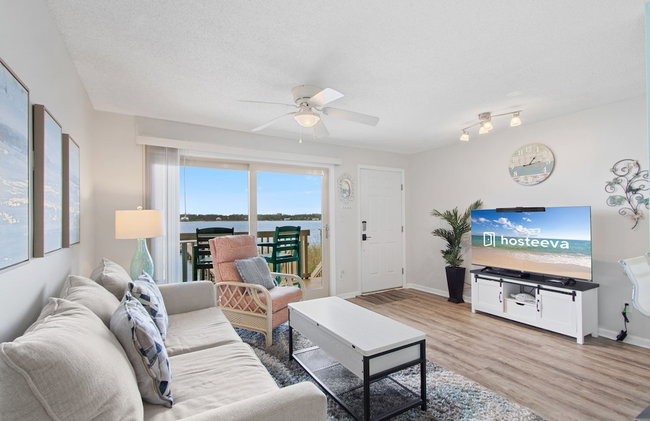
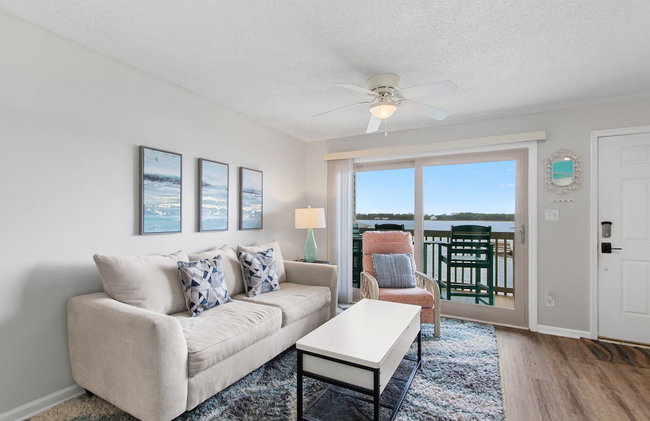
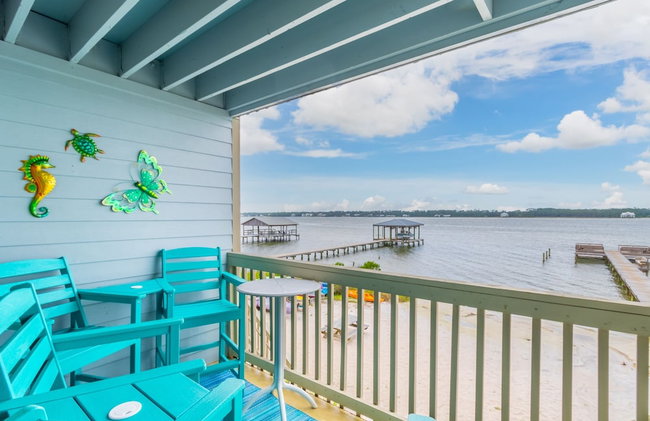
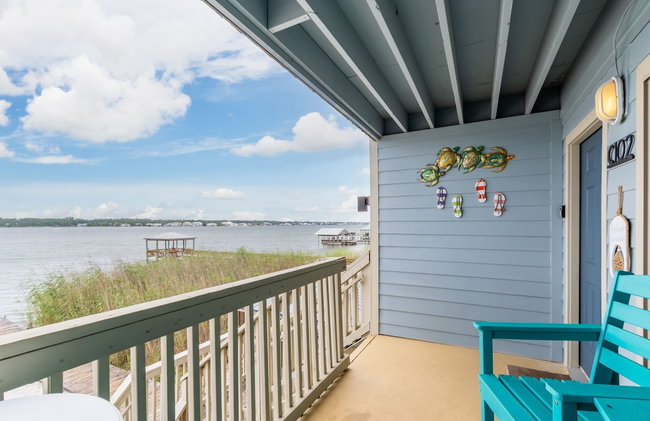
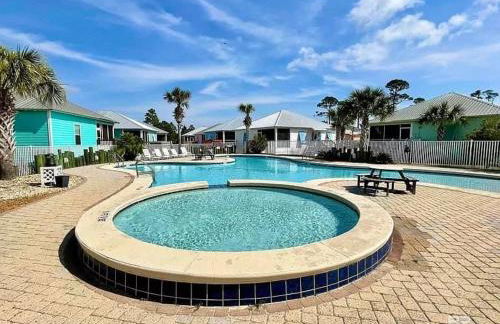
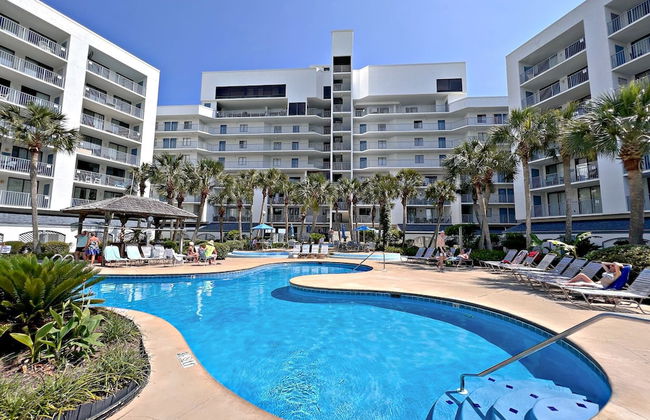
Sanibel Condos by Hosteeva
Gulf Shores - 5.6 km do centro
- 143 M2
- 3 quartos
- 8 pessoas
- Ar-condicionado
- Aquecimento
- Piscina
- Estacionamento
- Elevador
- Varanda
- Jardim
- Tv
- Máquina de lavar roupa
- Churrasco
- Toalhas
- Lençóis
13 avaliações


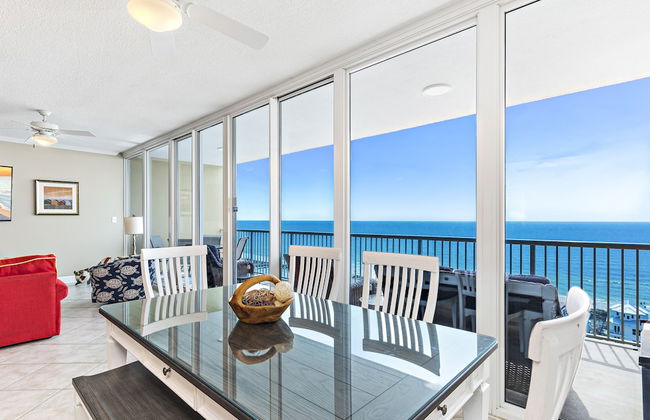
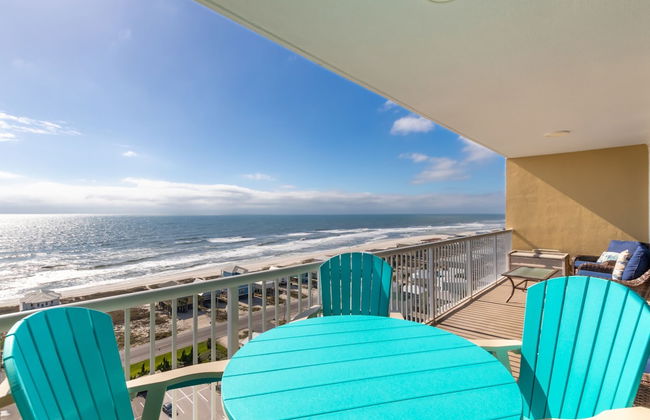
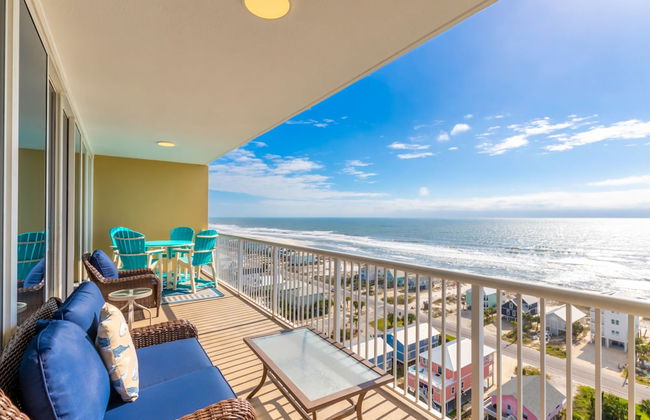
Crystal Shores by Southern Vacation Rentals
Gulf Shores - 3.7 km do centro
- 120 M2
- 2 quartos
- 6 pessoas
- Ar-condicionado
- Aquecimento
- Piscina
- Estacionamento
- Elevador
- Varanda
- Tv
- Máquina de lavar roupa
- Toalhas
- Lençóis
18 avaliações


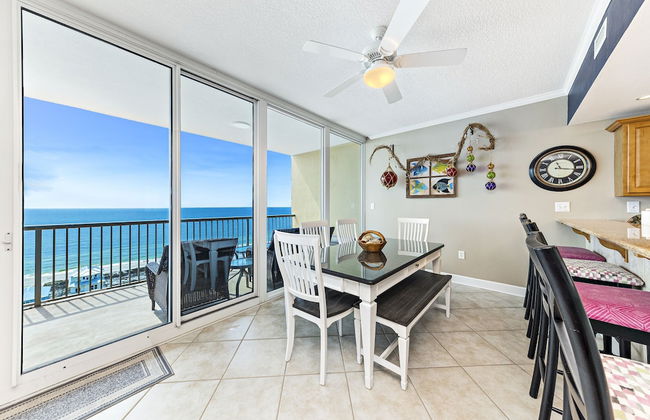
Crystal Tower Comfort Condos by Hosteeva
Gulf Shores - 4 km do centro
- 97 M2
- 2 quartos
- 9 pessoas
- Ar-condicionado
- Aquecimento
- Piscina
- Estacionamento
- Elevador
- Varanda
- Jardim
- Tv
- Máquina de lavar roupa
- Churrasco
- Toalhas
- Lençóis
43 avaliações


San Carlos Condos
Gulf Shores - 2.7 km do centro
- 139 M2
- 3 quartos
- 11 pessoas
- Ar-condicionado
- Aquecimento
- Piscina
- Estacionamento
- Elevador
- Varanda
- Jardim
- Tv
- Máquina de lavar roupa
- Churrasco
- Toalhas
- Lençóis
12 avaliações


San Carlos Condominiums by Wyndham Vacation Rentals
Gulf Shores - 2.7 km do centro
- 128 M2
- 6 pessoas
- Ar-condicionado
- Terraço
- Piscina
- Estacionamento
- Elevador
- Varanda
- Tv
- Máquina de lavar roupa
- Churrasco
- Toalhas
38 avaliações


Lighthouse by Wyndham Vacation Rentals
Gulf Shores - 2.6 km do centro
- 139 M2
- 8 pessoas
- Ar-condicionado
- Aquecimento
- Piscina
- Elevador
- Varanda
- Tv
- Máquina de lavar roupa
- Churrasco
- Toalhas
19 avaliações


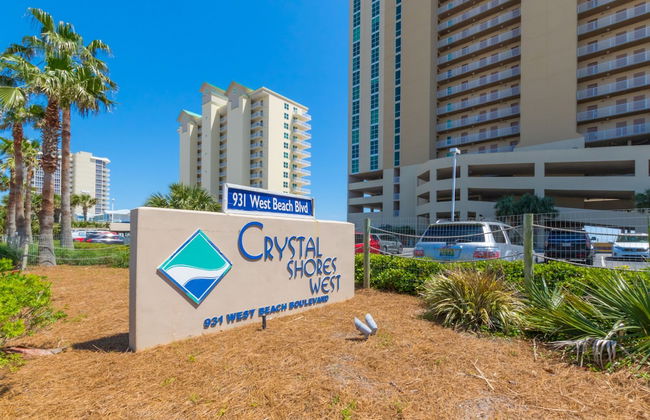


Crystal Shores West Condos by Hosteeva
Gulf Shores - 3.7 km do centro
- 101 M2
- 2 quartos
- 7 pessoas
- Ar-condicionado
- Aquecimento
- Piscina
- Estacionamento
- Elevador
- Varanda
- Tv
- Máquina de lavar roupa
- Churrasco
- Toalhas
- Lençóis
30 avaliações


Lighthouse Condos by Hosteeva
Gulf Shores - 2.7 km do centro
- 108 M2
- 3 quartos
- 8 pessoas
- Ar-condicionado
- Aquecimento
- Piscina
- Estacionamento
- Elevador
- Varanda
- Jardim
- Tv
- Máquina de lavar roupa
- Churrasco
- Toalhas
- Lençóis
18 avaliações


The Dunes 502
Gulf Shores - 30.1 km do centro
- 68 M2
- 6 pessoas
- Ar-condicionado
- Piscina
- Estacionamento
- Elevador
- Varanda
- Jardim
- Tv
- Máquina de lavar roupa
8 avaliações


Sea Glass by Southern Vacation Rentals
Gulf Shores - 3.6 km do centro
- 120 M2
- 7 pessoas
- Ar-condicionado
- Aquecimento
- Elevador
- Varanda
- Tv
- Máquina de lavar roupa
- Toalhas
18 avaliações


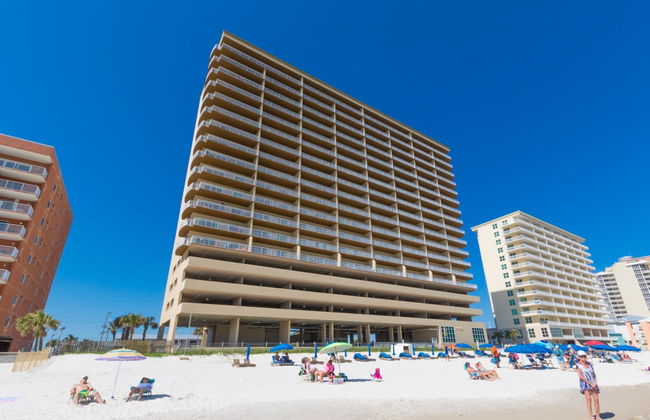
Crystal Shores West by Southern Vacation Rentals
Gulf Shores - 3.7 km do centro
- 185 M2
- 4 quartos
- 10 pessoas
- Ar-condicionado
- Aquecimento
- Piscina
- Estacionamento
- Elevador
- Varanda
- Tv
- Máquina de lavar roupa
- Churrasco
- Toalhas
- Lençóis
16 avaliações


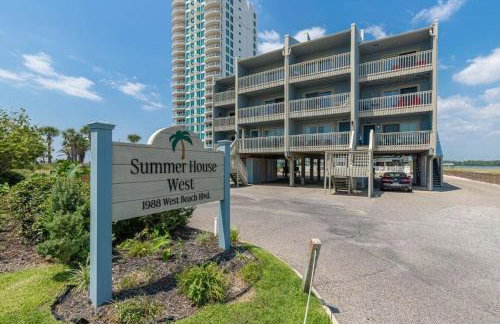


Summer House West Condos
Gulf Shores - 7.2 km do centro
- 74 M2
- 1 quarto
- 8 pessoas
- Ar-condicionado
- Aquecimento
- Piscina
- Estacionamento
- Varanda
- Jardim
- Tv
- Máquina de lavar roupa
- Churrasco
- Toalhas
- Lençóis
6 avaliações


Sanibel Condominiums by Wyndham Vacation Rentals
Gulf Shores - 5.6 km do centro
- 111 M2
- 6 pessoas
- Ar-condicionado
- Aquecimento
- Piscina
- Estacionamento
- Elevador
- Varanda
- Tv
- Máquina de lavar roupa
- Churrasco
- Toalhas
80 avaliações


My Beach Retreat by Nick
Gulf Shores - 19.9 km do centro
- 785 M2
- 2 quartos
- 6 pessoas
- Ar-condicionado
- Aquecimento
- Terraço
- Piscina
- Estacionamento
- Elevador
- Jardim
- Churrasco
24 avaliações


The Beach Goat
Gulf Shores - 23.1 km do centro
- 120 M2
- 3 quartos
- 10 pessoas
- Ar-condicionado
- Aquecimento
- Piscina
- Estacionamento
- Jardim
13 avaliações


Tropic Isle #403 by Southern Vacation Rentals
Gulf Shores - 3.2 km do centro
- 93 M2
- 1 quarto
- 6 pessoas
- Ar-condicionado
- Aquecimento
- Piscina
- Estacionamento
- Tv
- Máquina de lavar roupa
- Churrasco
- Toalhas
7 avaliações


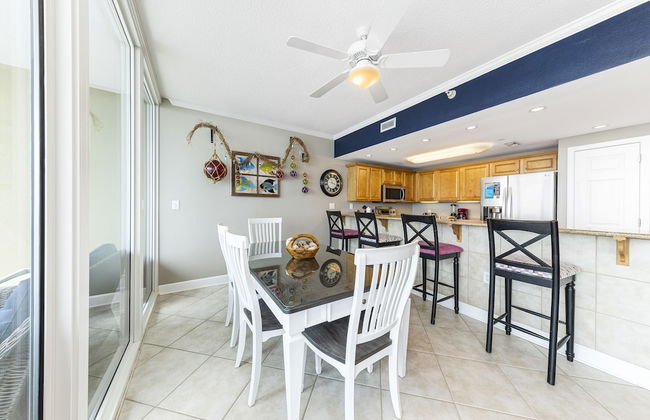
Crystal Tower Condominiums by Wyndham Vacation Rentals
Gulf Shores - 4 km do centro
- 97 M2
- 6 pessoas
- Ar-condicionado
- Piscina
- Estacionamento
- Elevador
- Varanda
- Tv
- Máquina de lavar roupa
- Churrasco
- Toalhas
73 avaliações


Gulf Shores Surf & Racquet Club
Gulf Shores - Pine Beach - 6.6 km do centro
- 54 M2
- 1 quarto
- 6 pessoas
- Ar-condicionado
- Aquecimento
- Piscina
- Estacionamento
- Elevador
- Varanda
- Jardim
- Tv
- Máquina de lavar roupa
- Churrasco
- Toalhas
- Lençóis
10 avaliações


One Club Gulf Shores
Gulf Shores - 3.3 km do centro
- 111 M2
- 7 pessoas
- Ar-condicionado
- Aquecimento
- Piscina
- Estacionamento
- Tv
- Máquina de lavar roupa
- Toalhas
- Lençóis
120 avaliações