
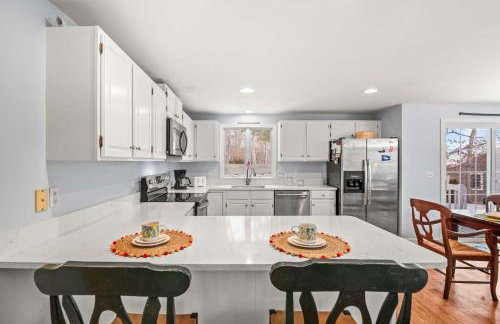
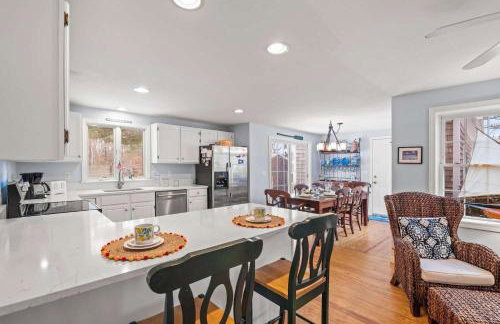
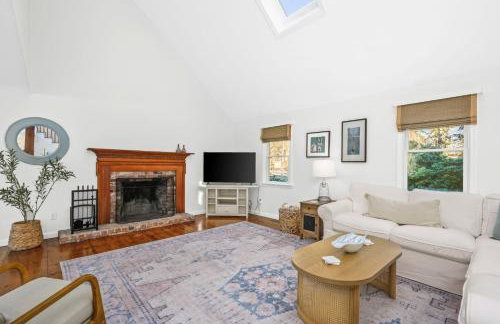
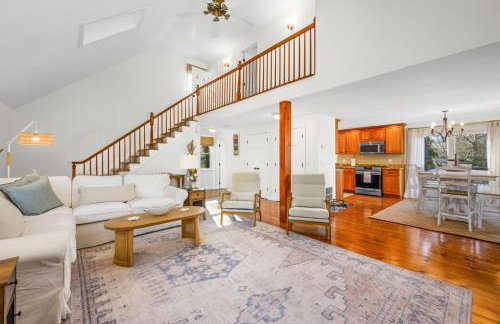
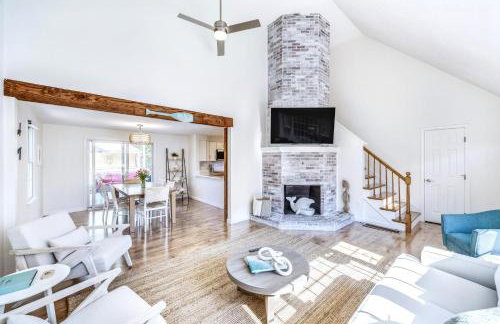
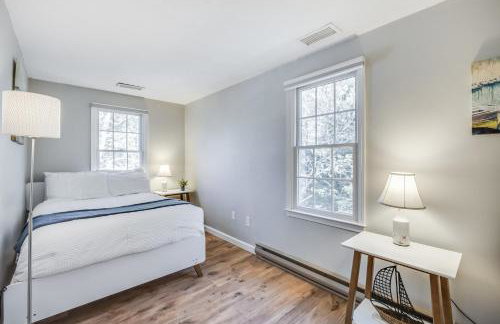
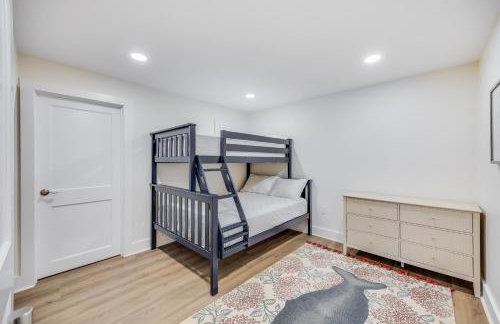
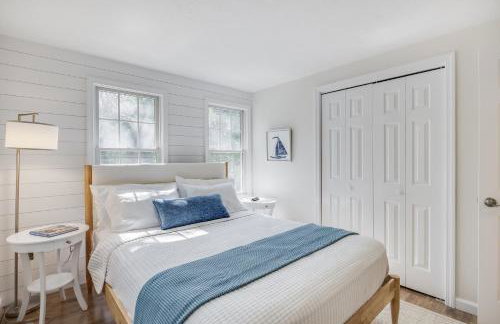
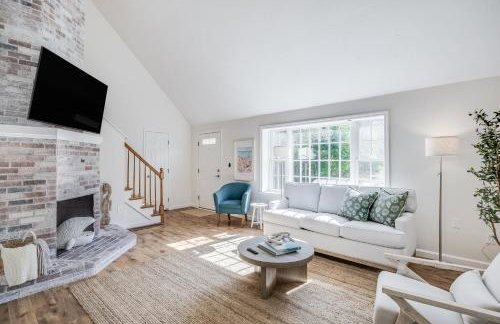
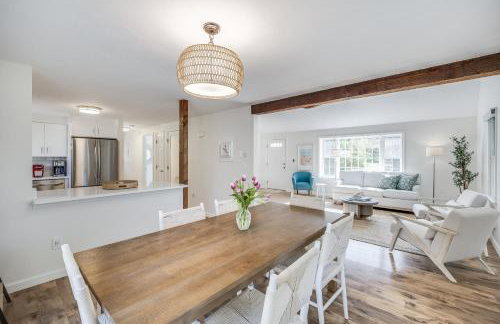
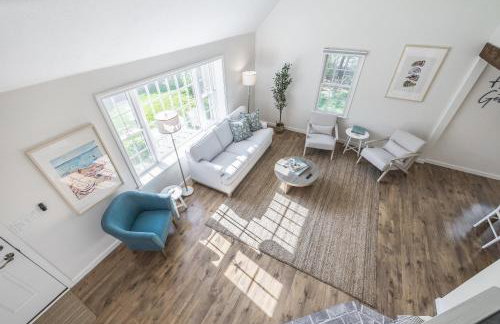
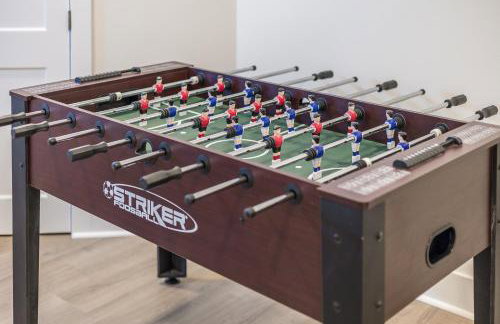
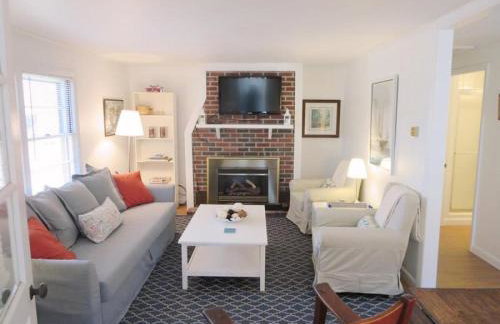
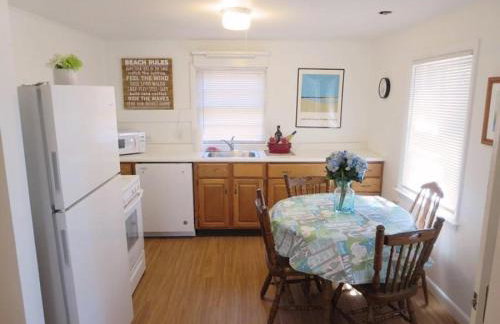
8 Apartamentos em Harwich Center


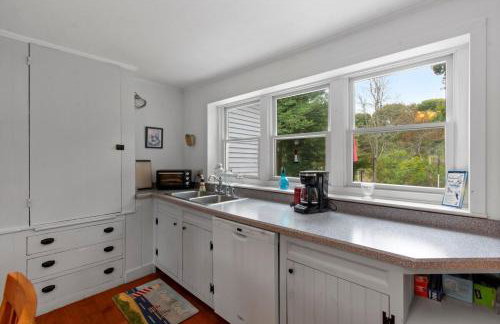
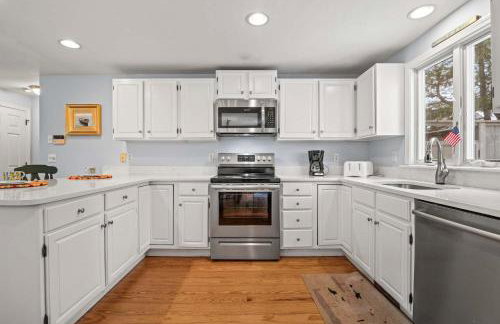
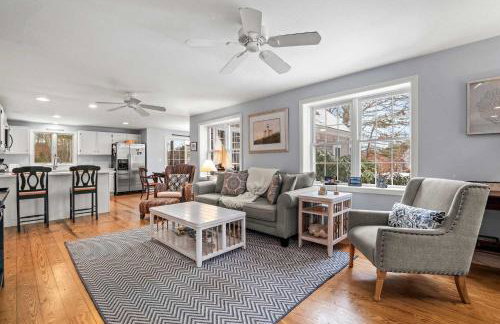
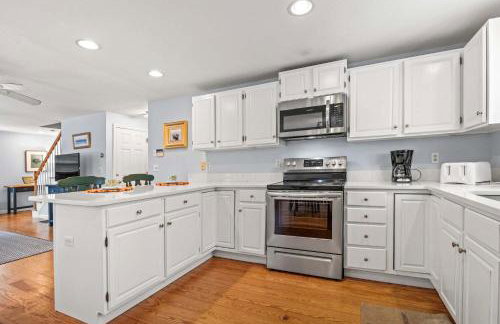
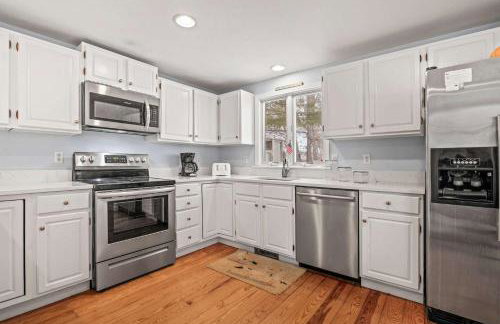
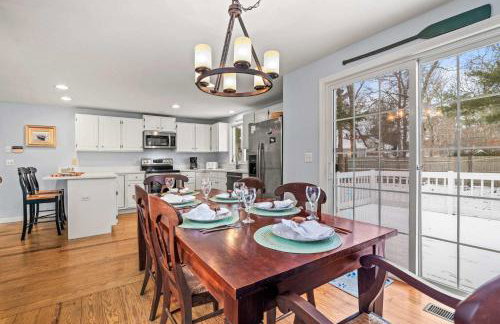
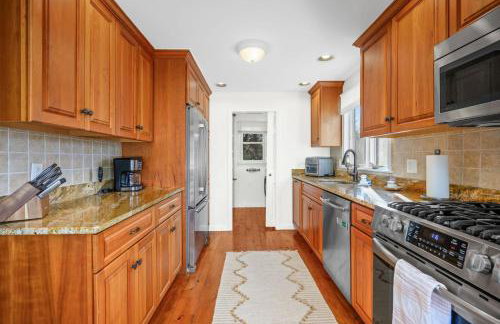
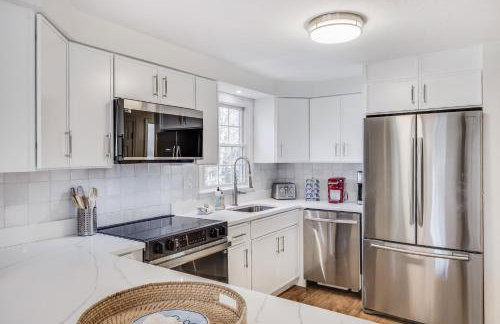
Renovated kitchen less than 2 miles to Beach!
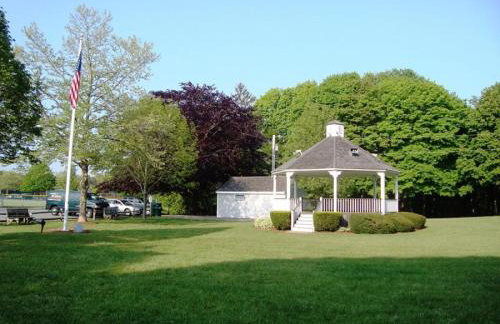
Harwich - Harwich Center - No centro
- 4 quartos
- 8 pessoas
- Ar-condicionado
- Estacionamento
- Jardim
2 avaliações


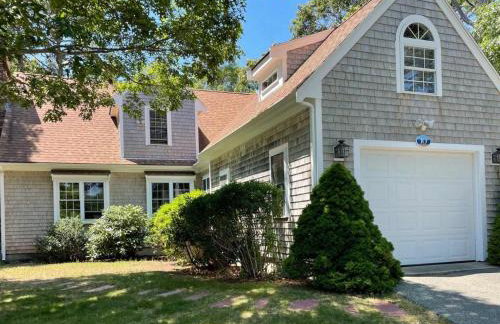
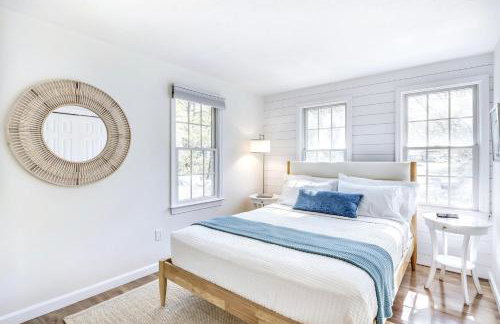
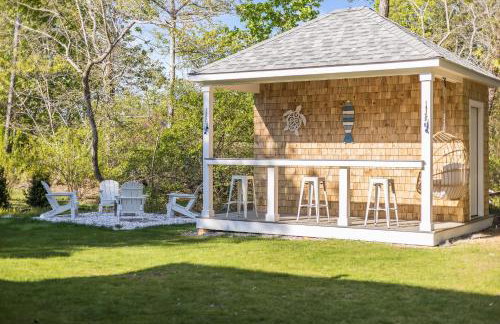
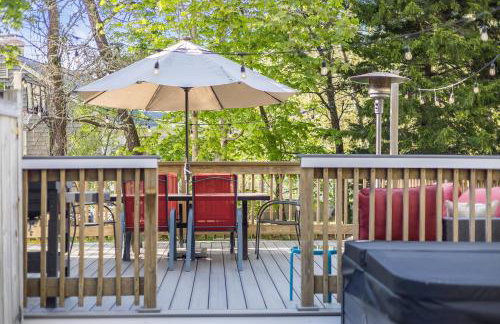
Heated Pool Outdoor Kitchen Luxury Living
Harwich - Harwich Center - No centro
- 297 M2
- 5 quartos
- 10 pessoas
- Ar-condicionado
- Aquecimento
- Piscina
- Estacionamento
- Jardim


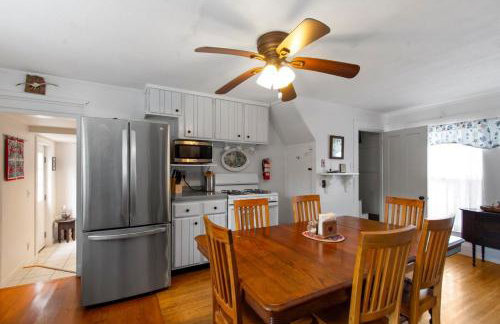
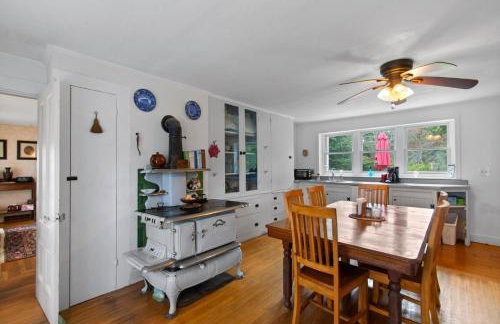


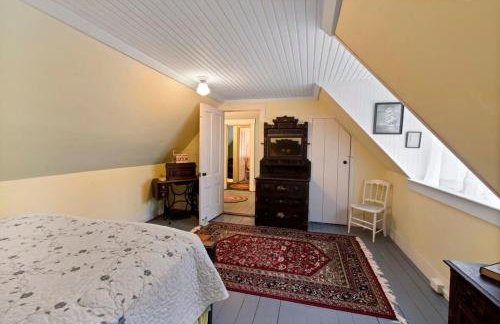
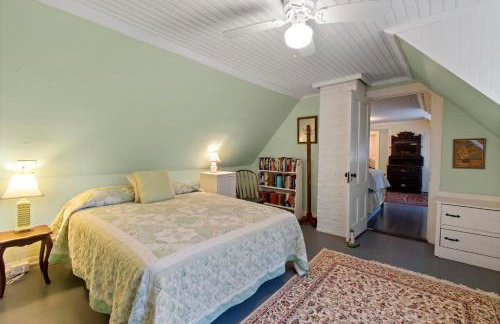
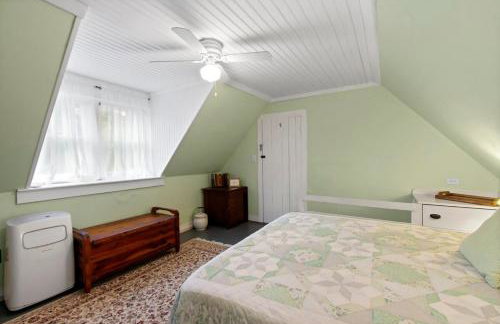
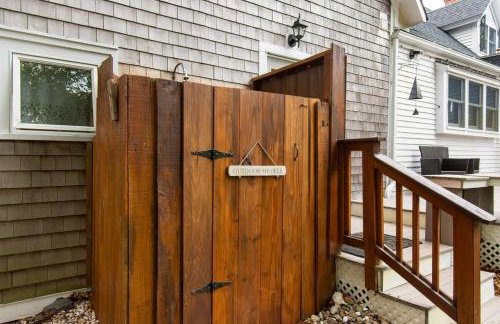
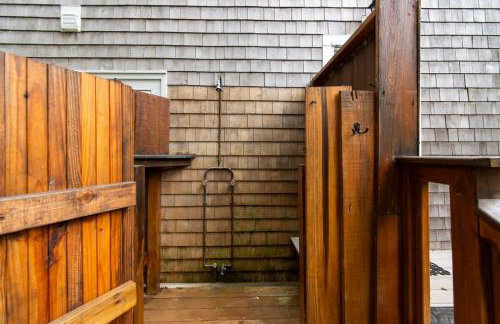
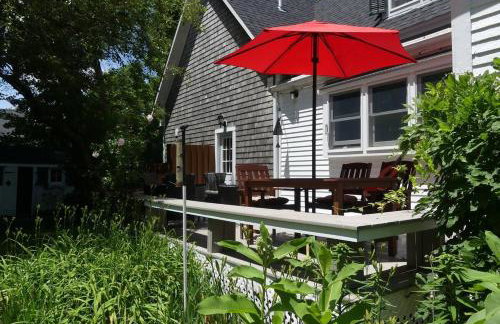
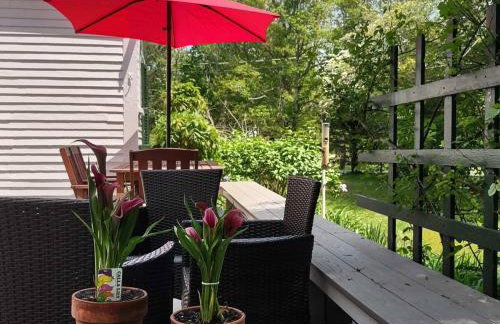
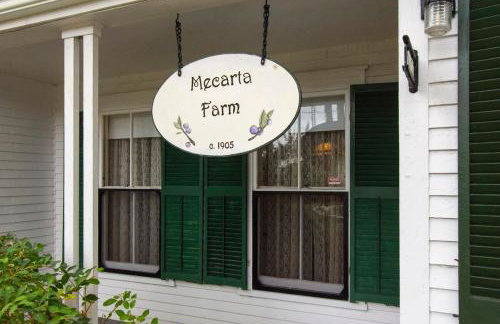
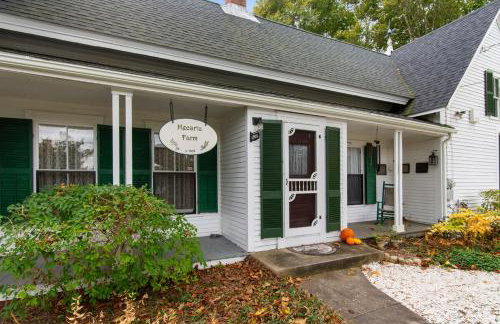
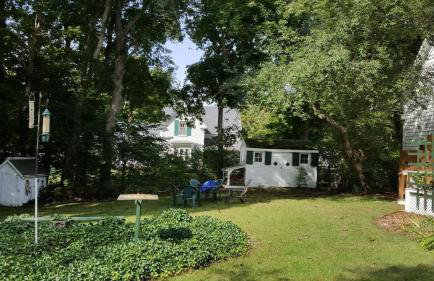
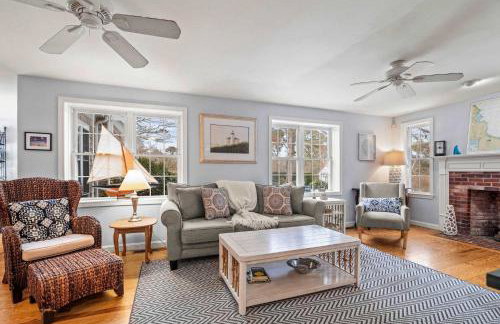
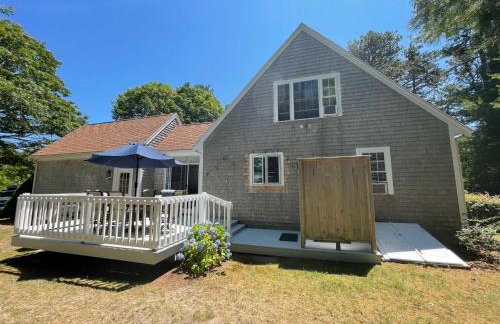
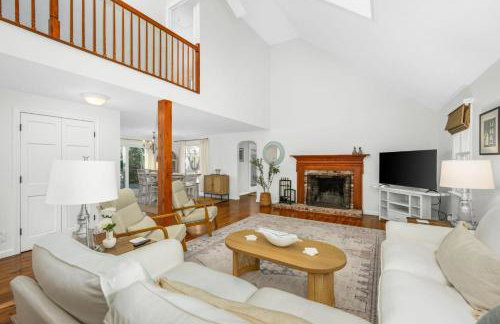
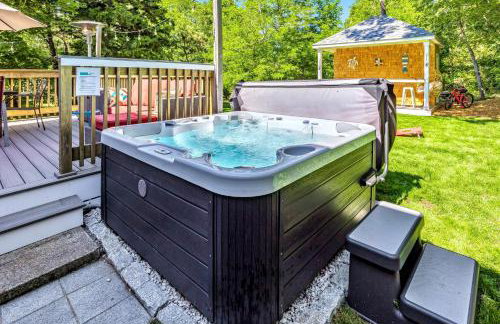
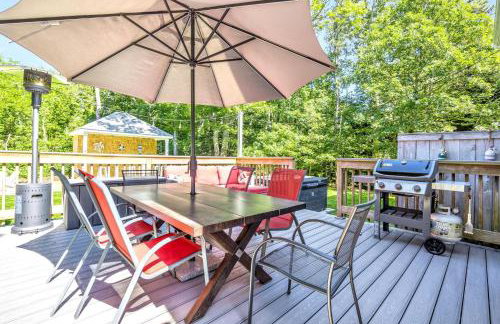
Cape Cod Historical Oasis - Mecarta Farm
Harwich - Harwich Center - No centro
- 180 M2
- 5 quartos
- 9 pessoas
- Ar-condicionado
- Aquecimento
- Estacionamento
- Jardim
- Churrasco


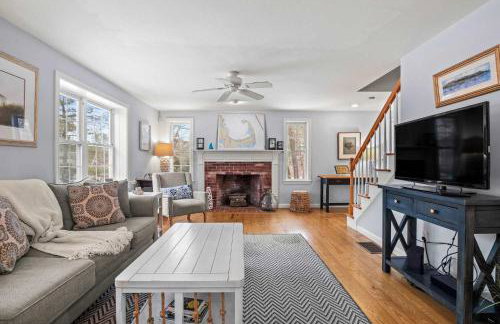
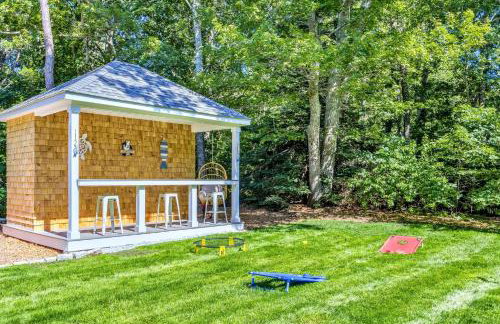
Next to Bike Trail Outdoor Adventure Awaits
Harwich - Harwich Center - 780 m do centro
- 179 M2
- 4 quartos
- 8 pessoas
- Ar-condicionado
- Aquecimento
- Estacionamento
- Jardim


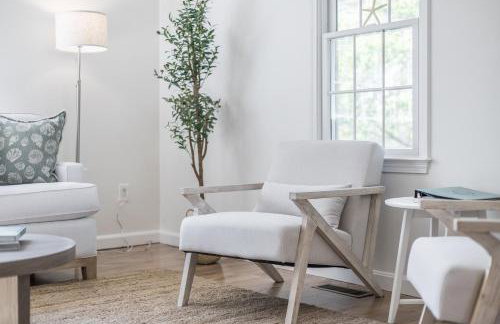
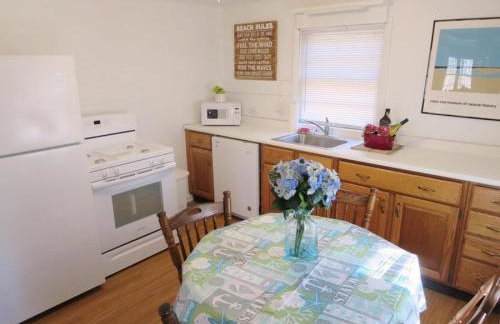
Cozy Bungalow Close to Downtown
Harwich - Harwich Center - 1.5 km do centro
- 139 M2
- 3 quartos
- 6 pessoas
- Ar-condicionado
- Aquecimento
- Estacionamento
- Jardim


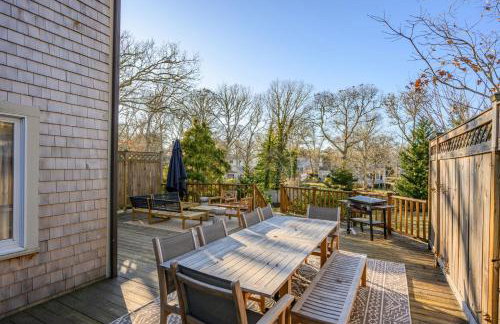
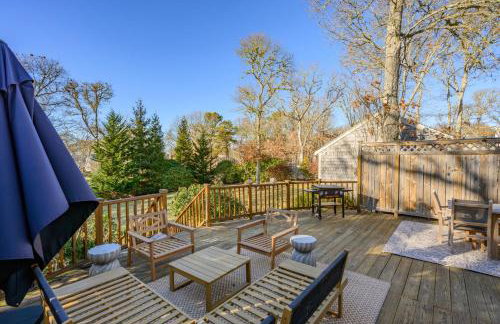

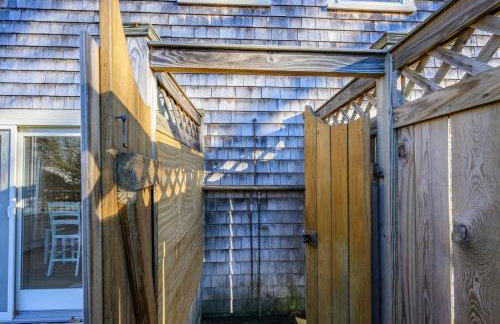


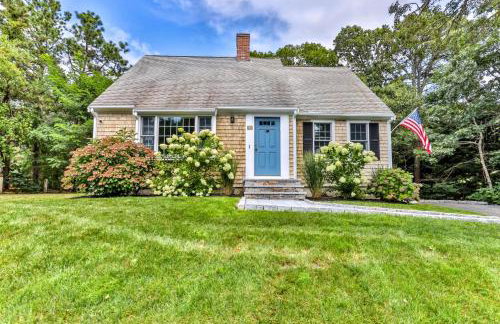
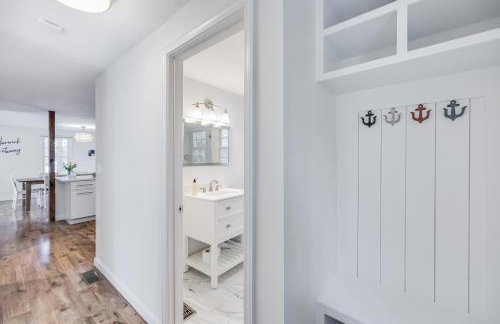
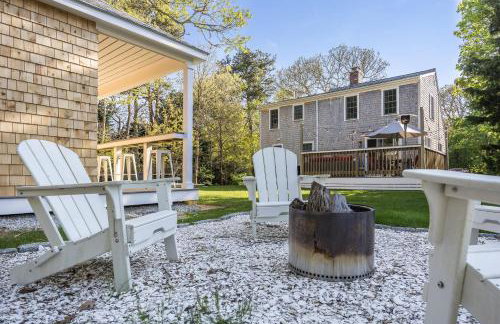
Cozy Cape Retreat with Fenced Yard Fire Pit
Harwich - Harwich Center - 810 m do centro
- 242 M2
- 3 quartos
- 6 pessoas
- Ar-condicionado
- Aquecimento
- Estacionamento

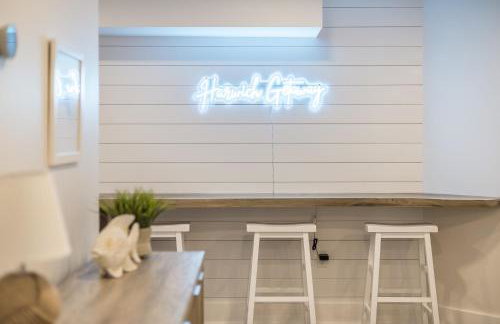
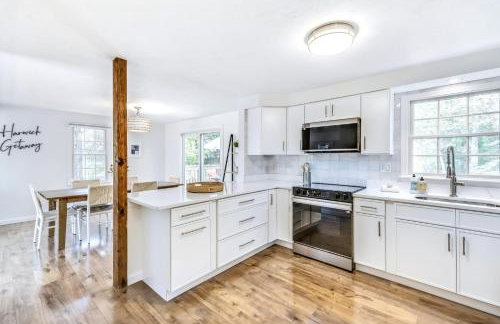
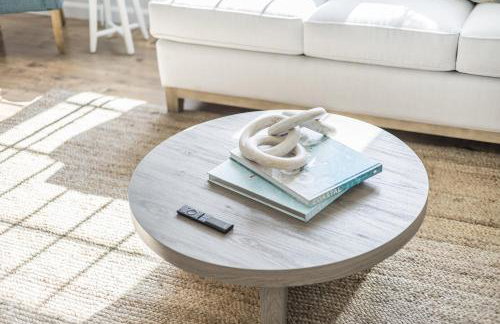
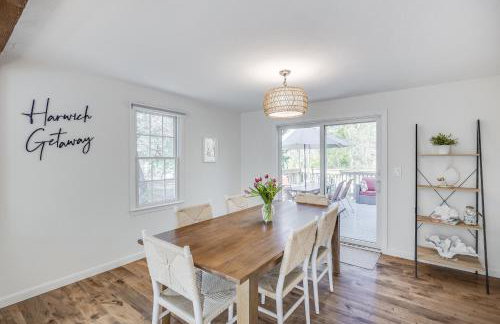
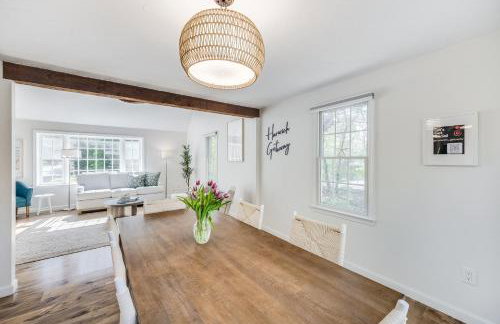
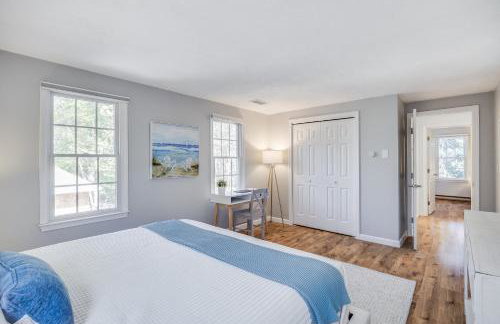
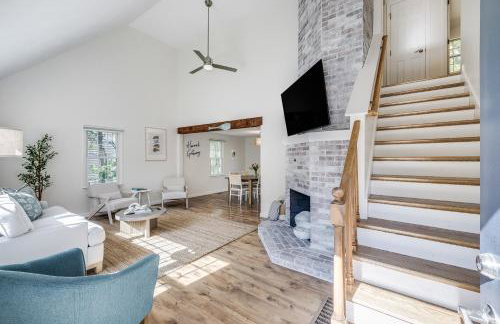

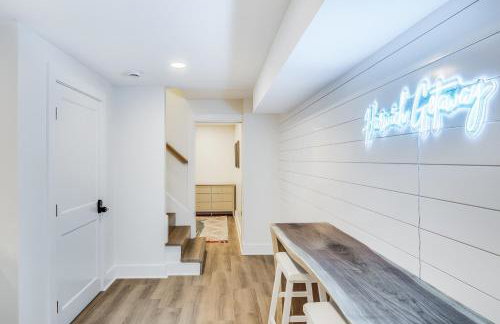
Harwich Getaway
Harwich - Harwich Center - 720 m do centro
- 186 M2
- 15 pessoas
- Ar-condicionado
- Estacionamento
- Churrasco


41 Whip O Will Lane Harwich Cape Cod - Whip-o-Will Woods
Harwich - Harwich Center - 670 m do centro
- 72 M2
- 6 pessoas
- Aquecimento