
32 Apartamentos em Haywards Heath
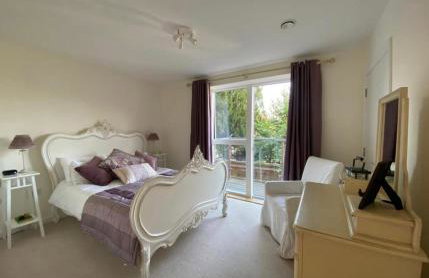
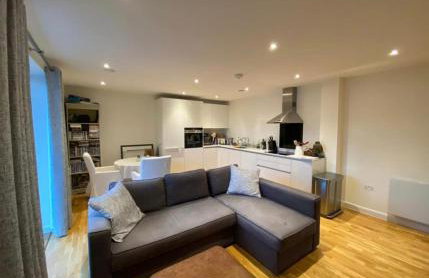
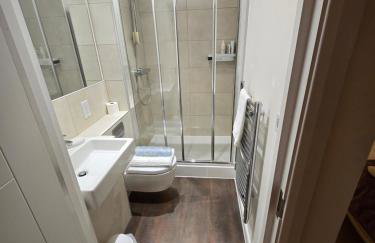
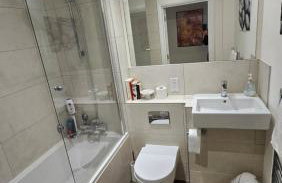
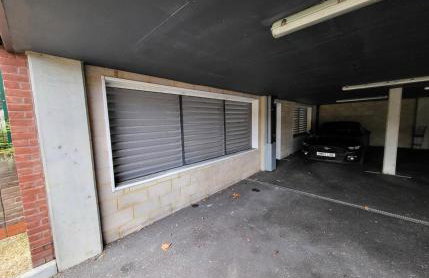
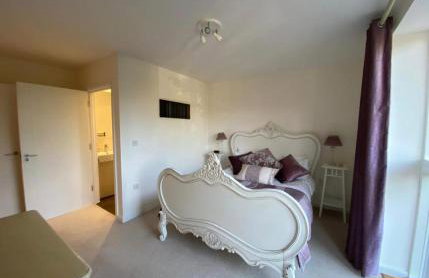
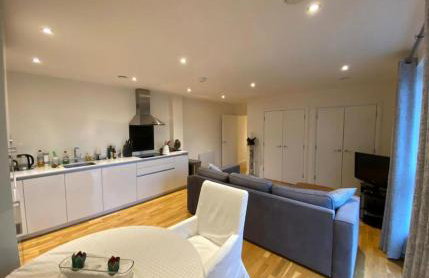
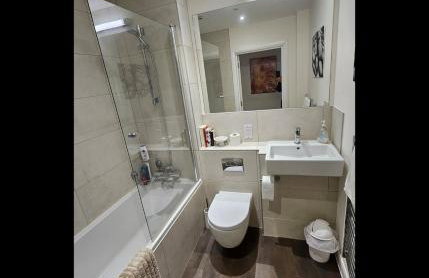


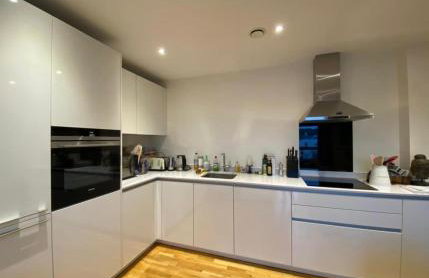
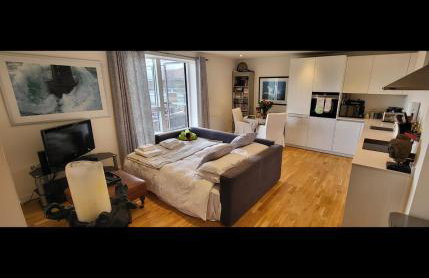
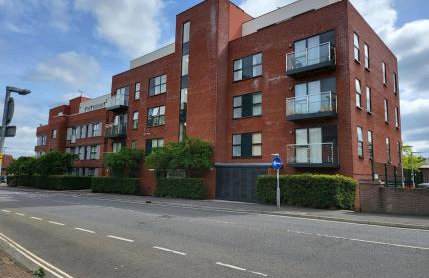
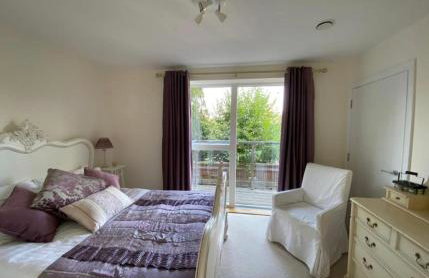
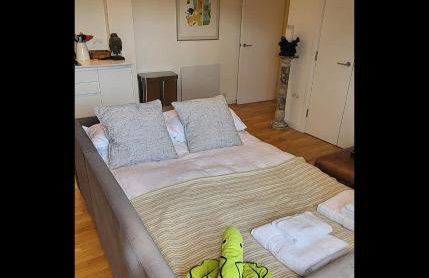
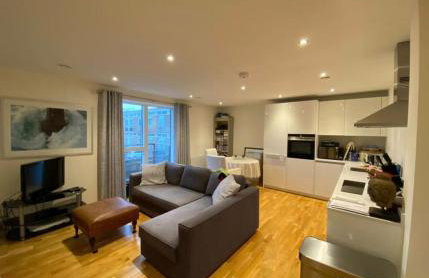
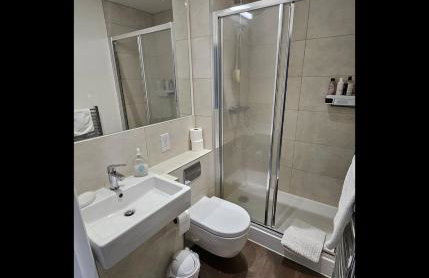
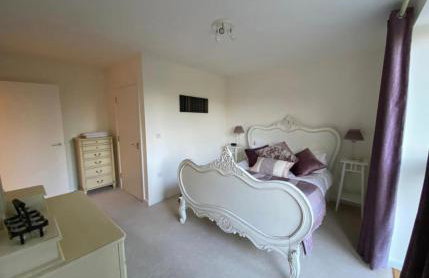
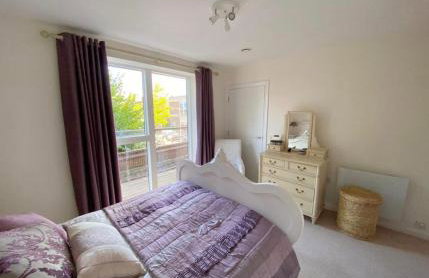

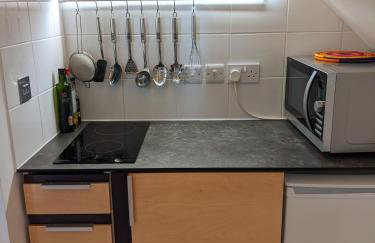
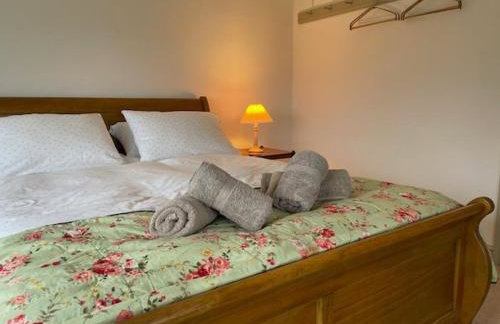
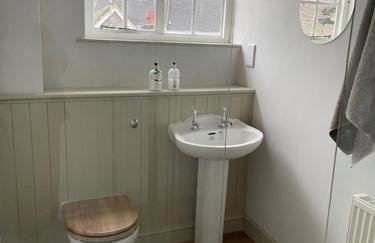
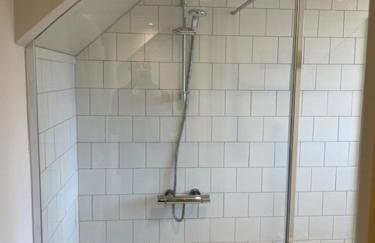
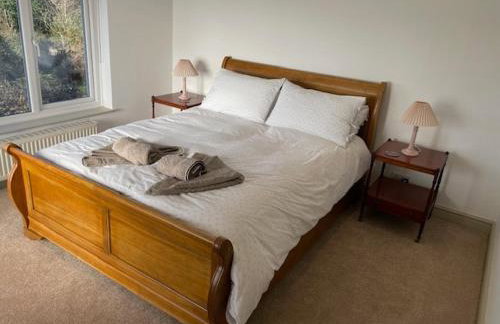
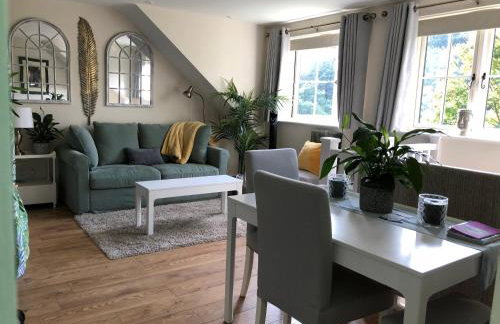
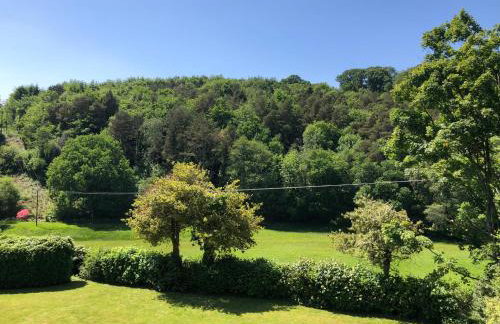
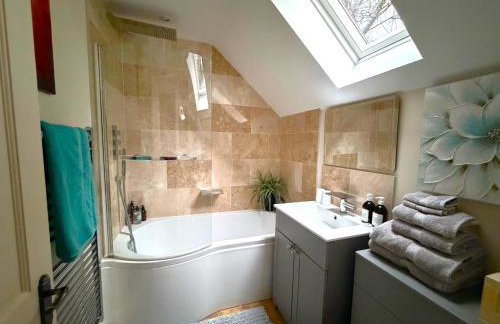
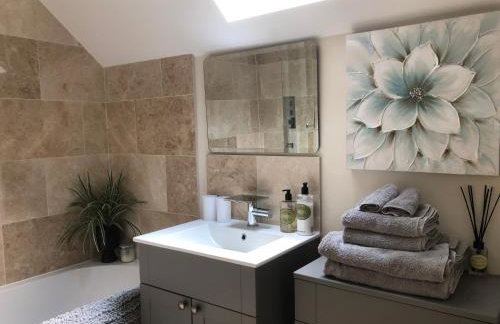
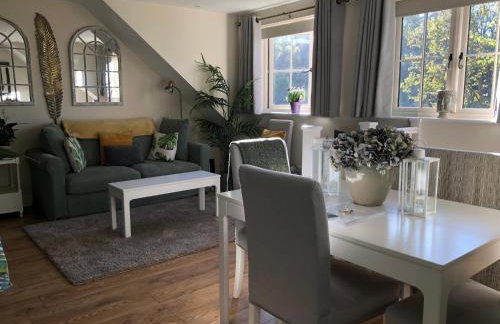
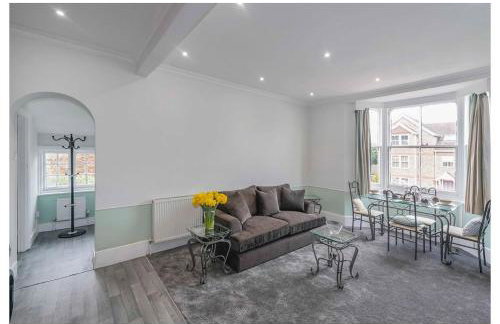
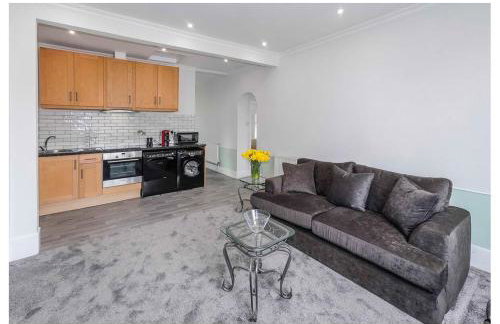
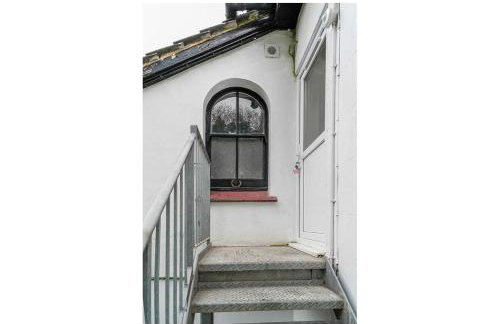
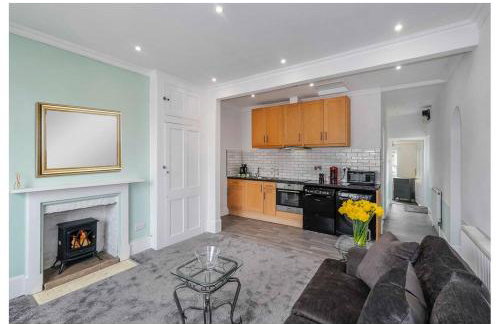
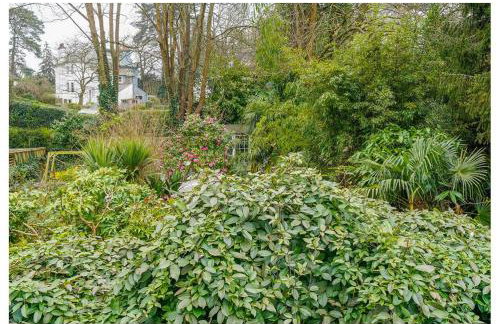
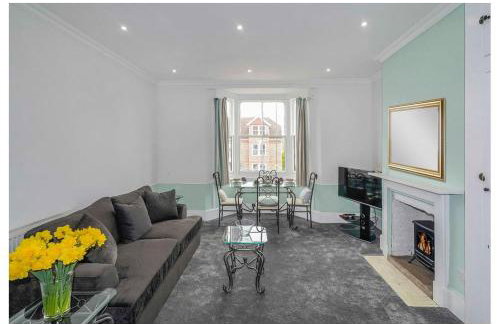
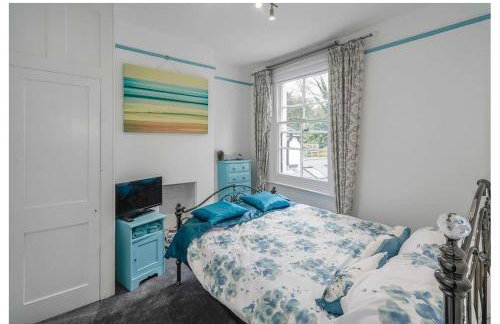
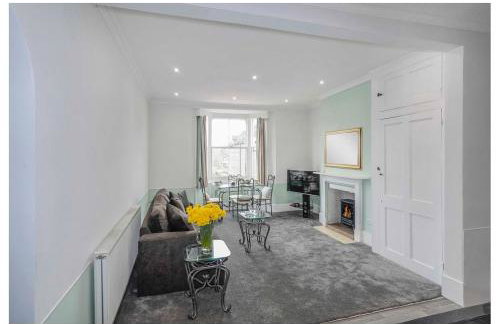
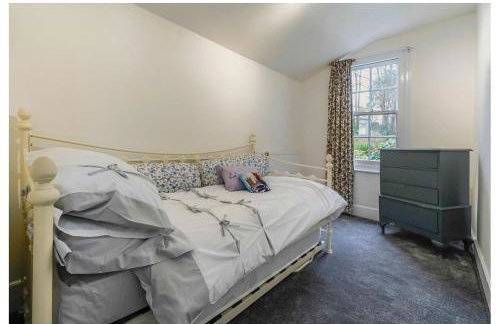
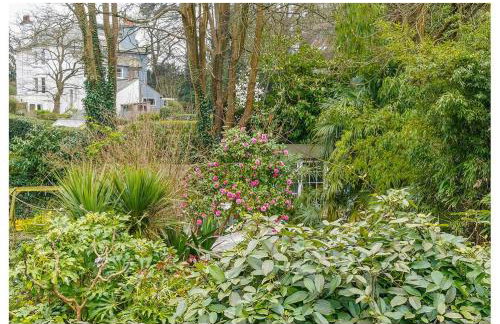
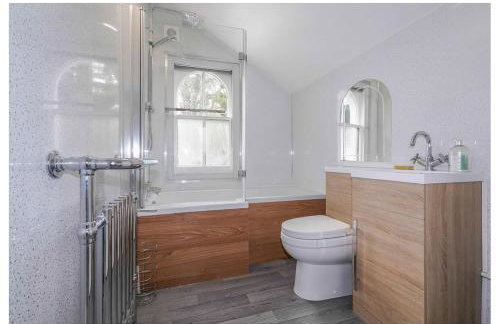
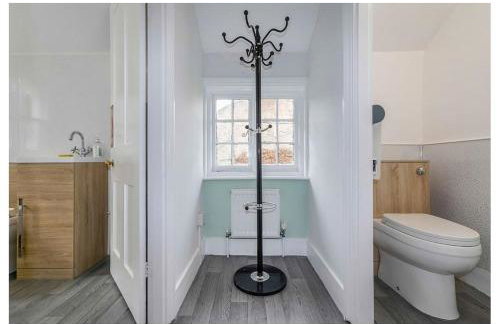
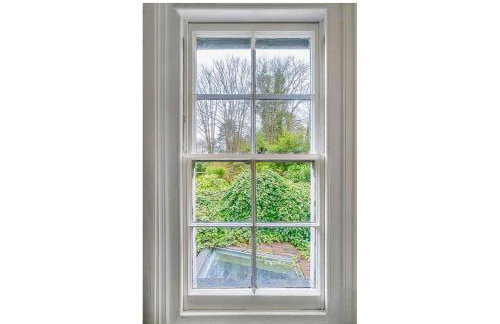
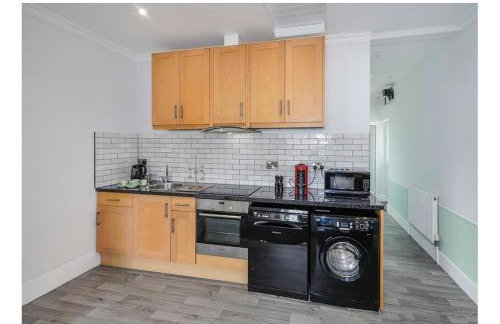
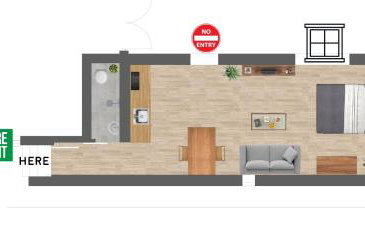
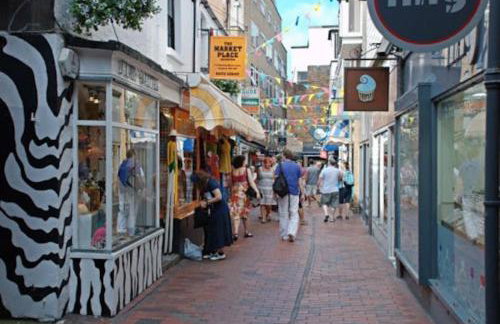
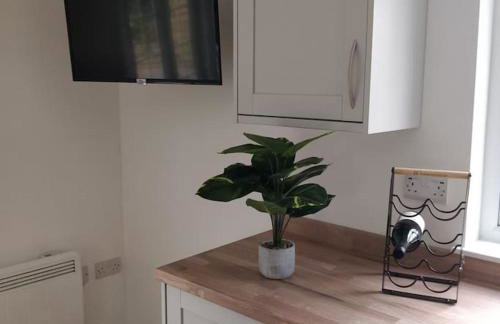
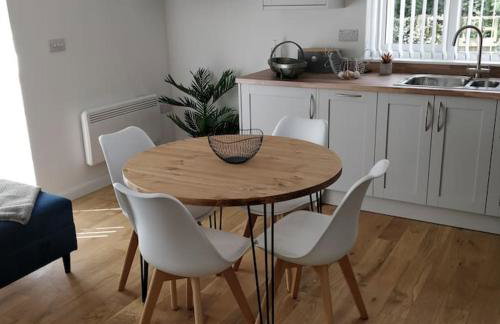
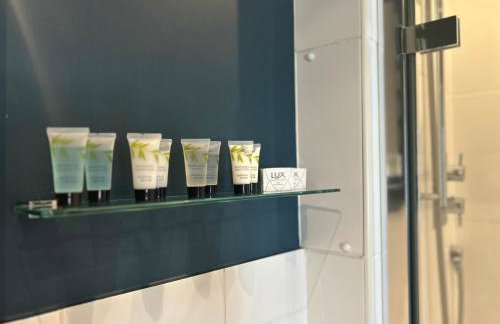
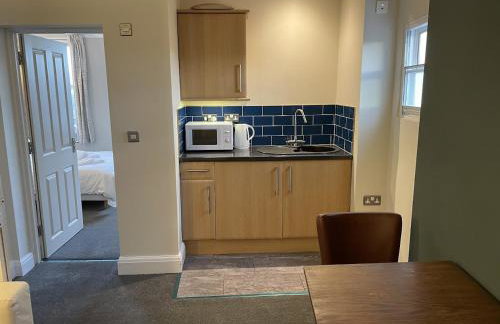
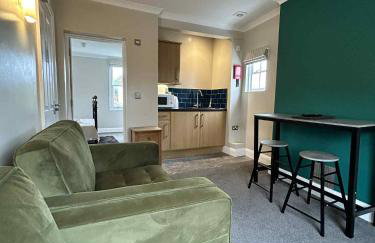
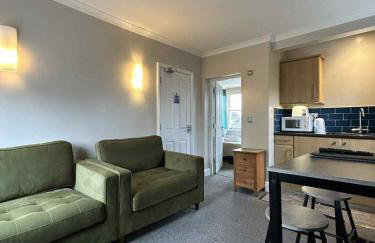
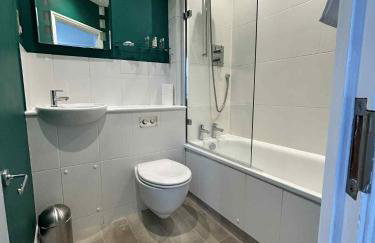
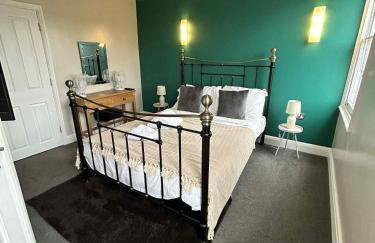
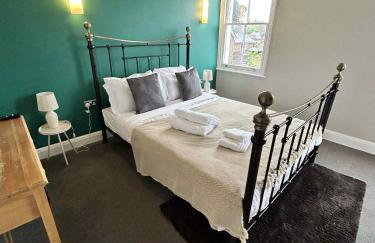
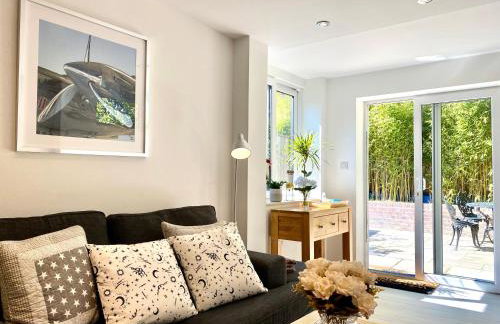
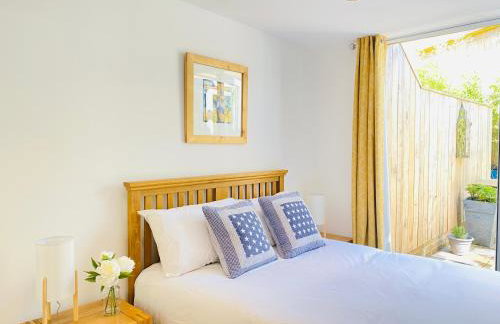
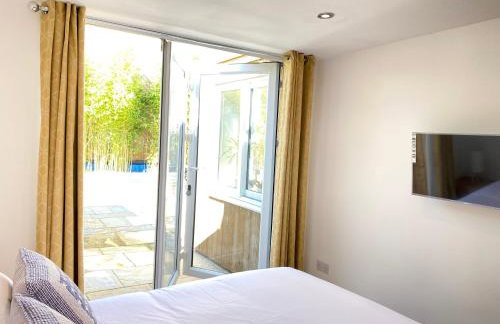
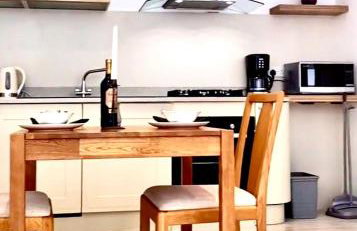
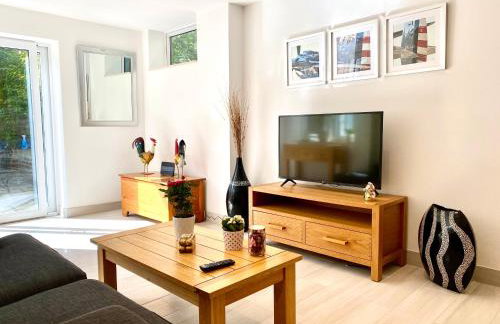
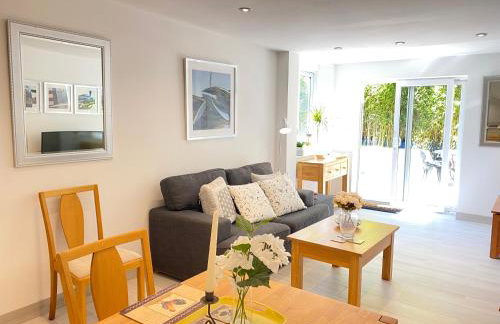
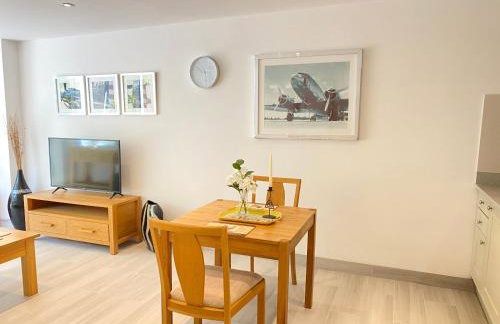
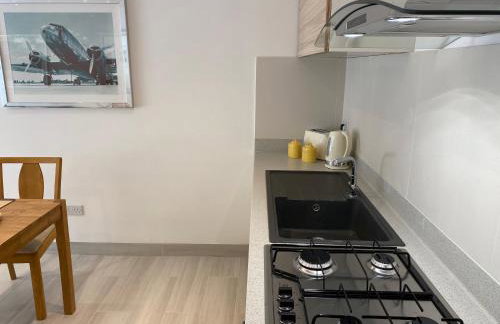
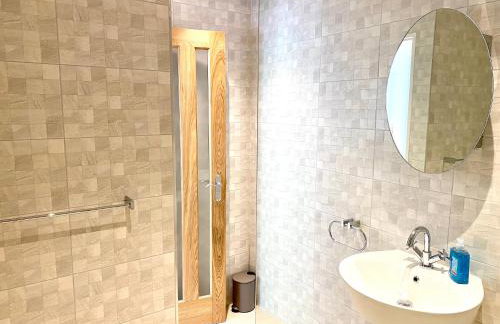
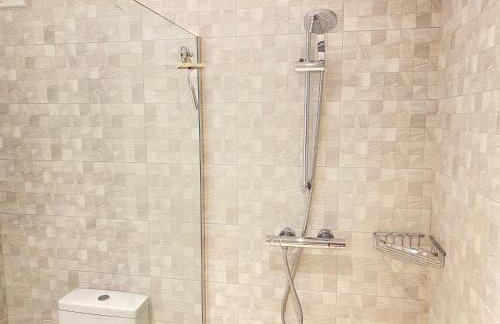
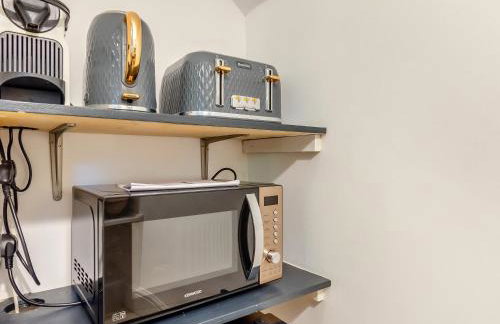
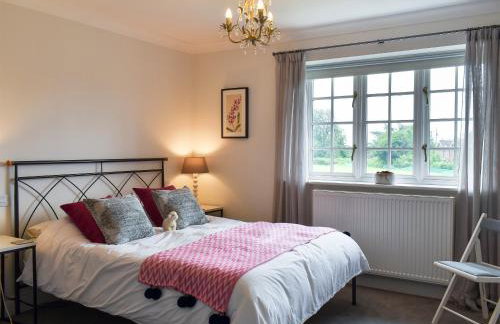
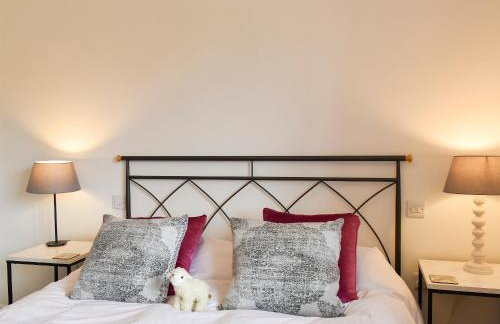
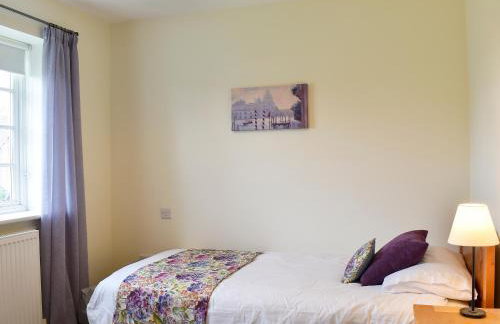
Luxury Two Bed Apartment w Car Parking, by Station
Haywards Heath - Haywards Heath - 130 m de Haywards Heath Railway Station (geolocation.placetype.train_station)
- 20 M2
- 2 quartos
- 6 pessoas
- Aquecimento
- Estacionamento
- Elevador
- Jardim
7 avaliações
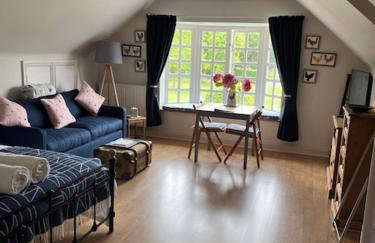
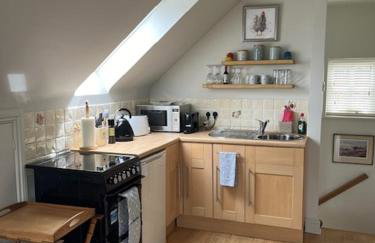
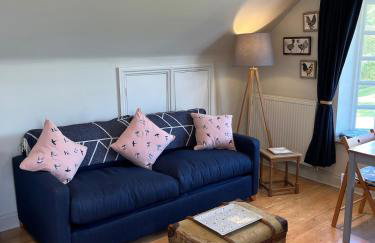
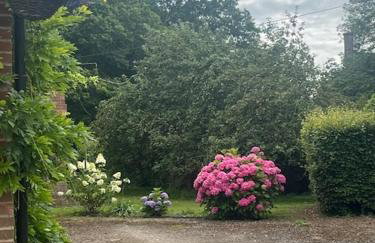
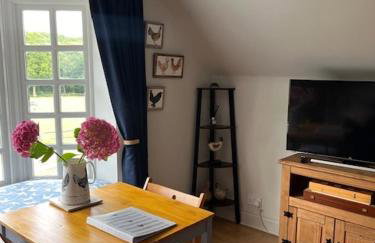


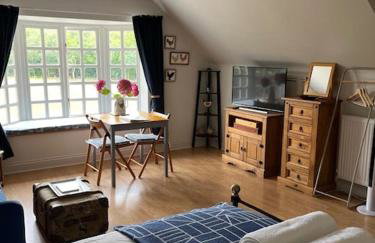
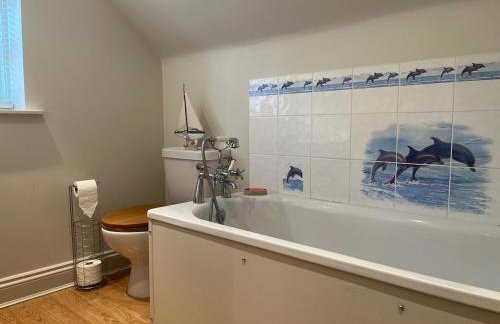
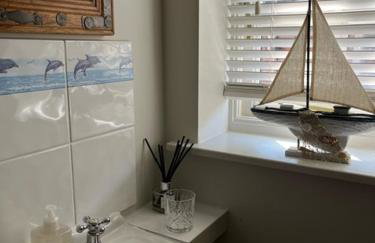
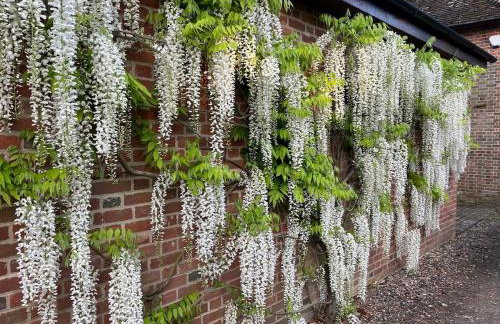

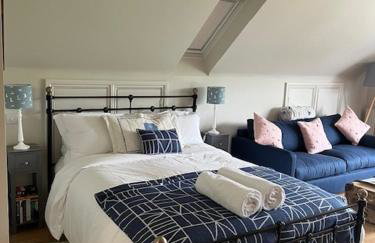
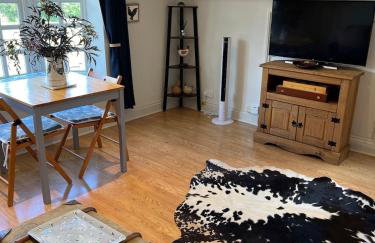
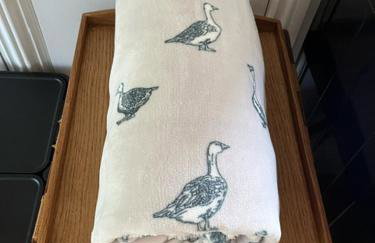

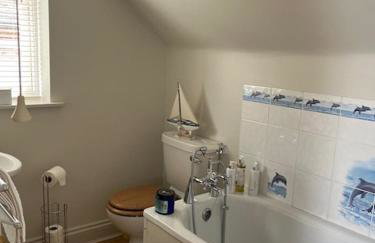
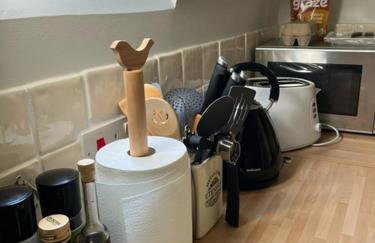
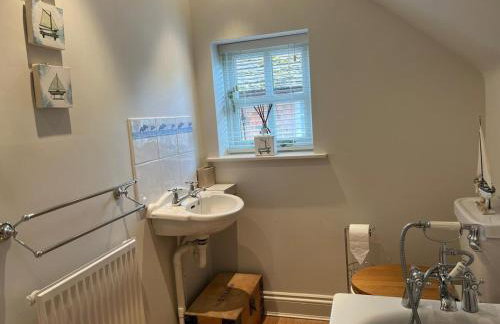
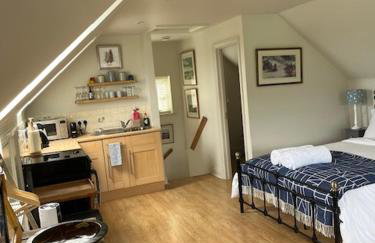
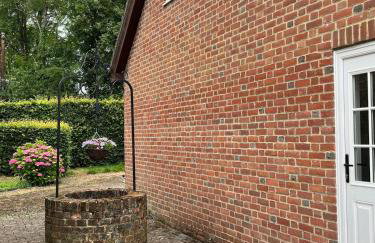


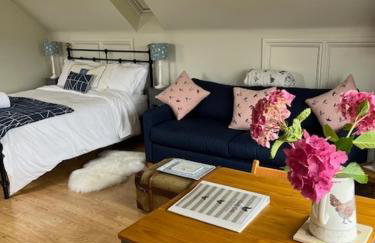
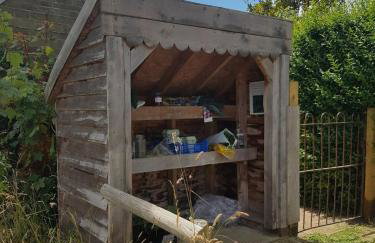
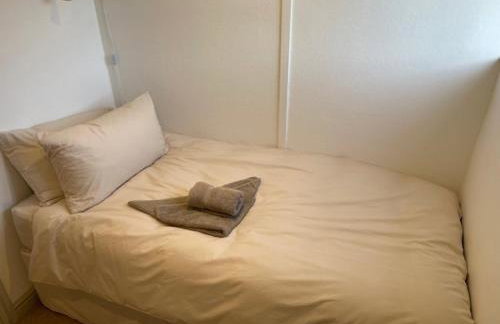
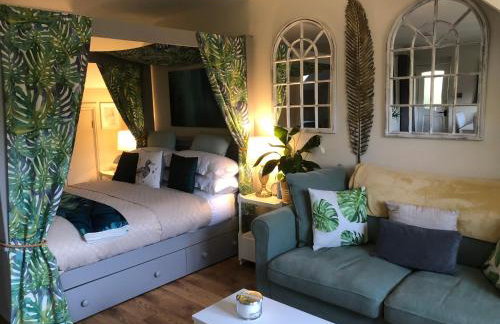
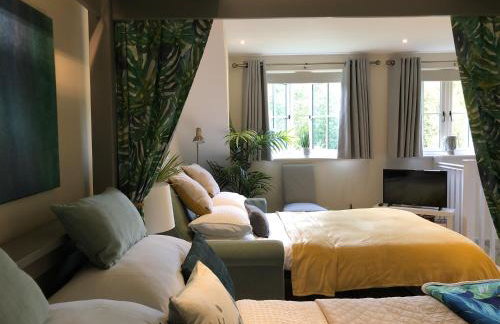
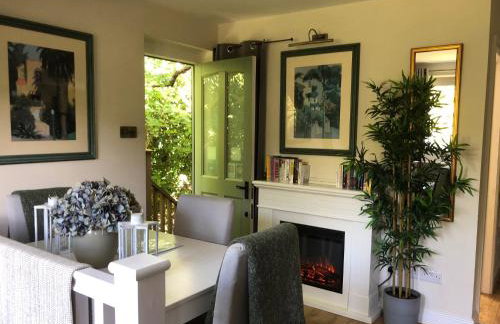
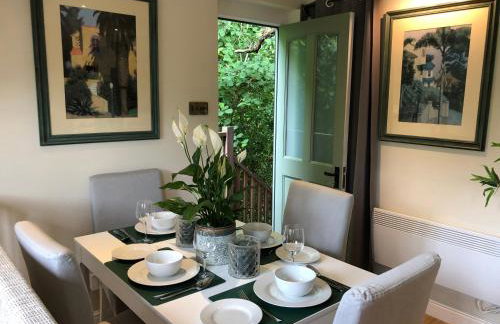
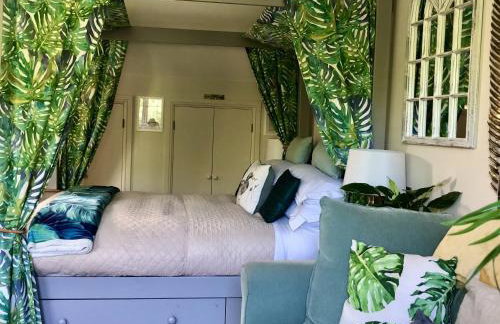
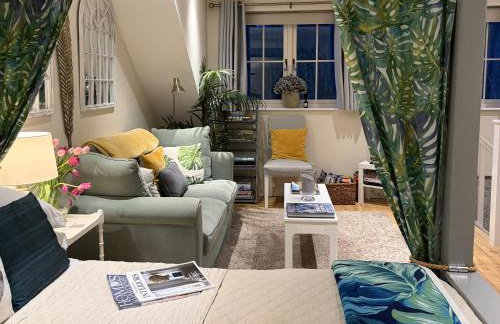
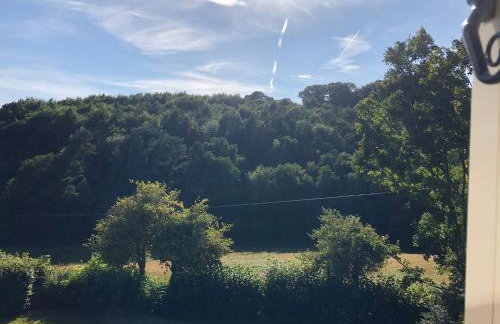
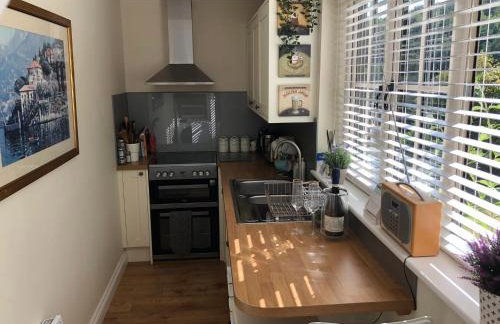
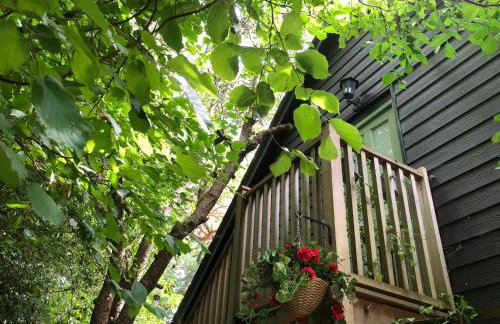
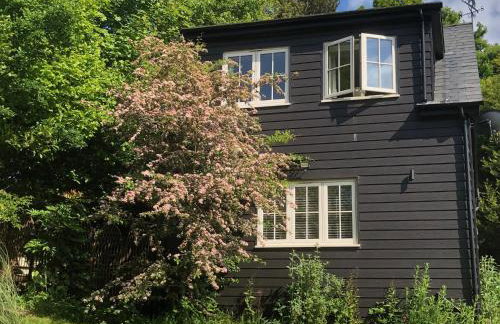
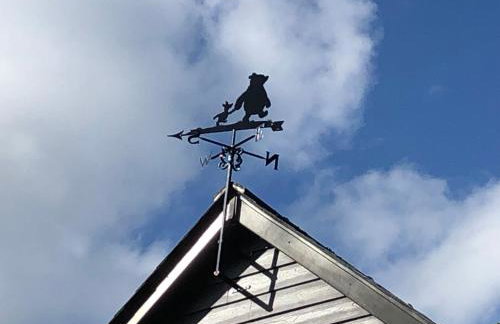
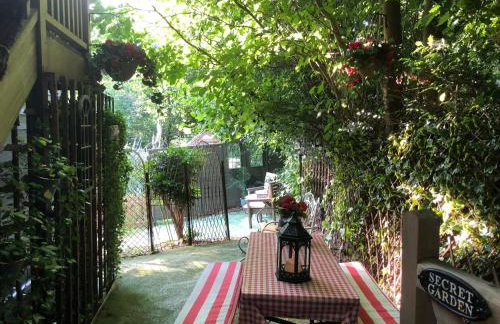
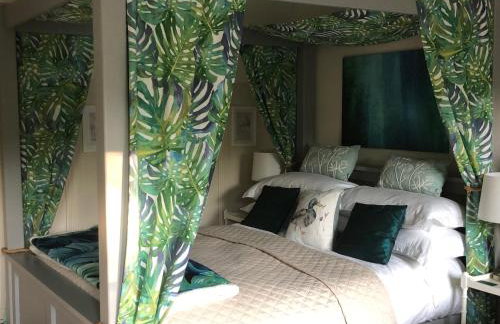
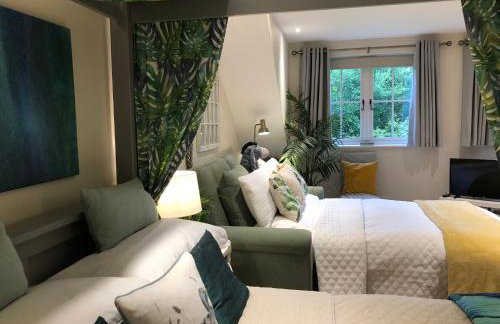
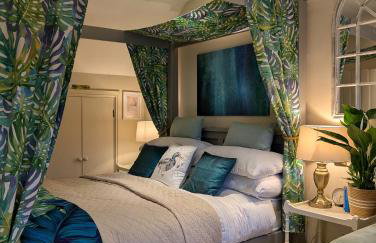
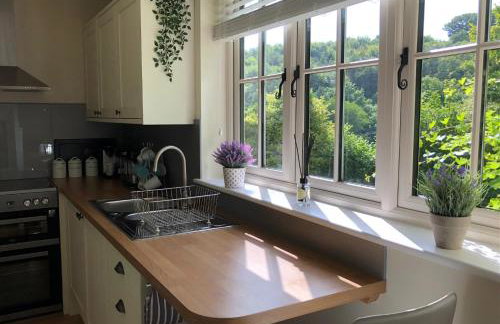
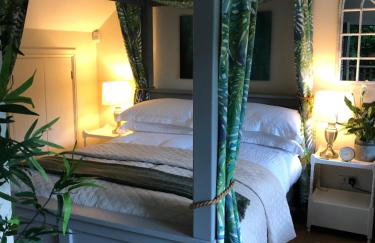
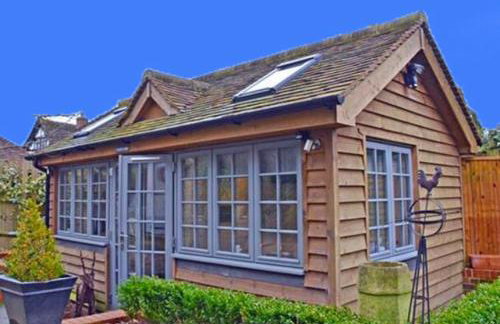
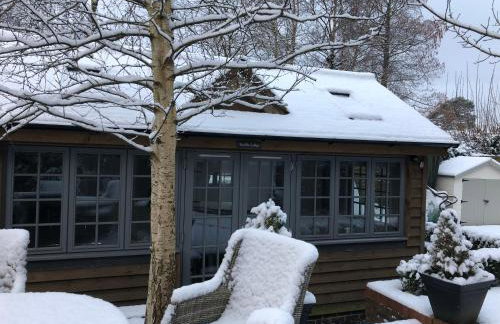
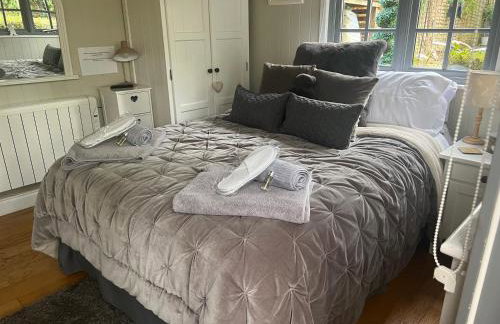
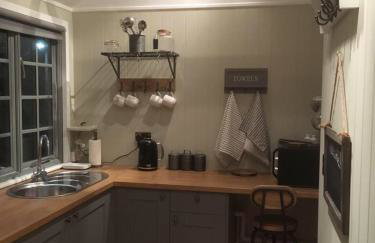
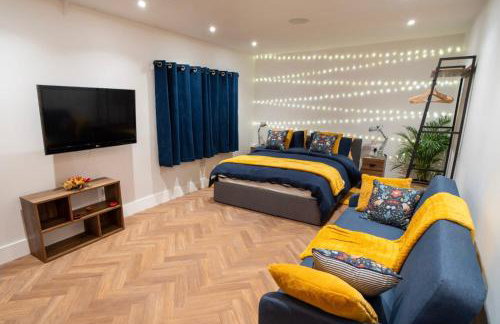
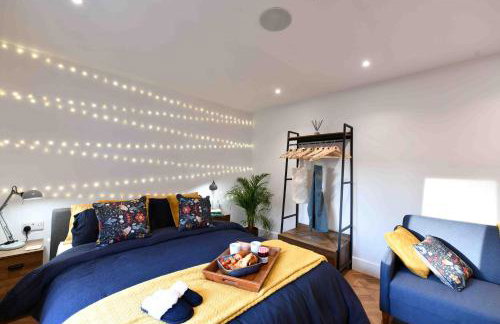
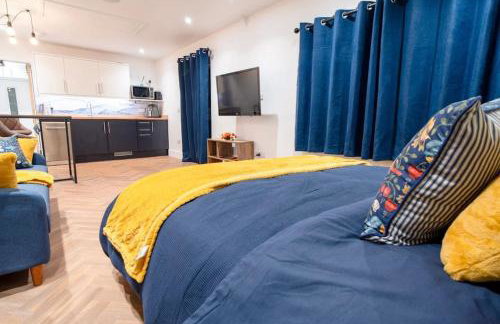
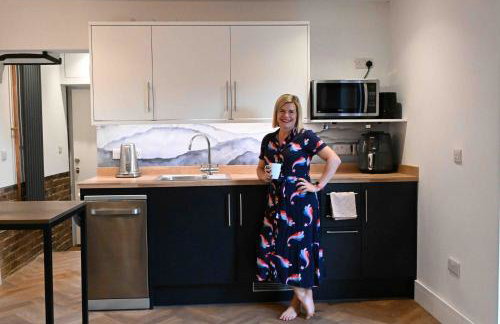
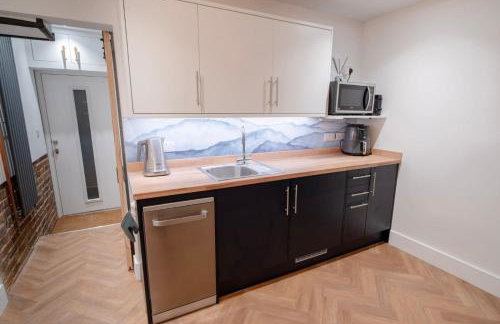
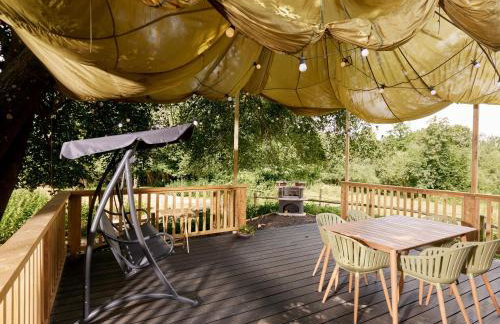
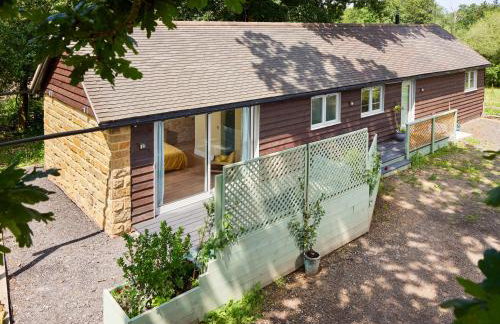
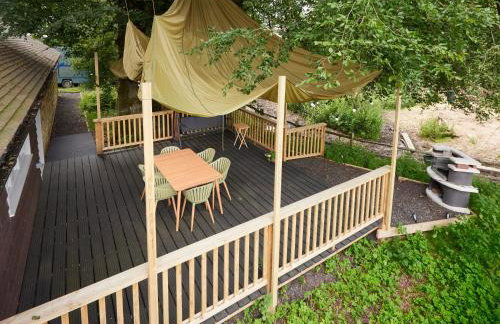
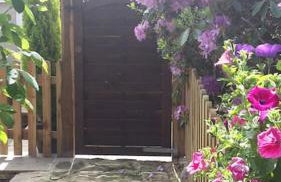
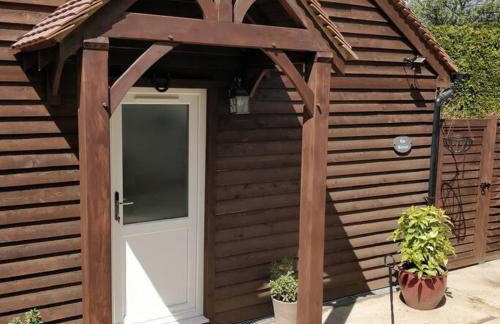
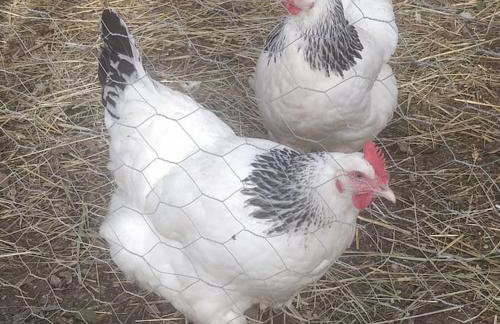
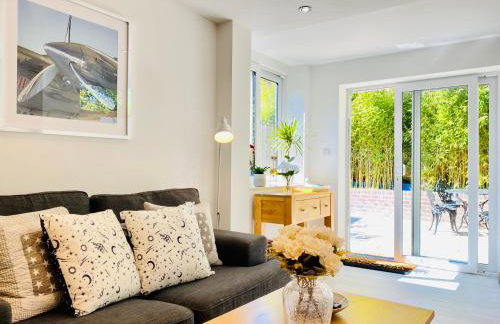
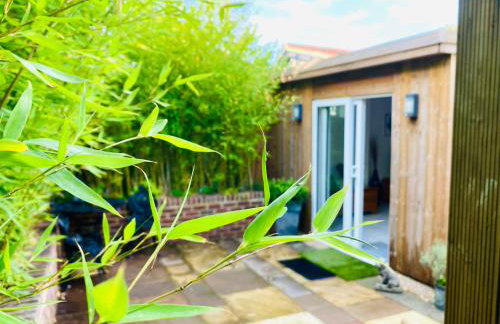
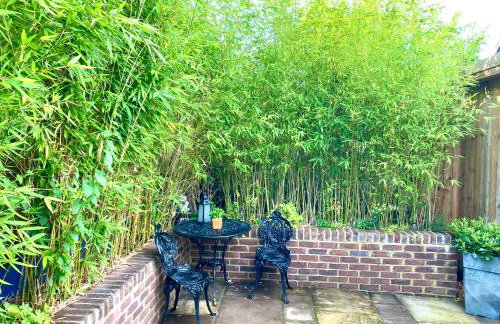
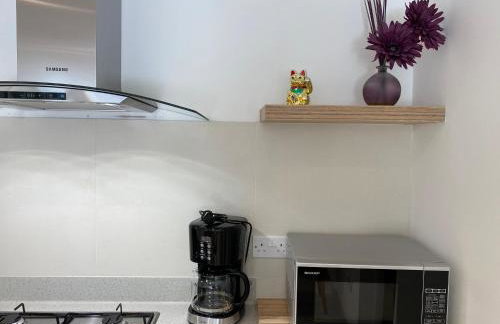
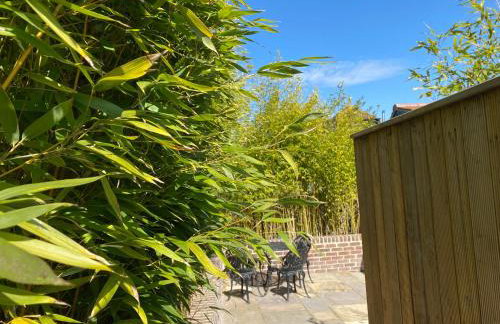
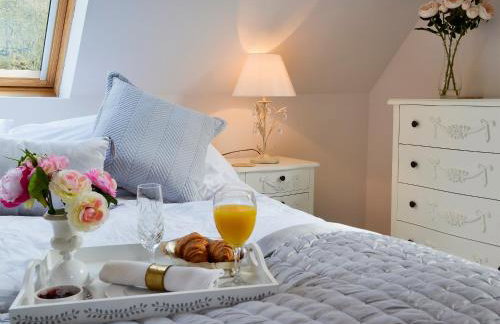
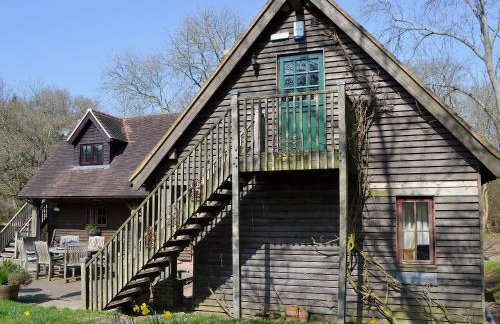
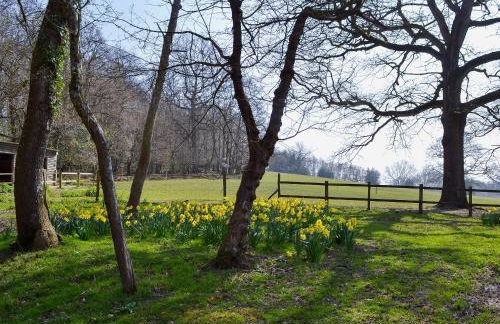
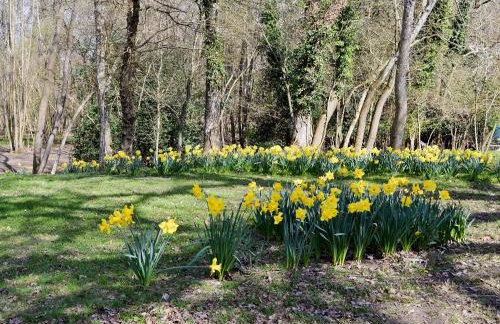
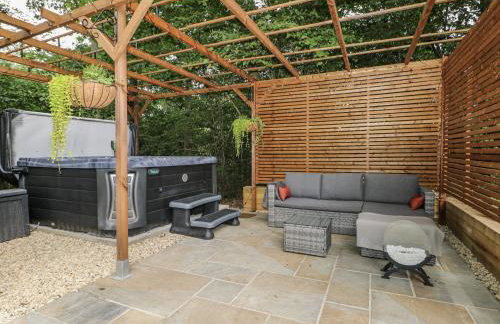
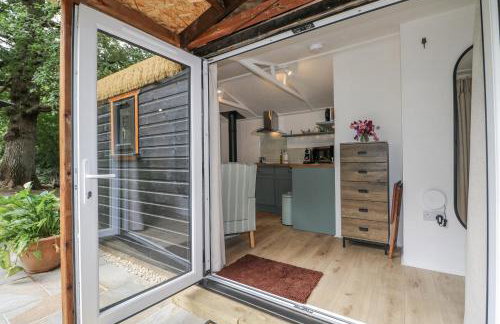
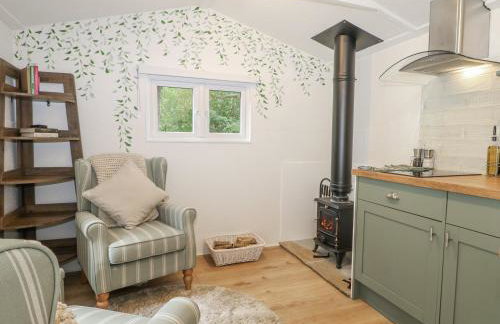
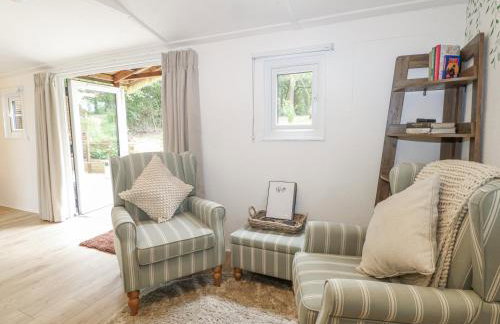
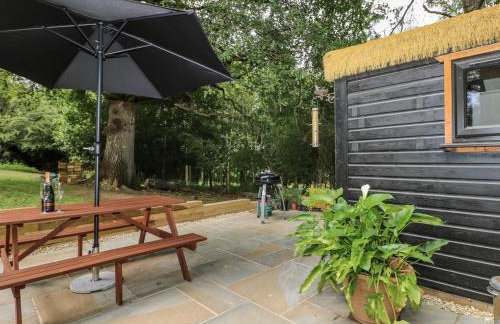
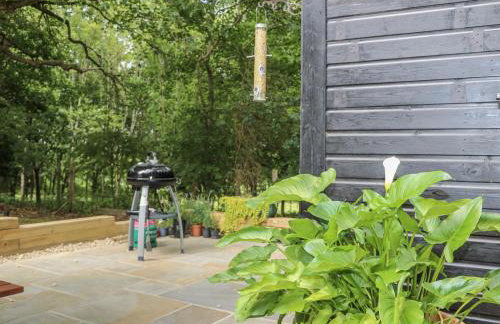
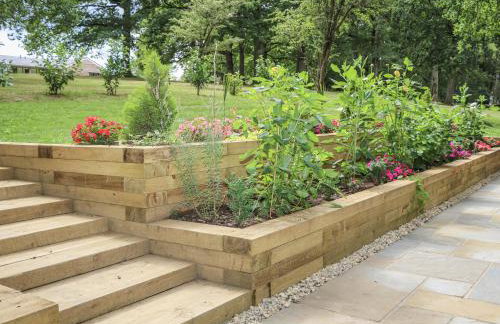
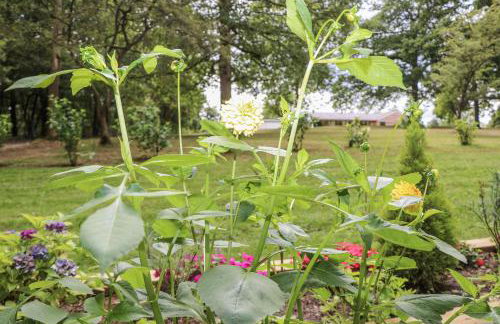
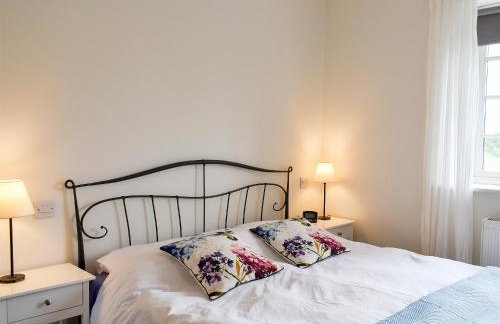
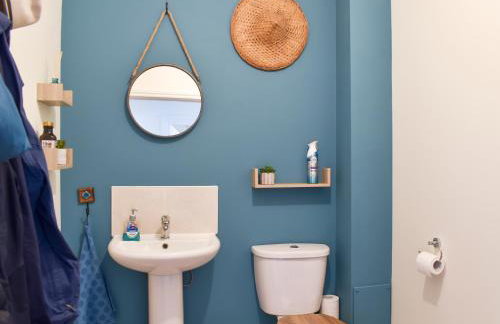
The Bird Loft Studio
Haywards Heath - Scaynes Hill
- 2 quartos
- 2 pessoas
- Ar-condicionado
- Estacionamento
- Jardim
- Churrasco
6 avaliações
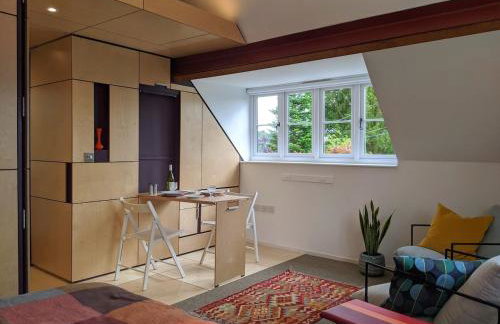
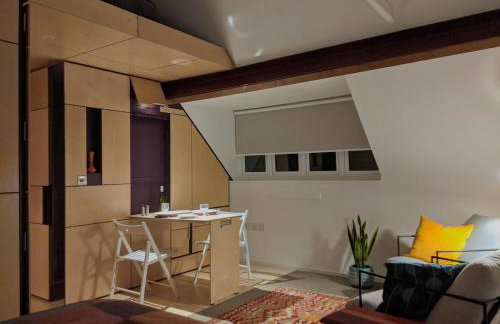
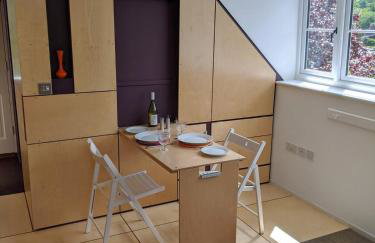
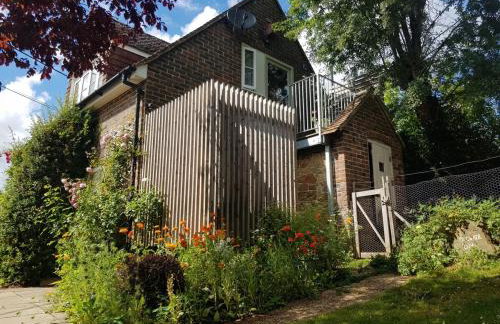
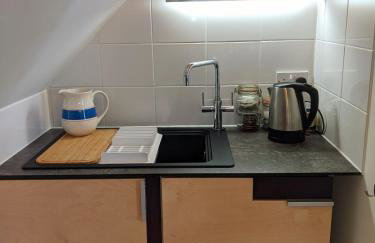
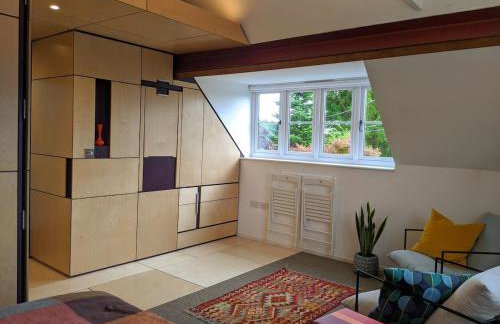
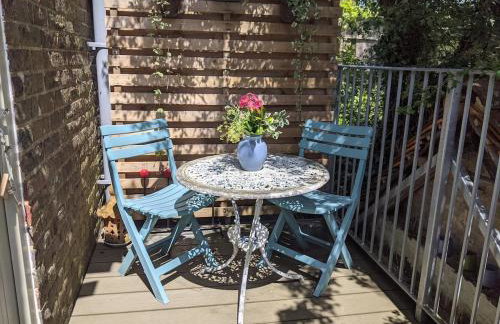
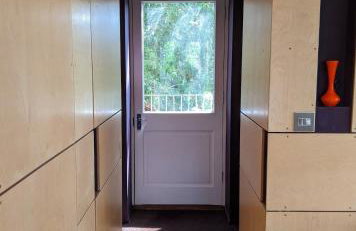
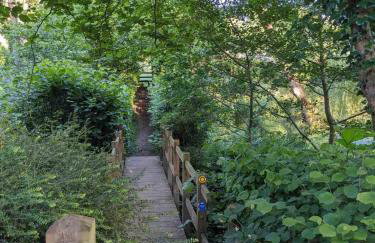
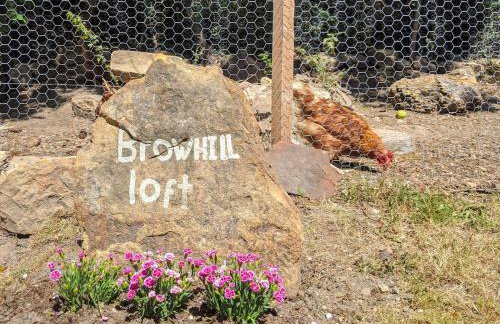
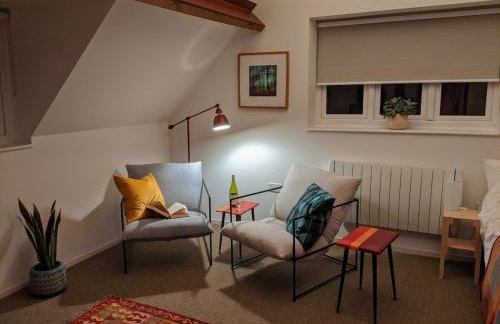
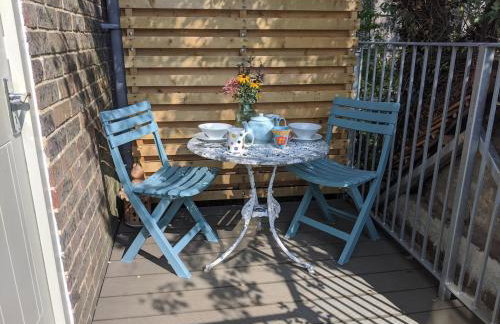
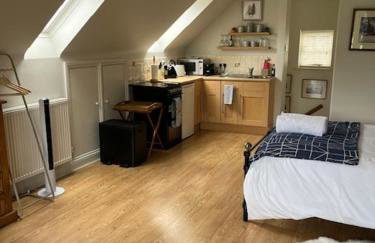
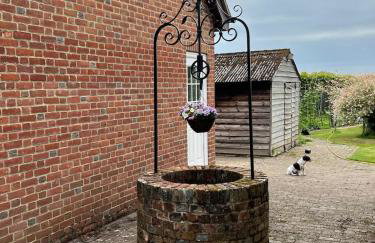
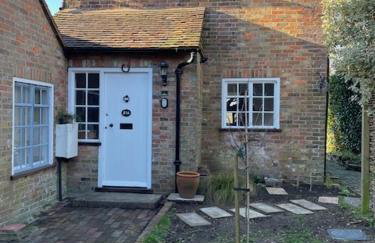
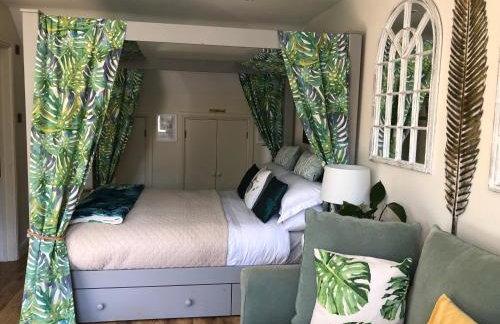
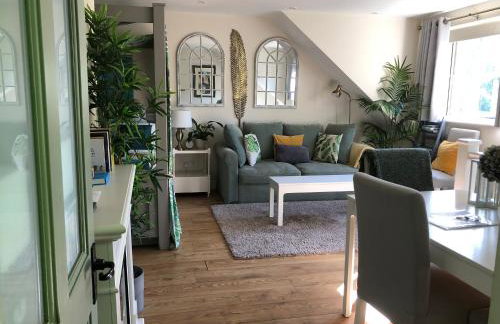
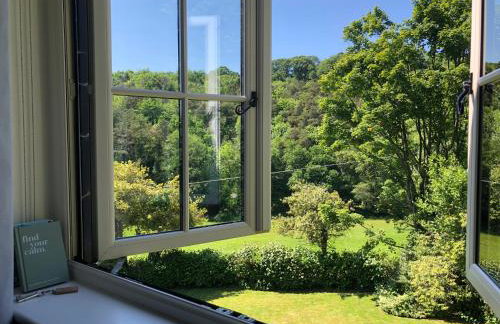
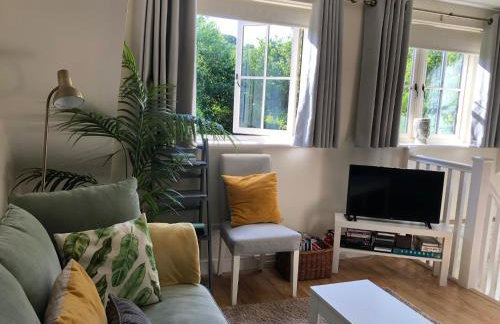
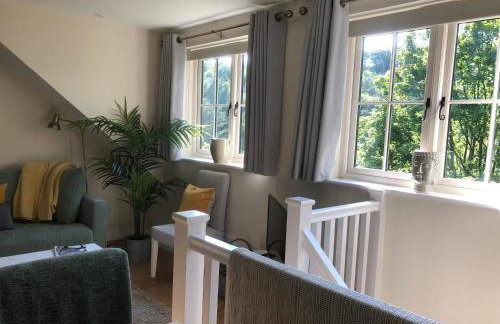
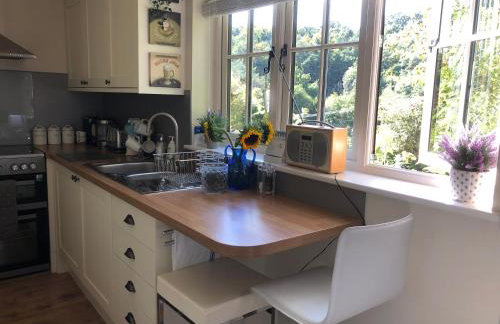
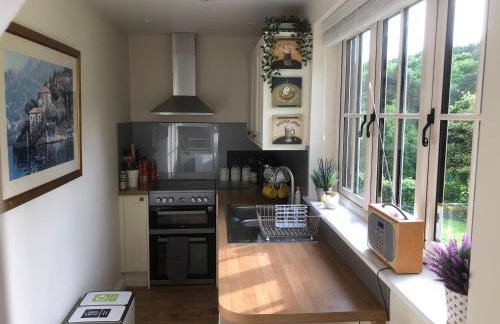
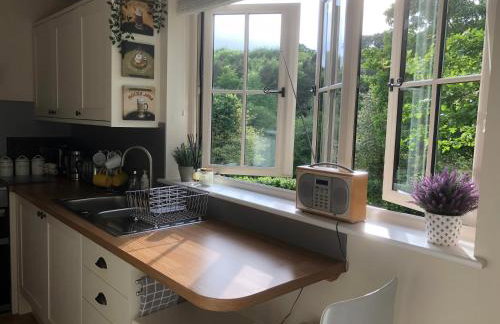
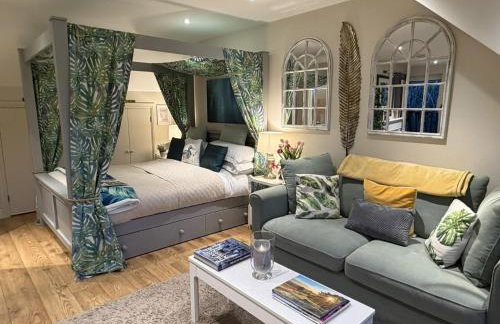
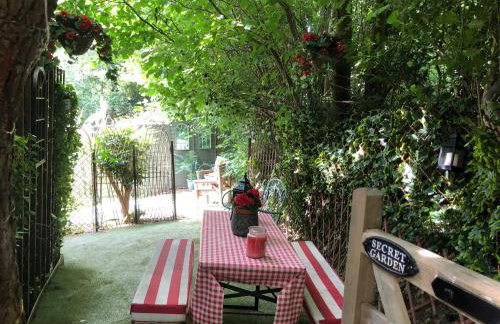
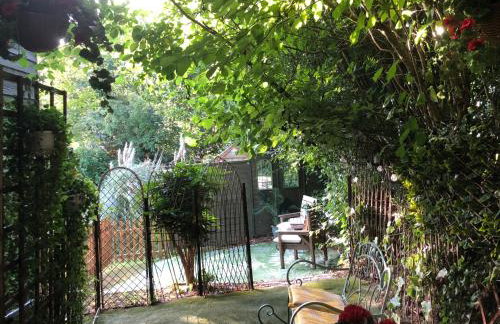
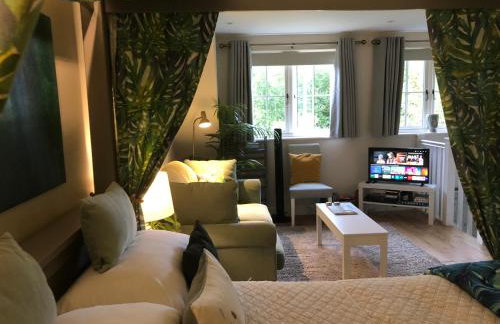
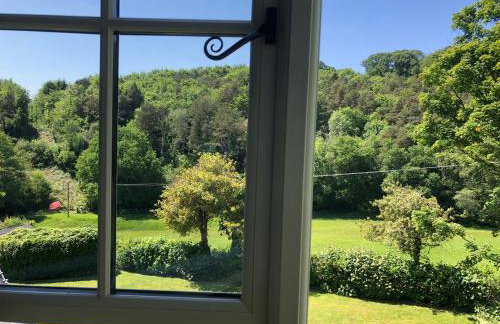
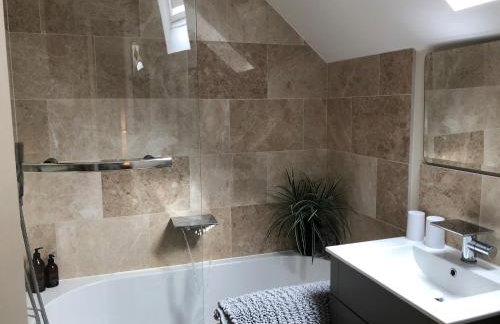
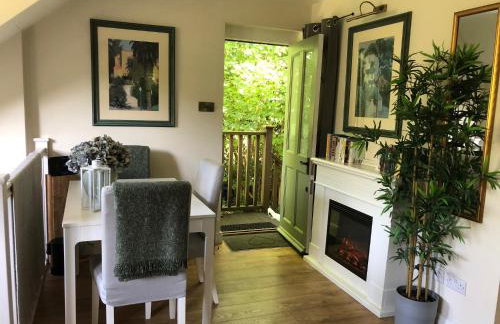
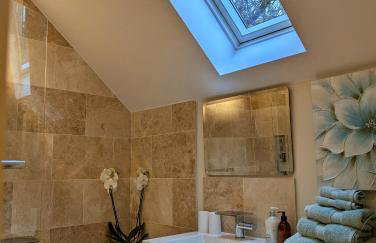
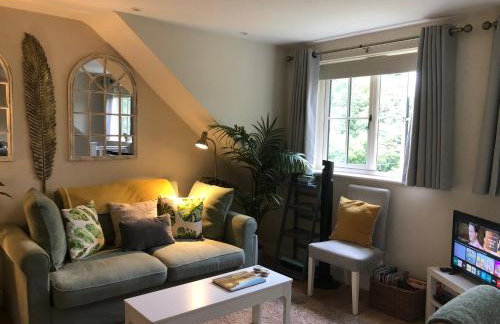
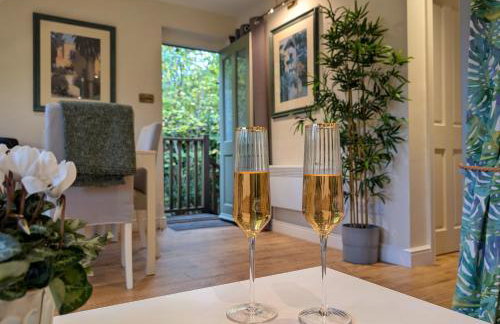
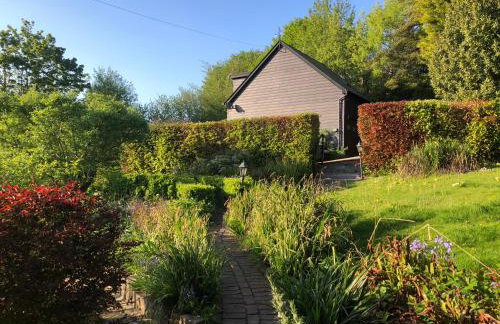
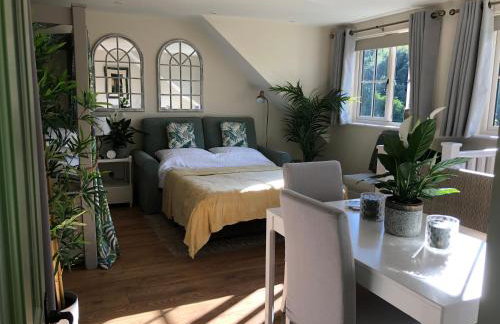
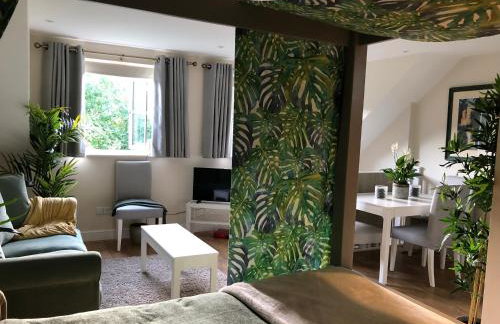
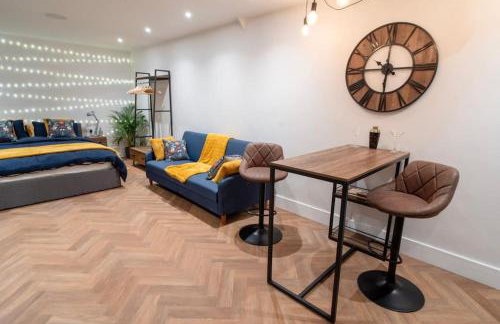
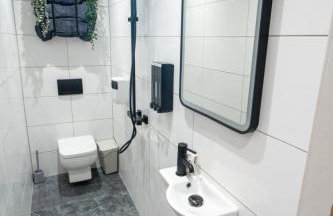
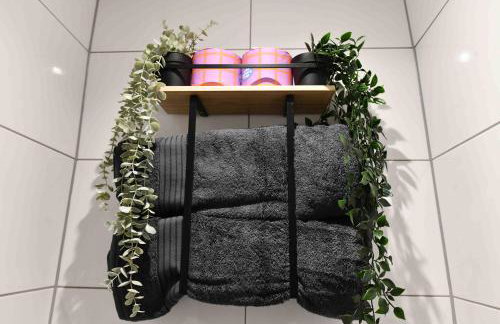
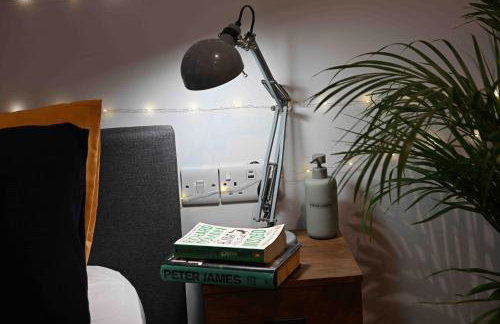
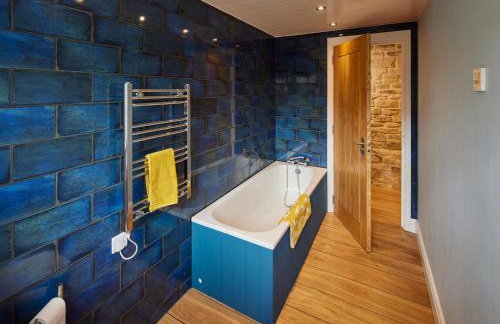
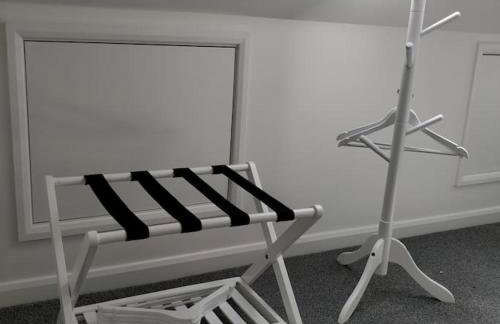
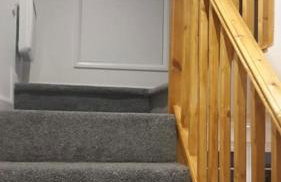
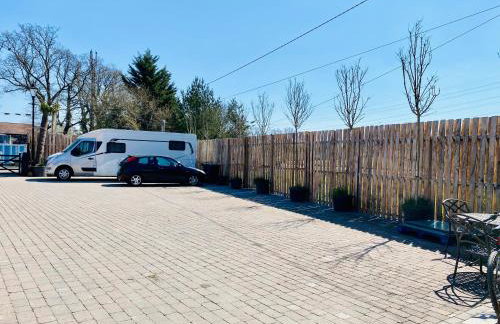
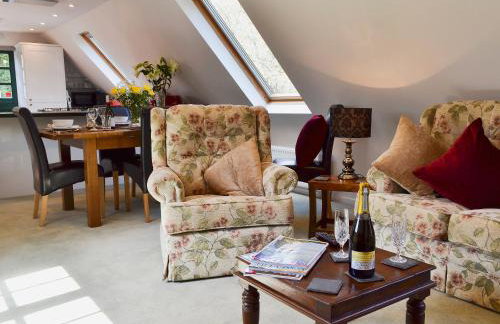
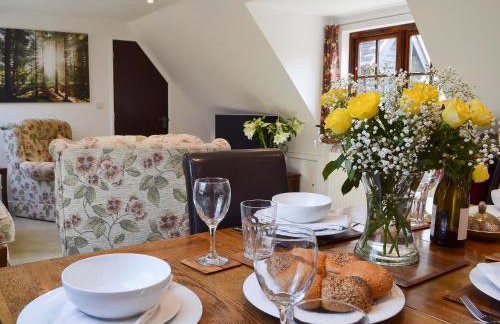
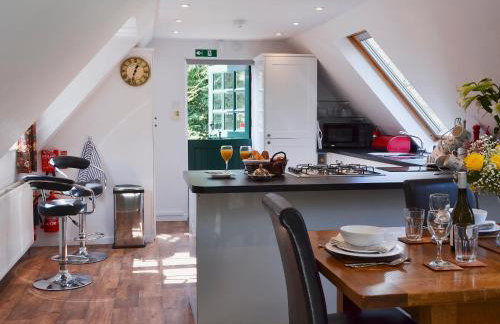
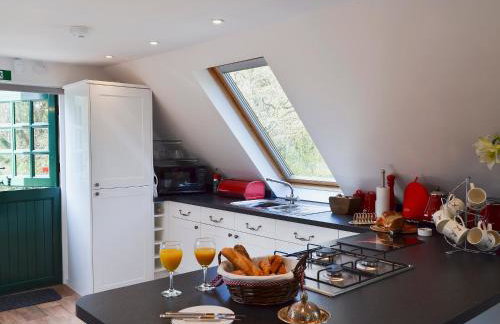
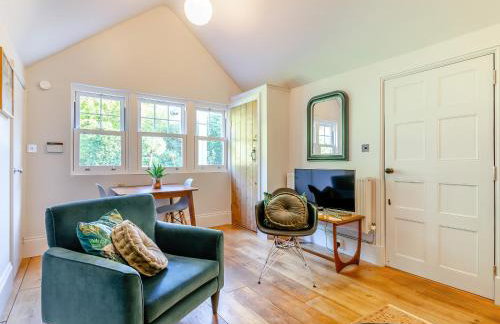
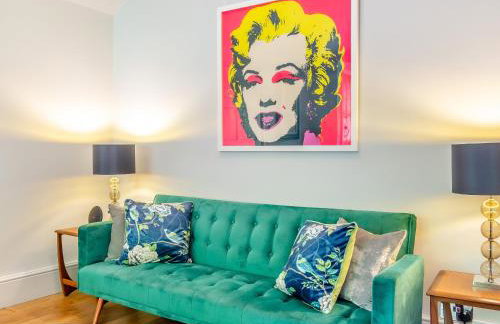
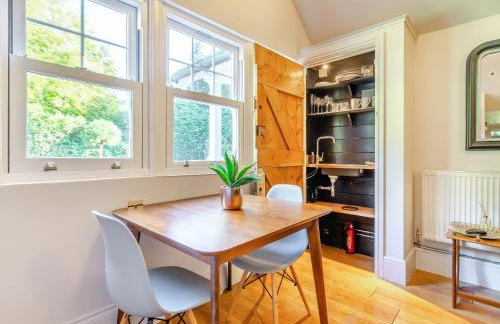
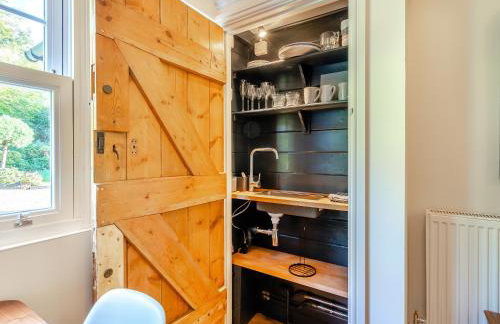
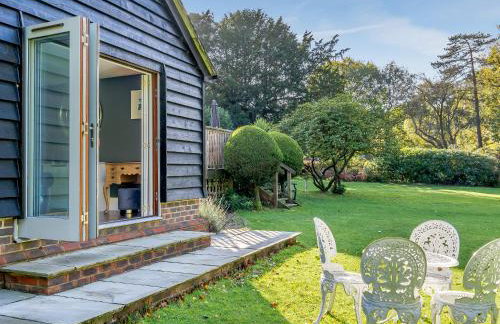
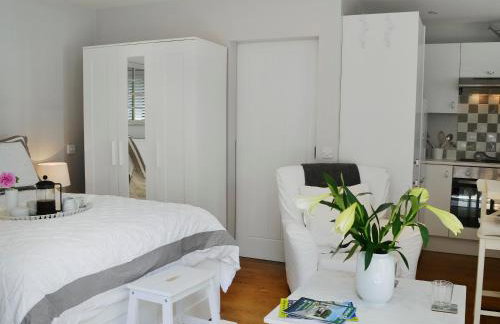
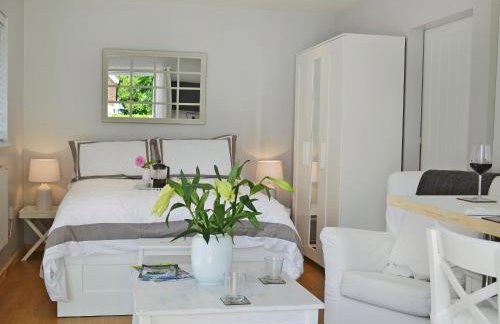
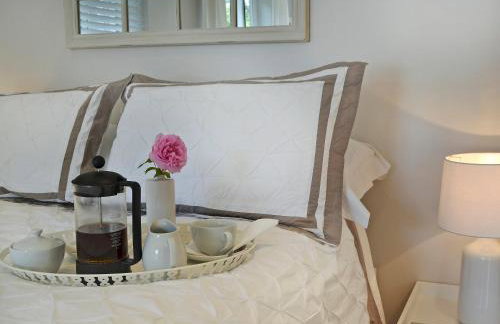
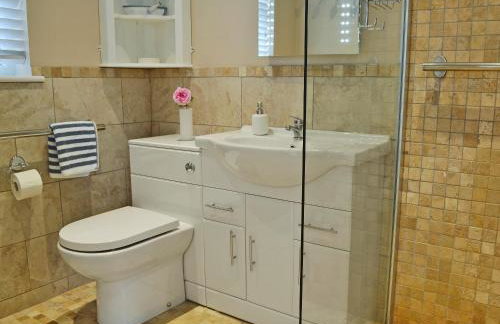
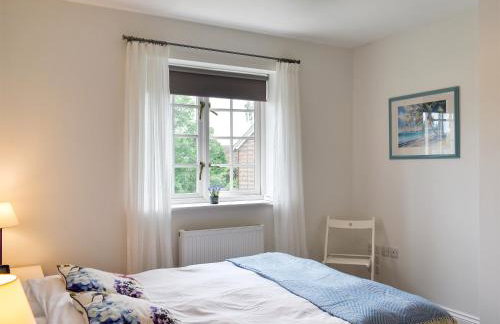
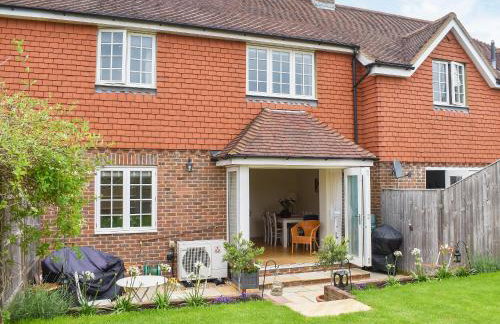
Browhill Loft - contemporary, handcrafted studio
Haywards Heath - Haywards Heath
- 25 M2
- 1 quarto
- 2 pessoas
- Aquecimento
- Terraço
- Estacionamento
- Jardim
19 avaliações

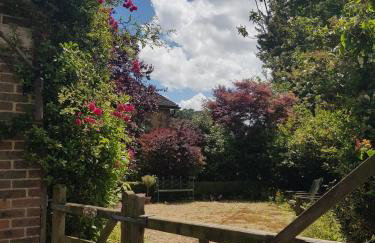
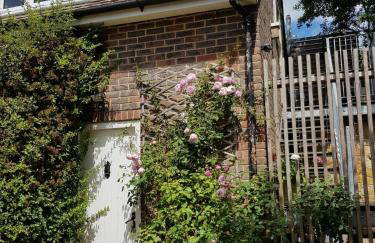
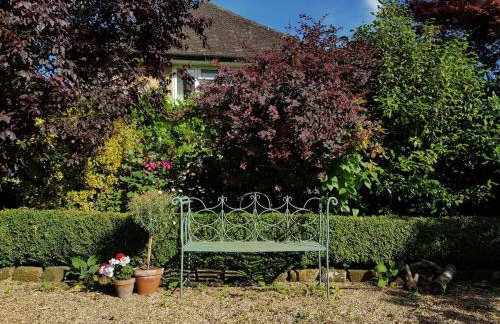
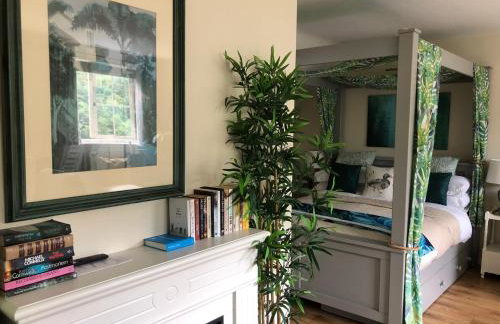
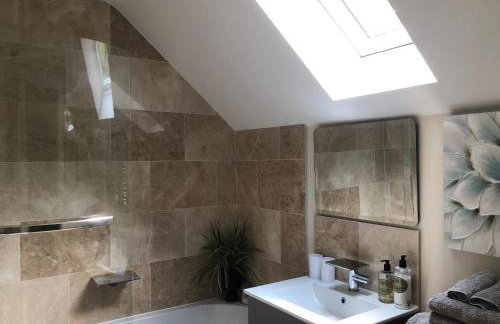
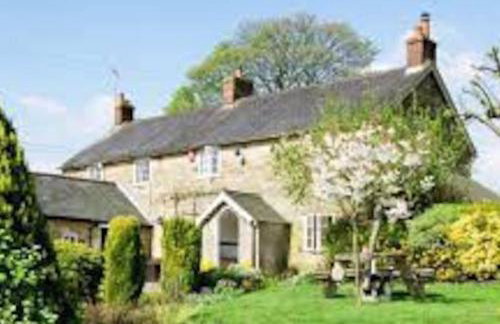
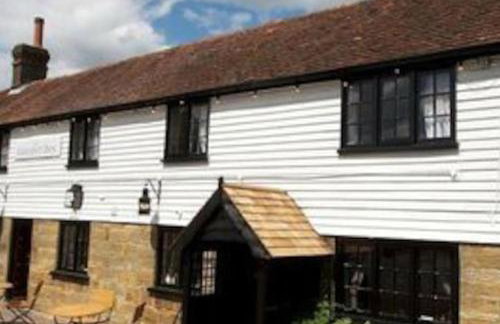
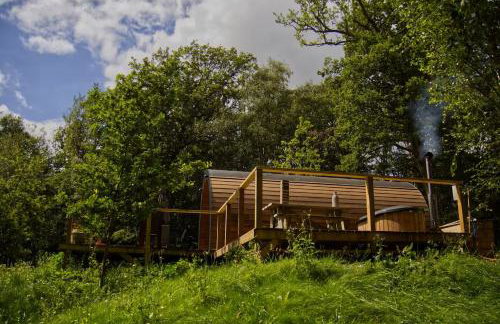
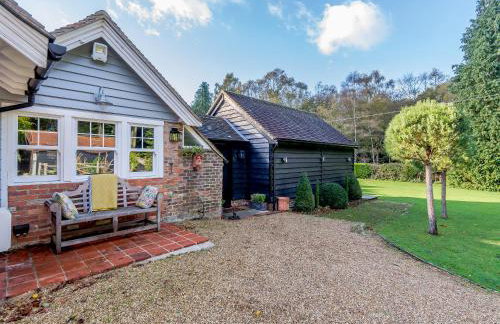
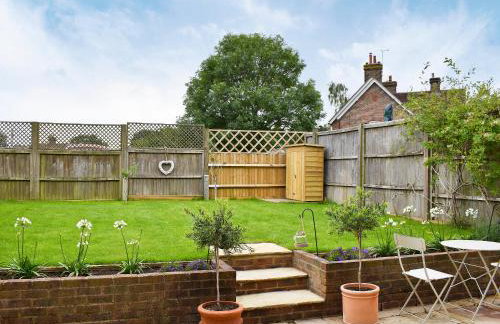
Escape to Blacksmiths Cottage
Haywards Heath - Cuckfield
- 2 quartos
- 3 pessoas
- Terraço
- Estacionamento
- Jardim
21 avaliações
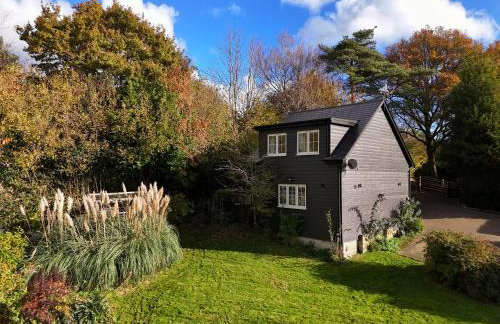


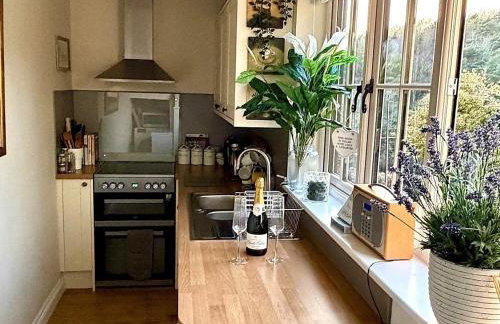


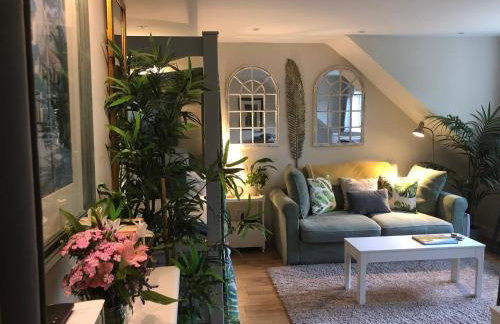


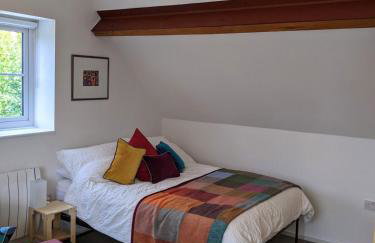
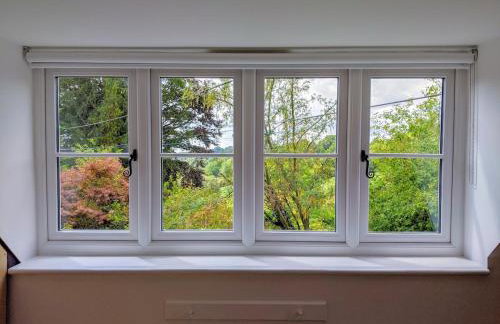
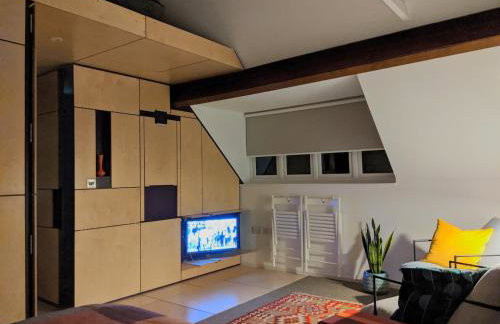
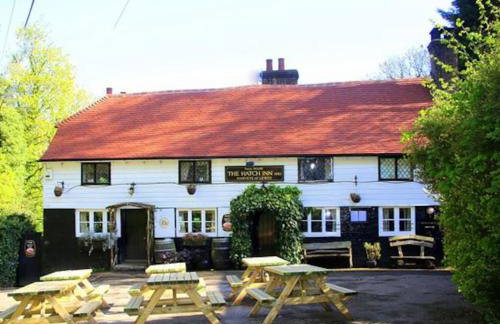
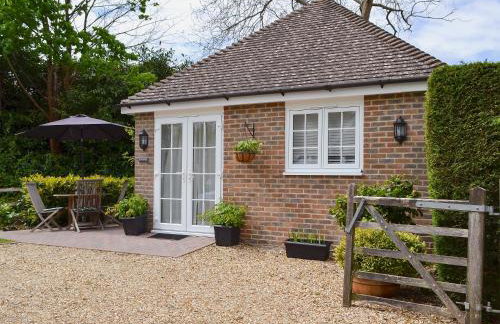
The Nest Danehill
Haywards Heath - Haywards Heath
- 36 M2
- 1 quarto
- 4 pessoas
- Aquecimento
- Estacionamento
- Jardim
31 avaliações
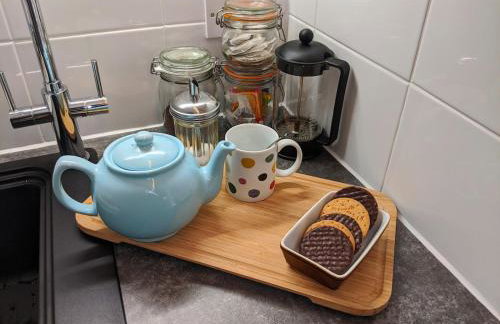
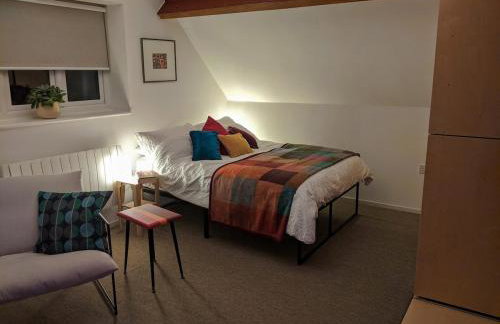
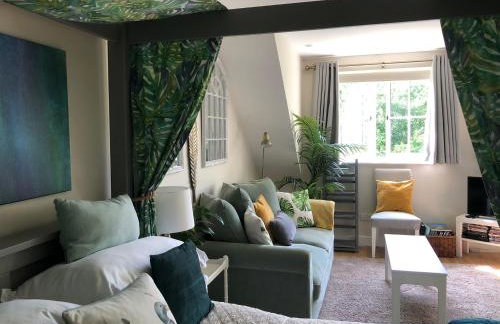
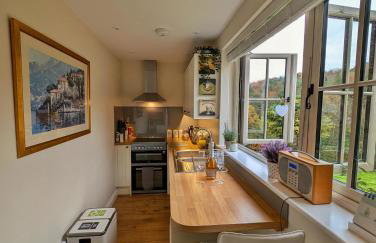
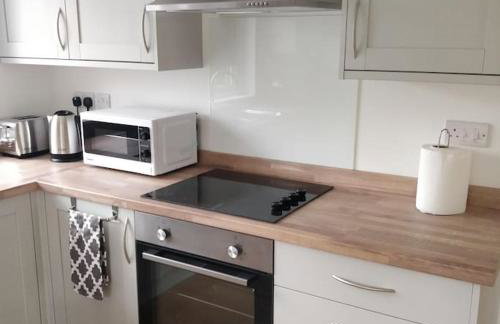
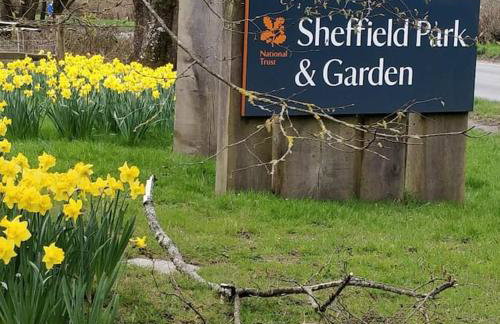
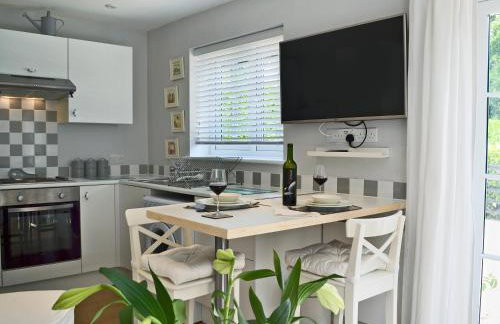
The Park Apartment
Haywards Heath - Haywards Heath
- 68 M2
- 2 quartos
- 4 pessoas
- Aquecimento
- Estacionamento
- Jardim
197 avaliações


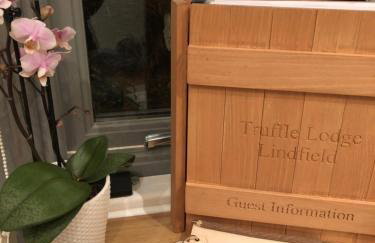
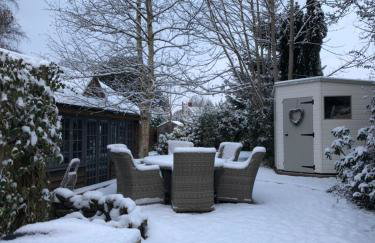
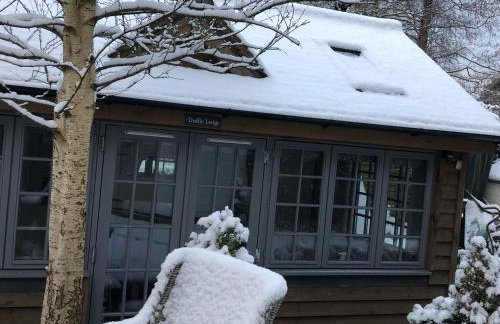
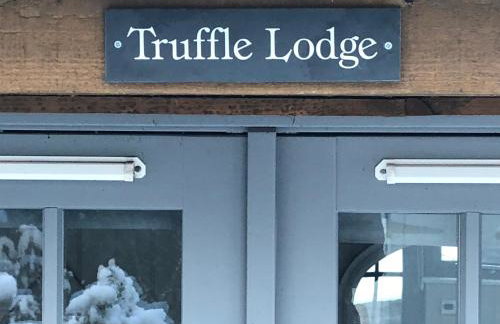
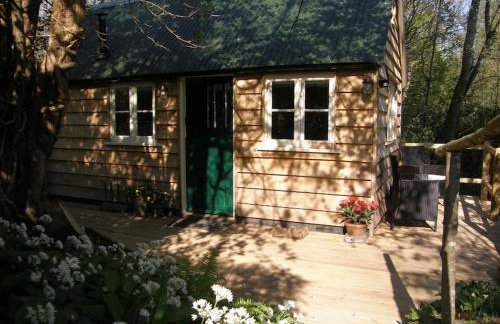
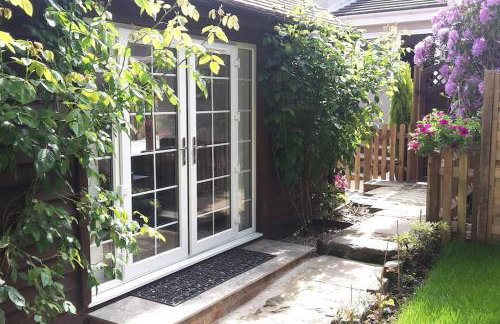
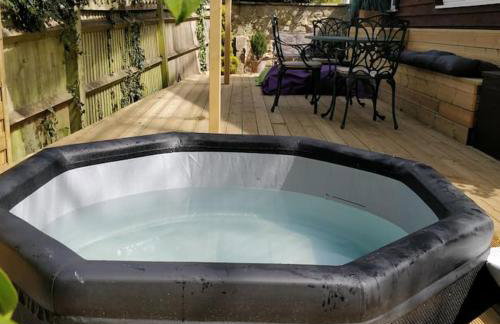
Truffle Lodge
Haywards Heath - Lindfield
- 20 M2
- 2 pessoas
- Aquecimento
- Terraço
- Estacionamento
- Jardim
- Churrasco
68 avaliações
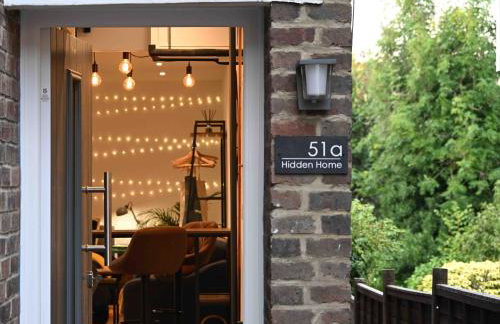

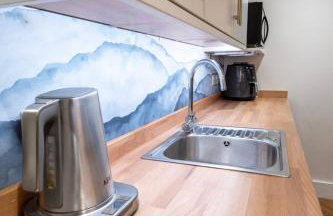
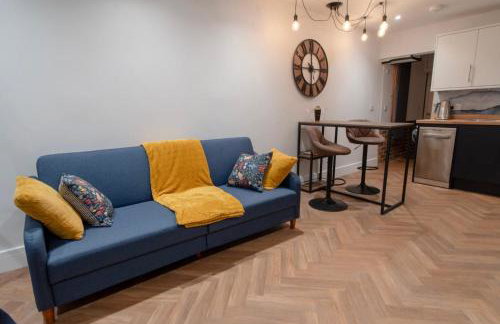
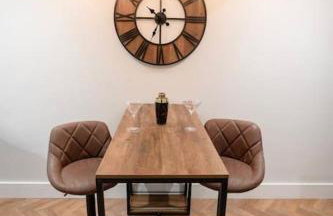
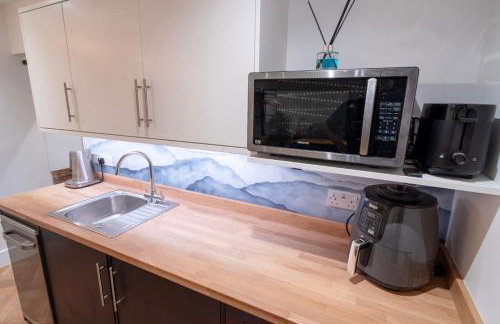


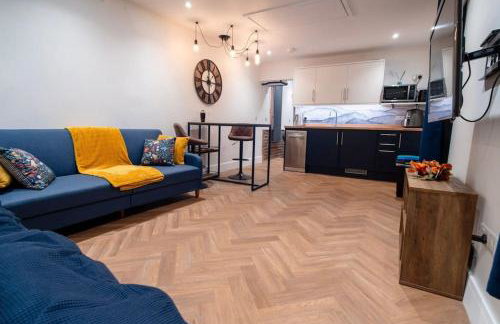
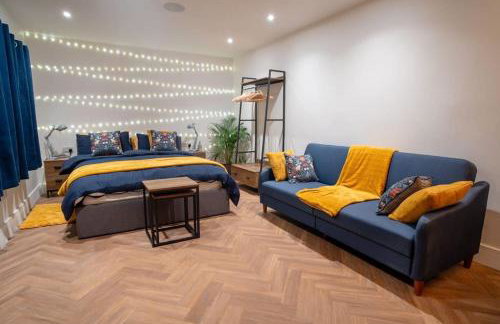


Hidden Home
Haywards Heath - Haywards Heath
- 18 M2
- 1 quarto
- 4 pessoas
- Aquecimento
- Estacionamento
41 avaliações

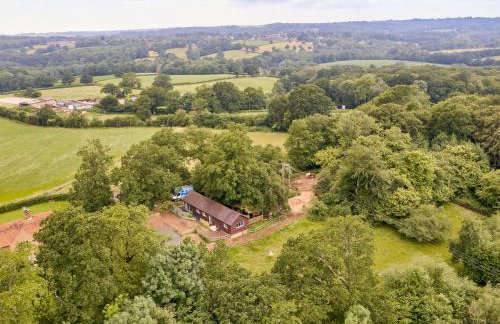
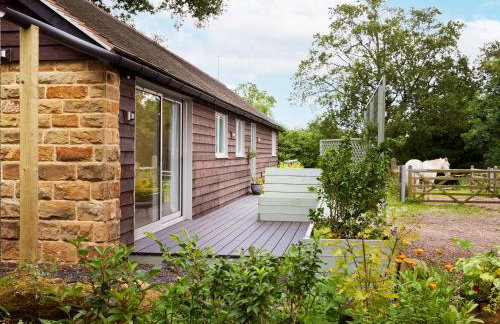
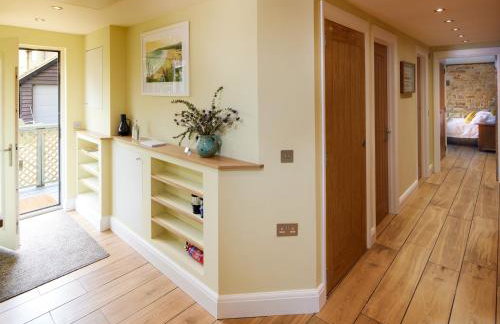
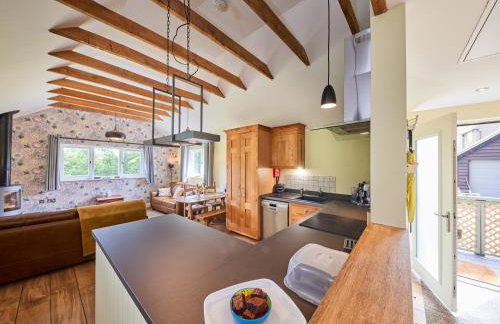


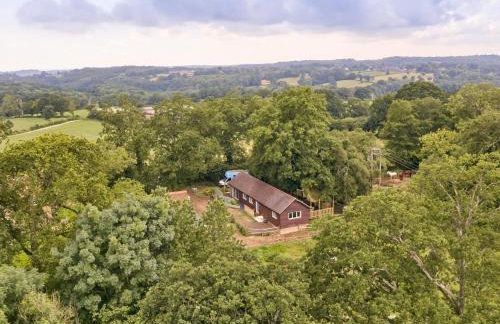
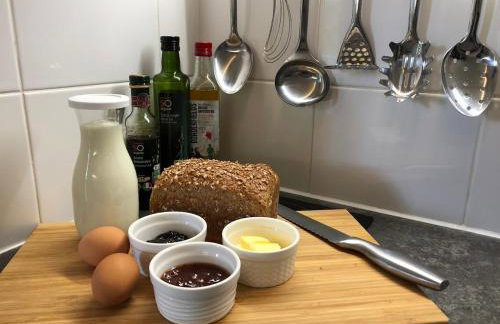
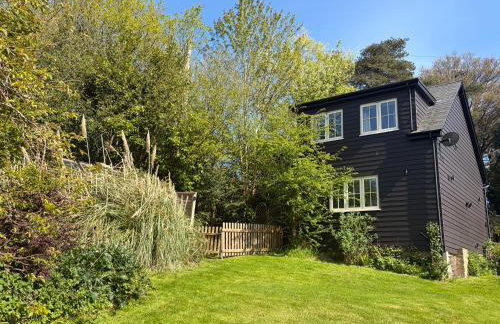
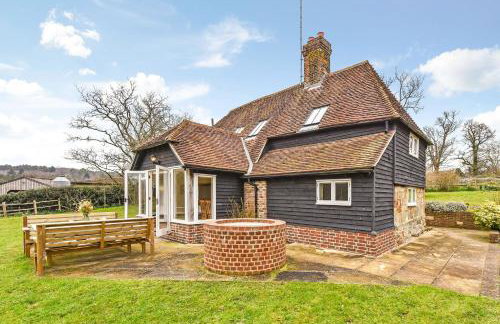
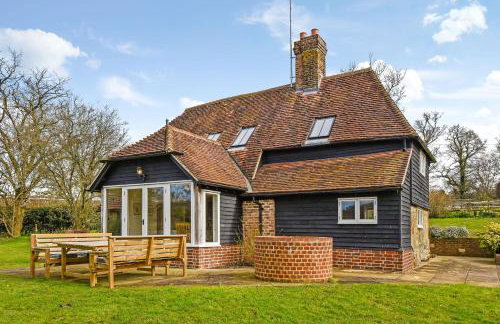
Forest Farm Cottage
Haywards Heath - Haywards Heath
- 105 M2
- 2 quartos
- 4 pessoas
- Terraço
- Estacionamento
- Jardim
12 avaliações


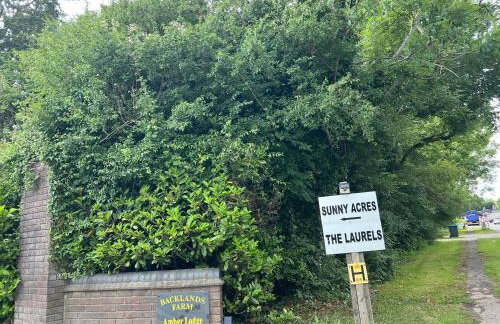


Amber Lodge Hickstead-B
Haywards Heath - Hickstead
- 88 M2
- 1 quarto
- 2 pessoas
- Ar-condicionado
- Aquecimento
- Terraço
- Estacionamento
- Jardim
29 avaliações
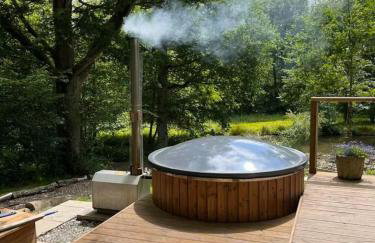
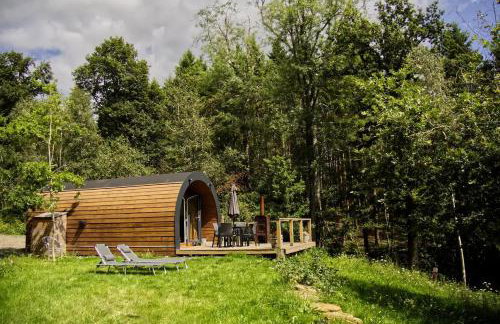
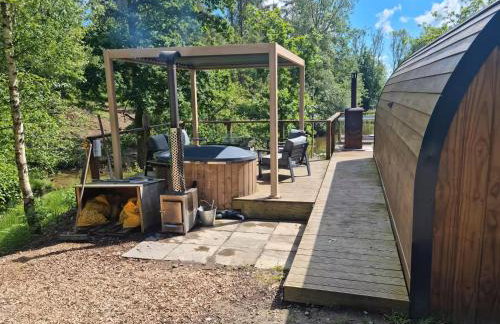
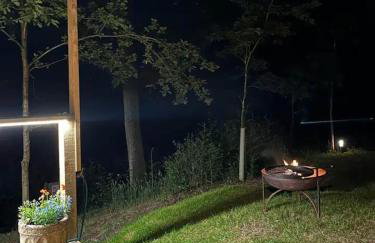
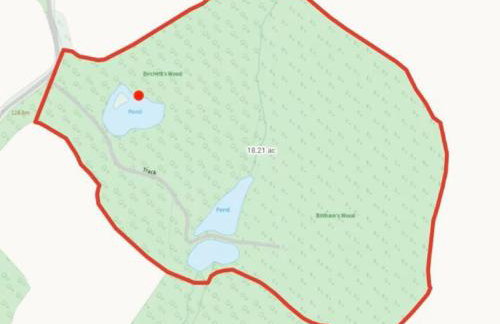
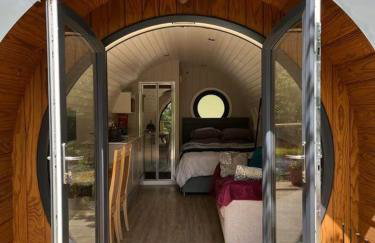
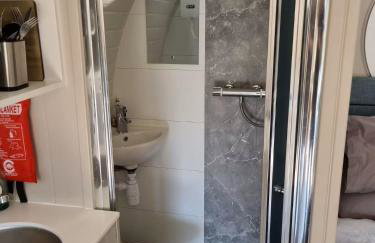
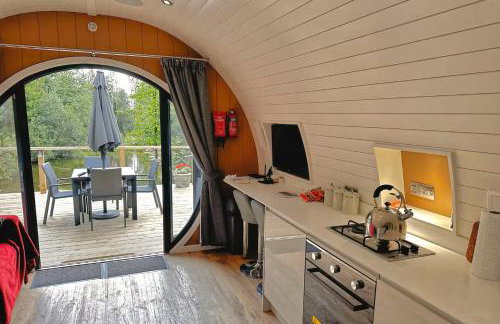

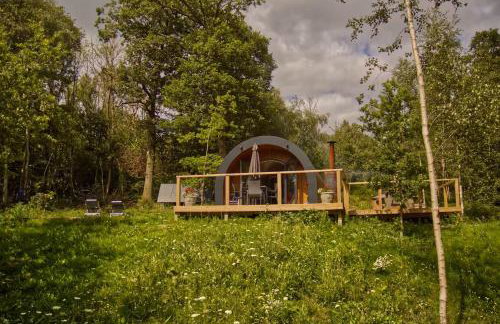
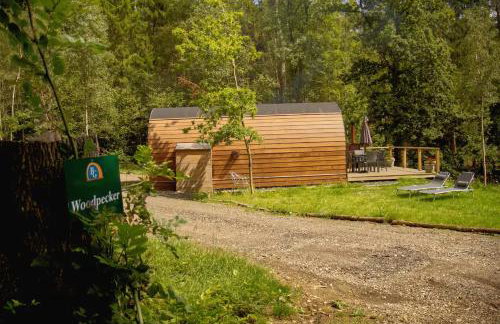
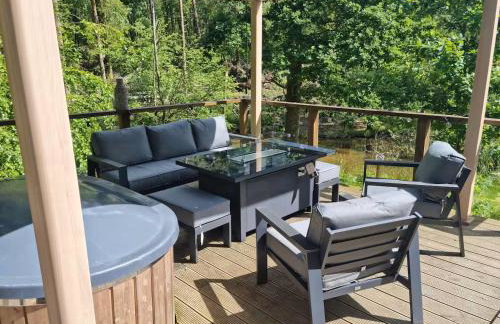
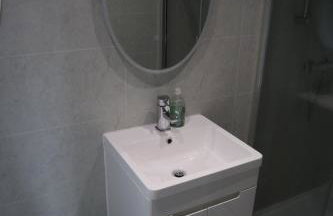

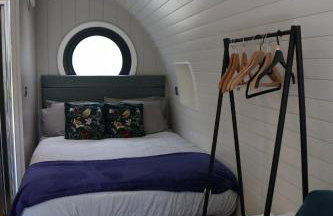
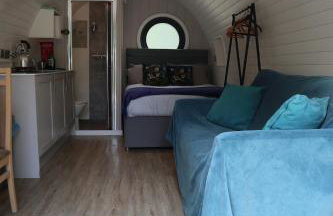

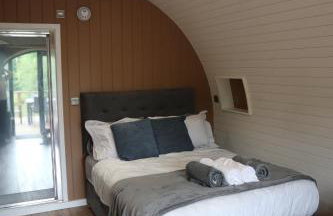
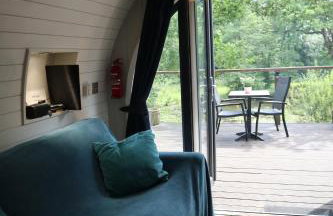


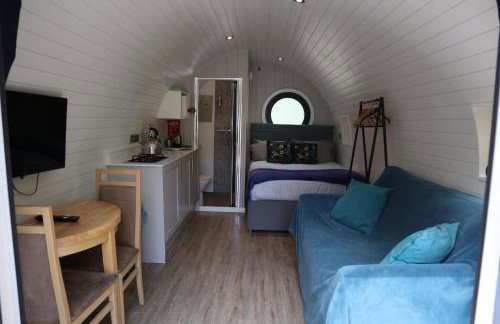
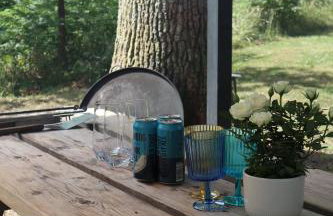
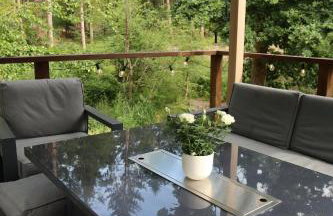
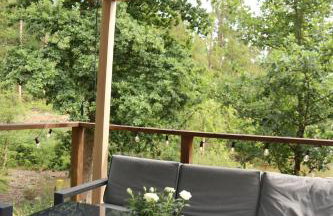

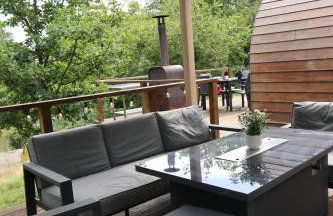
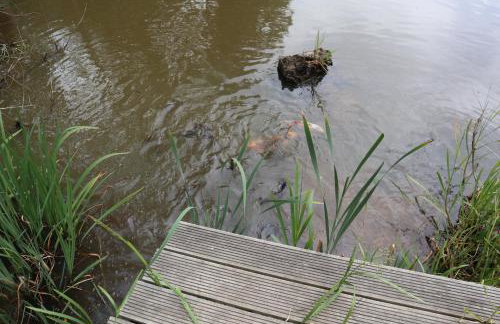
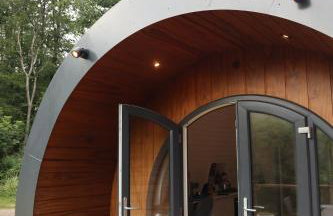
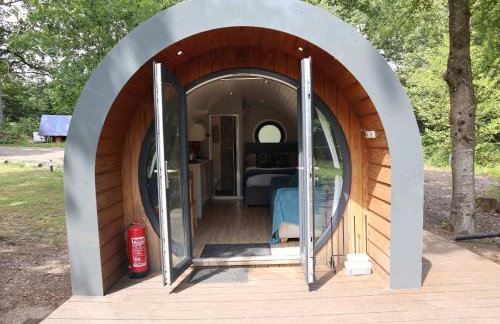
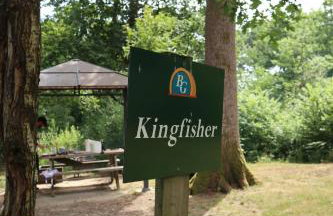
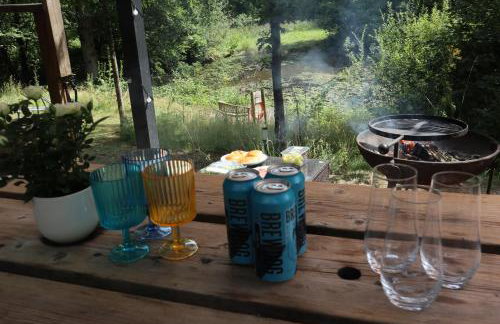
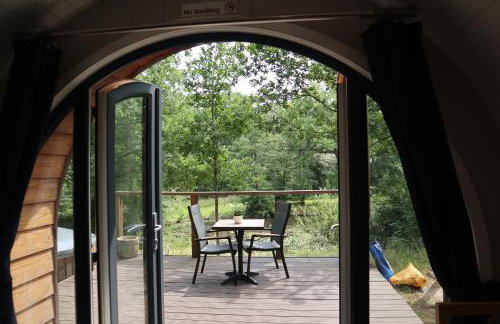
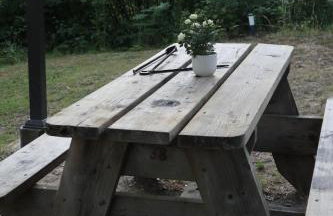
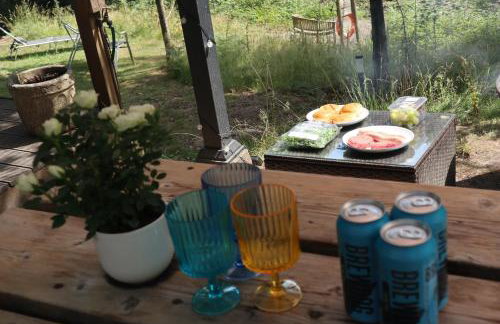

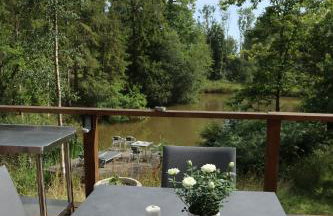
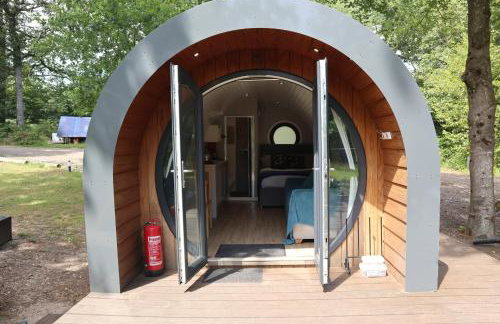
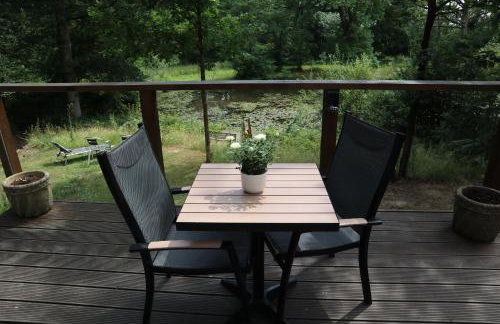


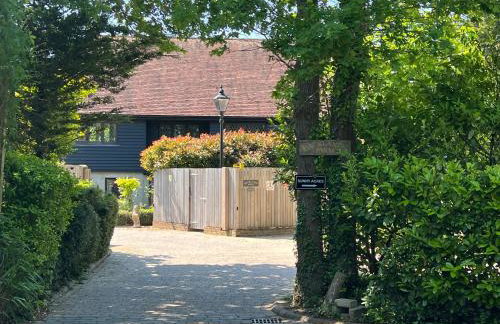
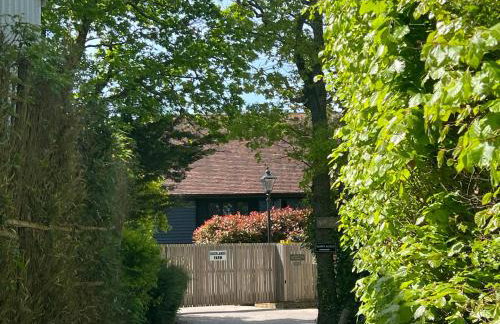
Pods At Buckland's Glamping
Haywards Heath - Handcross
- 28 M2
- 1 quarto
- 4 pessoas
- Terraço
- Estacionamento
- Jardim
- Churrasco
29 avaliações


Horncombe Stables
Haywards Heath - Ardingly
- 2 quartos
- 4 pessoas
- Aquecimento
- Estacionamento
- Jardim
- Churrasco
10 avaliações


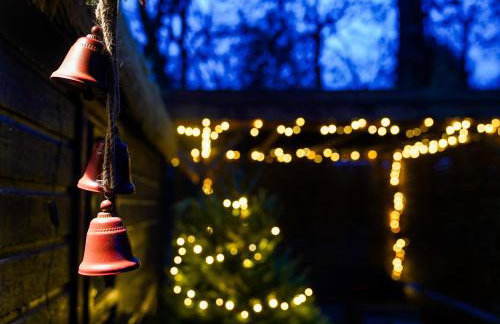
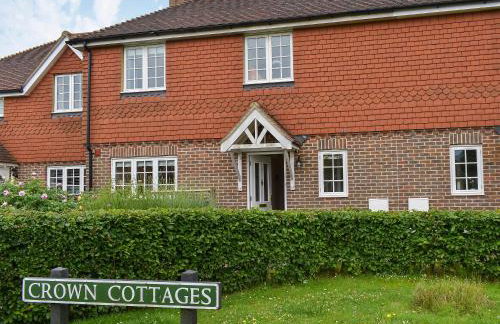
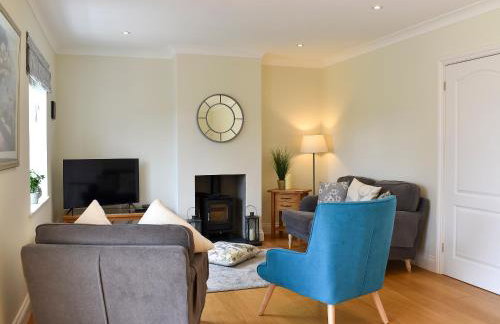
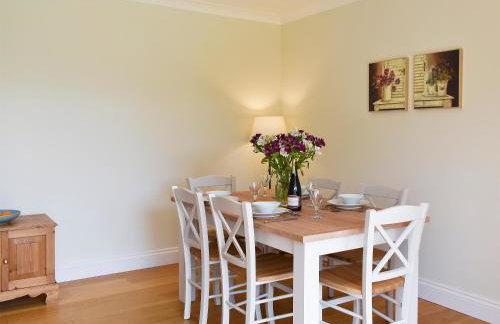
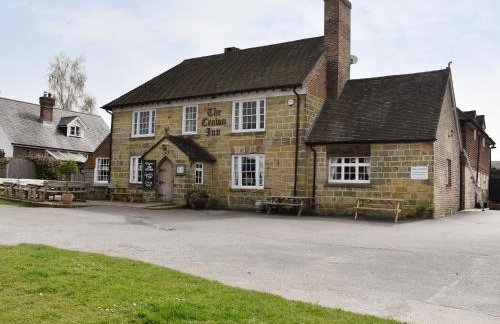
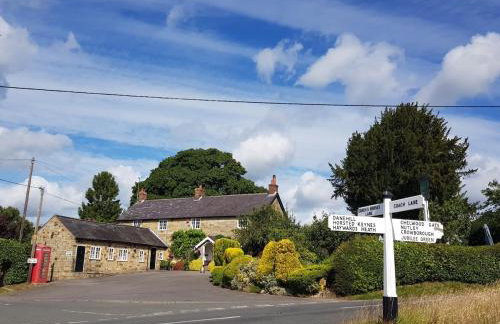
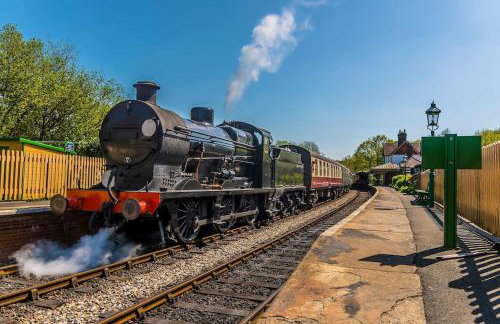
Crown Cottage
Haywards Heath - Horsted Keynes
- 3 quartos
- 6 pessoas
- Aquecimento
- Estacionamento
- Jardim
4 avaliações


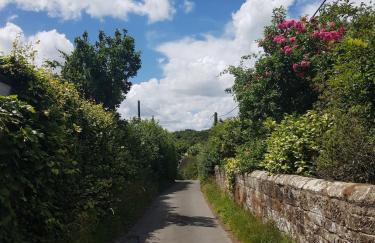
Bellflower Cottage, Ashdown Forest
Haywards Heath - Horsted Keynes
- 1 M2
- 3 quartos
- 6 pessoas
- Estacionamento
- Jardim
- Churrasco
6 avaliações