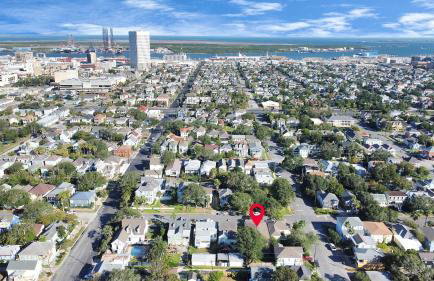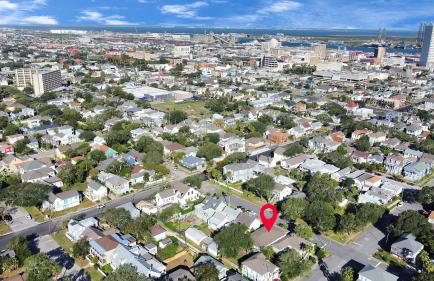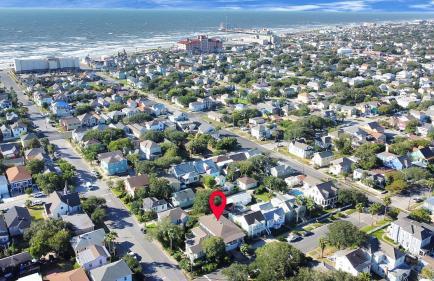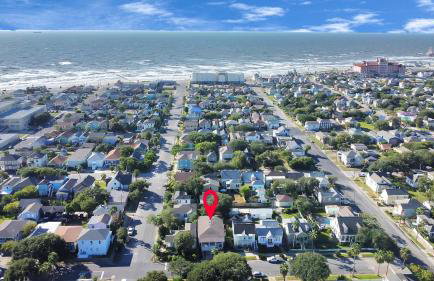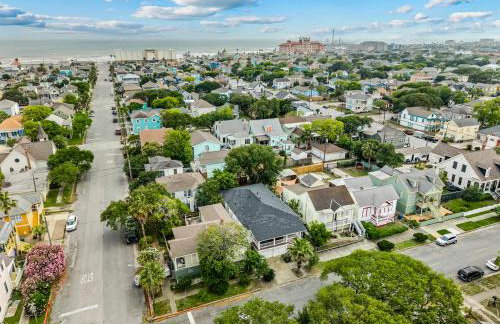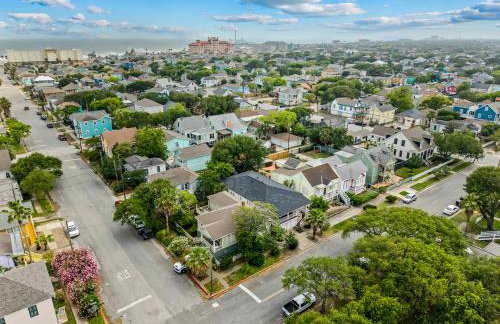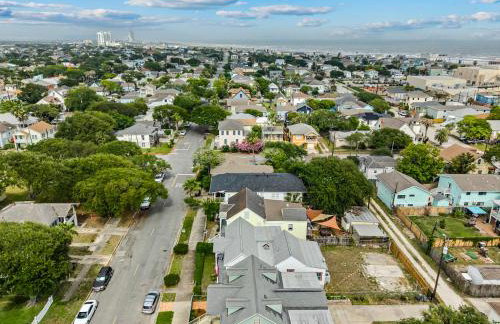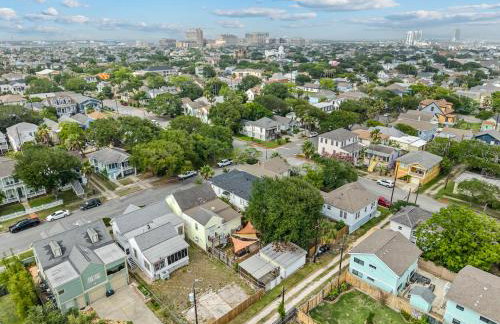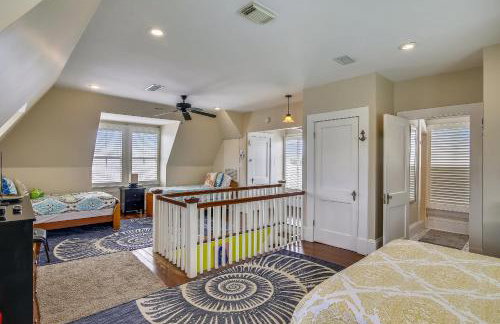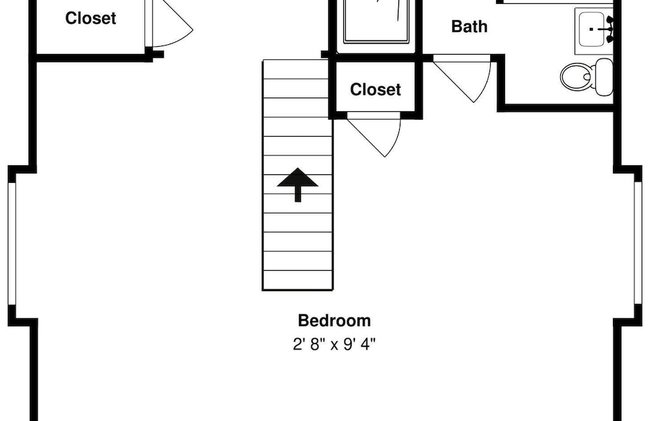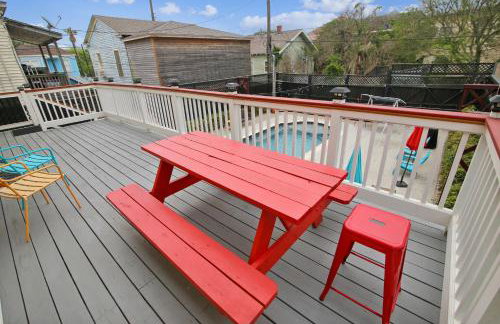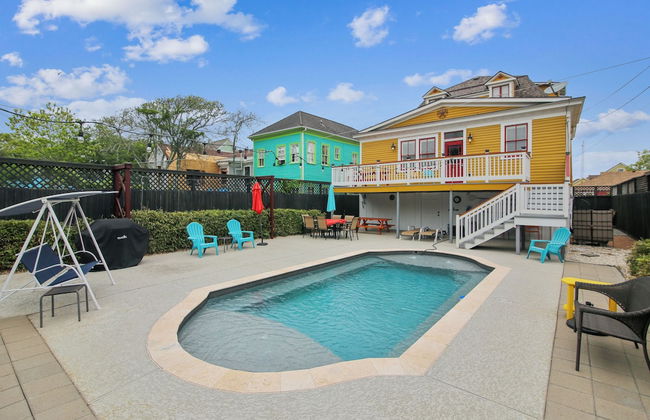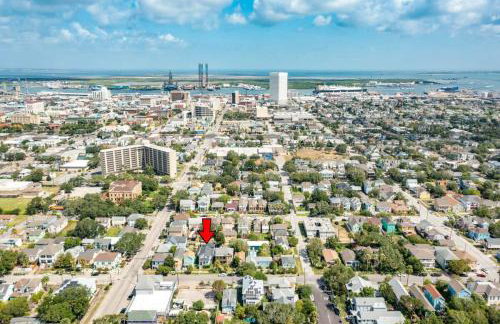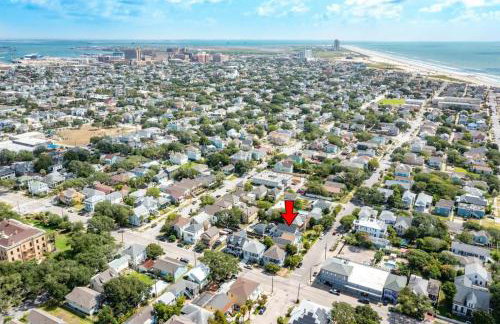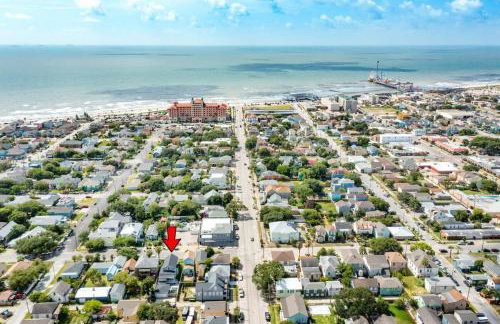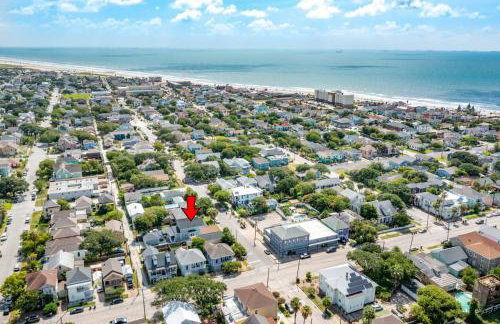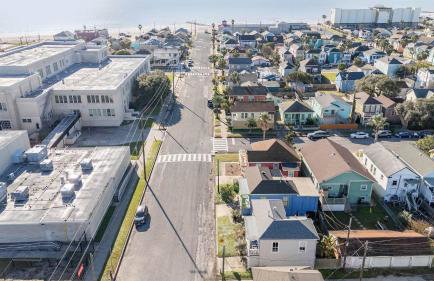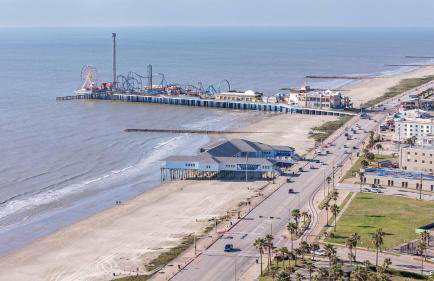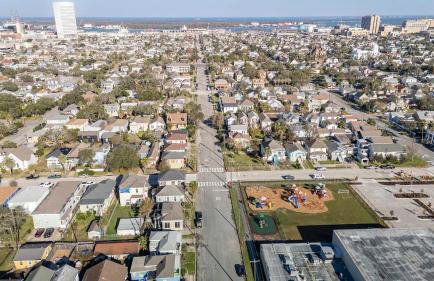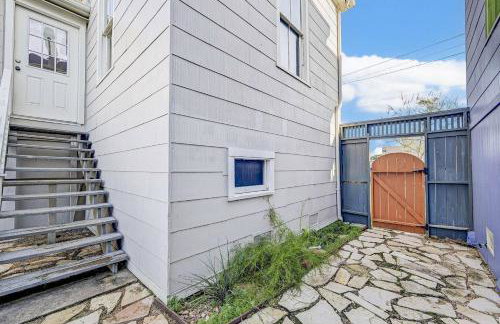
18 Apartamentos em Lost Bayou Historic District
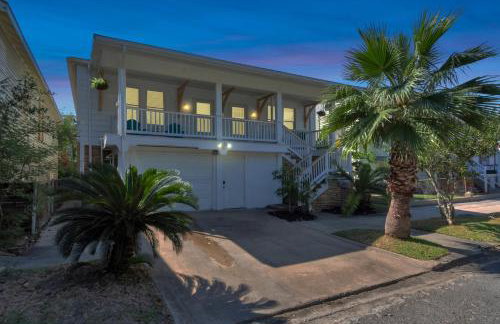
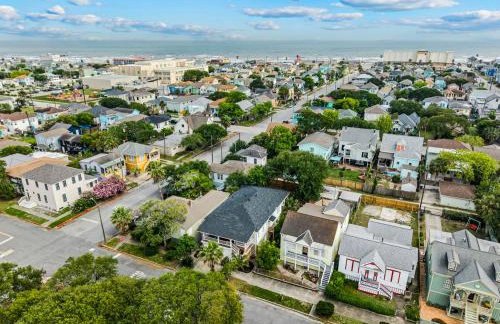
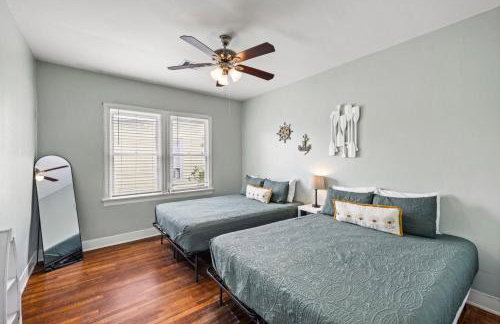
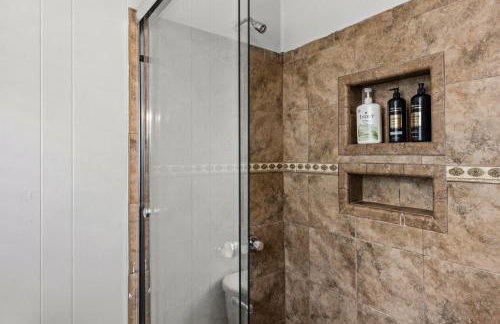
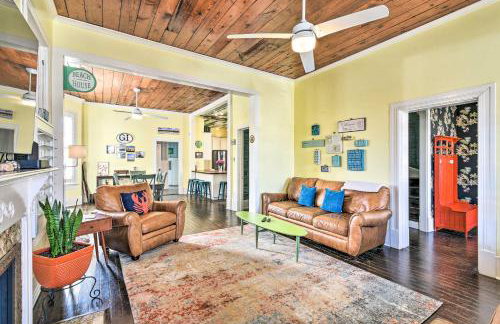
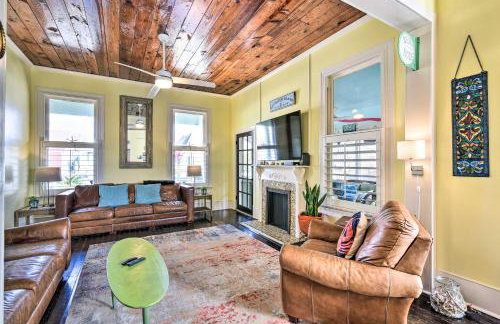
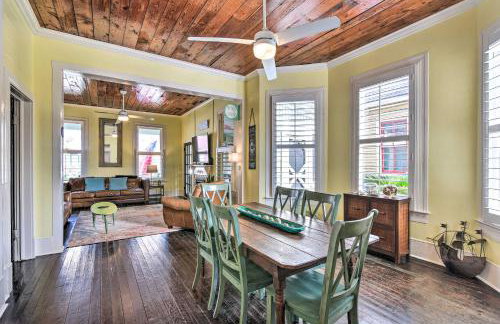
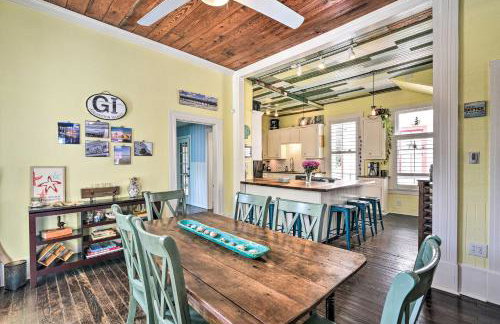
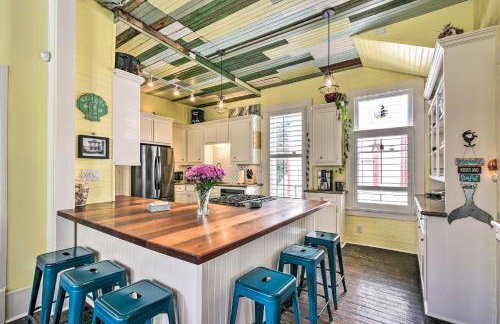
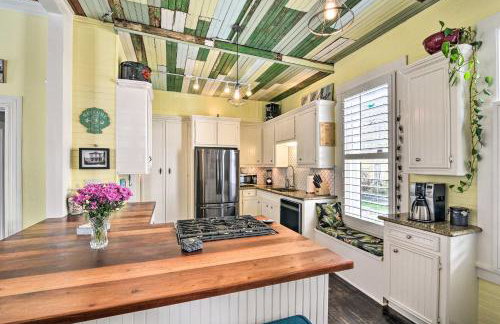
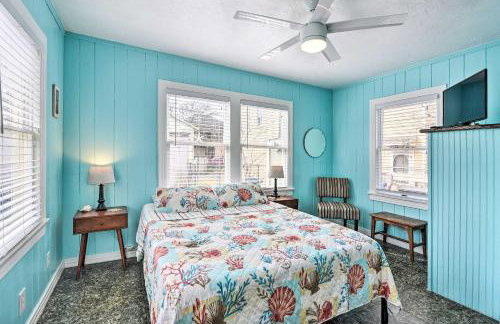
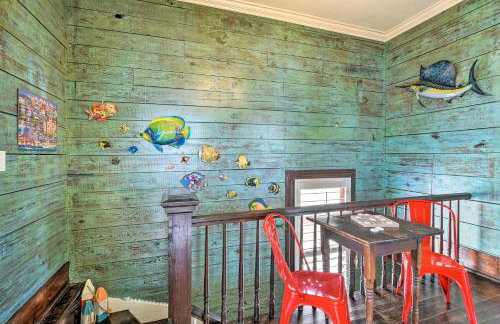
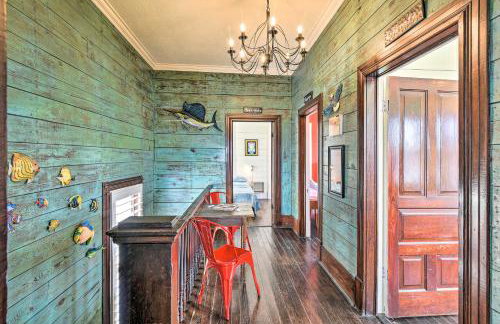
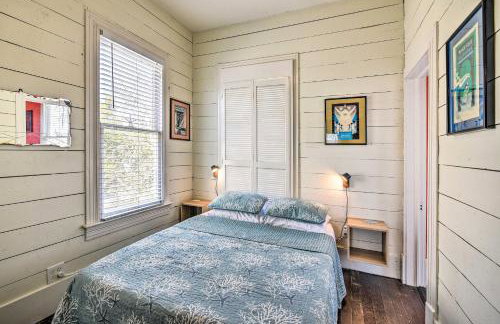
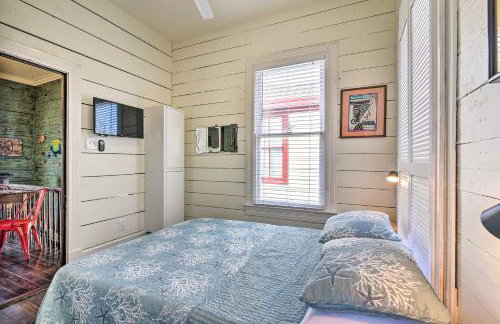
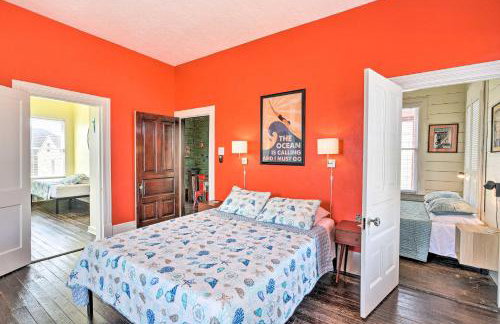
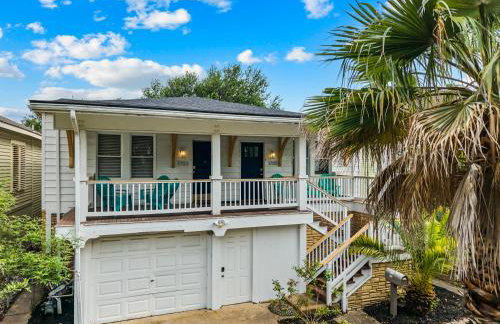
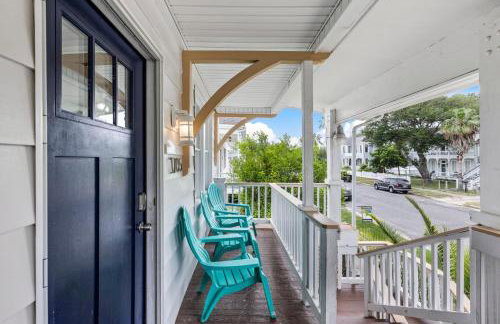
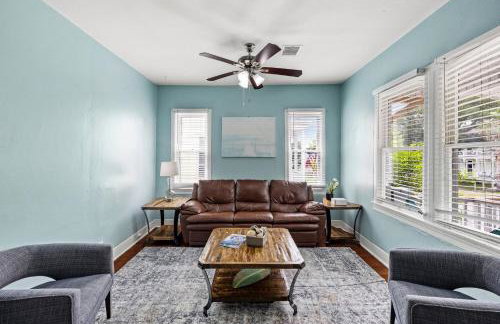
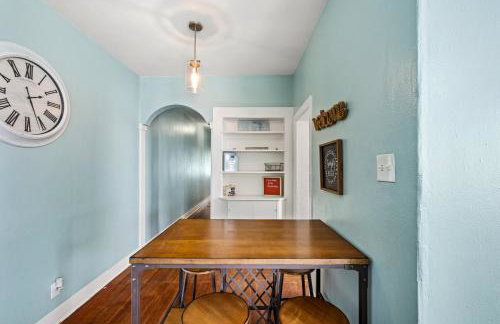
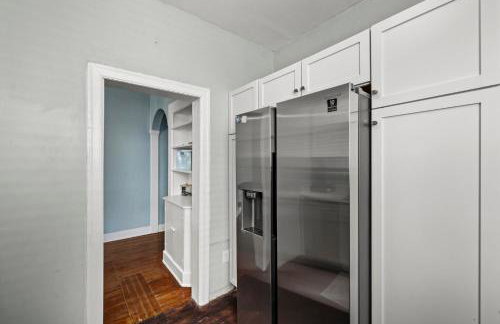
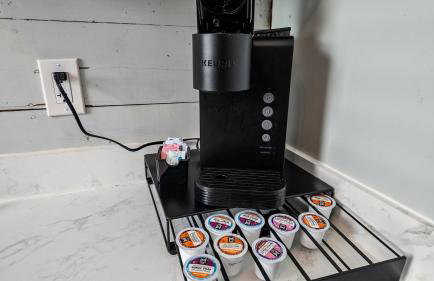
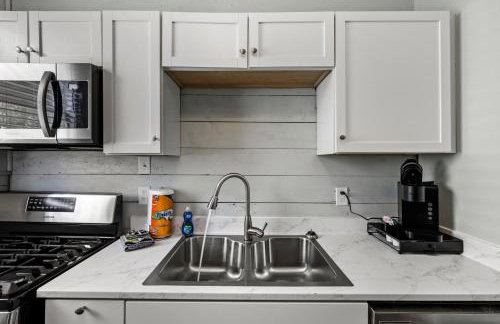
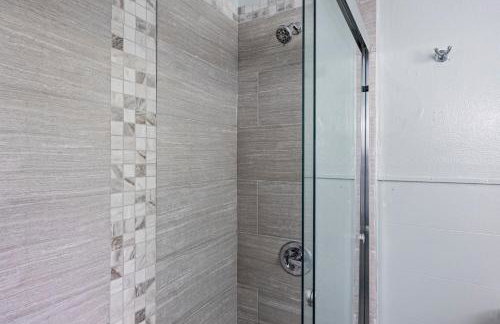
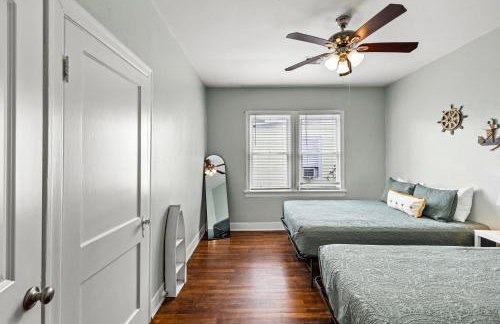
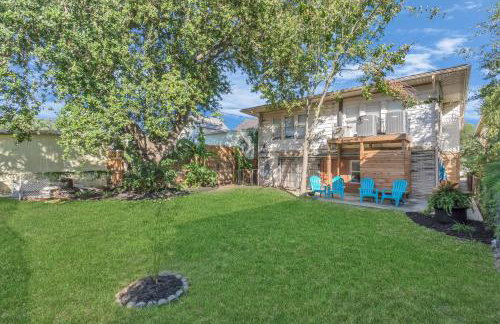
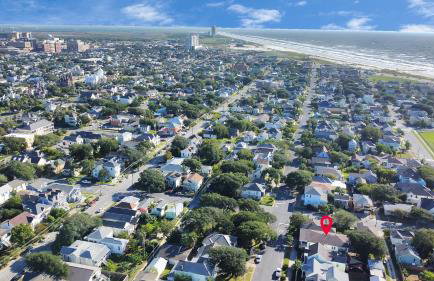
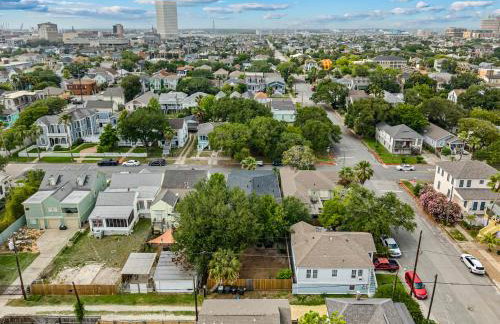
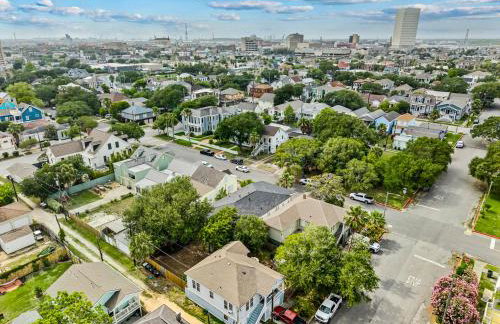
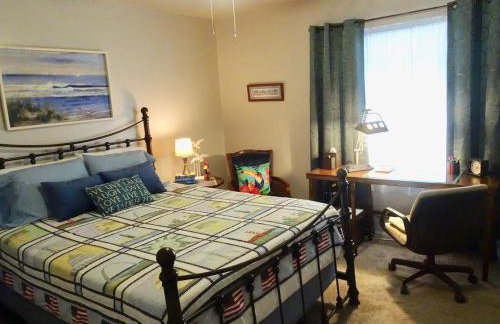
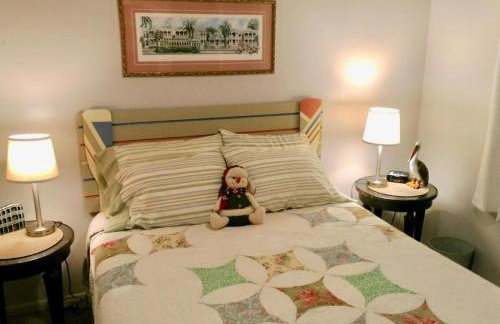
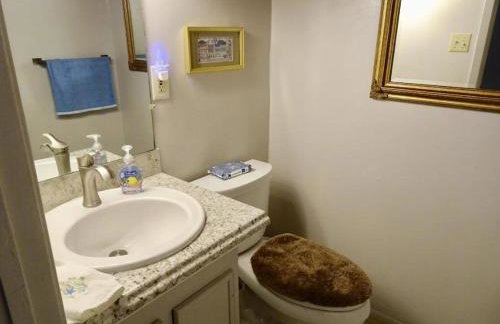
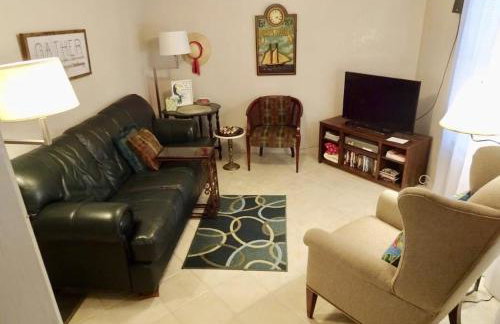
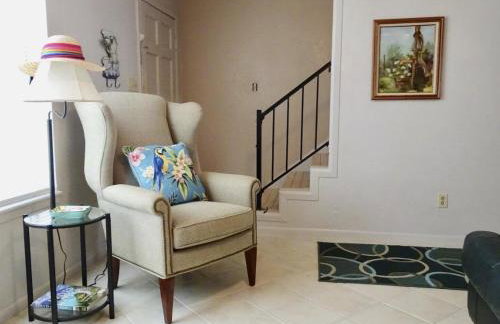
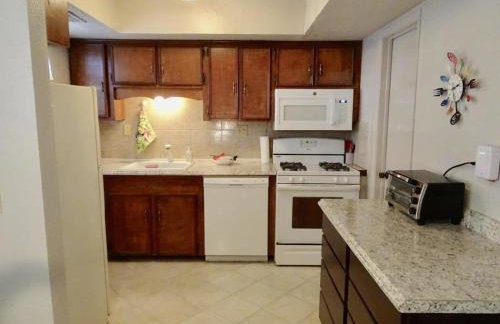
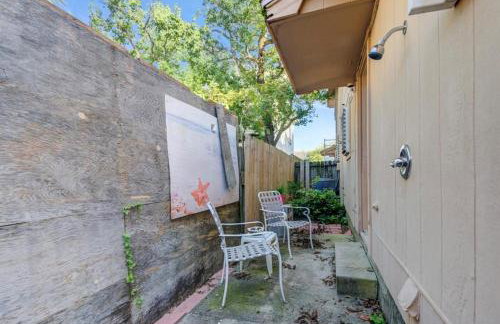
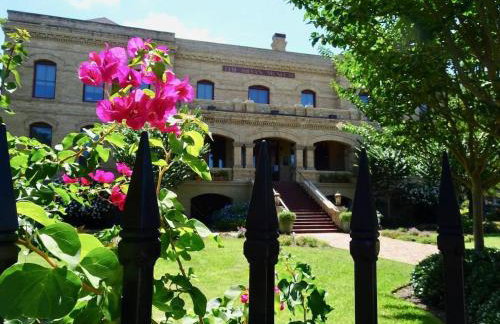
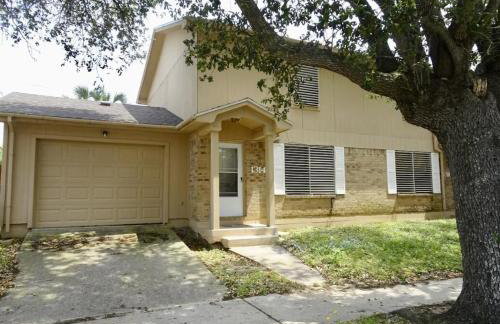
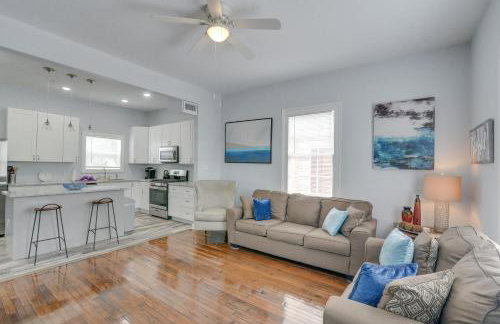
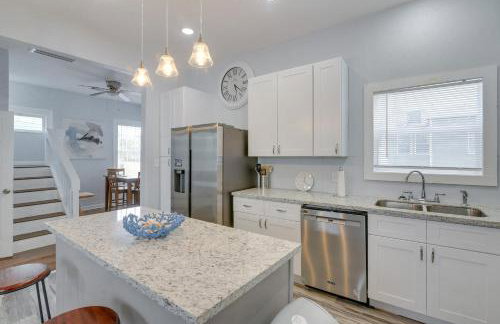
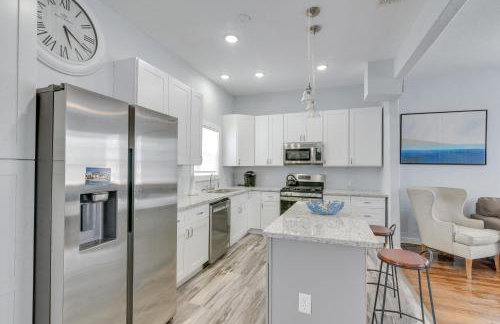
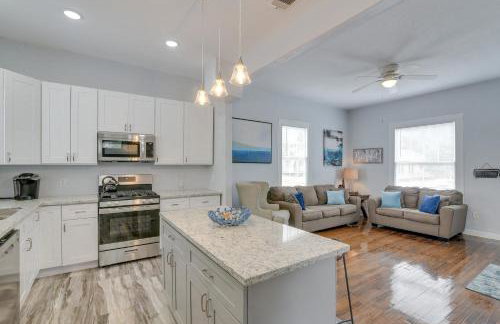
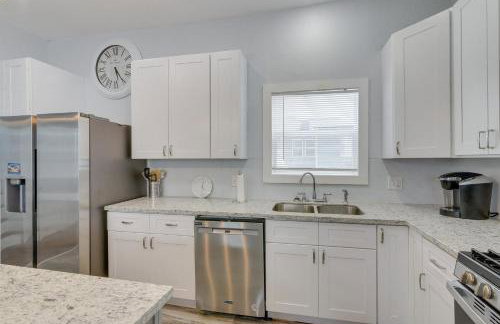
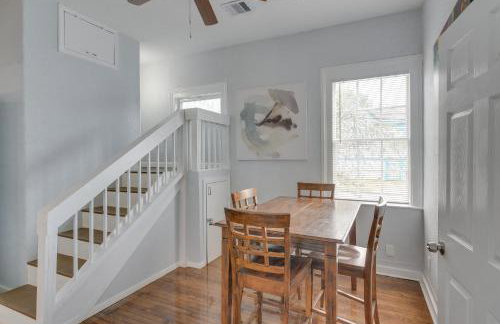
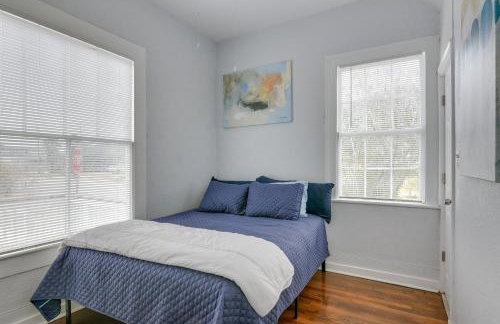
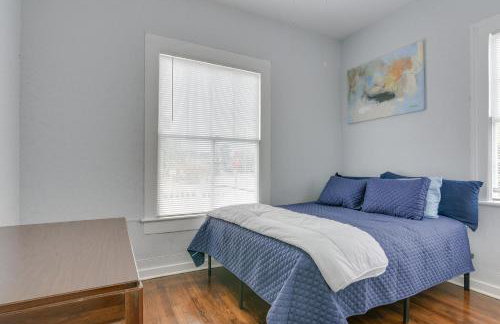
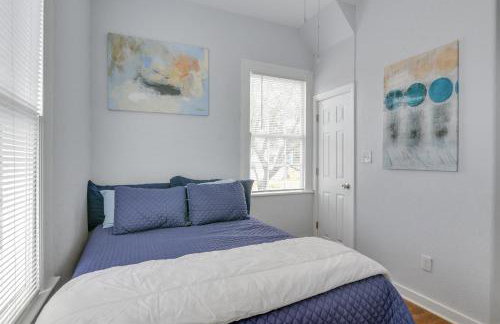
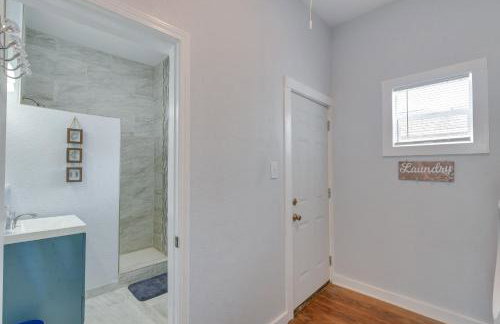
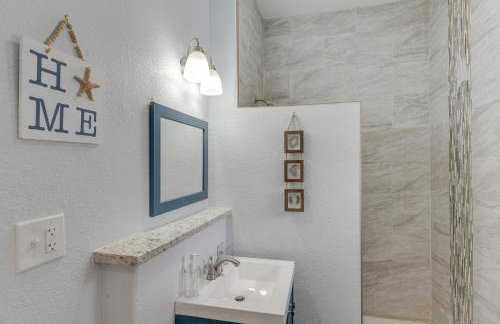
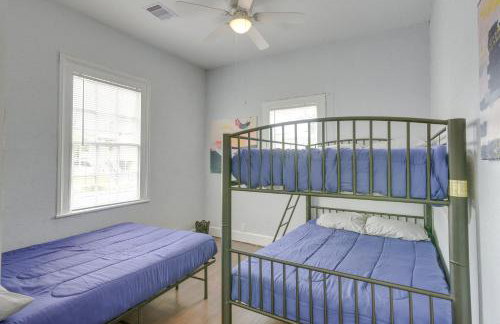
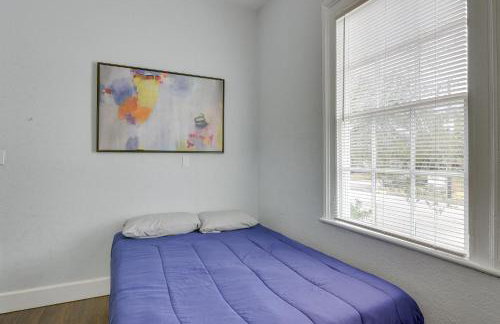
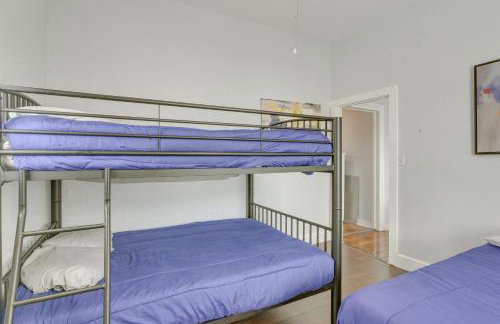
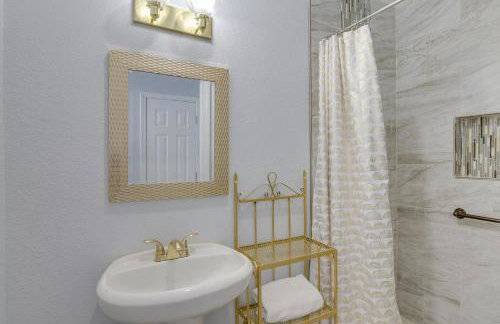
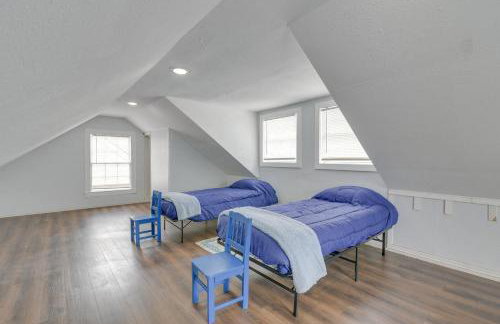
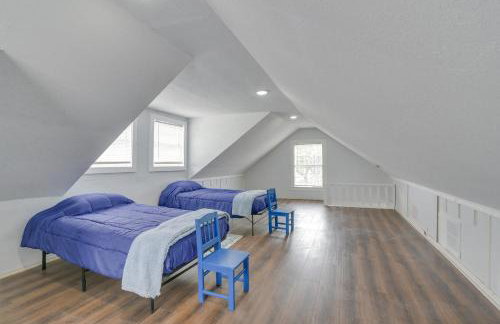
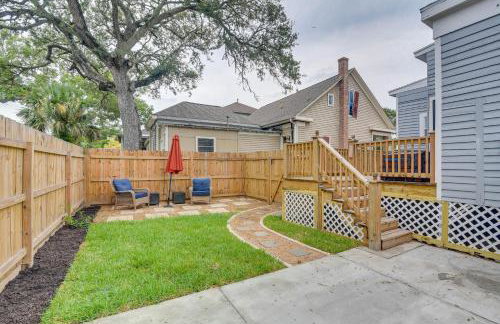
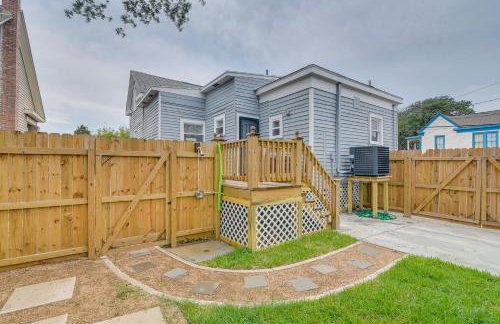
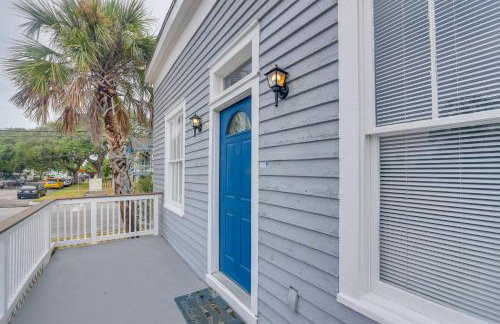
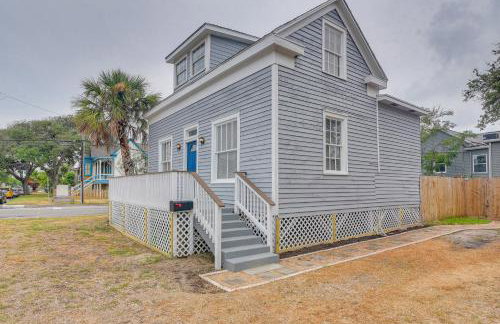
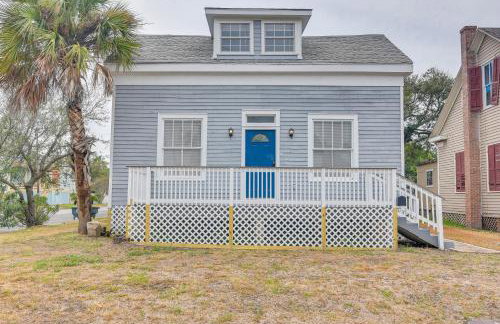
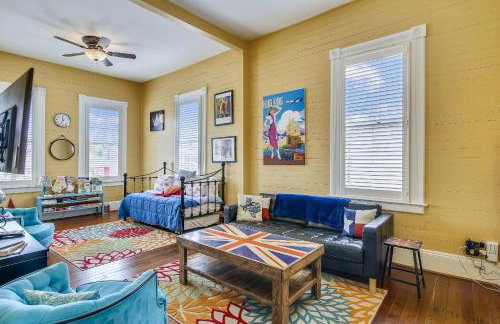
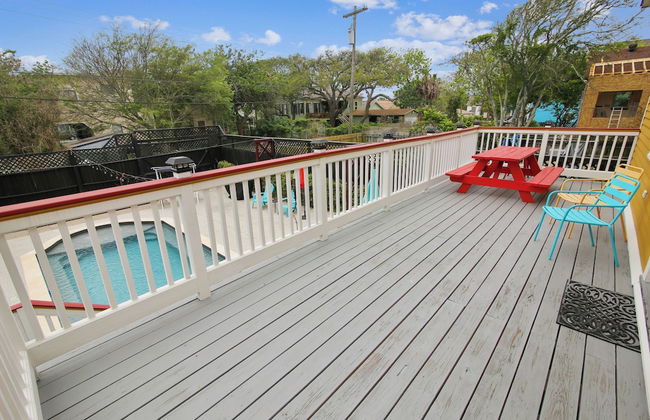
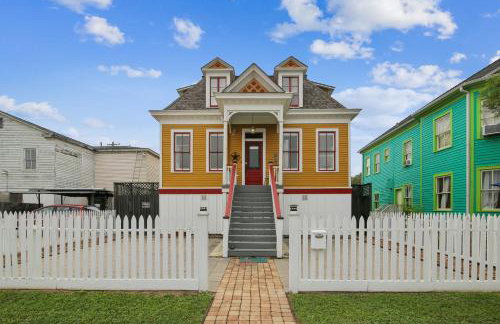
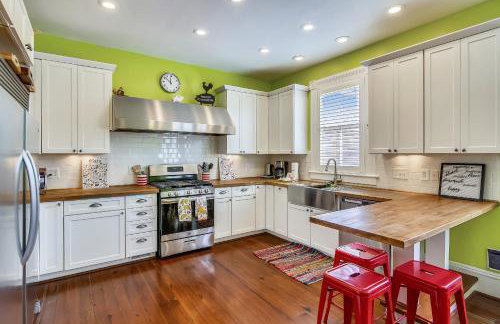
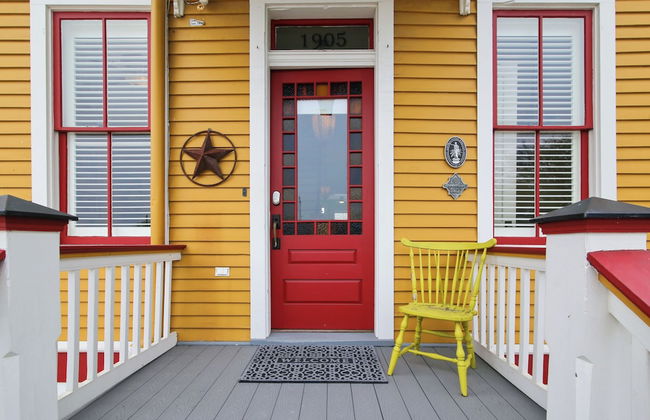
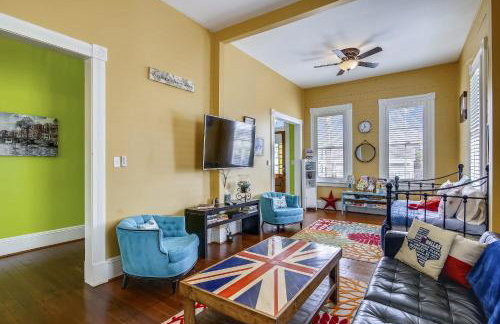
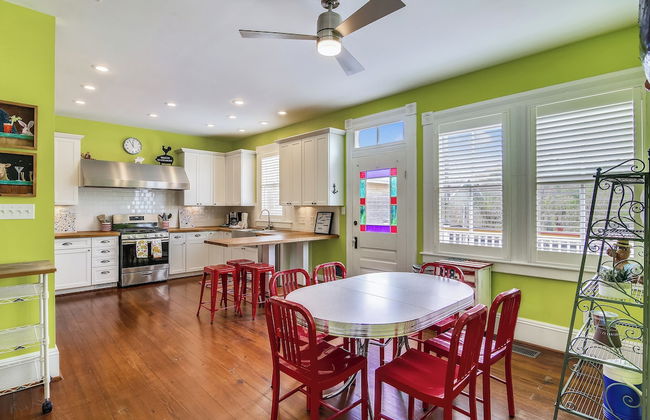
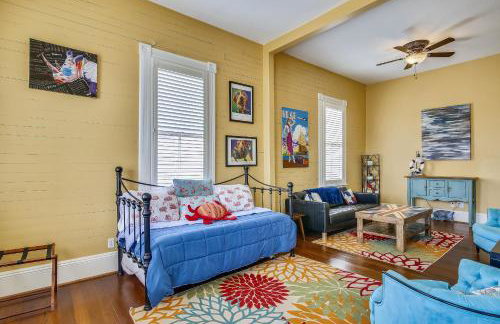
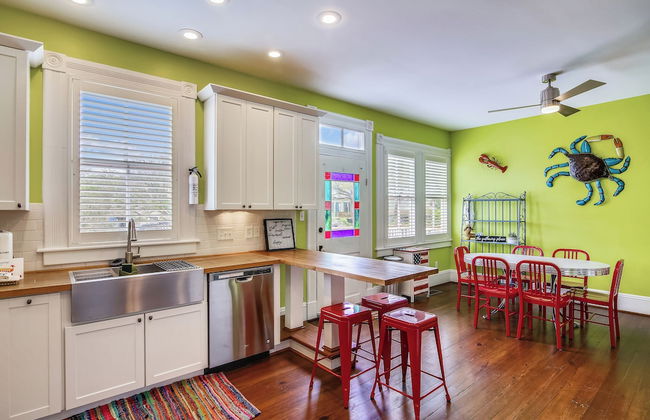
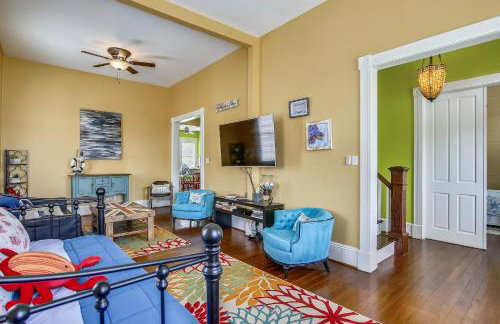
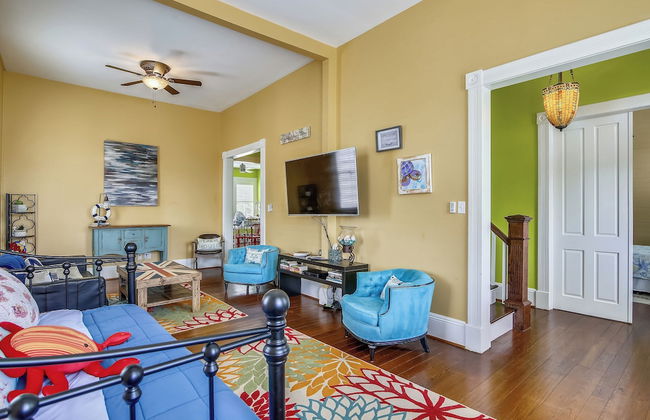
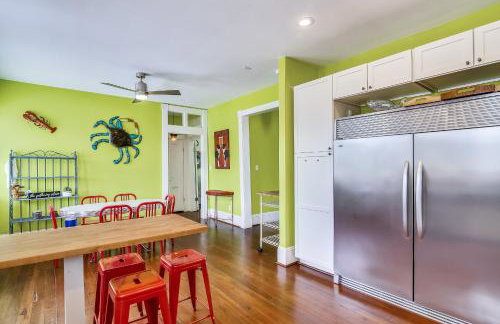
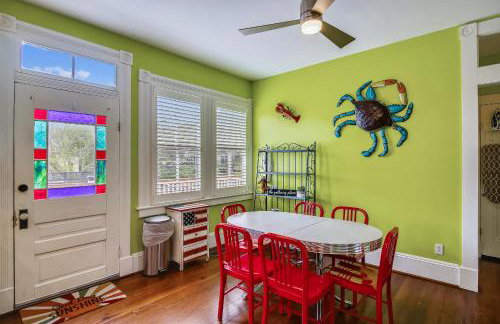
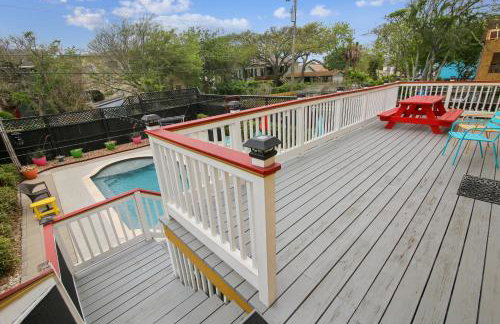
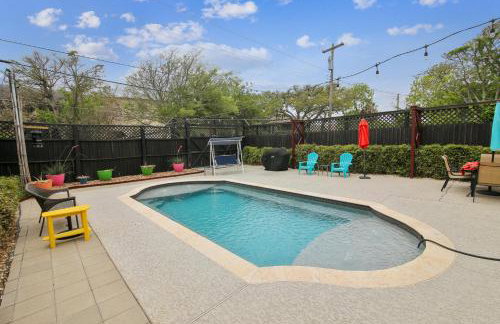
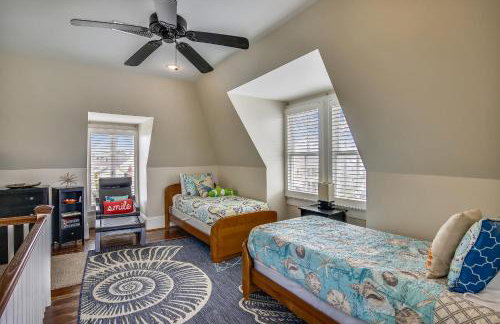
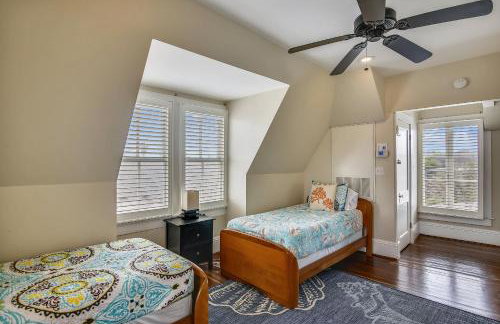
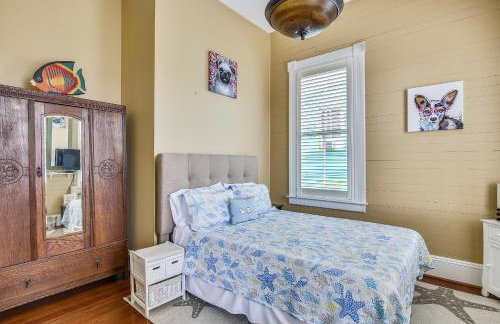
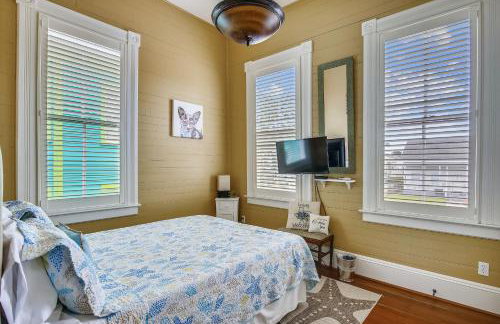
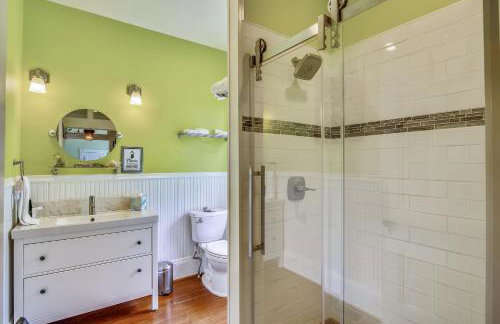
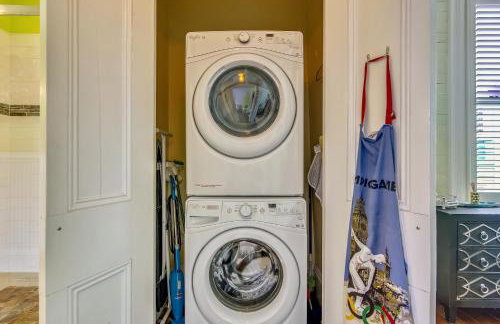
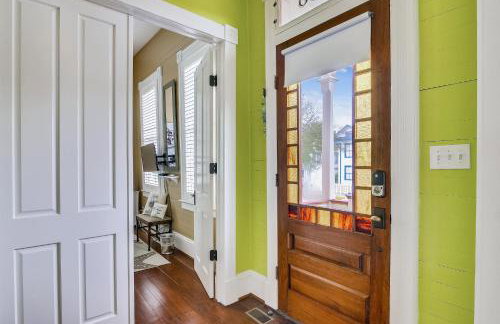
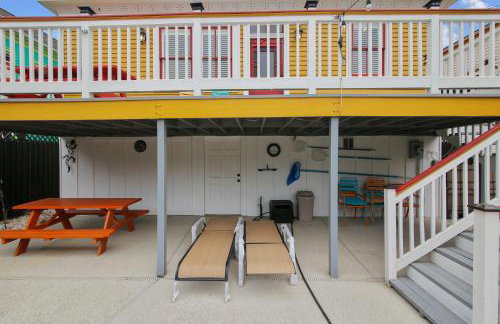
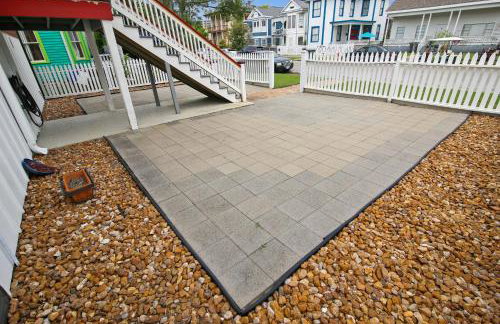
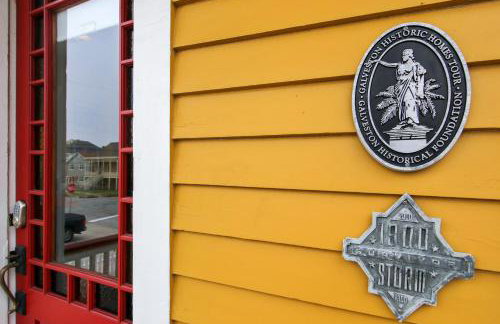
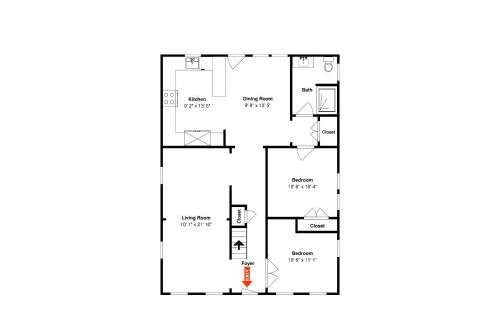
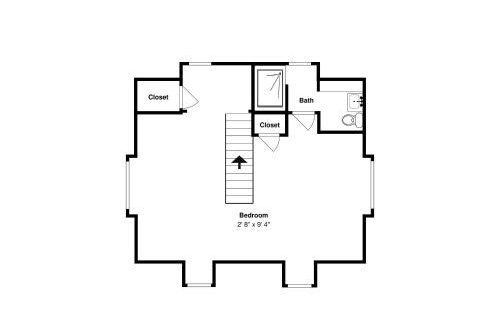
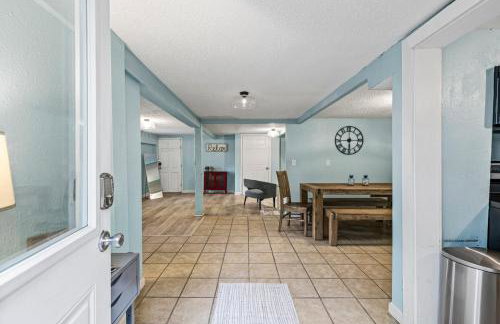
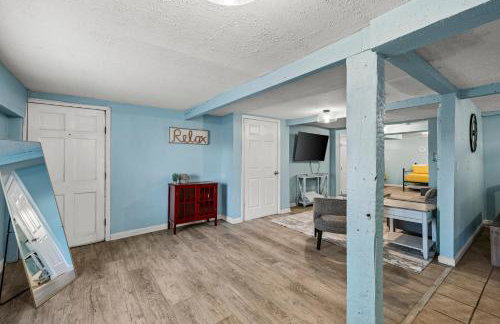
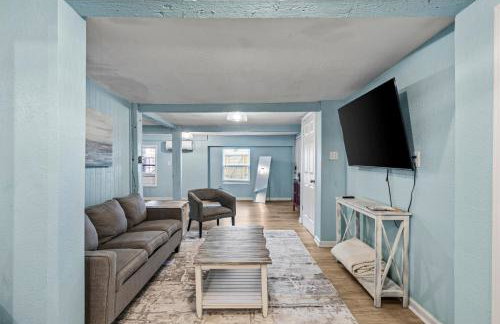
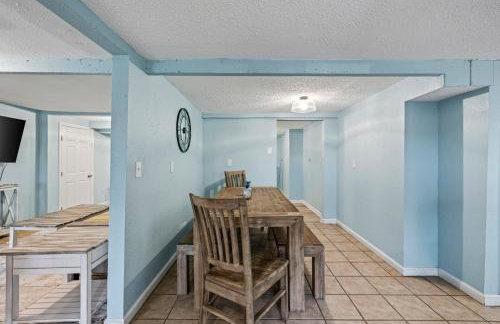
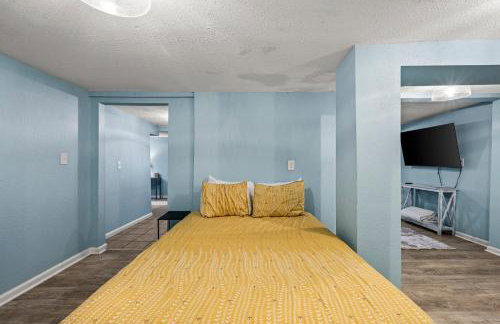
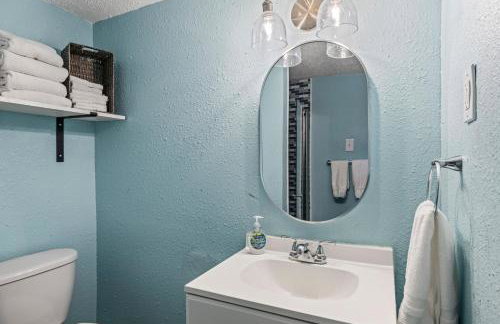
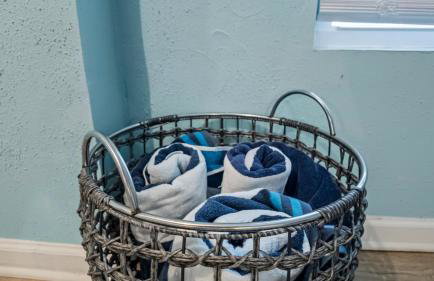
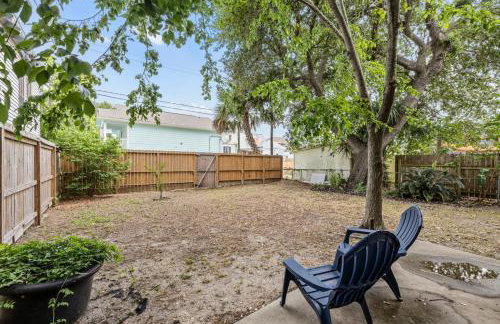
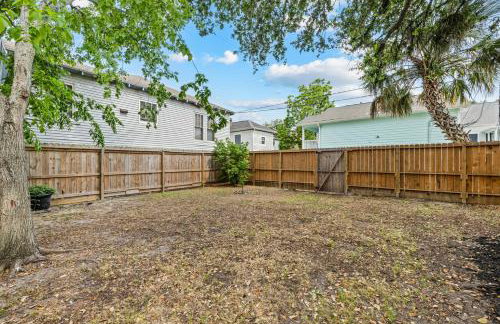
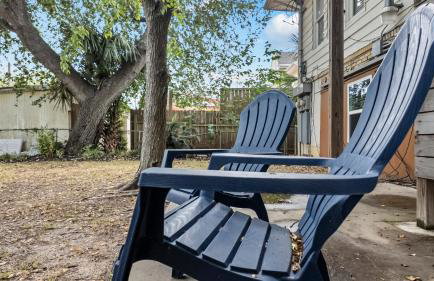
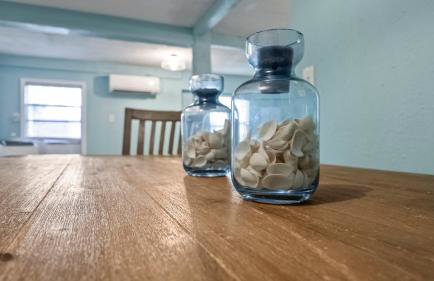
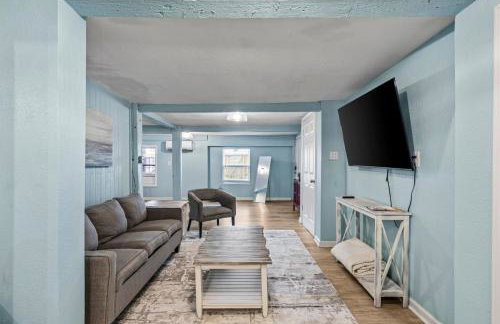
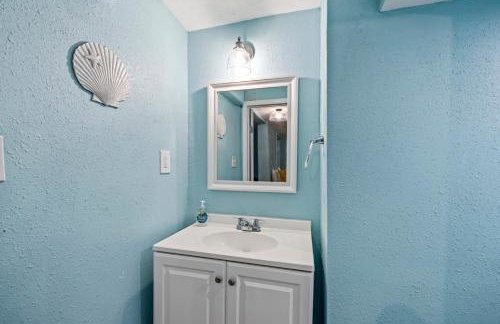
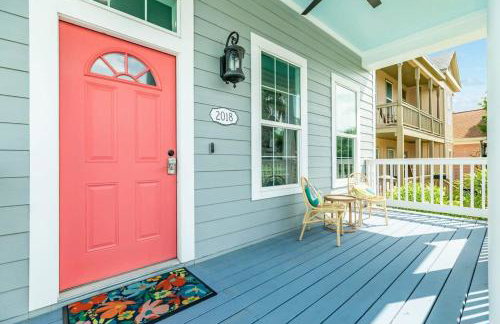
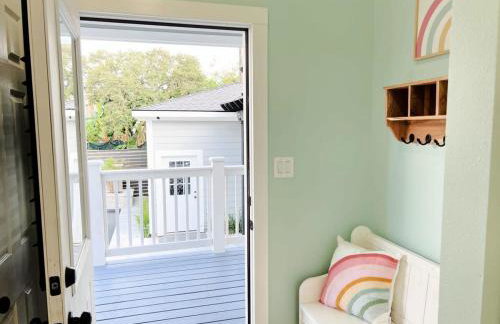
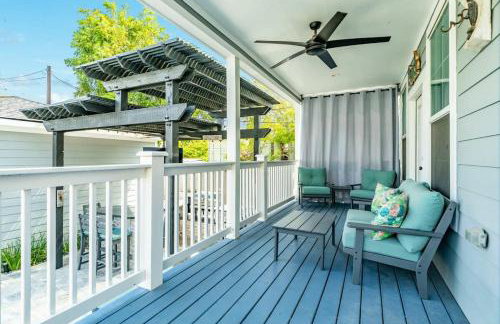
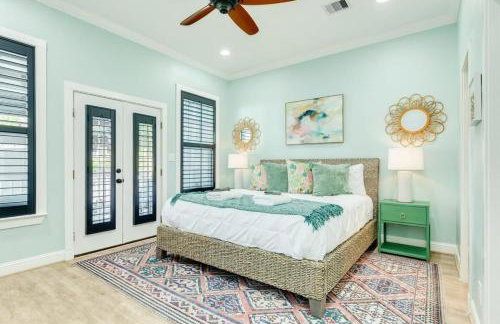
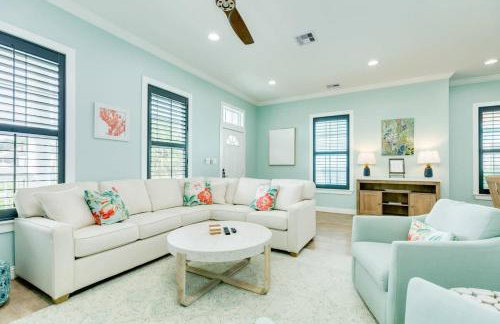
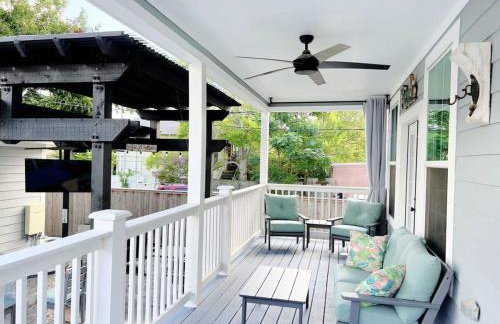
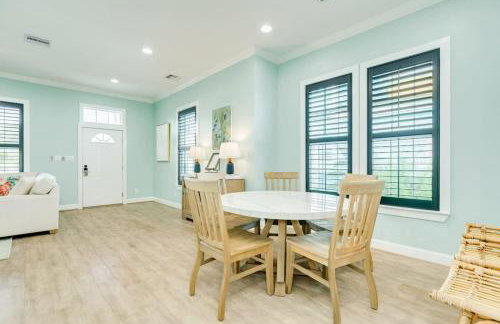
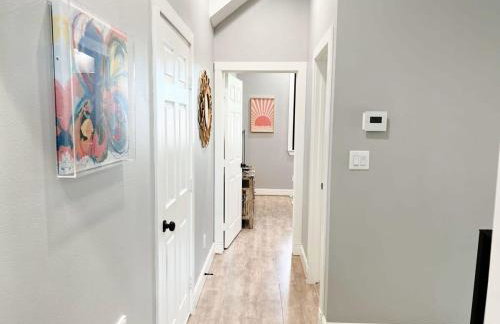
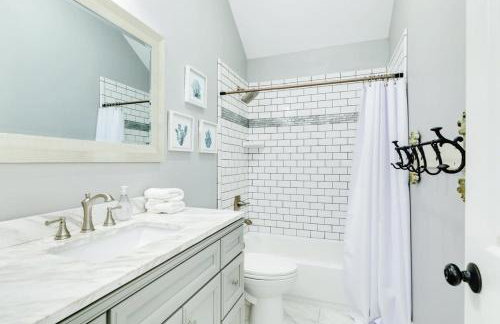
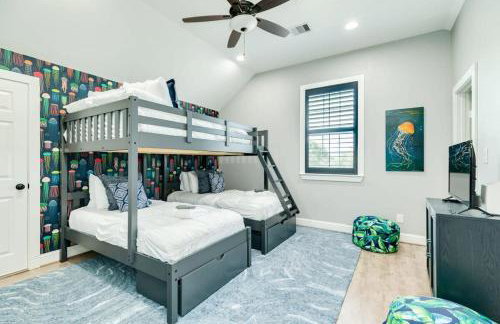
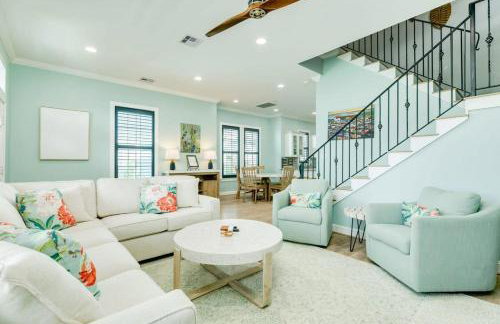
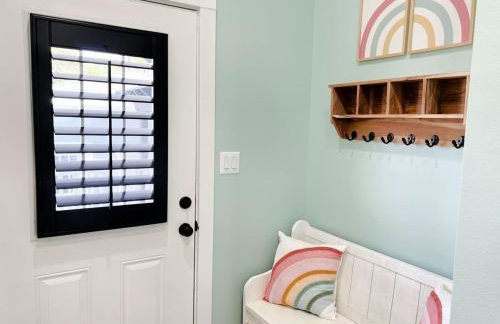
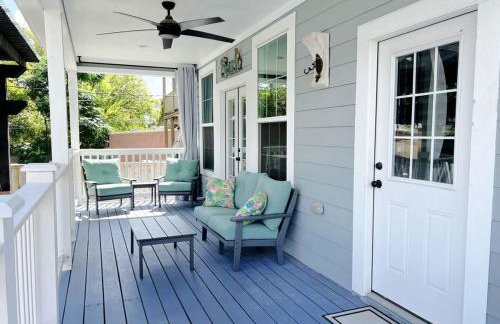
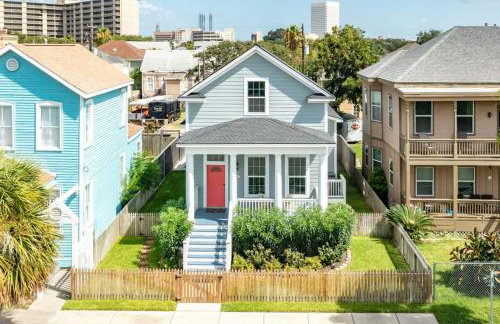
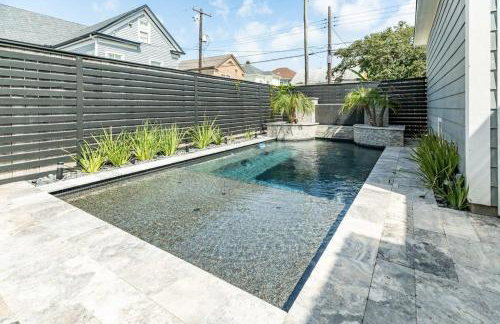
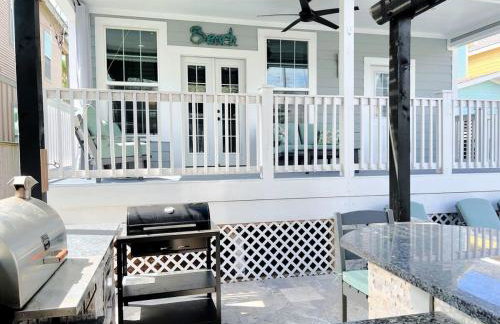
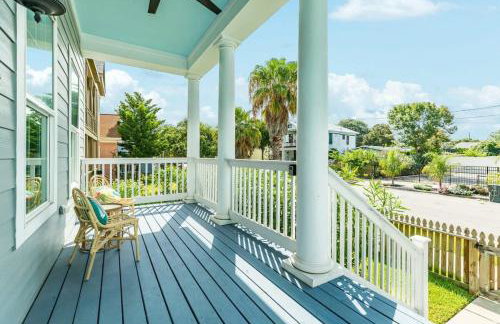
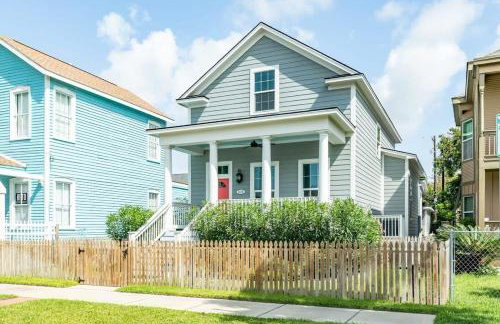
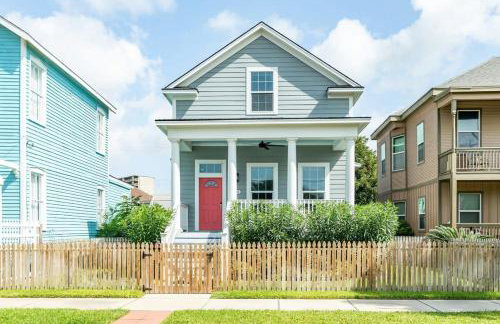
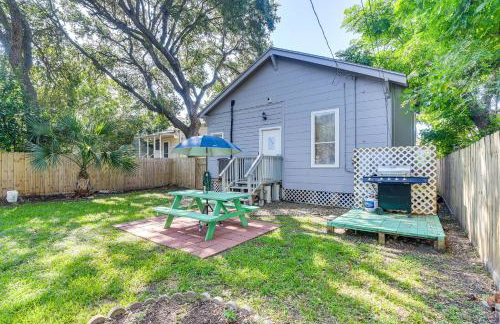
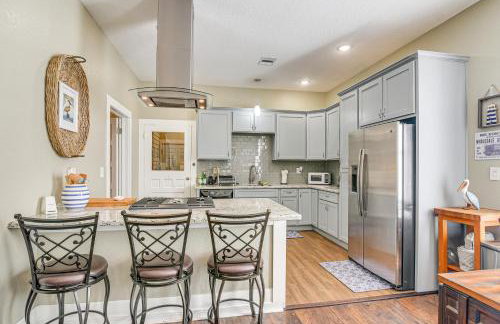
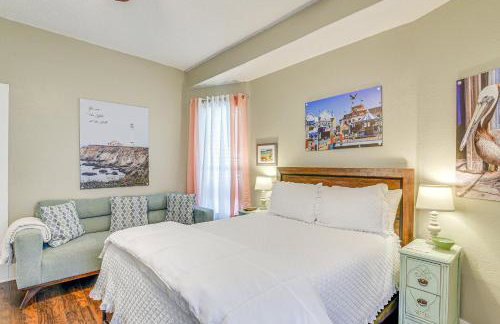
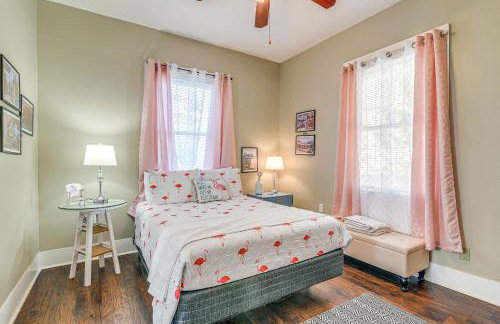
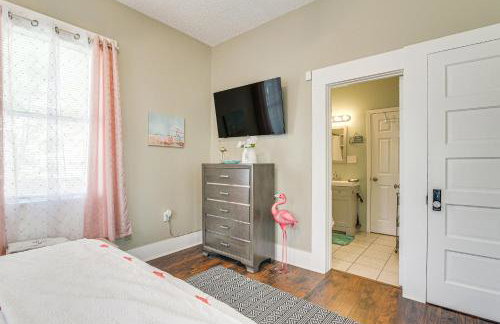
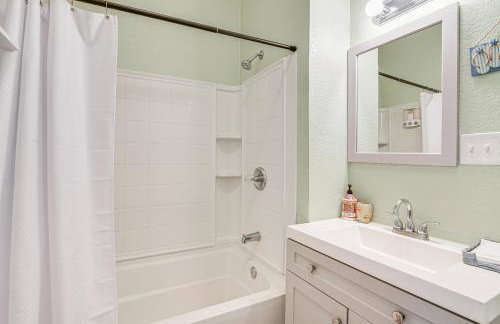
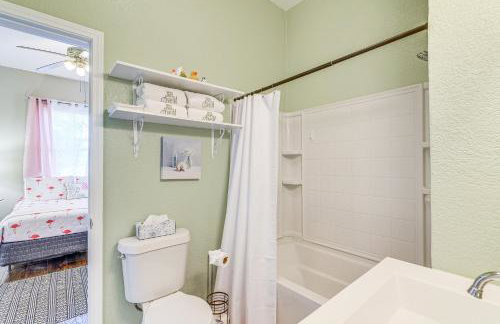
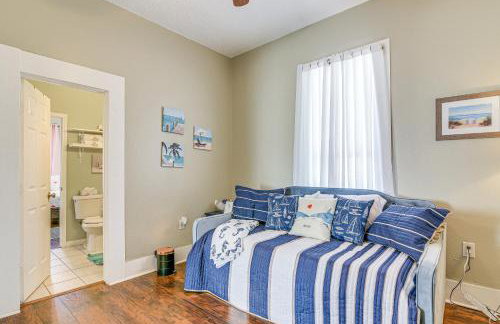
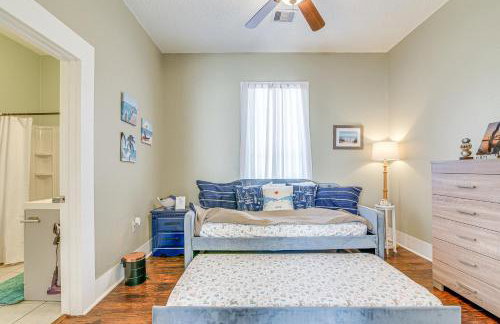
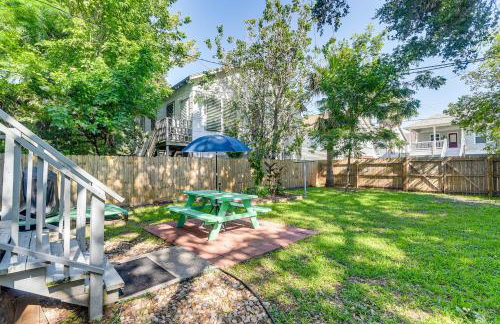
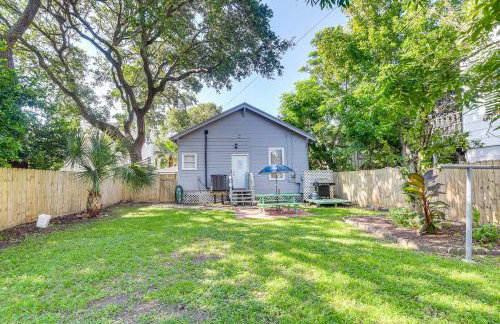
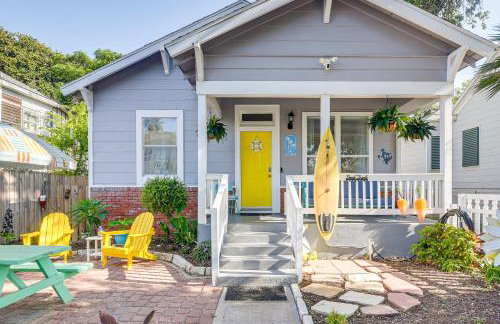
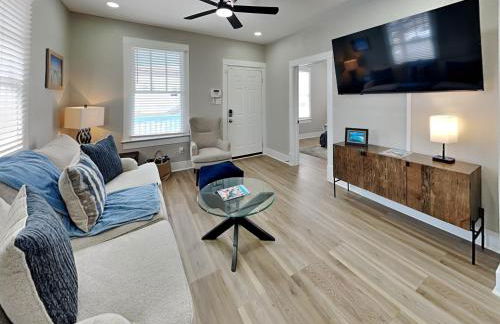
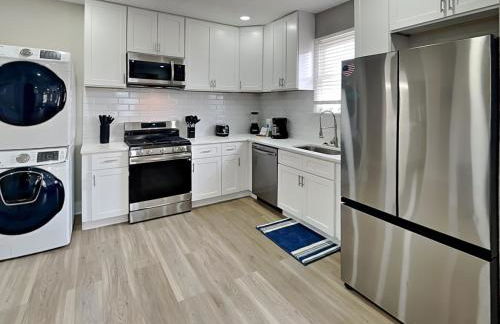
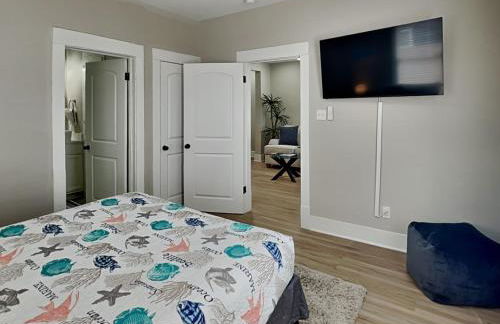
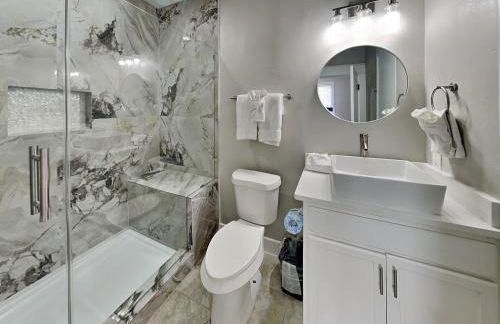
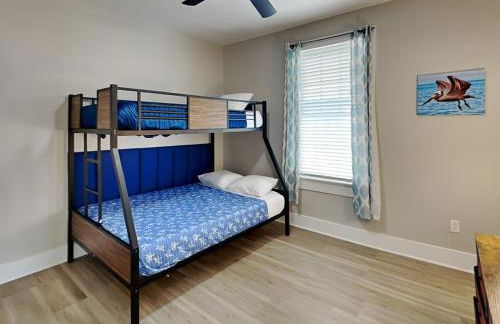
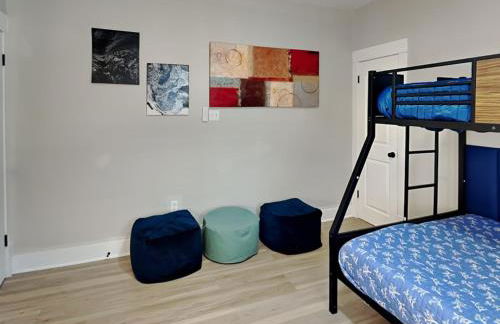
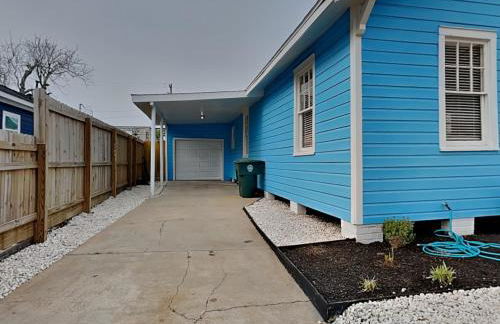
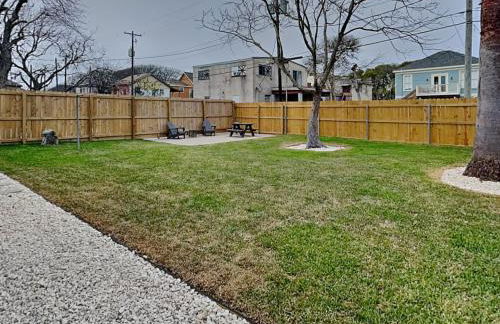
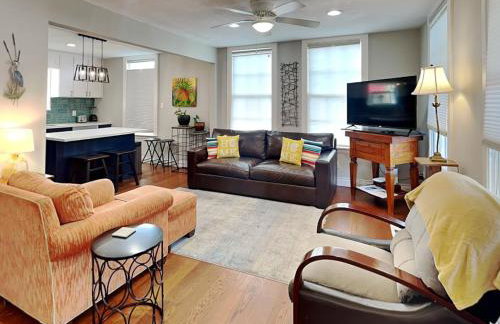
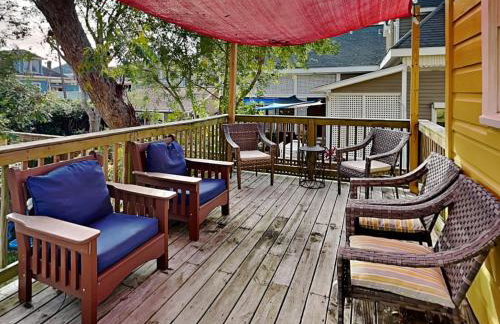
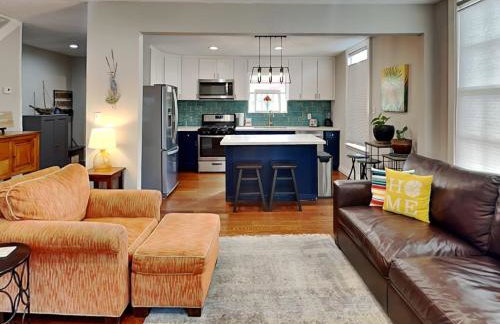
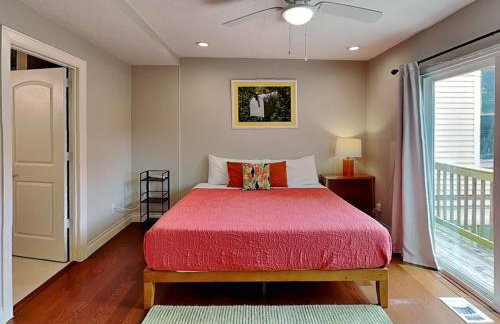
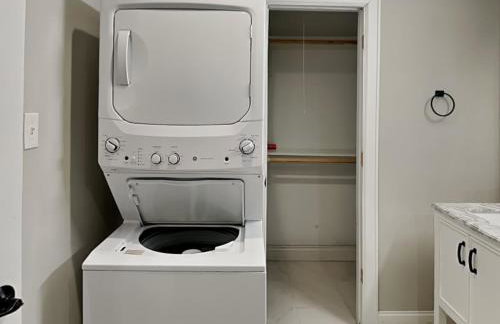
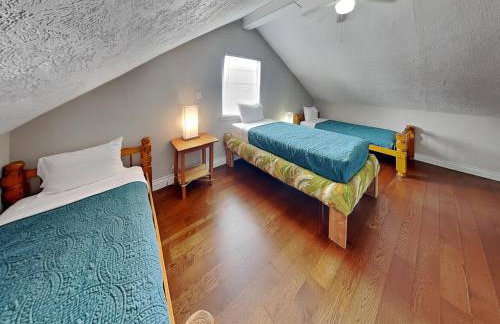
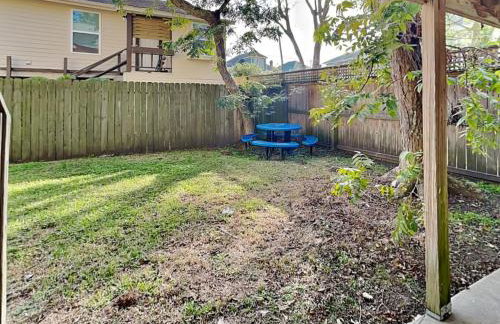
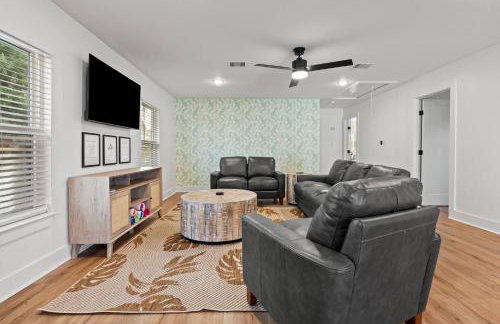
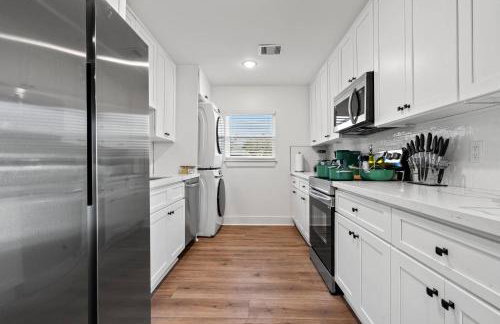
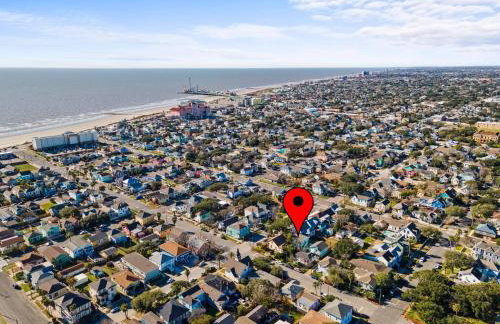
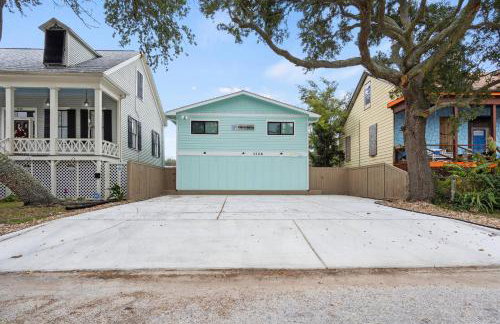
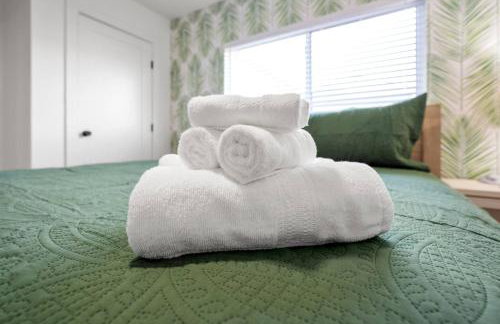
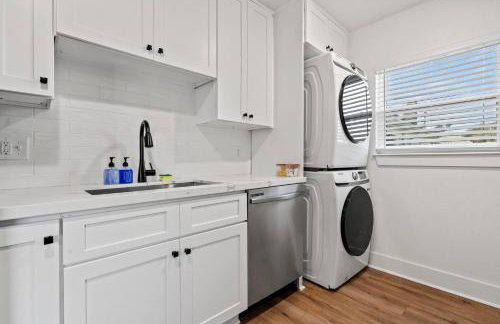
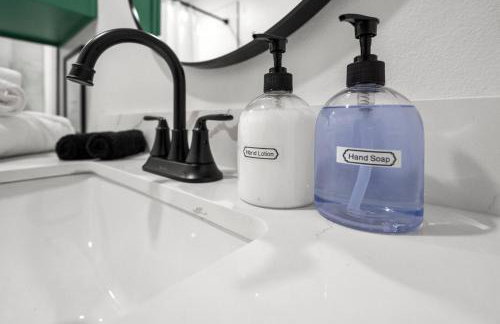
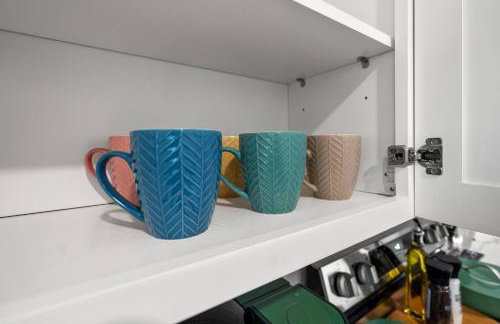
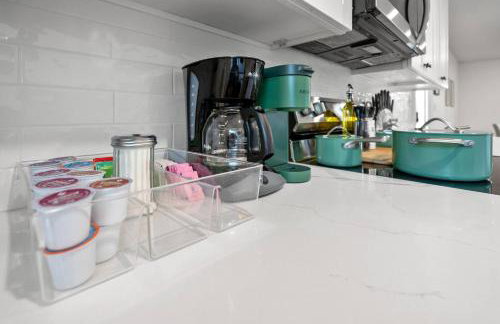
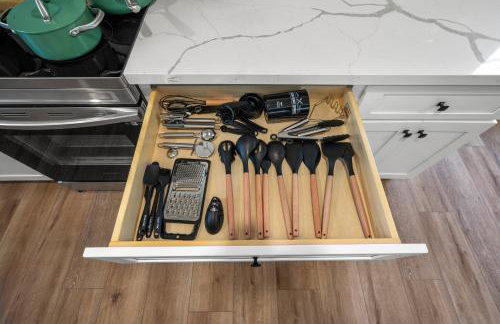
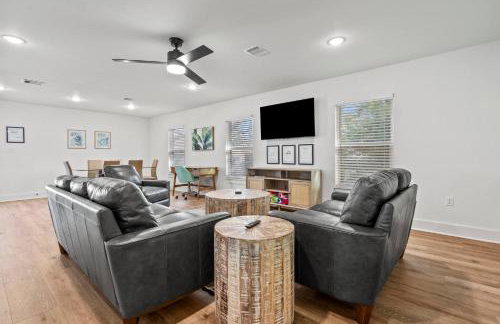
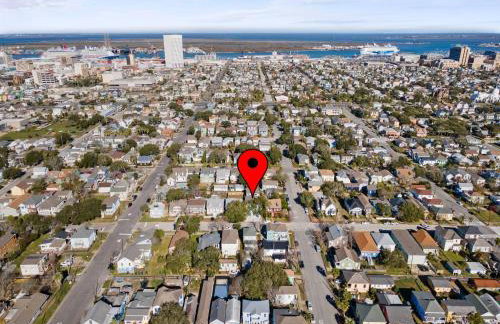
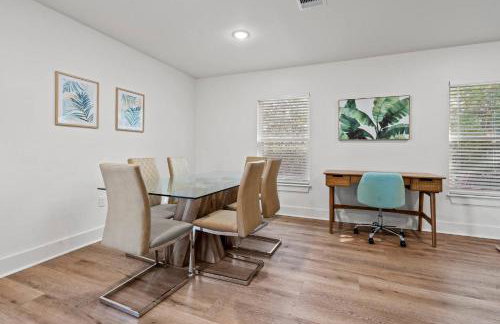
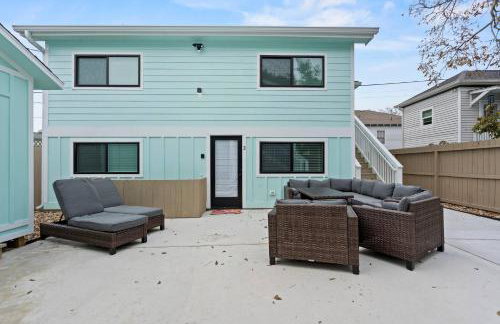
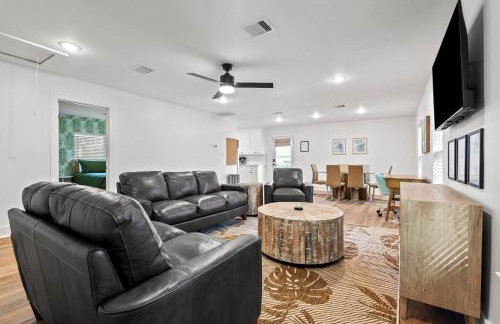
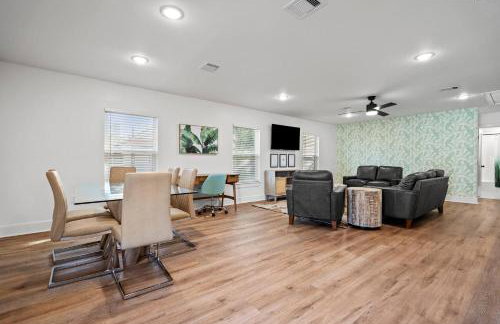
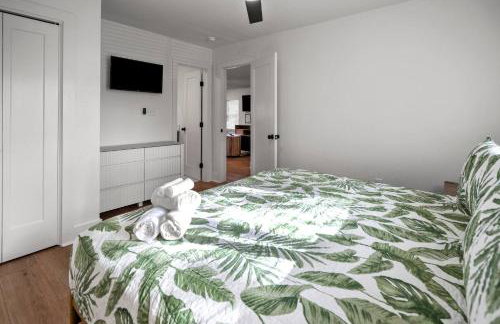
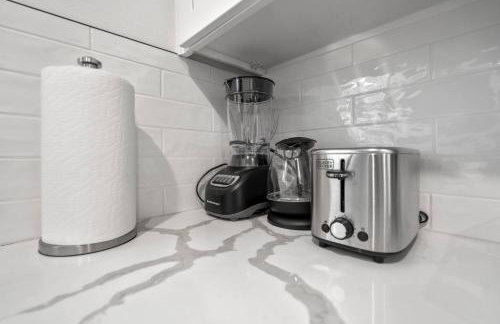
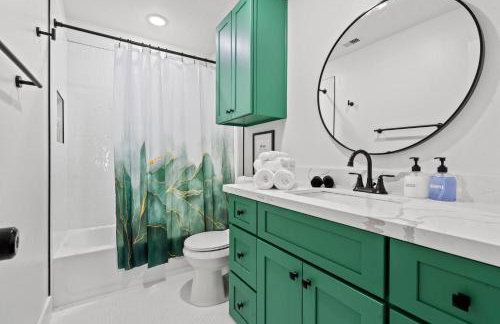
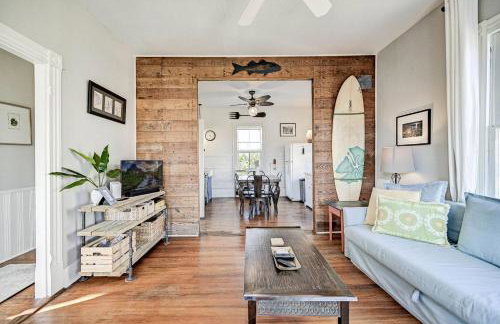
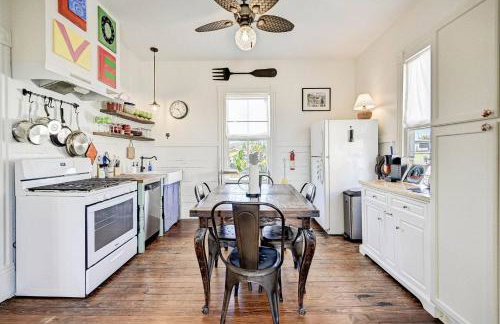
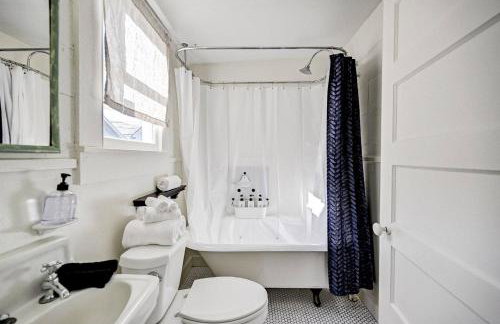
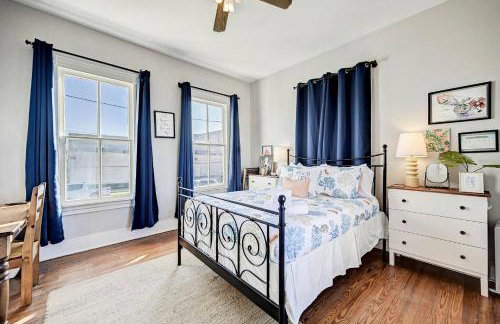
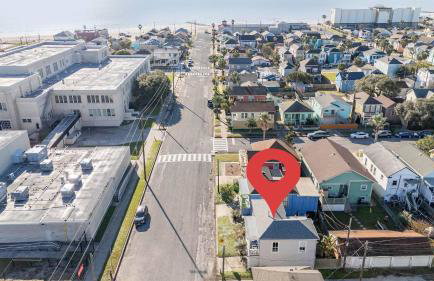
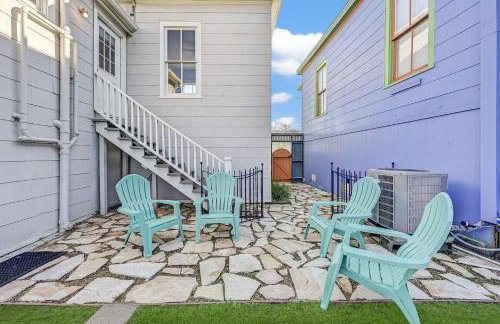
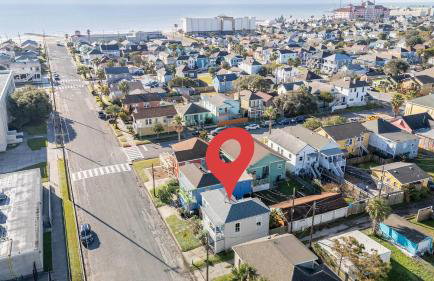
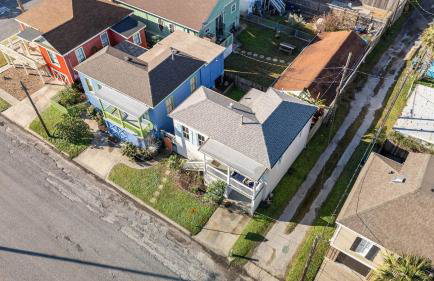
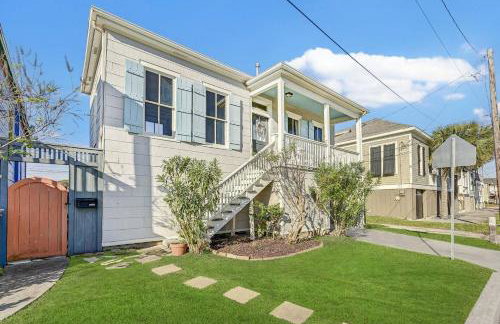
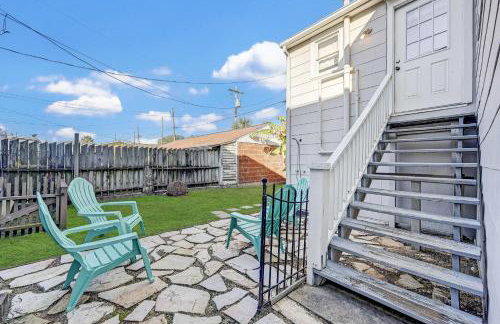
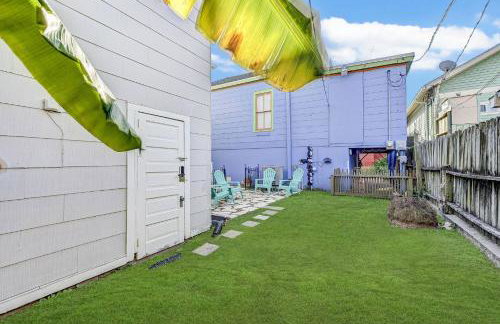
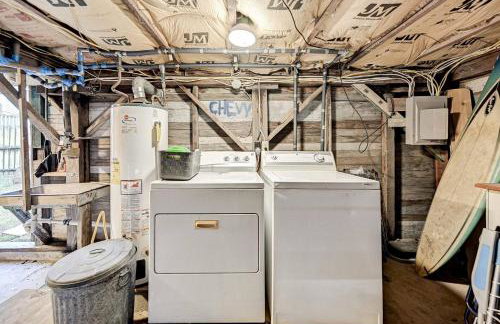
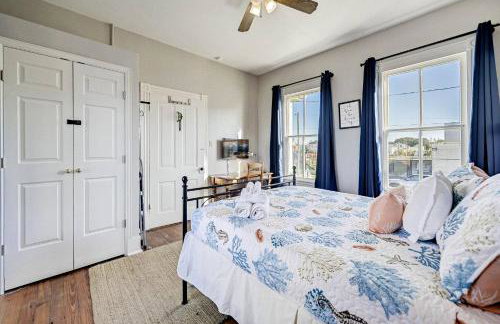
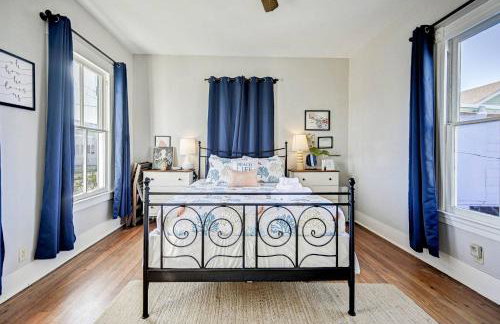
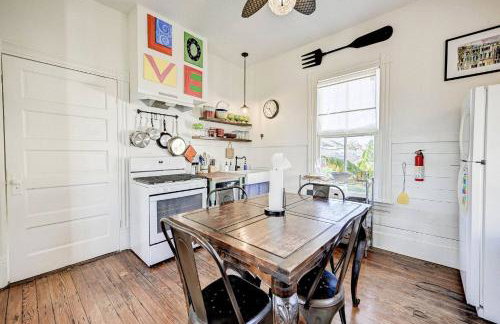
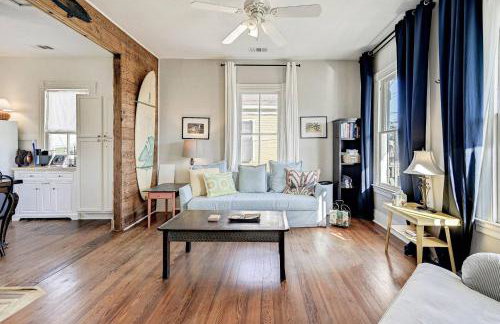
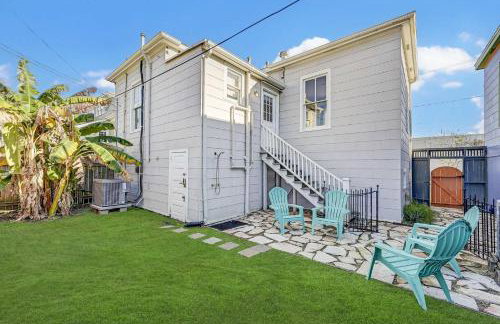
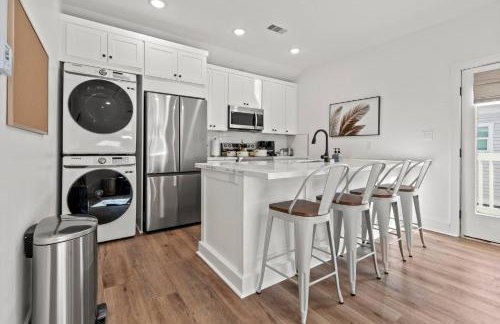
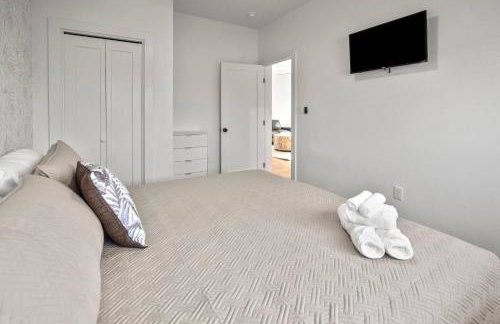
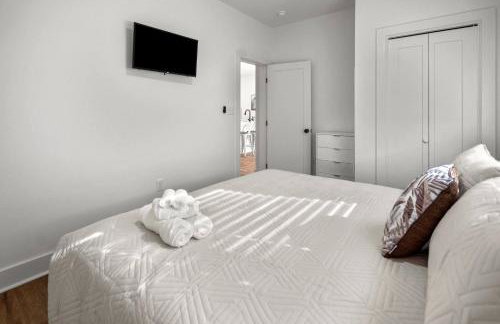
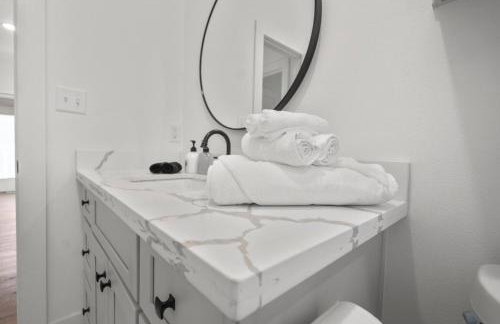
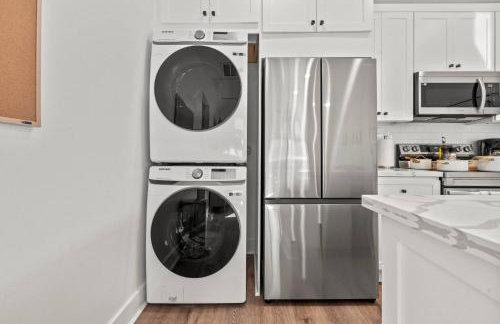
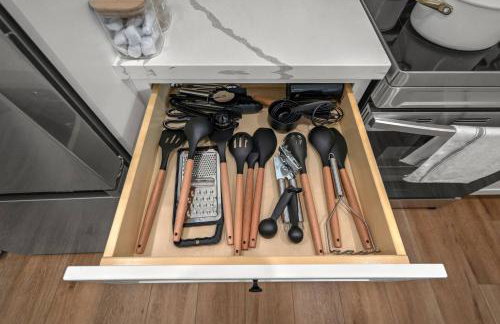
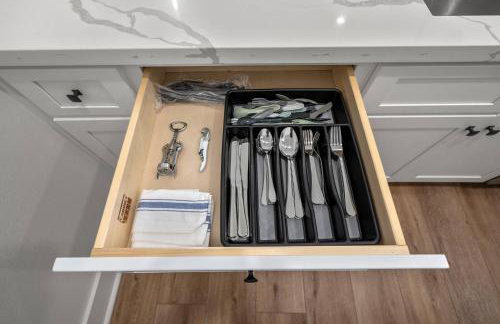
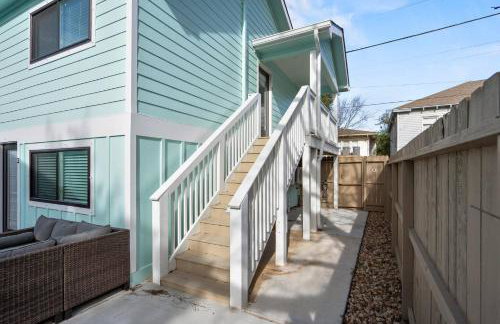
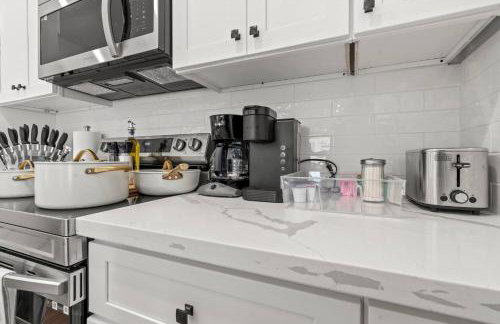
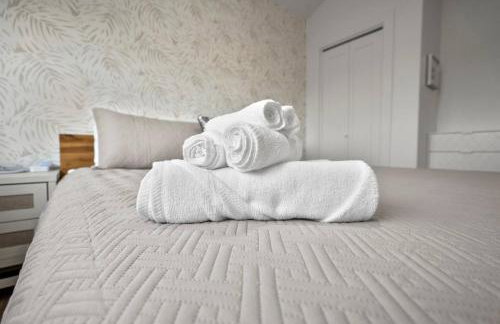
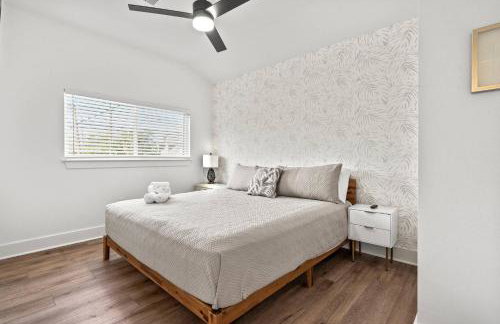
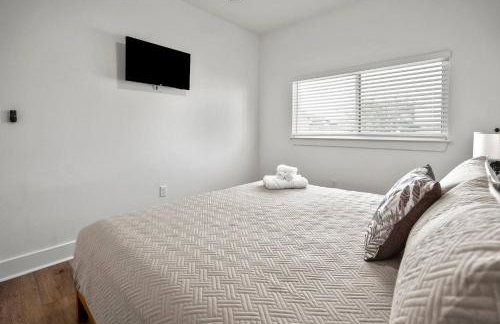
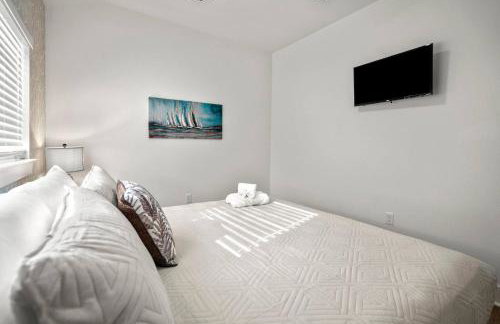
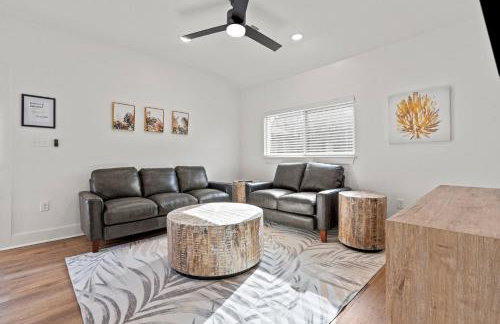
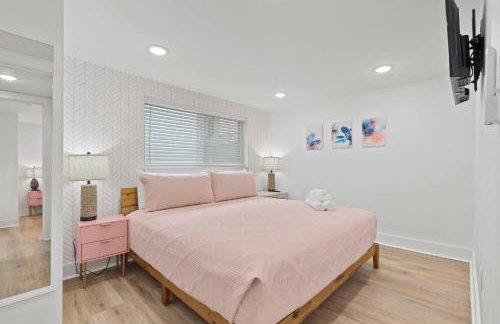
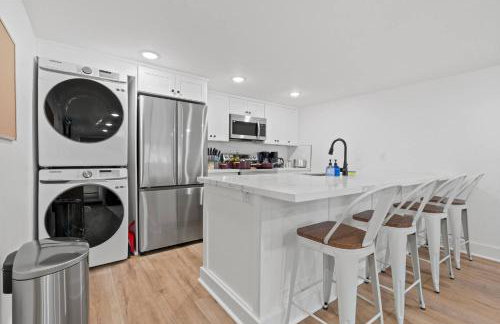
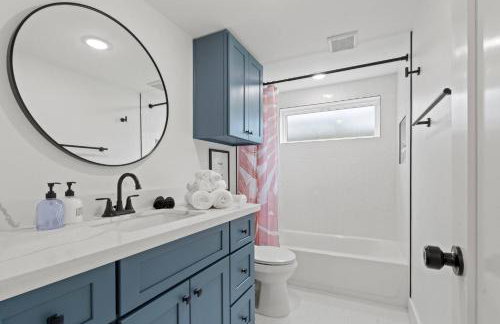
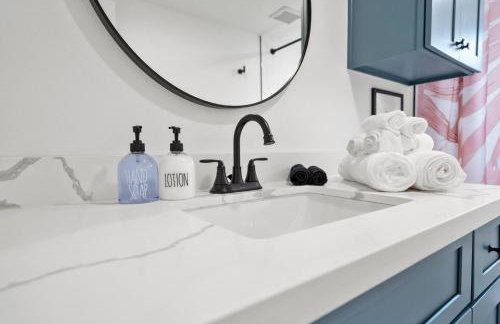
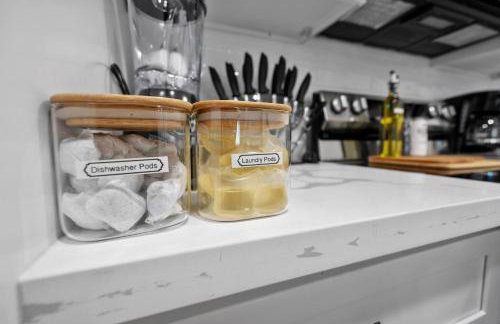
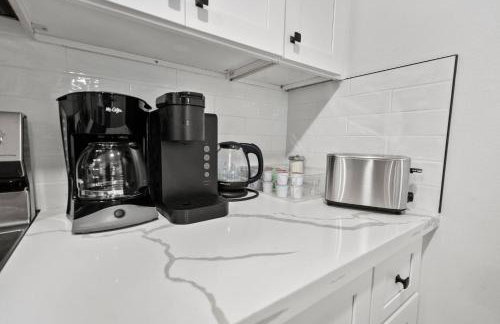
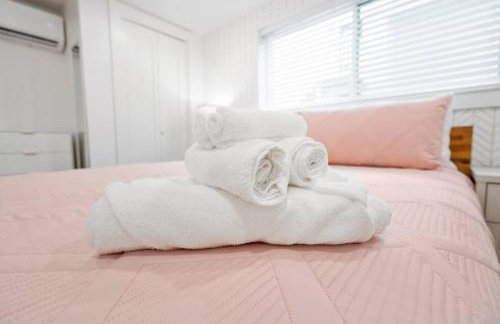
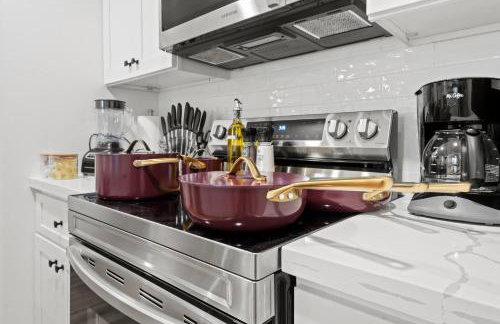
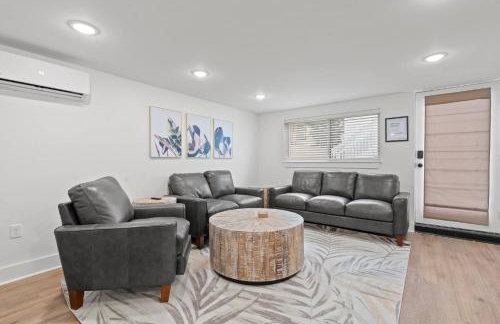
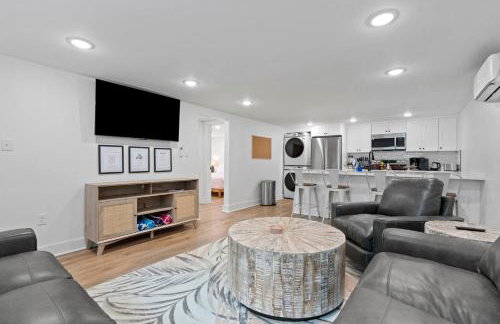
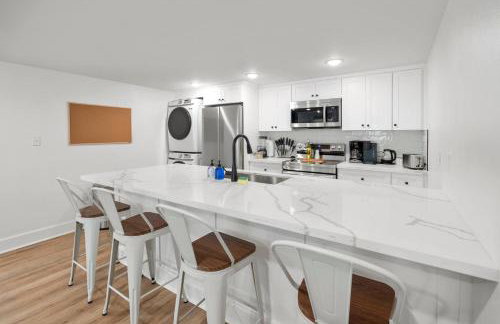
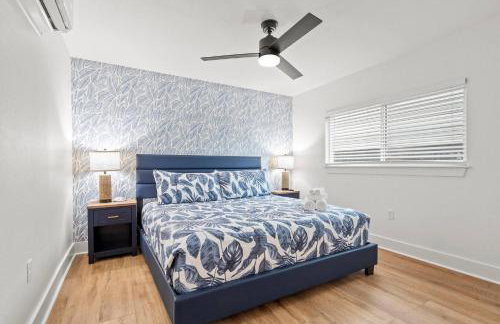
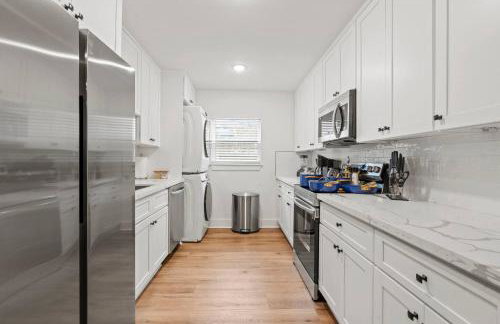
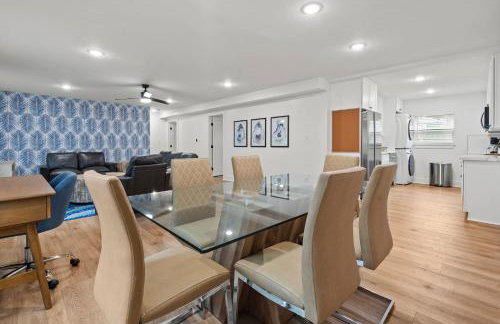
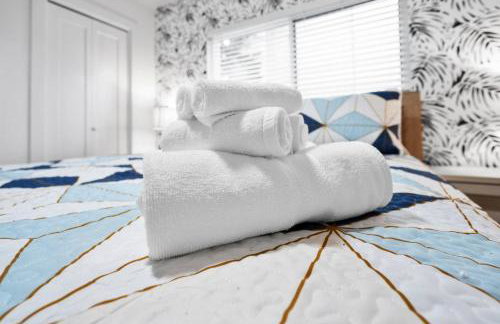
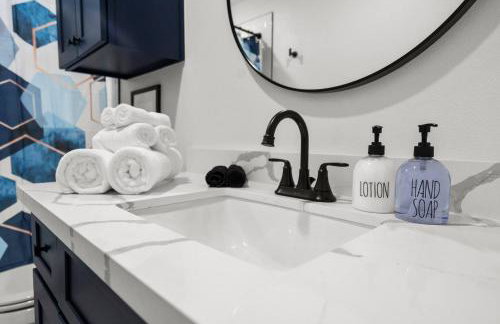
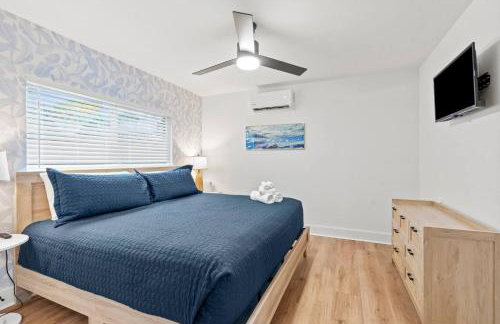
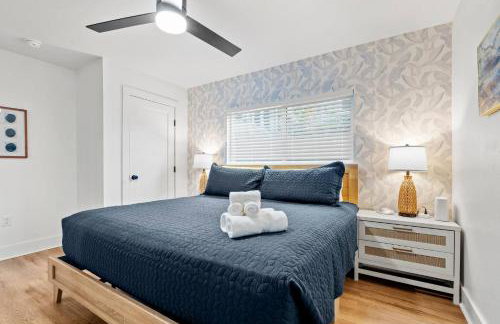
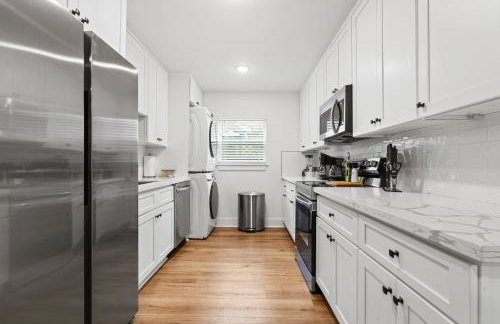
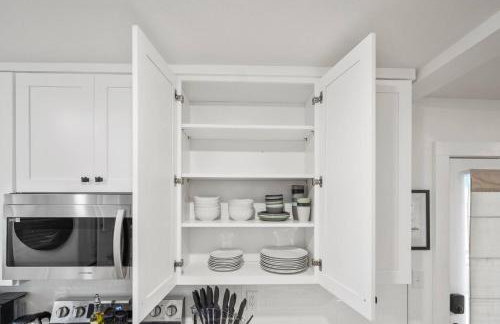
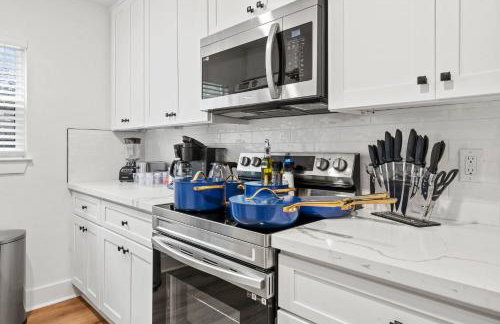
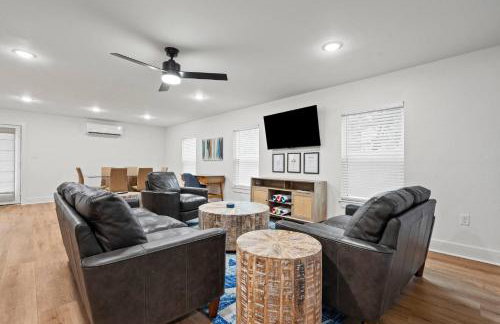
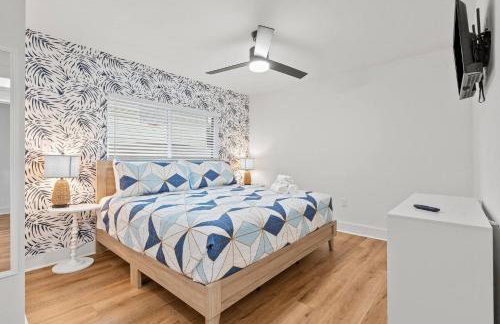
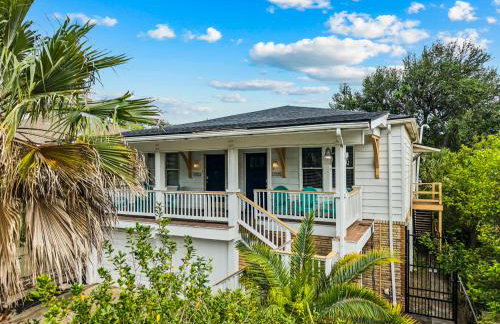
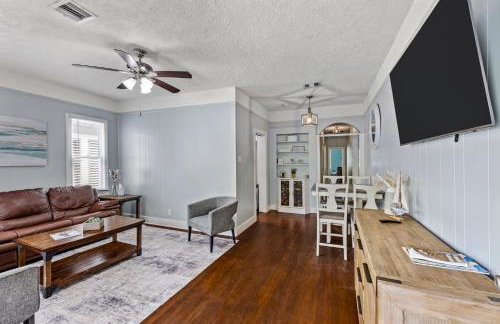
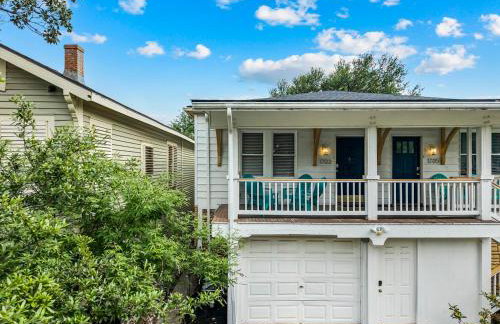
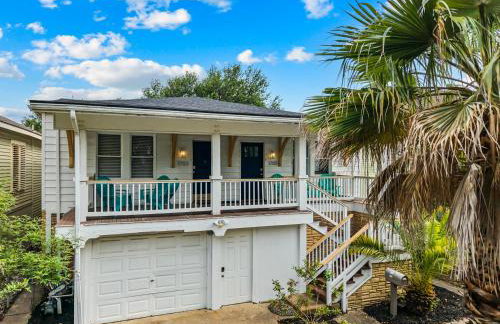
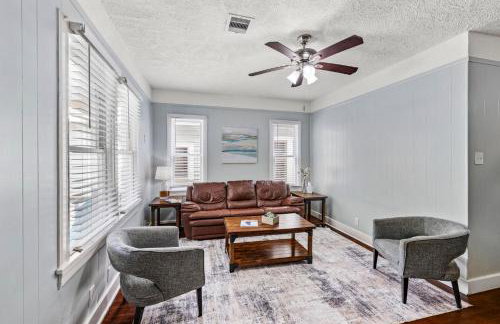
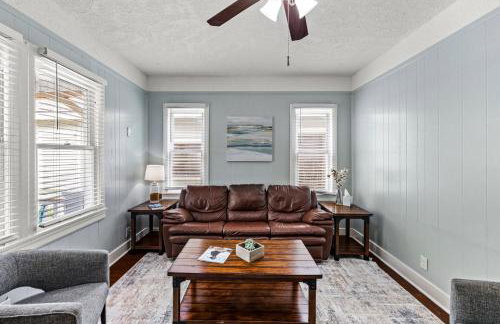
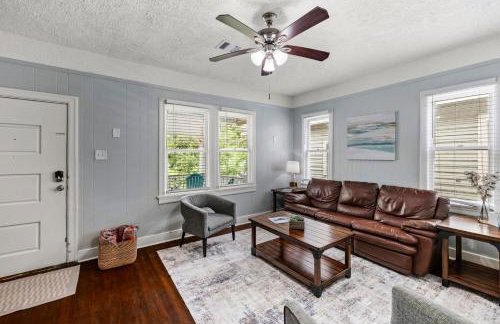
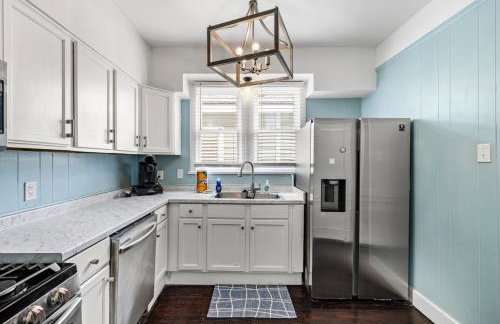
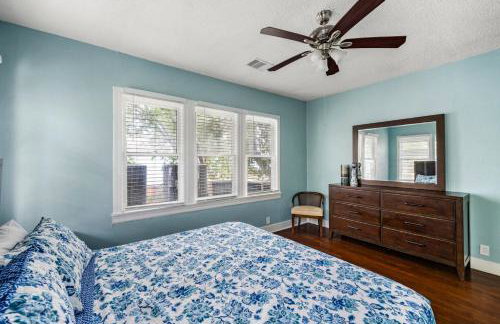
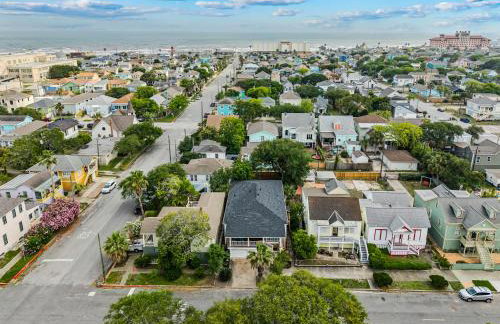
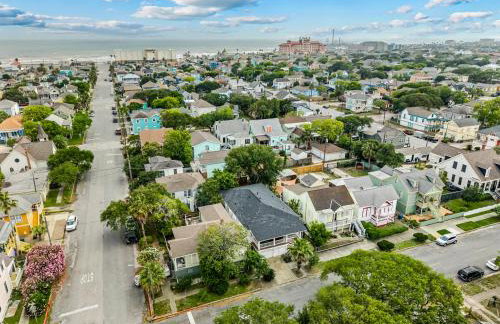
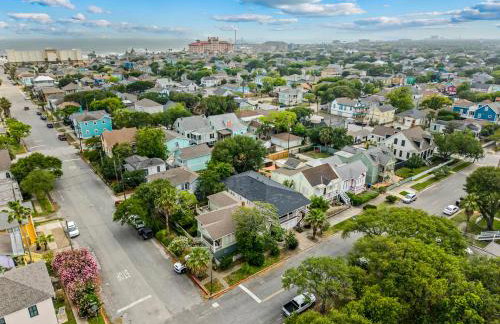
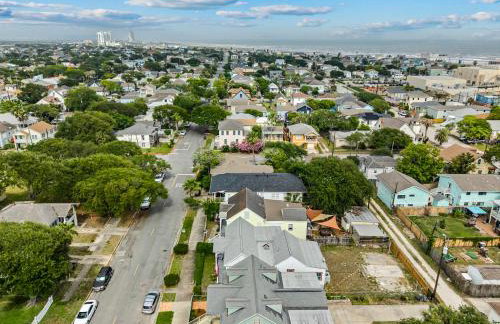
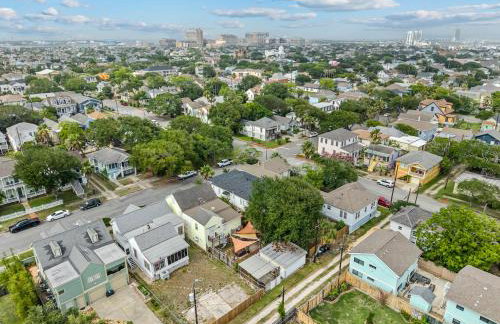
Port Side at M Historic Lost Bayou Retreat Walk to Beach Sleeps 6 - Foto 1
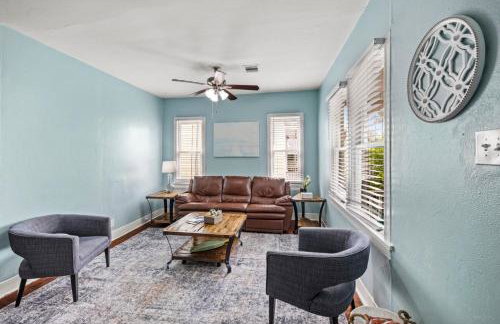
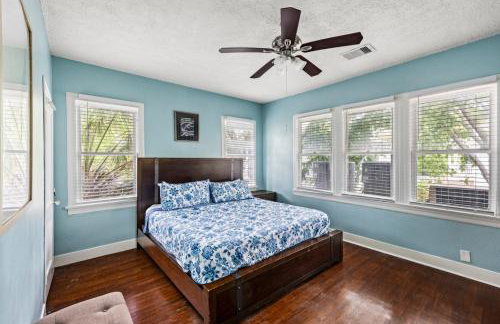
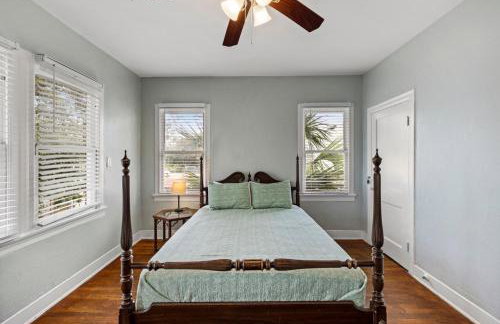
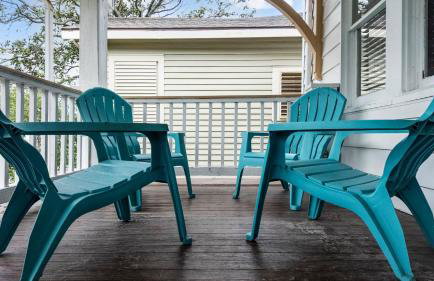
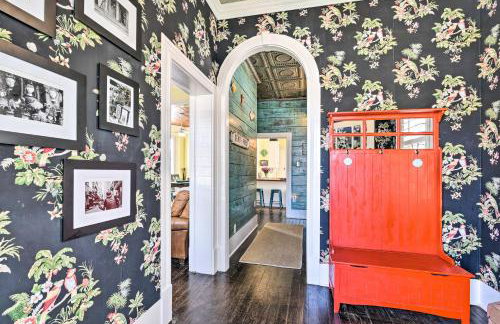
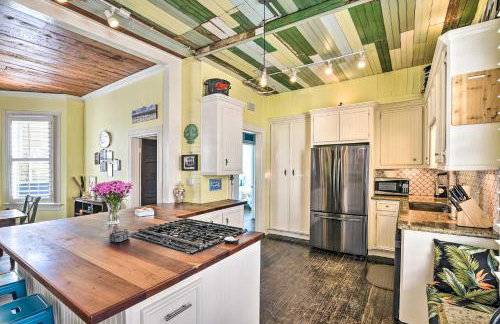
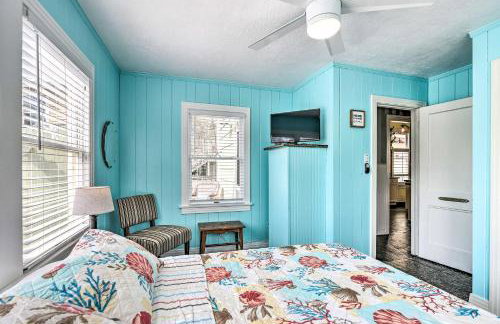
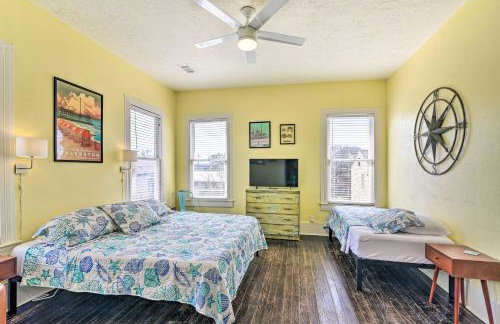
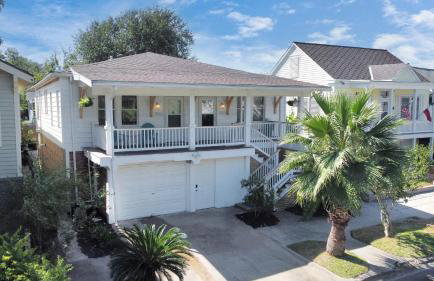
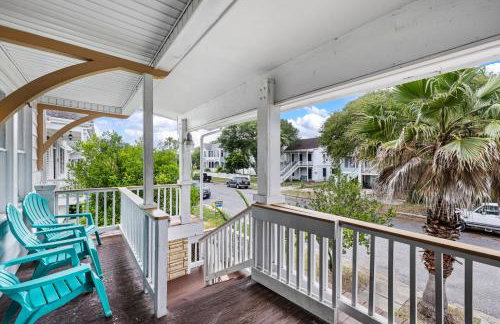
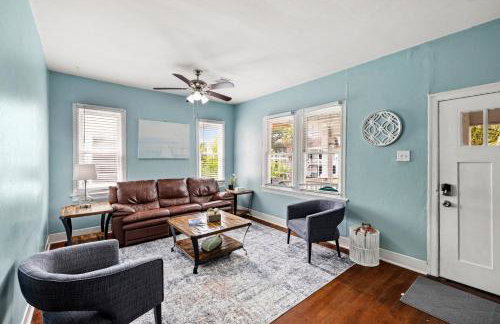
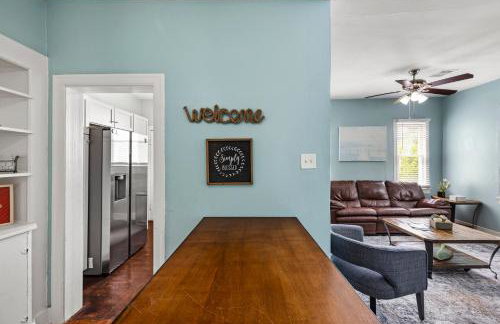
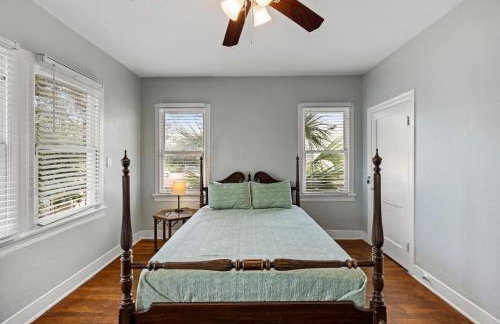
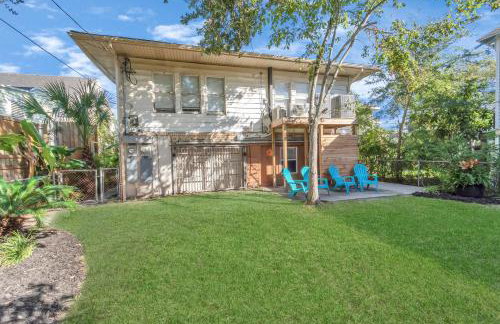
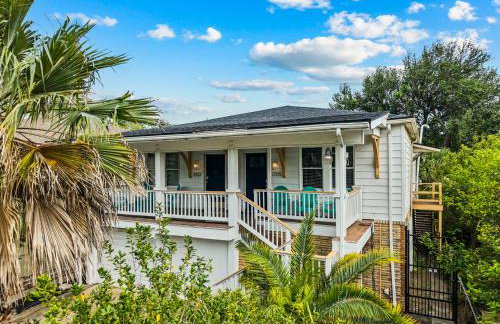
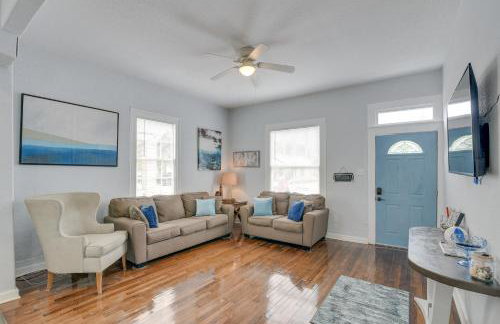
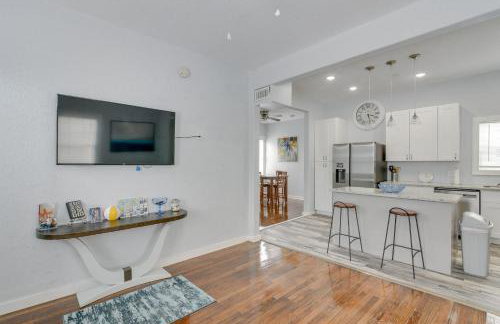
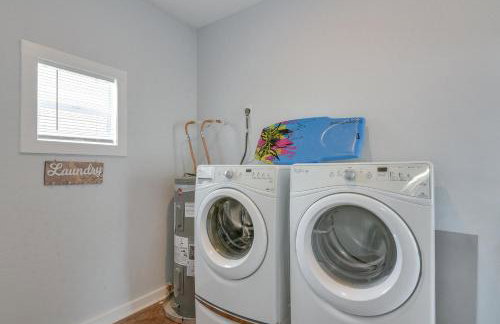
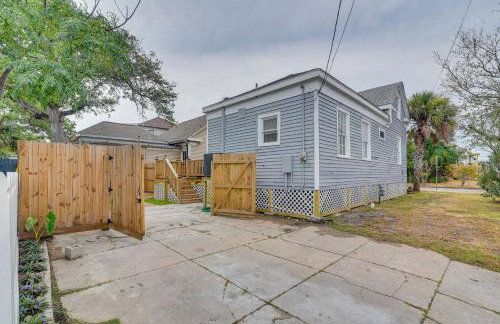
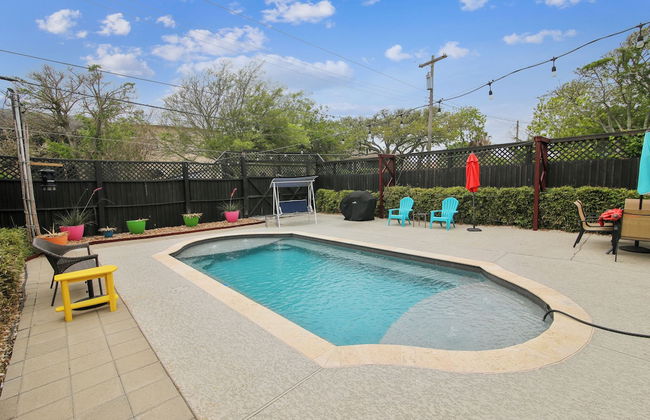
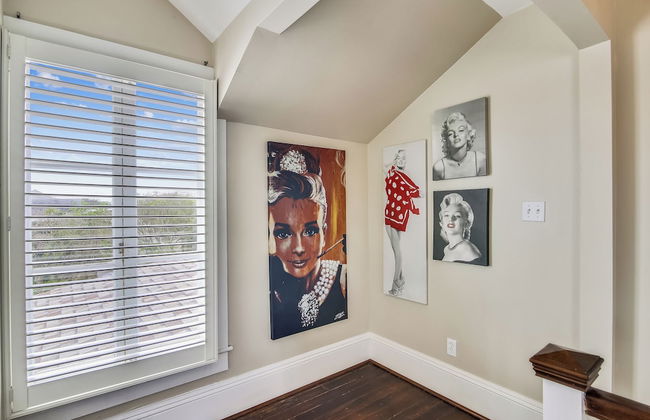
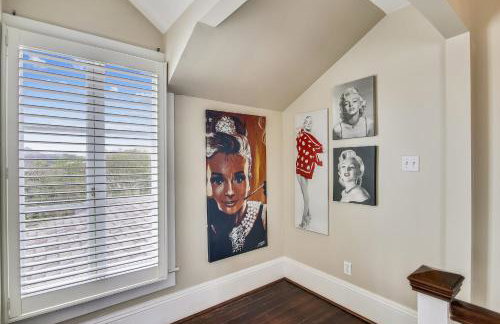
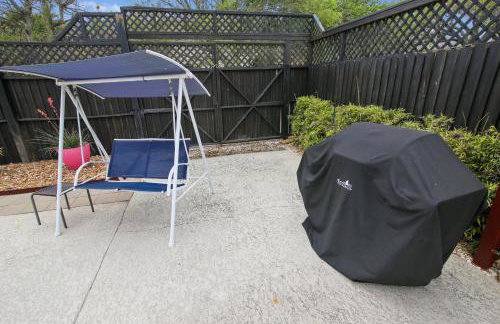
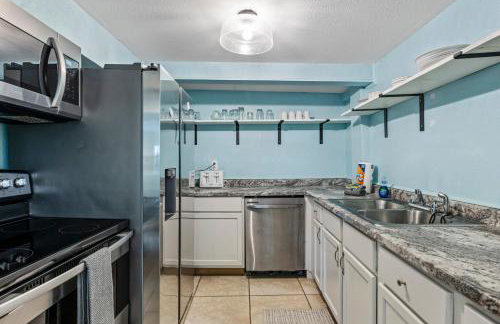
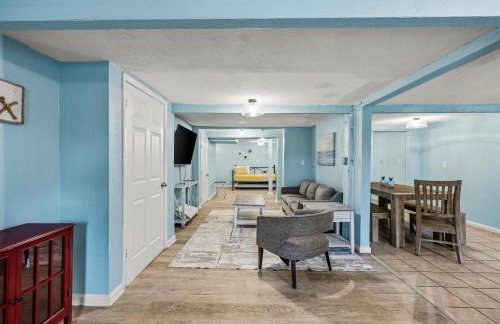
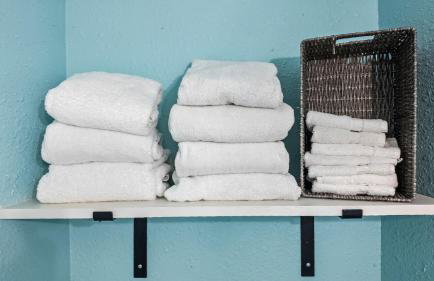
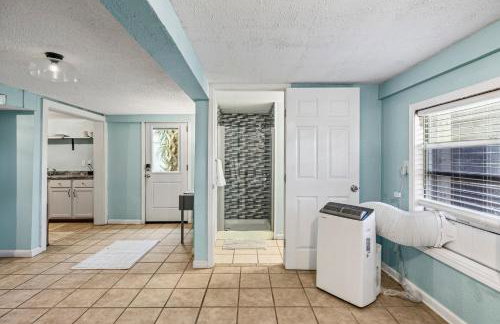
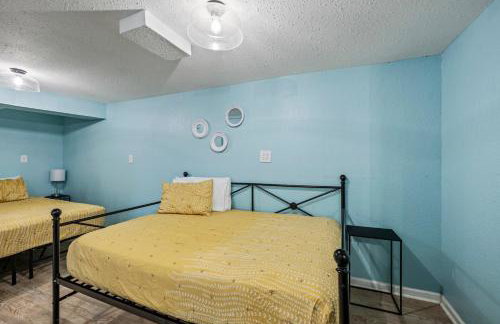
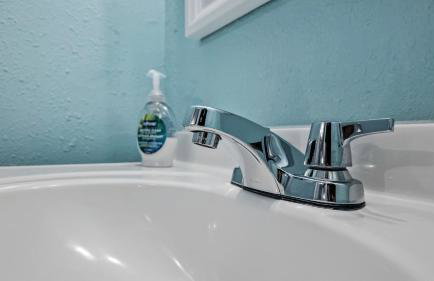
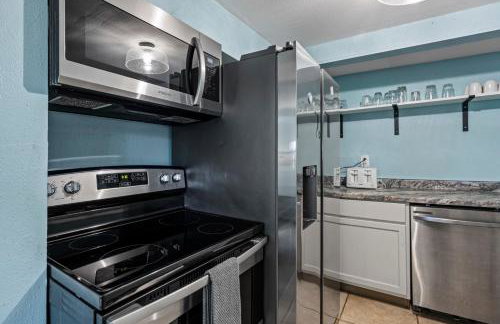
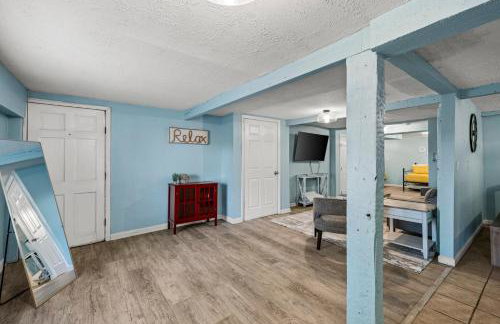
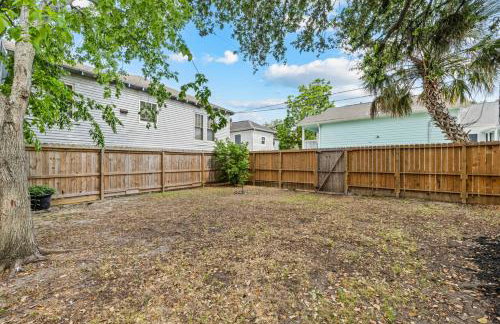
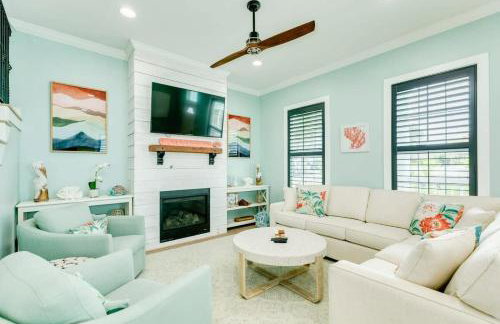
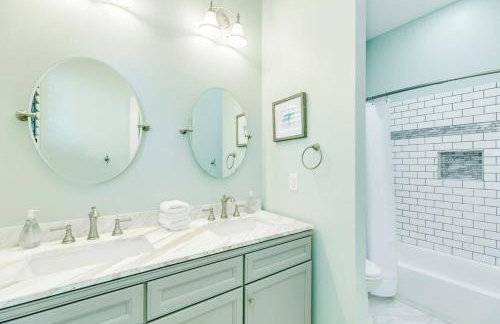
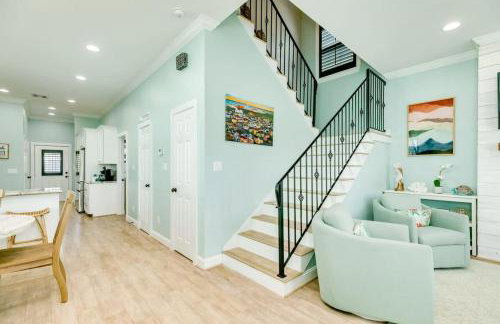
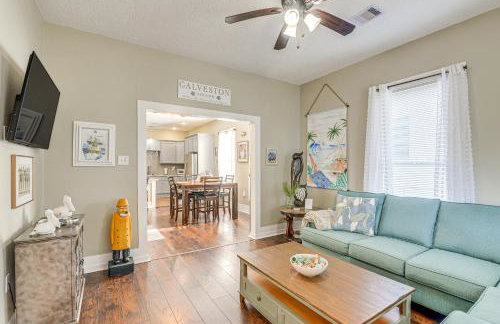
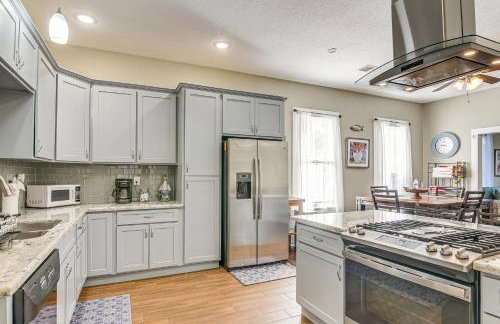
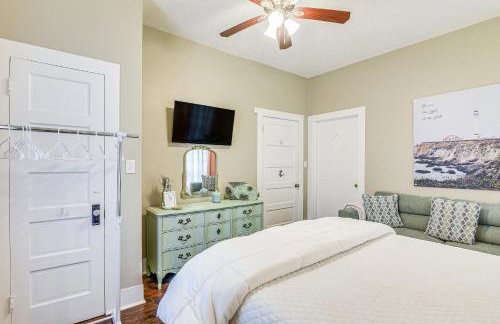
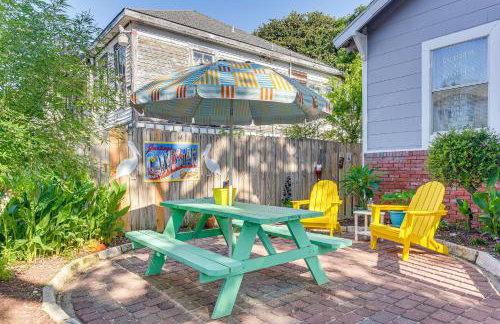
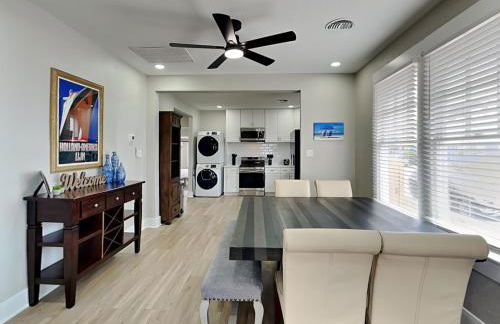
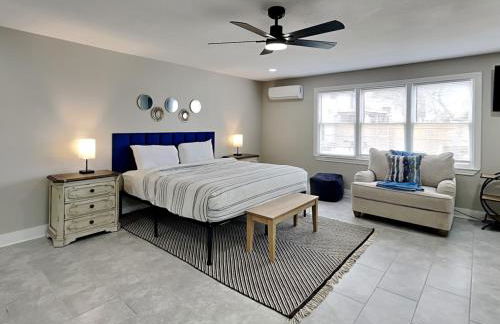
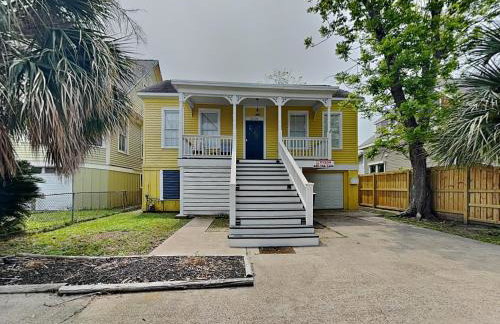
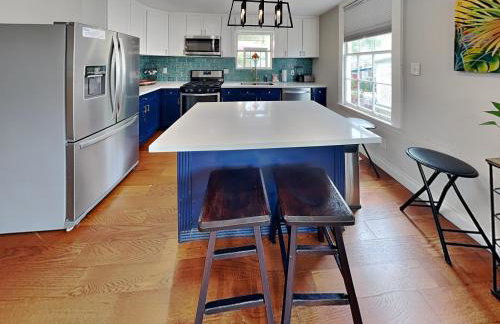
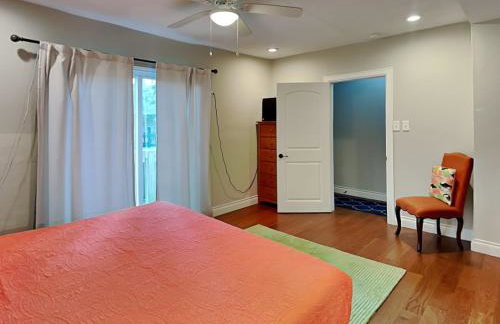
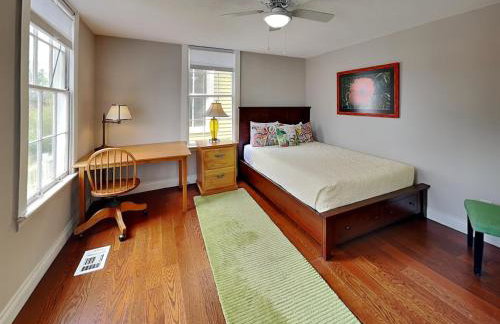
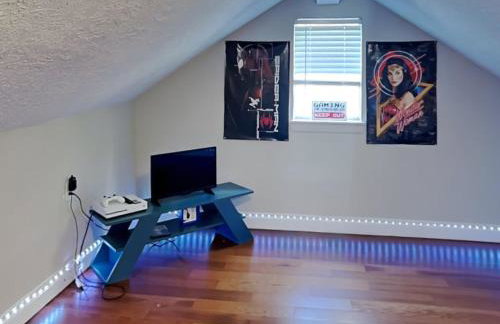
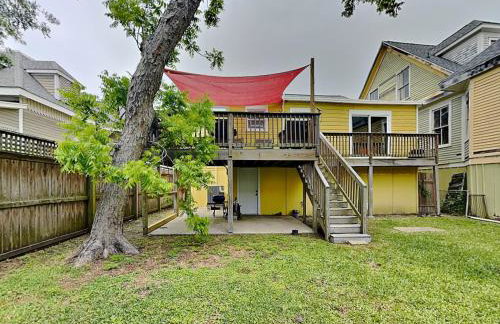
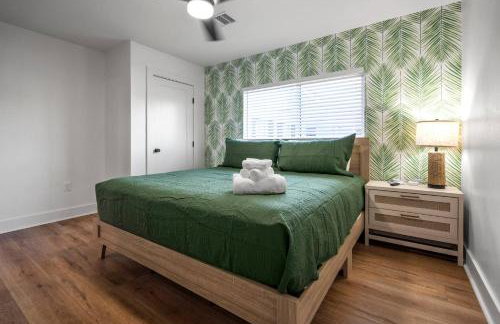
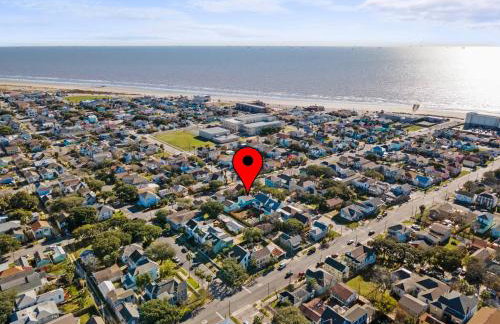
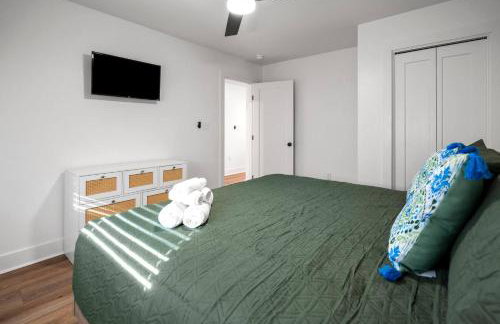
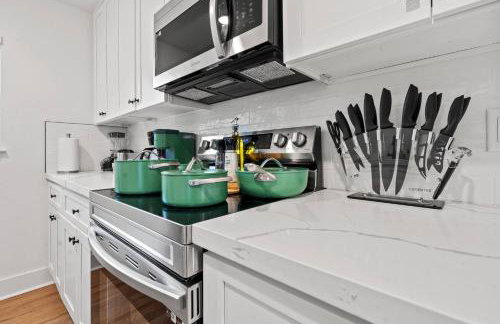
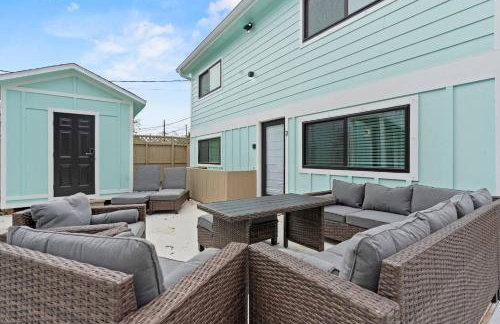
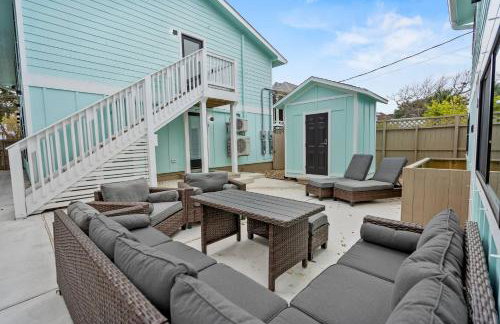
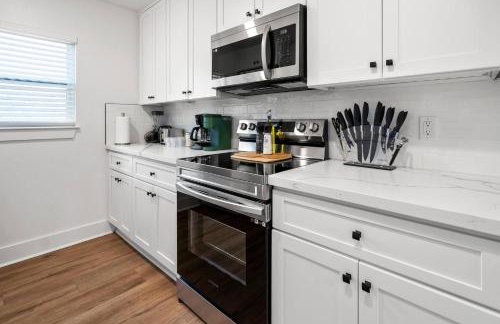
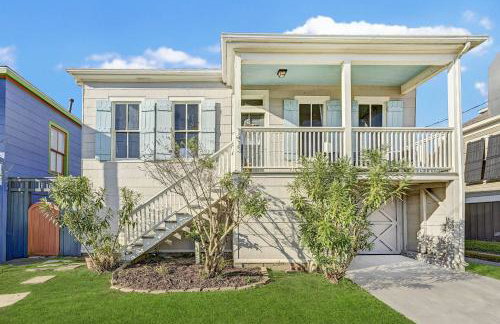
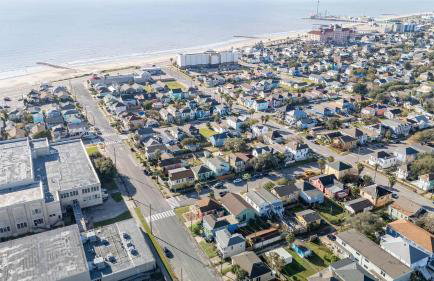
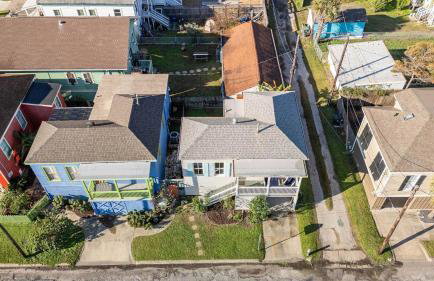
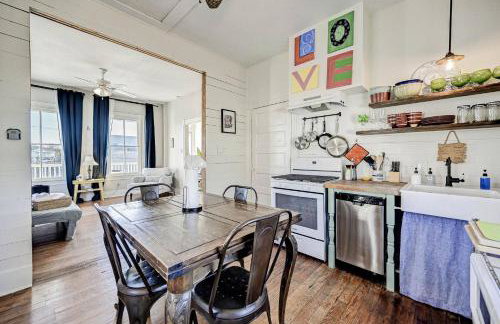
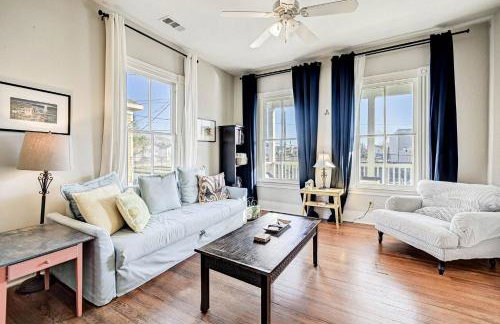
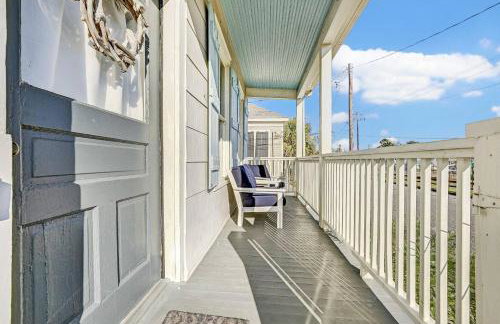
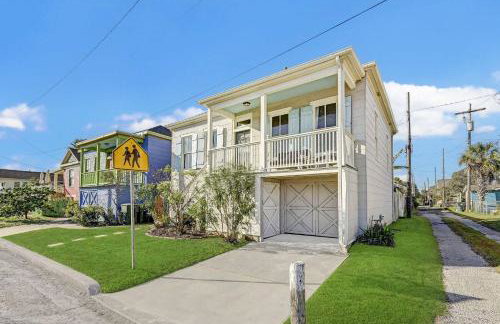
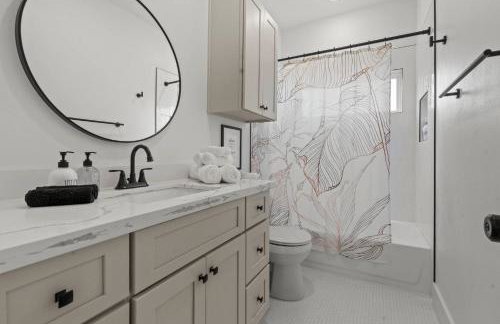
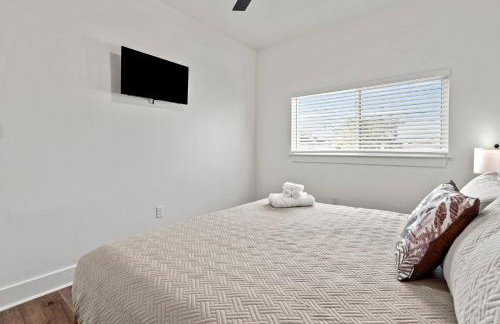
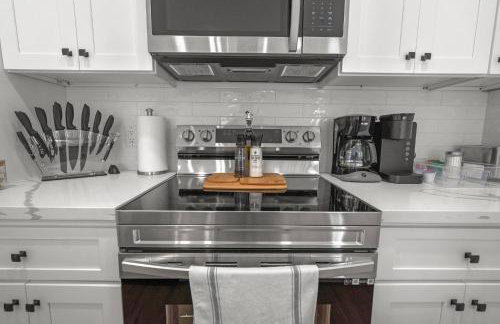
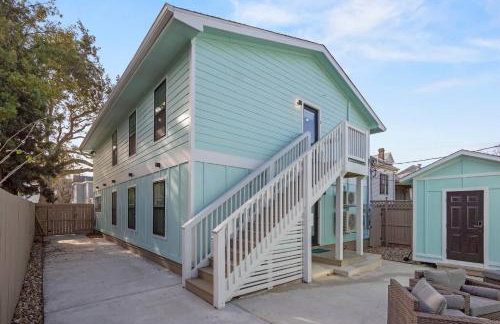
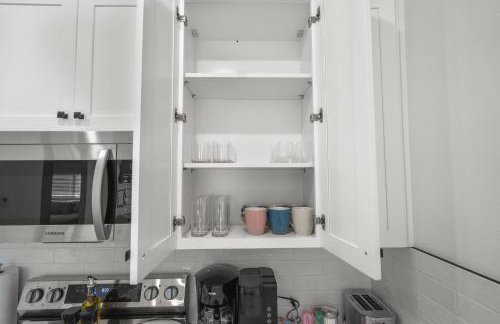
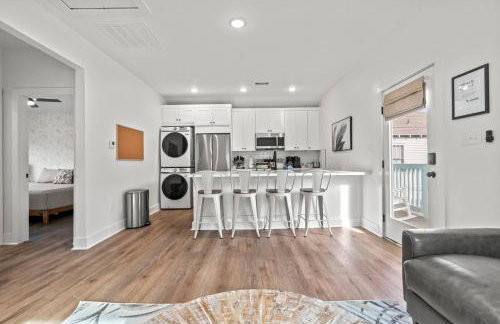
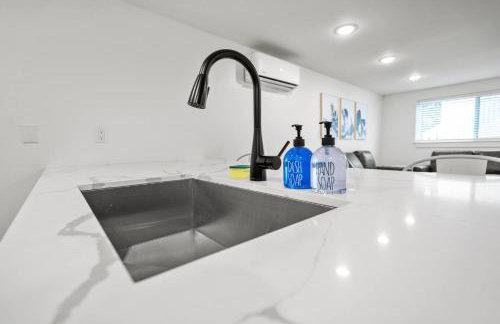
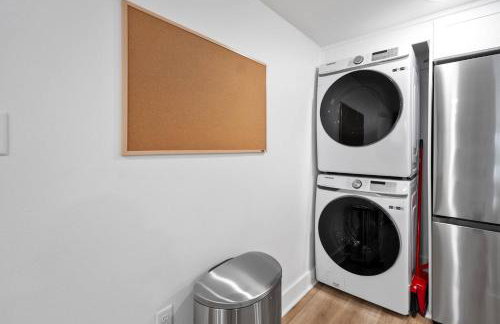
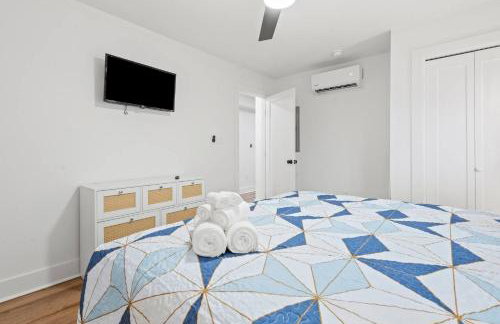
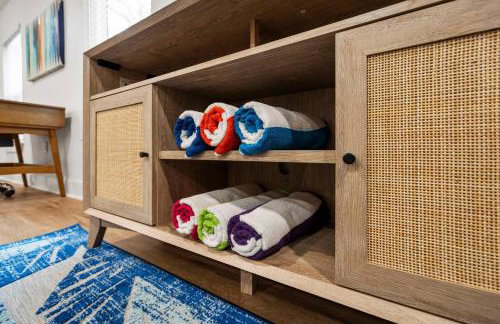
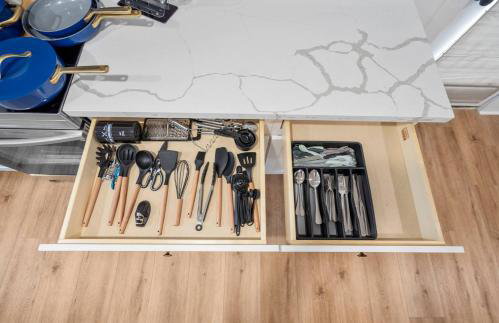
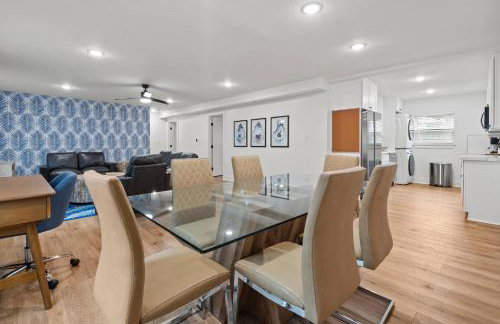
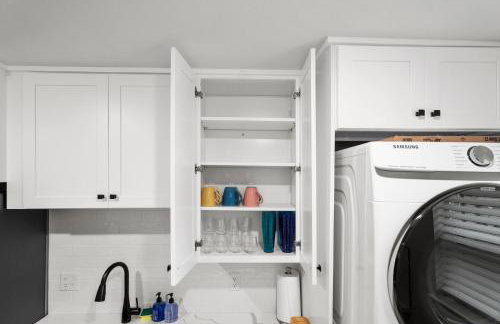
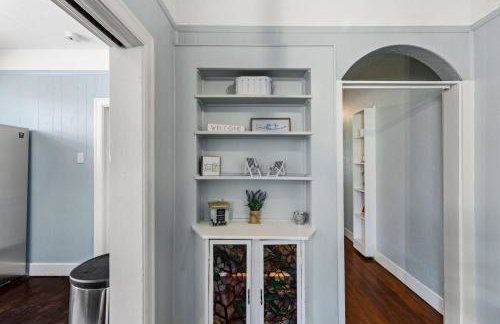
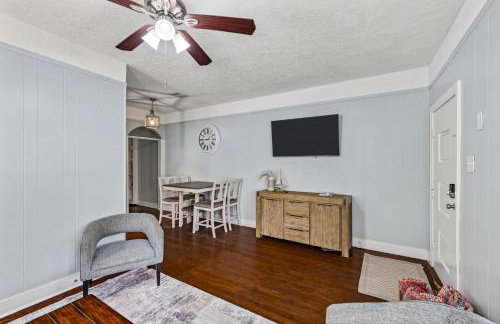
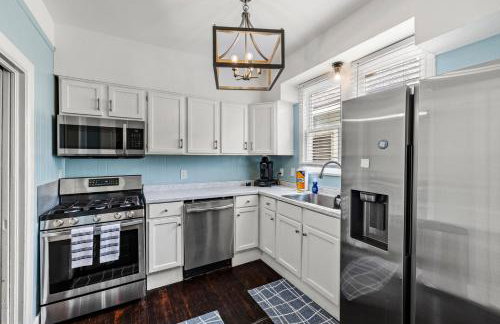
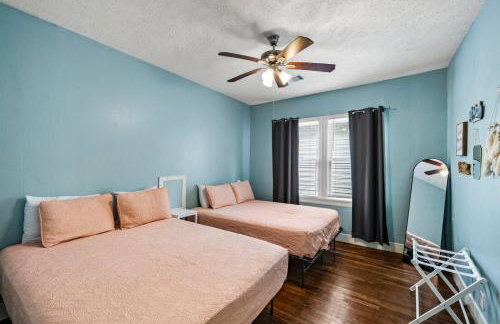
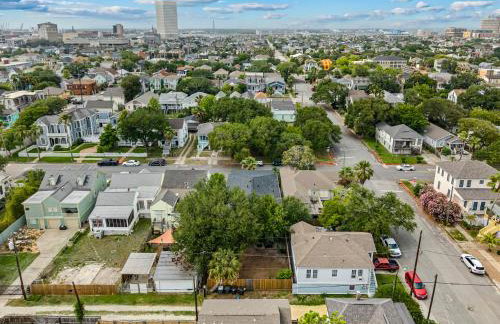
Port Side at M Historic Lost Bayou Retreat Walk to Beach Sleeps 6 - Foto 2
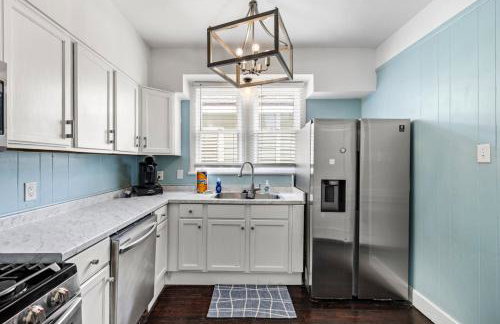
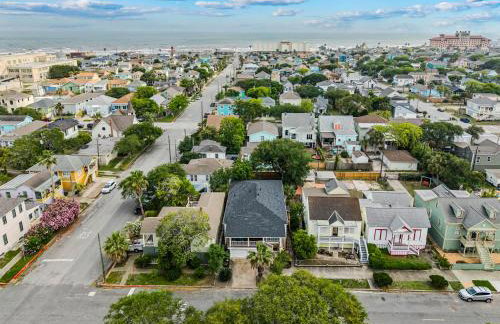
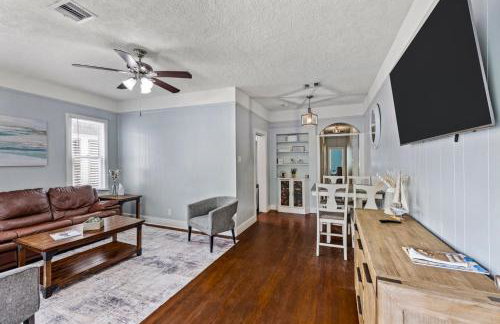
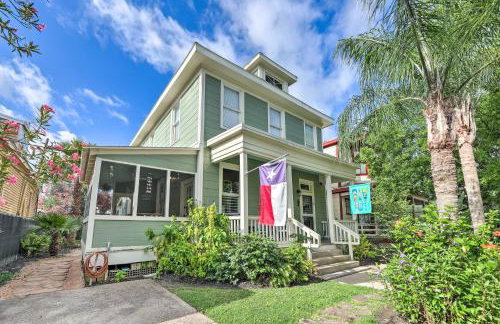
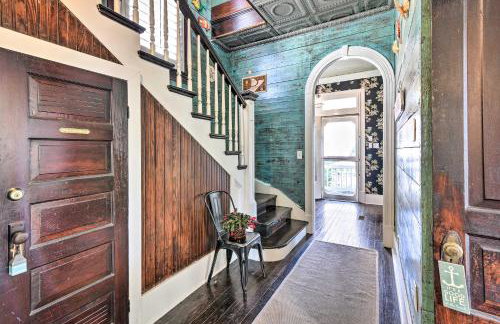
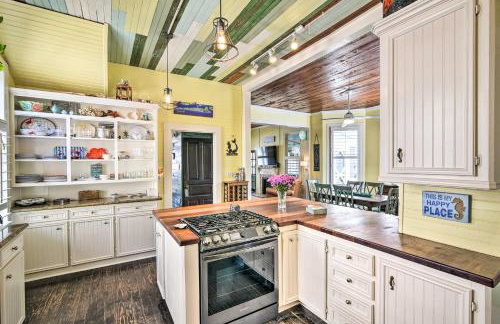
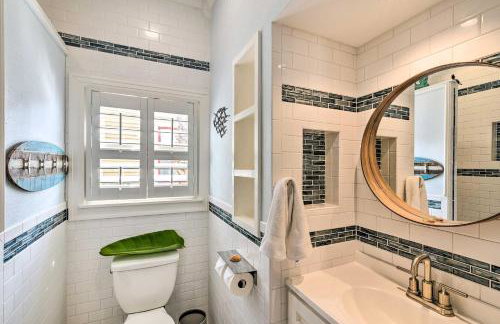
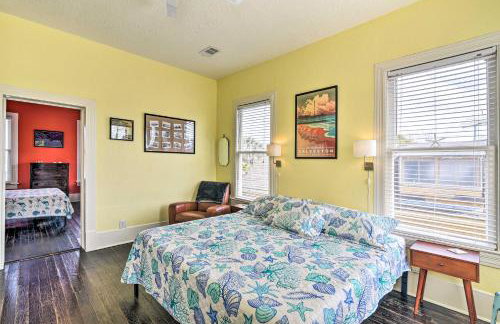
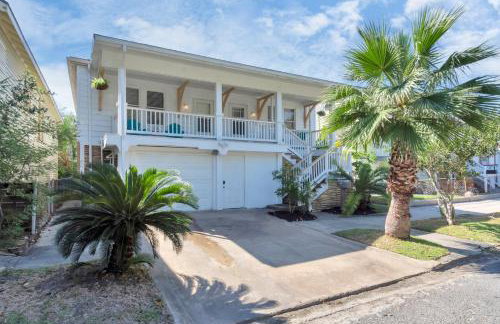
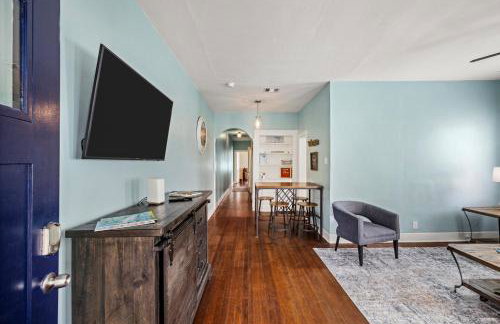
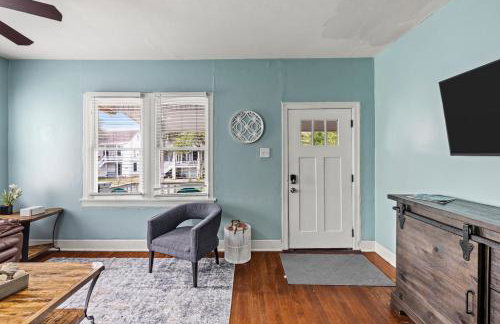
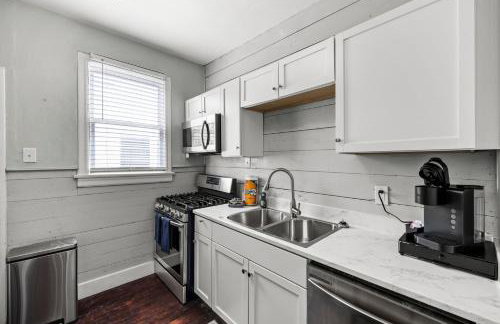
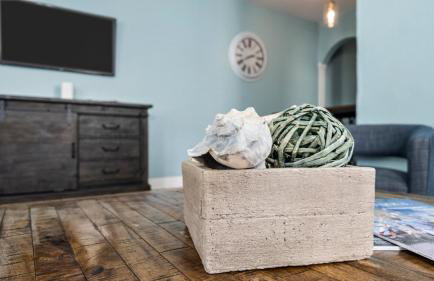
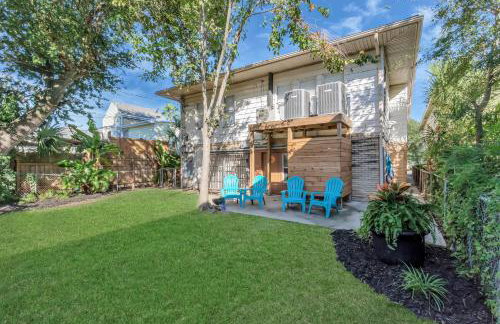
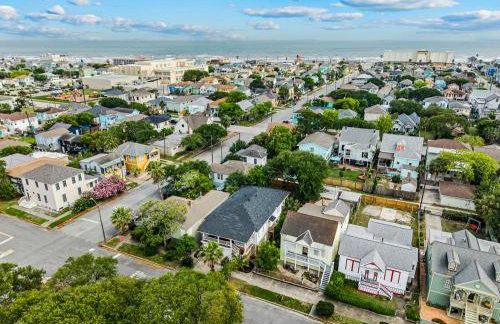
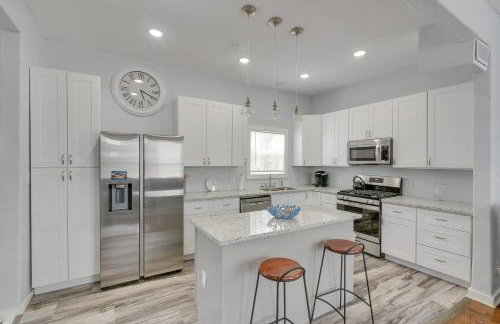
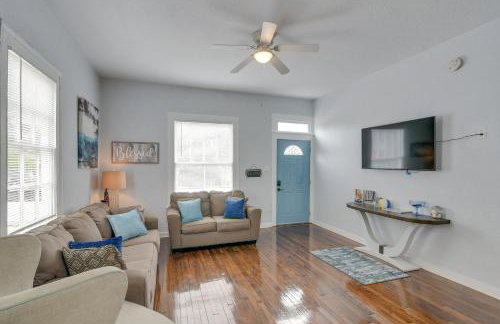
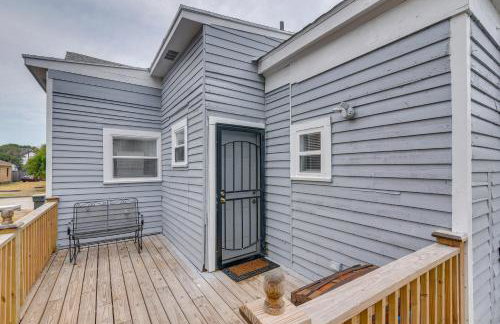
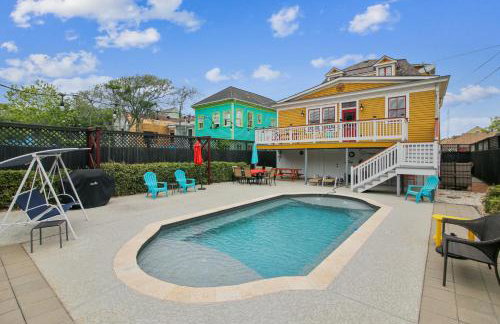
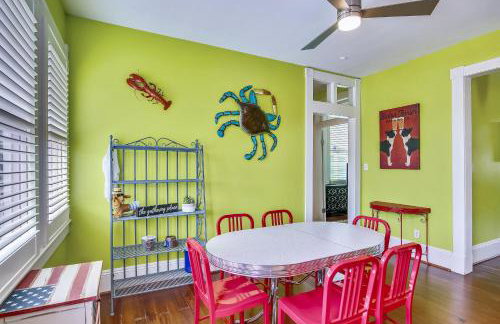
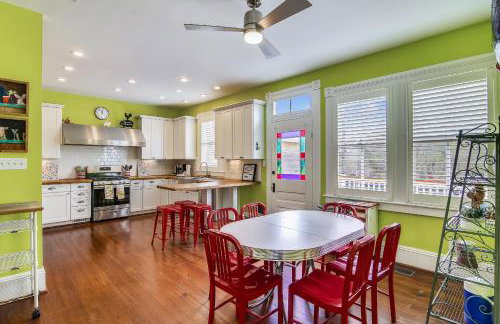
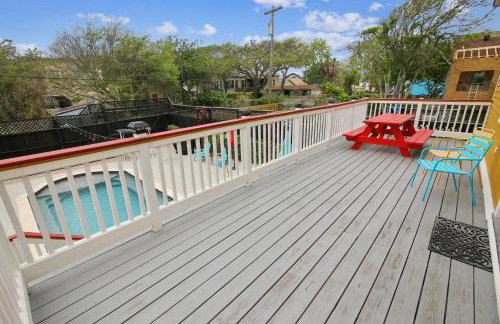
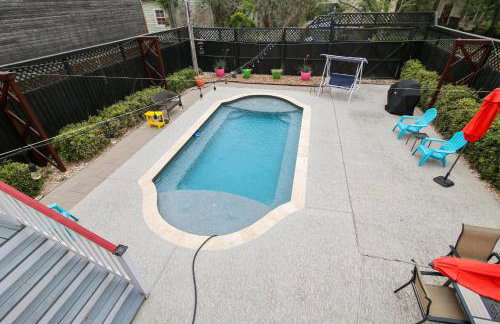
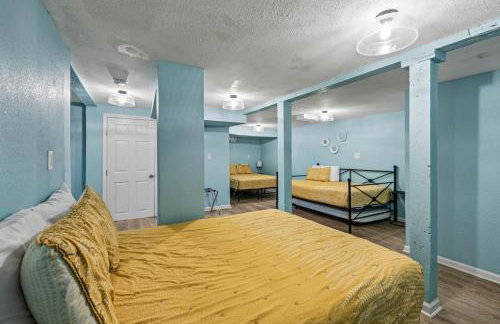
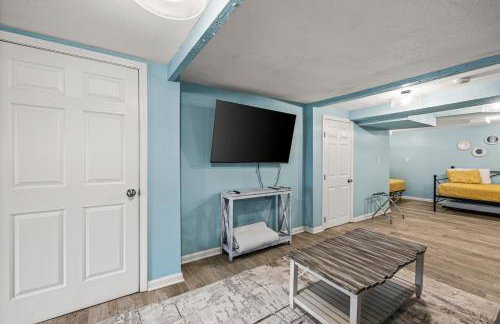
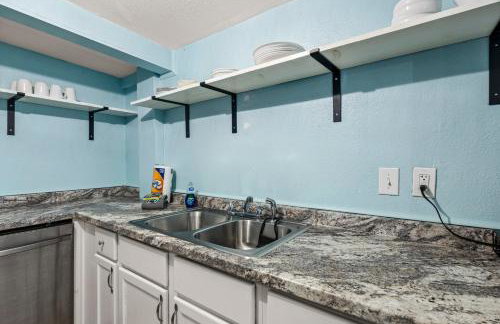
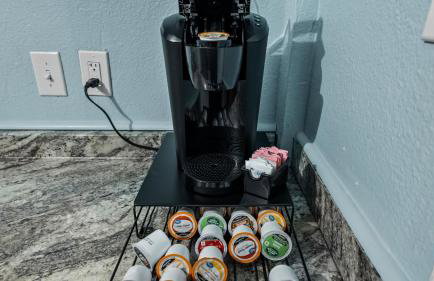
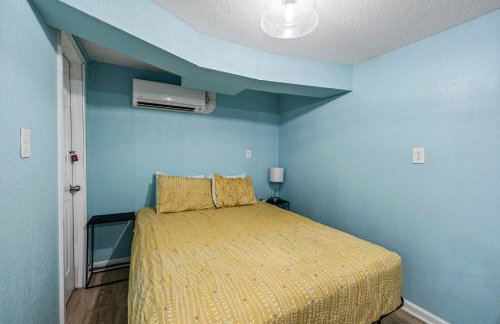
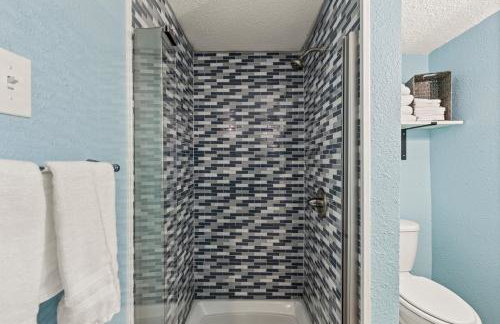
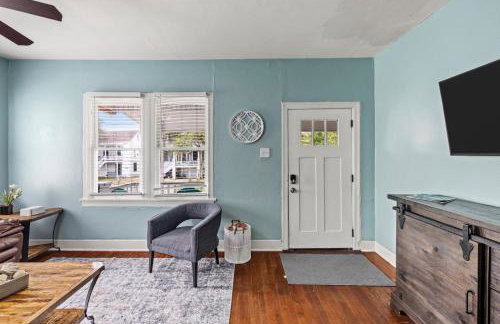
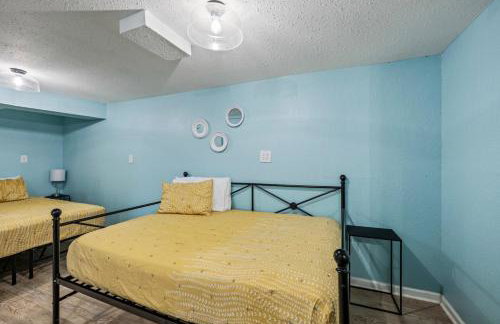
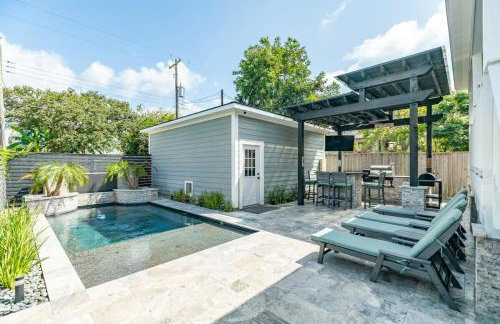
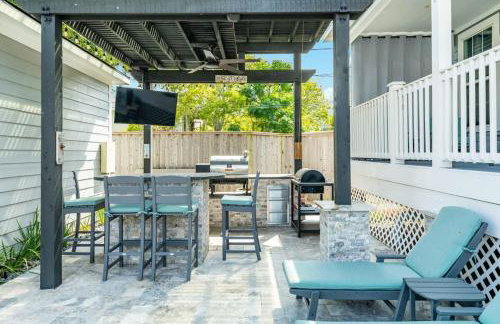
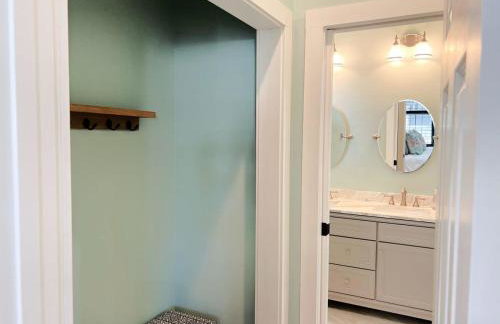
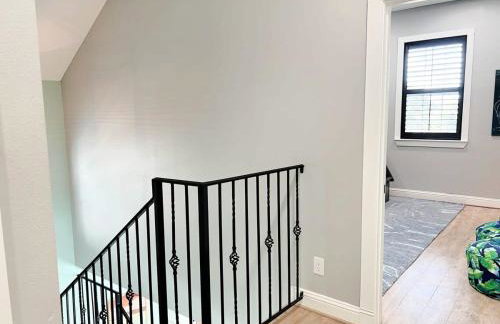
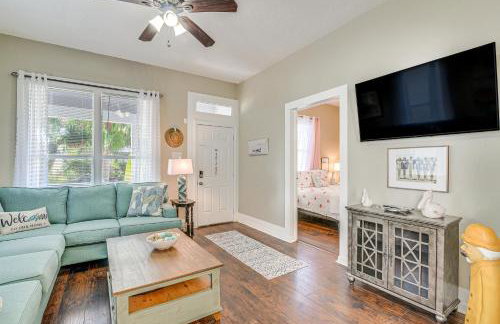
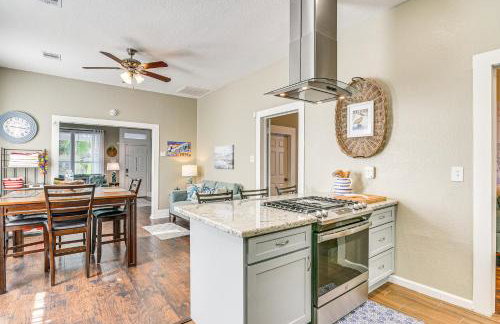
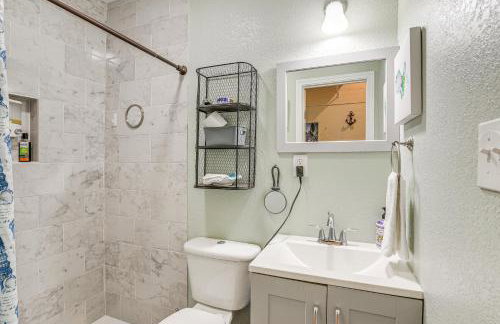
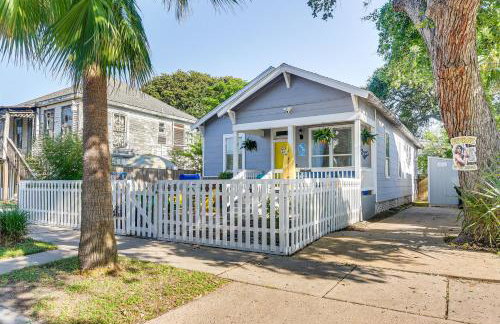
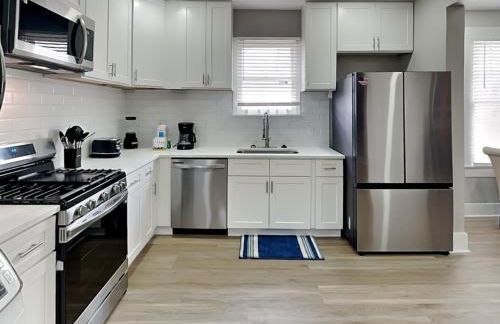
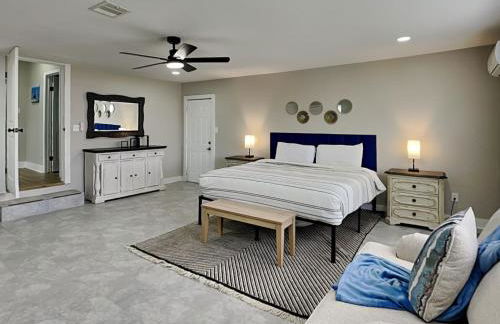
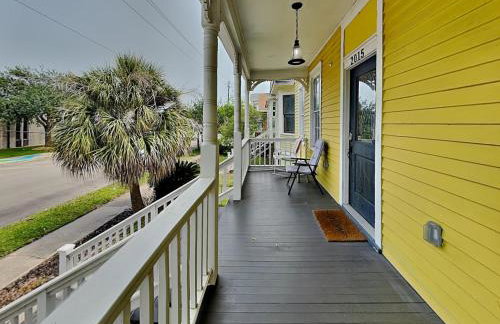
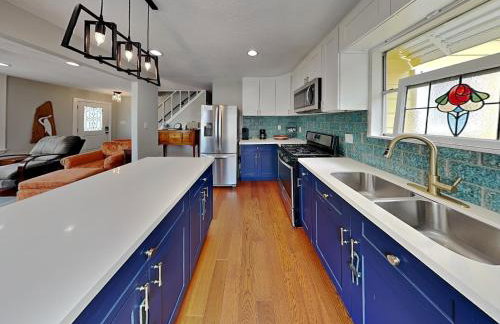
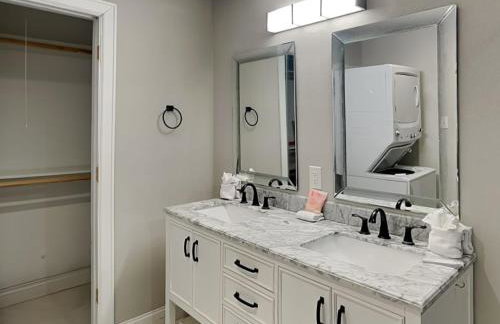
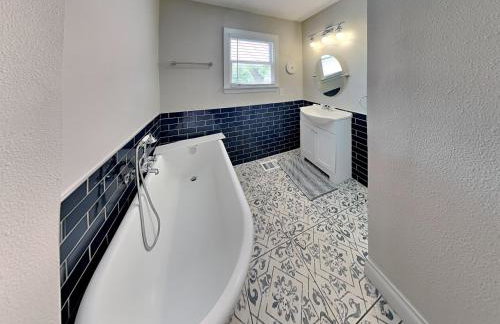
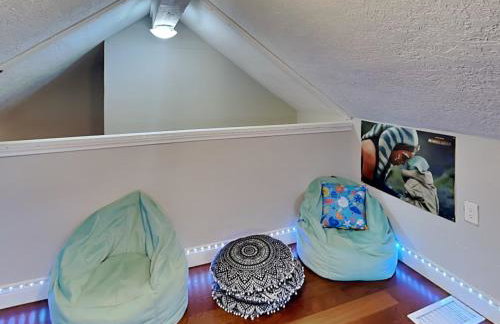
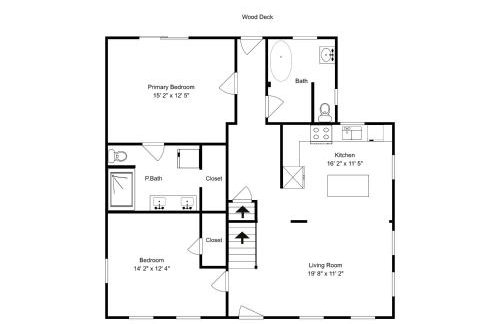
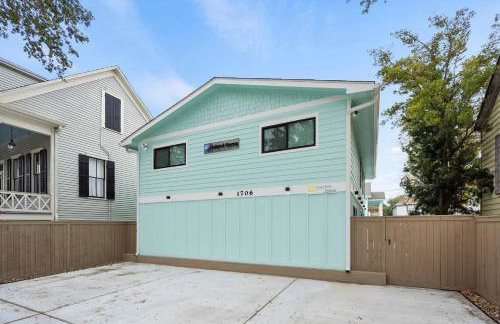
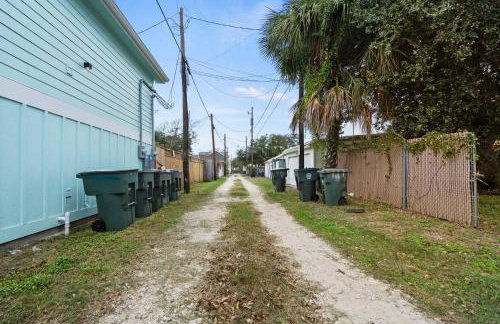
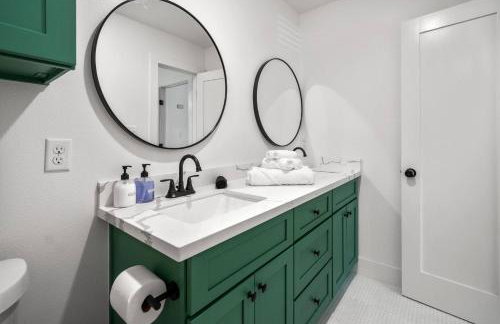
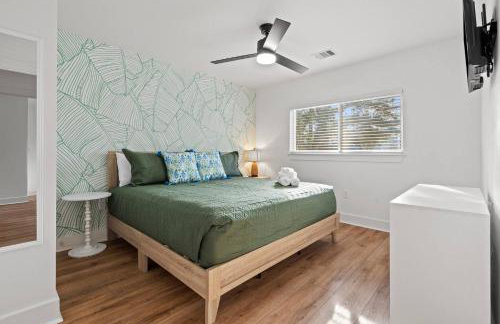
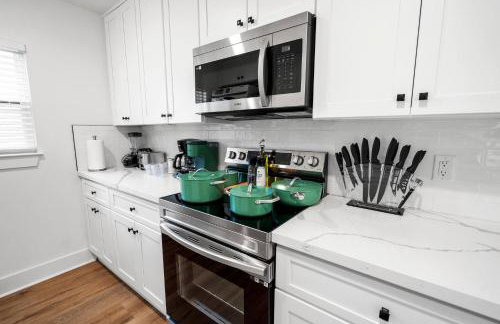
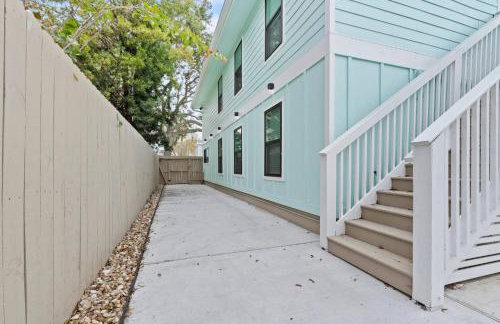
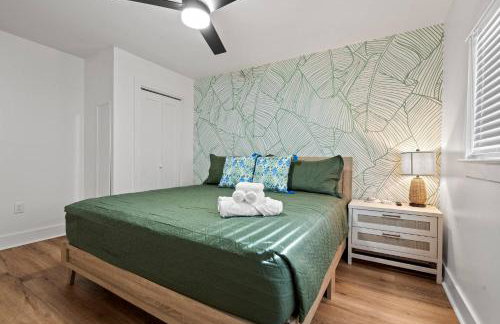
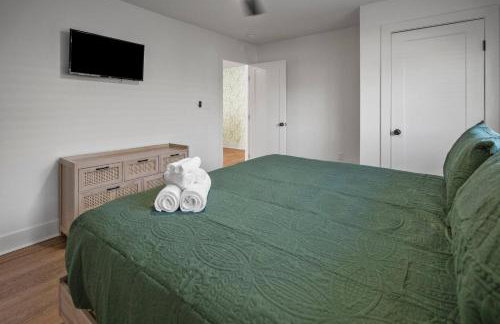
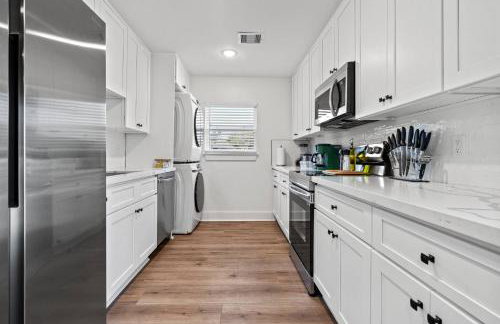
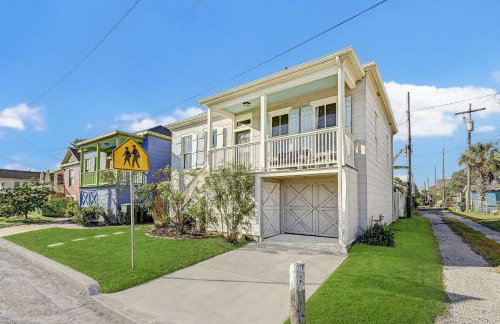
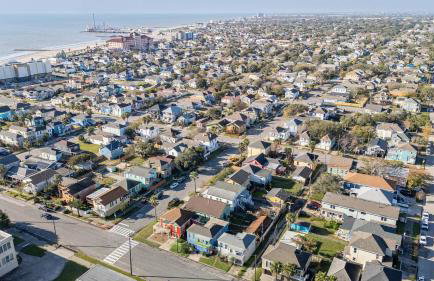
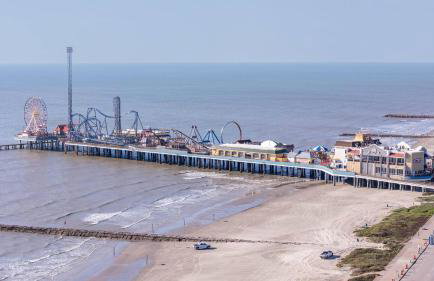
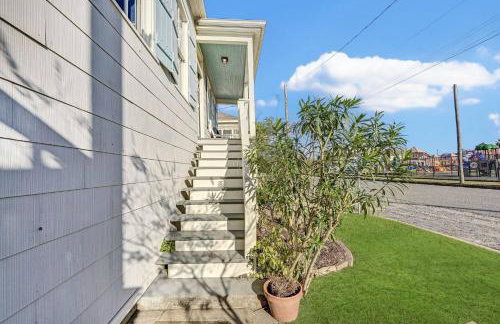
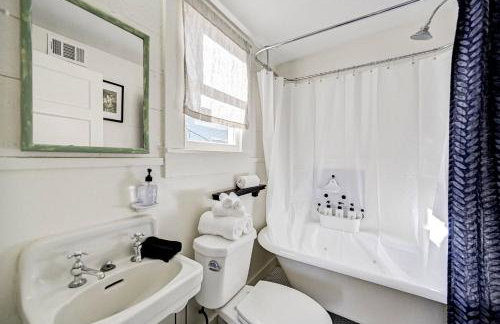
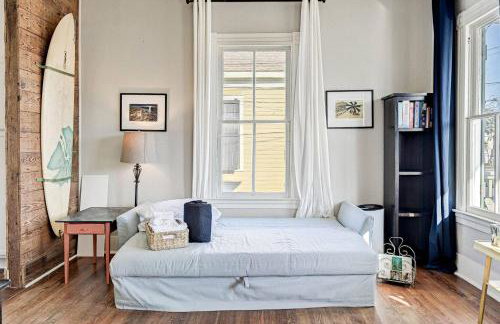
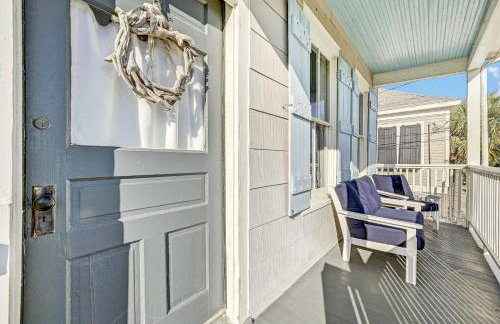
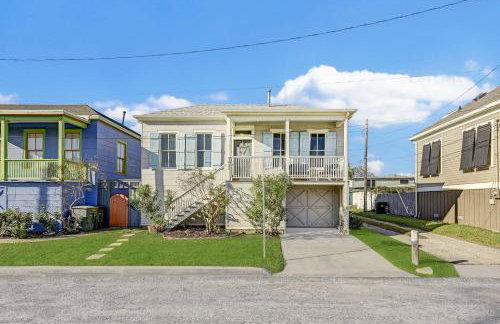
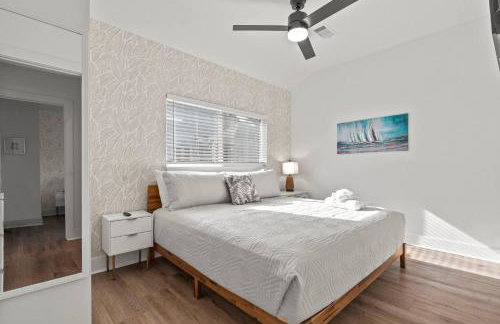
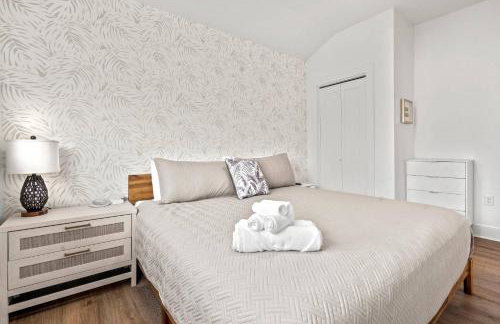
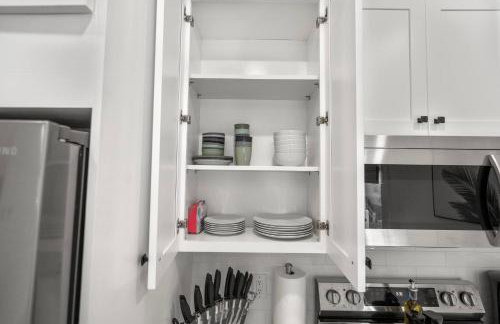
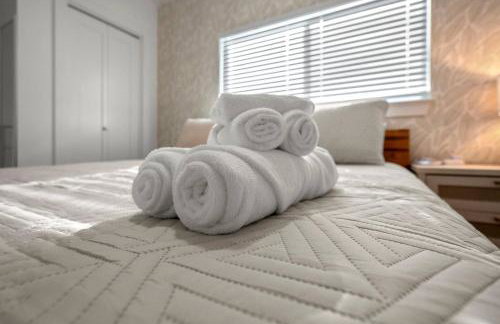
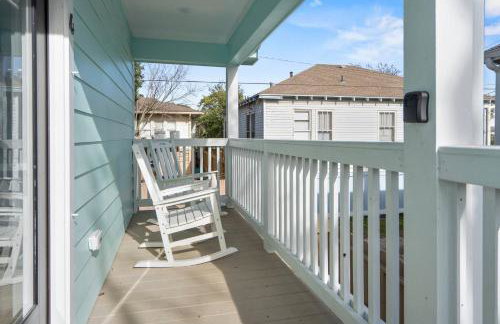
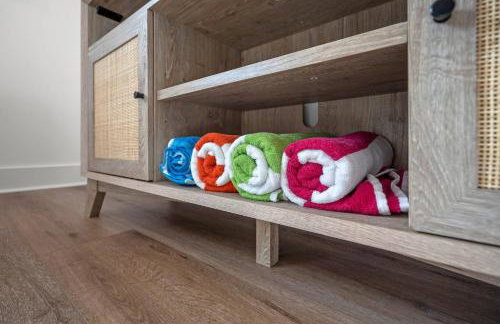
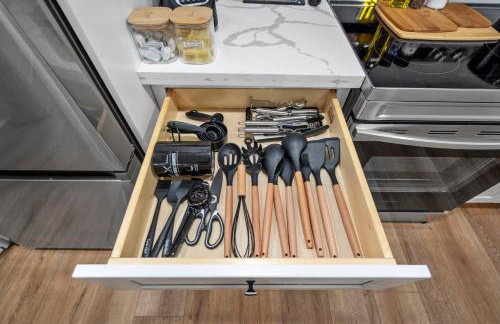
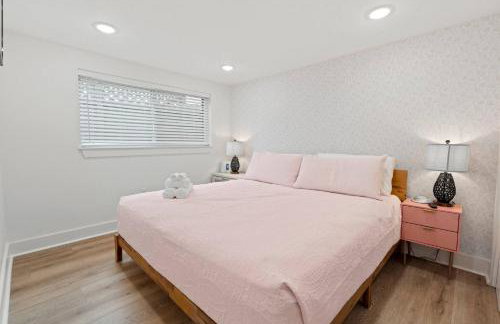
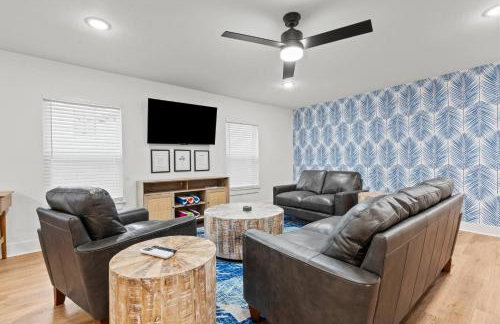
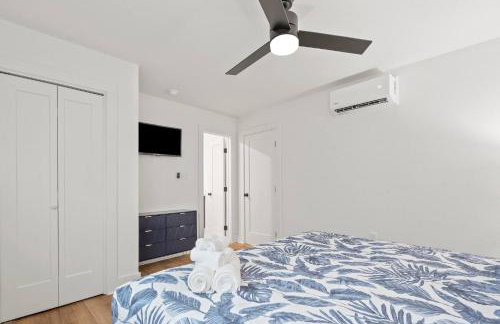
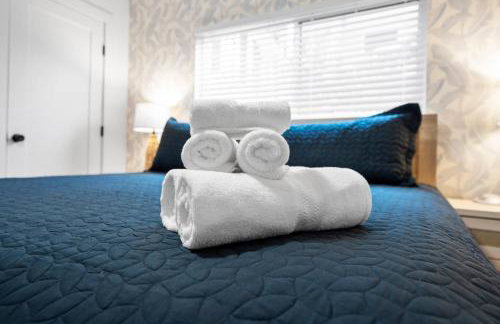
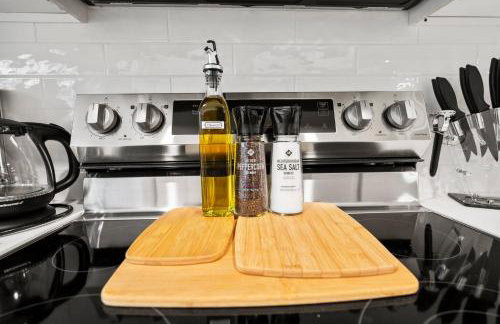
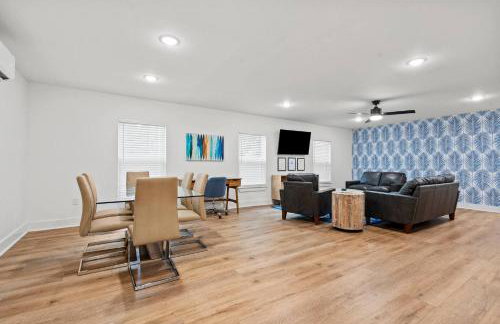
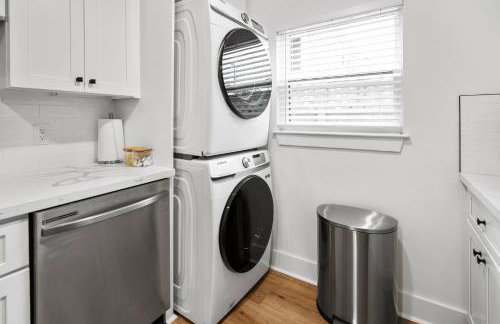
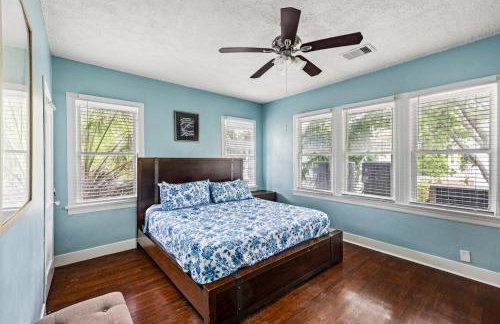
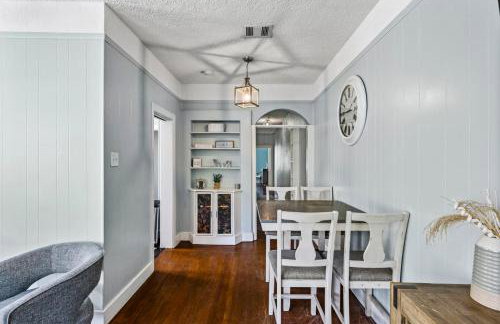
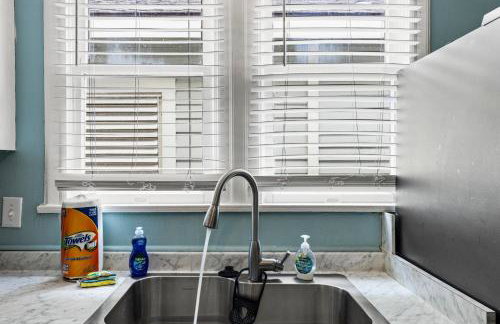
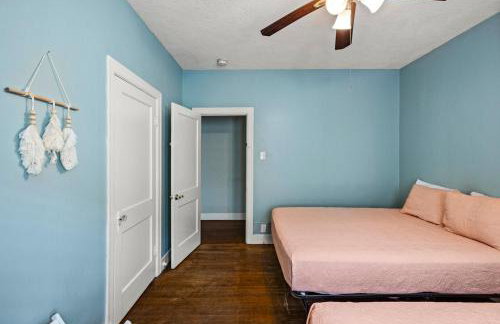
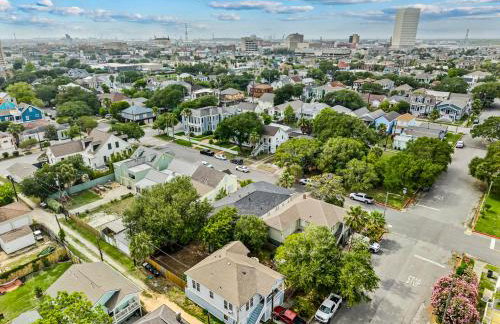
Port Side at M Historic Lost Bayou Retreat Walk to Beach Sleeps 6 - Foto 3
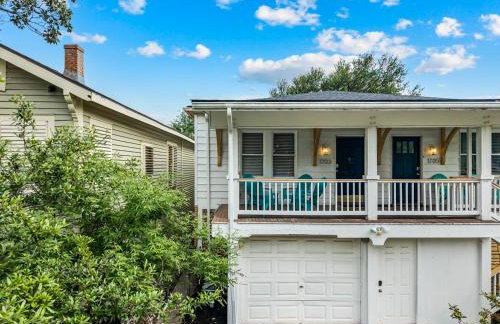
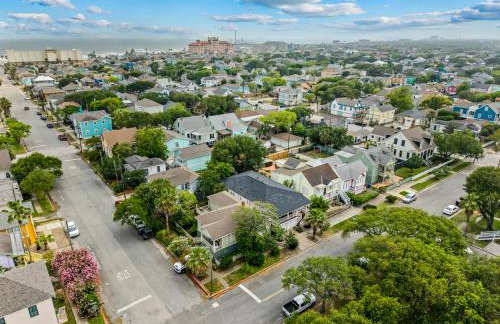
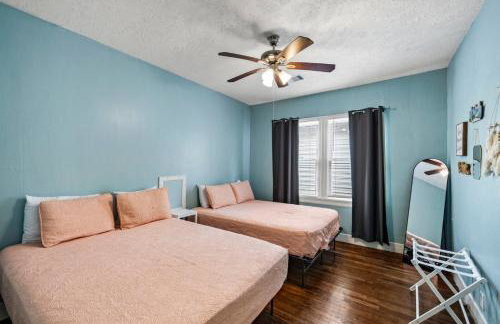
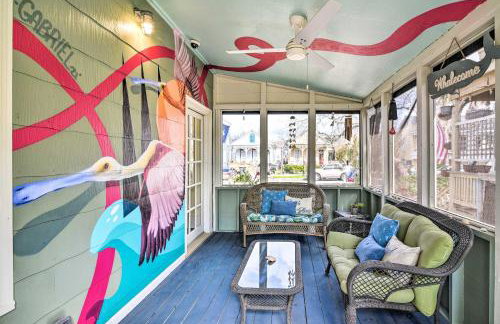
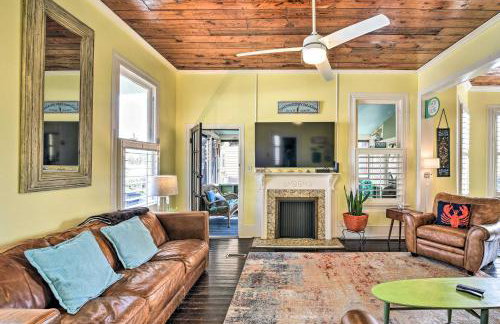
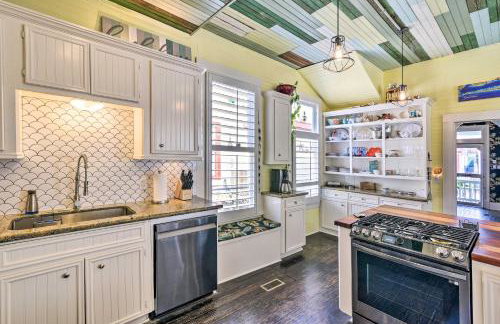
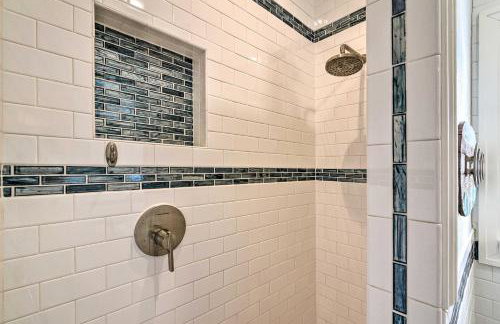
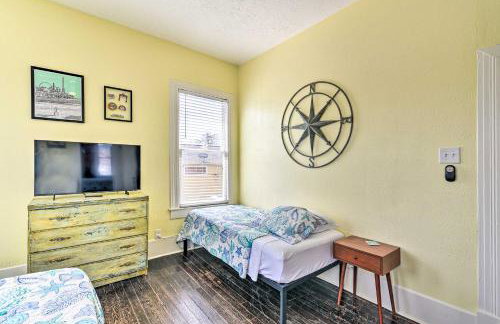
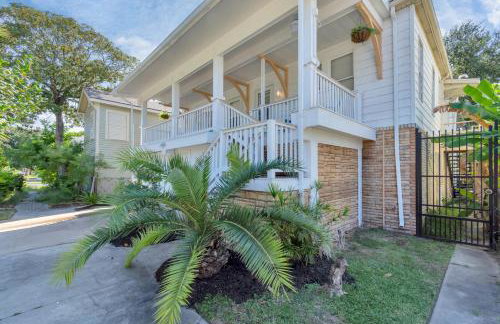
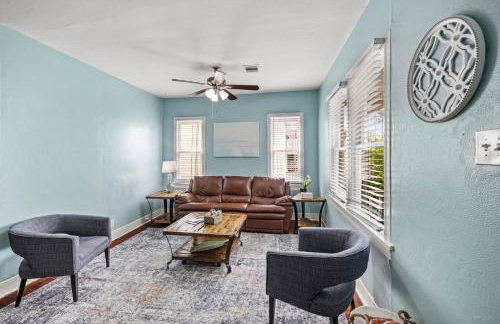
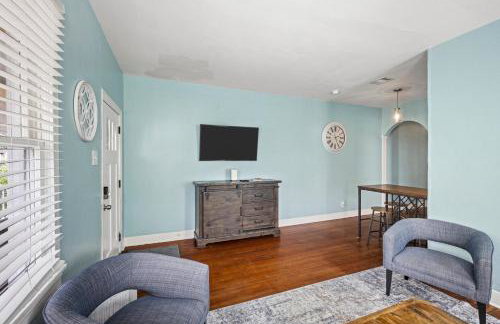
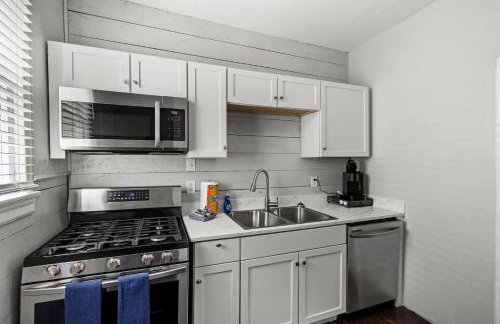
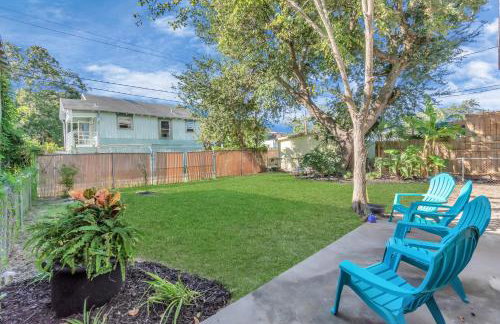
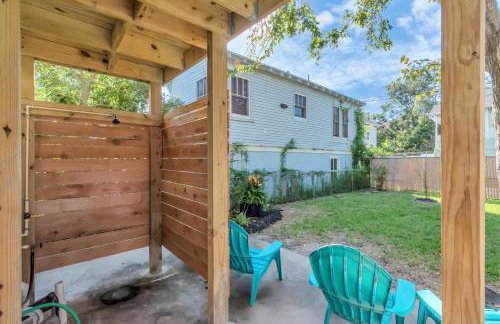
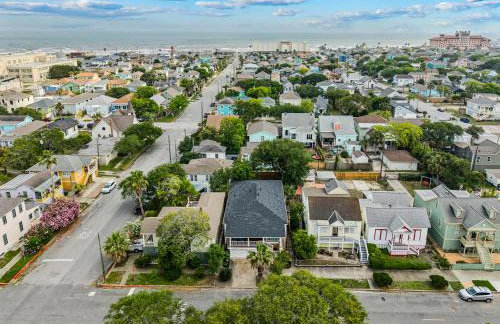
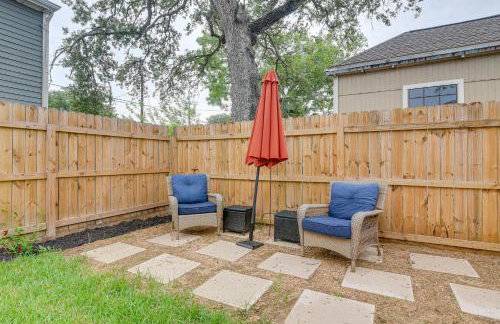
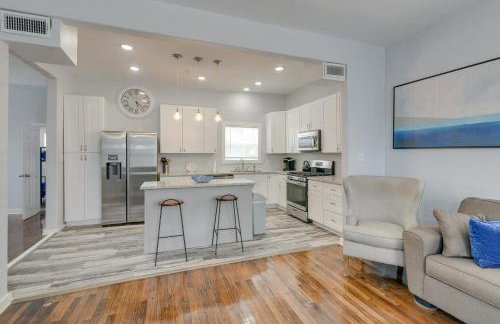
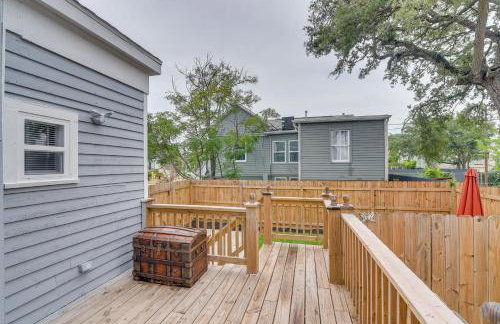
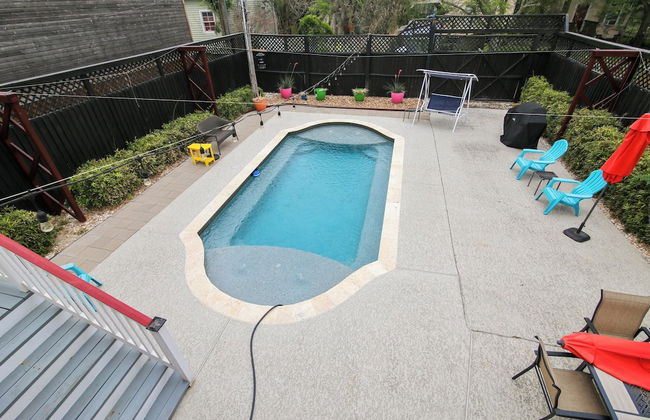
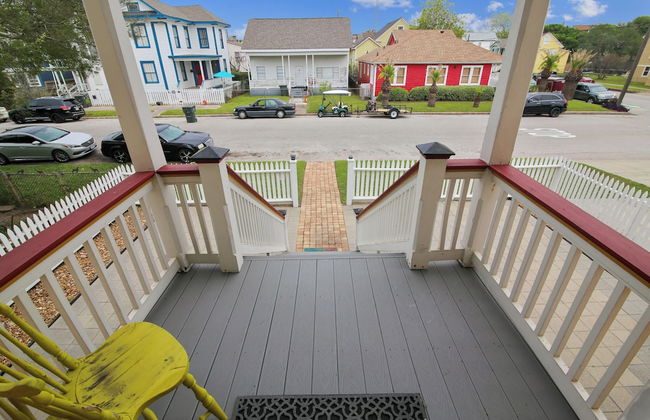
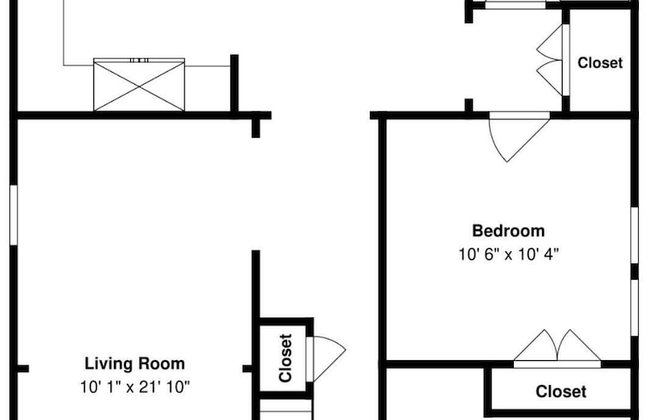
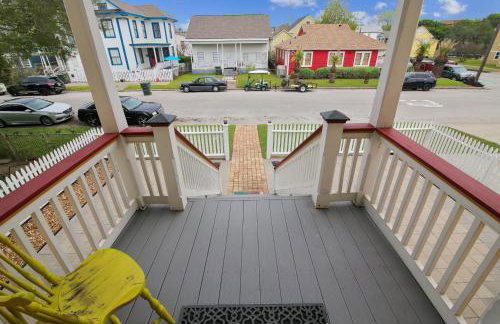
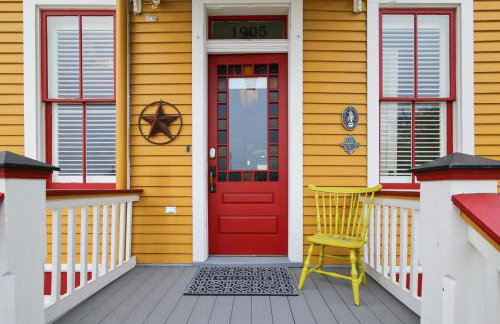
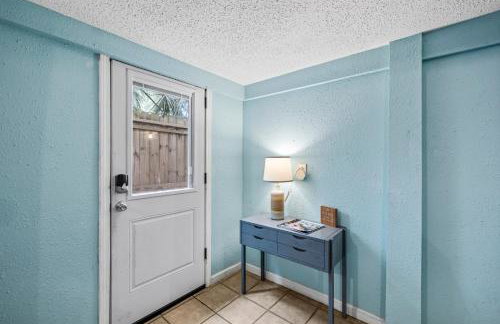
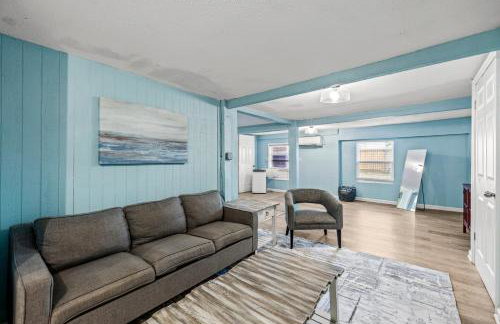
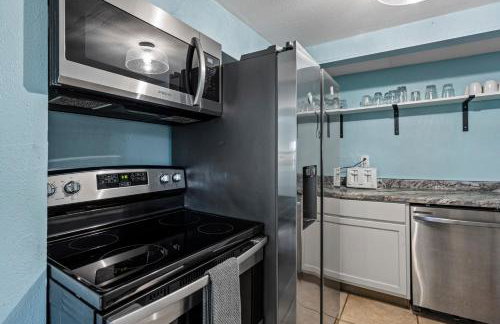
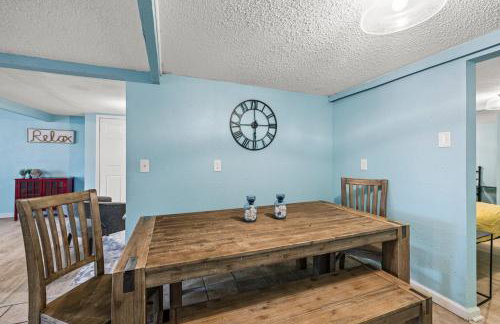
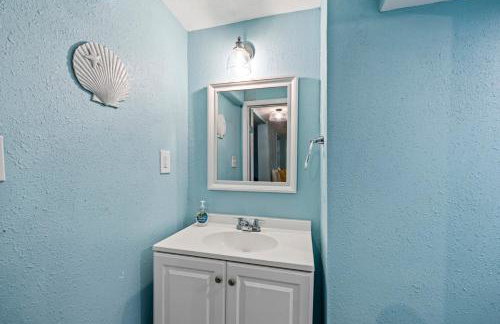
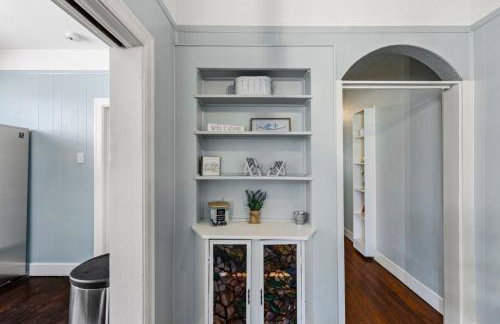
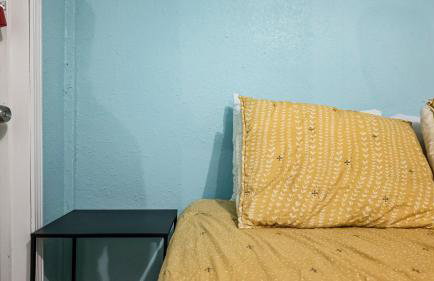
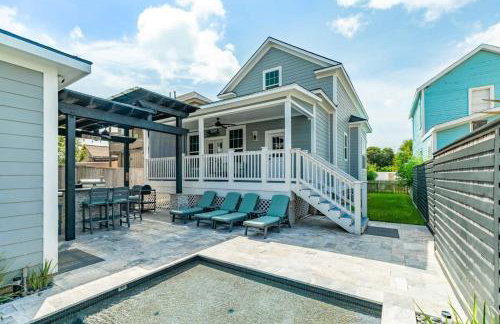
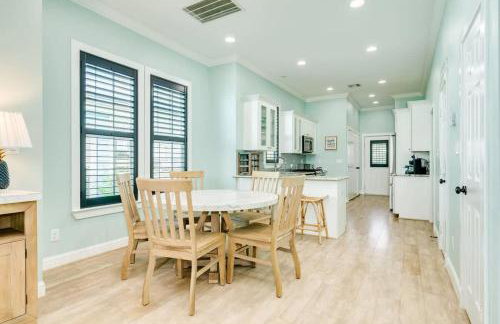
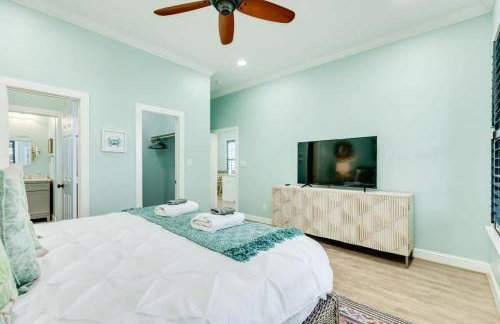
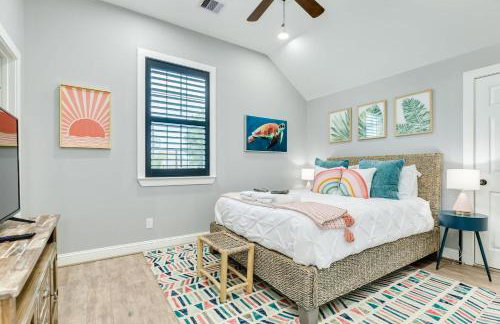
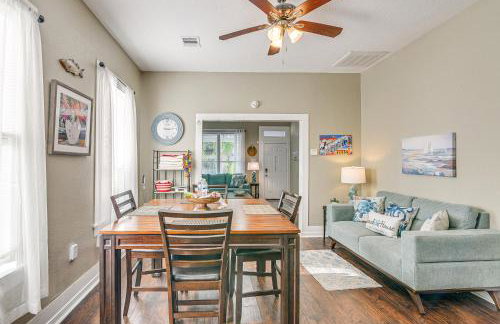
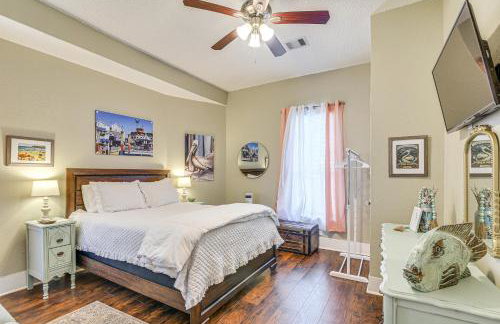
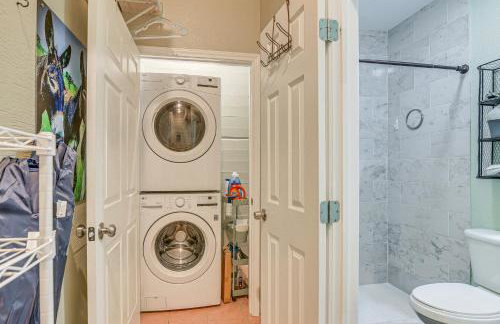
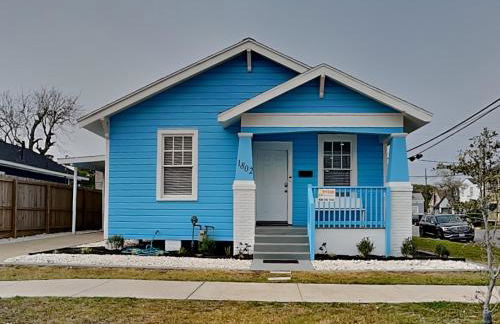
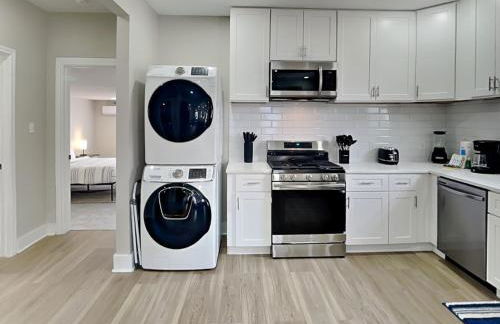
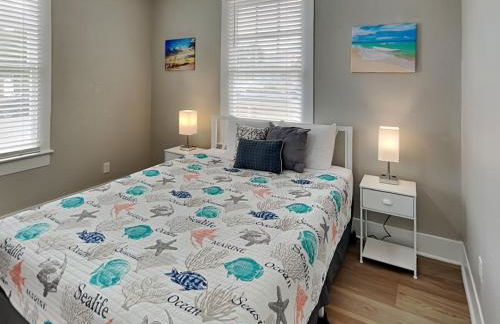
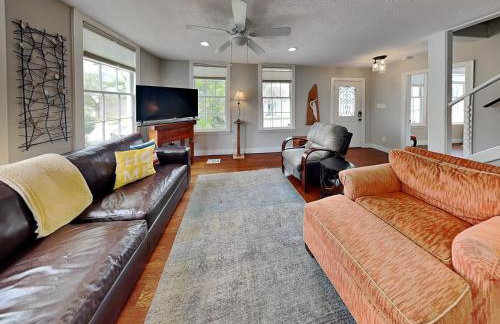
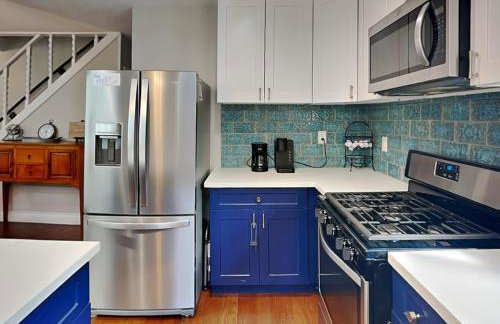
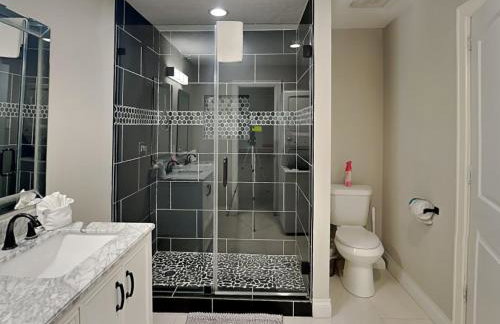
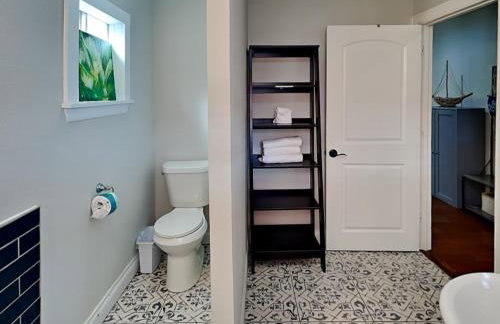
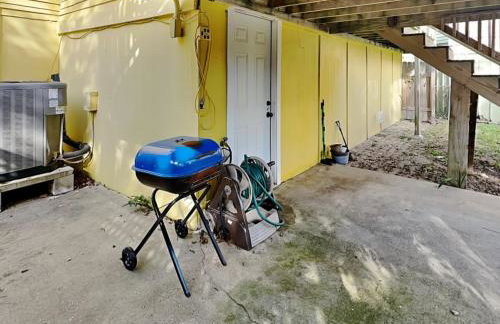
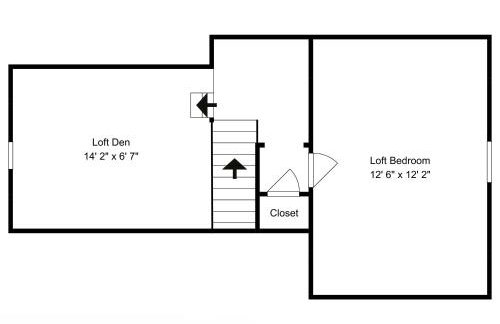
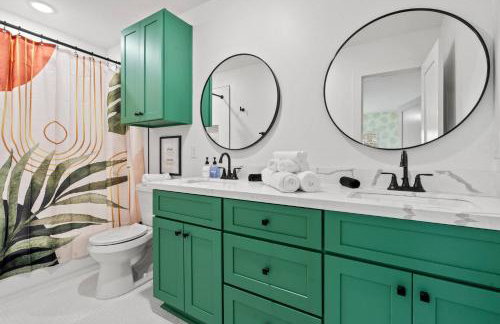
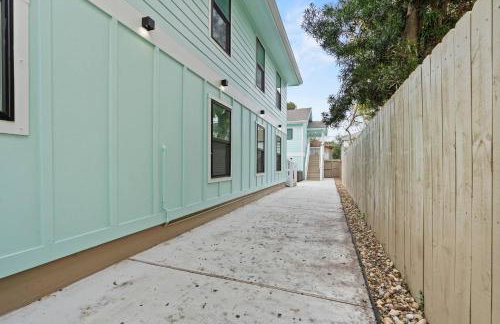
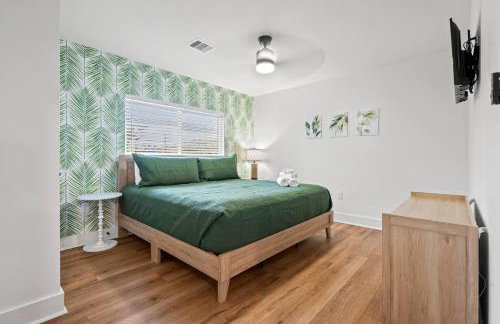
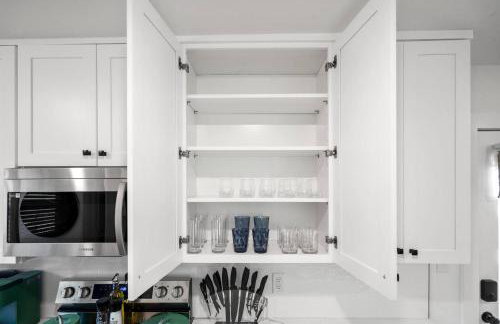
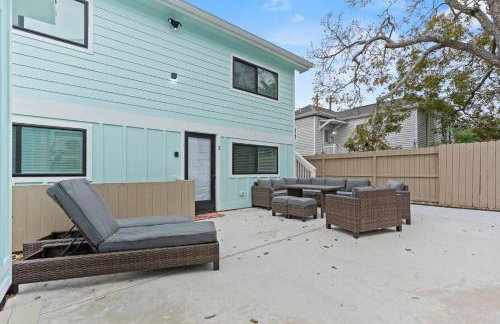
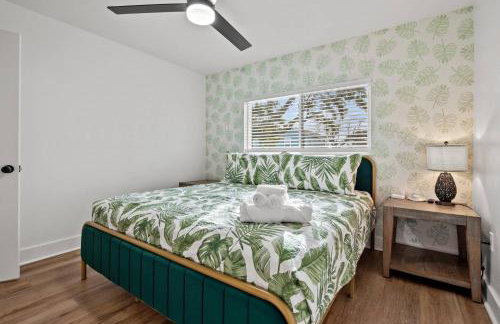
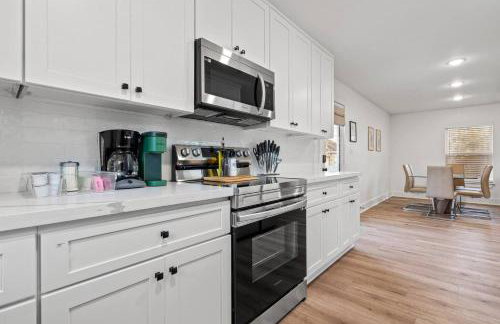
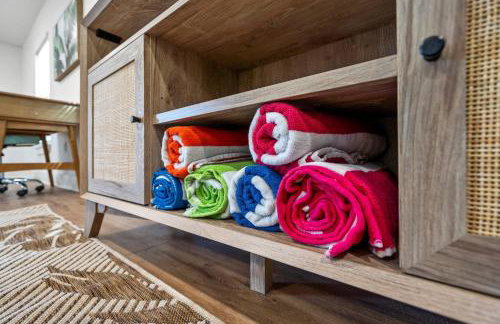
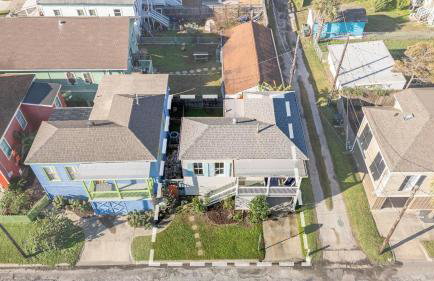
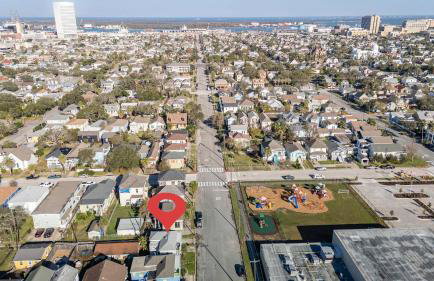
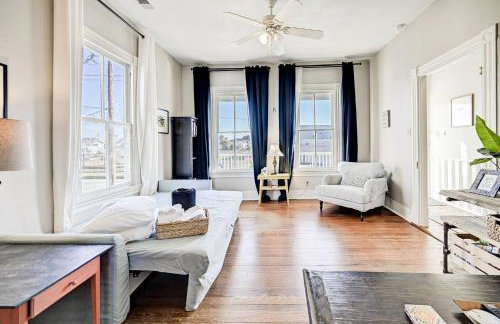
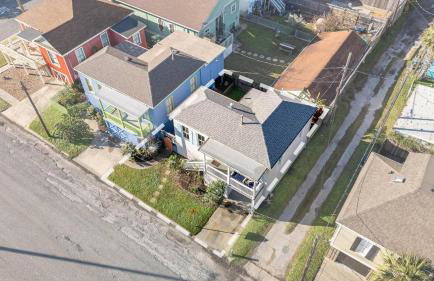
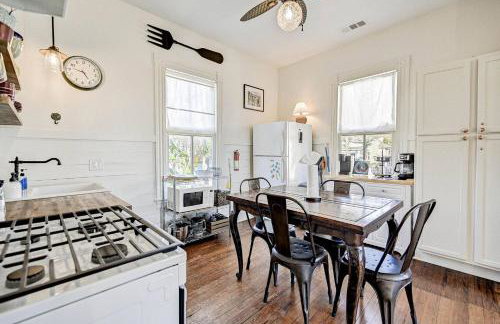
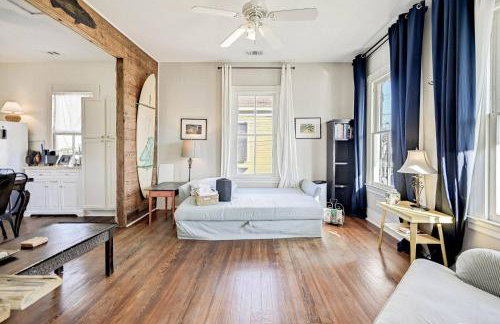
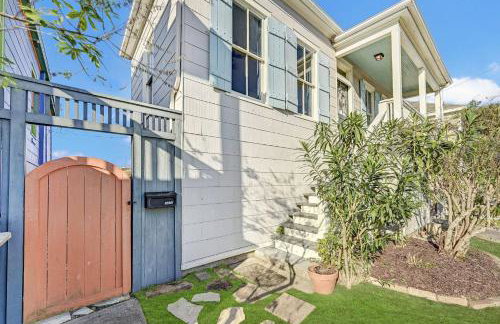
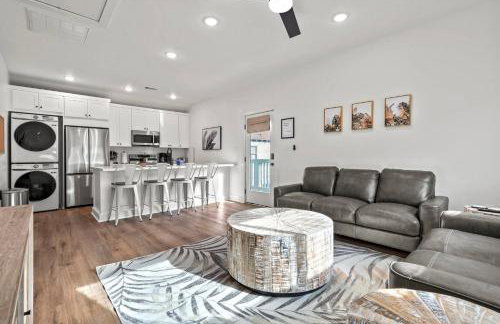
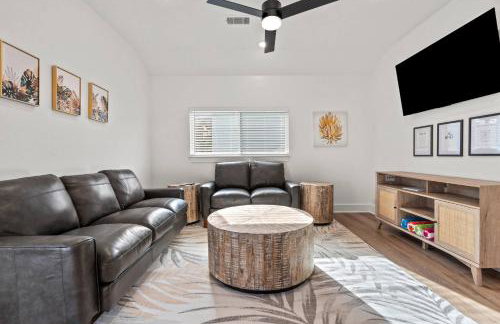
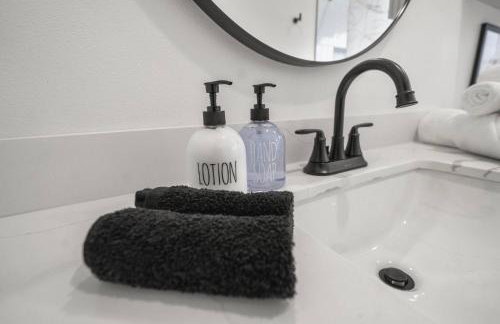
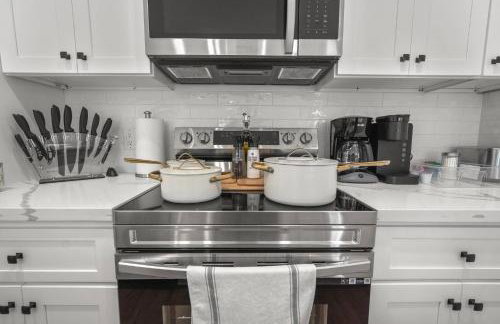
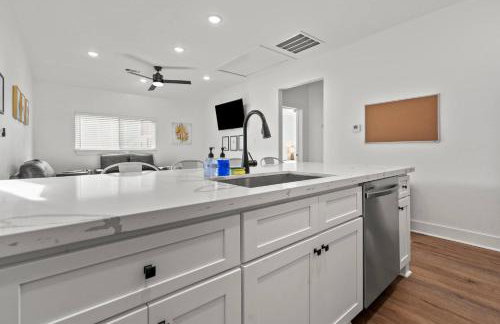
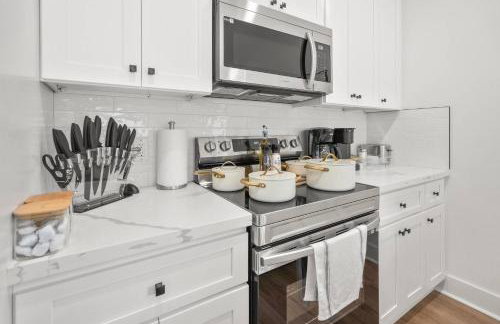
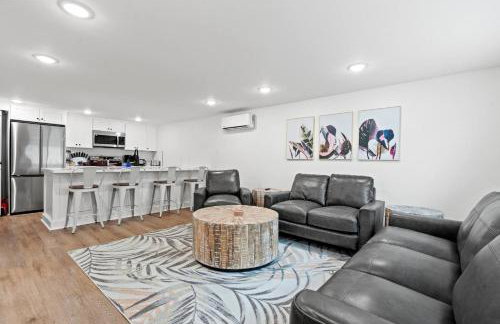
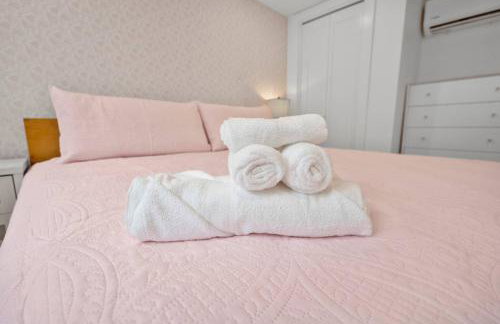
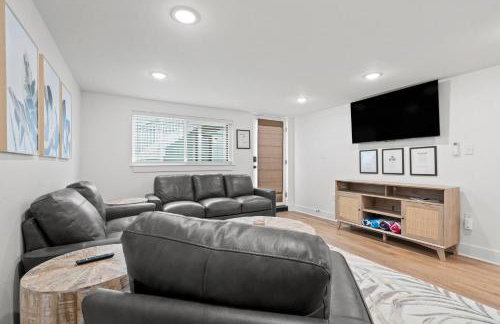
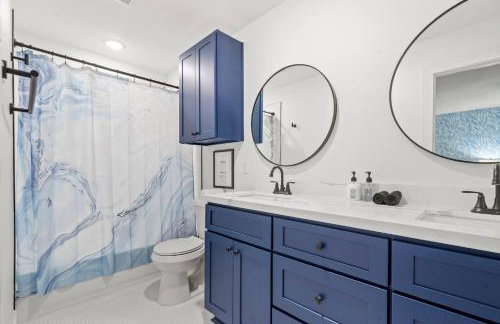
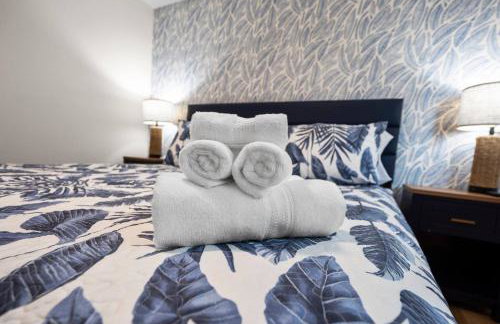
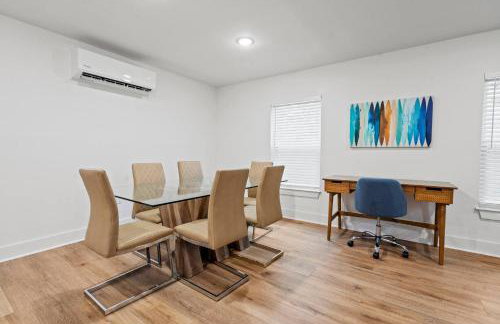
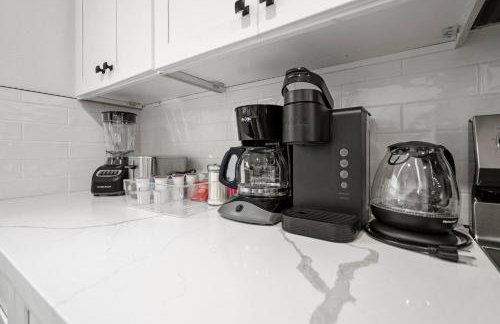
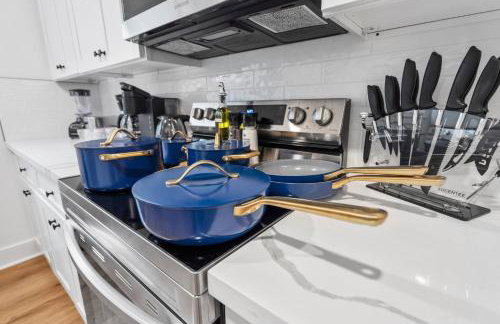
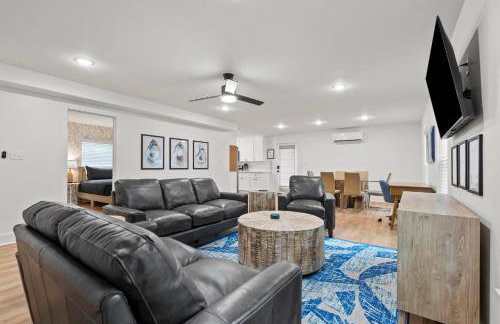
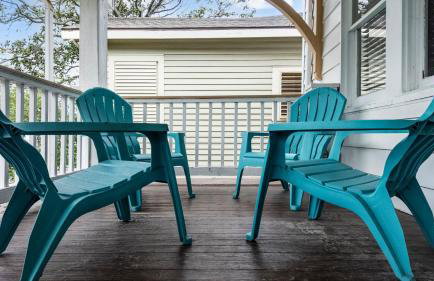
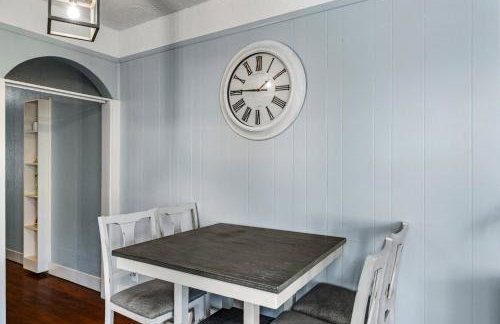
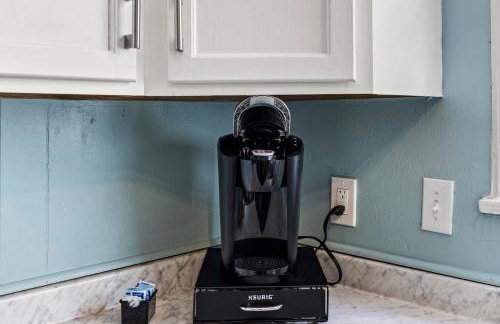
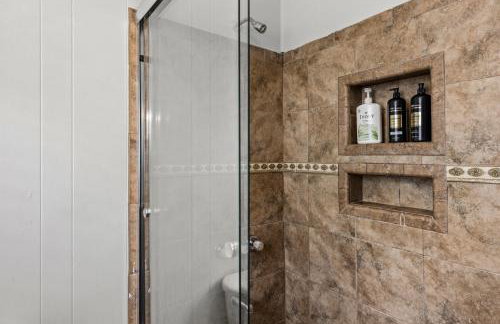
Port Side at M Historic Lost Bayou Retreat Walk to Beach Sleeps 6 - Foto 4
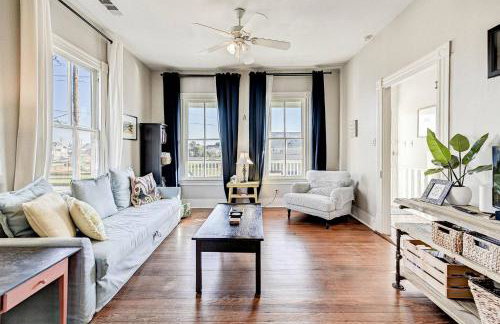
Port Side at M Historic Lost Bayou Retreat Walk to Beach Sleeps 6 - Foto 5
Port Side at M Historic Lost Bayou Retreat Walk to Beach Sleeps 6 - Foto 6
Port Side at M Historic Lost Bayou Retreat Walk to Beach Sleeps 6 - Foto 7
Port Side at M Historic Lost Bayou Retreat Walk to Beach Sleeps 6 - Foto 8
Port Side at M Historic Lost Bayou Retreat Walk to Beach Sleeps 6 - Foto 9
Port Side at M Historic Lost Bayou Retreat Walk to Beach Sleeps 6 - Foto 10
Port Side at M Historic Lost Bayou Retreat Walk to Beach Sleeps 6 - Foto 11
Port Side at M Historic Lost Bayou Retreat Walk to Beach Sleeps 6 - Foto 12
Port Side at M Historic Lost Bayou Retreat Walk to Beach Sleeps 6 - Foto 13
Port Side at M Historic Lost Bayou Retreat Walk to Beach Sleeps 6 - Foto 14
Port Side at M Historic Lost Bayou Retreat Walk to Beach Sleeps 6 - Foto 15
Port Side at M Historic Lost Bayou Retreat Walk to Beach Sleeps 6 - Foto 16
Port Side at M Historic Lost Bayou Retreat Walk to Beach Sleeps 6 - Foto 17
Port Side at M Historic Lost Bayou Retreat Walk to Beach Sleeps 6 - Foto 18
Port Side at M Historic Lost Bayou Retreat Walk to Beach Sleeps 6 - Foto 19
Port Side at M Historic Lost Bayou Retreat Walk to Beach Sleeps 6 - Foto 20
Port Side at M Historic Lost Bayou Retreat Walk to Beach Sleeps 6 - Foto 21
Port Side at M Historic Lost Bayou Retreat Walk to Beach Sleeps 6 - Foto 22
Port Side at M Historic Lost Bayou Retreat Walk to Beach Sleeps 6 - Foto 23
Port Side at M Historic Lost Bayou Retreat Walk to Beach Sleeps 6 - Foto 24
Port Side at M Historic Lost Bayou Retreat Walk to Beach Sleeps 6 - Foto 25
Port Side at M Historic Lost Bayou Retreat Walk to Beach Sleeps 6 - Foto 26
Port Side at M Historic Lost Bayou Retreat Walk to Beach Sleeps 6 - Foto 27
Port Side at M Historic Lost Bayou Retreat Walk to Beach Sleeps 6 - Foto 28
Port Side at M Historic Lost Bayou Retreat Walk to Beach Sleeps 6 - Foto 29
Port Side at M Historic Lost Bayou Retreat Walk to Beach Sleeps 6 - Foto 30
Port Side at M Historic Lost Bayou Retreat Walk to Beach Sleeps 6 - Foto 31
Port Side at M Historic Lost Bayou Retreat Walk to Beach Sleeps 6 - Foto 32
Port Side at M Historic Lost Bayou Retreat Walk to Beach Sleeps 6 - Foto 33
Port Side at M Historic Lost Bayou Retreat Walk to Beach Sleeps 6 - Foto 34
Port Side at M Historic Lost Bayou Retreat Walk to Beach Sleeps 6 - Foto 35
Port Side at M Historic Lost Bayou Retreat Walk to Beach Sleeps 6 - Foto 36

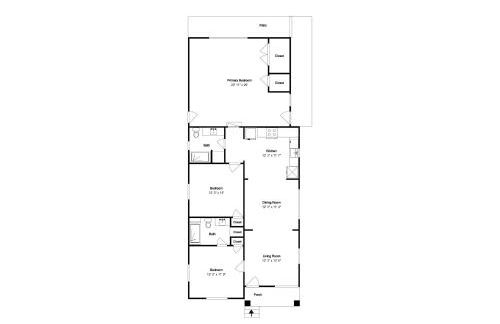
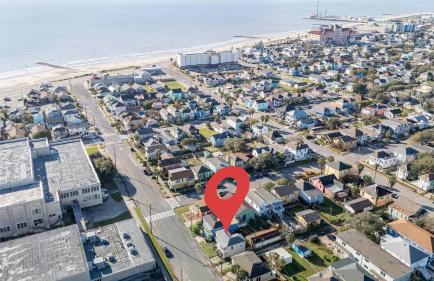
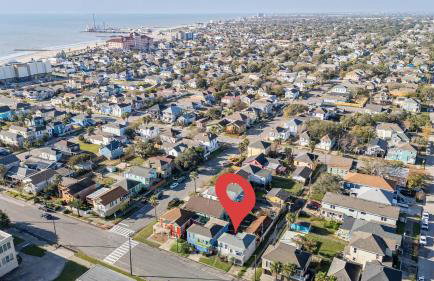
Port Side at M Historic Lost Bayou Retreat Walk to Beach Sleeps 6

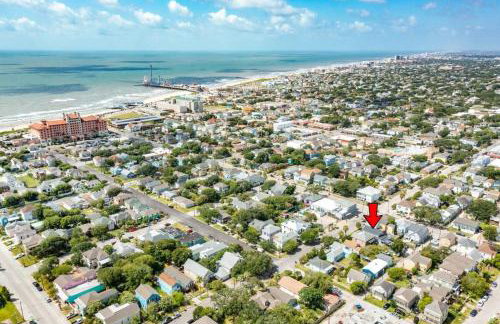
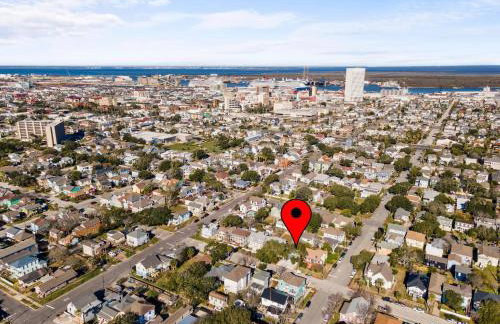
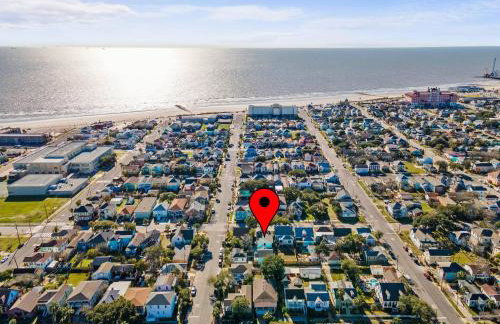
Galveston - Lost Bayou Historic District - 1.8 km do centro

  • 77 M2
  • 2 quartos
  • 6 pessoas
  • Ar-condicionado
  • Aquecimento
  • Terraço
  • Estacionamento
  • Jardim
8.9Muito bom | 41 avaliações
M Street Double Top Floor of a Historic Triplex Sleeps 12 Walk to Beach - Foto 1
M Street Double Top Floor of a Historic Triplex Sleeps 12 Walk to Beach - Foto 2
M Street Double Top Floor of a Historic Triplex Sleeps 12 Walk to Beach - Foto 3
M Street Double Top Floor of a Historic Triplex Sleeps 12 Walk to Beach - Foto 4
M Street Double Top Floor of a Historic Triplex Sleeps 12 Walk to Beach - Foto 5
M Street Double Top Floor of a Historic Triplex Sleeps 12 Walk to Beach - Foto 6
M Street Double Top Floor of a Historic Triplex Sleeps 12 Walk to Beach - Foto 7
M Street Double Top Floor of a Historic Triplex Sleeps 12 Walk to Beach - Foto 8
M Street Double Top Floor of a Historic Triplex Sleeps 12 Walk to Beach - Foto 9
M Street Double Top Floor of a Historic Triplex Sleeps 12 Walk to Beach - Foto 10
M Street Double Top Floor of a Historic Triplex Sleeps 12 Walk to Beach - Foto 11
M Street Double Top Floor of a Historic Triplex Sleeps 12 Walk to Beach - Foto 12
M Street Double Top Floor of a Historic Triplex Sleeps 12 Walk to Beach - Foto 13
M Street Double Top Floor of a Historic Triplex Sleeps 12 Walk to Beach - Foto 14
M Street Double Top Floor of a Historic Triplex Sleeps 12 Walk to Beach - Foto 15
M Street Double Top Floor of a Historic Triplex Sleeps 12 Walk to Beach - Foto 16
M Street Double Top Floor of a Historic Triplex Sleeps 12 Walk to Beach - Foto 17
M Street Double Top Floor of a Historic Triplex Sleeps 12 Walk to Beach - Foto 18

M Street Double Top Floor of a Historic Triplex Sleeps 12 Walk to Beach

Galveston - Lost Bayou Historic District - 1.8 km do centro

  • 153 M2
  • 4 quartos
  • 12 pessoas
  • Ar-condicionado
  • Aquecimento
  • Terraço
  • Estacionamento
  • Jardim
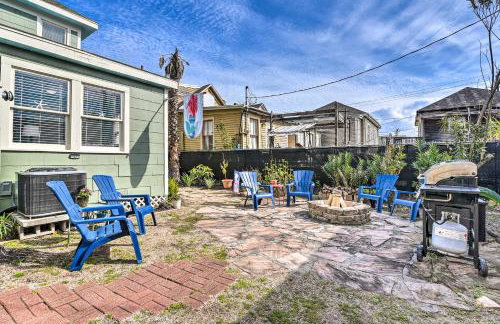
9.4Excepcional | 9 avaliações
Walk to Beach! Group-Friendly Galveston Hideaway - Foto 1
Walk to Beach! Group-Friendly Galveston Hideaway - Foto 2
Walk to Beach! Group-Friendly Galveston Hideaway - Foto 3
Walk to Beach! Group-Friendly Galveston Hideaway - Foto 4
Walk to Beach! Group-Friendly Galveston Hideaway - Foto 5
Walk to Beach! Group-Friendly Galveston Hideaway - Foto 6
Walk to Beach! Group-Friendly Galveston Hideaway - Foto 7
Walk to Beach! Group-Friendly Galveston Hideaway - Foto 8
Walk to Beach! Group-Friendly Galveston Hideaway - Foto 9
Walk to Beach! Group-Friendly Galveston Hideaway - Foto 10
Walk to Beach! Group-Friendly Galveston Hideaway - Foto 11
Walk to Beach! Group-Friendly Galveston Hideaway - Foto 12
Walk to Beach! Group-Friendly Galveston Hideaway - Foto 13
Walk to Beach! Group-Friendly Galveston Hideaway - Foto 14
Walk to Beach! Group-Friendly Galveston Hideaway - Foto 15
Walk to Beach! Group-Friendly Galveston Hideaway - Foto 16
Walk to Beach! Group-Friendly Galveston Hideaway - Foto 17
Walk to Beach! Group-Friendly Galveston Hideaway - Foto 18
Walk to Beach! Group-Friendly Galveston Hideaway - Foto 19
Walk to Beach! Group-Friendly Galveston Hideaway - Foto 20
Walk to Beach! Group-Friendly Galveston Hideaway - Foto 21
Walk to Beach! Group-Friendly Galveston Hideaway - Foto 22
Walk to Beach! Group-Friendly Galveston Hideaway - Foto 23
Walk to Beach! Group-Friendly Galveston Hideaway - Foto 24
Walk to Beach! Group-Friendly Galveston Hideaway - Foto 25
Walk to Beach! Group-Friendly Galveston Hideaway - Foto 26
Walk to Beach! Group-Friendly Galveston Hideaway - Foto 27
Walk to Beach! Group-Friendly Galveston Hideaway - Foto 28
Walk to Beach! Group-Friendly Galveston Hideaway - Foto 29
Walk to Beach! Group-Friendly Galveston Hideaway - Foto 30
Walk to Beach! Group-Friendly Galveston Hideaway - Foto 31
Walk to Beach! Group-Friendly Galveston Hideaway - Foto 32
Walk to Beach! Group-Friendly Galveston Hideaway - Foto 33
Walk to Beach! Group-Friendly Galveston Hideaway - Foto 34
Walk to Beach! Group-Friendly Galveston Hideaway - Foto 35
Walk to Beach! Group-Friendly Galveston Hideaway - Foto 36
Walk to Beach! Group-Friendly Galveston Hideaway - Foto 37

Walk to Beach! Group-Friendly Galveston Hideaway

Galveston - Lost Bayou Historic District - 1.5 km do centro

  • 204 M2
  • 4 quartos
  • 10 pessoas
  • Aquecimento
  • Terraço
  • Estacionamento
9.5Excepcional | 6 avaliações
The Starboard at M Historic Lost Bayou Retreat Walk to Beach Sleeps 6 - Foto 1
The Starboard at M Historic Lost Bayou Retreat Walk to Beach Sleeps 6 - Foto 2
The Starboard at M Historic Lost Bayou Retreat Walk to Beach Sleeps 6 - Foto 3
The Starboard at M Historic Lost Bayou Retreat Walk to Beach Sleeps 6 - Foto 4
The Starboard at M Historic Lost Bayou Retreat Walk to Beach Sleeps 6 - Foto 5
The Starboard at M Historic Lost Bayou Retreat Walk to Beach Sleeps 6 - Foto 6
The Starboard at M Historic Lost Bayou Retreat Walk to Beach Sleeps 6 - Foto 7
The Starboard at M Historic Lost Bayou Retreat Walk to Beach Sleeps 6 - Foto 8
The Starboard at M Historic Lost Bayou Retreat Walk to Beach Sleeps 6 - Foto 9
The Starboard at M Historic Lost Bayou Retreat Walk to Beach Sleeps 6 - Foto 10
The Starboard at M Historic Lost Bayou Retreat Walk to Beach Sleeps 6 - Foto 11
The Starboard at M Historic Lost Bayou Retreat Walk to Beach Sleeps 6 - Foto 12
The Starboard at M Historic Lost Bayou Retreat Walk to Beach Sleeps 6 - Foto 13
The Starboard at M Historic Lost Bayou Retreat Walk to Beach Sleeps 6 - Foto 14
The Starboard at M Historic Lost Bayou Retreat Walk to Beach Sleeps 6 - Foto 15
The Starboard at M Historic Lost Bayou Retreat Walk to Beach Sleeps 6 - Foto 16
The Starboard at M Historic Lost Bayou Retreat Walk to Beach Sleeps 6 - Foto 17
The Starboard at M Historic Lost Bayou Retreat Walk to Beach Sleeps 6 - Foto 18
The Starboard at M Historic Lost Bayou Retreat Walk to Beach Sleeps 6 - Foto 19
The Starboard at M Historic Lost Bayou Retreat Walk to Beach Sleeps 6 - Foto 20
The Starboard at M Historic Lost Bayou Retreat Walk to Beach Sleeps 6 - Foto 21
The Starboard at M Historic Lost Bayou Retreat Walk to Beach Sleeps 6 - Foto 22
The Starboard at M Historic Lost Bayou Retreat Walk to Beach Sleeps 6 - Foto 23
The Starboard at M Historic Lost Bayou Retreat Walk to Beach Sleeps 6 - Foto 24
The Starboard at M Historic Lost Bayou Retreat Walk to Beach Sleeps 6 - Foto 25
The Starboard at M Historic Lost Bayou Retreat Walk to Beach Sleeps 6 - Foto 26
The Starboard at M Historic Lost Bayou Retreat Walk to Beach Sleeps 6 - Foto 27
The Starboard at M Historic Lost Bayou Retreat Walk to Beach Sleeps 6 - Foto 28
The Starboard at M Historic Lost Bayou Retreat Walk to Beach Sleeps 6 - Foto 29
The Starboard at M Historic Lost Bayou Retreat Walk to Beach Sleeps 6 - Foto 30
The Starboard at M Historic Lost Bayou Retreat Walk to Beach Sleeps 6 - Foto 31
The Starboard at M Historic Lost Bayou Retreat Walk to Beach Sleeps 6 - Foto 32
The Starboard at M Historic Lost Bayou Retreat Walk to Beach Sleeps 6 - Foto 33
The Starboard at M Historic Lost Bayou Retreat Walk to Beach Sleeps 6 - Foto 34
The Starboard at M Historic Lost Bayou Retreat Walk to Beach Sleeps 6 - Foto 35
The Starboard at M Historic Lost Bayou Retreat Walk to Beach Sleeps 6 - Foto 36
The Starboard at M Historic Lost Bayou Retreat Walk to Beach Sleeps 6 - Foto 37
The Starboard at M Historic Lost Bayou Retreat Walk to Beach Sleeps 6 - Foto 38
The Starboard at M Historic Lost Bayou Retreat Walk to Beach Sleeps 6 - Foto 39
The Starboard at M Historic Lost Bayou Retreat Walk to Beach Sleeps 6 - Foto 40
The Starboard at M Historic Lost Bayou Retreat Walk to Beach Sleeps 6 - Foto 41
The Starboard at M Historic Lost Bayou Retreat Walk to Beach Sleeps 6 - Foto 42
The Starboard at M Historic Lost Bayou Retreat Walk to Beach Sleeps 6 - Foto 43
The Starboard at M Historic Lost Bayou Retreat Walk to Beach Sleeps 6 - Foto 44
The Starboard at M Historic Lost Bayou Retreat Walk to Beach Sleeps 6 - Foto 45
The Starboard at M Historic Lost Bayou Retreat Walk to Beach Sleeps 6 - Foto 46
The Starboard at M Historic Lost Bayou Retreat Walk to Beach Sleeps 6 - Foto 47
The Starboard at M Historic Lost Bayou Retreat Walk to Beach Sleeps 6 - Foto 48
The Starboard at M Historic Lost Bayou Retreat Walk to Beach Sleeps 6 - Foto 49
The Starboard at M Historic Lost Bayou Retreat Walk to Beach Sleeps 6 - Foto 50
The Starboard at M Historic Lost Bayou Retreat Walk to Beach Sleeps 6 - Foto 51
The Starboard at M Historic Lost Bayou Retreat Walk to Beach Sleeps 6 - Foto 52
The Starboard at M Historic Lost Bayou Retreat Walk to Beach Sleeps 6 - Foto 53
The Starboard at M Historic Lost Bayou Retreat Walk to Beach Sleeps 6 - Foto 54

The Starboard at M Historic Lost Bayou Retreat Walk to Beach Sleeps 6

Galveston - Lost Bayou Historic District - 1.8 km do centro

  • 77 M2
  • 2 quartos
  • 6 pessoas
  • Ar-condicionado
  • Aquecimento
  • Terraço
  • Estacionamento
  • Jardim
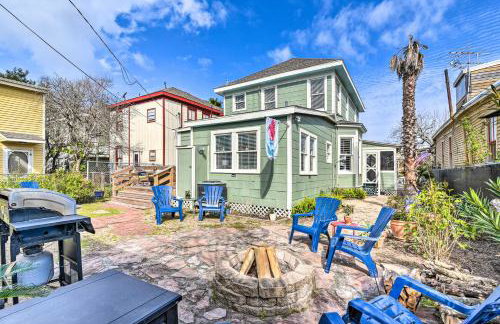
8.1Muito bom | 25 avaliações
Historic Galveston Beach Cottage - Foto 1
Historic Galveston Beach Cottage - Foto 2
Historic Galveston Beach Cottage - Foto 3
Historic Galveston Beach Cottage - Foto 4
Historic Galveston Beach Cottage - Foto 5
Historic Galveston Beach Cottage - Foto 6
Historic Galveston Beach Cottage - Foto 7
Historic Galveston Beach Cottage - Foto 8
Historic Galveston Beach Cottage - Foto 9
Historic Galveston Beach Cottage - Foto 10
Historic Galveston Beach Cottage - Foto 11
Historic Galveston Beach Cottage - Foto 12
Historic Galveston Beach Cottage - Foto 13
Historic Galveston Beach Cottage - Foto 14
Historic Galveston Beach Cottage - Foto 15

Historic Galveston Beach Cottage

Galveston - Lost Bayou Historic District - 1.4 km do centro

  • 111 M2
  • 1 quarto
  • 6 pessoas
  • Ar-condicionado
  • Estacionamento
9.7Excepcional | 3 avaliações
4 Blocks to Beach! Family-Friendly Galveston Home - Foto 1
4 Blocks to Beach! Family-Friendly Galveston Home - Foto 2
4 Blocks to Beach! Family-Friendly Galveston Home - Foto 3
4 Blocks to Beach! Family-Friendly Galveston Home - Foto 4
4 Blocks to Beach! Family-Friendly Galveston Home - Foto 5
4 Blocks to Beach! Family-Friendly Galveston Home - Foto 6
4 Blocks to Beach! Family-Friendly Galveston Home - Foto 7
4 Blocks to Beach! Family-Friendly Galveston Home - Foto 8
4 Blocks to Beach! Family-Friendly Galveston Home - Foto 9
4 Blocks to Beach! Family-Friendly Galveston Home - Foto 10
4 Blocks to Beach! Family-Friendly Galveston Home - Foto 11
4 Blocks to Beach! Family-Friendly Galveston Home - Foto 12
4 Blocks to Beach! Family-Friendly Galveston Home - Foto 13
4 Blocks to Beach! Family-Friendly Galveston Home - Foto 14
4 Blocks to Beach! Family-Friendly Galveston Home - Foto 15
4 Blocks to Beach! Family-Friendly Galveston Home - Foto 16
4 Blocks to Beach! Family-Friendly Galveston Home - Foto 17
4 Blocks to Beach! Family-Friendly Galveston Home - Foto 18
4 Blocks to Beach! Family-Friendly Galveston Home - Foto 19
4 Blocks to Beach! Family-Friendly Galveston Home - Foto 20
4 Blocks to Beach! Family-Friendly Galveston Home - Foto 21
4 Blocks to Beach! Family-Friendly Galveston Home - Foto 22
4 Blocks to Beach! Family-Friendly Galveston Home - Foto 23
4 Blocks to Beach! Family-Friendly Galveston Home - Foto 24
4 Blocks to Beach! Family-Friendly Galveston Home - Foto 25
4 Blocks to Beach! Family-Friendly Galveston Home - Foto 26
4 Blocks to Beach! Family-Friendly Galveston Home - Foto 27
4 Blocks to Beach! Family-Friendly Galveston Home - Foto 28
4 Blocks to Beach! Family-Friendly Galveston Home - Foto 29
4 Blocks to Beach! Family-Friendly Galveston Home - Foto 30
4 Blocks to Beach! Family-Friendly Galveston Home - Foto 31
4 Blocks to Beach! Family-Friendly Galveston Home - Foto 32
4 Blocks to Beach! Family-Friendly Galveston Home - Foto 33

4 Blocks to Beach! Family-Friendly Galveston Home

Galveston - Lost Bayou Historic District - 1.8 km do centro

  • 121 M2
  • 2 quartos
  • 10 pessoas
  • Aquecimento
  • Estacionamento
9.5Excepcional | 2 avaliações
Abfab Seaside Cottage by Ryson Vacation Rentals - Foto 1
Abfab Seaside Cottage by Ryson Vacation Rentals - Foto 2
Abfab Seaside Cottage by Ryson Vacation Rentals - Foto 3
Abfab Seaside Cottage by Ryson Vacation Rentals - Foto 4
Abfab Seaside Cottage by Ryson Vacation Rentals - Foto 5
Abfab Seaside Cottage by Ryson Vacation Rentals - Foto 6
Abfab Seaside Cottage by Ryson Vacation Rentals - Foto 7
Abfab Seaside Cottage by Ryson Vacation Rentals - Foto 8
Abfab Seaside Cottage by Ryson Vacation Rentals - Foto 9
Abfab Seaside Cottage by Ryson Vacation Rentals - Foto 10
Abfab Seaside Cottage by Ryson Vacation Rentals - Foto 11
Abfab Seaside Cottage by Ryson Vacation Rentals - Foto 12
Abfab Seaside Cottage by Ryson Vacation Rentals - Foto 13
Abfab Seaside Cottage by Ryson Vacation Rentals - Foto 14
Abfab Seaside Cottage by Ryson Vacation Rentals - Foto 15
Abfab Seaside Cottage by Ryson Vacation Rentals - Foto 16
Abfab Seaside Cottage by Ryson Vacation Rentals - Foto 17
Abfab Seaside Cottage by Ryson Vacation Rentals - Foto 18
Abfab Seaside Cottage by Ryson Vacation Rentals - Foto 19
Abfab Seaside Cottage by Ryson Vacation Rentals - Foto 20
Abfab Seaside Cottage by Ryson Vacation Rentals - Foto 21
Abfab Seaside Cottage by Ryson Vacation Rentals - Foto 22
Abfab Seaside Cottage by Ryson Vacation Rentals - Foto 23
Abfab Seaside Cottage by Ryson Vacation Rentals - Foto 24
Abfab Seaside Cottage by Ryson Vacation Rentals - Foto 25
Abfab Seaside Cottage by Ryson Vacation Rentals - Foto 26
Abfab Seaside Cottage by Ryson Vacation Rentals - Foto 27
Abfab Seaside Cottage by Ryson Vacation Rentals - Foto 28
Abfab Seaside Cottage by Ryson Vacation Rentals - Foto 29
Abfab Seaside Cottage by Ryson Vacation Rentals - Foto 30
Abfab Seaside Cottage by Ryson Vacation Rentals - Foto 31
Abfab Seaside Cottage by Ryson Vacation Rentals - Foto 32
Abfab Seaside Cottage by Ryson Vacation Rentals - Foto 33
Abfab Seaside Cottage by Ryson Vacation Rentals - Foto 34
Abfab Seaside Cottage by Ryson Vacation Rentals - Foto 35
Abfab Seaside Cottage by Ryson Vacation Rentals - Foto 36
Abfab Seaside Cottage by Ryson Vacation Rentals - Foto 37
Abfab Seaside Cottage by Ryson Vacation Rentals - Foto 38
Abfab Seaside Cottage by Ryson Vacation Rentals - Foto 39
Abfab Seaside Cottage by Ryson Vacation Rentals - Foto 40
Abfab Seaside Cottage by Ryson Vacation Rentals - Foto 41
Abfab Seaside Cottage by Ryson Vacation Rentals - Foto 42
Abfab Seaside Cottage by Ryson Vacation Rentals - Foto 43
Abfab Seaside Cottage by Ryson Vacation Rentals - Foto 44
Abfab Seaside Cottage by Ryson Vacation Rentals - Foto 45
Abfab Seaside Cottage by Ryson Vacation Rentals - Foto 46
Abfab Seaside Cottage by Ryson Vacation Rentals - Foto 47
Abfab Seaside Cottage by Ryson Vacation Rentals - Foto 48
Abfab Seaside Cottage by Ryson Vacation Rentals - Foto 49
Abfab Seaside Cottage by Ryson Vacation Rentals - Foto 50
Abfab Seaside Cottage by Ryson Vacation Rentals - Foto 51
Abfab Seaside Cottage by Ryson Vacation Rentals - Foto 52
Abfab Seaside Cottage by Ryson Vacation Rentals - Foto 53
Abfab Seaside Cottage by Ryson Vacation Rentals - Foto 54

Abfab Seaside Cottage by Ryson Vacation Rentals

Galveston - Lost Bayou Historic District - 1.6 km do centro

  • 187 M2
  • 3 quartos
  • 10 pessoas
  • Ar-condicionado
  • Aquecimento
  • Terraço
  • Estacionamento
  • Varanda
  • Tv
  • Máquina de lavar roupa
  • Toalhas
  • Lençóis
8.8Muito bom | 3 avaliações
Historic Anchor at M Sleeps 7 Outdoor Shower Mins to Beach & Moody Gardens - Foto 1
Historic Anchor at M Sleeps 7 Outdoor Shower Mins to Beach & Moody Gardens - Foto 2
Historic Anchor at M Sleeps 7 Outdoor Shower Mins to Beach & Moody Gardens - Foto 3
Historic Anchor at M Sleeps 7 Outdoor Shower Mins to Beach & Moody Gardens - Foto 4
Historic Anchor at M Sleeps 7 Outdoor Shower Mins to Beach & Moody Gardens - Foto 5
Historic Anchor at M Sleeps 7 Outdoor Shower Mins to Beach & Moody Gardens - Foto 6
Historic Anchor at M Sleeps 7 Outdoor Shower Mins to Beach & Moody Gardens - Foto 7
Historic Anchor at M Sleeps 7 Outdoor Shower Mins to Beach & Moody Gardens - Foto 8
Historic Anchor at M Sleeps 7 Outdoor Shower Mins to Beach & Moody Gardens - Foto 9
Historic Anchor at M Sleeps 7 Outdoor Shower Mins to Beach & Moody Gardens - Foto 10
Historic Anchor at M Sleeps 7 Outdoor Shower Mins to Beach & Moody Gardens - Foto 11
Historic Anchor at M Sleeps 7 Outdoor Shower Mins to Beach & Moody Gardens - Foto 12
Historic Anchor at M Sleeps 7 Outdoor Shower Mins to Beach & Moody Gardens - Foto 13
Historic Anchor at M Sleeps 7 Outdoor Shower Mins to Beach & Moody Gardens - Foto 14
Historic Anchor at M Sleeps 7 Outdoor Shower Mins to Beach & Moody Gardens - Foto 15
Historic Anchor at M Sleeps 7 Outdoor Shower Mins to Beach & Moody Gardens - Foto 16
Historic Anchor at M Sleeps 7 Outdoor Shower Mins to Beach & Moody Gardens - Foto 17
Historic Anchor at M Sleeps 7 Outdoor Shower Mins to Beach & Moody Gardens - Foto 18
Historic Anchor at M Sleeps 7 Outdoor Shower Mins to Beach & Moody Gardens - Foto 19
Historic Anchor at M Sleeps 7 Outdoor Shower Mins to Beach & Moody Gardens - Foto 20
Historic Anchor at M Sleeps 7 Outdoor Shower Mins to Beach & Moody Gardens - Foto 21
Historic Anchor at M Sleeps 7 Outdoor Shower Mins to Beach & Moody Gardens - Foto 22
Historic Anchor at M Sleeps 7 Outdoor Shower Mins to Beach & Moody Gardens - Foto 23
Historic Anchor at M Sleeps 7 Outdoor Shower Mins to Beach & Moody Gardens - Foto 24
Historic Anchor at M Sleeps 7 Outdoor Shower Mins to Beach & Moody Gardens - Foto 25
Historic Anchor at M Sleeps 7 Outdoor Shower Mins to Beach & Moody Gardens - Foto 26
Historic Anchor at M Sleeps 7 Outdoor Shower Mins to Beach & Moody Gardens - Foto 27
Historic Anchor at M Sleeps 7 Outdoor Shower Mins to Beach & Moody Gardens - Foto 28
Historic Anchor at M Sleeps 7 Outdoor Shower Mins to Beach & Moody Gardens - Foto 29
Historic Anchor at M Sleeps 7 Outdoor Shower Mins to Beach & Moody Gardens - Foto 30
Historic Anchor at M Sleeps 7 Outdoor Shower Mins to Beach & Moody Gardens - Foto 31
Historic Anchor at M Sleeps 7 Outdoor Shower Mins to Beach & Moody Gardens - Foto 32
Historic Anchor at M Sleeps 7 Outdoor Shower Mins to Beach & Moody Gardens - Foto 33
Historic Anchor at M Sleeps 7 Outdoor Shower Mins to Beach & Moody Gardens - Foto 34
Historic Anchor at M Sleeps 7 Outdoor Shower Mins to Beach & Moody Gardens - Foto 35
Historic Anchor at M Sleeps 7 Outdoor Shower Mins to Beach & Moody Gardens - Foto 36
Historic Anchor at M Sleeps 7 Outdoor Shower Mins to Beach & Moody Gardens - Foto 37
Historic Anchor at M Sleeps 7 Outdoor Shower Mins to Beach & Moody Gardens - Foto 38
Historic Anchor at M Sleeps 7 Outdoor Shower Mins to Beach & Moody Gardens - Foto 39
Historic Anchor at M Sleeps 7 Outdoor Shower Mins to Beach & Moody Gardens - Foto 40
Historic Anchor at M Sleeps 7 Outdoor Shower Mins to Beach & Moody Gardens - Foto 41
Historic Anchor at M Sleeps 7 Outdoor Shower Mins to Beach & Moody Gardens - Foto 42
Historic Anchor at M Sleeps 7 Outdoor Shower Mins to Beach & Moody Gardens - Foto 43
Historic Anchor at M Sleeps 7 Outdoor Shower Mins to Beach & Moody Gardens - Foto 44
Historic Anchor at M Sleeps 7 Outdoor Shower Mins to Beach & Moody Gardens - Foto 45
Historic Anchor at M Sleeps 7 Outdoor Shower Mins to Beach & Moody Gardens - Foto 46
Historic Anchor at M Sleeps 7 Outdoor Shower Mins to Beach & Moody Gardens - Foto 47
Historic Anchor at M Sleeps 7 Outdoor Shower Mins to Beach & Moody Gardens - Foto 48
Historic Anchor at M Sleeps 7 Outdoor Shower Mins to Beach & Moody Gardens - Foto 49
Historic Anchor at M Sleeps 7 Outdoor Shower Mins to Beach & Moody Gardens - Foto 50
Historic Anchor at M Sleeps 7 Outdoor Shower Mins to Beach & Moody Gardens - Foto 51
Historic Anchor at M Sleeps 7 Outdoor Shower Mins to Beach & Moody Gardens - Foto 52
Historic Anchor at M Sleeps 7 Outdoor Shower Mins to Beach & Moody Gardens - Foto 53

Historic Anchor at M Sleeps 7 Outdoor Shower Mins to Beach & Moody Gardens

Galveston - Lost Bayou Historic District - 1.8 km do centro

  • 77 M2
  • 1 quarto
  • 7 pessoas
  • Ar-condicionado
  • Aquecimento
  • Terraço
  • Estacionamento
  • Elevador
  • Jardim
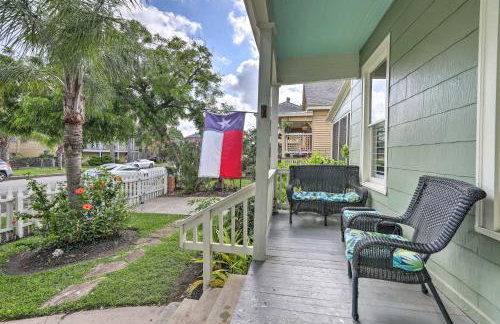
6.9Agradável | 26 avaliações
M Avenue Trio Whole Historic Triplex Sleeps 19 Walk to Galveston Beach - Foto 1
M Avenue Trio Whole Historic Triplex Sleeps 19 Walk to Galveston Beach - Foto 2
M Avenue Trio Whole Historic Triplex Sleeps 19 Walk to Galveston Beach - Foto 3
M Avenue Trio Whole Historic Triplex Sleeps 19 Walk to Galveston Beach - Foto 4
M Avenue Trio Whole Historic Triplex Sleeps 19 Walk to Galveston Beach - Foto 5
M Avenue Trio Whole Historic Triplex Sleeps 19 Walk to Galveston Beach - Foto 6
M Avenue Trio Whole Historic Triplex Sleeps 19 Walk to Galveston Beach - Foto 7
M Avenue Trio Whole Historic Triplex Sleeps 19 Walk to Galveston Beach - Foto 8
M Avenue Trio Whole Historic Triplex Sleeps 19 Walk to Galveston Beach - Foto 9
M Avenue Trio Whole Historic Triplex Sleeps 19 Walk to Galveston Beach - Foto 10
M Avenue Trio Whole Historic Triplex Sleeps 19 Walk to Galveston Beach - Foto 11
M Avenue Trio Whole Historic Triplex Sleeps 19 Walk to Galveston Beach - Foto 12
M Avenue Trio Whole Historic Triplex Sleeps 19 Walk to Galveston Beach - Foto 13
M Avenue Trio Whole Historic Triplex Sleeps 19 Walk to Galveston Beach - Foto 14
M Avenue Trio Whole Historic Triplex Sleeps 19 Walk to Galveston Beach - Foto 15
M Avenue Trio Whole Historic Triplex Sleeps 19 Walk to Galveston Beach - Foto 16
M Avenue Trio Whole Historic Triplex Sleeps 19 Walk to Galveston Beach - Foto 17
M Avenue Trio Whole Historic Triplex Sleeps 19 Walk to Galveston Beach - Foto 18
M Avenue Trio Whole Historic Triplex Sleeps 19 Walk to Galveston Beach - Foto 19
M Avenue Trio Whole Historic Triplex Sleeps 19 Walk to Galveston Beach - Foto 20
M Avenue Trio Whole Historic Triplex Sleeps 19 Walk to Galveston Beach - Foto 21
M Avenue Trio Whole Historic Triplex Sleeps 19 Walk to Galveston Beach - Foto 22
M Avenue Trio Whole Historic Triplex Sleeps 19 Walk to Galveston Beach - Foto 23
M Avenue Trio Whole Historic Triplex Sleeps 19 Walk to Galveston Beach - Foto 24

M Avenue Trio Whole Historic Triplex Sleeps 19 Walk to Galveston Beach

Galveston - Lost Bayou Historic District - 1.8 km do centro

  • 223 M2
  • 5 quartos
  • 16 pessoas
  • Ar-condicionado
  • Aquecimento
  • Terraço
  • Estacionamento
  • Jardim
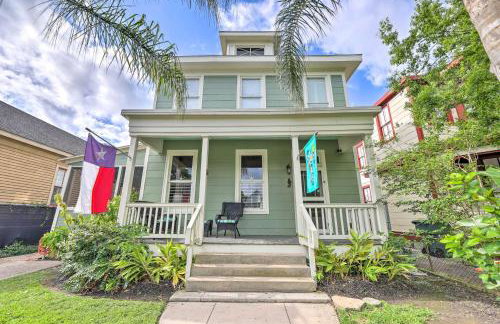
  • Churrasco
10Magnífico | 1 avaliação
Coral Cottage - Enjoy the Posh Life! Heated Pool, Spa, Fireplace! - Foto 1
Coral Cottage - Enjoy the Posh Life! Heated Pool, Spa, Fireplace! - Foto 2
Coral Cottage - Enjoy the Posh Life! Heated Pool, Spa, Fireplace! - Foto 3
Coral Cottage - Enjoy the Posh Life! Heated Pool, Spa, Fireplace! - Foto 4
Coral Cottage - Enjoy the Posh Life! Heated Pool, Spa, Fireplace! - Foto 5
Coral Cottage - Enjoy the Posh Life! Heated Pool, Spa, Fireplace! - Foto 6
Coral Cottage - Enjoy the Posh Life! Heated Pool, Spa, Fireplace! - Foto 7
Coral Cottage - Enjoy the Posh Life! Heated Pool, Spa, Fireplace! - Foto 8
Coral Cottage - Enjoy the Posh Life! Heated Pool, Spa, Fireplace! - Foto 9
Coral Cottage - Enjoy the Posh Life! Heated Pool, Spa, Fireplace! - Foto 10
Coral Cottage - Enjoy the Posh Life! Heated Pool, Spa, Fireplace! - Foto 11
Coral Cottage - Enjoy the Posh Life! Heated Pool, Spa, Fireplace! - Foto 12
Coral Cottage - Enjoy the Posh Life! Heated Pool, Spa, Fireplace! - Foto 13
Coral Cottage - Enjoy the Posh Life! Heated Pool, Spa, Fireplace! - Foto 14
Coral Cottage - Enjoy the Posh Life! Heated Pool, Spa, Fireplace! - Foto 15
Coral Cottage - Enjoy the Posh Life! Heated Pool, Spa, Fireplace! - Foto 16
Coral Cottage - Enjoy the Posh Life! Heated Pool, Spa, Fireplace! - Foto 17
Coral Cottage - Enjoy the Posh Life! Heated Pool, Spa, Fireplace! - Foto 18
Coral Cottage - Enjoy the Posh Life! Heated Pool, Spa, Fireplace! - Foto 19
Coral Cottage - Enjoy the Posh Life! Heated Pool, Spa, Fireplace! - Foto 20
Coral Cottage - Enjoy the Posh Life! Heated Pool, Spa, Fireplace! - Foto 21
Coral Cottage - Enjoy the Posh Life! Heated Pool, Spa, Fireplace! - Foto 22
Coral Cottage - Enjoy the Posh Life! Heated Pool, Spa, Fireplace! - Foto 23
Coral Cottage - Enjoy the Posh Life! Heated Pool, Spa, Fireplace! - Foto 24
Coral Cottage - Enjoy the Posh Life! Heated Pool, Spa, Fireplace! - Foto 25
Coral Cottage - Enjoy the Posh Life! Heated Pool, Spa, Fireplace! - Foto 26
Coral Cottage - Enjoy the Posh Life! Heated Pool, Spa, Fireplace! - Foto 27
Coral Cottage - Enjoy the Posh Life! Heated Pool, Spa, Fireplace! - Foto 28
Coral Cottage - Enjoy the Posh Life! Heated Pool, Spa, Fireplace! - Foto 29
Coral Cottage - Enjoy the Posh Life! Heated Pool, Spa, Fireplace! - Foto 30
Coral Cottage - Enjoy the Posh Life! Heated Pool, Spa, Fireplace! - Foto 31
Coral Cottage - Enjoy the Posh Life! Heated Pool, Spa, Fireplace! - Foto 32
Coral Cottage - Enjoy the Posh Life! Heated Pool, Spa, Fireplace! - Foto 33
Coral Cottage - Enjoy the Posh Life! Heated Pool, Spa, Fireplace! - Foto 34
Coral Cottage - Enjoy the Posh Life! Heated Pool, Spa, Fireplace! - Foto 35
Coral Cottage - Enjoy the Posh Life! Heated Pool, Spa, Fireplace! - Foto 36
Coral Cottage - Enjoy the Posh Life! Heated Pool, Spa, Fireplace! - Foto 37
Coral Cottage - Enjoy the Posh Life! Heated Pool, Spa, Fireplace! - Foto 38
Coral Cottage - Enjoy the Posh Life! Heated Pool, Spa, Fireplace! - Foto 39
Coral Cottage - Enjoy the Posh Life! Heated Pool, Spa, Fireplace! - Foto 40
Coral Cottage - Enjoy the Posh Life! Heated Pool, Spa, Fireplace! - Foto 41

Coral Cottage - Enjoy the Posh Life! Heated Pool, Spa, Fireplace!

Galveston - Lost Bayou Historic District - 1.5 km do centro

  • 183 M2
  • 3 quartos
  • 8 pessoas
  • Ar-condicionado
  • Aquecimento
  • Piscina
  • Estacionamento
  • Jardim
10Magnífico | 1 avaliação
1/2 Mi to Seawall! Family Home w/ Furnished Patio - Foto 1
1/2 Mi to Seawall! Family Home w/ Furnished Patio - Foto 2
1/2 Mi to Seawall! Family Home w/ Furnished Patio - Foto 3
1/2 Mi to Seawall! Family Home w/ Furnished Patio - Foto 4
1/2 Mi to Seawall! Family Home w/ Furnished Patio - Foto 5
1/2 Mi to Seawall! Family Home w/ Furnished Patio - Foto 6
1/2 Mi to Seawall! Family Home w/ Furnished Patio - Foto 7
1/2 Mi to Seawall! Family Home w/ Furnished Patio - Foto 8
1/2 Mi to Seawall! Family Home w/ Furnished Patio - Foto 9
1/2 Mi to Seawall! Family Home w/ Furnished Patio - Foto 10
1/2 Mi to Seawall! Family Home w/ Furnished Patio - Foto 11
1/2 Mi to Seawall! Family Home w/ Furnished Patio - Foto 12
1/2 Mi to Seawall! Family Home w/ Furnished Patio - Foto 13
1/2 Mi to Seawall! Family Home w/ Furnished Patio - Foto 14
1/2 Mi to Seawall! Family Home w/ Furnished Patio - Foto 15
1/2 Mi to Seawall! Family Home w/ Furnished Patio - Foto 16
1/2 Mi to Seawall! Family Home w/ Furnished Patio - Foto 17
1/2 Mi to Seawall! Family Home w/ Furnished Patio - Foto 18
1/2 Mi to Seawall! Family Home w/ Furnished Patio - Foto 19
1/2 Mi to Seawall! Family Home w/ Furnished Patio - Foto 20
1/2 Mi to Seawall! Family Home w/ Furnished Patio - Foto 21
1/2 Mi to Seawall! Family Home w/ Furnished Patio - Foto 22
1/2 Mi to Seawall! Family Home w/ Furnished Patio - Foto 23
1/2 Mi to Seawall! Family Home w/ Furnished Patio - Foto 24

1/2 Mi to Seawall! Family Home w/ Furnished Patio

Galveston - Lost Bayou Historic District - 1.9 km do centro

  • 104 M2
  • 3 quartos
  • 5 pessoas
  • Aquecimento
  • Terraço
  • Estacionamento
9Excepcional | 1 avaliação
Blue Oasis Retreat - Foto 1
Blue Oasis Retreat - Foto 2
Blue Oasis Retreat - Foto 3
Blue Oasis Retreat - Foto 4
Blue Oasis Retreat - Foto 5
Blue Oasis Retreat - Foto 6
Blue Oasis Retreat - Foto 7
Blue Oasis Retreat - Foto 8
Blue Oasis Retreat - Foto 9
Blue Oasis Retreat - Foto 10
Blue Oasis Retreat - Foto 11
Blue Oasis Retreat - Foto 12
Blue Oasis Retreat - Foto 13
Blue Oasis Retreat - Foto 14
Blue Oasis Retreat - Foto 15
Blue Oasis Retreat - Foto 16
Blue Oasis Retreat - Foto 17
Blue Oasis Retreat - Foto 18
Blue Oasis Retreat - Foto 19
Blue Oasis Retreat - Foto 20
Blue Oasis Retreat - Foto 21
Blue Oasis Retreat - Foto 22

Blue Oasis Retreat

Galveston - Lost Bayou Historic District - 1.7 km do centro

  • 142 M2
  • 3 quartos
  • 10 pessoas
  • Ar-condicionado
  • Aquecimento
  • Piscina
  • Estacionamento
  • Jardim
Yellow Belle on Avenue L - Foto 1
Yellow Belle on Avenue L - Foto 2
Yellow Belle on Avenue L - Foto 3
Yellow Belle on Avenue L - Foto 4
Yellow Belle on Avenue L - Foto 5
Yellow Belle on Avenue L - Foto 6
Yellow Belle on Avenue L - Foto 7
Yellow Belle on Avenue L - Foto 8
Yellow Belle on Avenue L - Foto 9
Yellow Belle on Avenue L - Foto 10
Yellow Belle on Avenue L - Foto 11
Yellow Belle on Avenue L - Foto 12
Yellow Belle on Avenue L - Foto 13
Yellow Belle on Avenue L - Foto 14
Yellow Belle on Avenue L - Foto 15
Yellow Belle on Avenue L - Foto 16
Yellow Belle on Avenue L - Foto 17
Yellow Belle on Avenue L - Foto 18
Yellow Belle on Avenue L - Foto 19
Yellow Belle on Avenue L - Foto 20
Yellow Belle on Avenue L - Foto 21
Yellow Belle on Avenue L - Foto 22
Yellow Belle on Avenue L - Foto 23
Yellow Belle on Avenue L - Foto 24
Yellow Belle on Avenue L - Foto 25

Yellow Belle on Avenue L

Galveston - Lost Bayou Historic District - 1.4 km do centro

  • 142 M2
  • 3 quartos
  • 7 pessoas
  • Ar-condicionado
  • Aquecimento
  • Estacionamento
  • Jardim
Island Gems - Emerald - Foto 1
Island Gems - Emerald - Foto 2
Island Gems - Emerald - Foto 3
Island Gems - Emerald - Foto 4
Island Gems - Emerald - Foto 5
Island Gems - Emerald - Foto 6
Island Gems - Emerald - Foto 7
Island Gems - Emerald - Foto 8
Island Gems - Emerald - Foto 9
Island Gems - Emerald - Foto 10
Island Gems - Emerald - Foto 11
Island Gems - Emerald - Foto 12
Island Gems - Emerald - Foto 13
Island Gems - Emerald - Foto 14
Island Gems - Emerald - Foto 15
Island Gems - Emerald - Foto 16
Island Gems - Emerald - Foto 17
Island Gems - Emerald - Foto 18
Island Gems - Emerald - Foto 19
Island Gems - Emerald - Foto 20
Island Gems - Emerald - Foto 21
Island Gems - Emerald - Foto 22
Island Gems - Emerald - Foto 23
Island Gems - Emerald - Foto 24
Island Gems - Emerald - Foto 25
Island Gems - Emerald - Foto 26
Island Gems - Emerald - Foto 27
Island Gems - Emerald - Foto 28
Island Gems - Emerald - Foto 29
Island Gems - Emerald - Foto 30
Island Gems - Emerald - Foto 31
Island Gems - Emerald - Foto 32
Island Gems - Emerald - Foto 33
Island Gems - Emerald - Foto 34
Island Gems - Emerald - Foto 35
Island Gems - Emerald - Foto 36
Island Gems - Emerald - Foto 37
Island Gems - Emerald - Foto 38
Island Gems - Emerald - Foto 39
Island Gems - Emerald - Foto 40
Island Gems - Emerald - Foto 41
Island Gems - Emerald - Foto 42
Island Gems - Emerald - Foto 43
Island Gems - Emerald - Foto 44
Island Gems - Emerald - Foto 45
Island Gems - Emerald - Foto 46
Island Gems - Emerald - Foto 47
Island Gems - Emerald - Foto 48
Island Gems - Emerald - Foto 49
Island Gems - Emerald - Foto 50
Island Gems - Emerald - Foto 51
Island Gems - Emerald - Foto 52
Island Gems - Emerald - Foto 53
Island Gems - Emerald - Foto 54
Island Gems - Emerald - Foto 55
Island Gems - Emerald - Foto 56

Island Gems - Emerald

Galveston - Lost Bayou Historic District - 1.8 km do centro

  • 93 M2
  • 3 quartos
  • 6 pessoas
  • Estacionamento
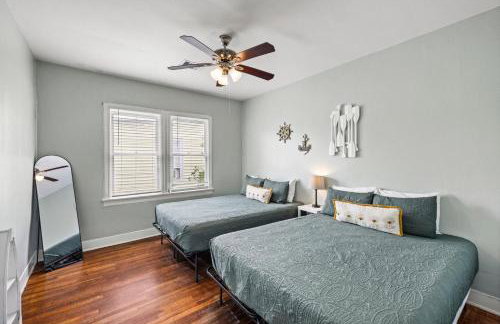
The Happy Hut - Foto 1
The Happy Hut - Foto 2
The Happy Hut - Foto 3
The Happy Hut - Foto 4
The Happy Hut - Foto 5
The Happy Hut - Foto 6
The Happy Hut - Foto 7
The Happy Hut - Foto 8
The Happy Hut - Foto 9
The Happy Hut - Foto 10
The Happy Hut - Foto 11
The Happy Hut - Foto 12
The Happy Hut - Foto 13
The Happy Hut - Foto 14
The Happy Hut - Foto 15
The Happy Hut - Foto 16
The Happy Hut - Foto 17
The Happy Hut - Foto 18
The Happy Hut - Foto 19
The Happy Hut - Foto 20
The Happy Hut - Foto 21
The Happy Hut - Foto 22
The Happy Hut - Foto 23
The Happy Hut - Foto 24
The Happy Hut - Foto 25
The Happy Hut - Foto 26
The Happy Hut - Foto 27
The Happy Hut - Foto 28
The Happy Hut - Foto 29
The Happy Hut - Foto 30
The Happy Hut - Foto 31
The Happy Hut - Foto 32
The Happy Hut - Foto 33
The Happy Hut - Foto 34
The Happy Hut - Foto 35
The Happy Hut - Foto 36
The Happy Hut - Foto 37
The Happy Hut - Foto 38
The Happy Hut - Foto 39
The Happy Hut - Foto 40
The Happy Hut - Foto 41
The Happy Hut - Foto 42
The Happy Hut - Foto 43
The Happy Hut - Foto 44
The Happy Hut - Foto 45
The Happy Hut - Foto 46
The Happy Hut - Foto 47
The Happy Hut - Foto 48
The Happy Hut - Foto 49

The Happy Hut

Galveston - Lost Bayou Historic District - 2 km do centro

  • 93 M2
  • 1 quarto
  • 4 pessoas
  • Estacionamento
  • Jardim
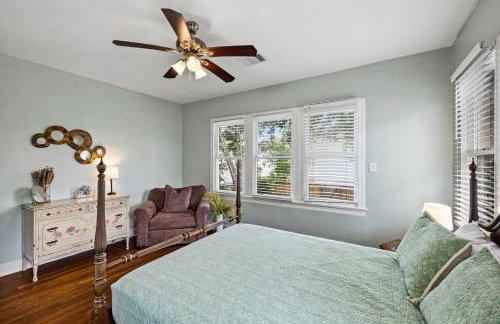
Island Gems - Gold - Foto 1
Island Gems - Gold - Foto 2
Island Gems - Gold - Foto 3
Island Gems - Gold - Foto 4
Island Gems - Gold - Foto 5
Island Gems - Gold - Foto 6
Island Gems - Gold - Foto 7
Island Gems - Gold - Foto 8
Island Gems - Gold - Foto 9
Island Gems - Gold - Foto 10
Island Gems - Gold - Foto 11
Island Gems - Gold - Foto 12
Island Gems - Gold - Foto 13
Island Gems - Gold - Foto 14
Island Gems - Gold - Foto 15
Island Gems - Gold - Foto 16
Island Gems - Gold - Foto 17
Island Gems - Gold - Foto 18
Island Gems - Gold - Foto 19
Island Gems - Gold - Foto 20
Island Gems - Gold - Foto 21
Island Gems - Gold - Foto 22
Island Gems - Gold - Foto 23
Island Gems - Gold - Foto 24
Island Gems - Gold - Foto 25
Island Gems - Gold - Foto 26
Island Gems - Gold - Foto 27
Island Gems - Gold - Foto 28
Island Gems - Gold - Foto 29
Island Gems - Gold - Foto 30
Island Gems - Gold - Foto 31
Island Gems - Gold - Foto 32
Island Gems - Gold - Foto 33
Island Gems - Gold - Foto 34
Island Gems - Gold - Foto 35
Island Gems - Gold - Foto 36
Island Gems - Gold - Foto 37
Island Gems - Gold - Foto 38
Island Gems - Gold - Foto 39
Island Gems - Gold - Foto 40
Island Gems - Gold - Foto 41
Island Gems - Gold - Foto 42
Island Gems - Gold - Foto 43
Island Gems - Gold - Foto 44
Island Gems - Gold - Foto 45
Island Gems - Gold - Foto 46
Island Gems - Gold - Foto 47
Island Gems - Gold - Foto 48
Island Gems - Gold - Foto 49
Island Gems - Gold - Foto 50
Island Gems - Gold - Foto 51
Island Gems - Gold - Foto 52
Island Gems - Gold - Foto 53
Island Gems - Gold - Foto 54

Island Gems - Gold

Galveston - Lost Bayou Historic District - 1.8 km do centro

  • 93 M2
  • 2 quartos
  • 4 pessoas
  • Estacionamento
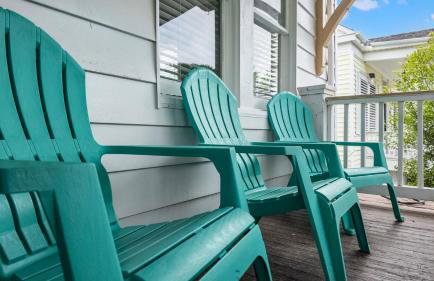
Island Gems - Rose - Foto 1
Island Gems - Rose - Foto 2
Island Gems - Rose - Foto 3
Island Gems - Rose - Foto 4
Island Gems - Rose - Foto 5
Island Gems - Rose - Foto 6
Island Gems - Rose - Foto 7
Island Gems - Rose - Foto 8
Island Gems - Rose - Foto 9
Island Gems - Rose - Foto 10
Island Gems - Rose - Foto 11
Island Gems - Rose - Foto 12
Island Gems - Rose - Foto 13
Island Gems - Rose - Foto 14
Island Gems - Rose - Foto 15
Island Gems - Rose - Foto 16
Island Gems - Rose - Foto 17
Island Gems - Rose - Foto 18
Island Gems - Rose - Foto 19
Island Gems - Rose - Foto 20
Island Gems - Rose - Foto 21
Island Gems - Rose - Foto 22
Island Gems - Rose - Foto 23
Island Gems - Rose - Foto 24
Island Gems - Rose - Foto 25
Island Gems - Rose - Foto 26
Island Gems - Rose - Foto 27
Island Gems - Rose - Foto 28
Island Gems - Rose - Foto 29
Island Gems - Rose - Foto 30
Island Gems - Rose - Foto 31
Island Gems - Rose - Foto 32

Island Gems - Rose

Galveston - Lost Bayou Historic District - 1.8 km do centro

  • 74 M2
  • 2 quartos
  • 4 pessoas
  • Estacionamento
Island Gems - Sapphire - Foto 1
Island Gems - Sapphire - Foto 2
Island Gems - Sapphire - Foto 3
Island Gems - Sapphire - Foto 4
Island Gems - Sapphire - Foto 5
Island Gems - Sapphire - Foto 6
Island Gems - Sapphire - Foto 7
Island Gems - Sapphire - Foto 8
Island Gems - Sapphire - Foto 9
Island Gems - Sapphire - Foto 10
Island Gems - Sapphire - Foto 11
Island Gems - Sapphire - Foto 12
Island Gems - Sapphire - Foto 13
Island Gems - Sapphire - Foto 14
Island Gems - Sapphire - Foto 15
Island Gems - Sapphire - Foto 16
Island Gems - Sapphire - Foto 17
Island Gems - Sapphire - Foto 18
Island Gems - Sapphire - Foto 19
Island Gems - Sapphire - Foto 20
Island Gems - Sapphire - Foto 21
Island Gems - Sapphire - Foto 22
Island Gems - Sapphire - Foto 23
Island Gems - Sapphire - Foto 24
Island Gems - Sapphire - Foto 25
Island Gems - Sapphire - Foto 26
Island Gems - Sapphire - Foto 27
Island Gems - Sapphire - Foto 28
Island Gems - Sapphire - Foto 29
Island Gems - Sapphire - Foto 30
Island Gems - Sapphire - Foto 31
Island Gems - Sapphire - Foto 32
Island Gems - Sapphire - Foto 33
Island Gems - Sapphire - Foto 34
Island Gems - Sapphire - Foto 35
Island Gems - Sapphire - Foto 36
Island Gems - Sapphire - Foto 37
Island Gems - Sapphire - Foto 38
Island Gems - Sapphire - Foto 39

Island Gems - Sapphire

Galveston - Lost Bayou Historic District - 1.8 km do centro

  • 93 M2
  • 3 quartos
  • 6 pessoas
  • Estacionamento
  • Churrasco