

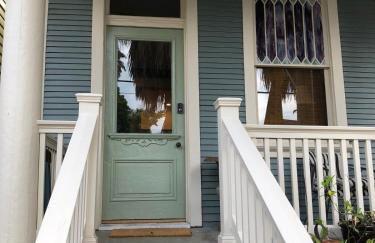

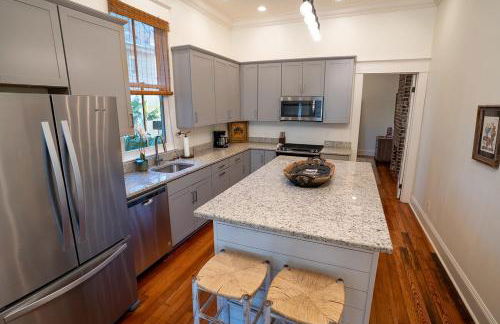


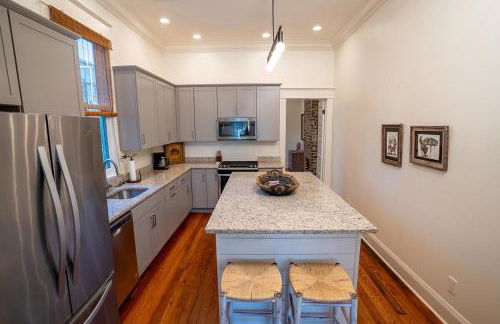
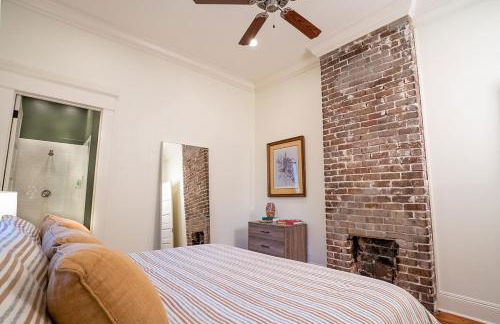
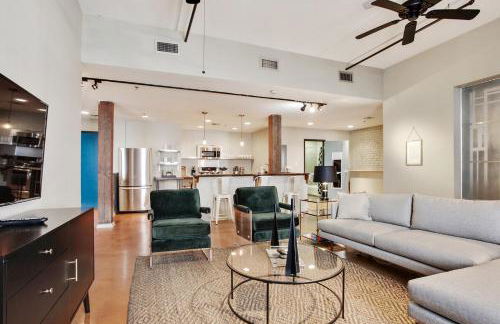
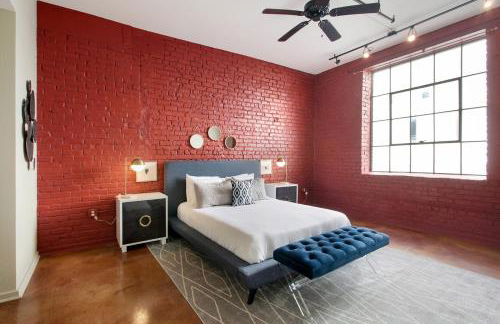
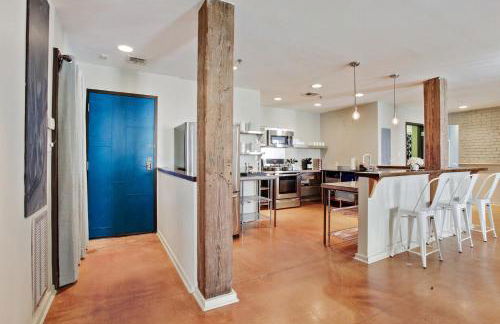
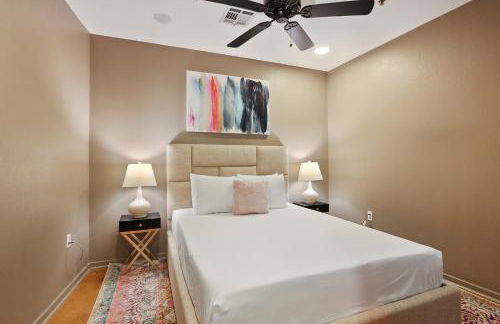
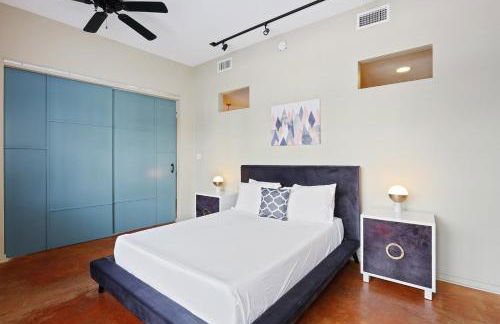
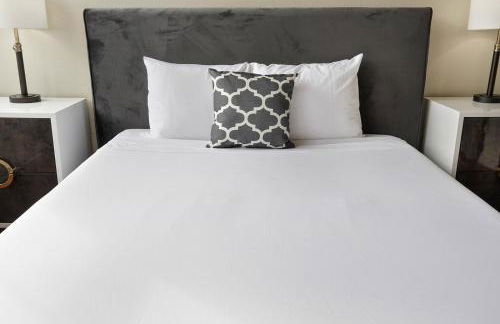
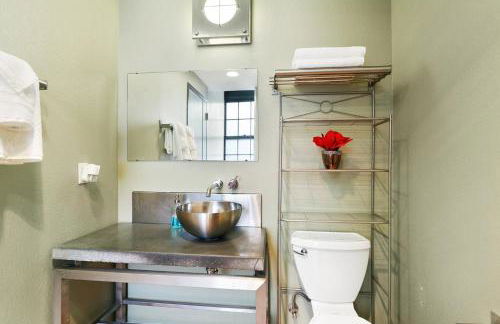
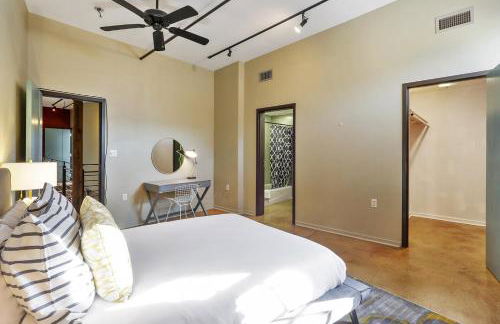
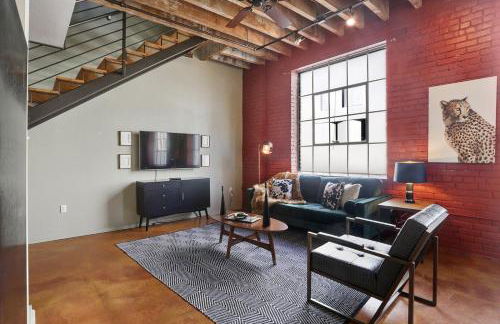
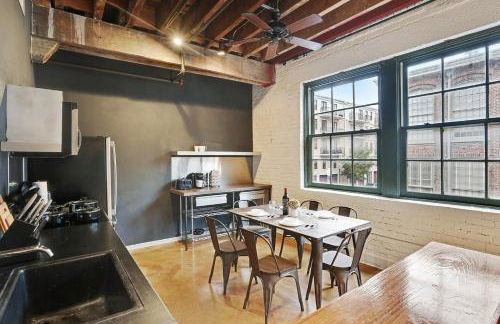
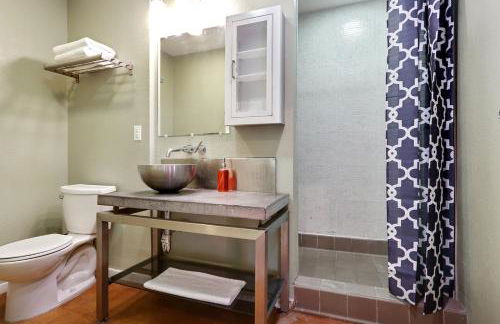
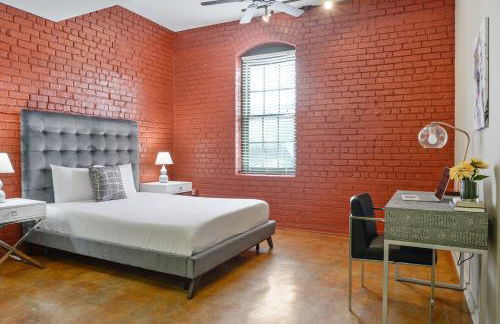
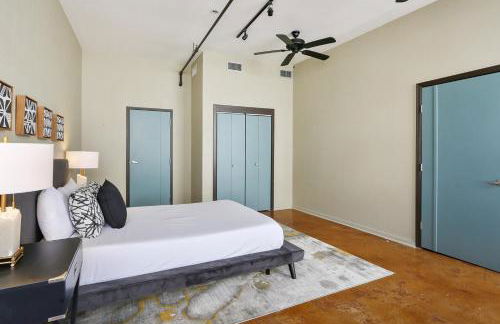
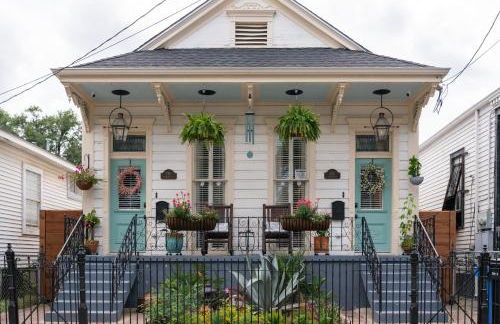
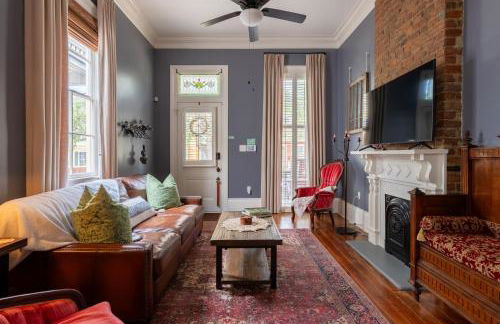
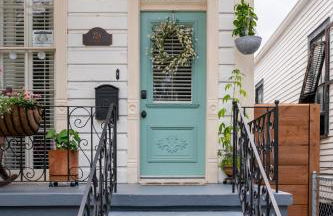
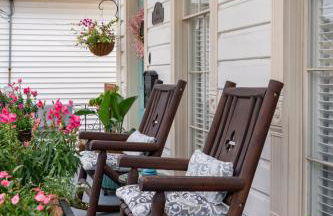
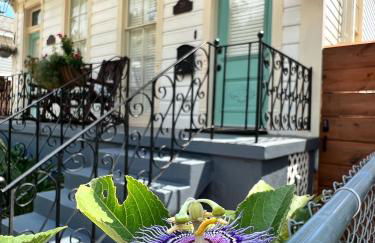
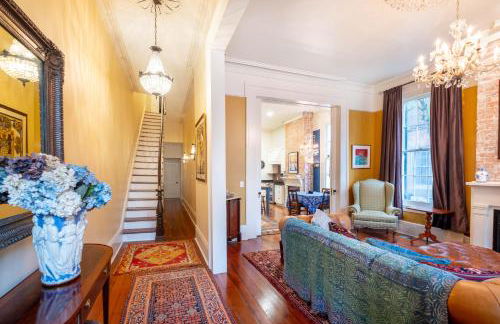
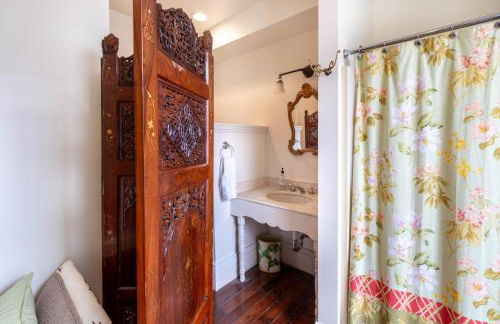
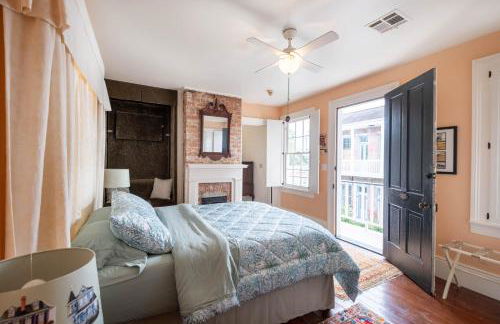
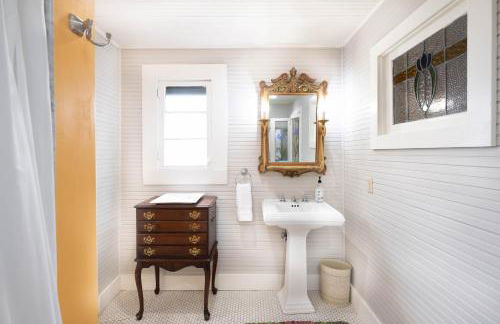
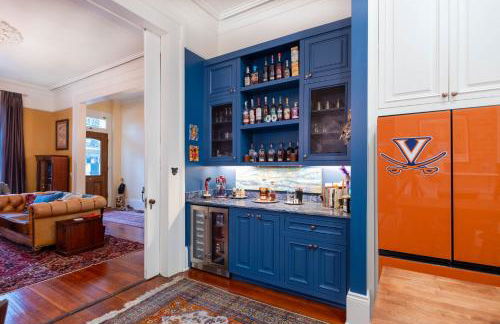
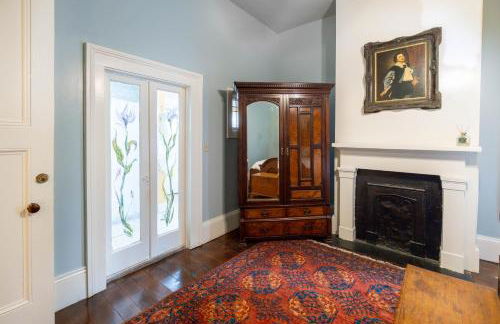
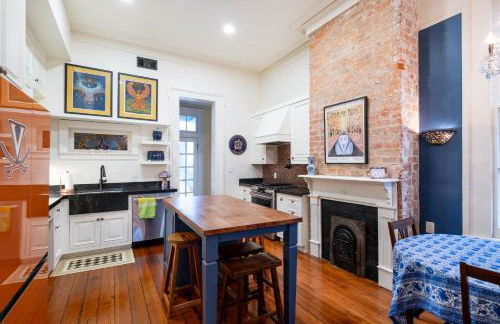
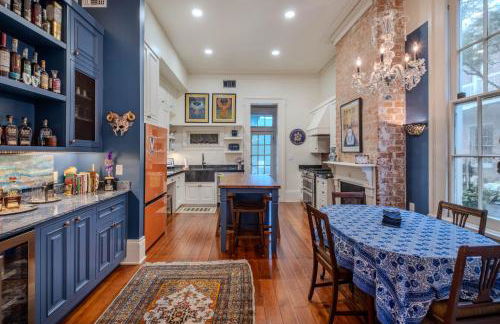
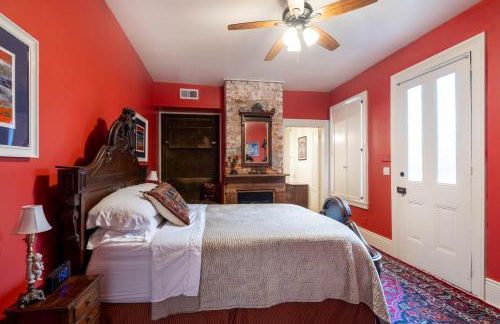
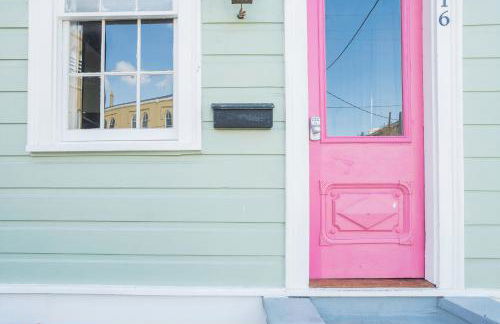
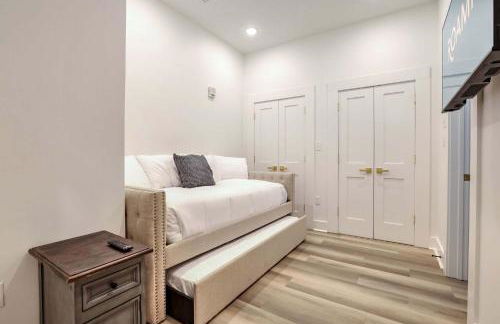
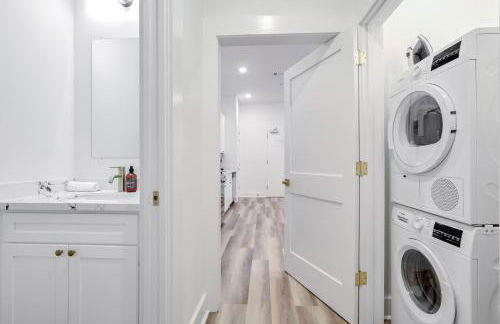
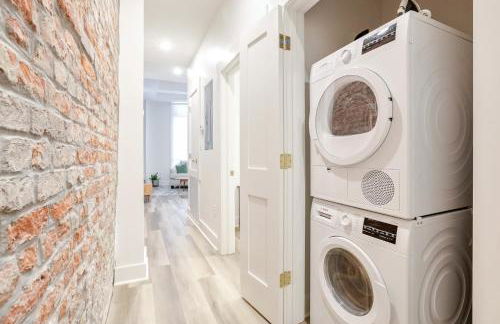
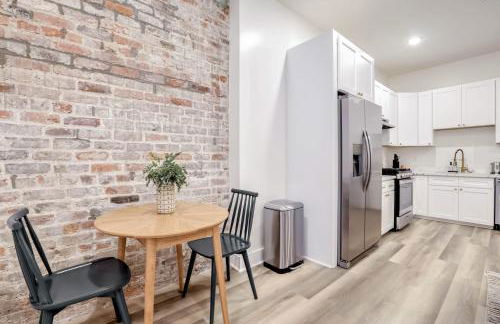
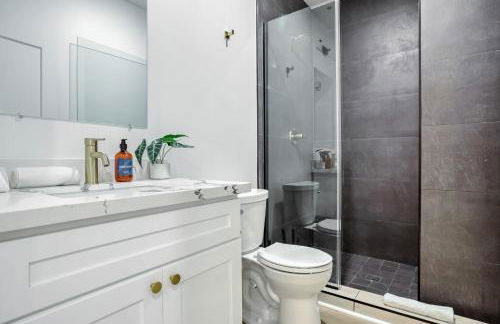
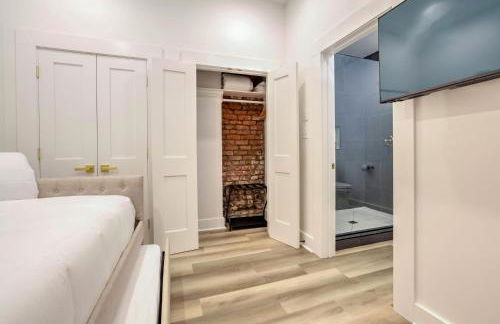
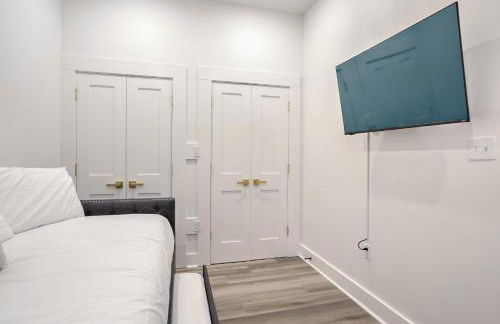
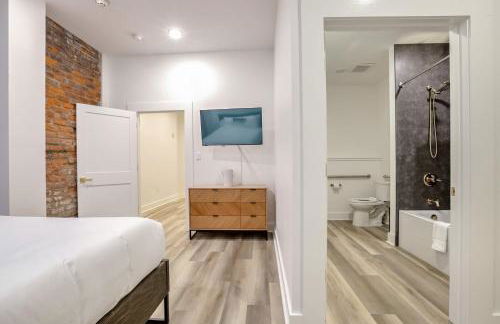
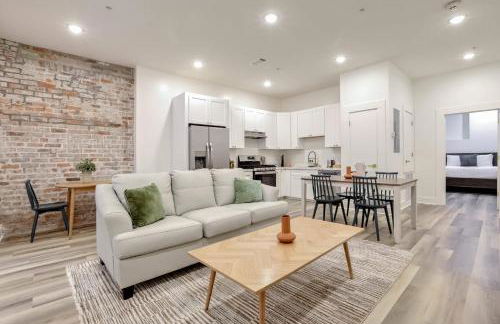
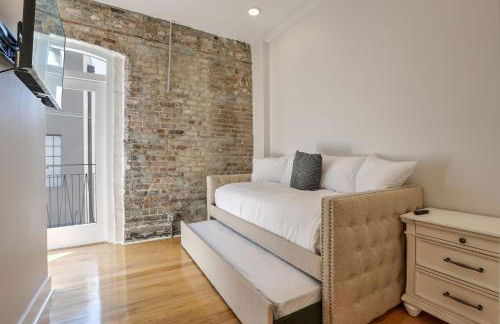
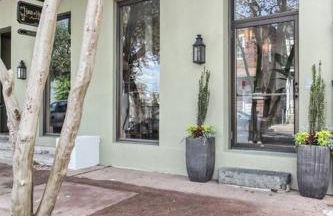
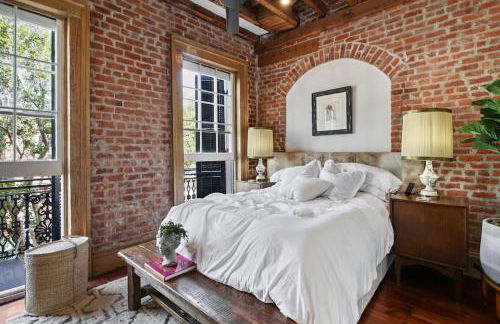
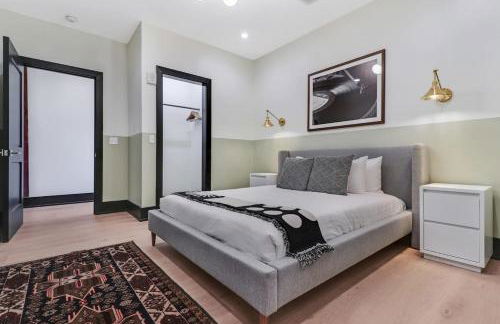
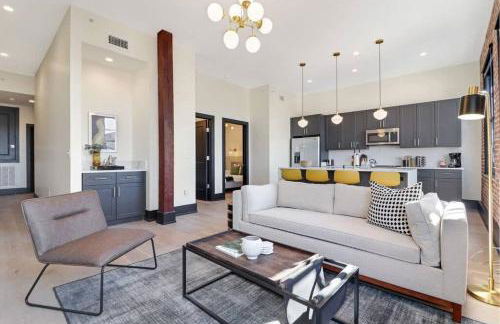
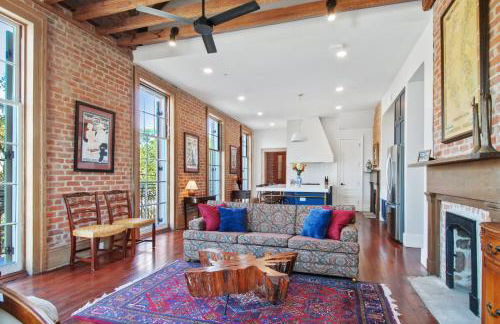
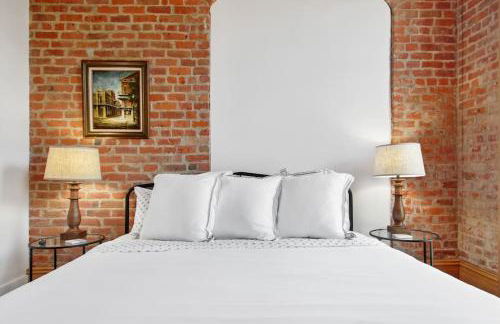
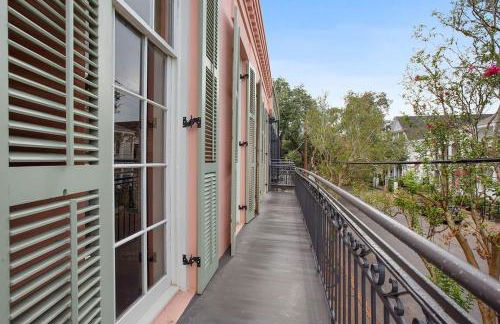
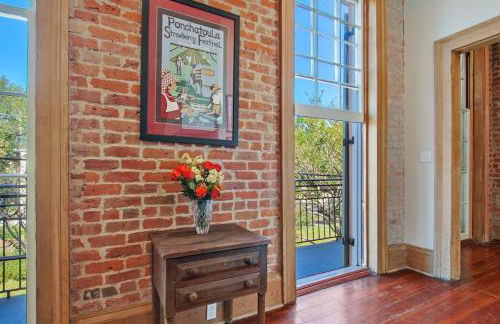
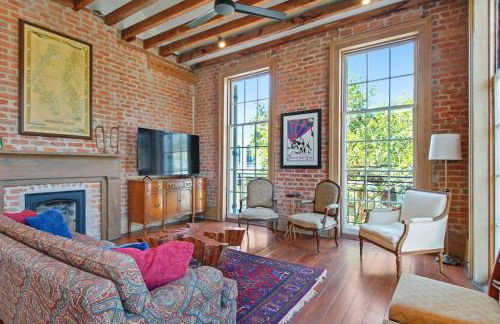
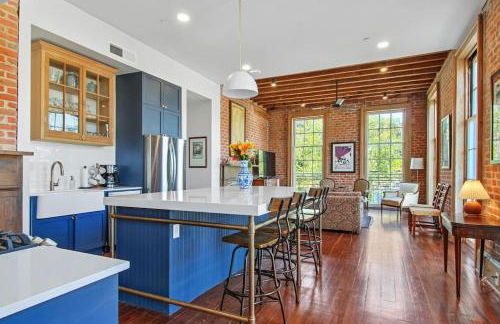
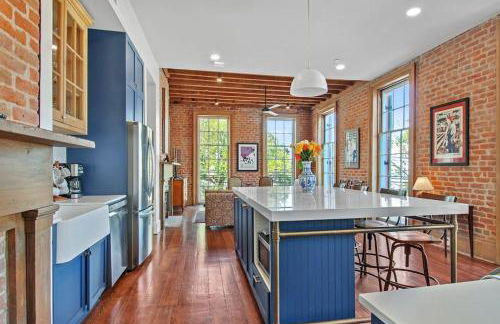
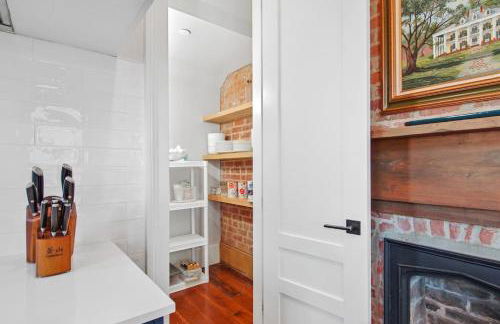
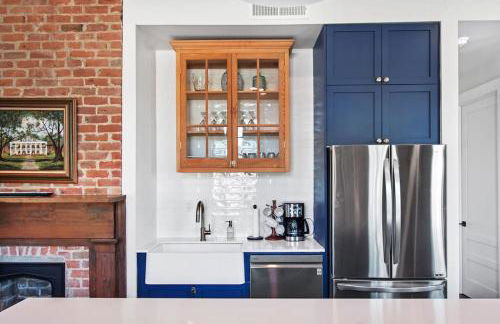
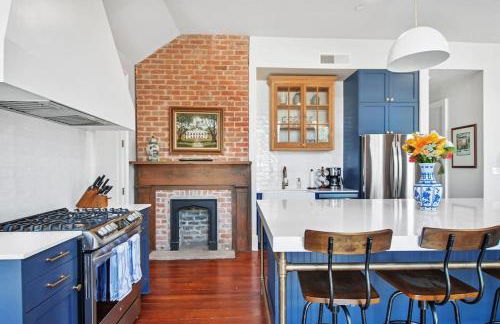
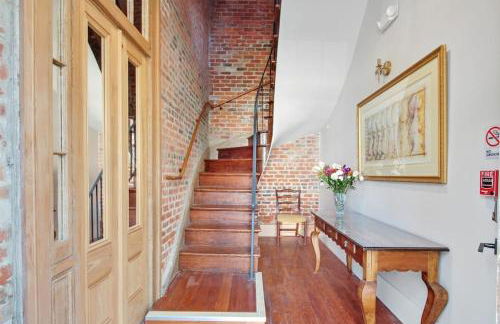
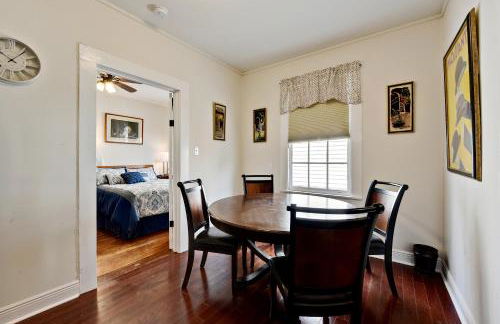
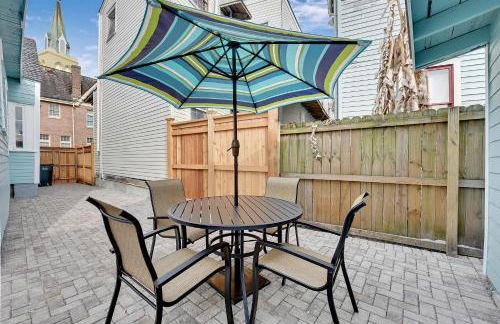
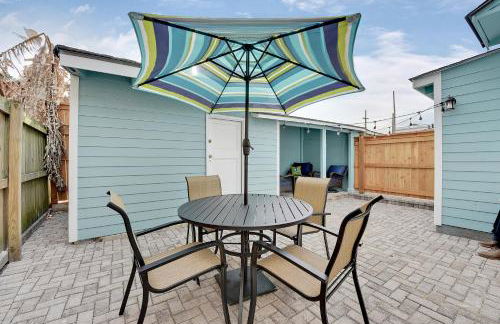
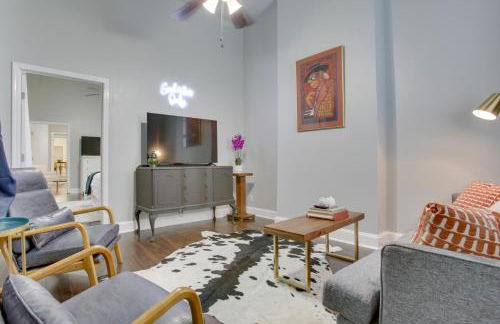
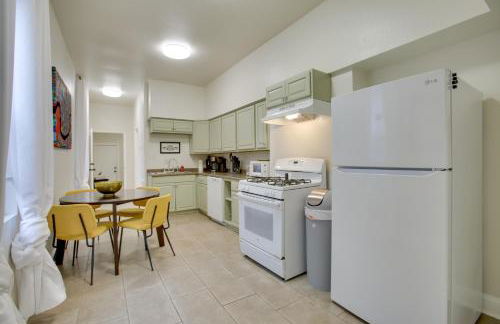
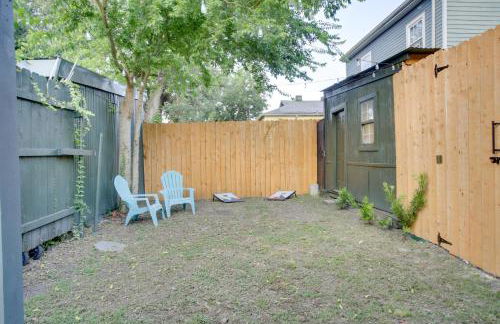
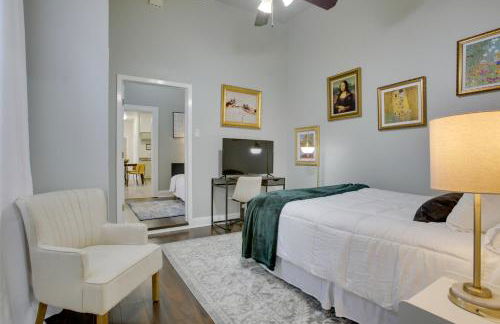
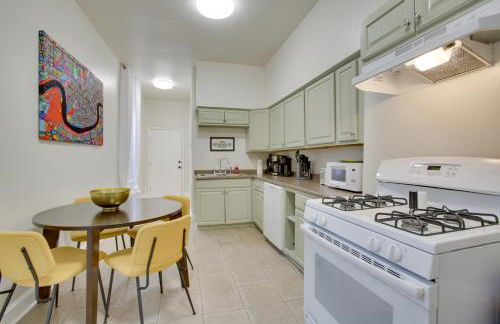
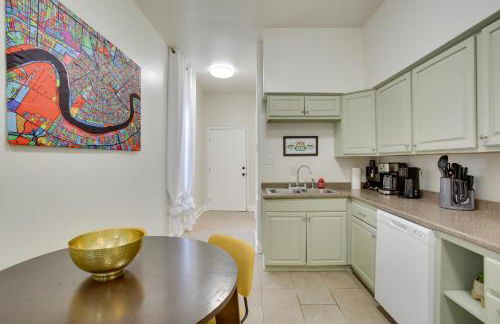
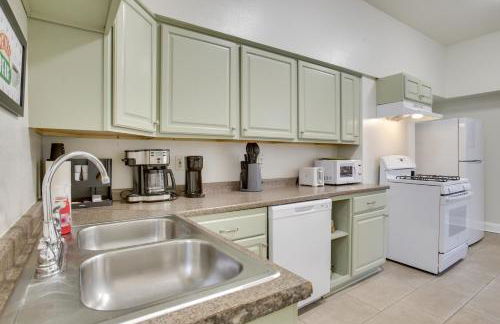
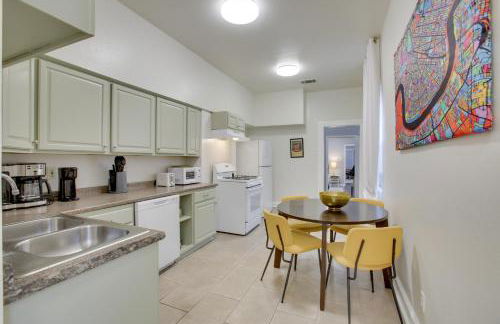
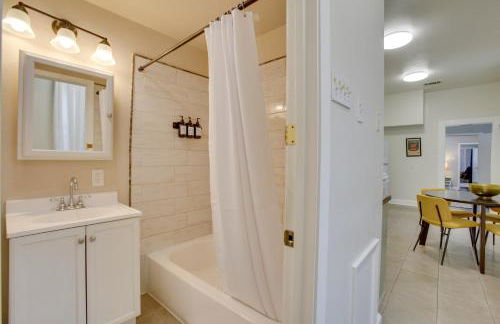
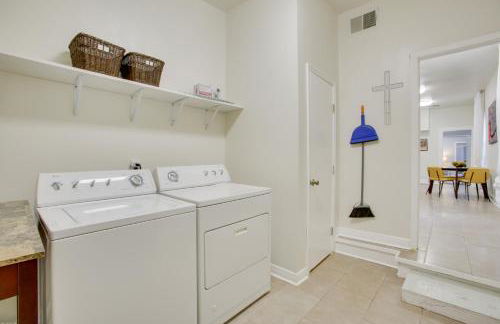
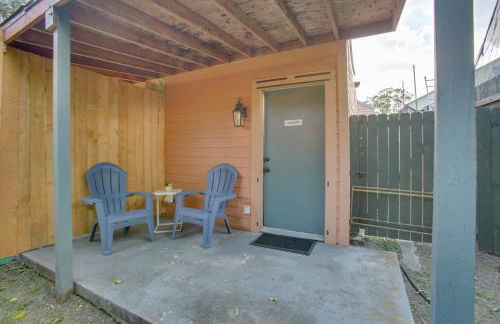
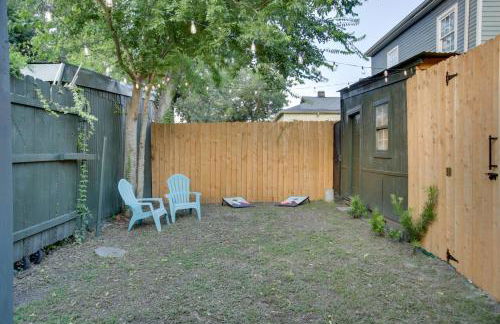
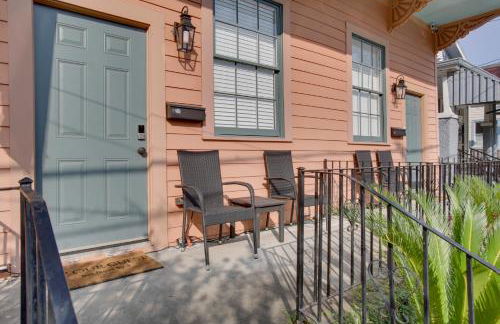
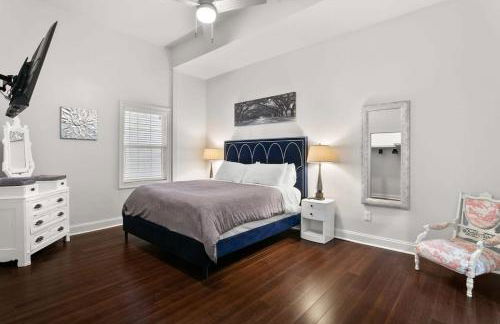
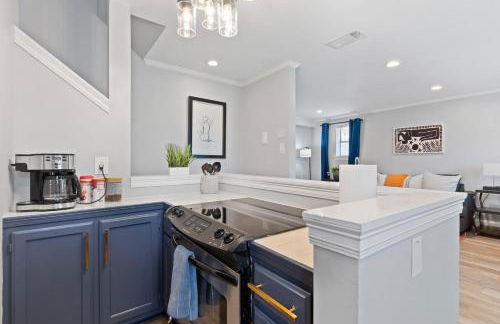
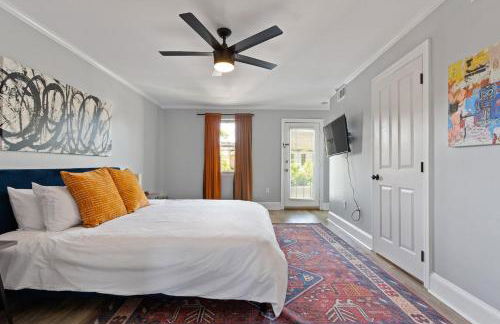
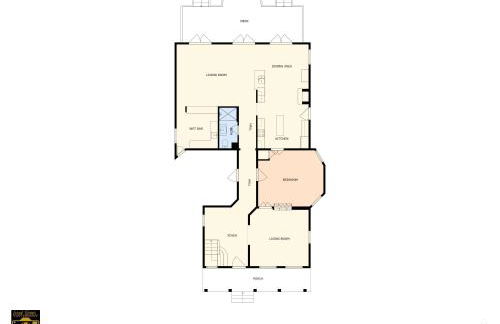
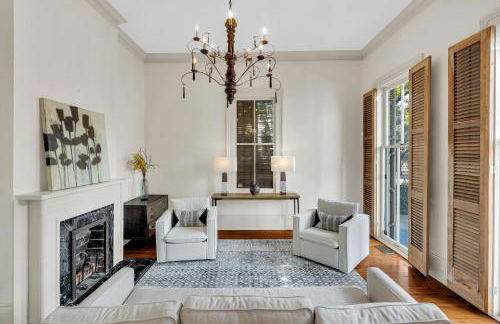
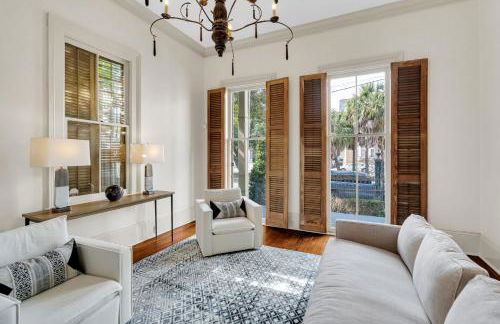
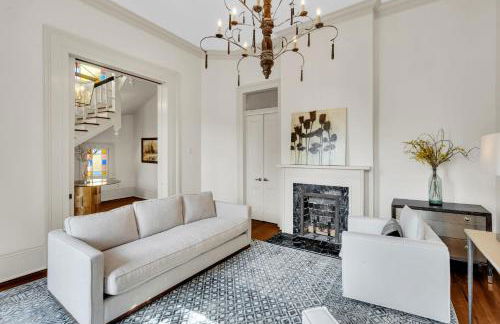
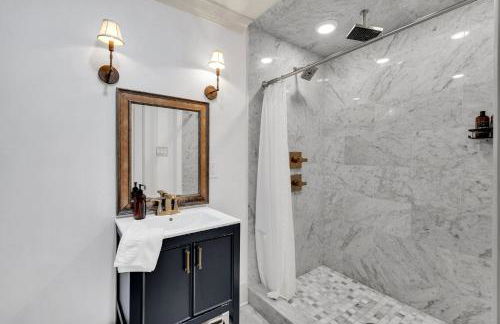
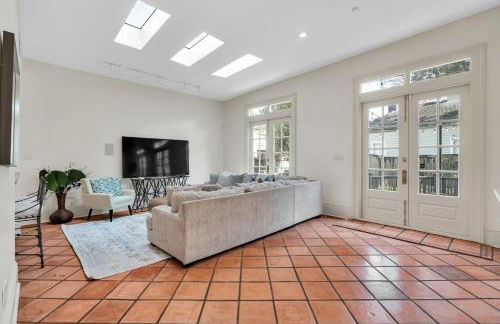
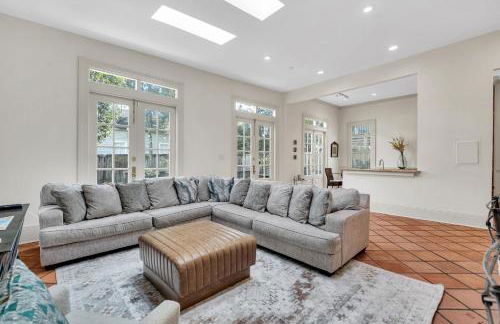
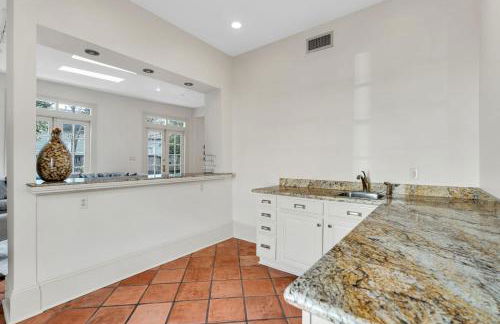
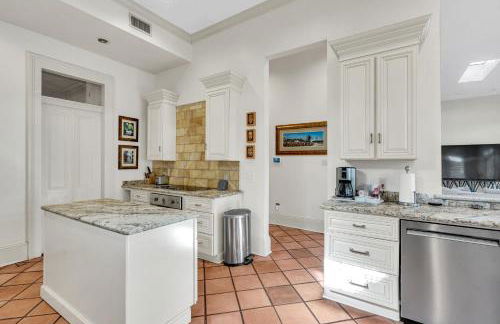
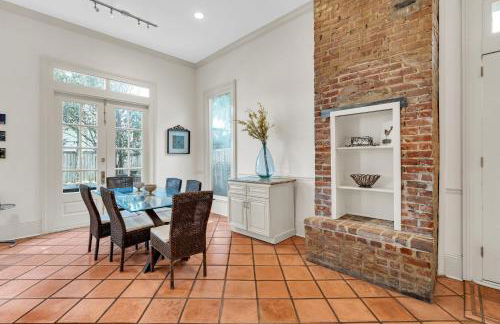
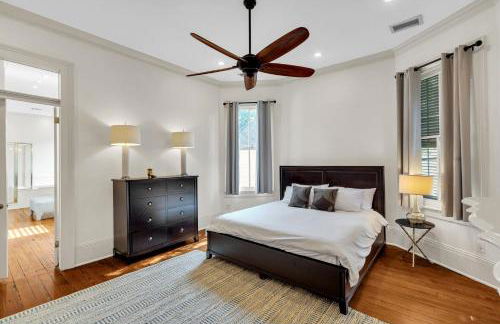
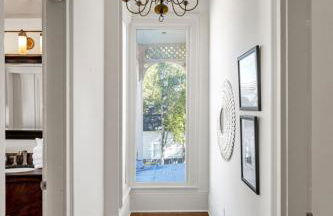
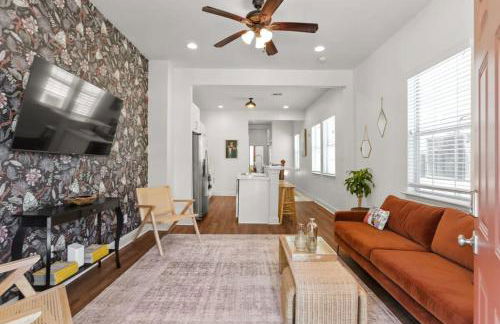
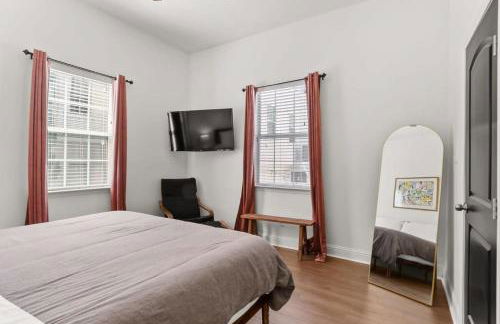
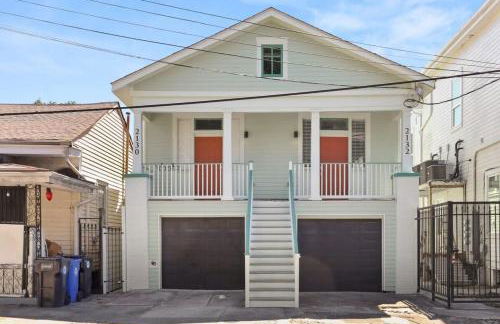
New Orleans Home Close to all the Action
NO LA - Lower Garden District - 1.7 km do centro
- 6 M2
- Ar-condicionado
- Aquecimento
- Estacionamento
- Jardim


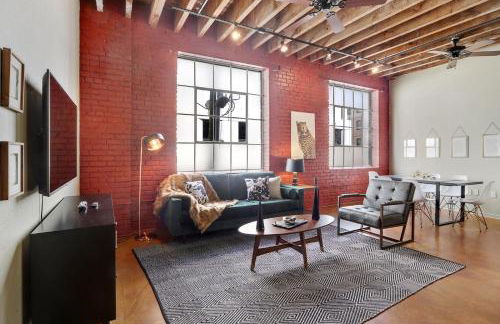

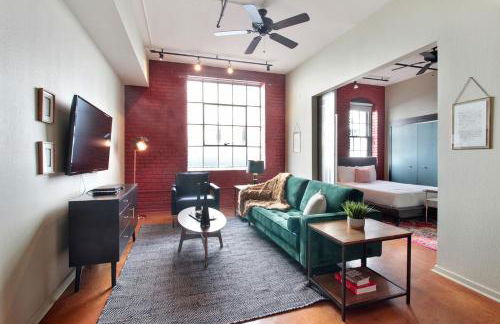
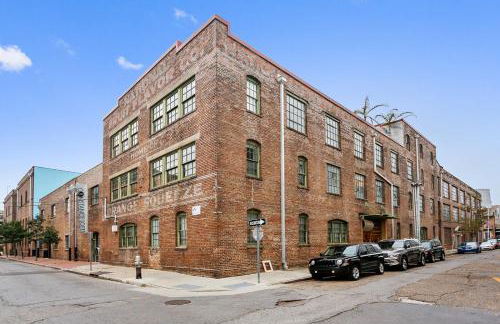
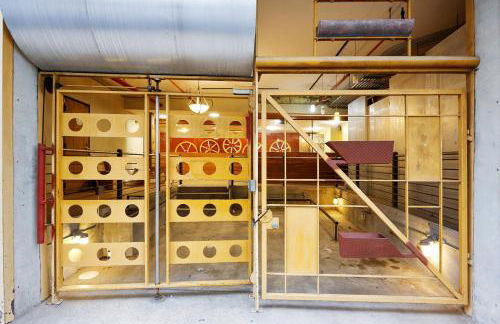

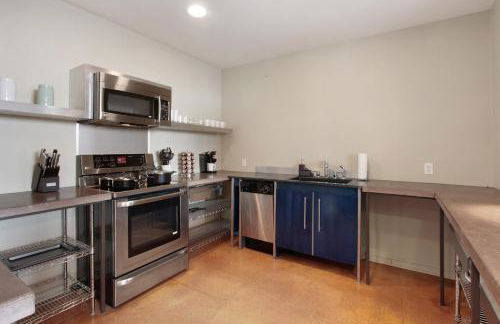


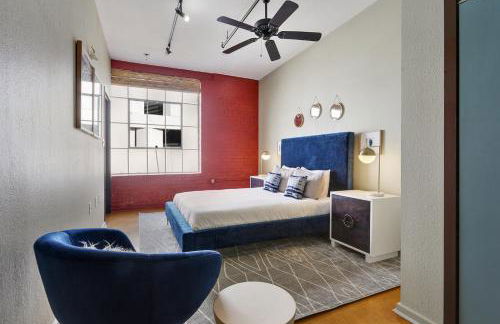


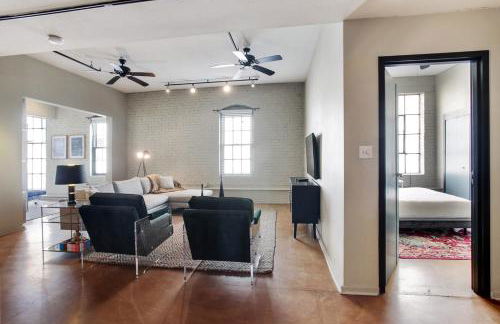
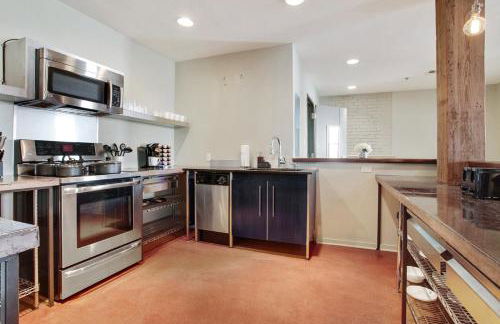

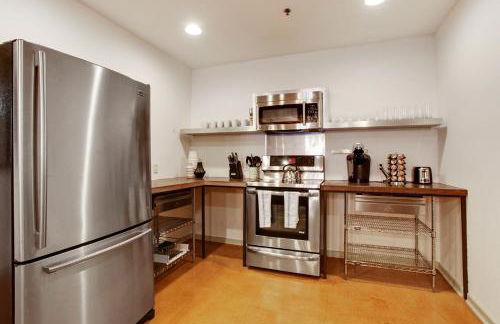

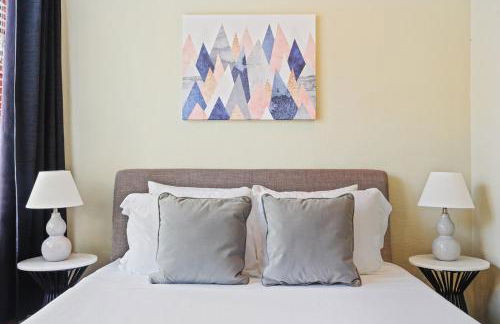


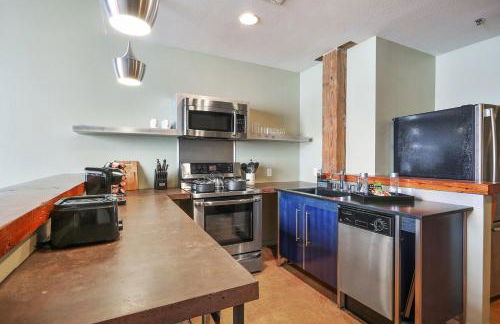


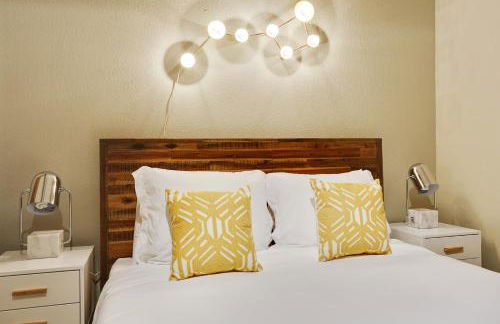
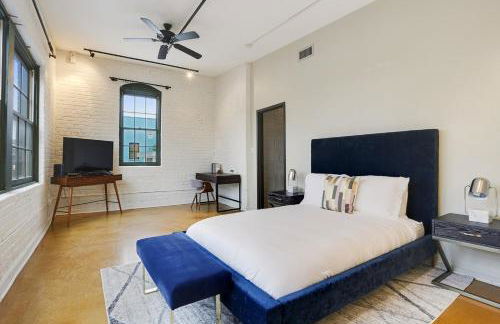


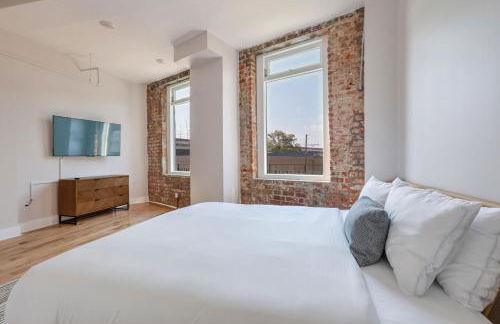
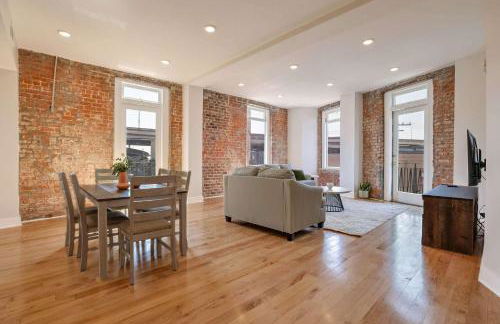
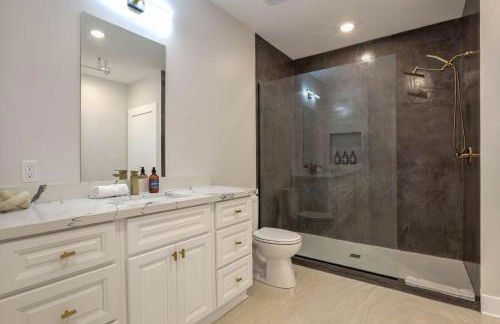
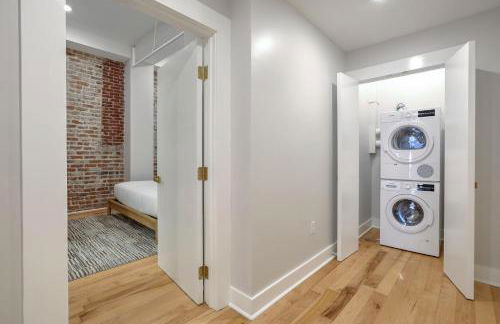
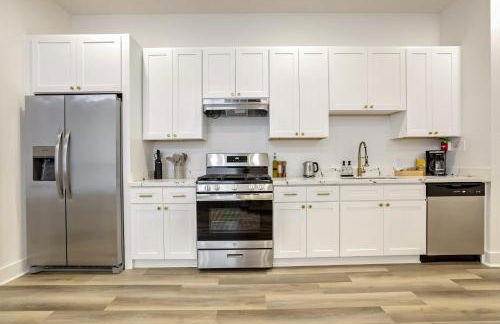
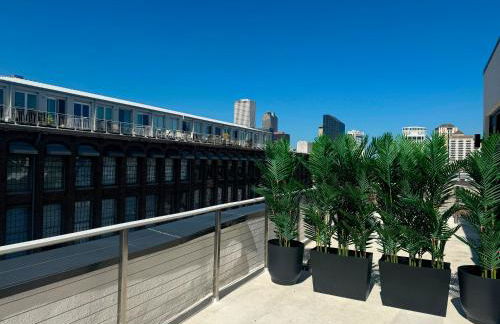
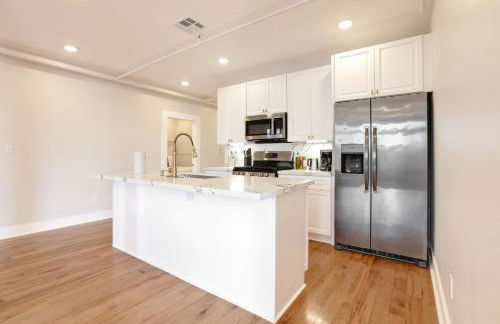
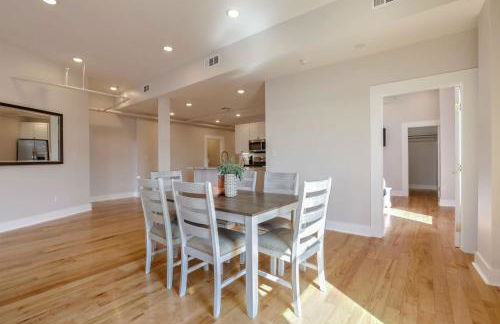
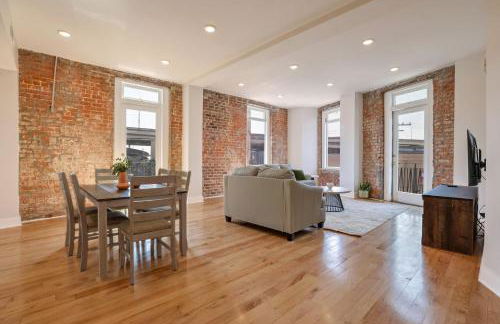
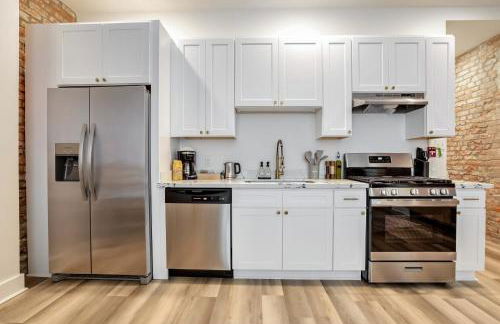
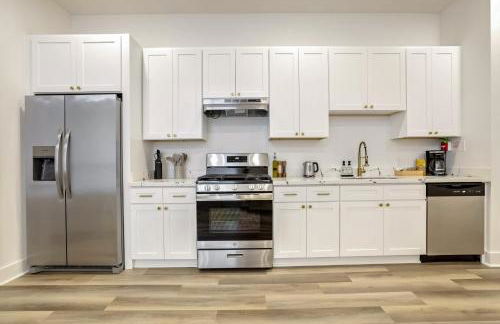
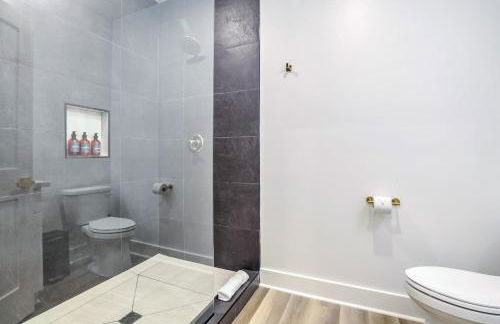
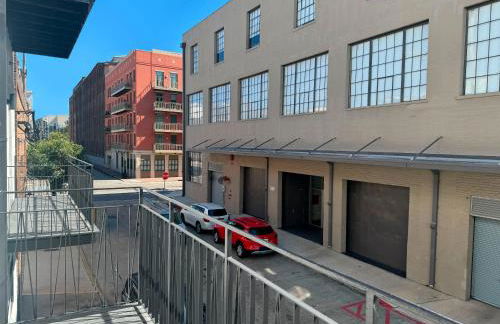
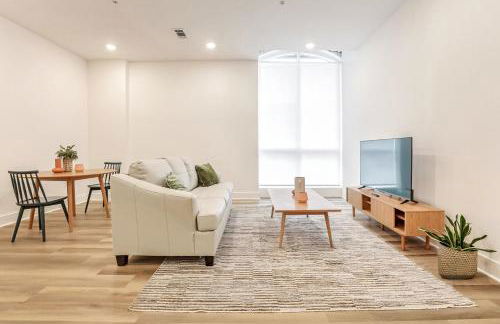
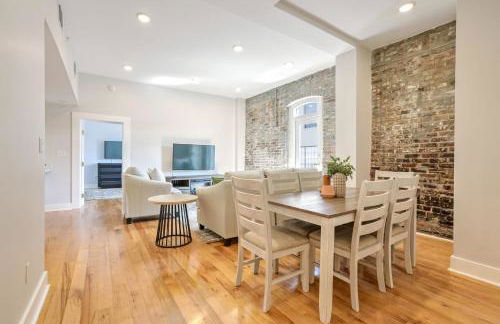
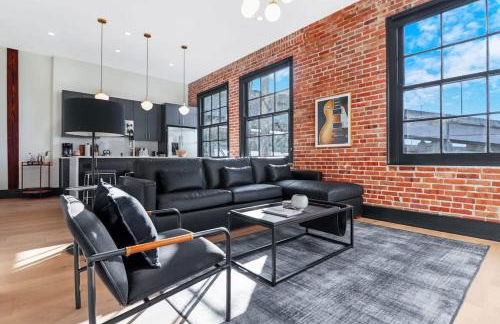
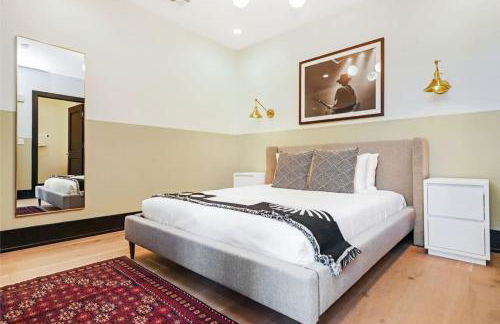
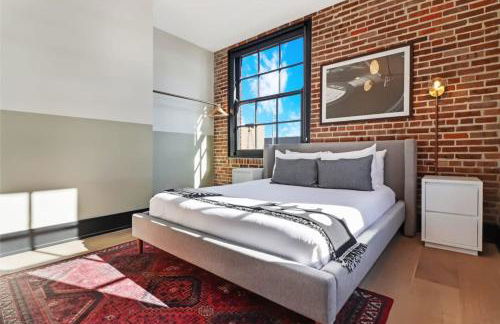
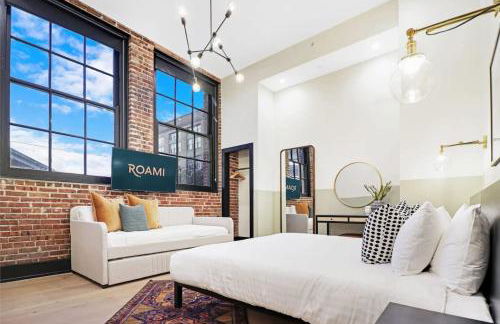
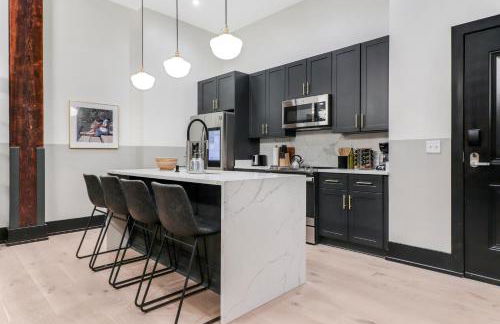
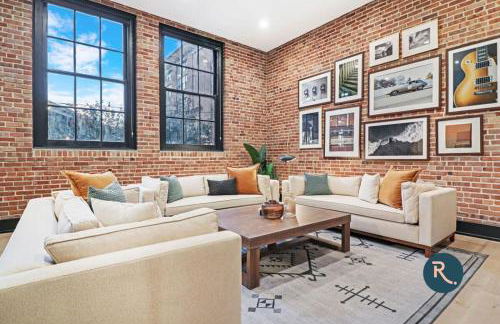
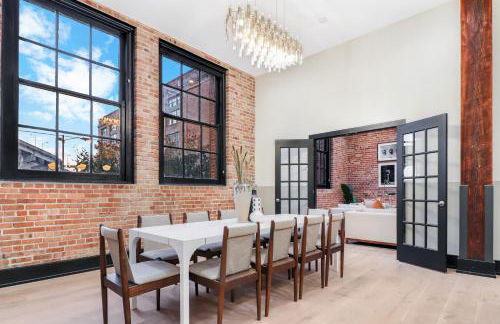
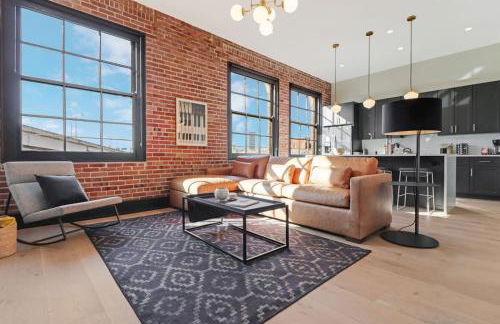
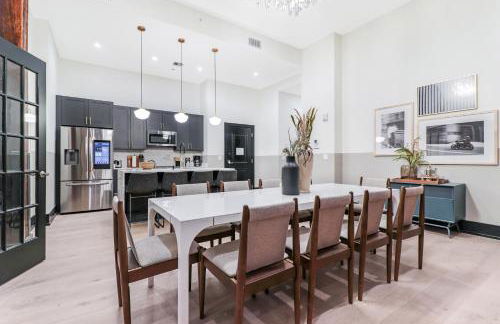
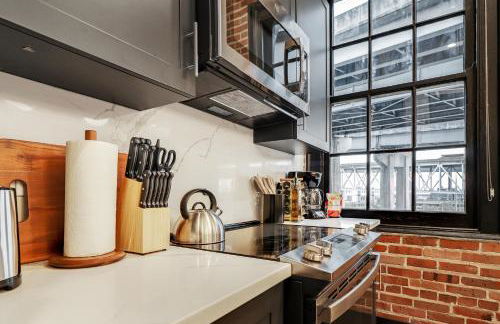
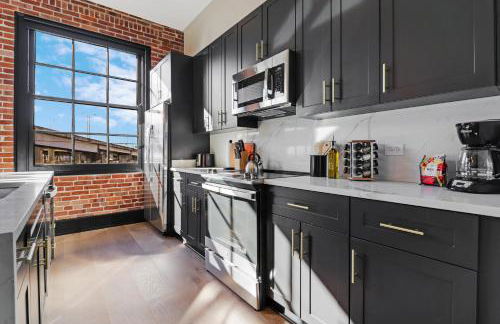
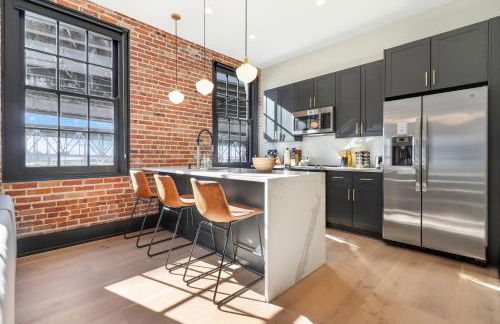
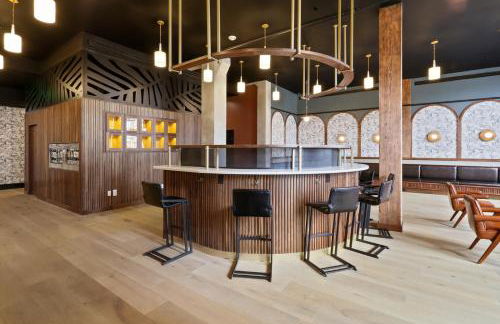
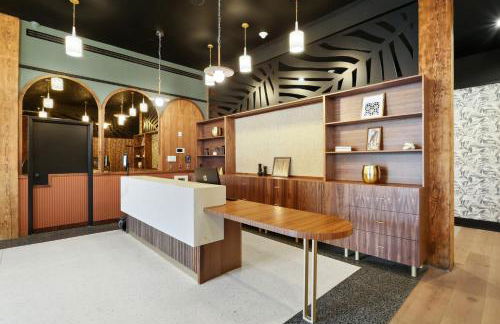
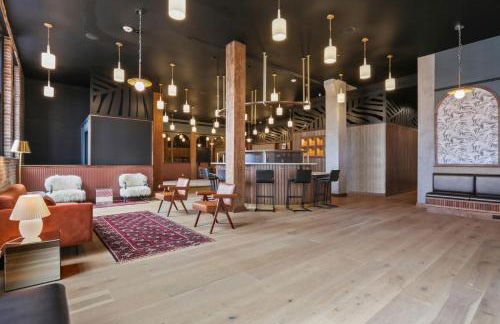
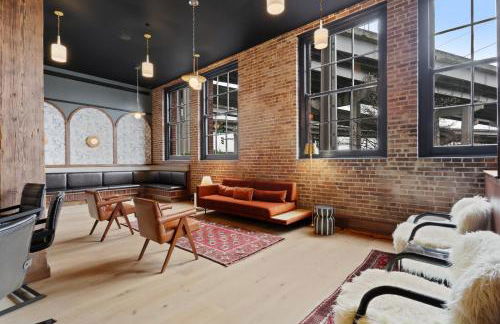
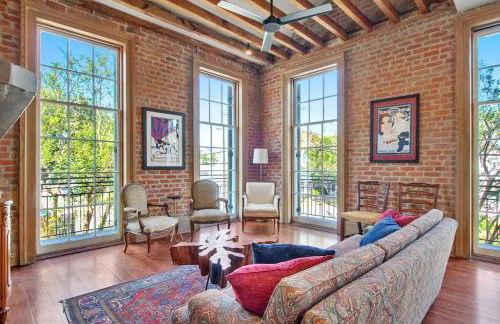
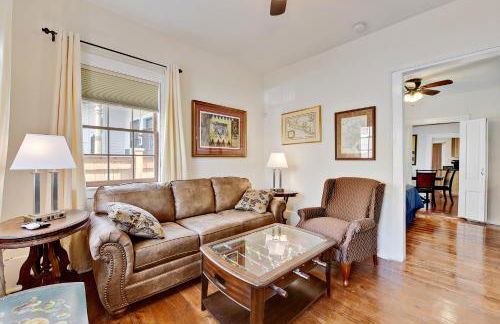
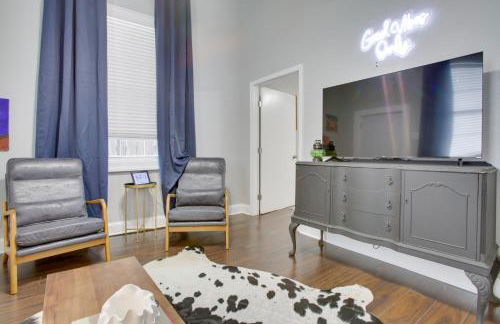
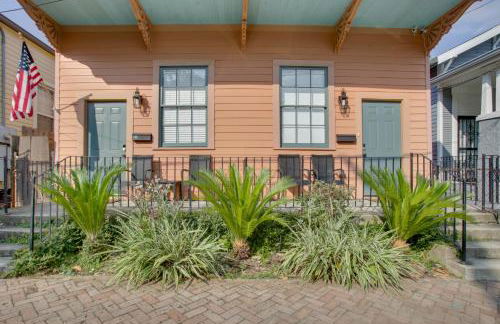
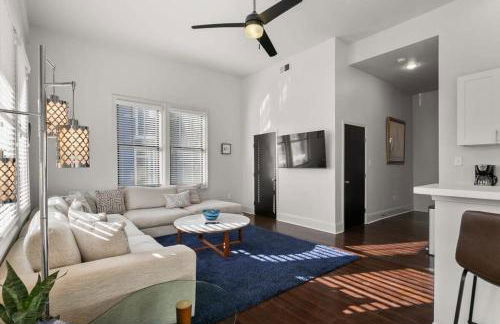
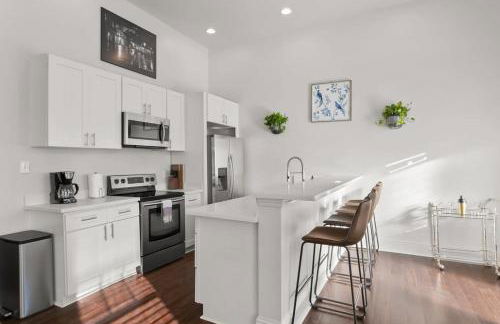
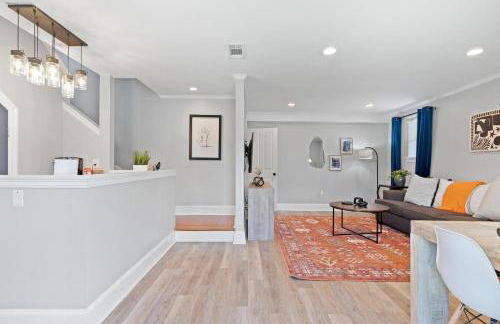
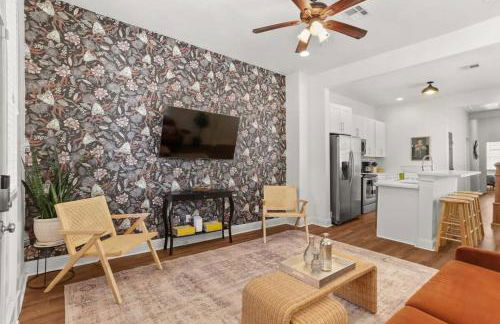
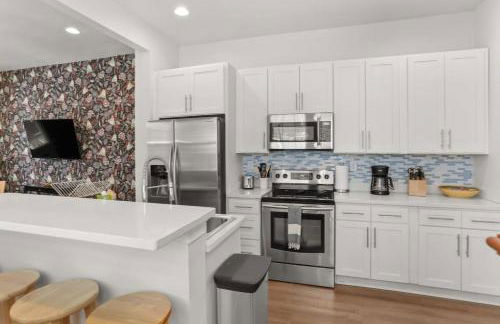
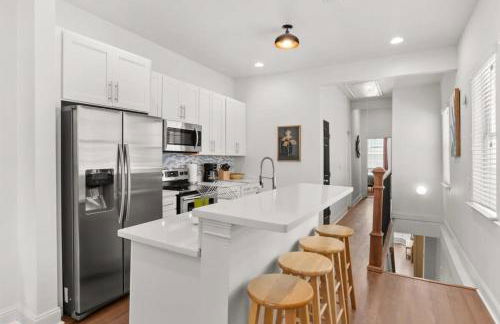
LiivUP Warehouse Apartments
NO LA - Lower Garden District - 1 km do centro
- 39 M2
- 2 quartos
- 8 pessoas
- Ar-condicionado
- Aquecimento
- Elevador


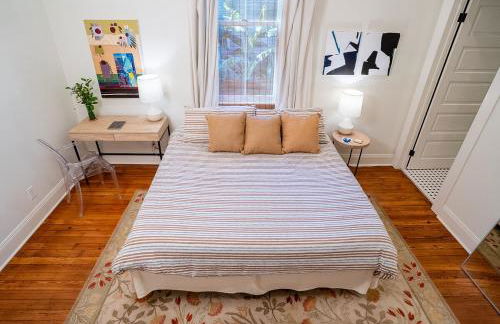
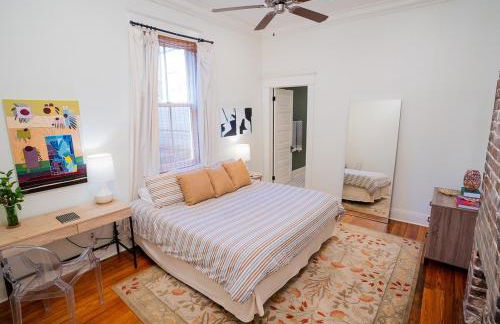
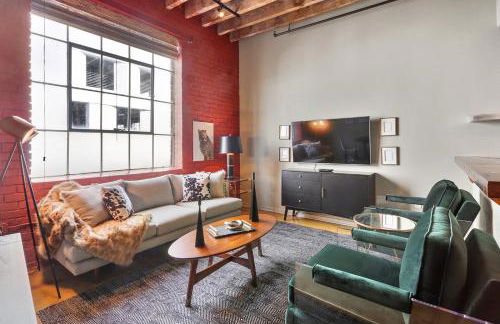
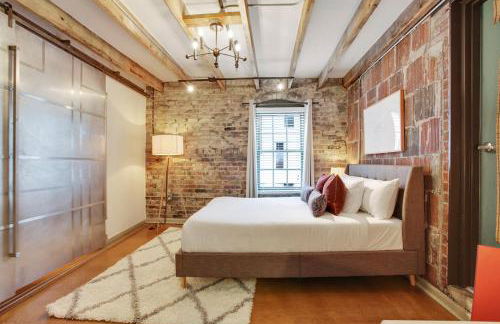
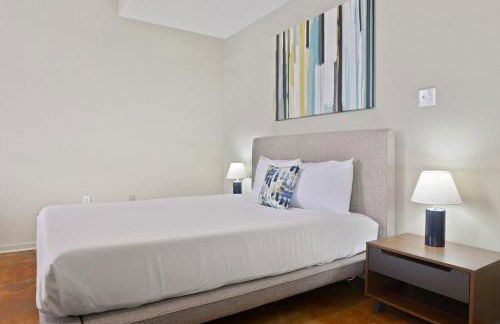
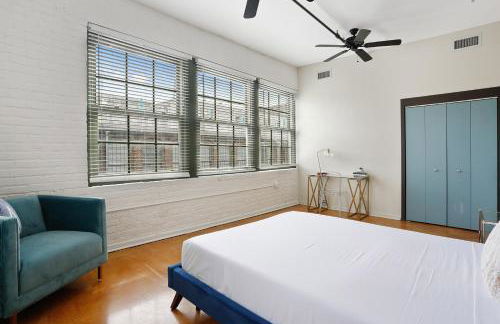
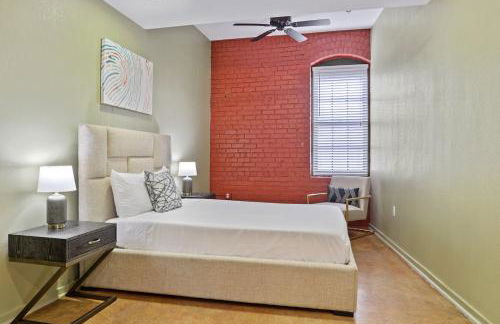
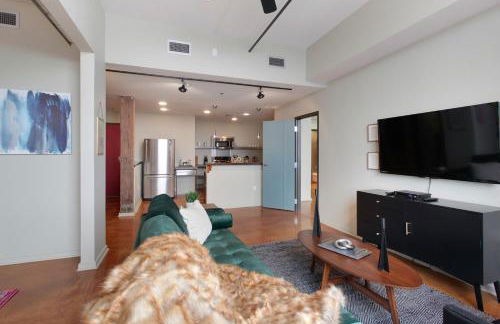
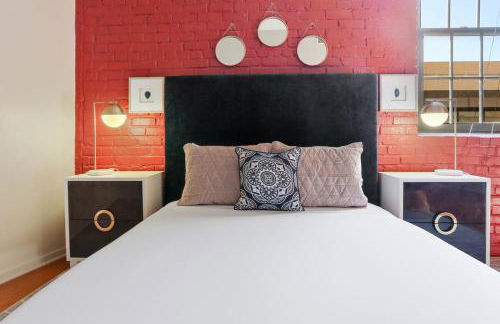
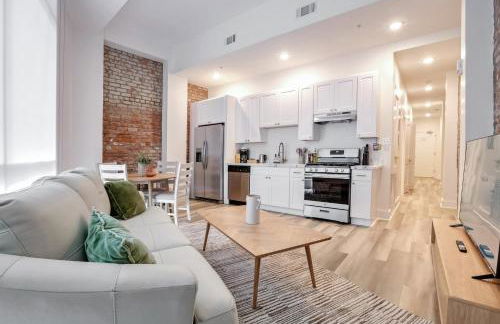
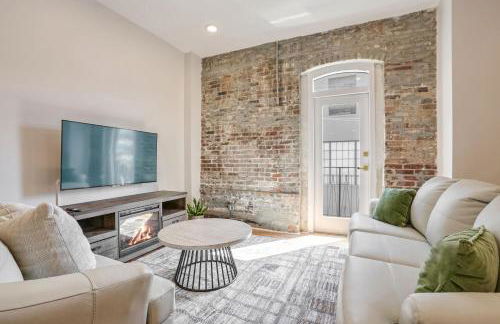
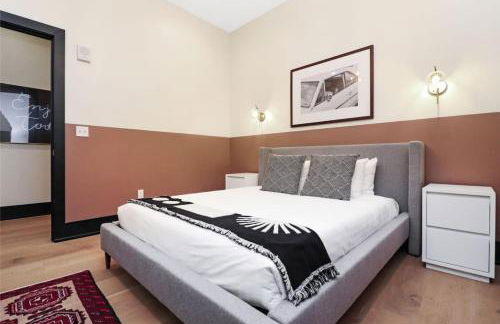
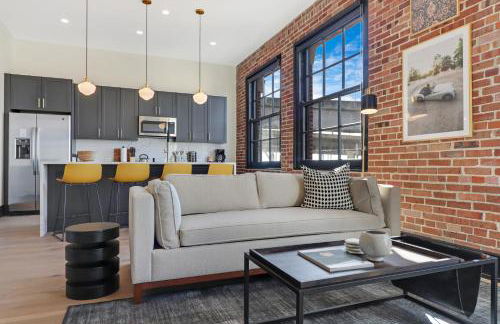
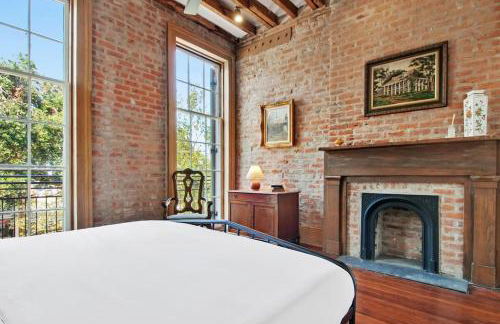
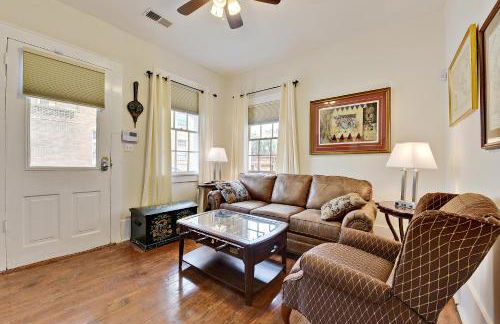
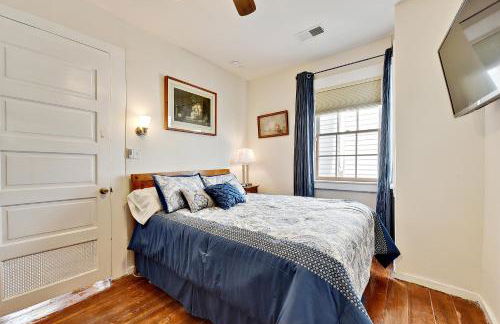
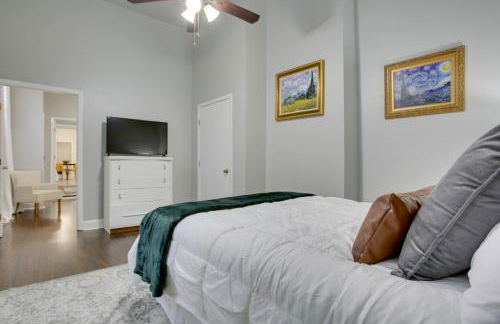
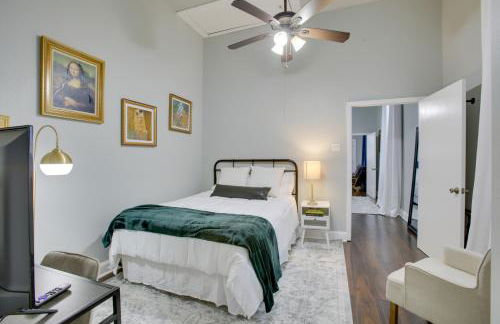
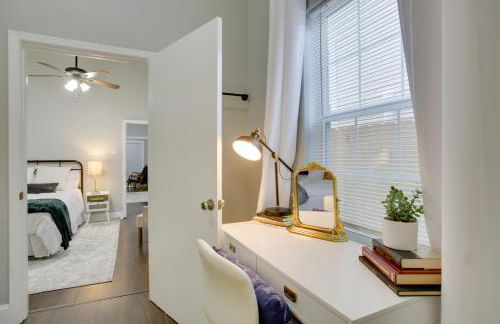
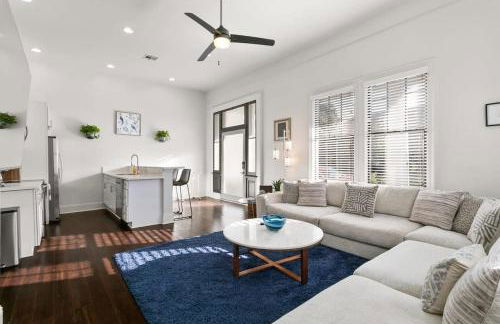
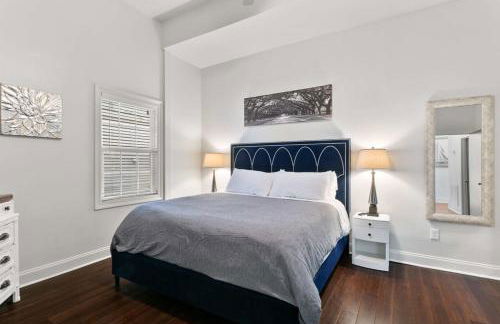
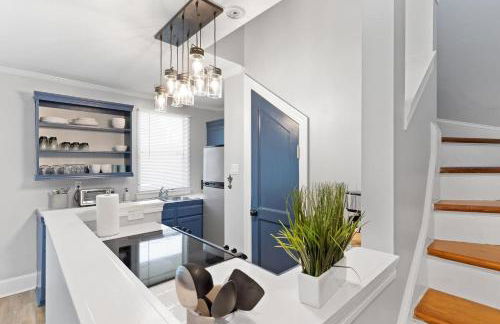
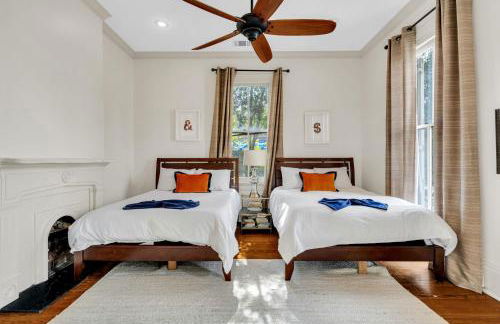
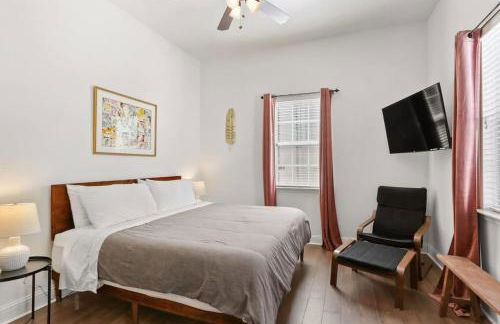
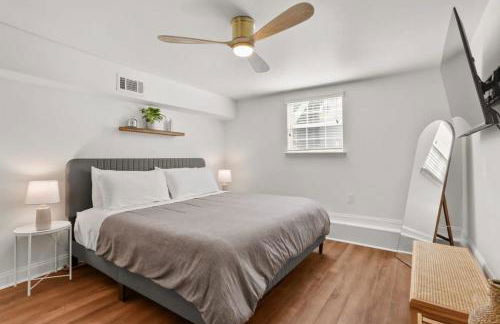
NOLA Cottage
NO LA - Lower Garden District - 1.1 km do centro
- 74 M2
- 1 quarto
- 4 pessoas
- Ar-condicionado
- Aquecimento
- Terraço
- Estacionamento
- Jardim


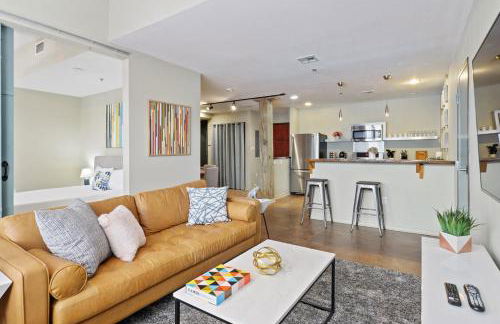
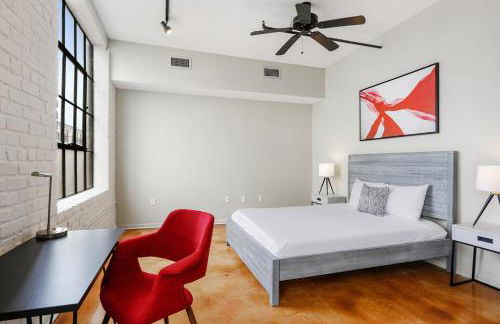
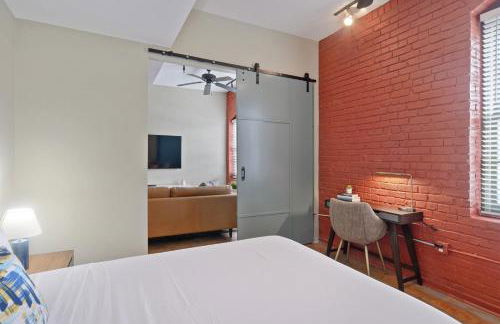
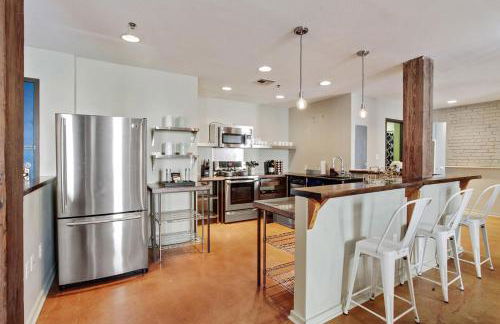
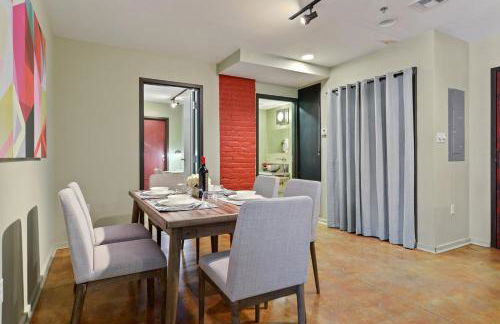
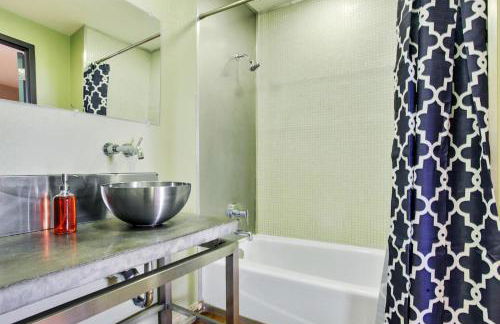
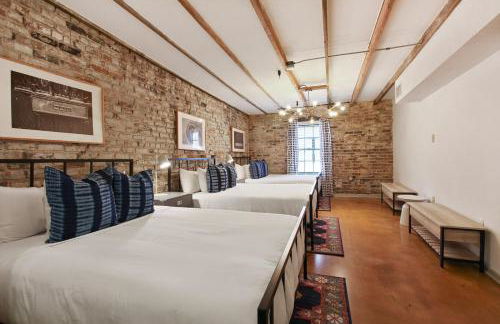
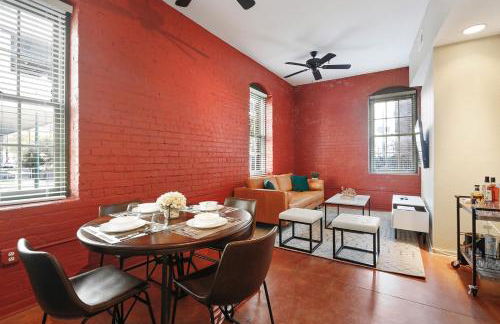
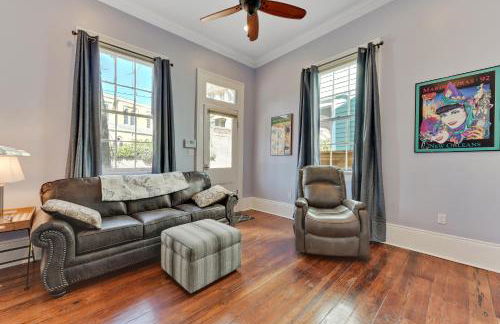
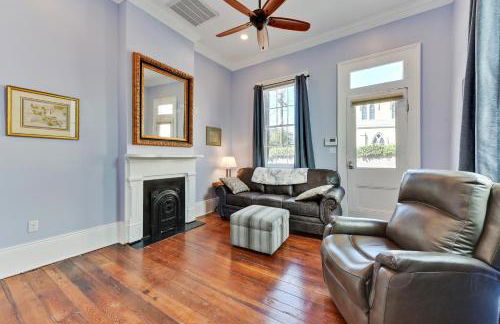
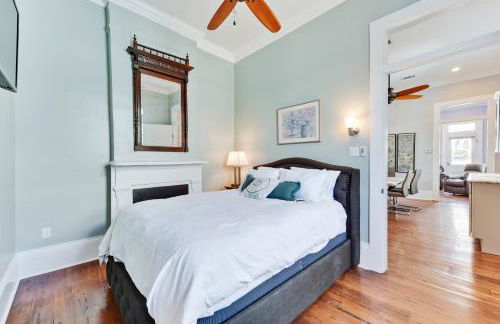
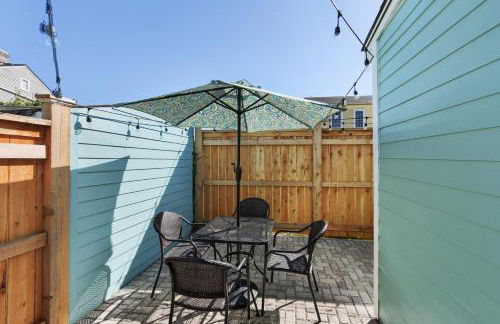
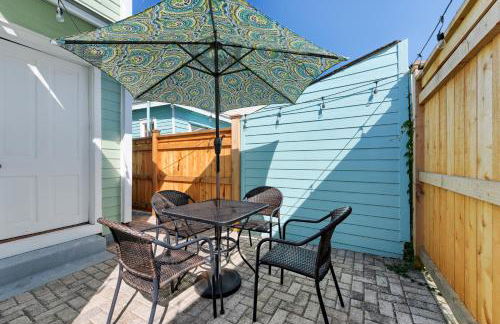
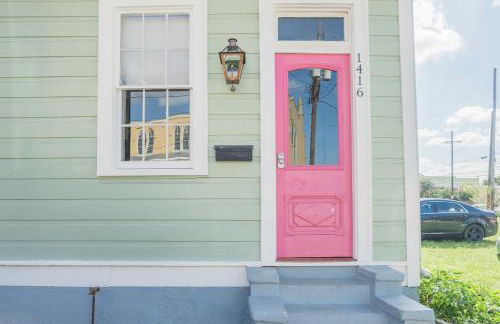
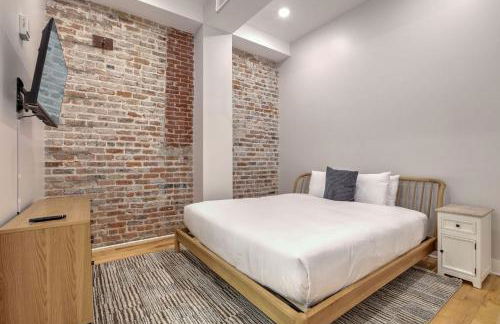
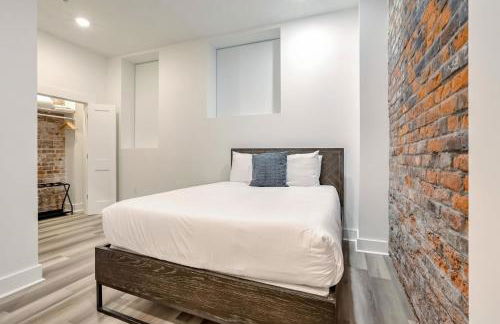
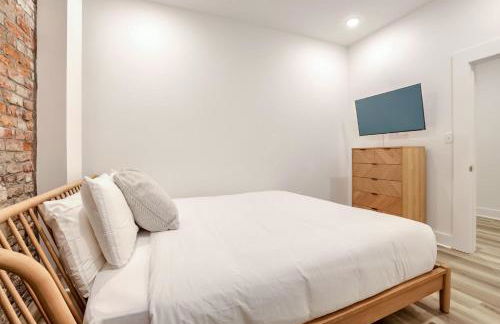
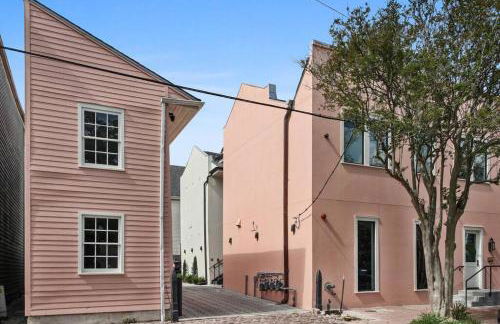
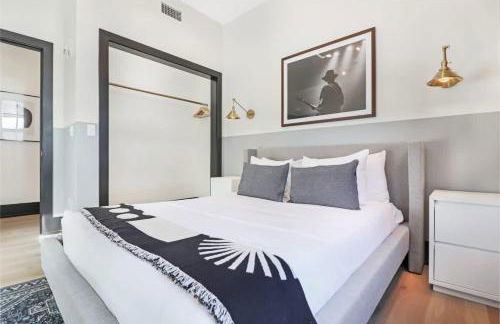
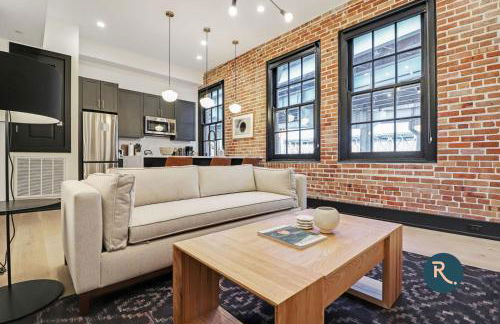
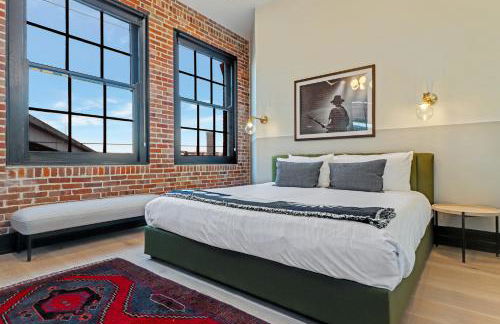
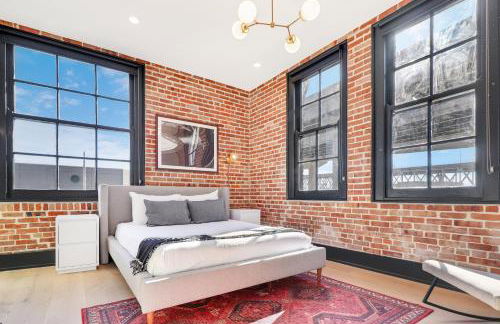
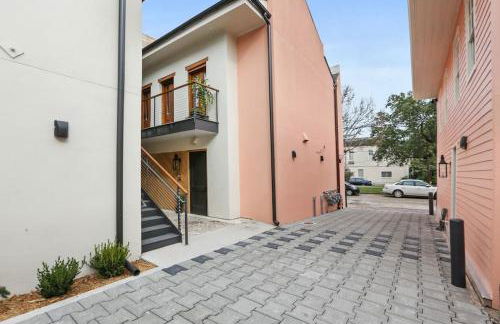
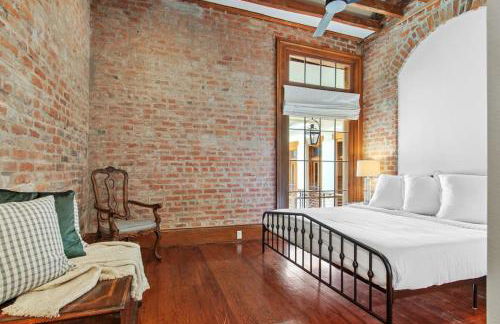
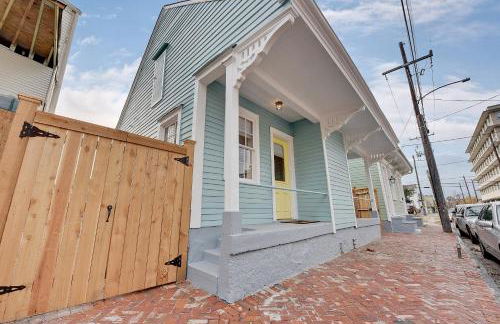
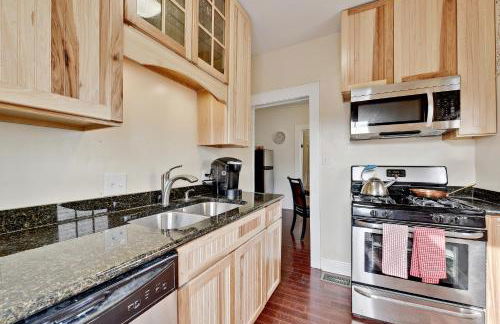
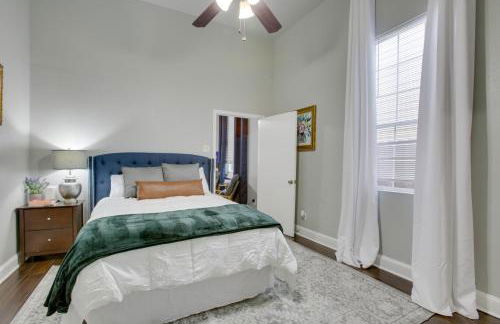
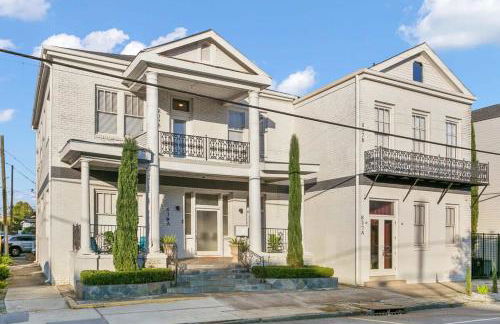
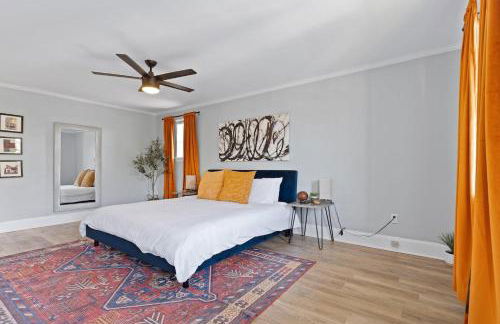
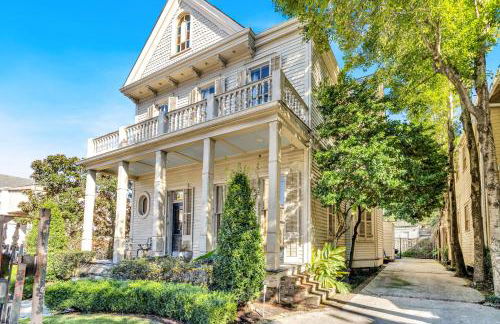
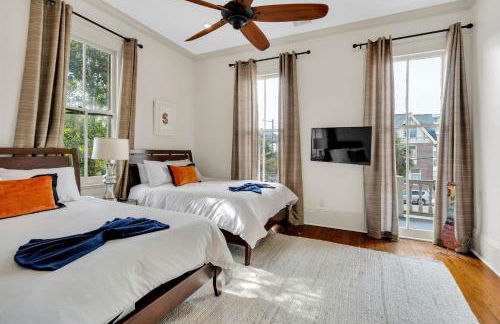
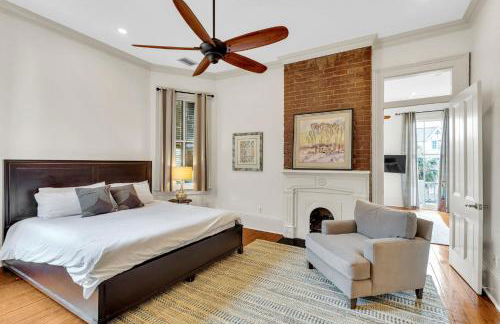
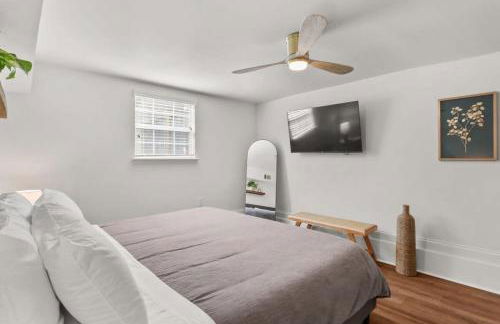
Luxury Historic Shotgun Home in Lower Garden District
NO LA - Lower Garden District - 2.5 km do centro
- 98 M2
- 2 quartos
- 4 pessoas
- Ar-condicionado
- Aquecimento
- Estacionamento
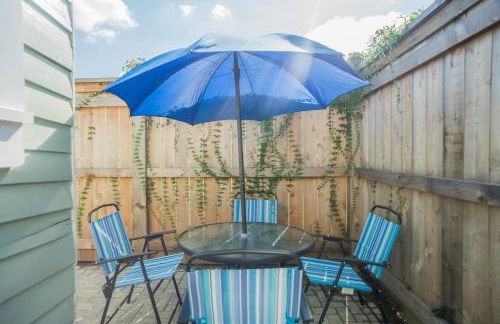
- Jardim


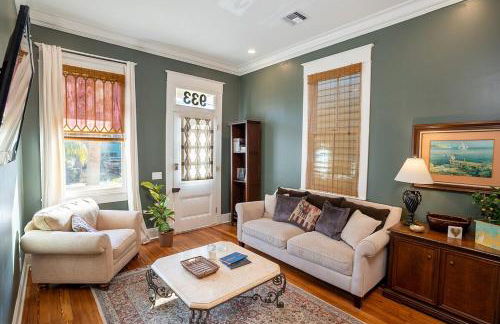
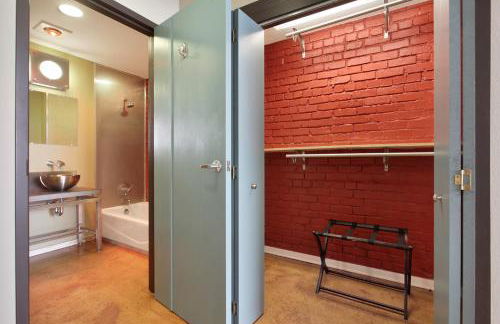
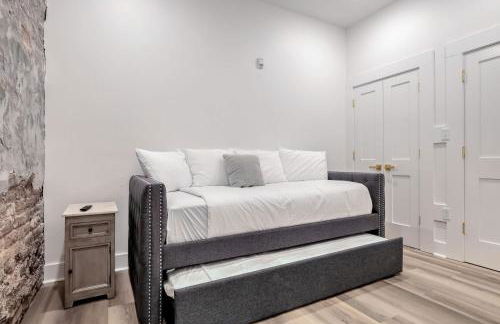
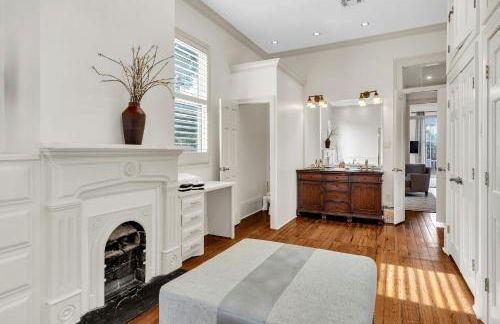
7 Muses on Magazine
NO LA - Lower Garden District - 1.7 km do centro
- 26 M2
- 4 quartos
- 8 pessoas
- Ar-condicionado
- Terraço
- Piscina
- Estacionamento
- Jardim
- Churrasco


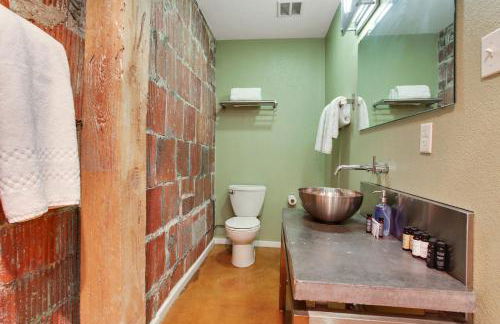
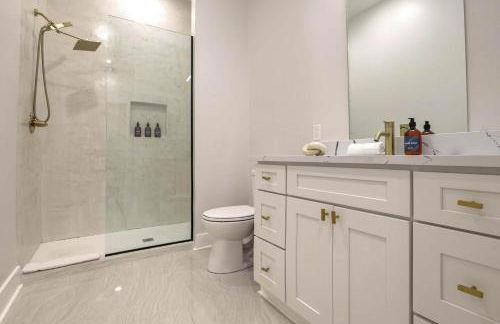
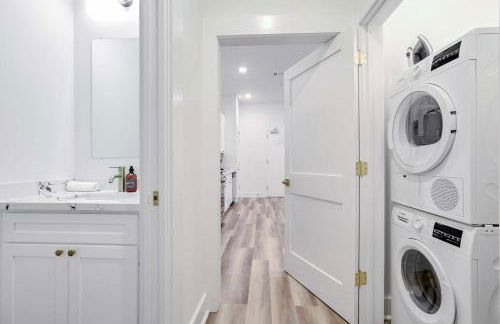
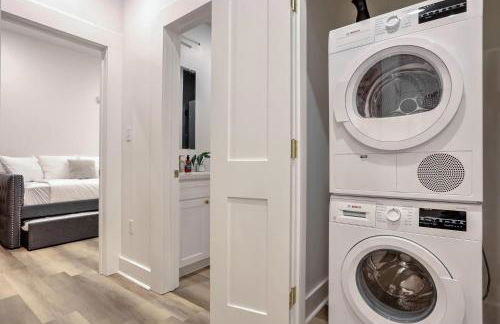
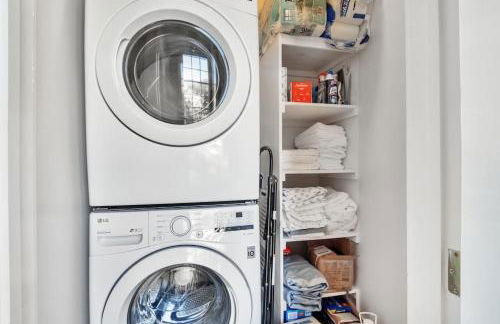
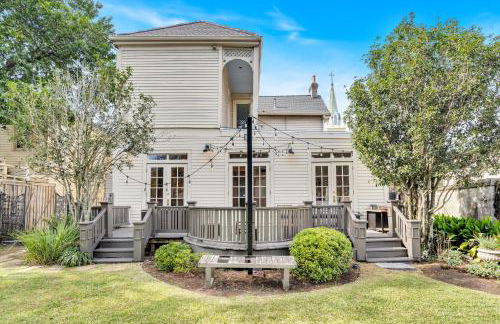
The Irish House
NO LA - Lower Garden District - 1.2 km do centro
- 142 M2
- 2 quartos
- 12 pessoas
- Ar-condicionado
- Aquecimento
- Estacionamento
- Elevador
- Varanda
- Tv
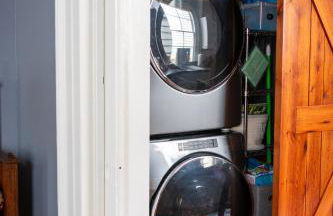
- Máquina de lavar roupa
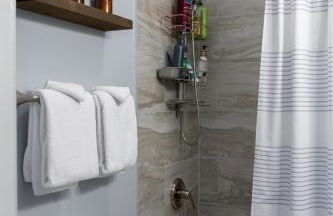
- Toalhas
- Lençóis


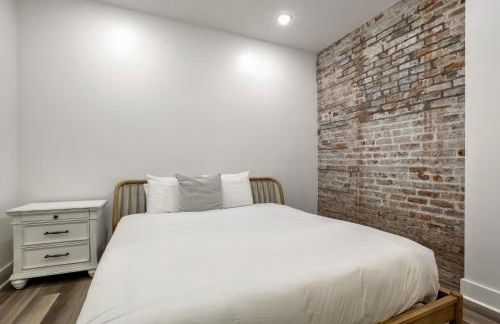
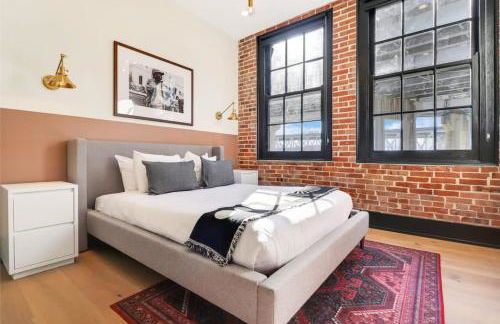
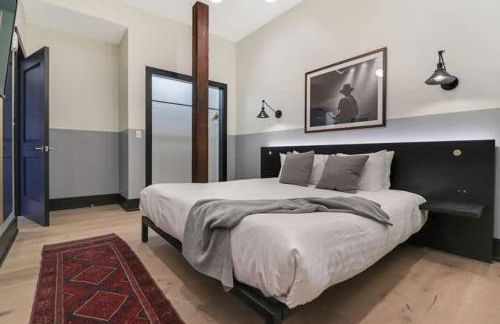
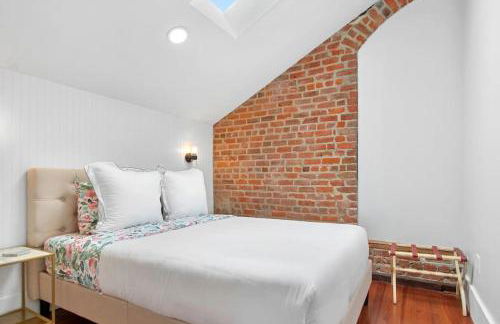
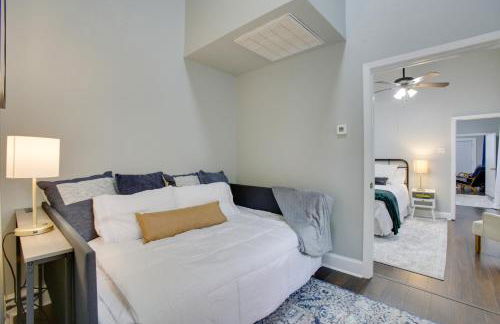
Crescent City Cottage
NO LA - Lower Garden District - 1.1 km do centro
- 70 M2
- 2 quartos
- 4 pessoas
- Ar-condicionado
- Aquecimento
- Terraço
- Estacionamento
- Jardim


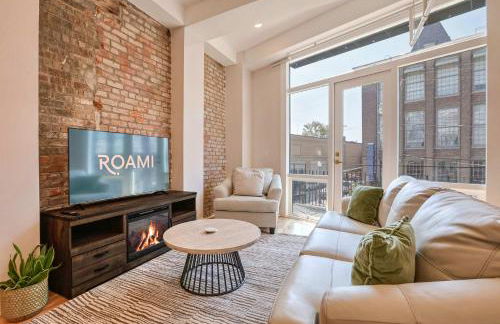


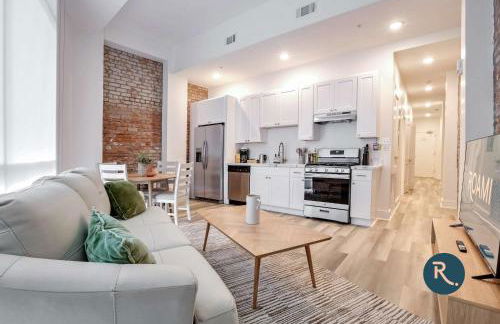


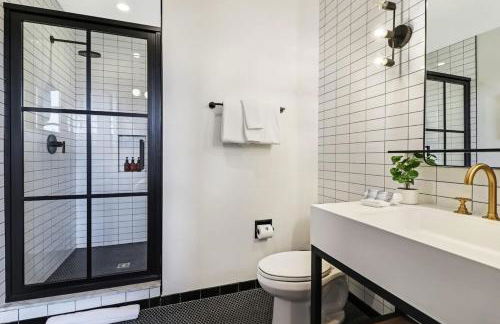
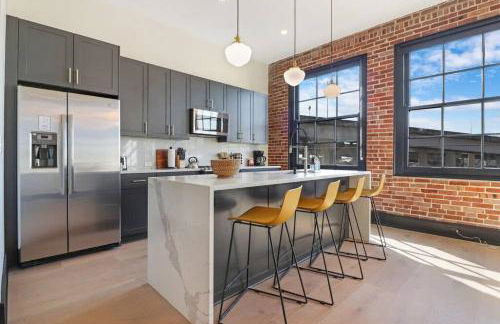
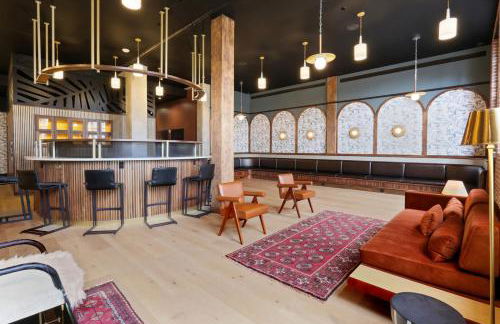
Roami at The Churchill
NO LA - Lower Garden District - 1.2 km do centro
- 181 M2
- 5 quartos
- 14 pessoas
- Ar-condicionado
- Aquecimento
- Tv
- Máquina de lavar roupa
- Toalhas


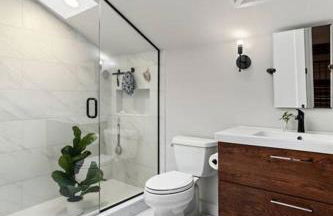


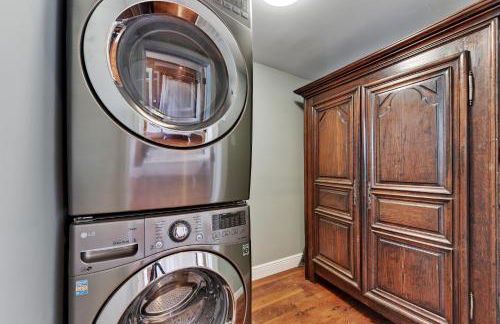
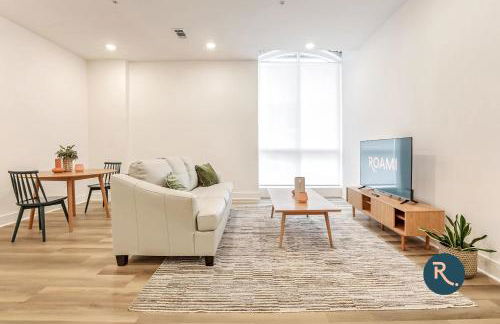
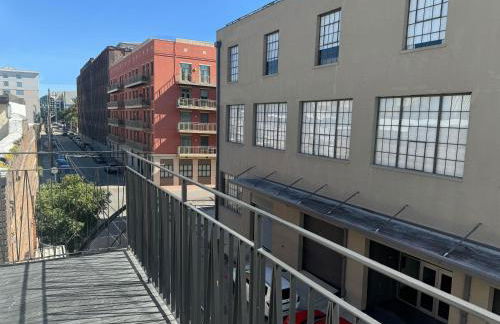
Historic Garden District 5BR with Parking and Balcony
NO LA - Lower Garden District - 1.4 km do centro
- 201 M2
- 5 quartos
- 10 pessoas
- Ar-condicionado
- Aquecimento
- Estacionamento
- Jardim


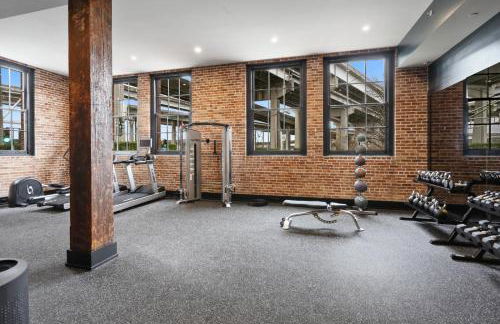


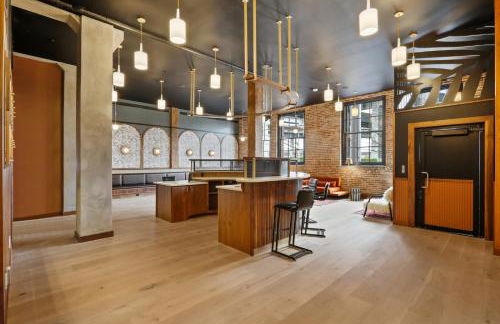

Roami at Brassline
NO LA - Lower Garden District - 1.5 km do centro
- 214 M2
- 7 quartos
- 18 pessoas
- Ar-condicionado
- Aquecimento
- Elevador


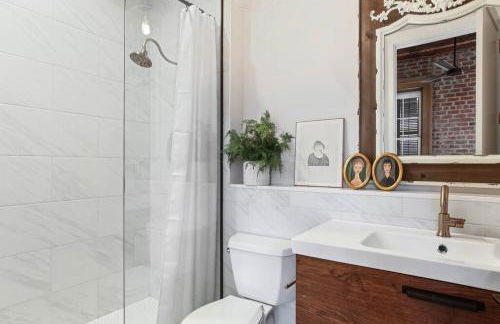
Fab 1838 Garden District 5BR with Parking And Balcony
NO LA - Lower Garden District - 1.4 km do centro
- 200 M2
- 5 quartos
- 10 pessoas
- Ar-condicionado
- Aquecimento
- Terraço
- Estacionamento


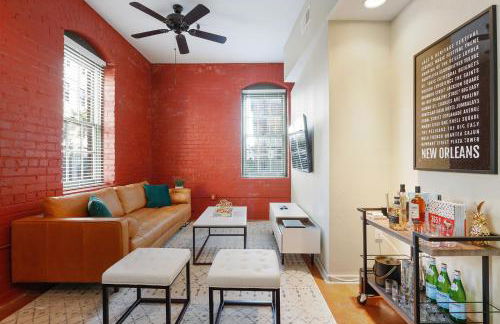
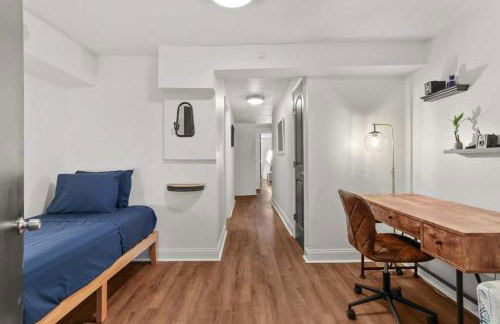
New Orleans Cottage
NO LA - Lower Garden District - 1.2 km do centro
- 14 M2
- 1 quarto
- 4 pessoas
- Ar-condicionado
- Terraço
- Estacionamento
- Jardim


NOLA Gem 3 Mi to French Quarter
NO LA - Lower Garden District - 2.4 km do centro
- 99 M2
- 2 quartos
- 6 pessoas
- Aquecimento
- Estacionamento


Modern pristine stunning 2BD Garden District Apt
NO LA - Lower Garden District - 2.4 km do centro
- 111 M2
- 2 quartos
- 4 pessoas
- Ar-condicionado
- Aquecimento
- Estacionamento


Garden District Balcony Condo w Gated Park
NO LA - Lower Garden District - 2 km do centro
- 86 M2
- 1 quarto
- Ar-condicionado
- Aquecimento
- Terraço
- Estacionamento


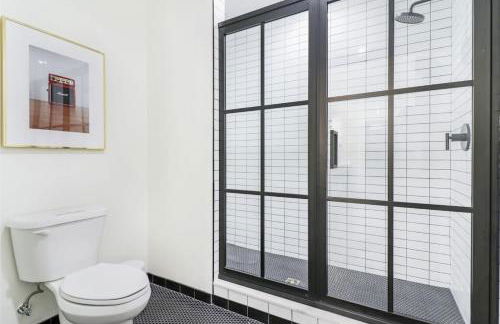
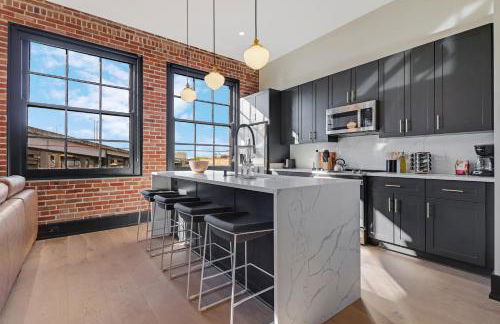
Historic 3BR LGD Gem Near Magazine & FQ
NO LA - Lower Garden District - 1.2 km do centro
- 319 M2
- 3 quartos
- 6 pessoas
- Ar-condicionado
- Aquecimento
- Estacionamento
- Churrasco


Fabulous Classy and Comfy 3BD 2BA Home and Parking
NO LA - Lower Garden District - 2.4 km do centro
- 139 M2
- 2 quartos
- 4 pessoas
- Ar-condicionado
- Aquecimento
- Estacionamento


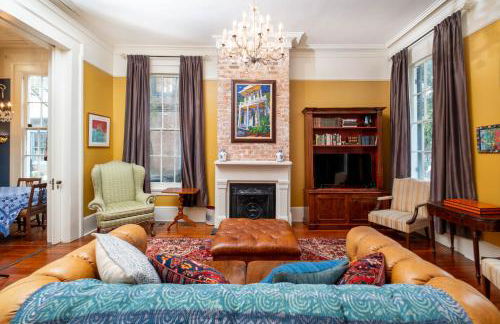
Constance & Thalia 2 Luxury Townhomes for Groups
NO LA - Lower Garden District - 1.4 km do centro
- 6000 M2
- 10 quartos
- 20 pessoas
- Ar-condicionado
- Terraço
- Piscina


Bright Villa w Heated Pool & Pool Table 5br 4ba
NO LA - Lower Garden District - 1.8 km do centro
- 427 M2
- 5 quartos
- 10 pessoas
- Ar-condicionado
- Aquecimento
- Piscina
- Estacionamento
- Jardim


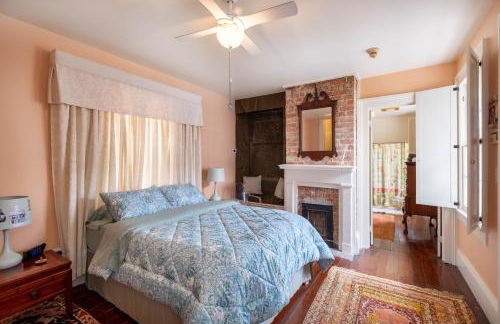
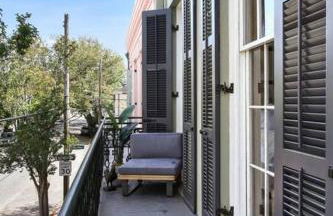
Luxury LGD Condo w Balcony Near Magazine St
NO LA - Lower Garden District - 1.9 km do centro
- 84 M2
- 1 quarto
- Ar-condicionado
- Aquecimento
- Terraço
- Estacionamento