
3989 Apartamentos em Maryland


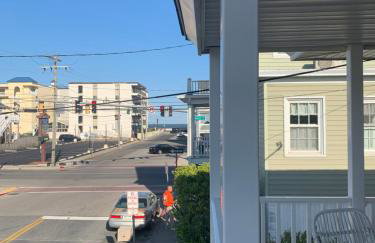
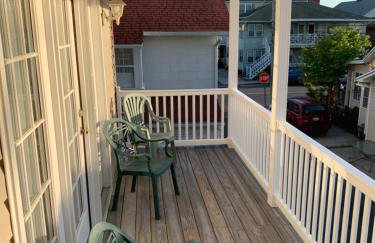
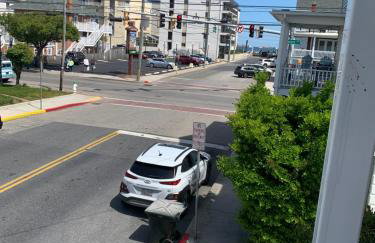
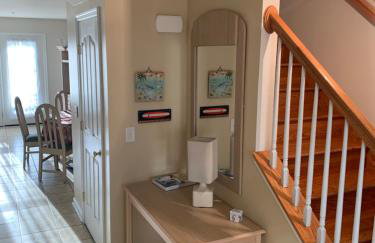
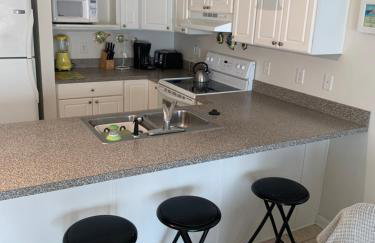
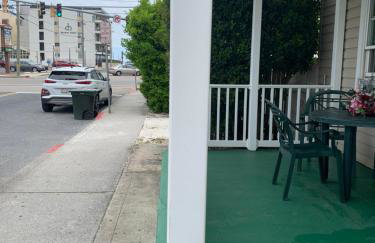
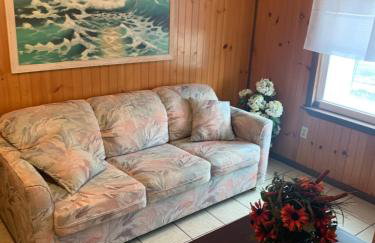
Saint Tropez
Ocean City
- 8 pessoas
- Ar-condicionado
- Aquecimento
- Terraço
- Piscina
- Estacionamento
- Elevador
- Varanda
- Tv
- Máquina de lavar roupa
- Chaminé
- Toalhas
- Lençóis
98 avaliações


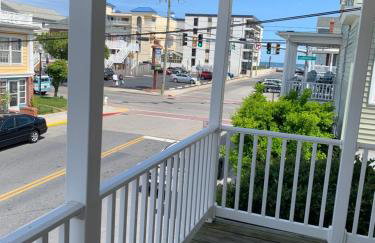
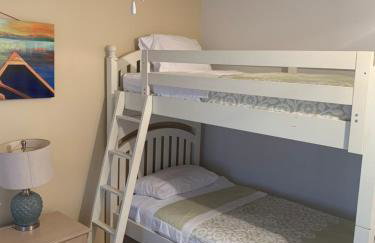
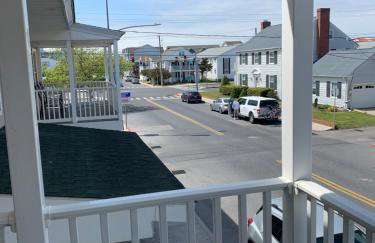
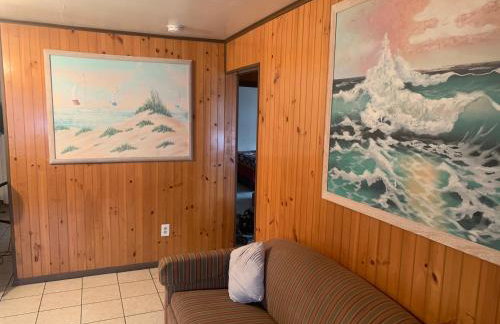
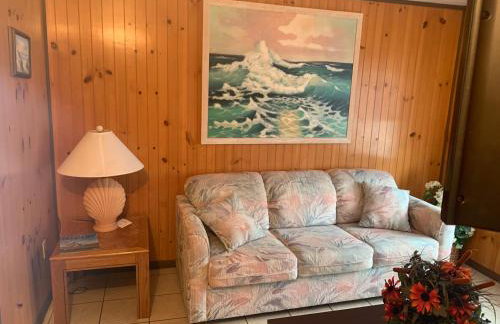
Ocean City Beach Retreat with Linens Included
Ocean City
- 93 M2
- 2 quartos
- 8 pessoas
- Ar-condicionado
- Aquecimento
- Terraço
- Piscina
- Estacionamento
- Elevador
- Jardim
14 avaliações


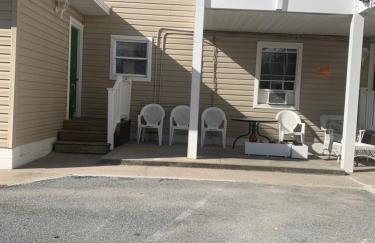
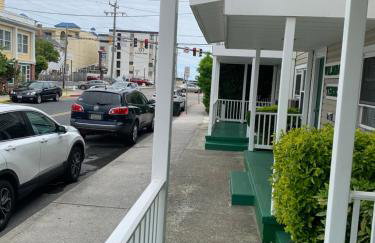
2 bed, 1 bath riverfront loft
Salisbury - 390 m do centro
- 84 M2
- 2 quartos
- 5 pessoas
- Ar-condicionado
- Aquecimento
- Estacionamento
- Tv
- Toalhas
20 avaliações


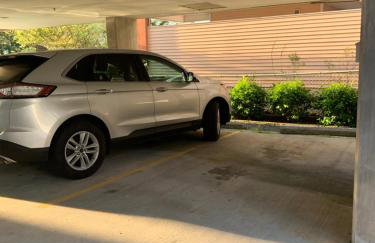
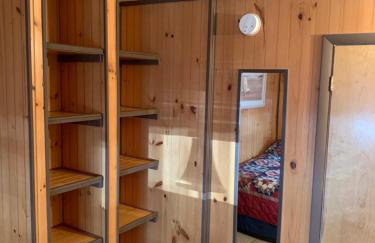
Global Luxury Suites Bethesda Chevy Chase
Bethesda - Bethesda - No centro
- 96 M2
- 2 quartos
- 5 pessoas
- Ar-condicionado
- Aquecimento
- Terraço
- Piscina
- Estacionamento
- Elevador
- Varanda
- Jardim
- Tv
- Máquina de lavar roupa
- Churrasco
- Toalhas
- Lençóis
99 avaliações


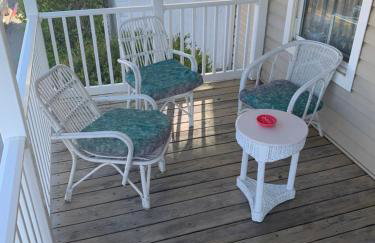
Vintage Charm: Annapolis Retreat
Annapolis - 550 m do centro
- 204 M2
- 3 quartos
- 4 pessoas
- Ar-condicionado
- Terraço
- Estacionamento
- Jardim
10 avaliações


Club Ocean Villas II by Coolvacay
Ocean City
- 82 M2
- 2 quartos
- 6 pessoas
- Ar-condicionado
- Aquecimento
- Piscina
- Estacionamento
- Varanda
- Jardim
- Tv
- Máquina de lavar roupa
- Toalhas
- Lençóis
54 avaliações


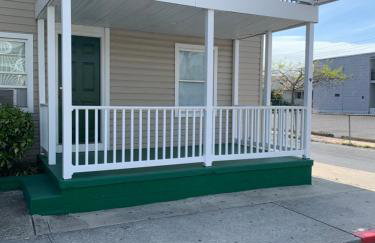
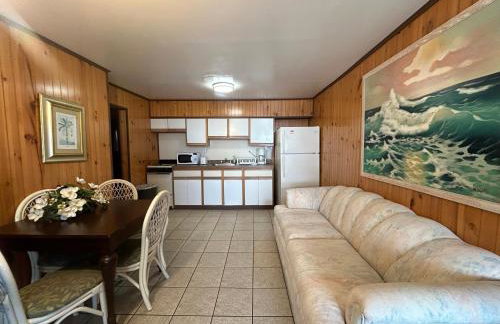
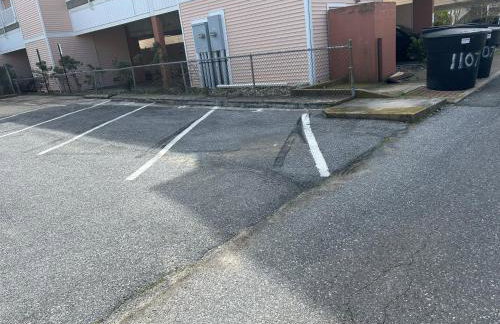
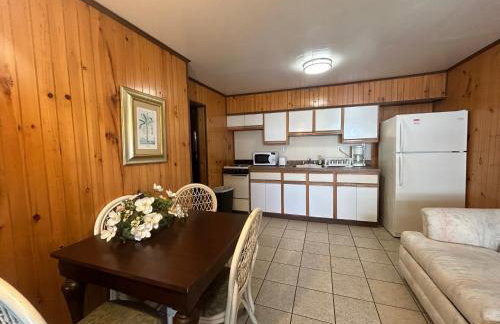
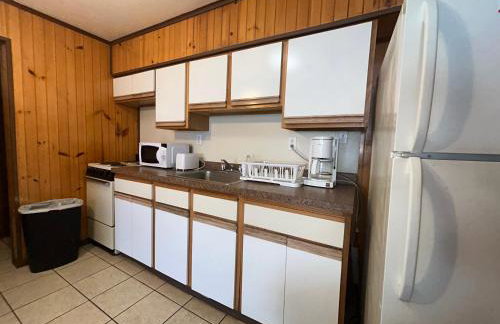
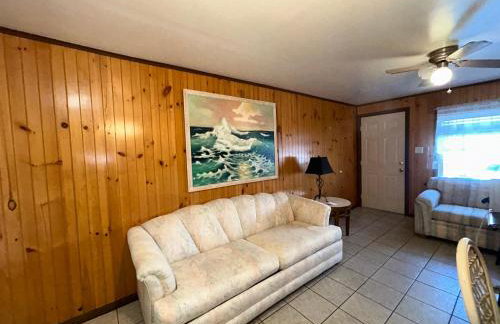
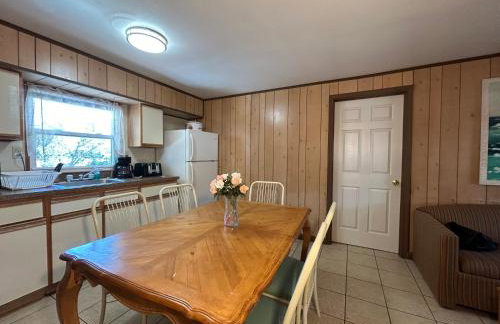
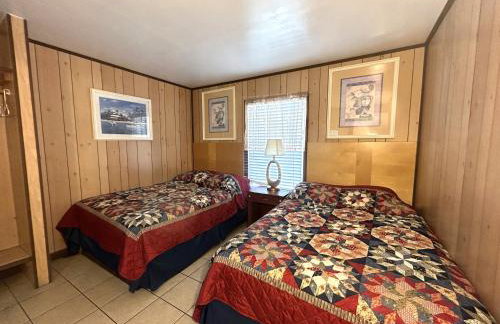
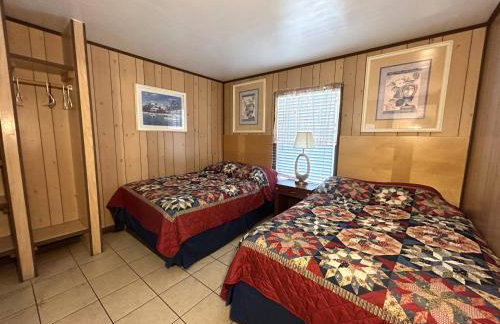
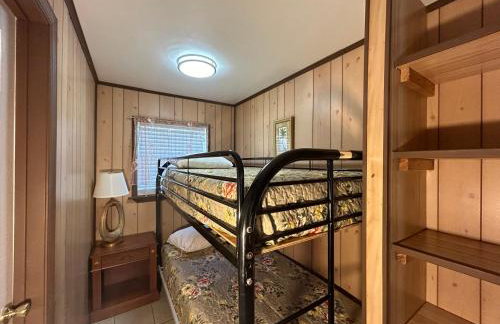
Ocean Terrace Family Apartments
Ocean City
- 79 M2
- 3 quartos
- 8 pessoas
- Kitchenette
- Ar-condicionado
- Aquecimento
- Terraço
- Estacionamento
- Jardim
- Tv
- Toalhas
23 avaliações


2B 2BA Luxury Downtown Suite Rooftop Deck & Gym
Baltimore - Downtown - No centro
- 102 M2
- 2 quartos
- 6 pessoas
- Ar-condicionado
- Aquecimento
- Piscina
- Estacionamento
- Elevador
- Jardim
- Tv
- Máquina de lavar roupa
- Toalhas
- Lençóis
27 avaliações


Charm in the City
Baltimore - Charles North - 2.1 km do centro
- 70 M2
- 5 pessoas
- Estacionamento
- Tv
- Chaminé
- Churrasco
- Toalhas
- Lençóis
13 avaliações


Reservoir Hill Mansion - 4 bedrooms
Baltimore - Reservoir Hill - 2.8 km do centro
- 418 M2
- 4 quartos
- 12 pessoas
- Ar-condicionado
- Aquecimento
- Estacionamento
- Jardim
14 avaliações


The Dacha. Cumberland vacation
Cumberland - 2.5 km do centro
- 134 M2
- 2 quartos
- 4 pessoas
- Ar-condicionado
- Aquecimento
- Terraço
- Piscina
- Estacionamento
- Jardim
- Churrasco
29 avaliações


Jada buildingNewly remodeled, Pool
Ocean City
- 6 M2
- 3 quartos
- 8 pessoas
- Ar-condicionado
- Terraço
- Piscina
- Estacionamento
- Elevador
15 avaliações


Luxury 2 bedroom basement
Bowie - 5.7 km do centro
- 400 M2
- 2 quartos
- 4 pessoas
- Ar-condicionado
- Aquecimento
- Estacionamento
15 avaliações


Single home, 4 beds, 2 baths
Silver Spring
- 4 quartos
- 8 pessoas
- Ar-condicionado
- Terraço
- Estacionamento
20 avaliações


Picture Perfect by Taylor Made Deep Creek
Oakland
- 212 M2
- 4 quartos
- 12 pessoas
- Ar-condicionado
- Aquecimento
- Estacionamento
- Varanda
- Tv
- Máquina de lavar roupa
- Chaminé
- Churrasco
- Toalhas
- Lençóis
3 avaliações


Salisbury Hideaway
Salisbury - 1.2 km do centro
- 135 M2
- 2 quartos
- 6 pessoas
- Ar-condicionado
- Aquecimento
- Terraço
- Estacionamento
- Jardim
13 avaliações


House on the Gwynns Falls
Gwynn Oak - Wakefield
- 167 M2
- 3 quartos
- 2 pessoas
- Ar-condicionado
- Aquecimento
- Terraço
- Estacionamento
- Jardim
24 avaliações

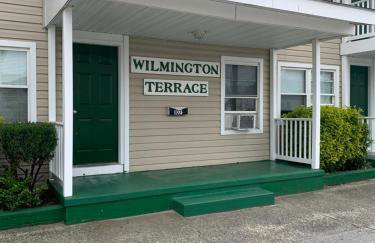

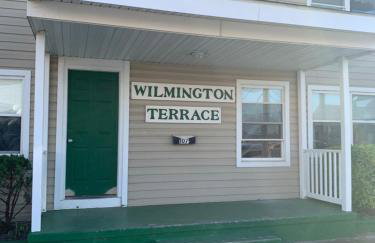

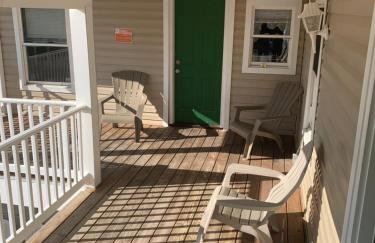

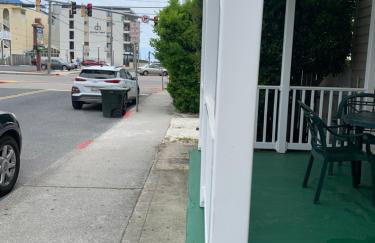


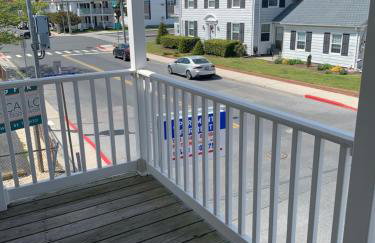


Wilmington Terrace
Ocean City
- 111 M2
- 3 quartos
- 12 pessoas
- Ar-condicionado
- Aquecimento
- Terraço
- Estacionamento
- Varanda
- Jardim
- Tv
- Toalhas
- Lençóis
7 avaliações


2BR Distinguished Apartment Rooftop Deck & Gym
Baltimore - Downtown - No centro
- 111 M2
- 2 quartos
- 6 pessoas
- Ar-condicionado
- Aquecimento
- Piscina
- Estacionamento
- Jardim
11 avaliações