


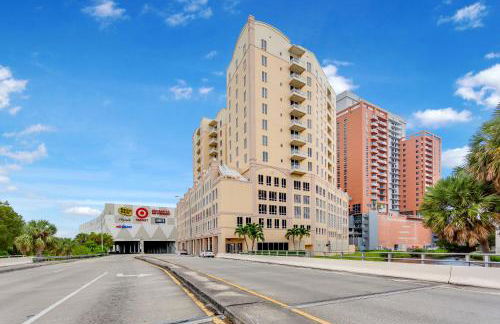
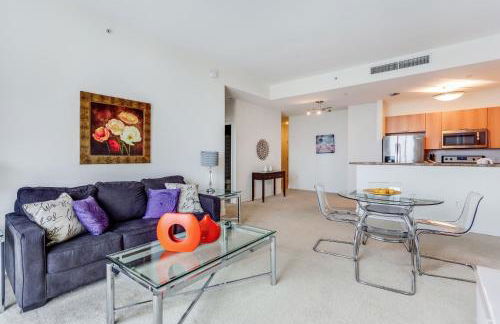
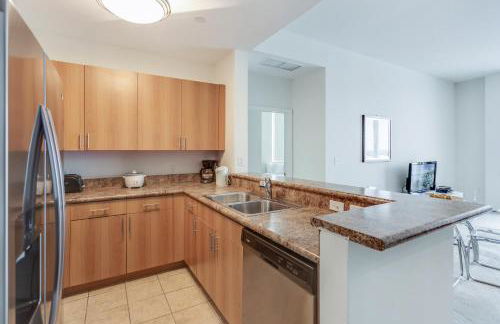
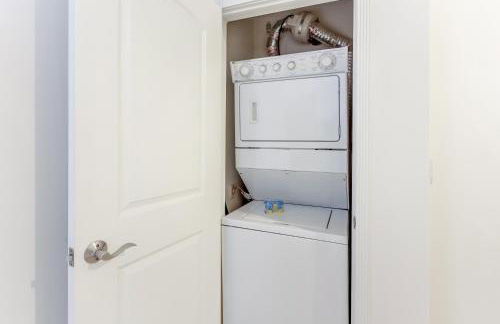
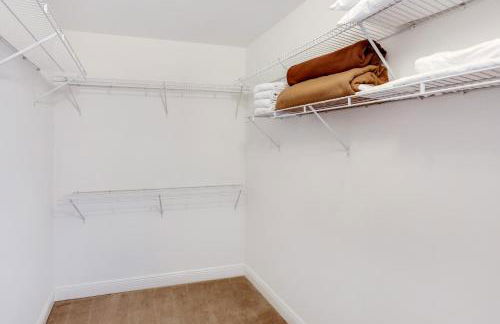
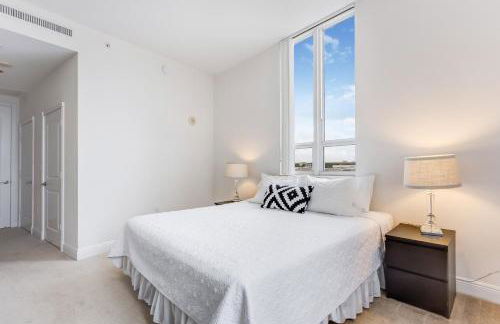
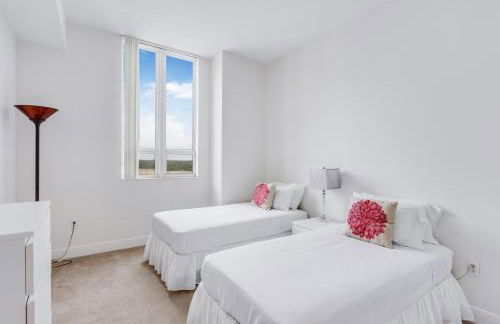
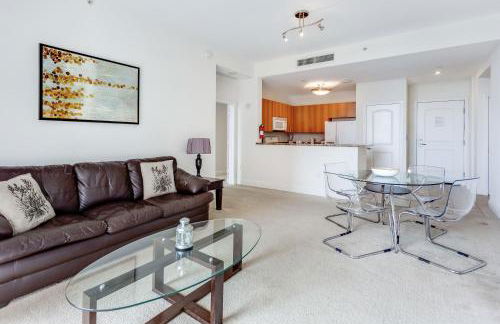
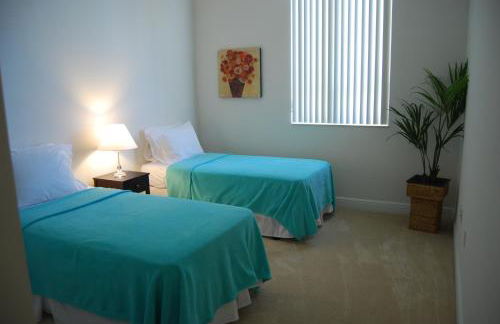
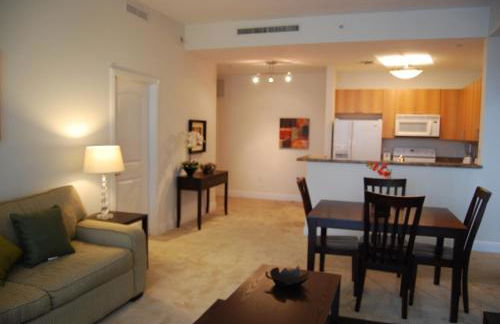
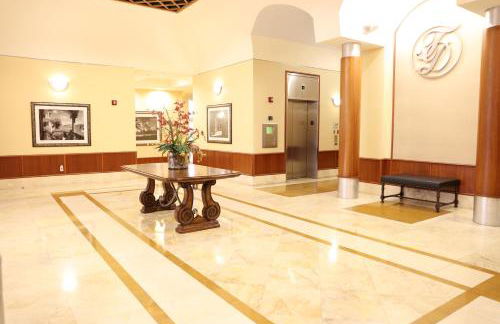
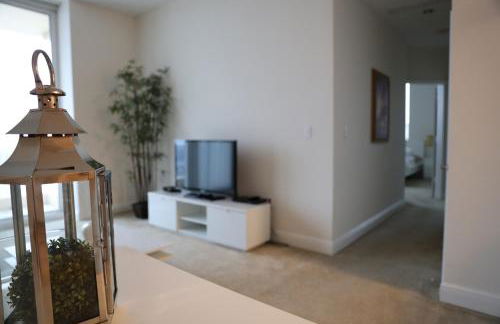
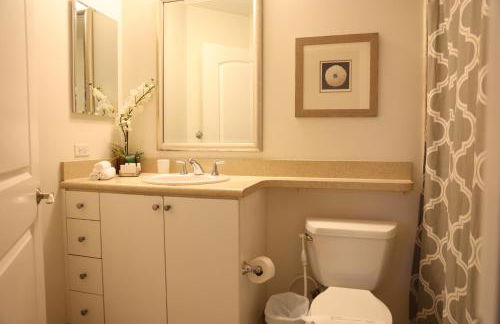
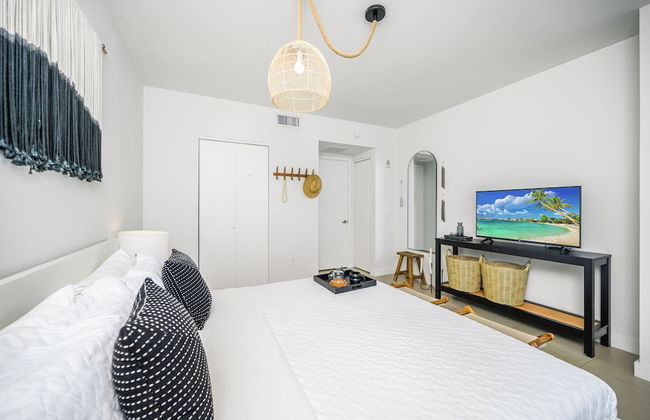
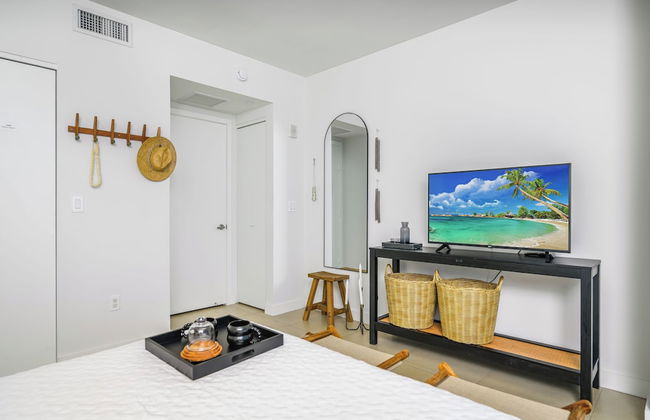
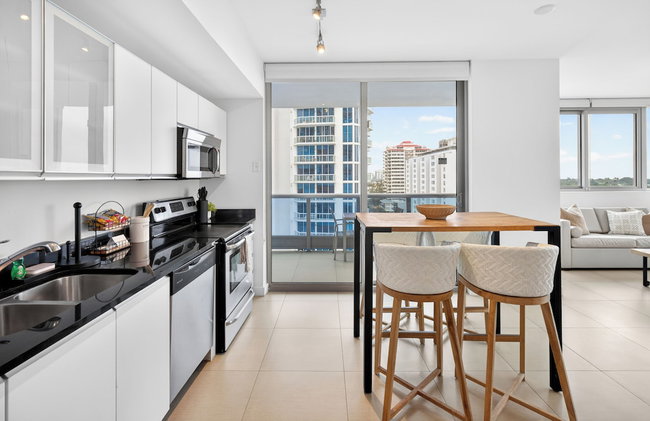
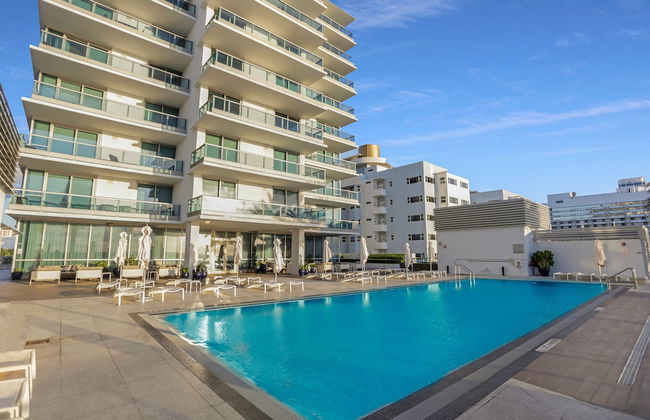
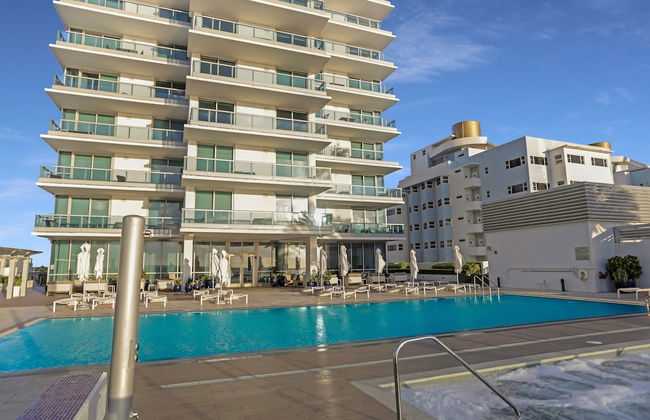
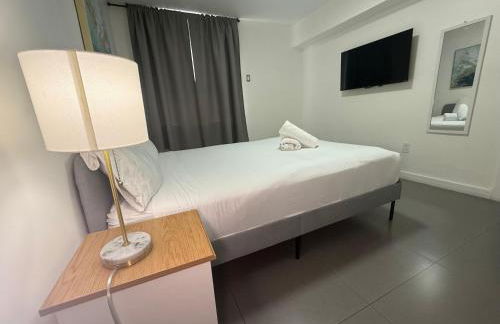
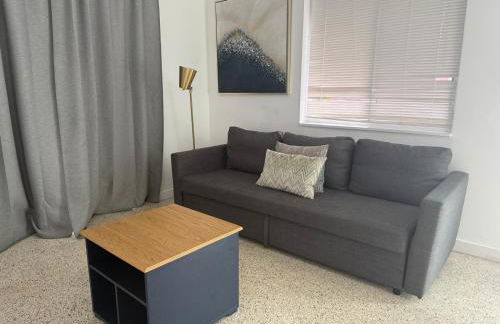
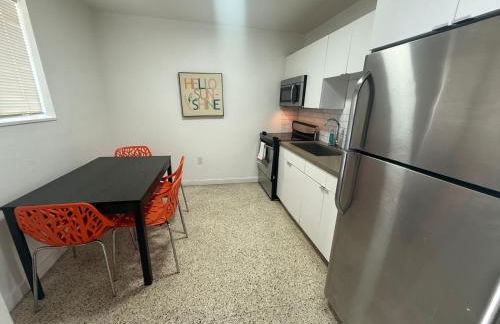
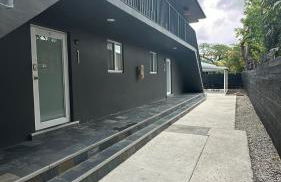
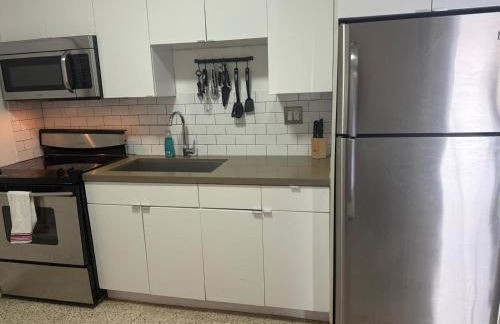
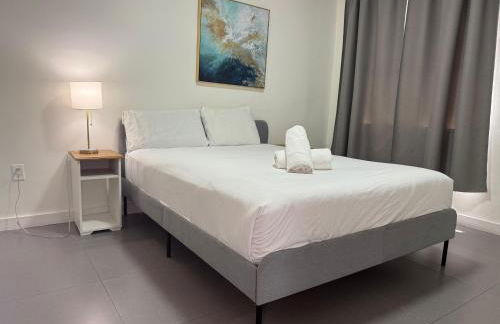
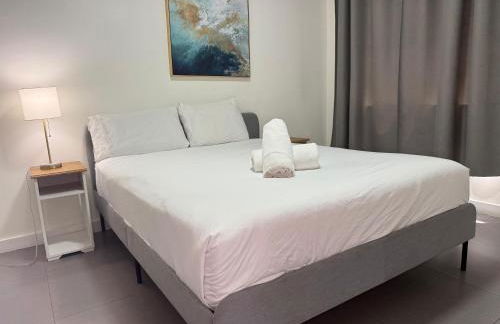
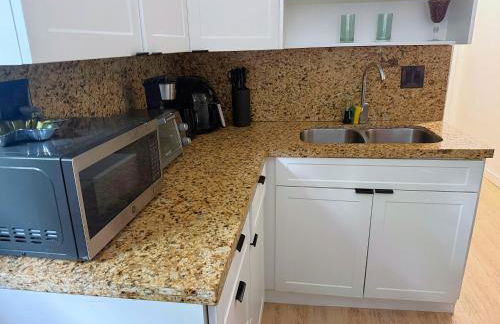
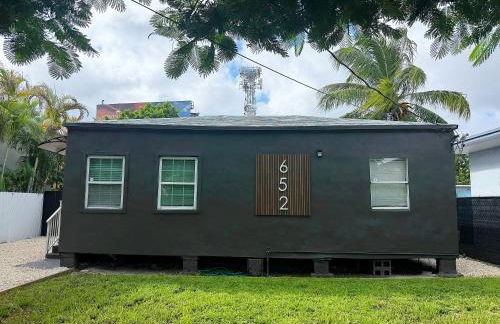
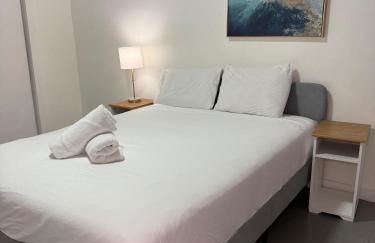
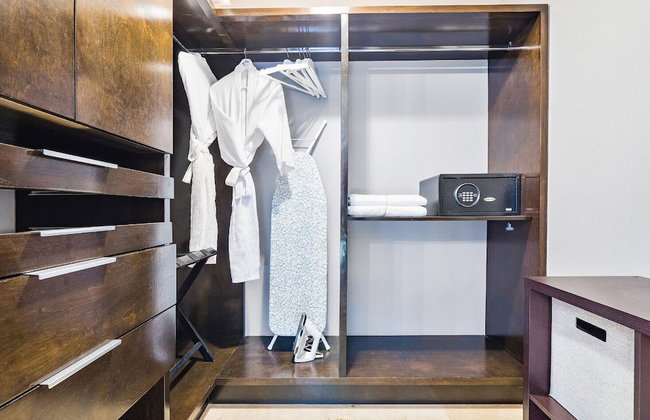
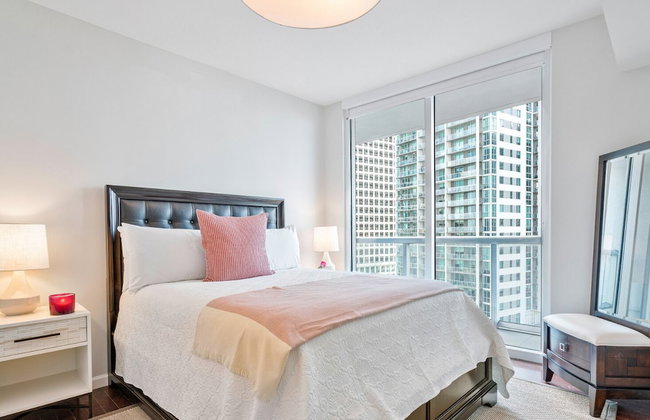
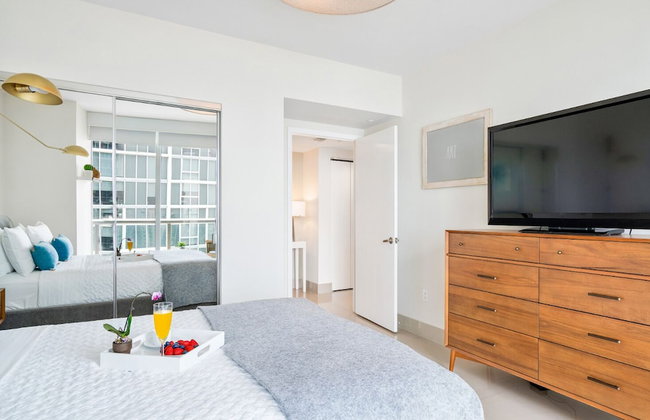
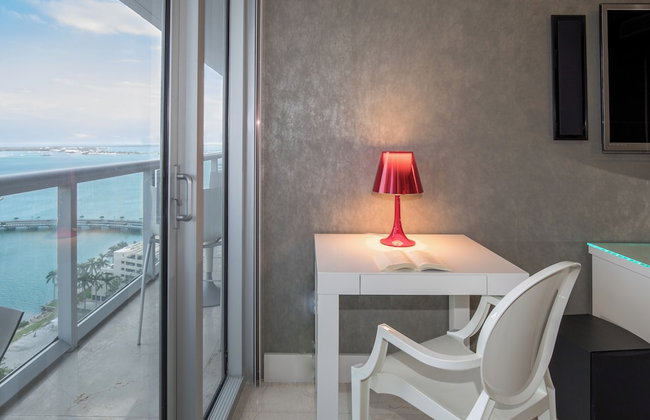
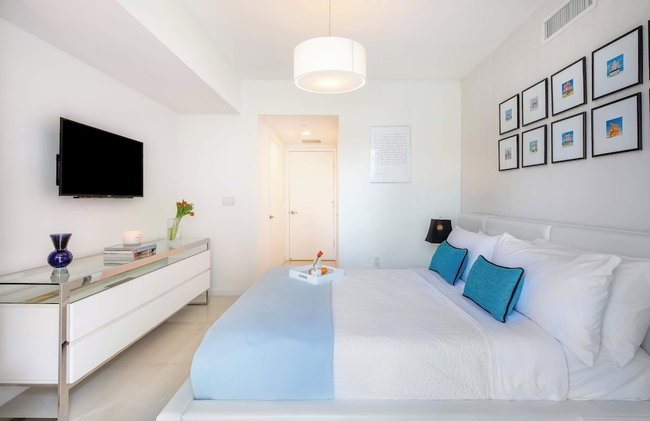
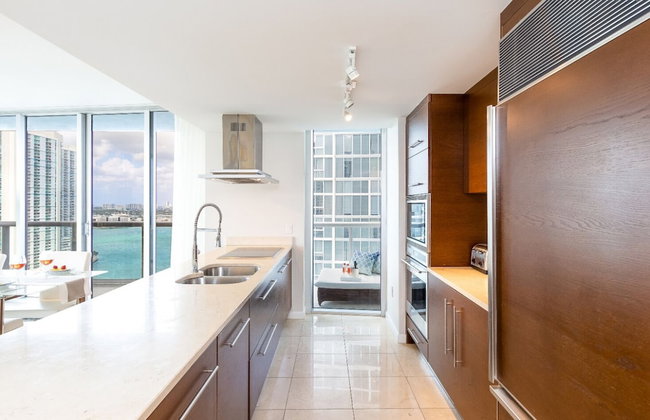
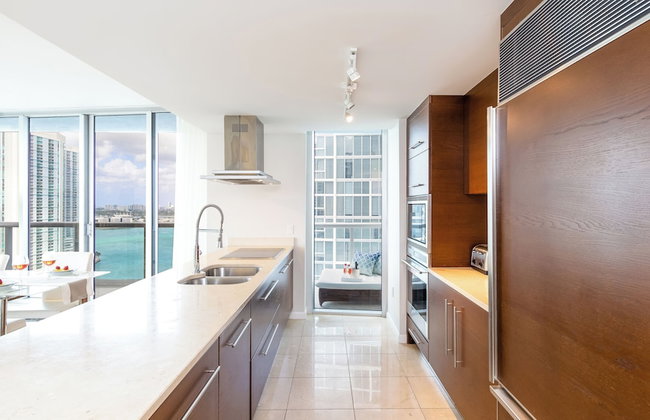
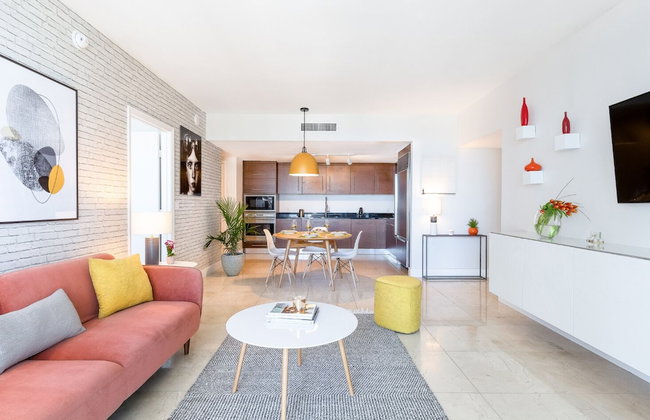
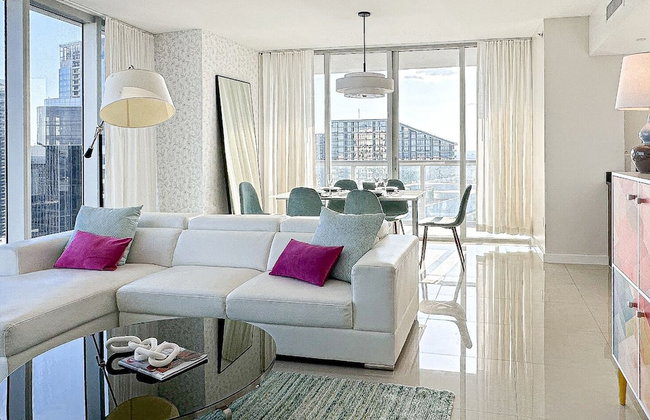
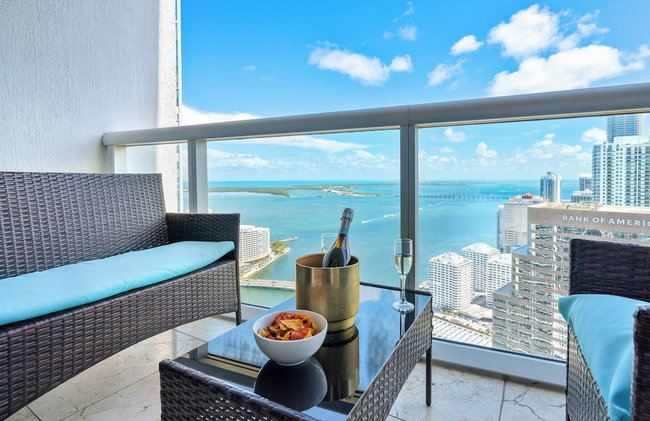
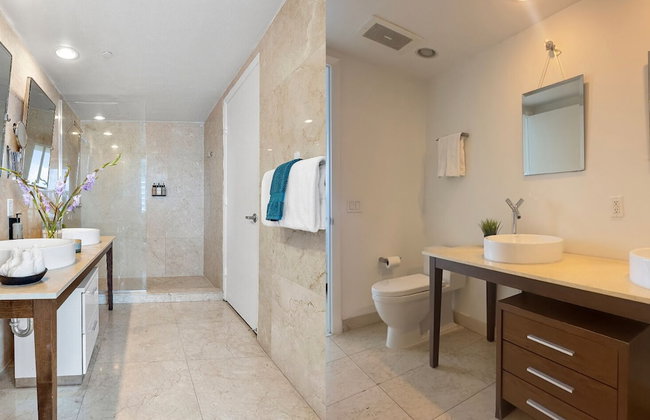
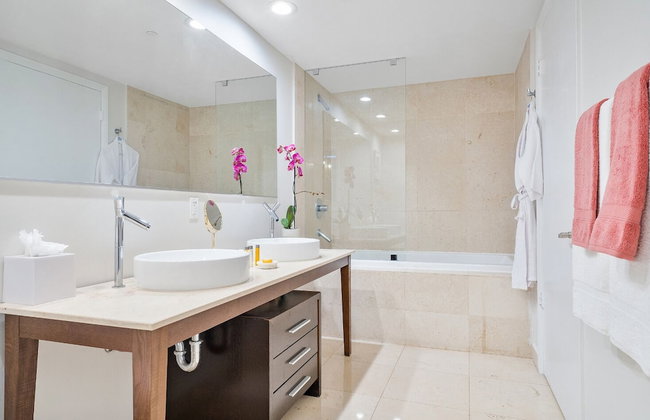
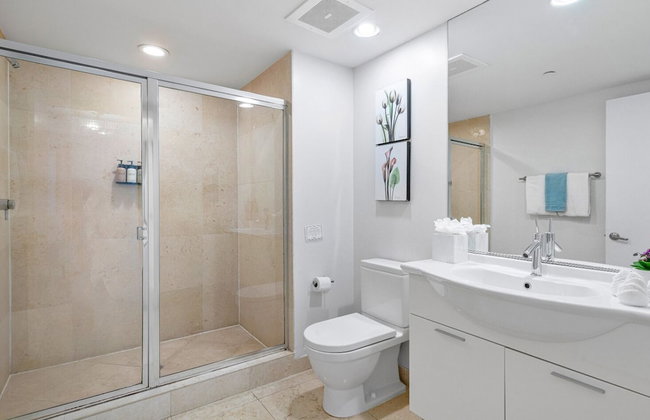
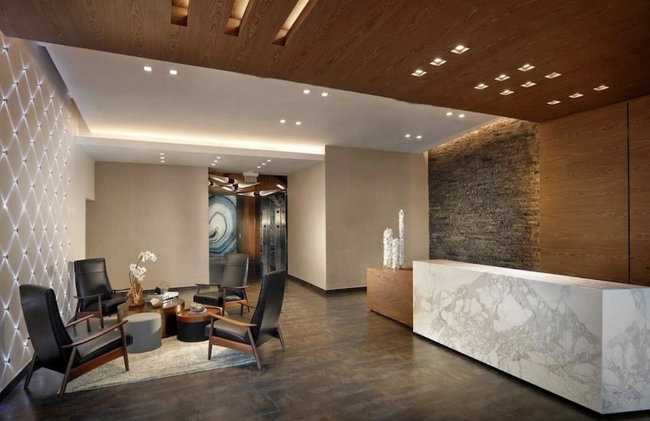
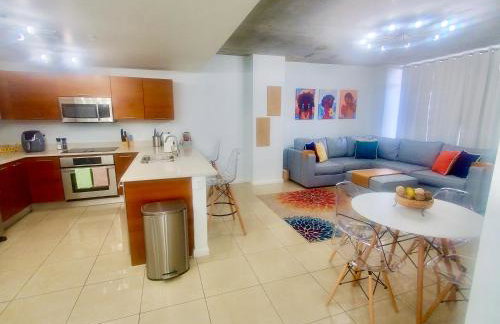
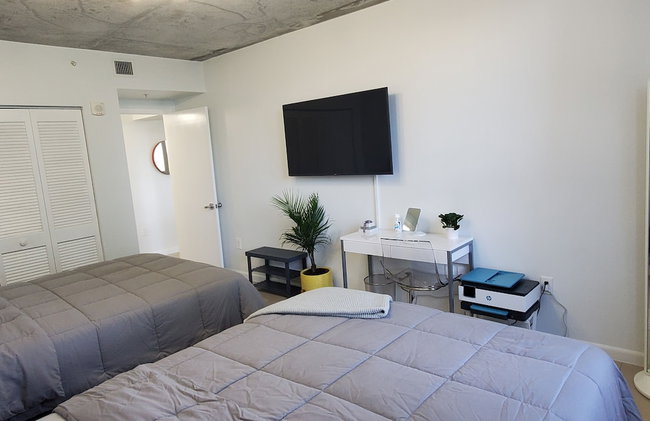
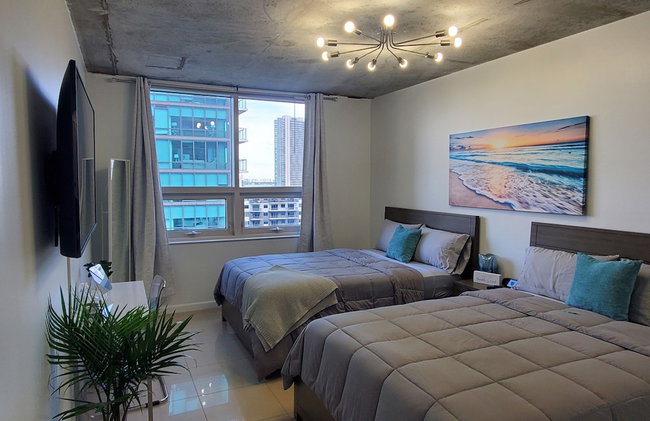
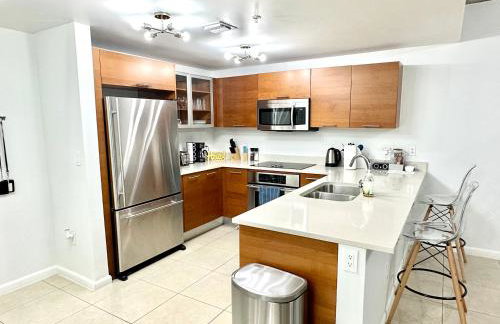
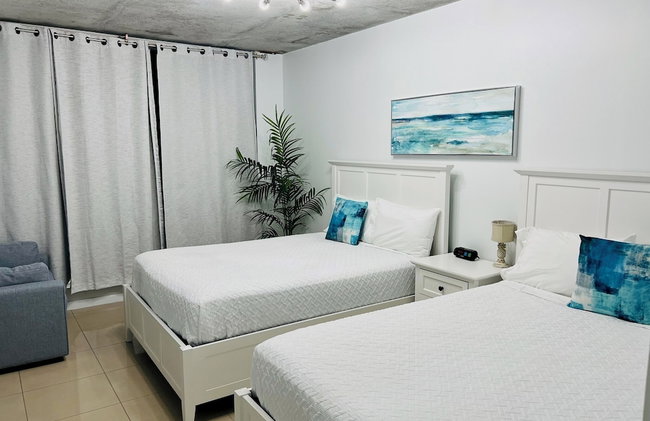
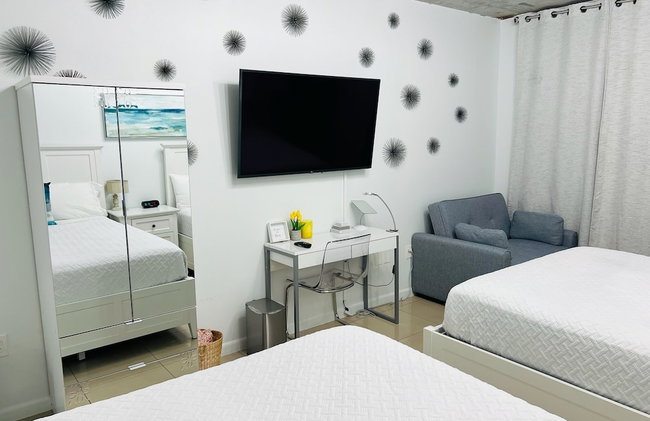
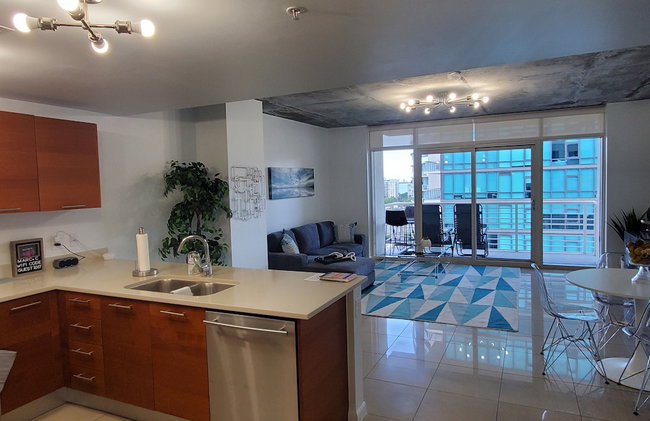
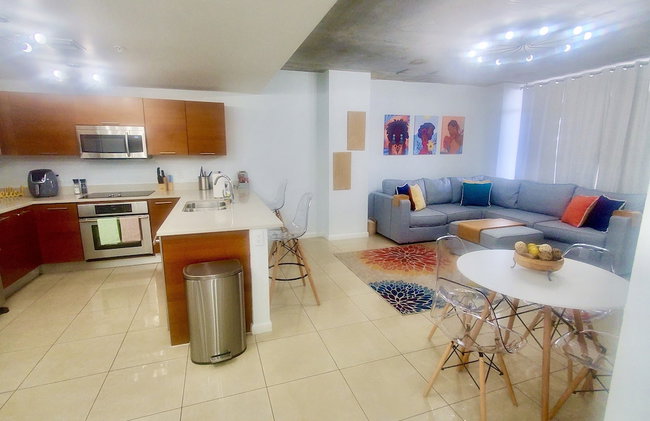
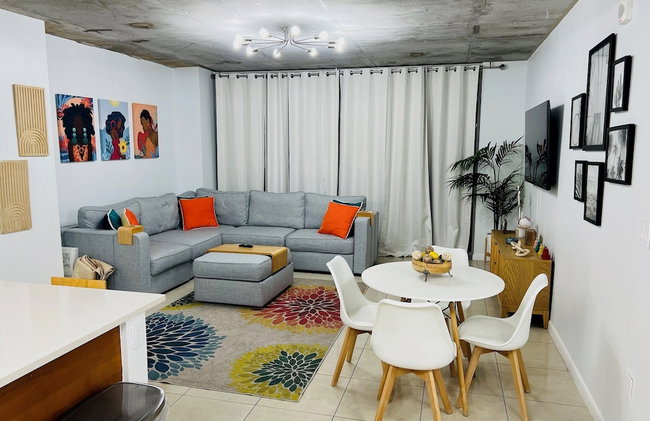
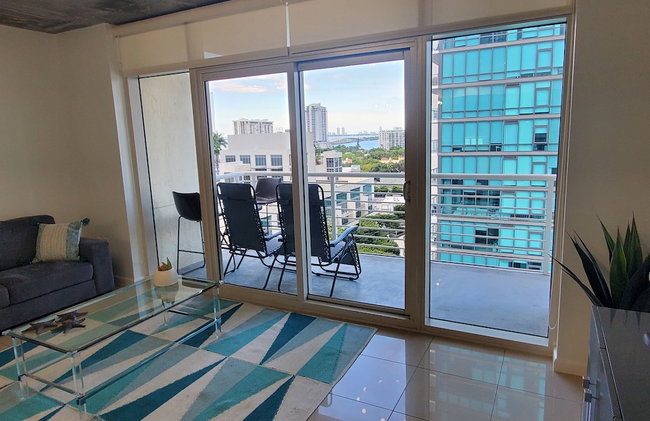
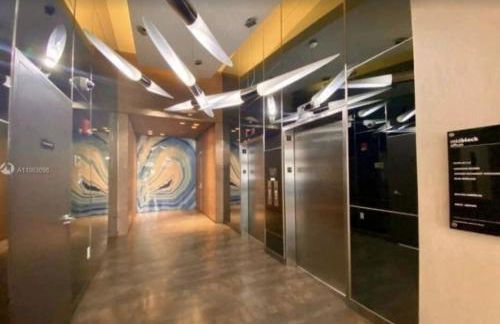
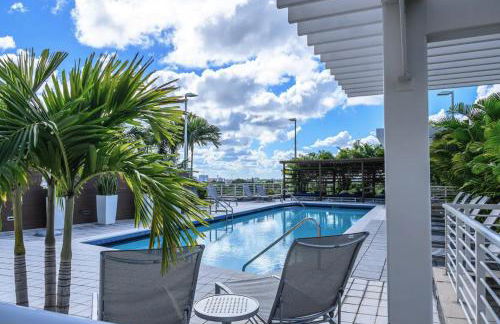
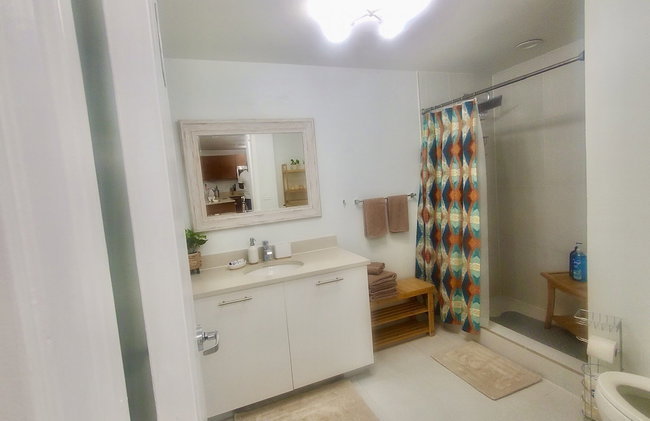
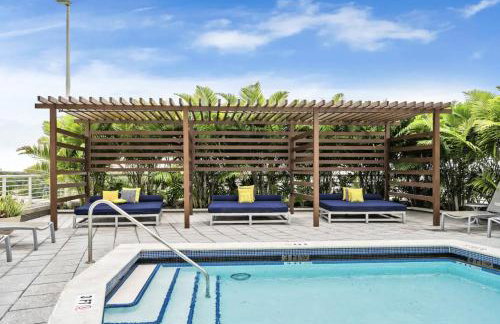
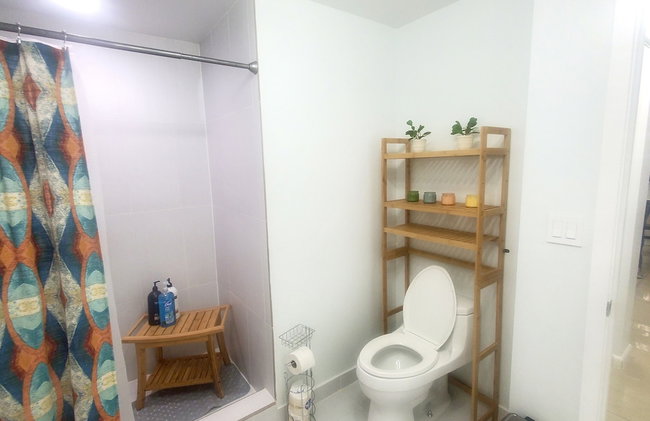
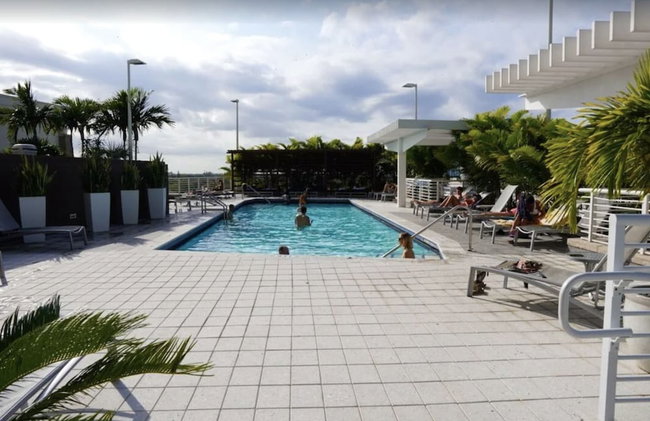
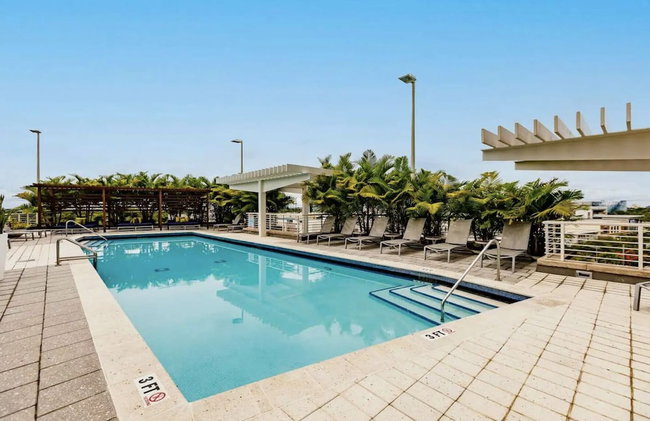
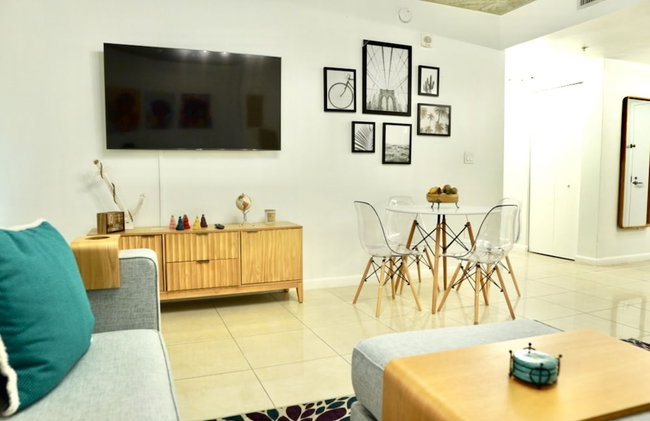
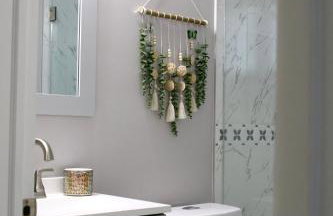
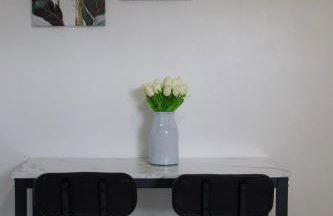
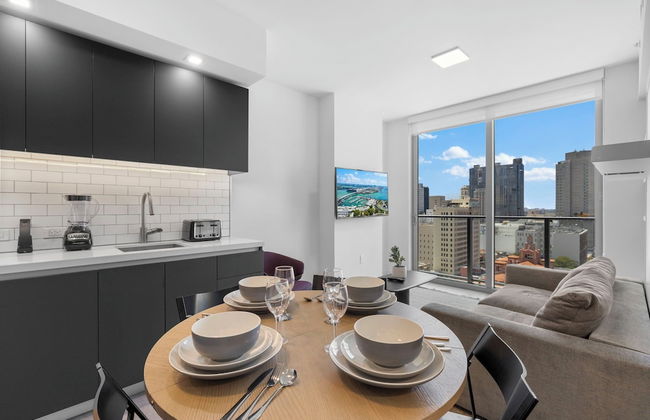
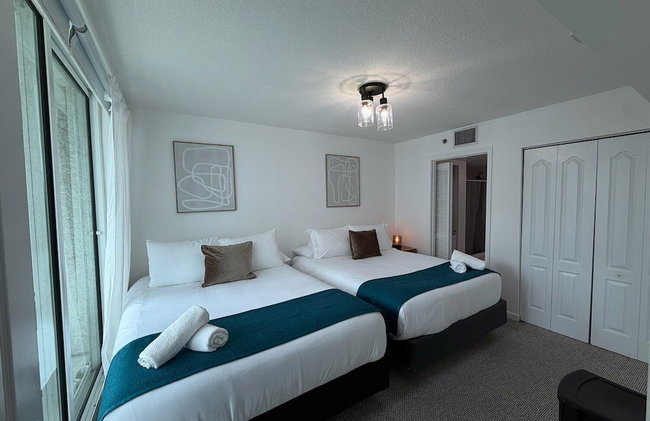
Downtown Doral Condo w-Free Parking
Miami - 14.1 km do centro
- 60 M2
- 1 quarto
- 4 pessoas
- Ar-condicionado
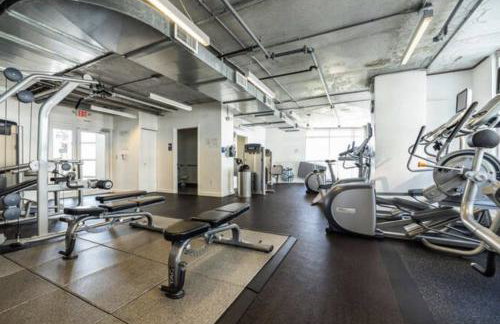
- Piscina
- Estacionamento
- Elevador
- Varanda
- Jardim
- Tv
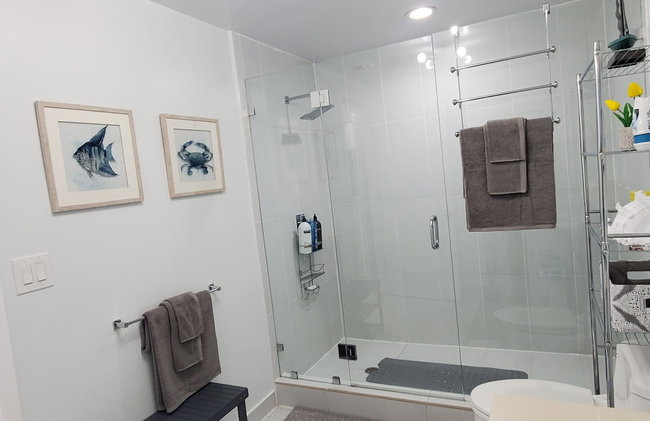
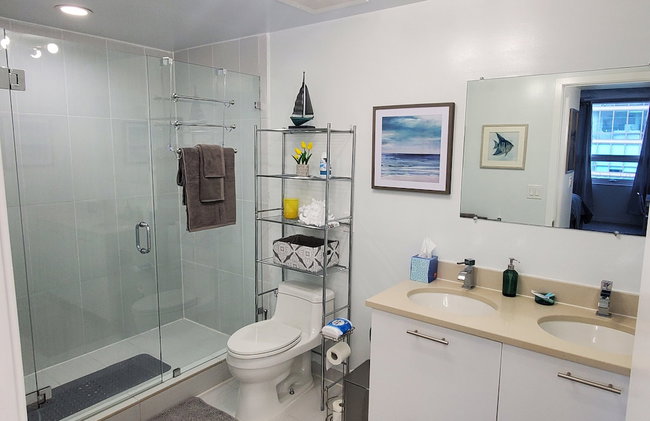
- Toalhas
- Lençóis


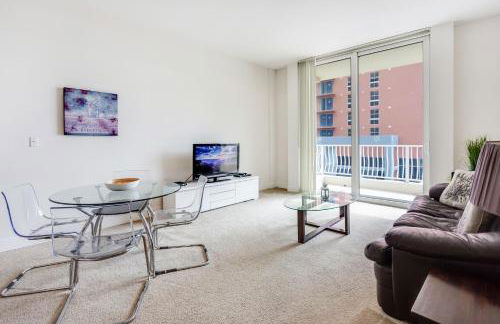

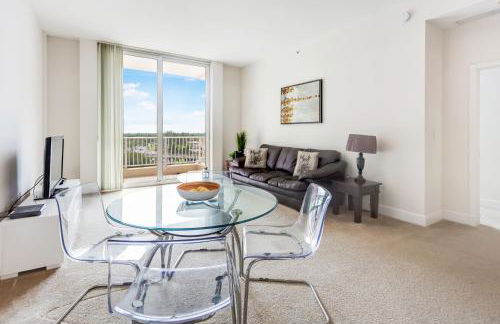

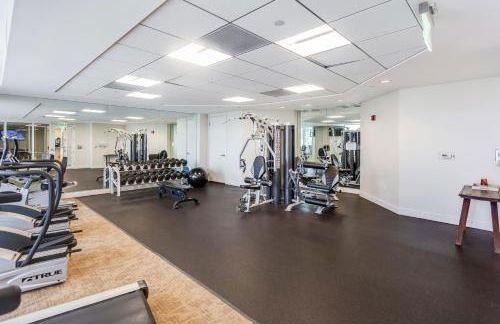


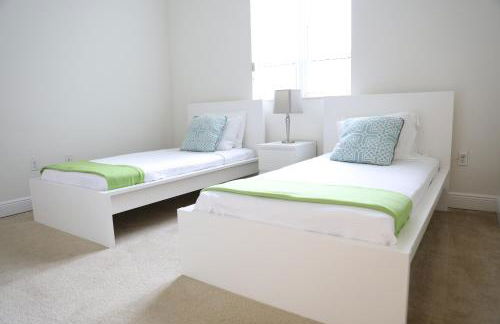


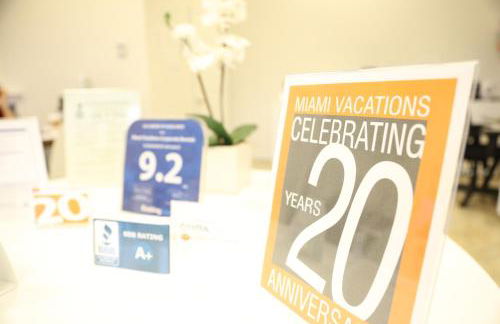


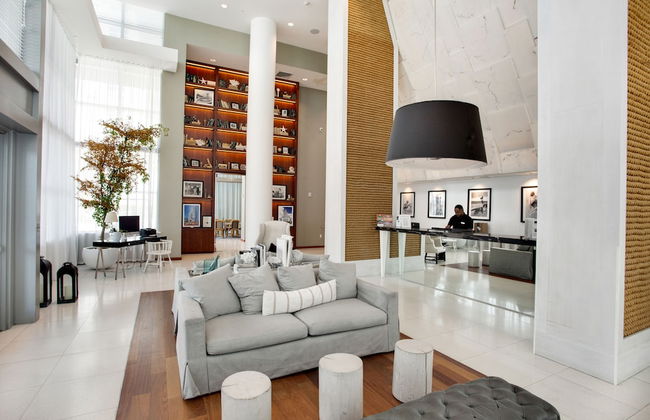
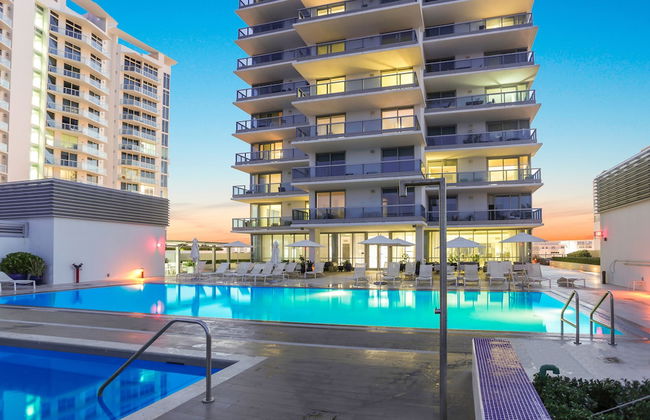
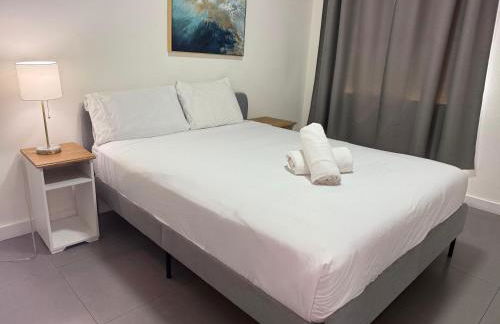
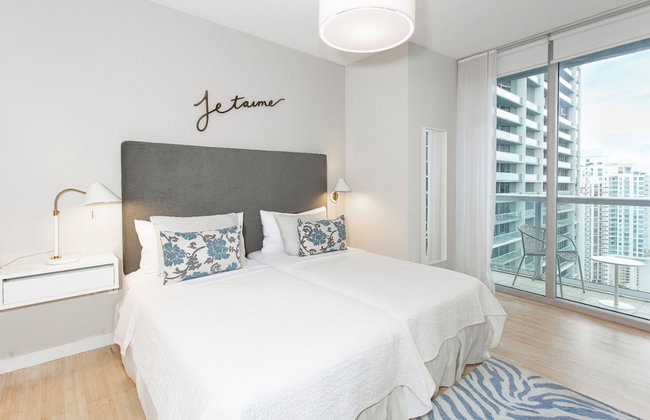
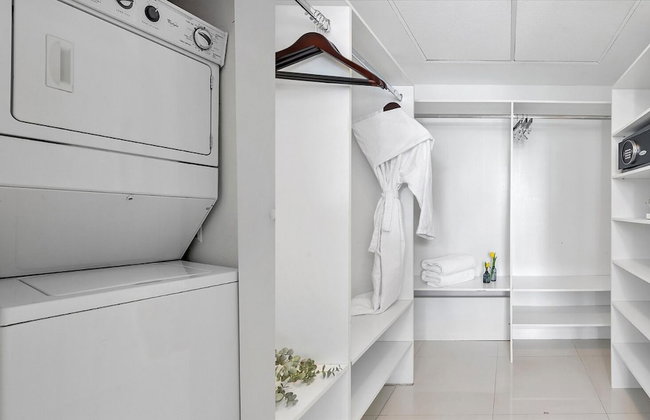
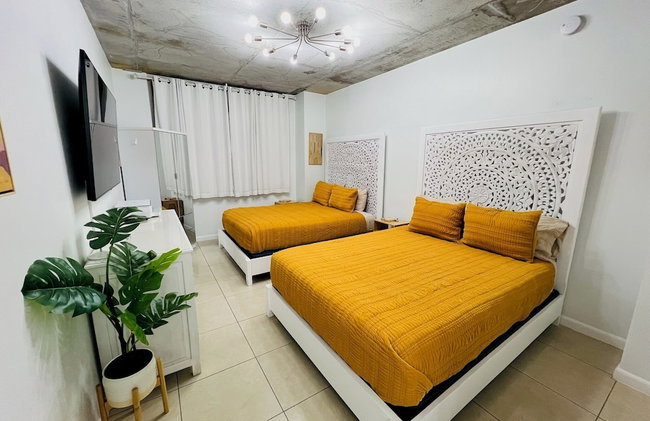
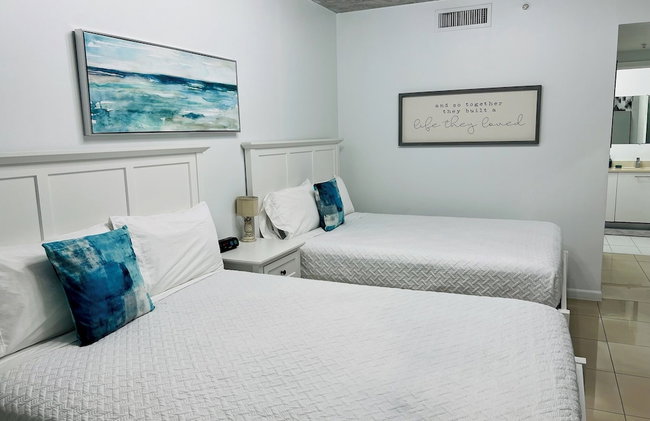
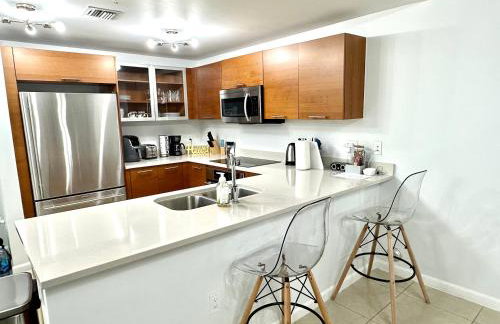
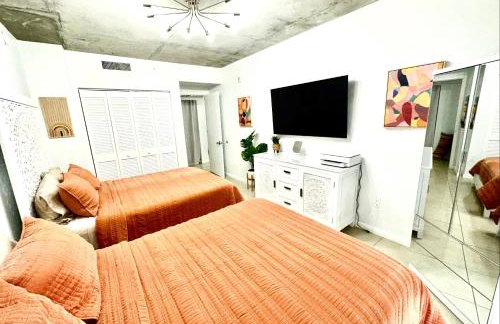
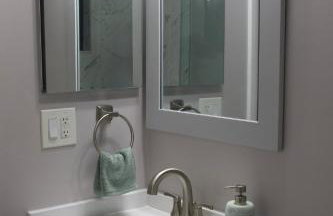
Towers of Dadeland by Miami Vacations
Miami - Glenvar Heights - 13.7 km do centro
- 102 M2
- 2 quartos
- 6 pessoas
- Ar-condicionado
- Aquecimento
- Terraço
- Piscina
- Estacionamento
- Elevador
- Varanda
- Tv
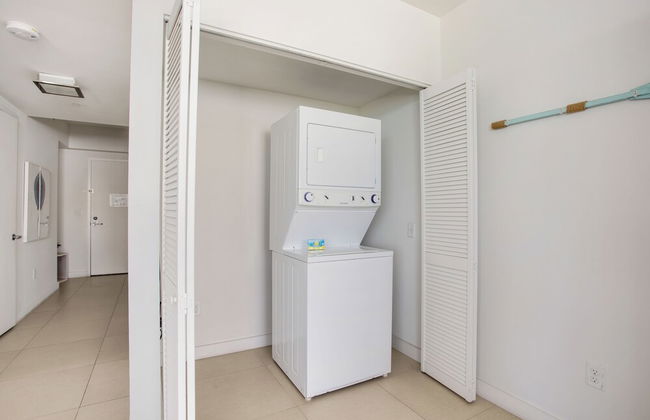
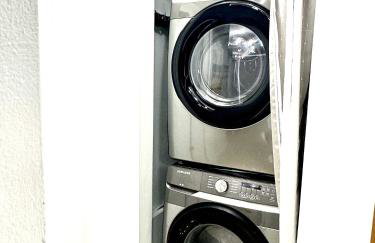
- Máquina de lavar roupa
- Toalhas
- Lençóis


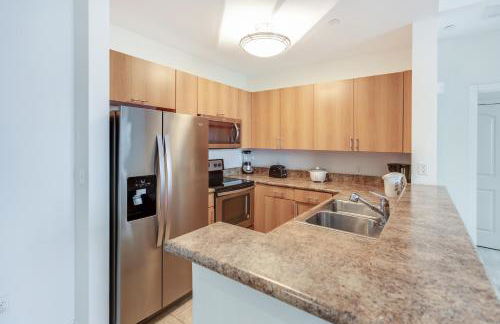
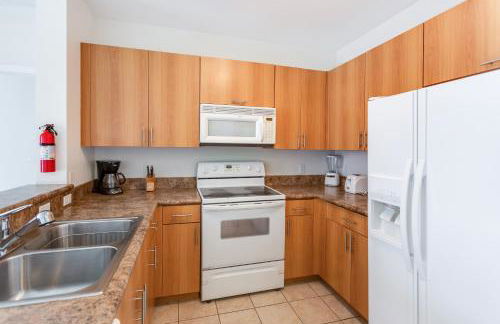
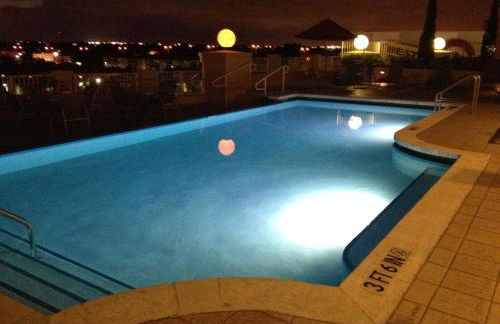
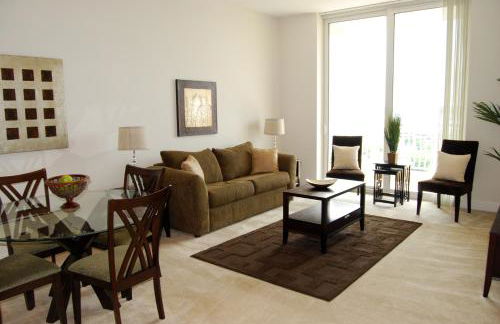
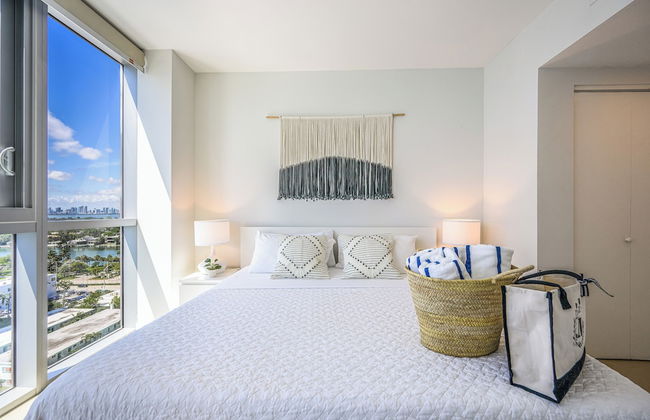
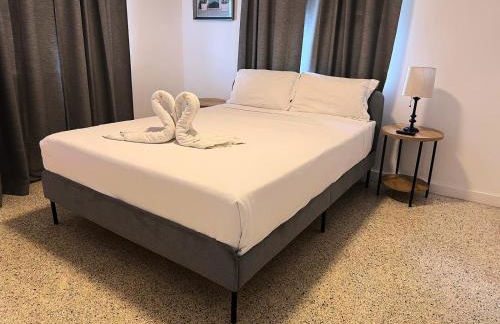
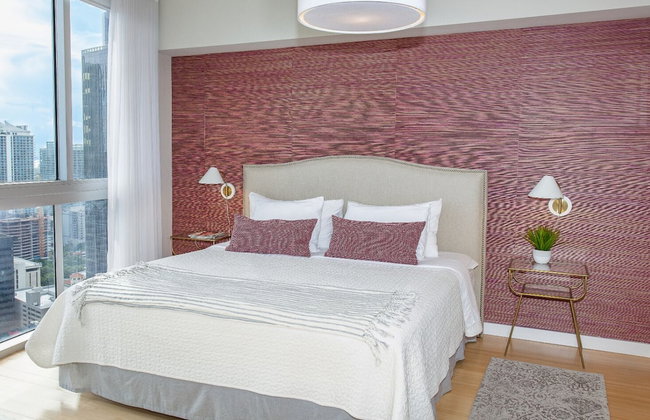
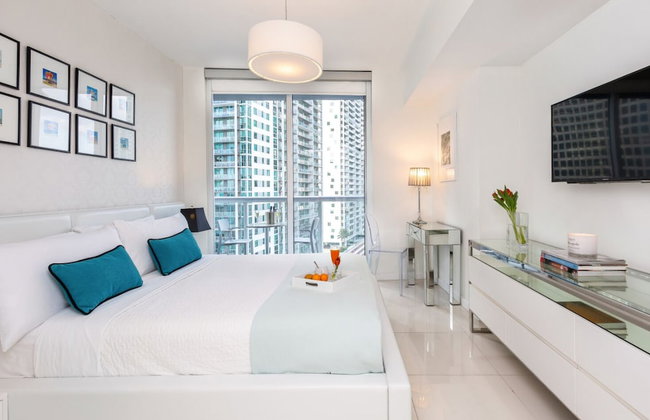
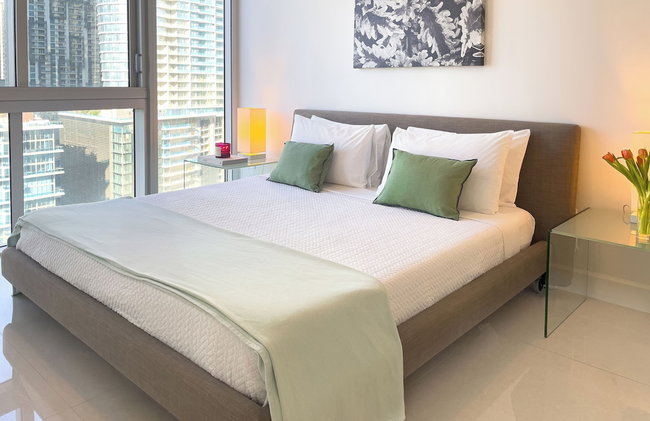
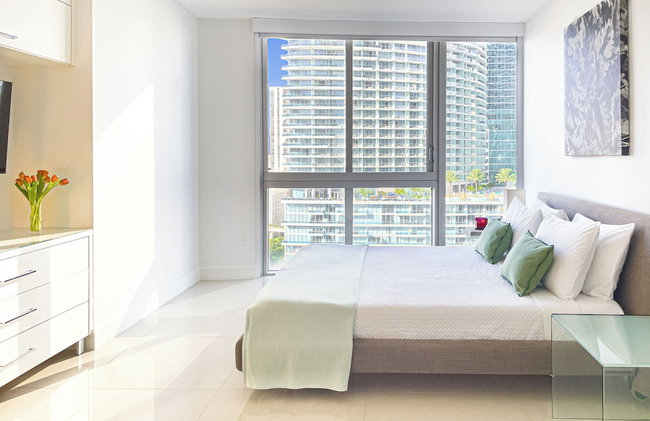
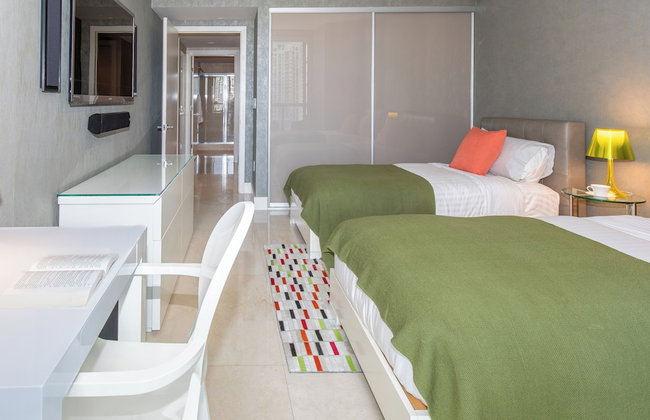
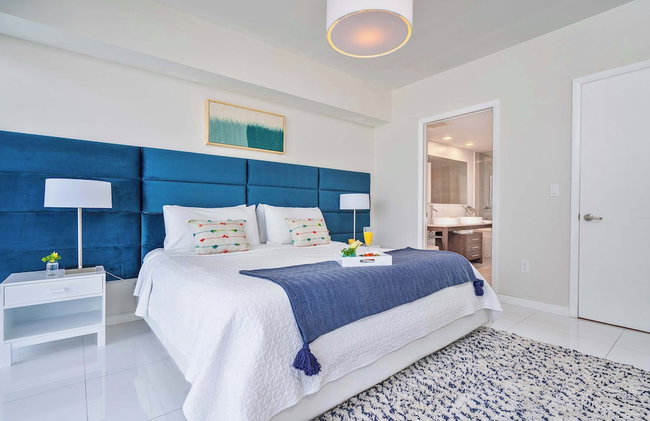
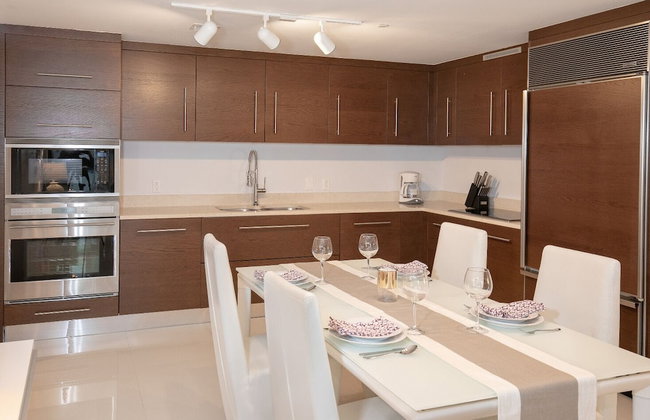
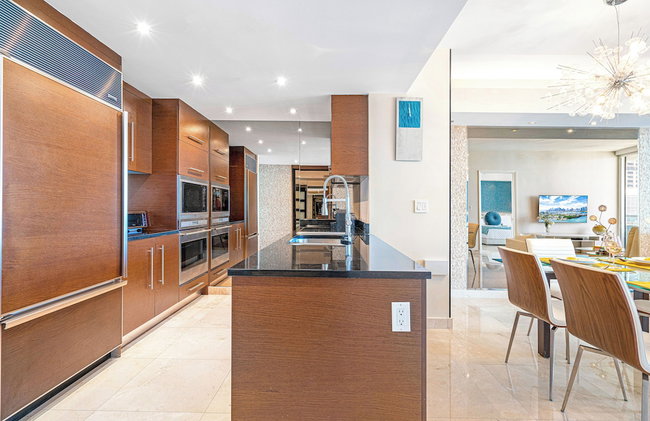
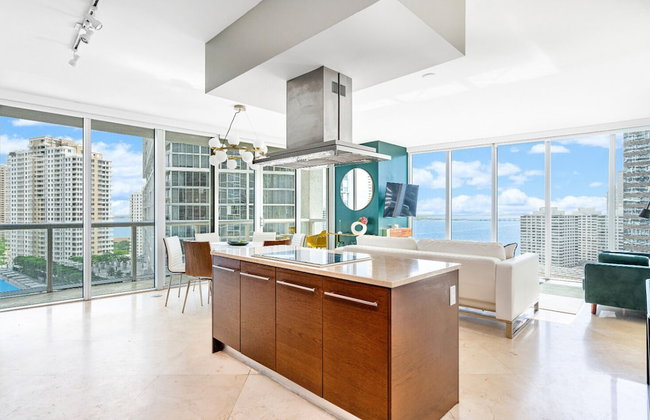
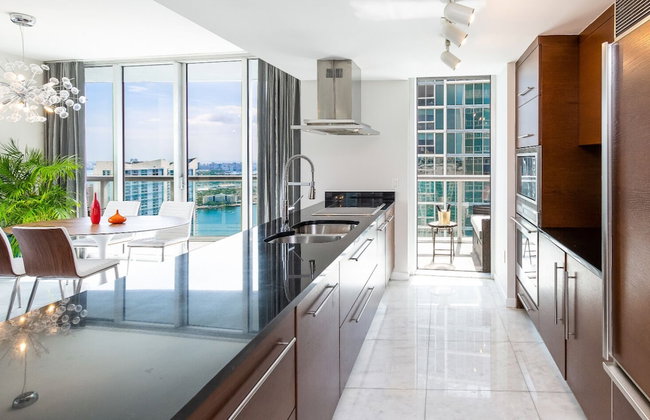
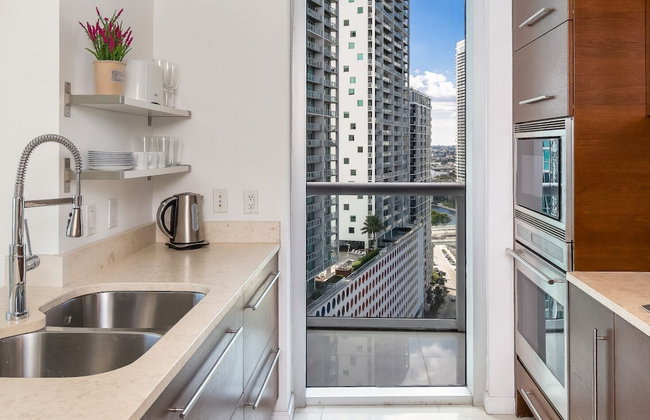
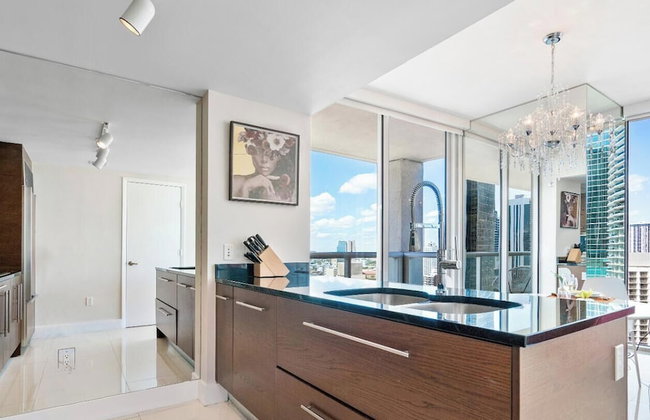
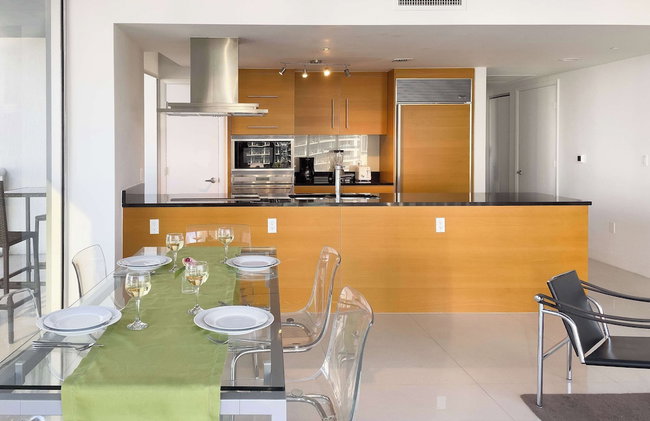
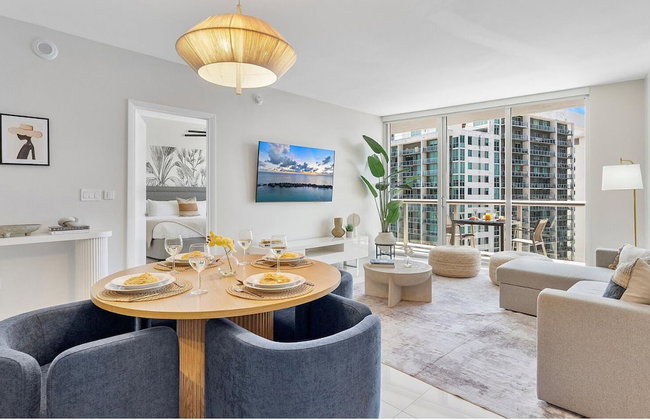
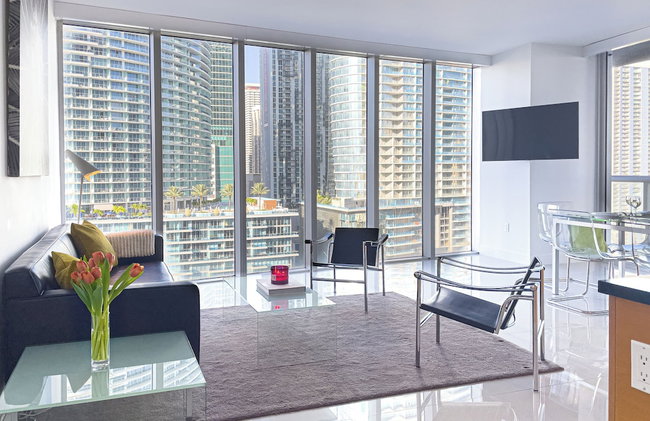
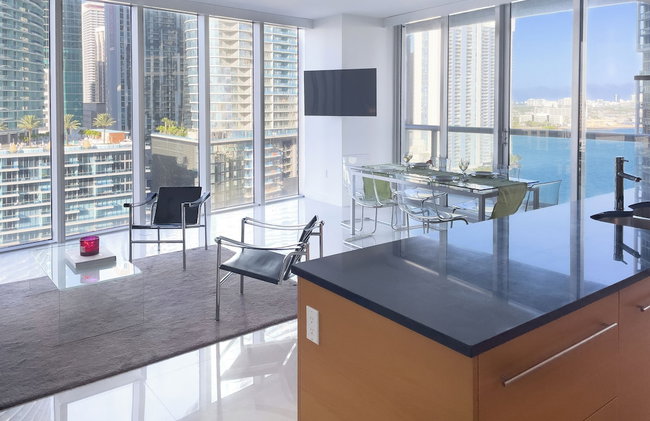
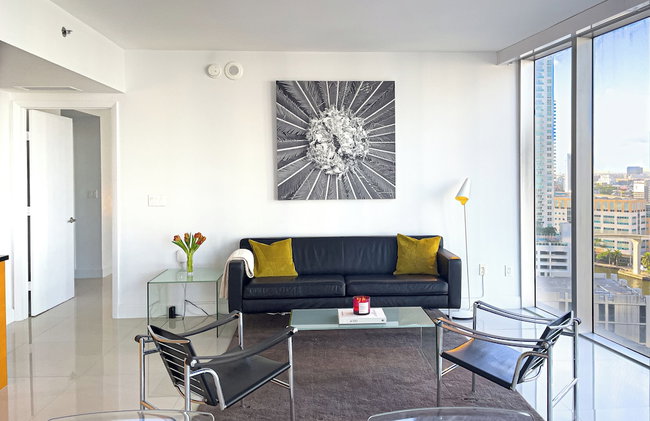
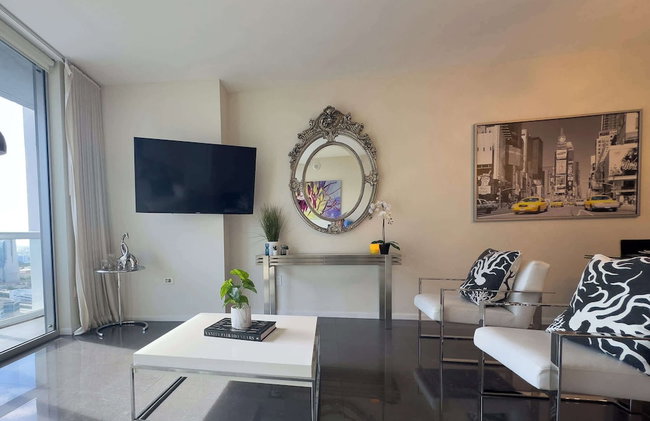
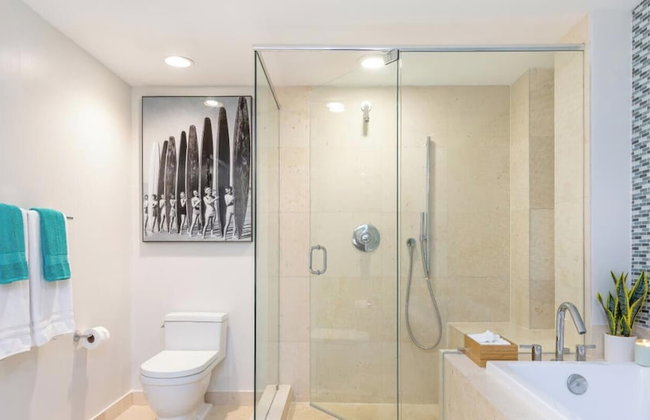
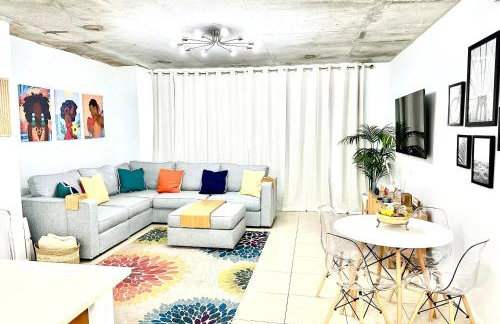
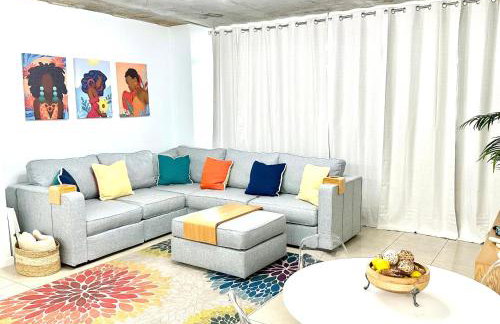
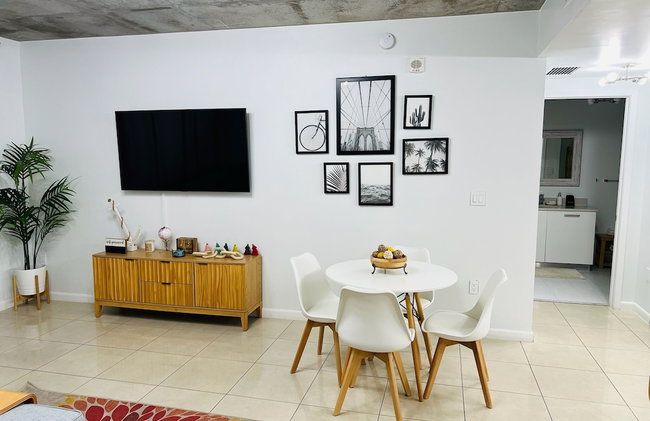
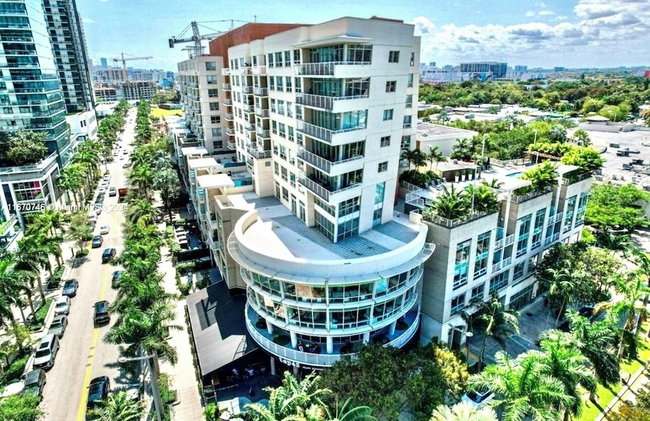
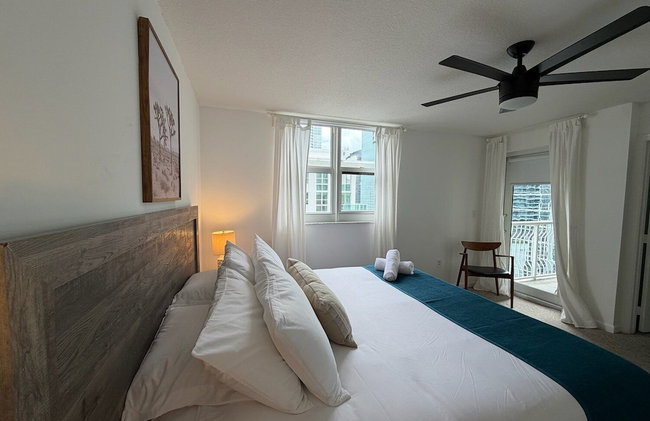
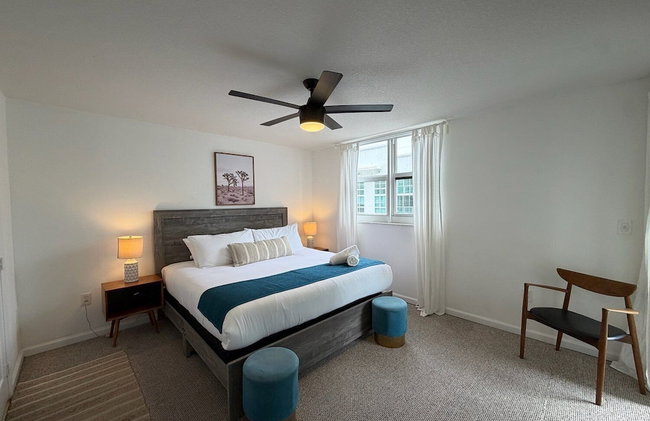
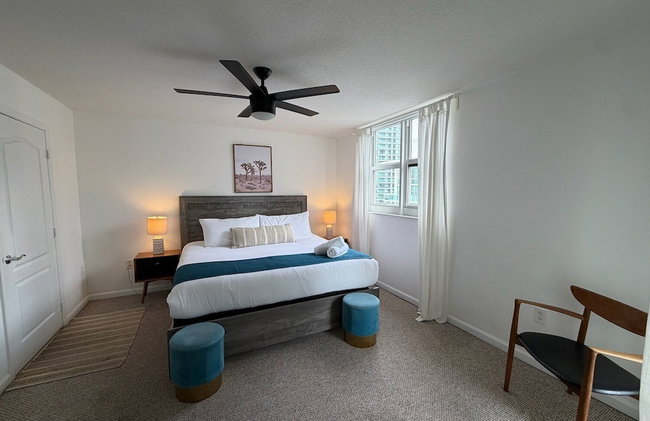
Luxurious 3BR Condo with Pool in Brickell
Miami - Downtown Miami - 1.1 km do centro
- 114 M2
- 3 quartos
- 9 pessoas
- Ar-condicionado
- Terraço
- Piscina
- Estacionamento
- Elevador
- Varanda
- Jardim
- Tv
- Máquina de lavar roupa
- Toalhas
- Lençóis


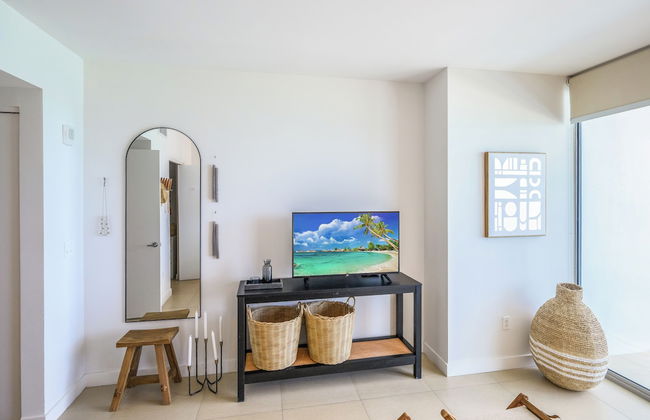
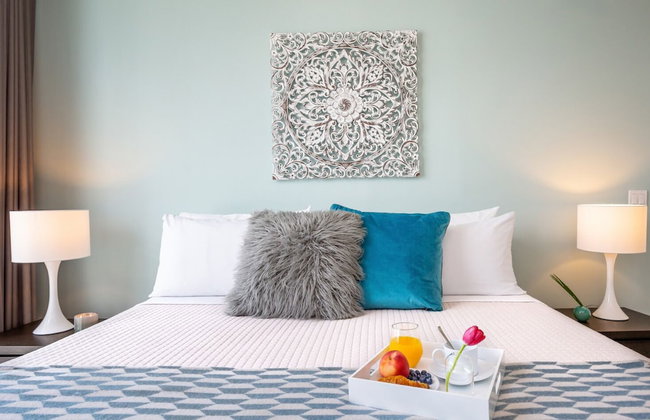
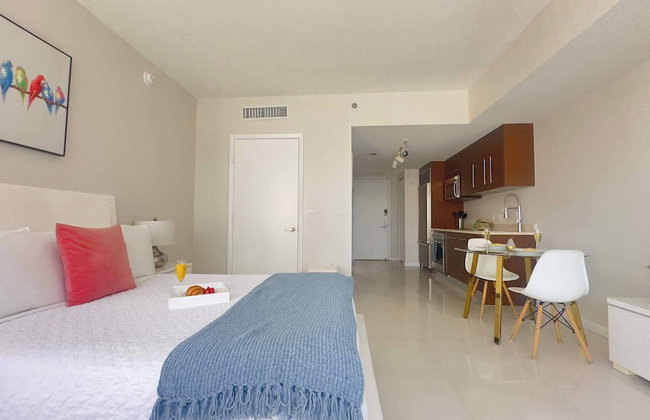
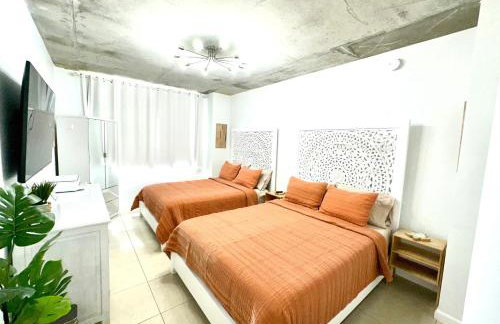
Lofts of Aventura
Miami - 20.1 km do centro
- 92 M2
- 1 quarto
- 6 pessoas
- Ar-condicionado
- Aquecimento
- Piscina
- Estacionamento
- Elevador
- Tv
- Máquina de lavar roupa
- Churrasco
- Toalhas
- Lençóis


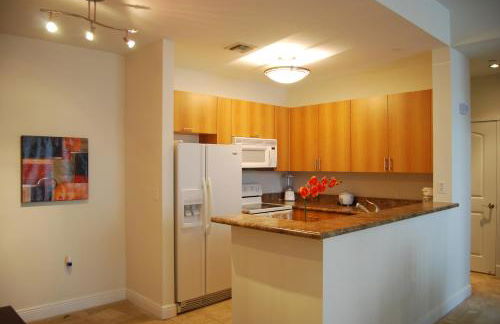
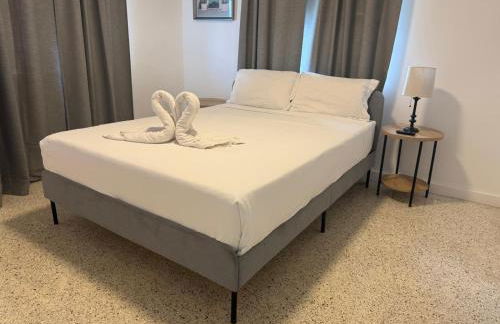
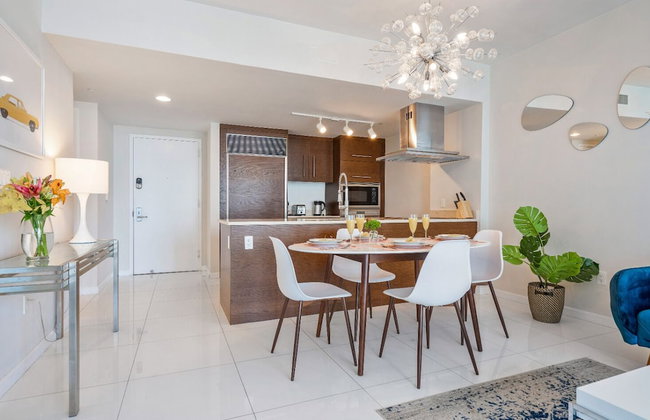
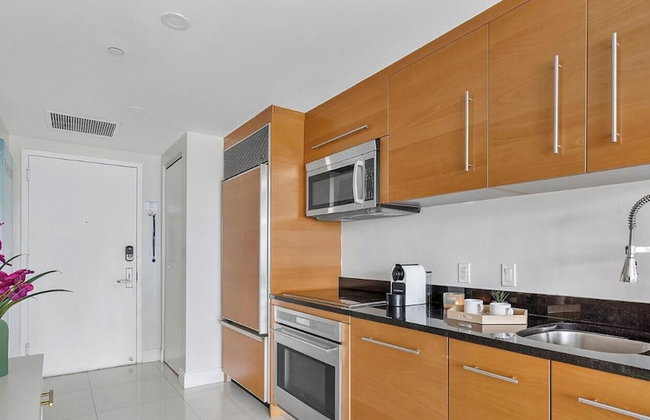
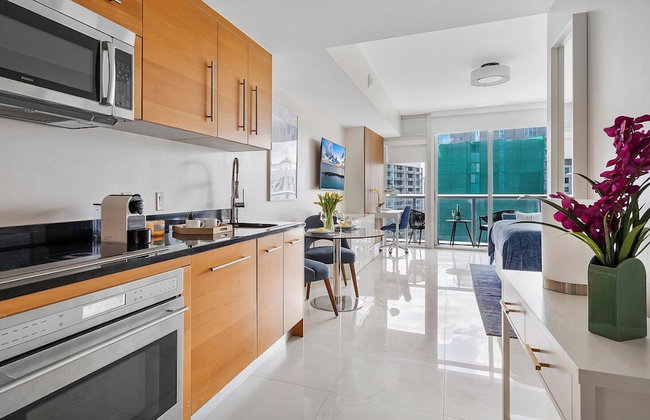
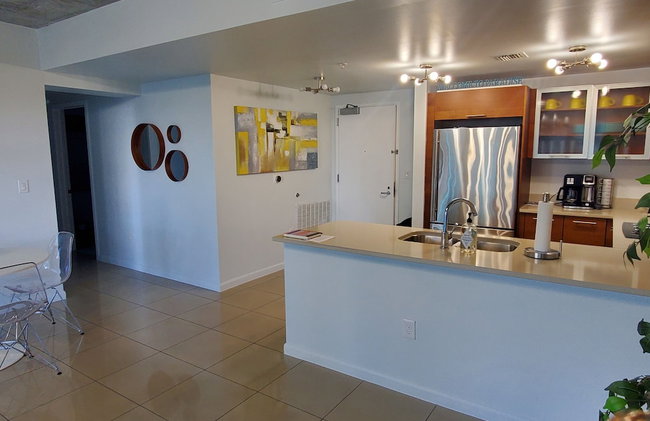
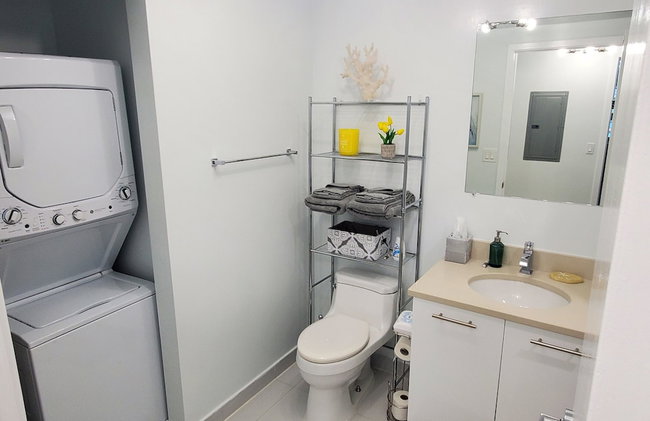
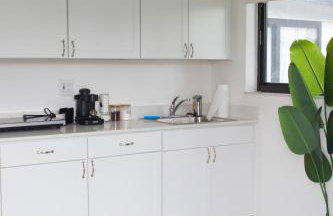
Miami Luxury Executive Apartment
Miami - Downtown Miami - 1.2 km do centro
- 2 pessoas
- Kitchenette
- Piscina
- Estacionamento
- Máquina de lavar roupa


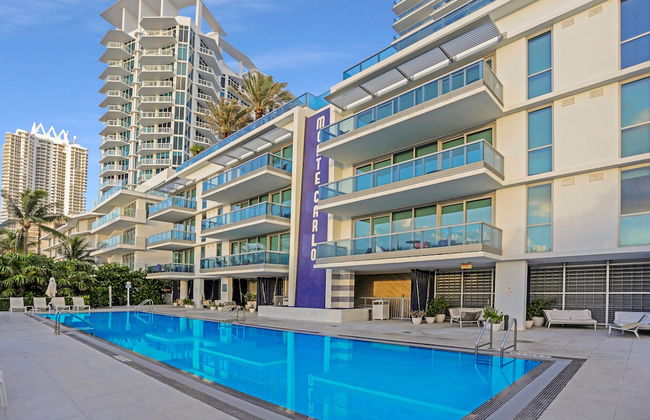


Monte Carlo by Miami Vacations
Miami - North Shores - 10.8 km do centro
- 69 M2
- 1 quarto
- 4 pessoas
- Ar-condicionado
- Aquecimento
- Terraço
- Piscina
- Estacionamento
- Elevador
- Varanda
- Jardim
- Tv
- Máquina de lavar roupa
- Toalhas
- Lençóis


Prime Location Apt on Calle Ocho in Little Havana
Miami - East Little Havana - 1.3 km do centro
- 118 M2
- 1 quarto
- 6 pessoas
- Ar-condicionado
- Terraço
- Estacionamento
- Tv
- Toalhas
- Lençóis


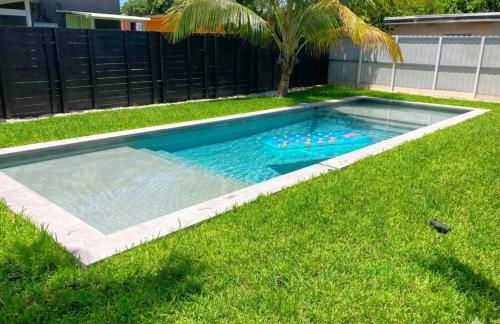


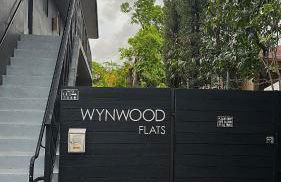


Wynwood Bungalows By Renzzi
Miami - Allapattah - 2.7 km do centro
- 60 M2
- 2 quartos
- 4 pessoas
- Ar-condicionado
- Aquecimento
- Piscina
- Estacionamento
- Jardim
- Tv
- Toalhas
- Lençóis


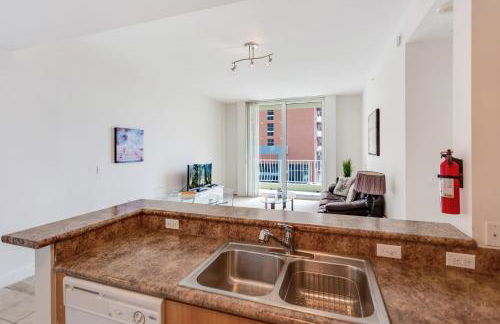
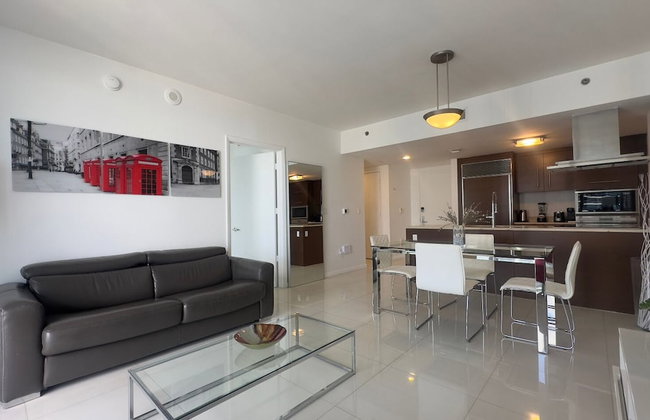
Amazing apartment in the Heart of Brickell
Miami - Downtown Miami - 1.1 km do centro
- 1 quarto
- 8 pessoas
- Ar-condicionado
- Terraço
- Piscina
- Estacionamento
- Elevador
- Jardim
- Tv
- Máquina de lavar roupa
- Toalhas
- Lençóis


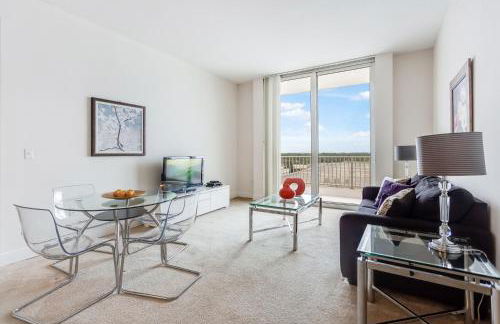
Miami Vacation Rentals - Brickell
Miami - Downtown Miami - 640 m do centro
- 129 M2
- 2 quartos
- 6 pessoas
- Ar-condicionado
- Terraço
- Piscina
- Estacionamento
- Elevador
- Jardim
- Tv
- Máquina de lavar roupa
- Toalhas
- Lençóis


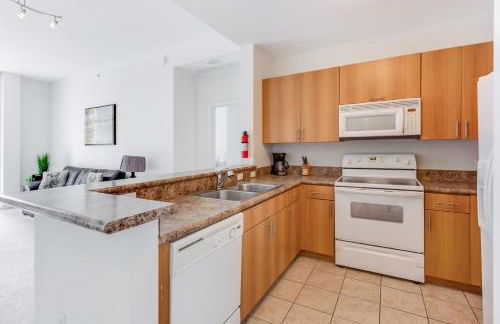
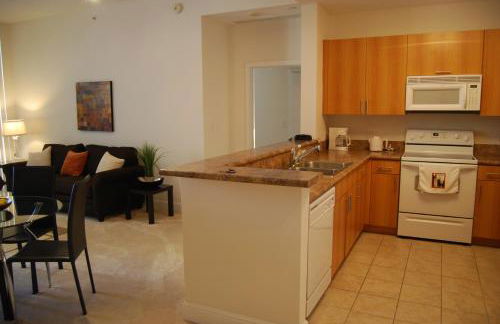
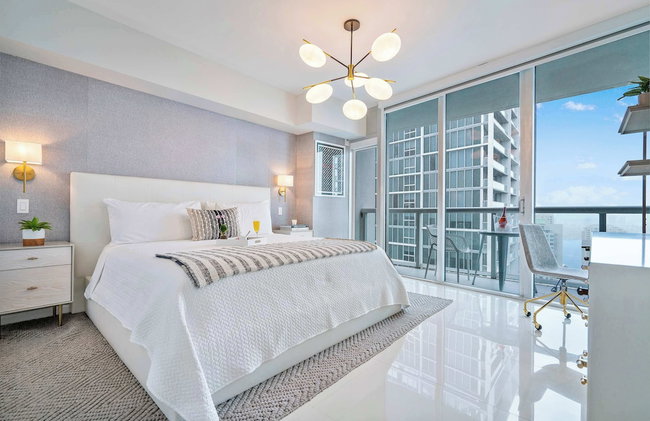
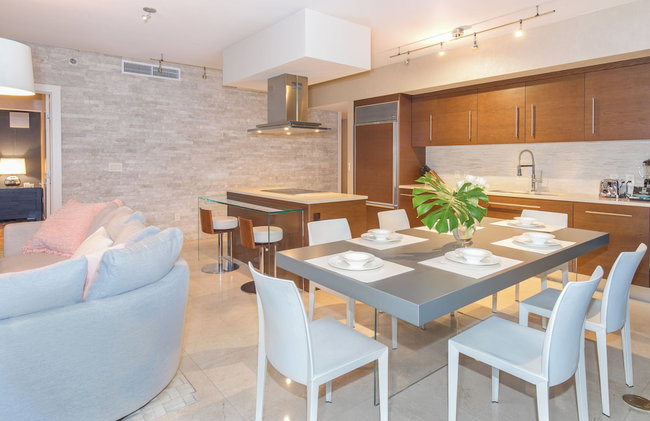
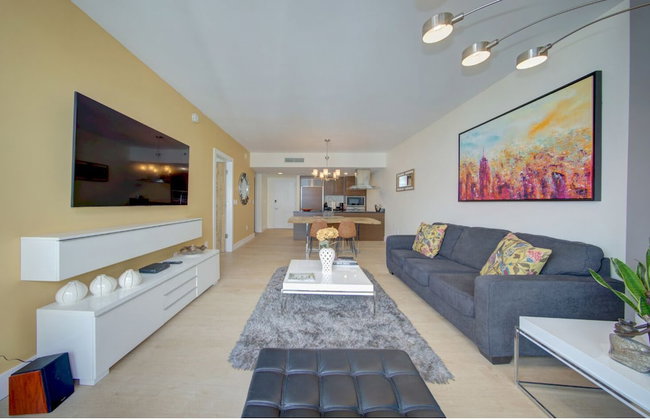
Fantastic 2BR Condo on 31st Floor Free Parking
Miami - Downtown Miami - 1.2 km do centro
- 96 M2
- 2 quartos
- 6 pessoas
- Ar-condicionado
- Terraço
- Piscina
- Estacionamento
- Elevador
- Varanda
- Jardim
- Tv
- Máquina de lavar roupa
- Toalhas
- Lençóis


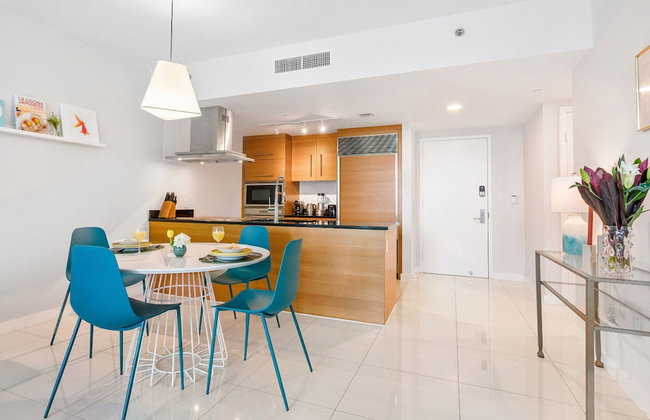
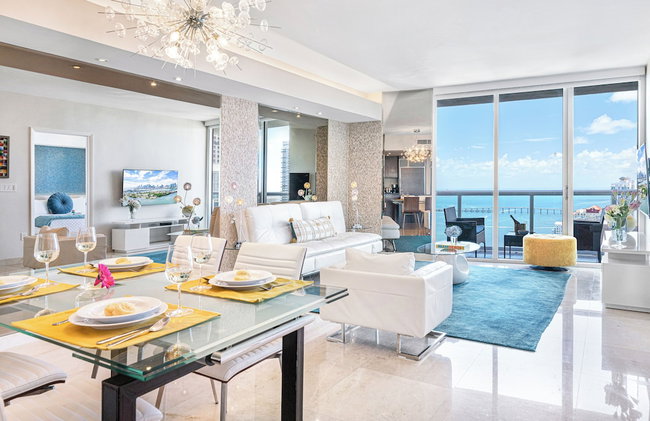
Downtown Miami 2Br 2Bath Oasis Bayside & Port of Miami Minutes Away
Miami - Downtown Miami - 380 m do centro
- 86 M2
- 1 quarto
- 5 pessoas
- Ar-condicionado
- Aquecimento
- Terraço
- Piscina
- Estacionamento
- Elevador
- Jardim
- Churrasco


Milan Aventura Hotel
Miami - 19.2 km do centro
- 79 M2
- 2 pessoas
- Kitchenette
- Ar-condicionado
- Estacionamento
- Elevador
- Varanda
- Tv
- Toalhas
- Lençóis


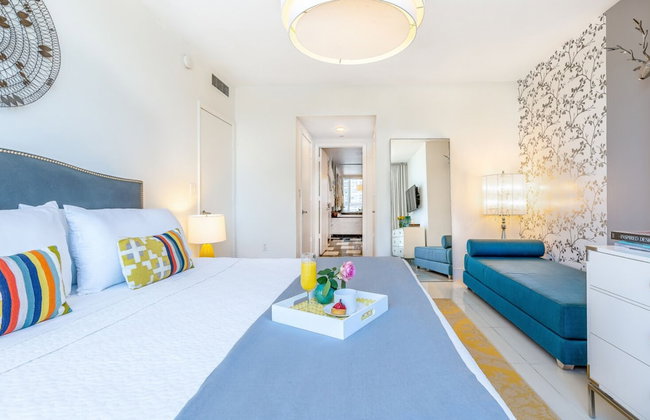
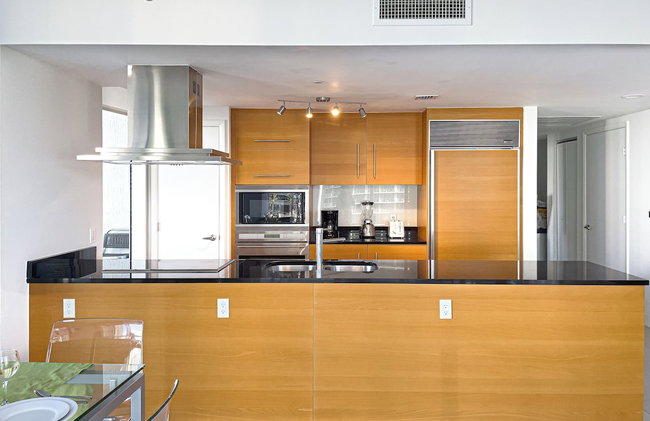
Beautiful 1BD 1BTH at Midblock FREE PARKING
Miami - Wynwood-Edgewater - 3.2 km do centro
- 111 M2
- 1 quarto
- 6 pessoas
- Ar-condicionado
- Aquecimento
- Terraço
- Piscina
- Estacionamento
- Elevador
- Tv
- Máquina de lavar roupa
- Toalhas
- Lençóis


The Boutique Guest House
Miami - Golden Glades - 13 km do centro
- 74 M2
- 1 quarto
- 4 pessoas
- Ar-condicionado
- Aquecimento
- Terraço
- Estacionamento
- Jardim


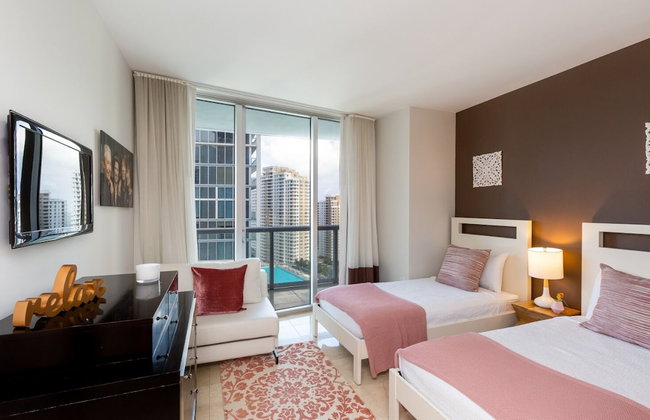
Churchill Suites Monte Carlo Miami Beach
Miami - North Shores - 10.9 km do centro
- 84 M2
- 1 quarto
- 5 pessoas
- Ar-condicionado
- Aquecimento
- Terraço
- Piscina
- Estacionamento
- Elevador
- Varanda
- Jardim
- Tv
- Máquina de lavar roupa
- Toalhas
- Lençóis

World Cup Studio near Hard Rock Stadium
Miami - 16.9 km do centro
- 65 M2
- 2 pessoas
- Ar-condicionado
- Terraço
- Estacionamento


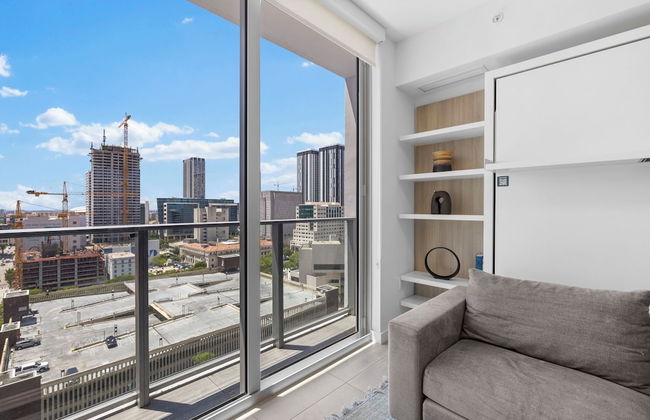


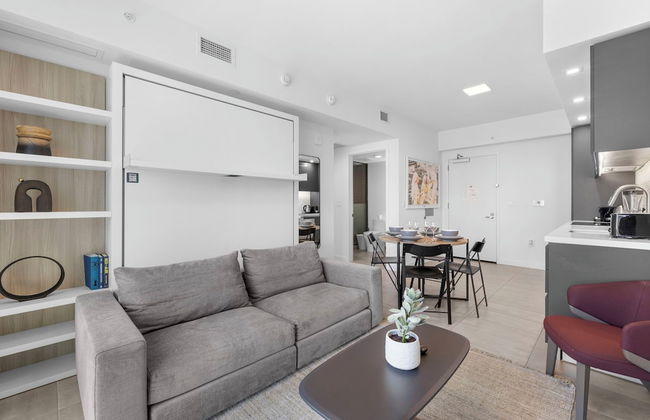


Amazing Apartments with city Views
Miami - Downtown Miami - 320 m do centro
- 41 M2
- 4 pessoas
- Ar-condicionado
- Terraço
- Piscina
- Tv
- Máquina de lavar roupa
- Toalhas
- Lençóis


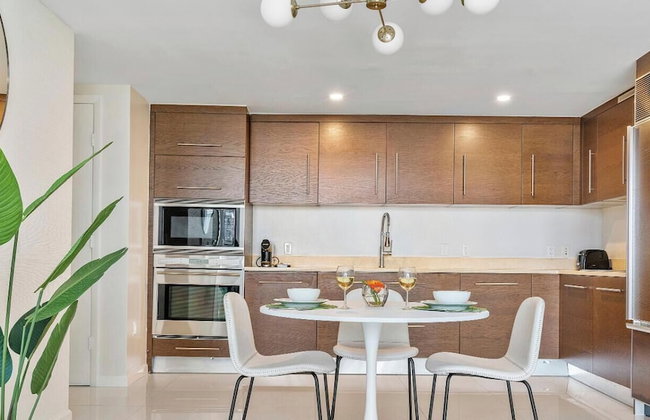
Modern Condos Located in Brickell
Miami - Downtown Miami - 1.1 km do centro
- 114 M2
- 9 pessoas
- Ar-condicionado
- Piscina
- Estacionamento
- Elevador
- Varanda
- Tv
- Máquina de lavar roupa
- Toalhas
- Lençóis


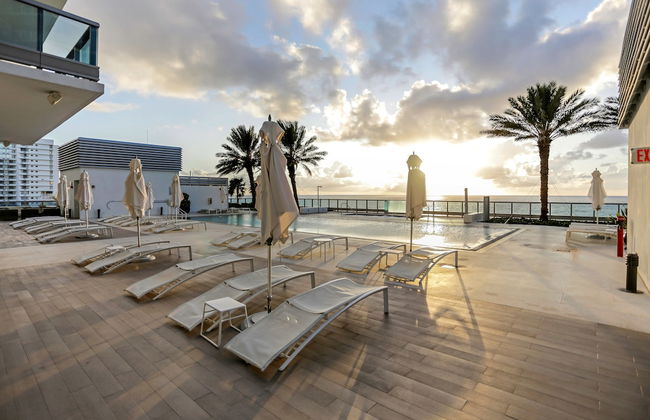
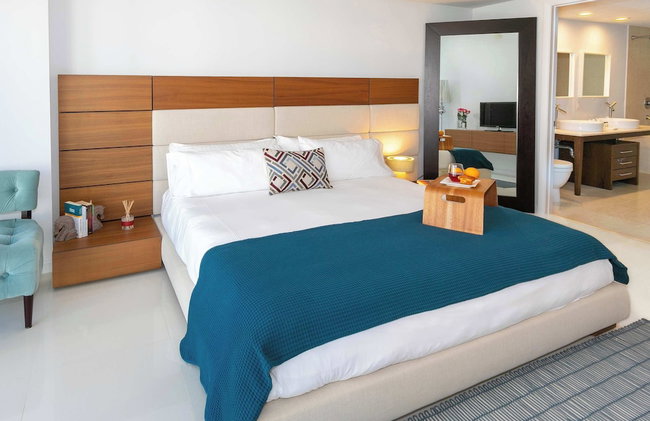
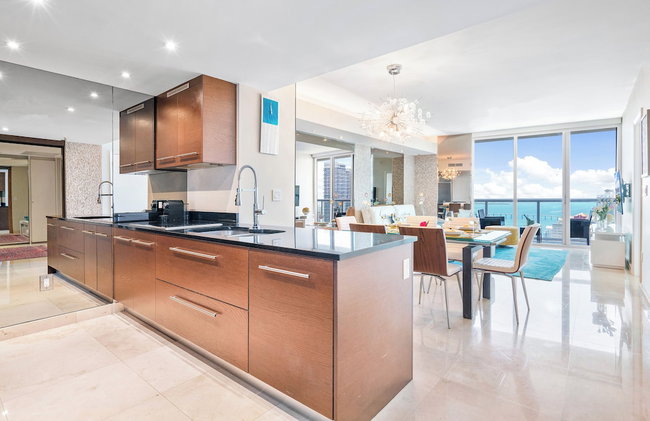
1 Hotel & Homes Miami Beach Oceanfront Residence Suites By Joe Semary
Miami - Oceanfront - 7.1 km do centro
- 89 M2
- 1 quarto
- 4 pessoas
- Ar-condicionado
- Aquecimento
- Terraço
- Piscina
- Estacionamento
- Elevador
- Jardim
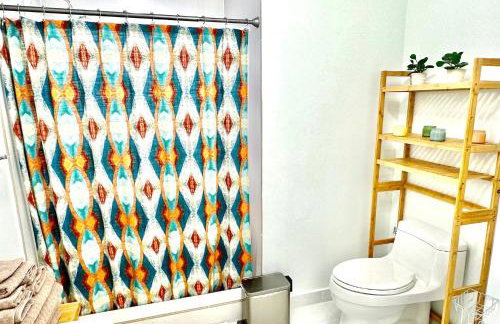
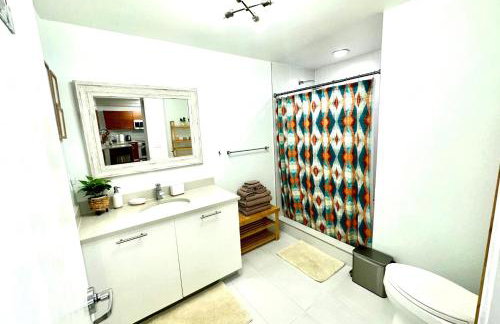
Apartamentos em Miami Beach -- Alugueres Económicos
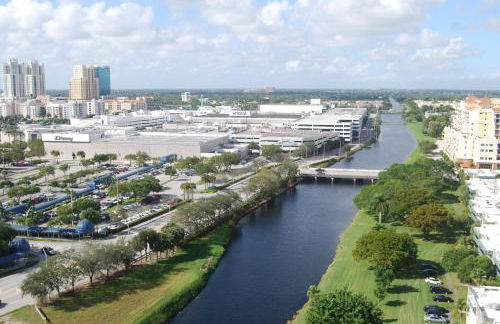
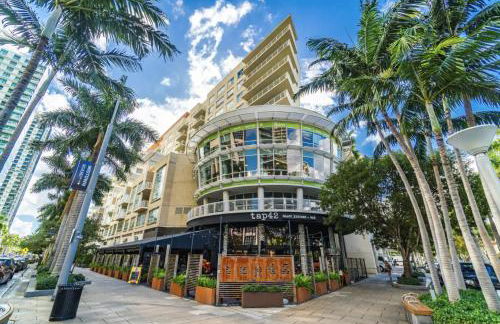
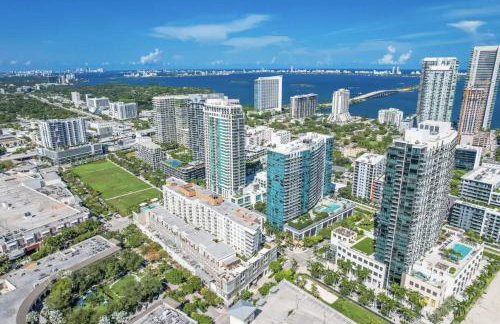
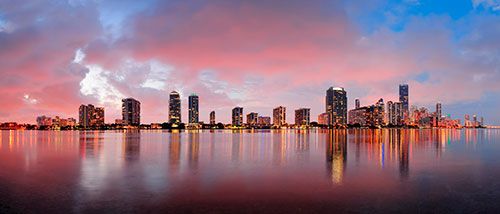
Miami é a personificação do glamour. Vista da superfície, é uma cidade preenchida com arquitetura sofisticada, lojas de alta qualidade, bares clássicos e galerias white cube em todas as esquinas. Até as pessoas pingam glamour, com locais correndo de um ponto para outro e homens de negócio inteligentemente vestidos a comandar. Mas vá um pouco mais fundo e irá descobrir uma cidade cheia de personalidade, com panoramas de todas as zonas do mundo. Pode encontrar uma coleção de livros dentro de um armazém renovado, uma noite de Karaoke espanhol no bar local ou um mercado cheio de curiosidades de Cuba e outras zonas. Tudo isto montado contra um avassalador cenário de fogosos pores-do-sol, águas calmas infinitas e uma praia que parece rodopiar para sempre. Sim, Miami é glamorosa, mas também é muito mais que isso. Os nossos apartamentos em Miami Beach vão ajudá-lo a desbloquear o charme da cidade, abrindo-lhe novos mundos diante de um pano de fundo perfeito.
Avenidas Rodeadas de Palmeiras e Ilhas Únicas -- O que fazer em Miami Beach
- Praia do Sul -- Afetuosamente conhecida por SoBe pelos locais, este bairro de Miami é um dos mais populares. Com uma longa extensão de areal e um monte de bares e restaurantes, é o local perfeito para acabar o dia.
- Ocean Line -- Esta avenida delineada por Palmeiras alonga-se pelo centro de Miami Beach e é preenchida por lojas de alta qualidade e cafés locais.
- Lincoln Road -- Situado no coração de Miami Beach, este centro comercial é um popular local de descontração entre turistas e locais.
- Wolfsonian-FIU -- Uma universidade internacional localizada a meio da bela zona Art Deco de Miami Beach. Para além de ser um local de estudos, também possui um museu, uma biblioteca e um centro de pesquisas bem estabelecido.
- Parque South Pointe -- Este parque urbano estende-se por cerca de 6,8 hectares, oferecendo-lhe uma fatia verdejante mesmo no meio do centro da cidade. É ótimo para piqueniques, passeios e para passar uma tarde rodeado pela natureza.
- Museu Judeu da Florida -- Encaixado em 2 edifícios belamente restaurados, este museu dá a conhecer a história do Judaísmo na Florida e arredores.
- Museu de Arte Bass -- Este popular museu de arte é dedicado à exposição de arte moderna e da Renaissance de todas as partes do mundo.
- Jardim Botânico de Miami Beach -- Renovado em 2011, este parque urbano de 1,5 hectares é caraterizado pelos seus jardins cuidados, cenário tranquilo e paisagens luxuosas.
- Centro de Convenções de Miami Beach -- Um ponto de encontro dentro de portas no coração de Miami Beach , anfitrião de vários eventos e conferências ao longo do ano.
- Star Island -- Esta exclusiva e glamorosa zona de South Beach (Praia do Sul), é localizada numa ilha feita pelo Homem na Baía Biscayne, e é lar de uma comunidade de mansões gigantescas.
- Hotel Clinton, Miami Beach -- Um hotel mundialmente famoso, conhecido pelas suas instalações de Spa de luxo e pelo seu design Art Deco.
- Belle Isle -- Repousando languidamente na Baía Biscayne, esta pequena ilhota é lar de uma variedade de apartamentos de luxo e pequenas mansões.
- Hibiscus Island -- Outra ilha situada na Baía Biscayne, a ilha Hibiscus é um remoinho de palmeiras e edifícios luxuosos.
- Greynolds Park -- A norte de Miami Beach, este enorme parque urbano estende-se por cerca de 107 hectares, numa exibição pitoresca e verdejante.
- Venetian Islands -- Uma coleção de ilhas feitas pelo Homem que relaxam na Baía Biscayne. São as anfitriãs de grandes arranha-céus e cenários contemporâneos.
- Memorial do Holocausto da Grande Federação Judaica de Miami -- Este memorial presta homenagem aos mortos da Segunda Guerra Mundial.
- San Marino Island -- Localizado na Baía Biscayne numa ilhota feita pelo Homem, San Marino é um bairro luxuoso.
- Allison Island -- Situada no meio do canal de Indian Creek, a ilha Allison faz parte do bairro La Gorce.
Nós temos uma variedade de apartamentos em Miami Beach que alcança todos os bairros e se encontra situado perto de todos os principais pontos de interesse. Assim, oferecemos-lhe várias perspetivas da cidade, dependendo do aspeto que pretenda explorar.
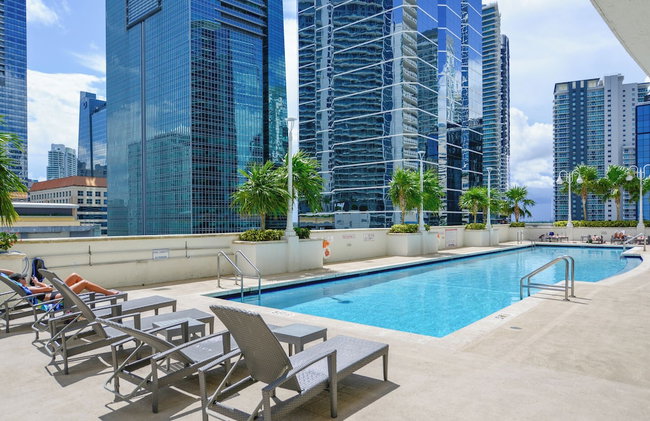
As Melhores Praias de Miami Beach
Miami Beach é famosa pelas suas longas extensões de costa arenosa, que são a maior atração para os turistas que visitam a área. Juntamente com as suas costas reluzentes, também existem várias praias do qual poderá desfrutar, todas elas com um cenário glamoroso de águas límpidas e arquitetura sofisticada.
Lummus Park, que se situa ao longo do Ocean Drive, é um dos pontos de encontro mais clássicos desta zona, e a sua vibrante atmosfera explode com os nativos amigáveis e reluzentes corpos de verão. Enquanto grande parte de Miami Beach é conhecida pelo seu cenário surf, Haulover Beach é provavelmente a melhor para um entusiasta de todos os desportos aquáticos, ao passo que o Oleta River State Park é reservado para uma experiencia mais relaxante, caraterizada por hordas de pescadores e velejadores sagazes. Para vistas incríveis, visite South Pointe Park, e não se esqueça de dar uma vista de olhos aos principais extensões de areia de Miami Beach, as praias North, Mid e South , cada uma das quais com a sua própria e viva personalidade, cafés e multidões de patinadores.
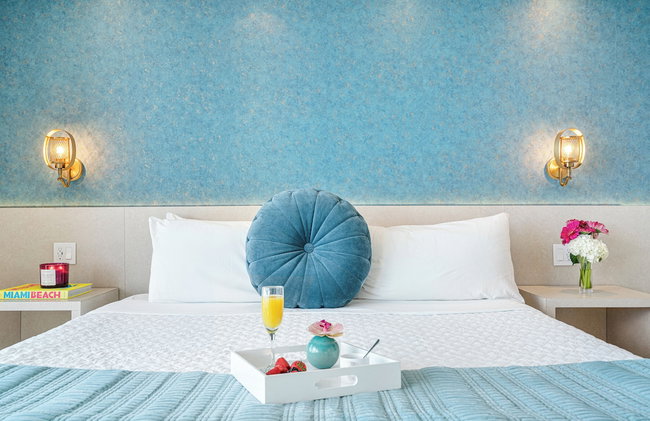
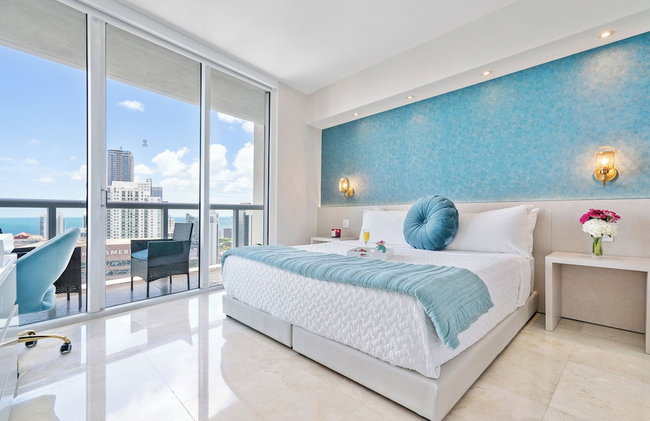
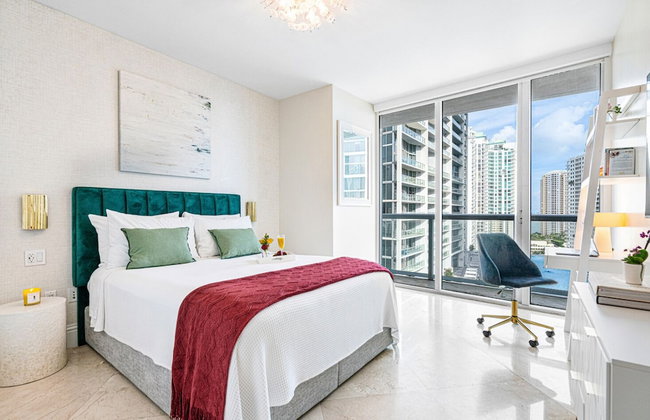
Alojamento em Miami Beach
Com praias de areia branca cheias de visitantes endinheirados e a influencia do estilo de vida das celebridades, Miami Beach é um destino popular para aqueles que procuram um local luxuoso para passar férias. Ao longo da vasta área, o alojamento em Miami Beach é oferecido na forma de hotéis arranha-céus que atendem a um público extravagante e de pequenos albergues íntimos que lhe oferecem uma maneira mais acessível de ver a cidade. Se o estilo de vida independente faz mais o seu género, então a seleção de apartamentos de férias são uma boa aposta de alojamento -- proporcionando-lhe uma experiência personalizada para esta estadia inesquecível.
Movimentar-se por Miami -- Transportes Públicos
Graças à sua enorme popularidade entre os turistas, Miami Beach possui uma grande variedade de serviços de transportes públicos eficientes que viajam pela cidade e ligam os nossos apartamentos aos principais pontos turísticos. Quer pretenda dirigir-se rapidamente de um local para outro ou explorar a cidade de uma perspetiva diferente, existe um tipo de transporte adequado aos seu desejos. O autocarro local de South Beach tem uma rota circular e oferece-lhe uma das melhores maneiras (e também mais barata) de visitar toda a área de South Beach. Alternativamente, poderá experimentar o novo serviço trolley que oferece aos visitantes uma maneira fácil e rápida de se movimentar de um lado para o outro. Este serviço é confiável e regular, e tem um orçamento económico que completa o sistema de transportes públicos que já ali existiam.
Juntamente com estes meios de transporte, que são geralmente os favoritos dos turistas que procuram ter uma visão da vida local, também pode apanhar um táxi facilmente na cidade. Os táxis aparecem a todos os virares de esquina e os preços são bastante razoáveis. Uma das melhores maneiras de explorar a área é andar a pé, dando-lhe uma grande oportunidade de explorar todos os buracos e arestas da região. Talvez até queira alugar uma bicicleta ou comprar um par de patins e misturar-se com os locais!