
6 Apartamentos em Piedmont Avenue


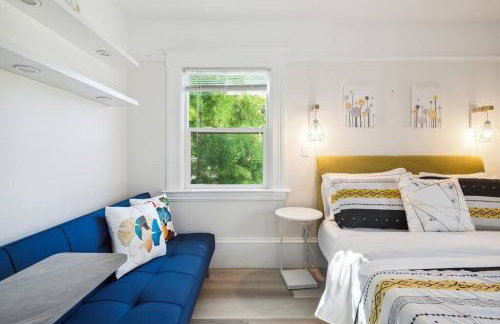
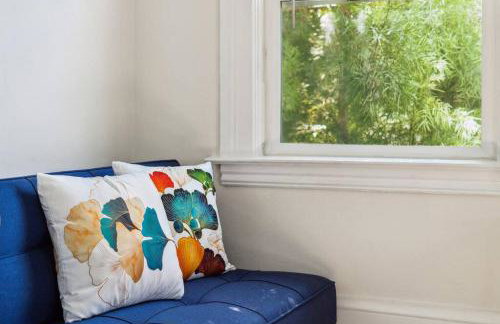
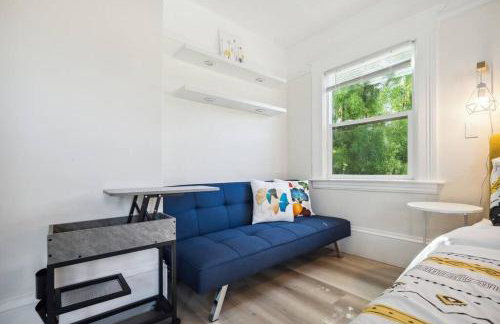
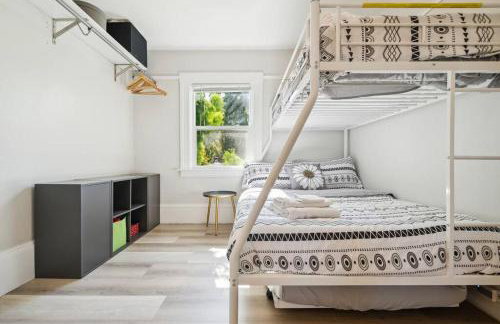
Tiny Living; Big Style
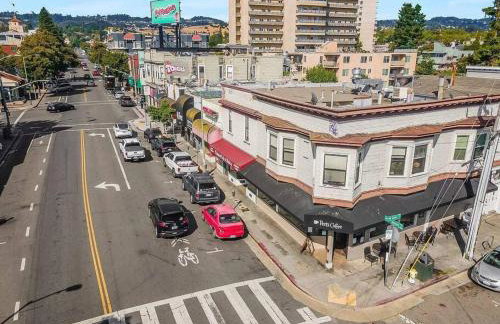
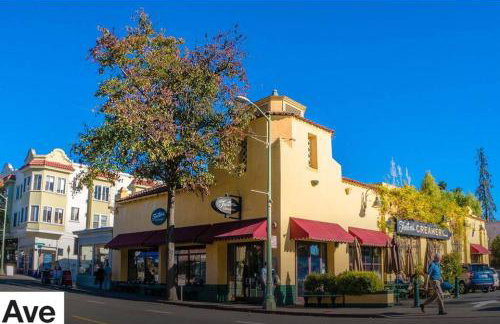
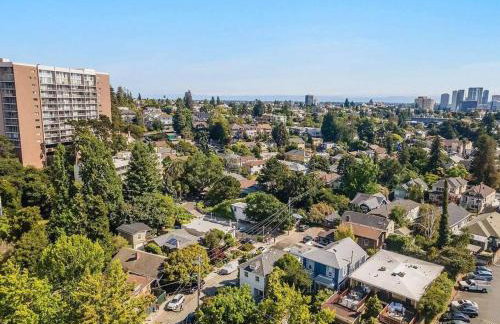
Oakland - Piedmont Avenue - 2.4 km do centro
- 15 M2
- 2 pessoas
- Ar-condicionado
- Aquecimento
- Terraço
- Jardim
2 avaliações

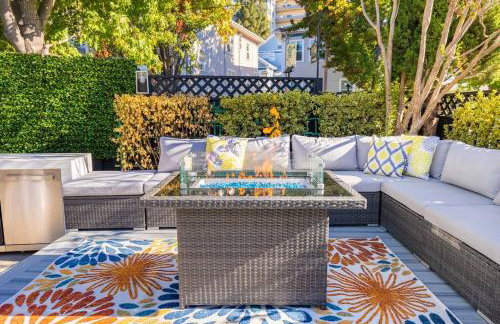


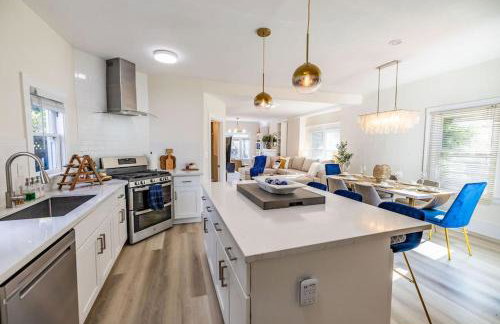


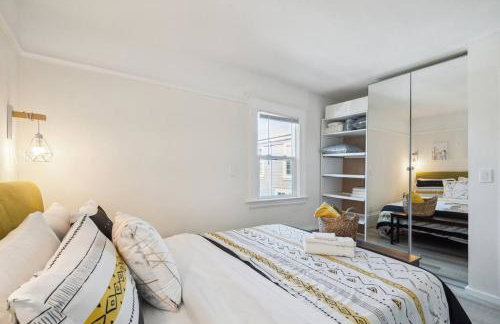


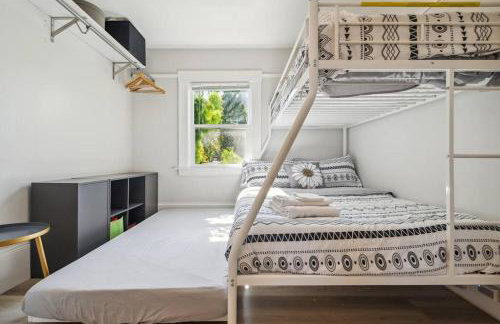


Luxury Living, Walkers Paradise, Hidden Oasis
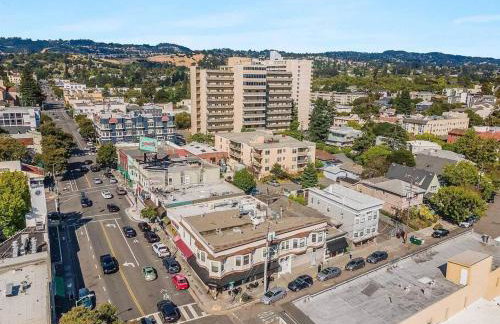
Oakland - Piedmont Avenue - 2.4 km do centro
- 149 M2
- 3 quartos
- 10 pessoas
- Aquecimento
- Terraço
- Estacionamento
- Jardim
- Churrasco
1 avaliação


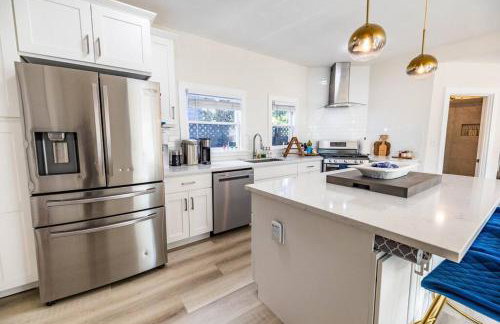
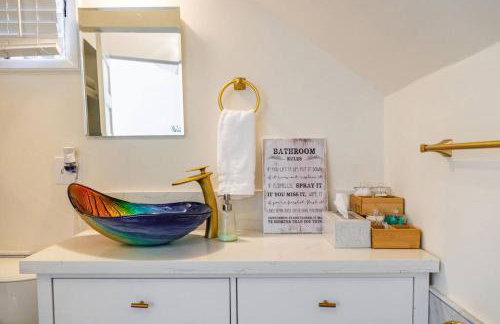
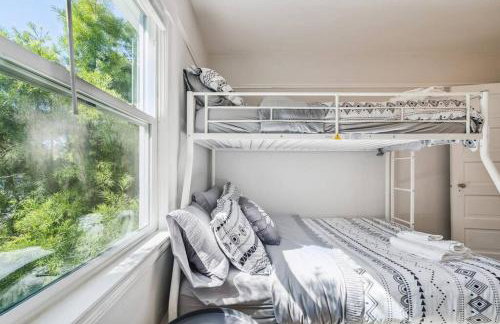
Piedmont Ave Gem
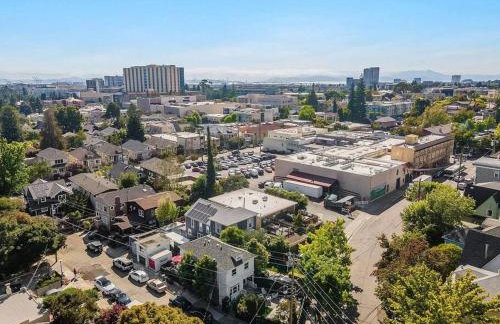
Oakland - Piedmont Avenue - 2.5 km do centro
- 93 M2
- 1 pessoa
- Ar-condicionado
- Terraço
1 avaliação


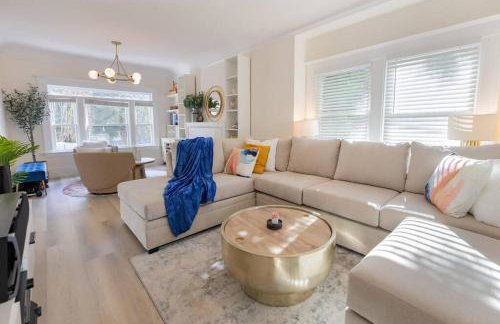
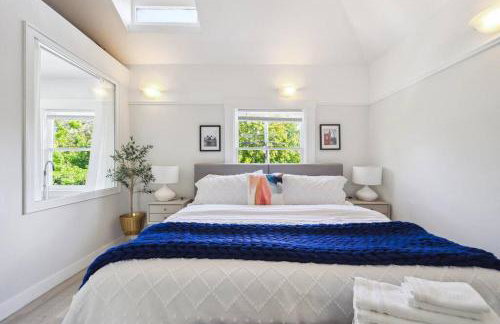
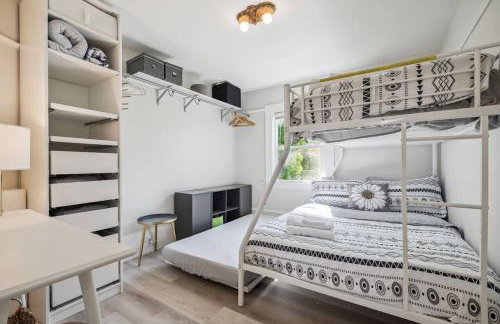
Piedmont Pied-à-terre
Oakland - Piedmont Avenue - 2.5 km do centro
- 46 M2
- 2 pessoas
- Ar-condicionado
- Aquecimento
- Terraço
1 avaliação

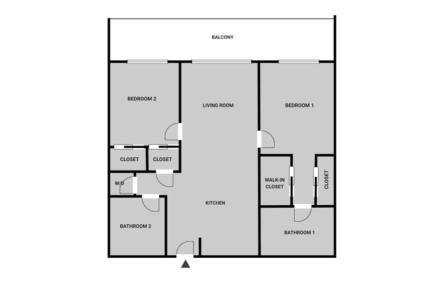


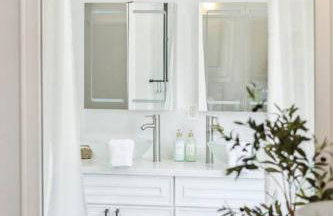
Blueground Oakland AC wd nr Mosswood Park SFO-1816
Oakland - Piedmont Avenue - 2 km do centro
- 105 M2
- 2 quartos
- 4 pessoas
- Ar-condicionado
- Aquecimento
- Elevador


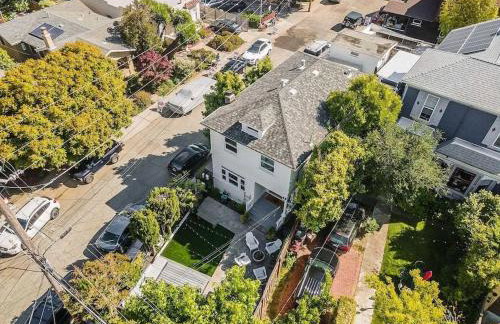
Luxury Retreat with Private Au Pair Suite
Oakland - Piedmont Avenue - 2.4 km do centro
- 149 M2
- 4 quartos
- 12 pessoas
- Aquecimento
- Terraço
- Estacionamento
- Jardim
- Churrasco