136 Apartamentos em Rockingham
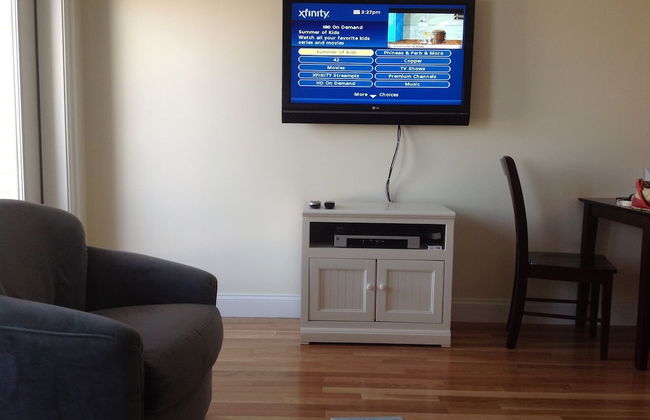
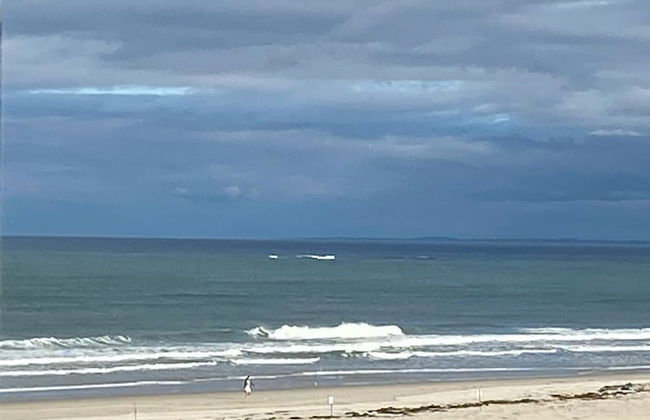
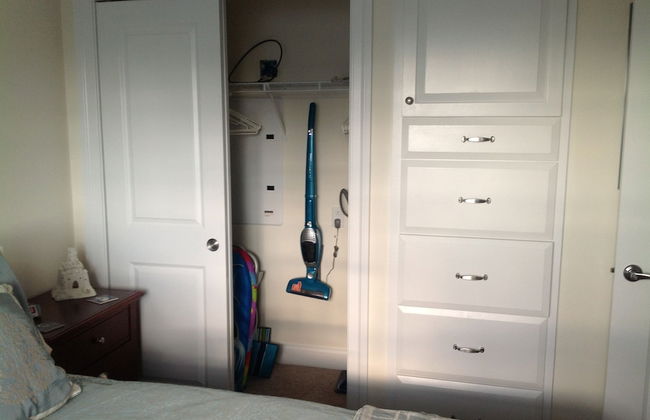
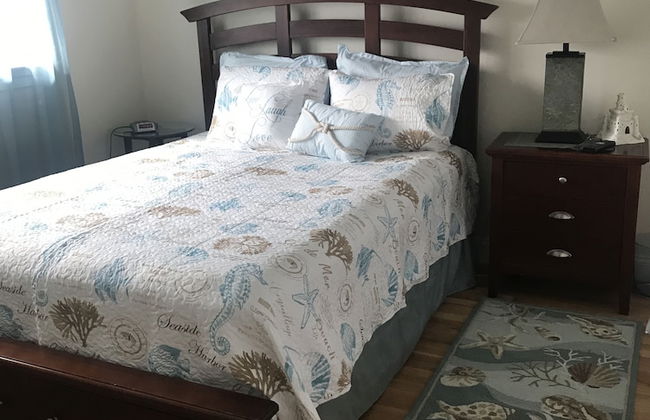
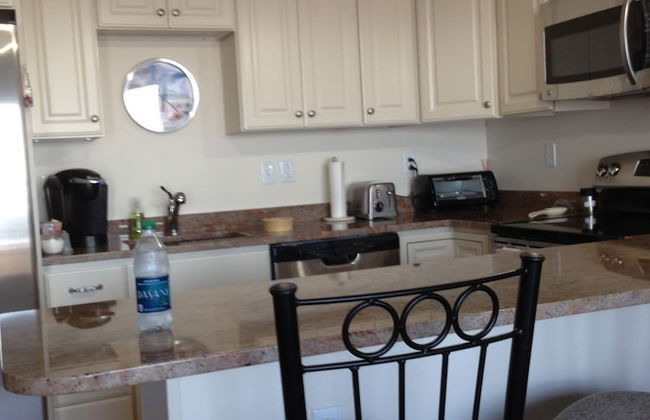
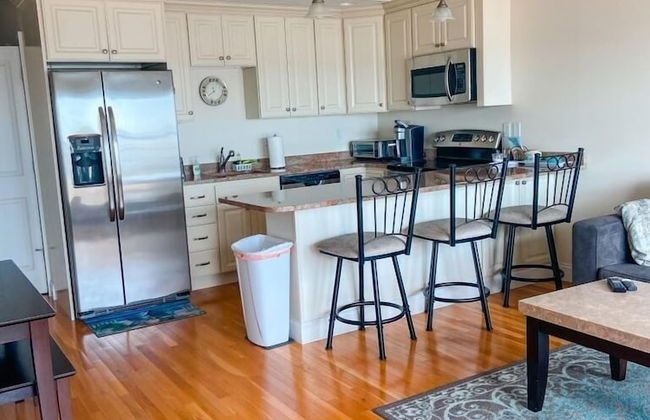
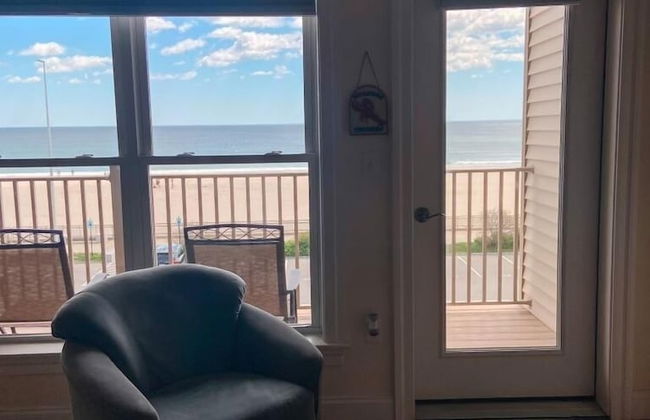
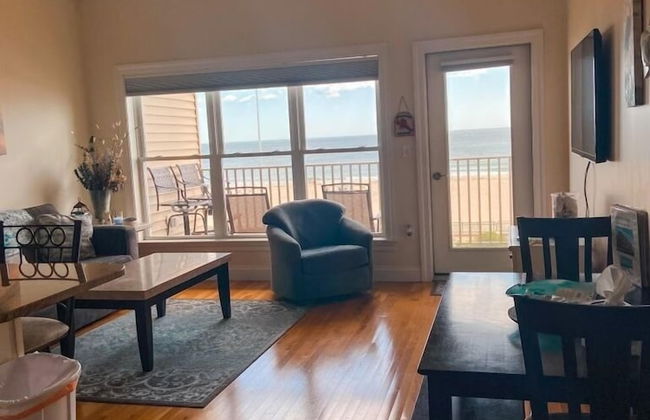
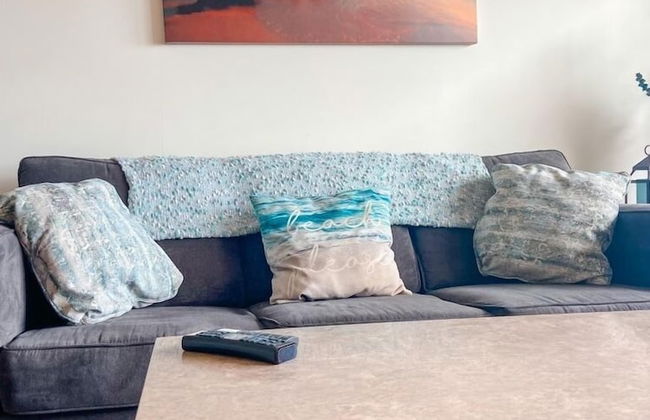
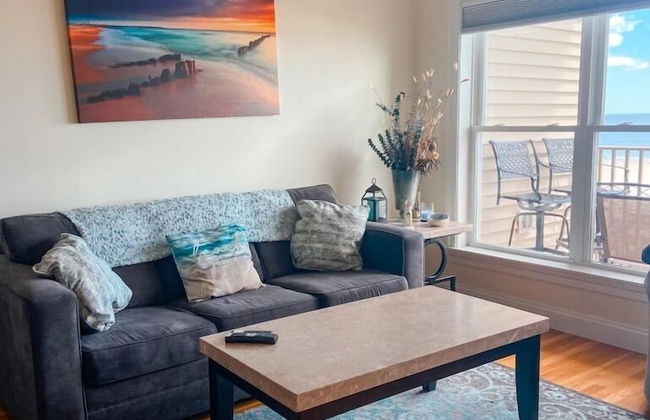
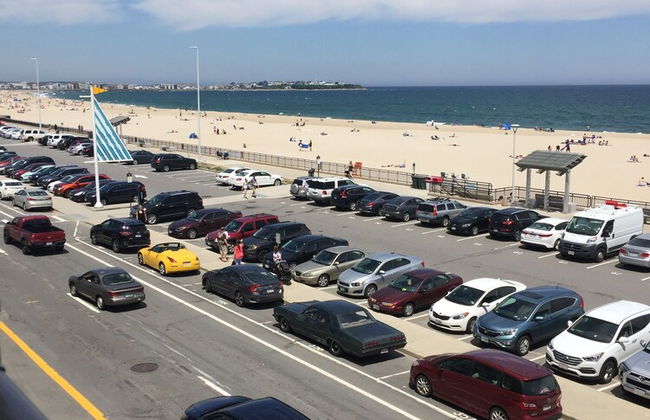
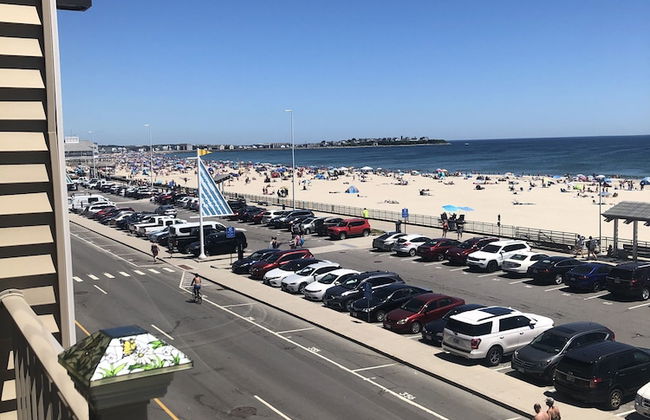
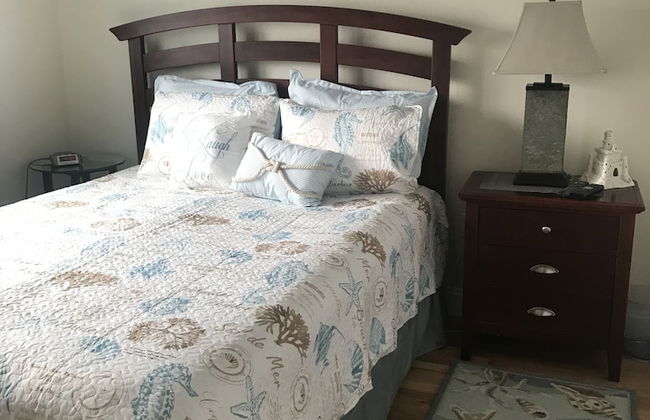
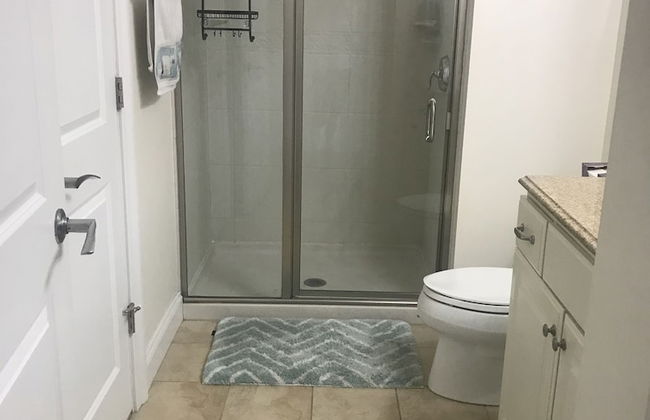
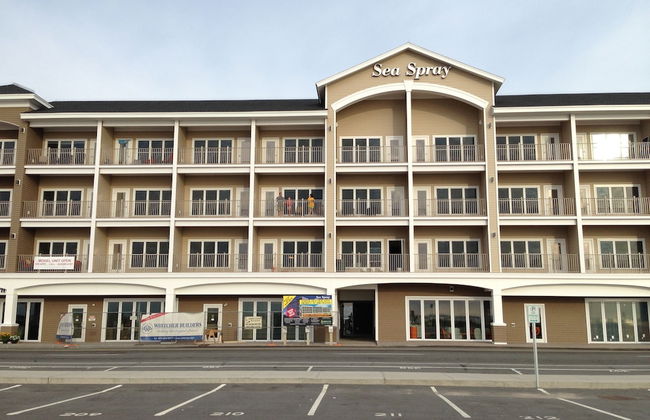
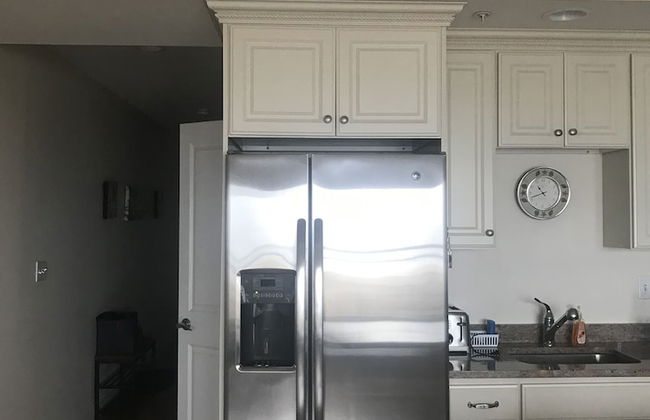
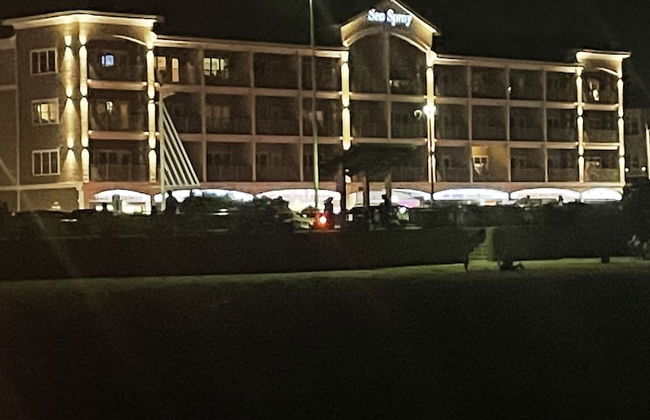
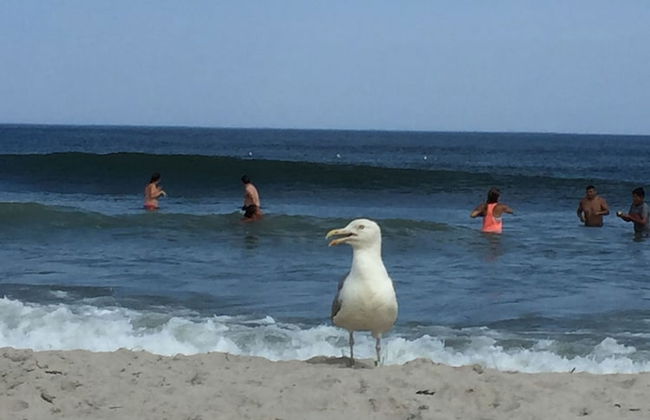
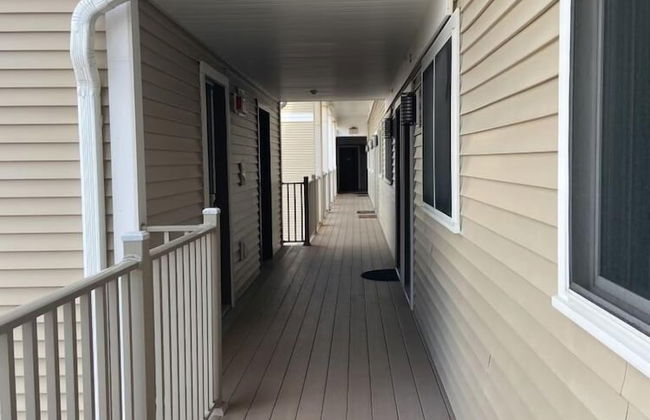
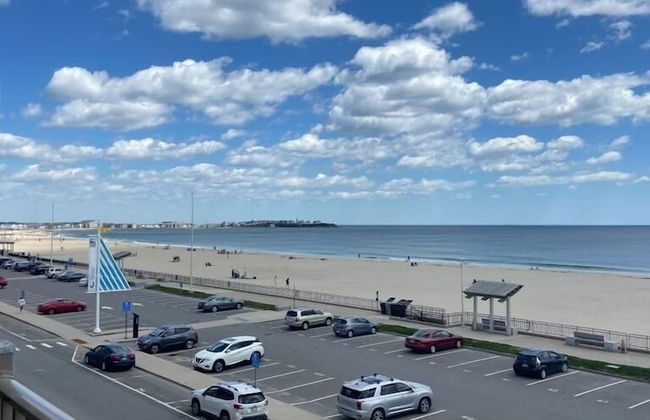
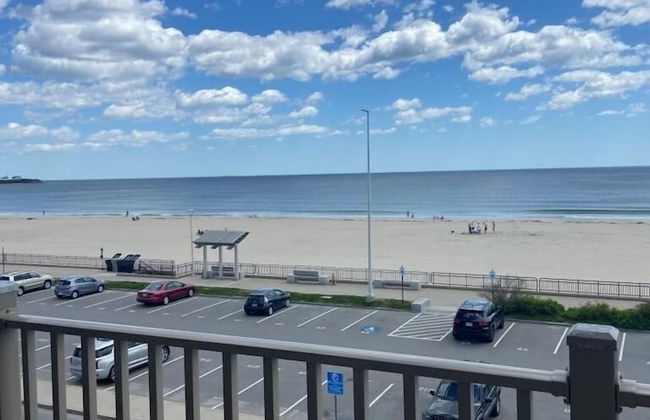
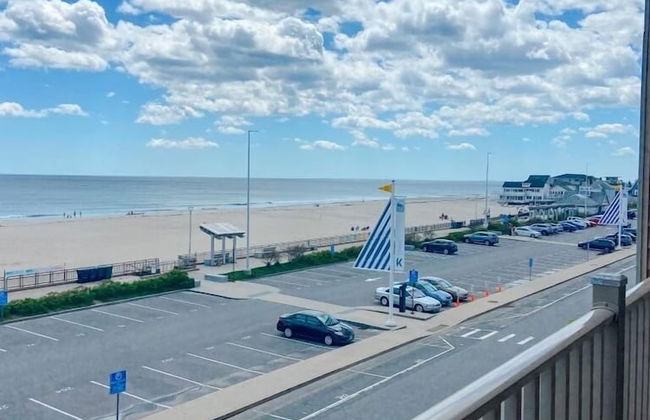
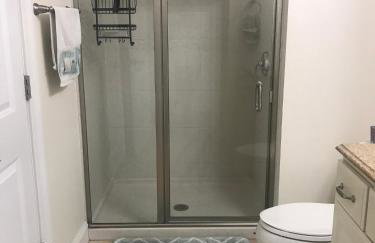
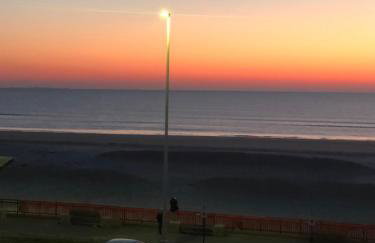
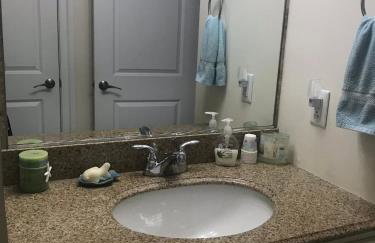
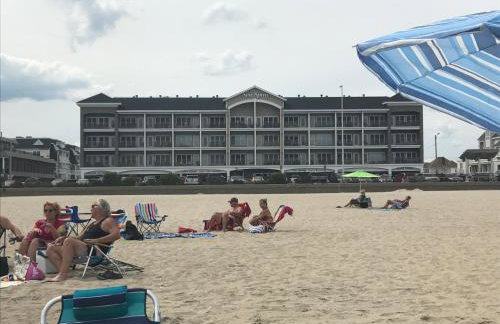
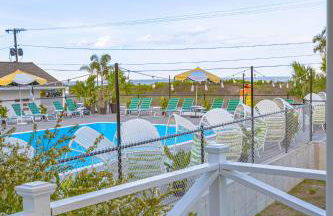
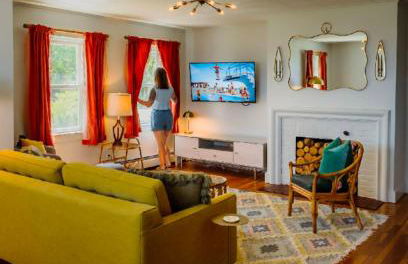
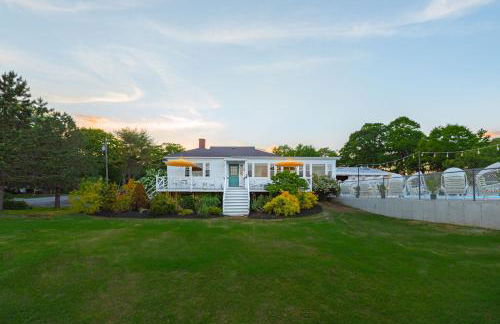
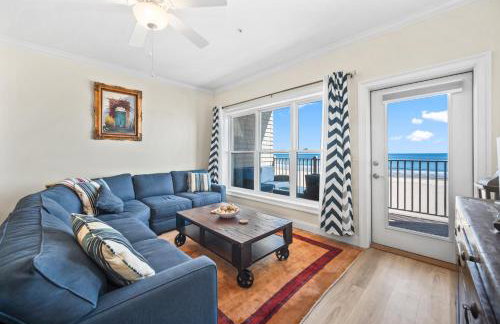
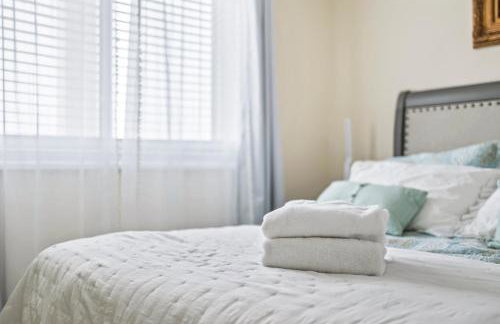
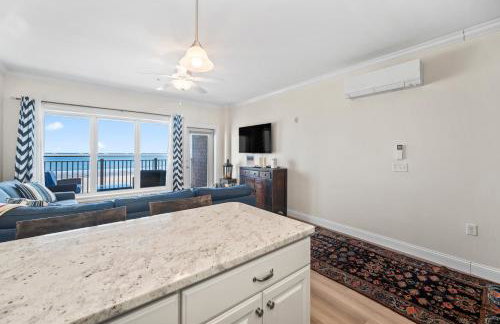
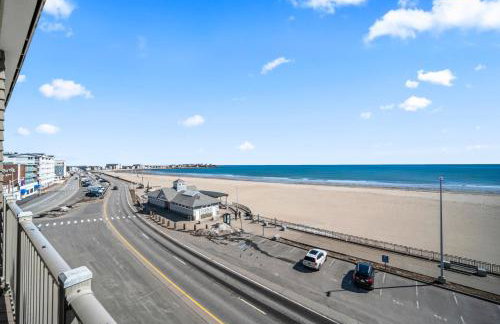
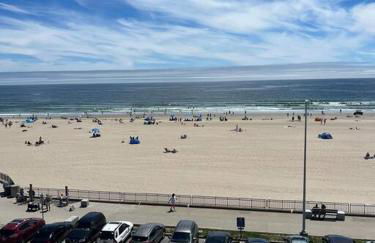
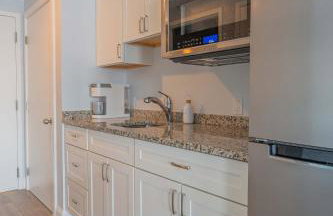
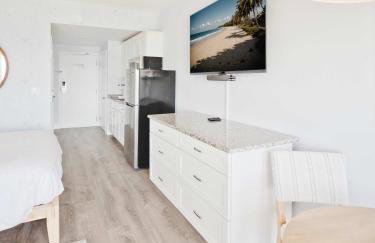
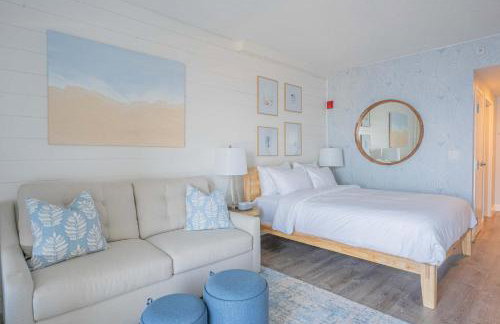
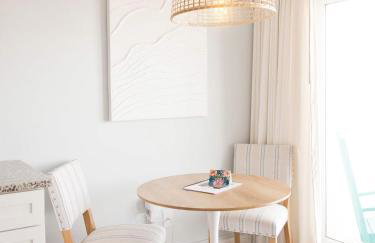
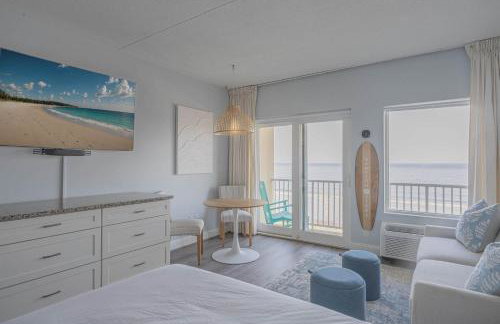
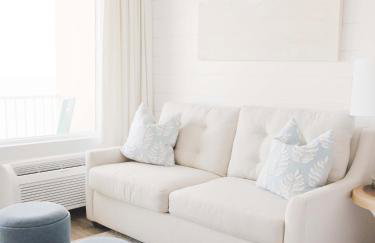
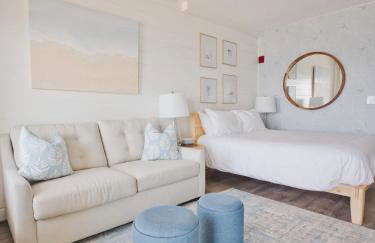
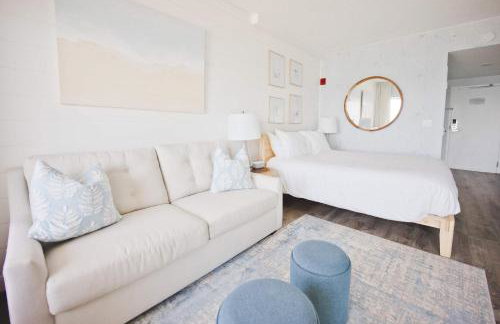
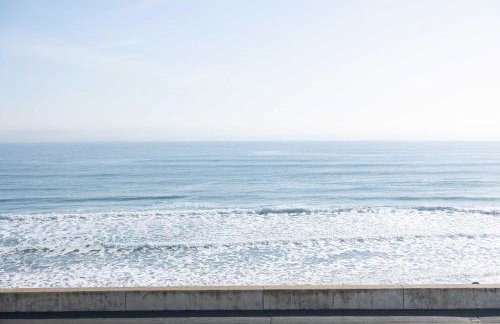
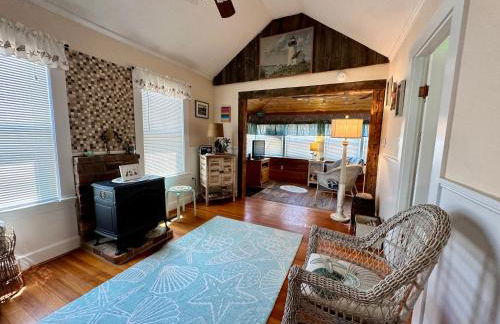
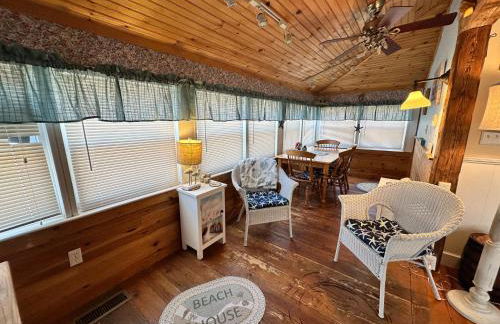
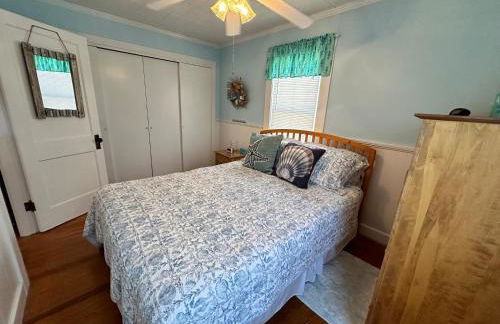
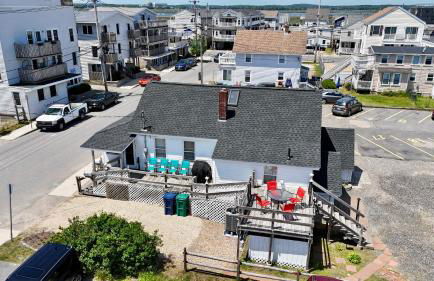
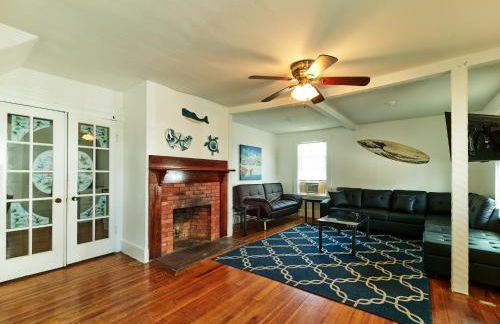
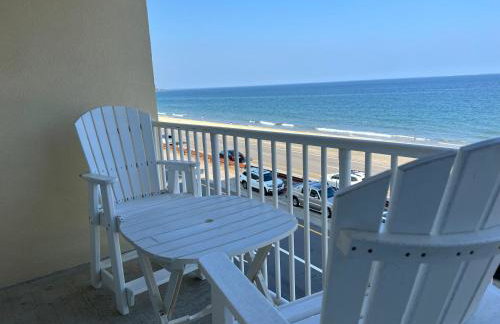
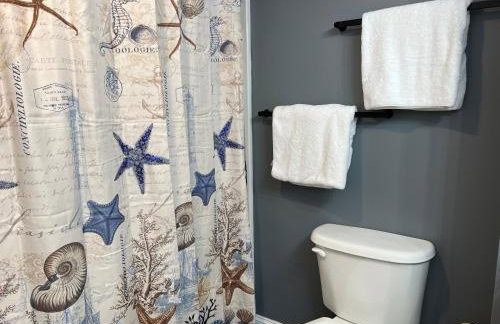
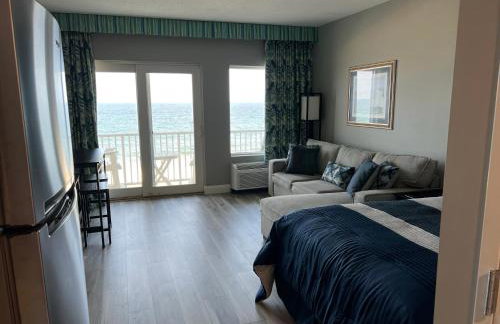
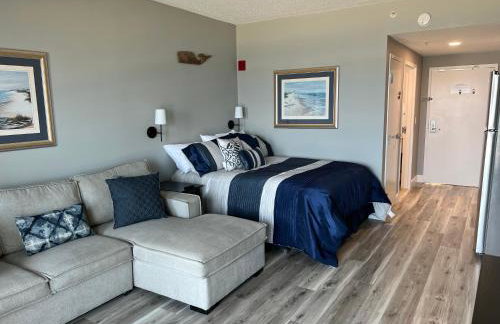
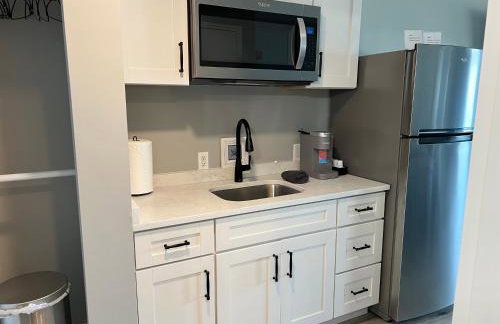
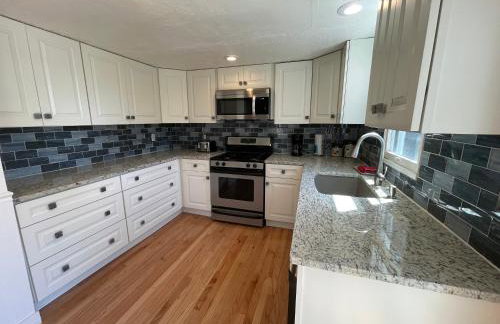
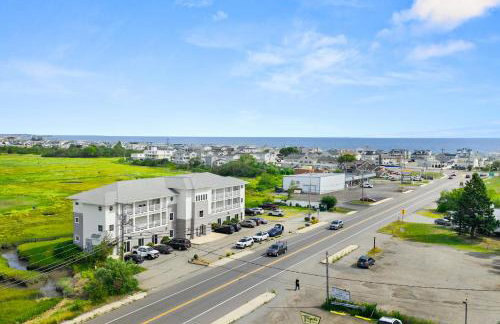
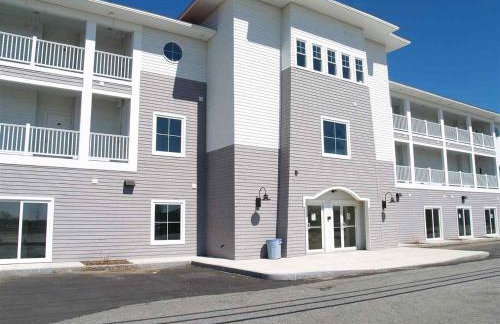
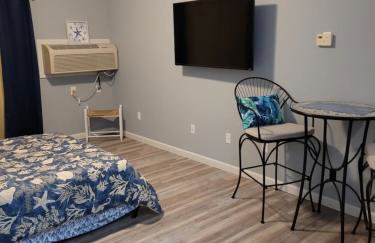
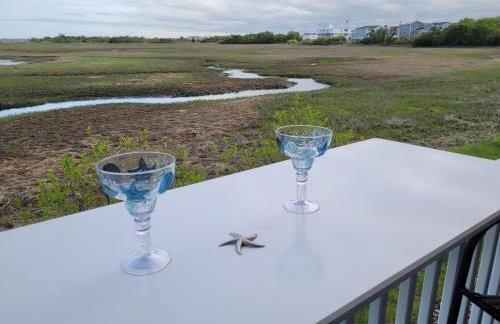
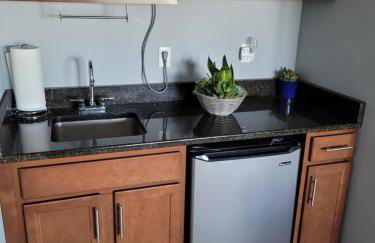
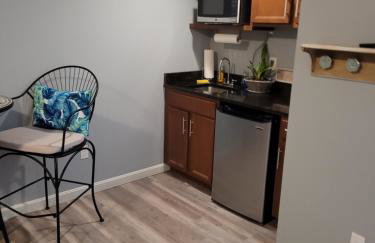
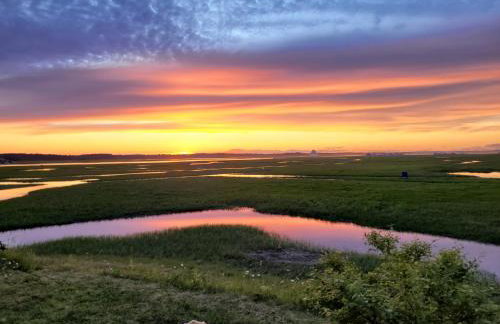
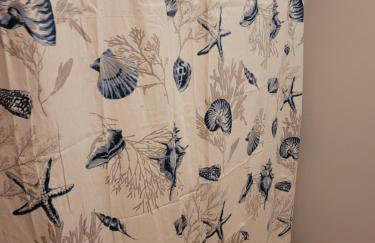
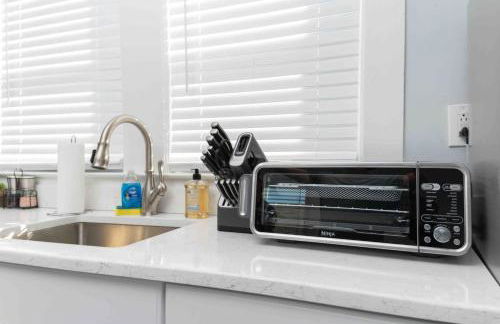
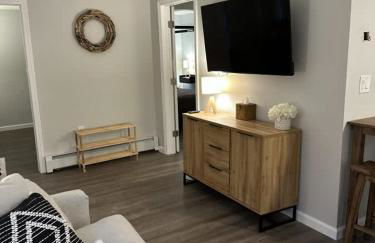
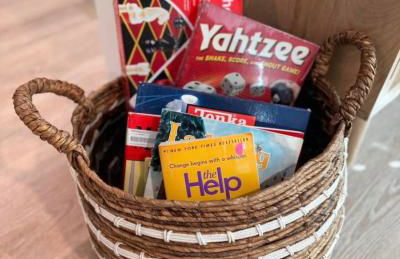
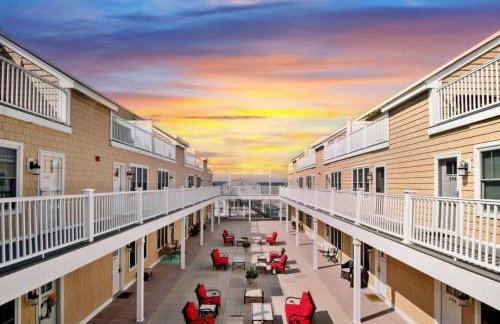
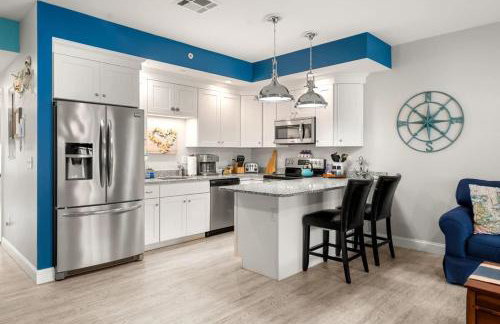
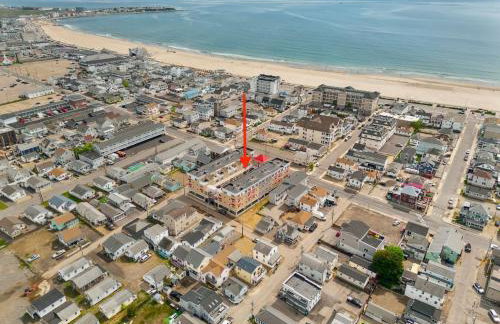
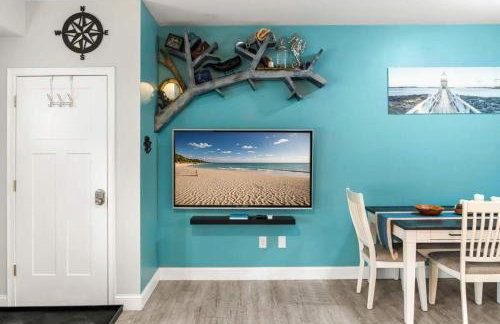
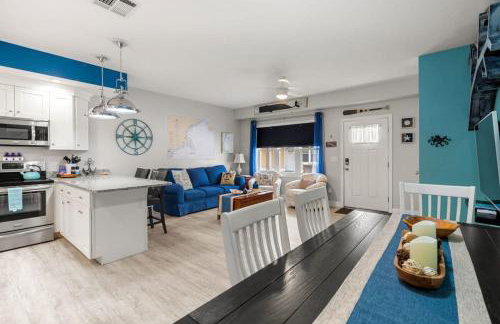
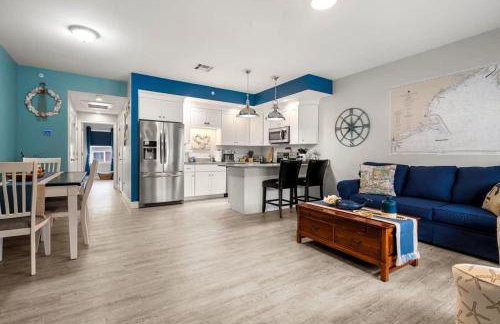
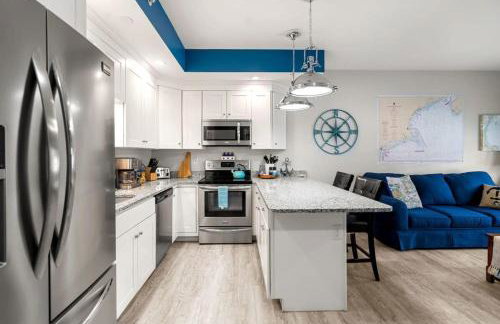
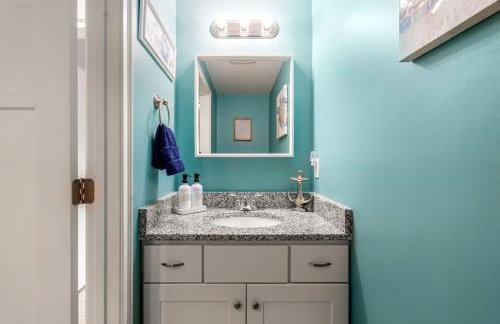
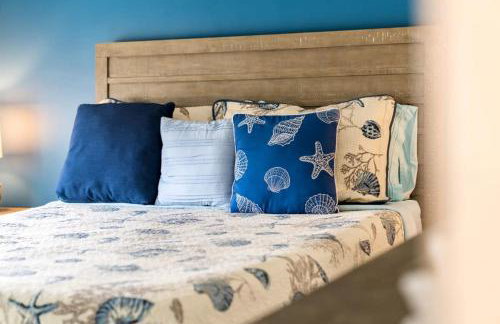
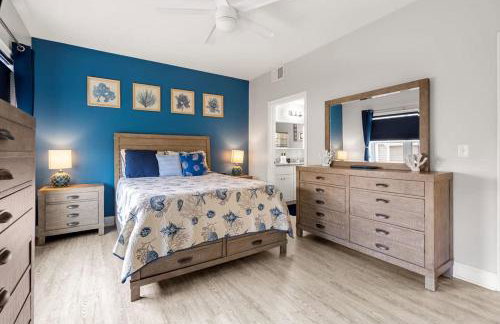
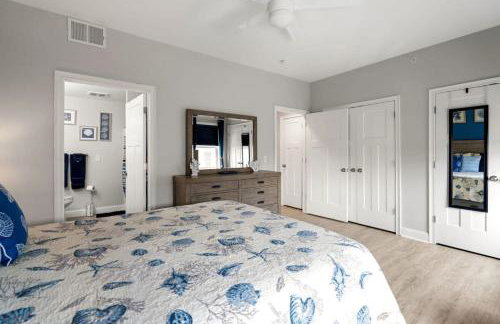
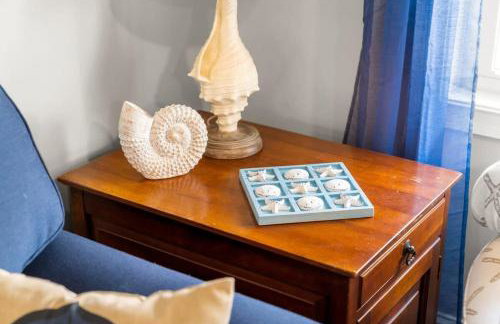
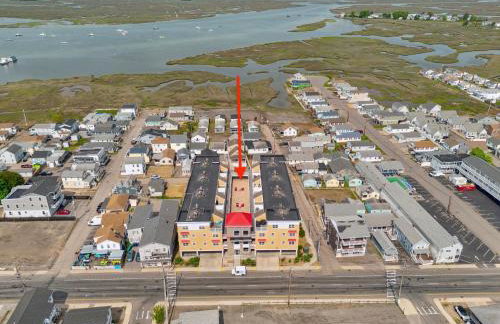
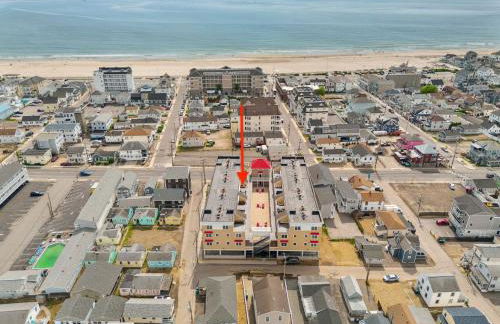
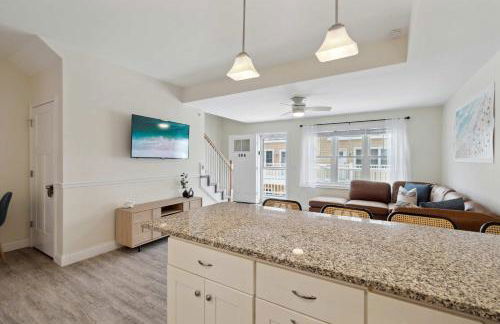
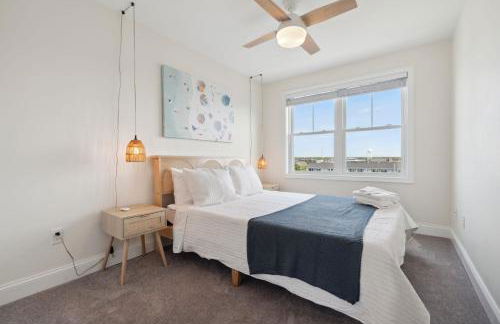
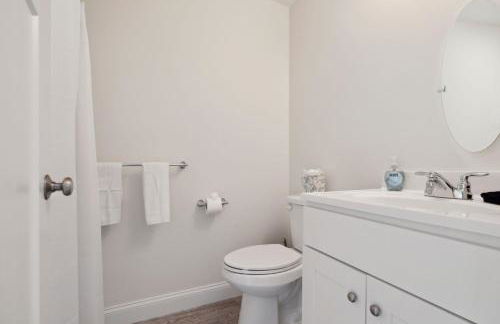
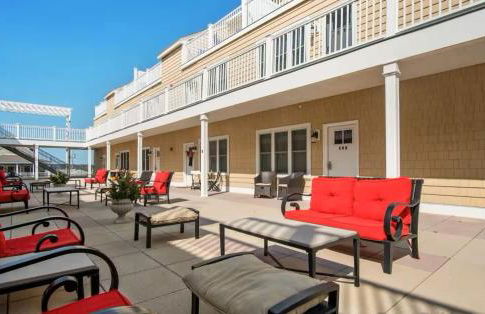
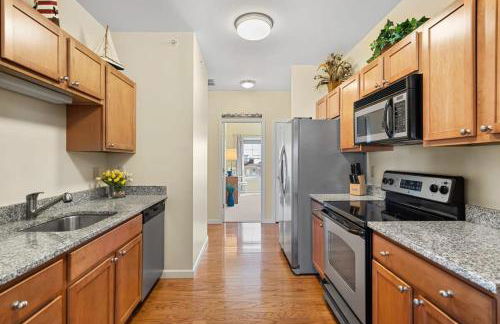
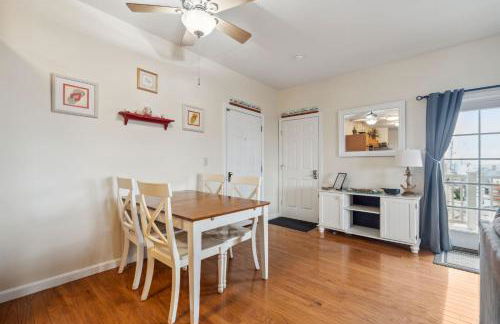
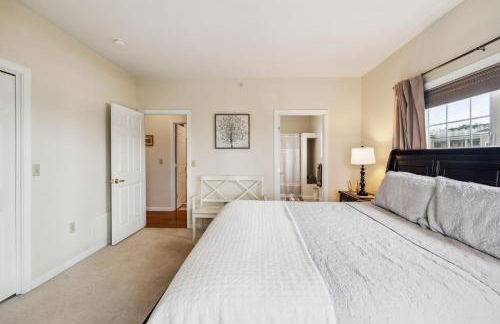
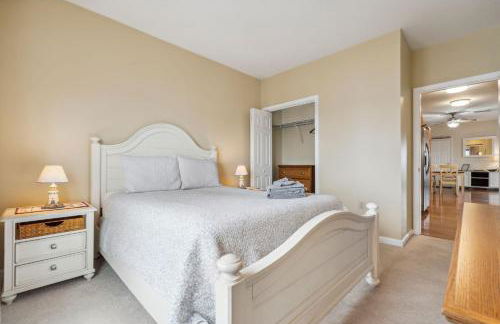
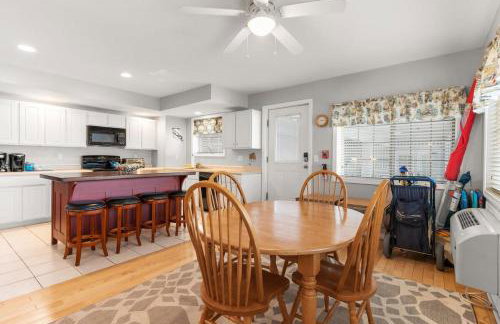
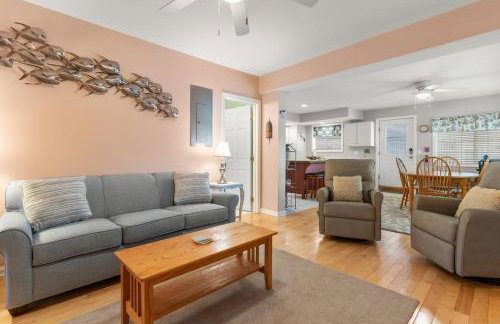
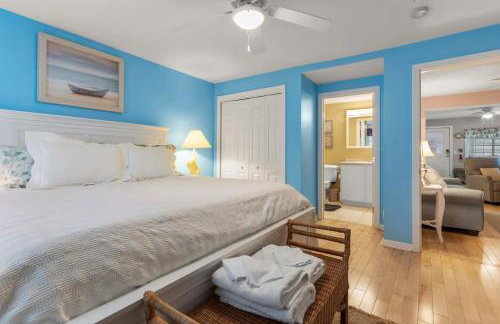
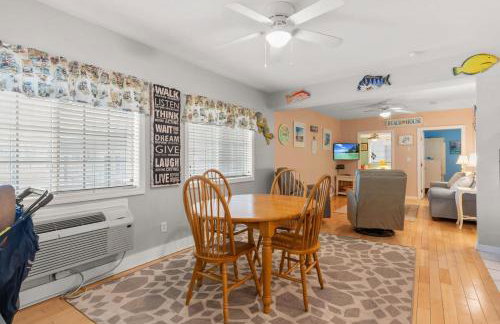
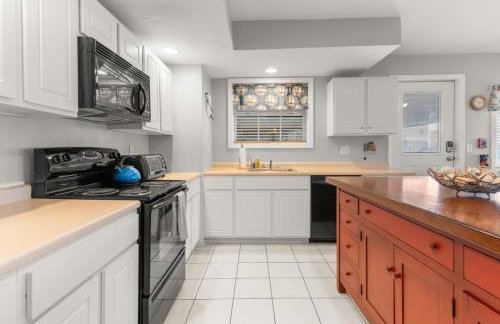
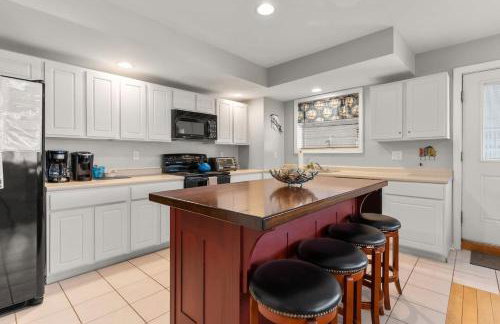
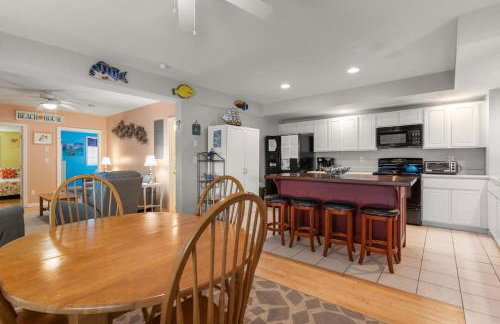
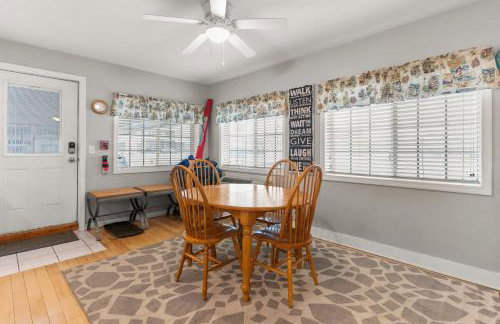
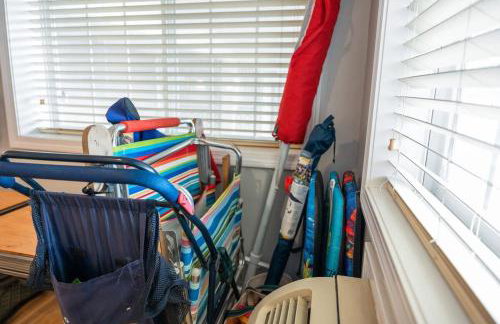
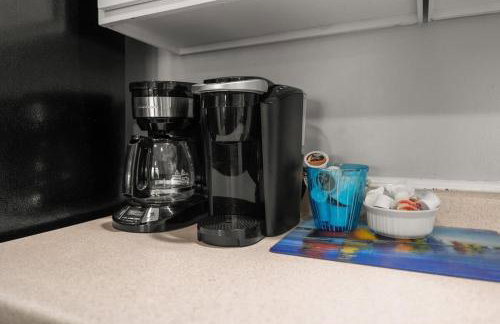
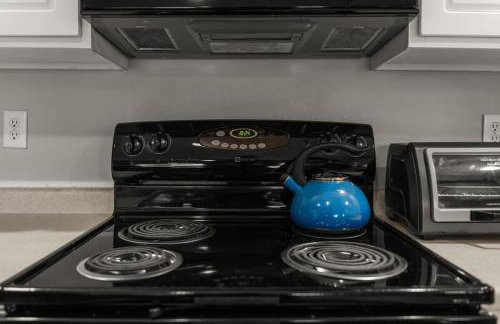
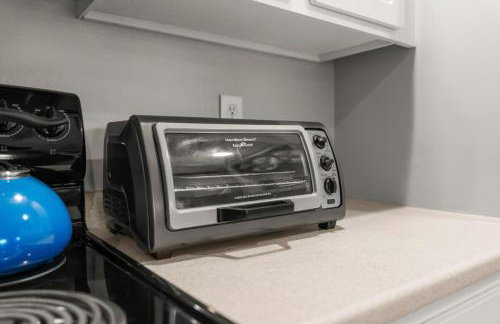
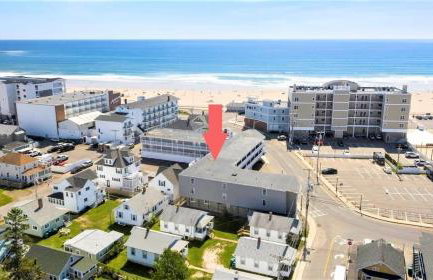
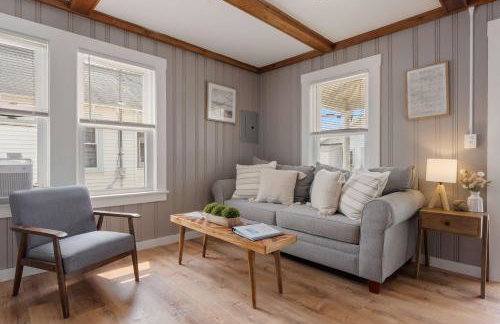
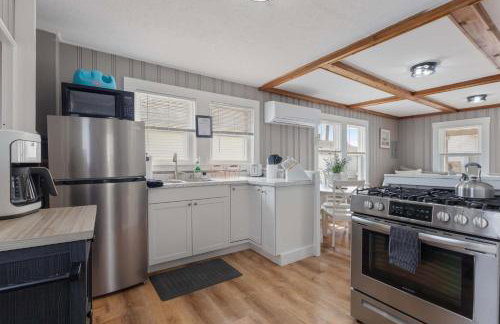
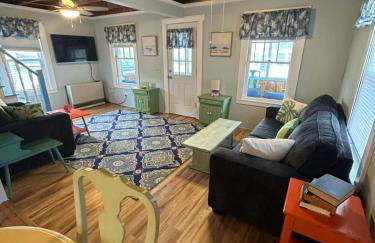
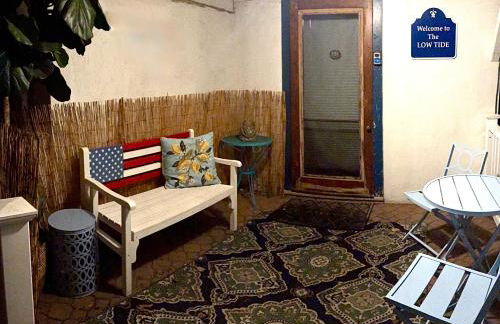
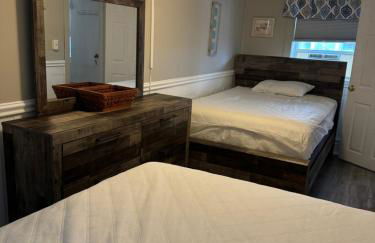
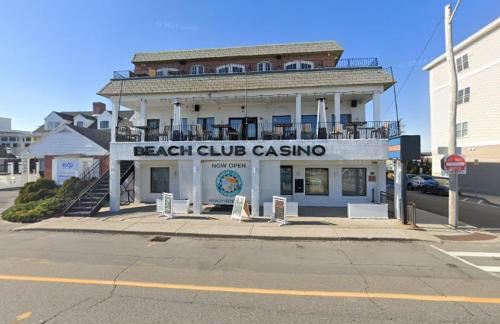
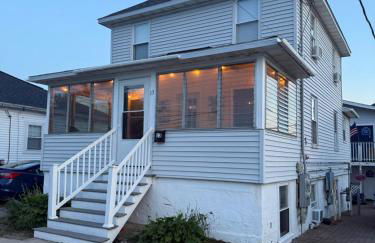
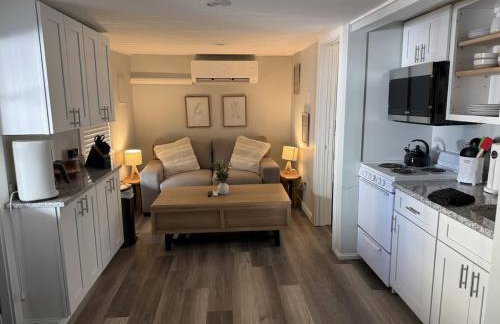
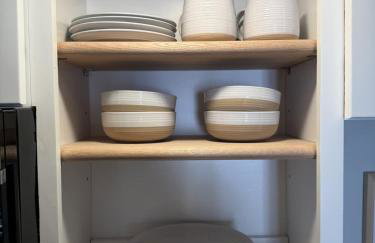
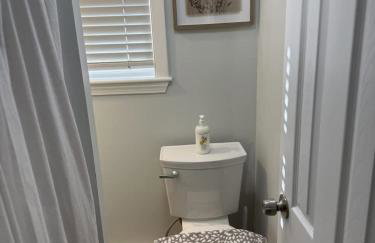
Sea Spray Condo - Foto 1
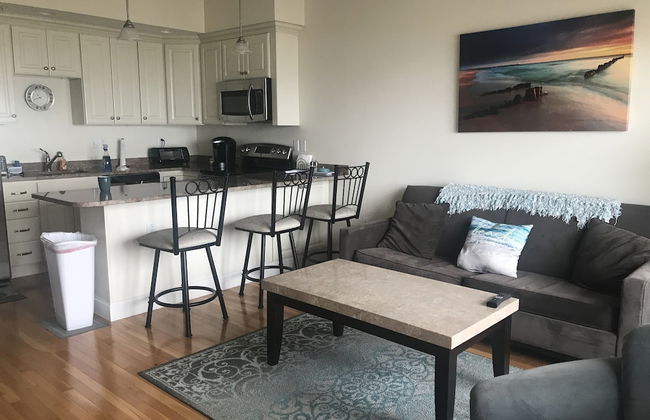
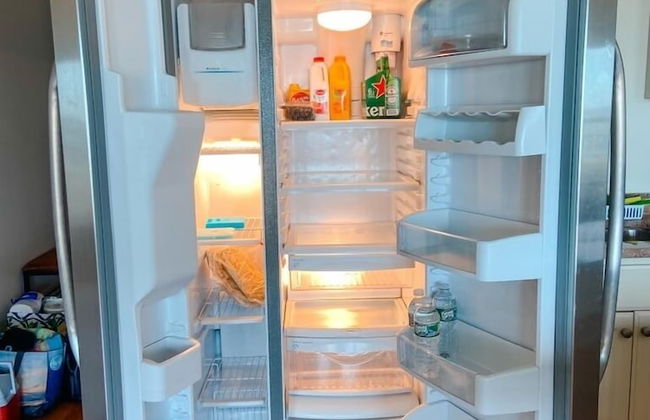
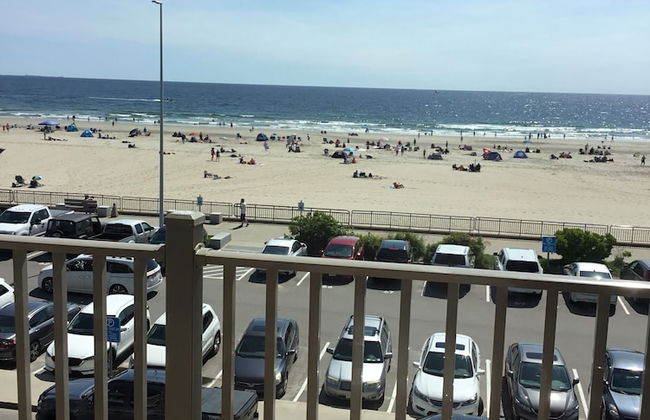
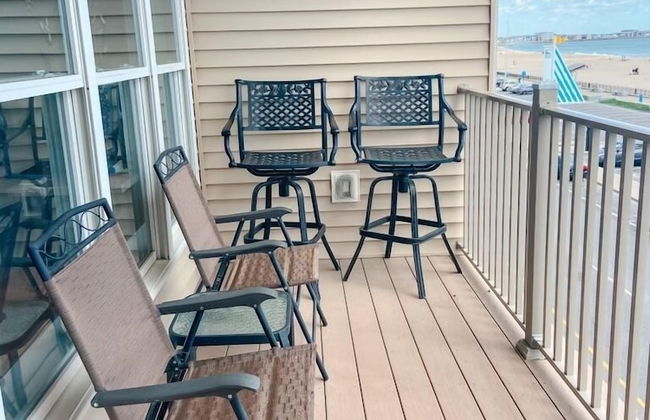
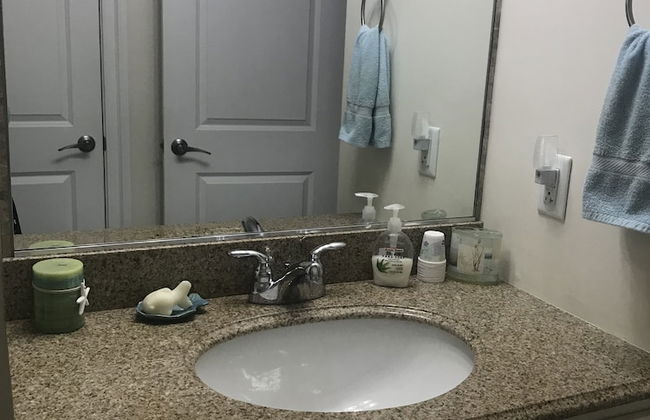
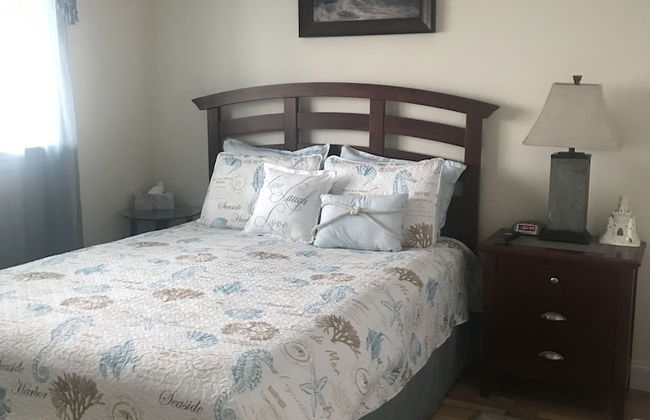
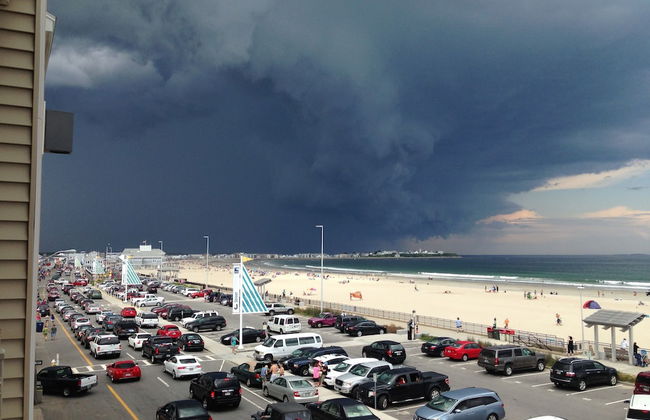
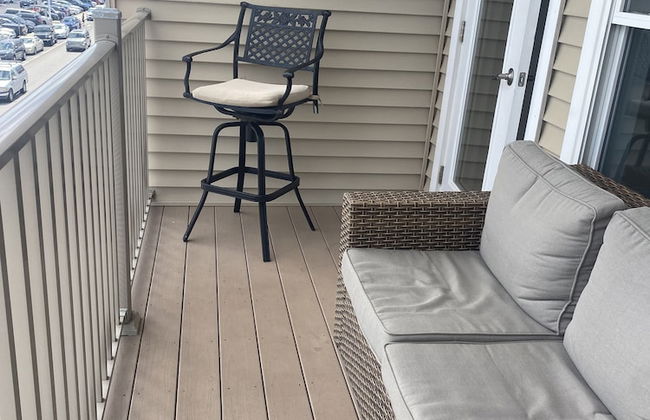
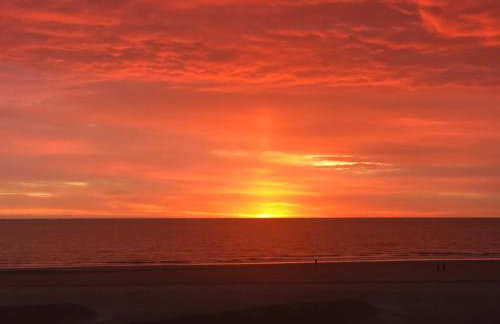
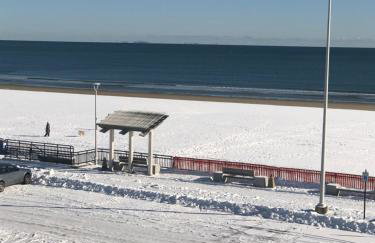
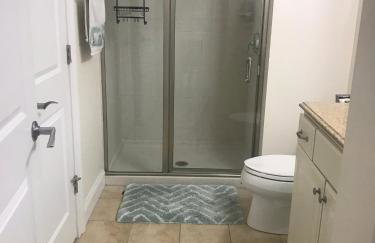
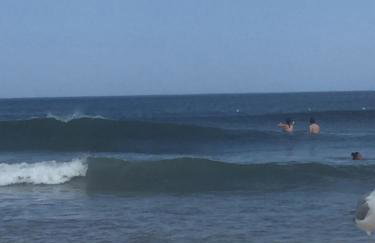
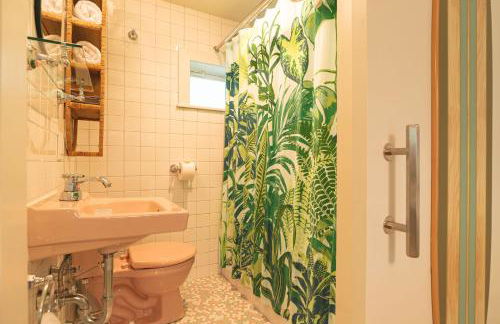
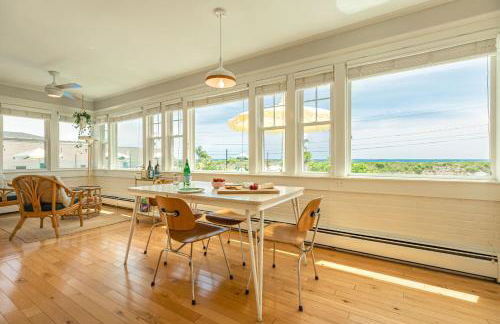
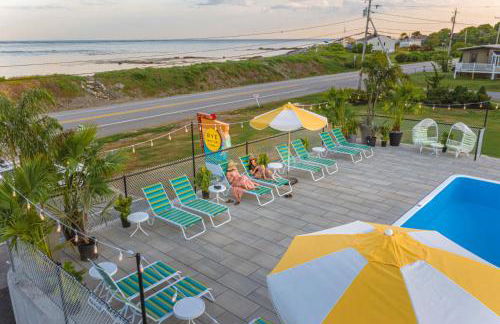
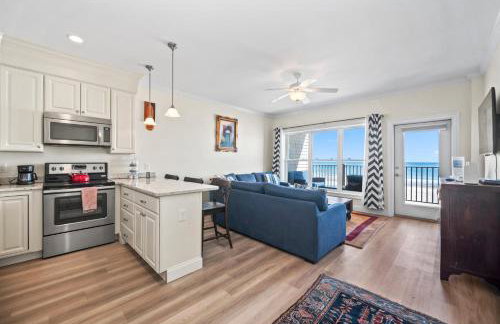
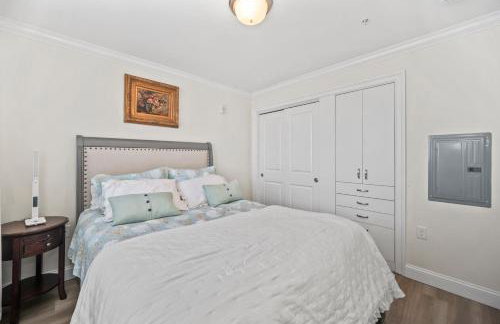
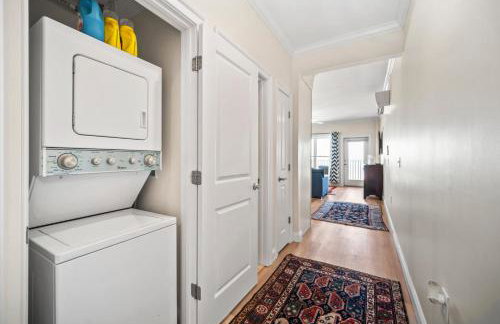
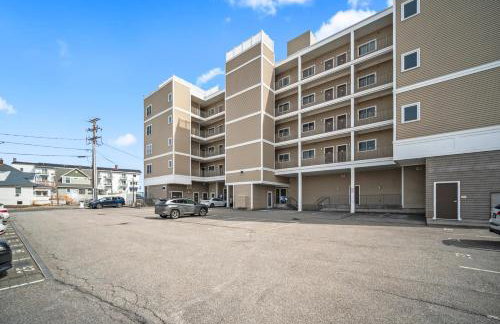
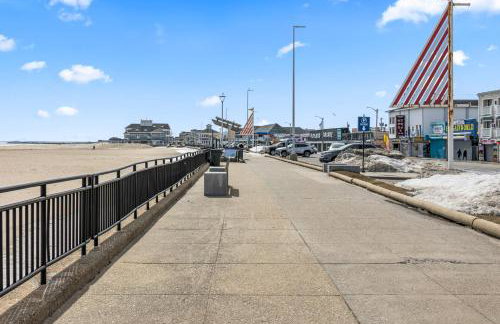
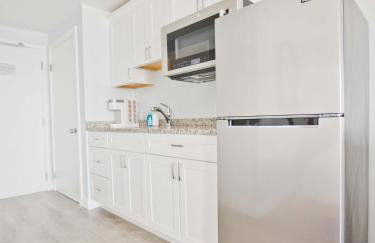
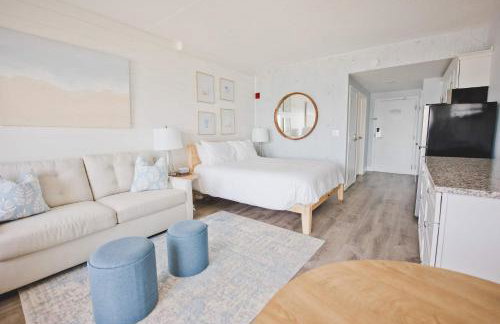
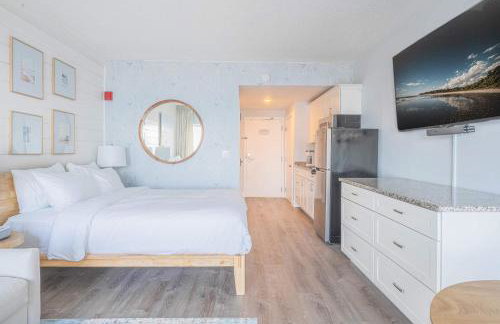
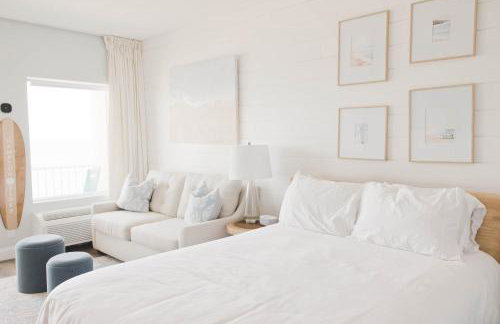
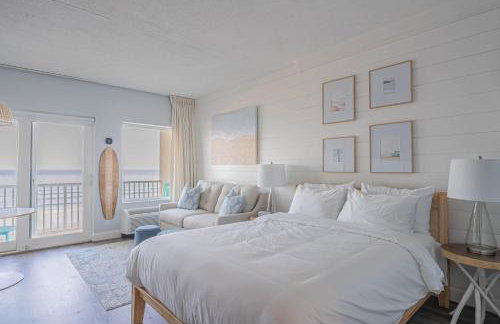
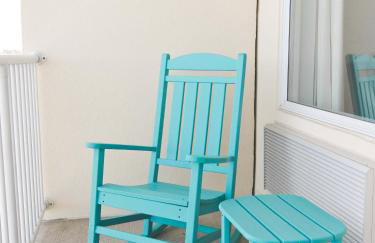
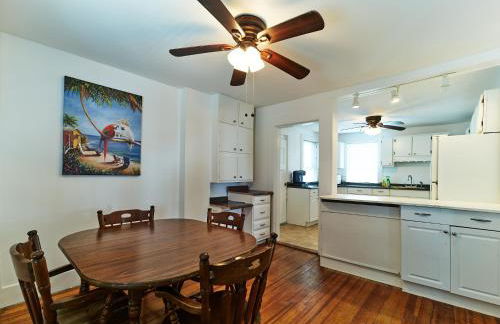
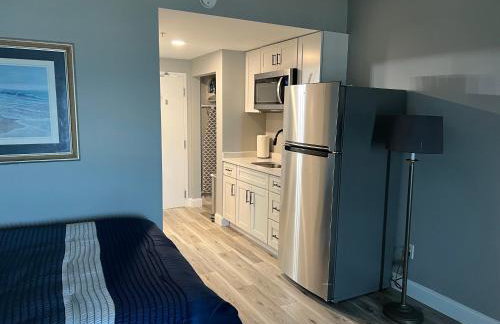
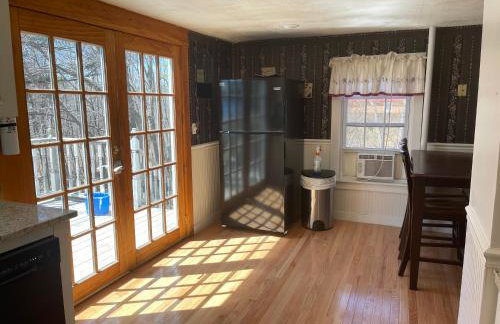
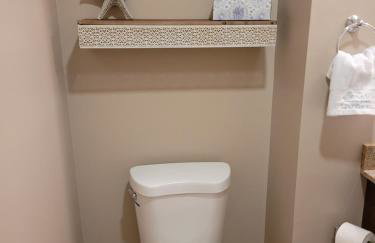
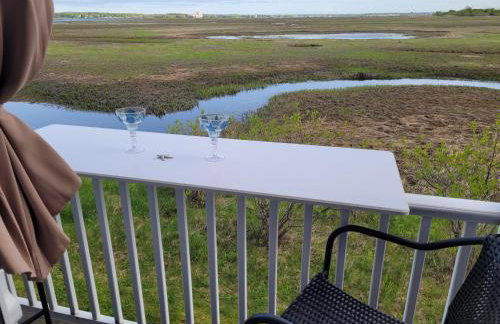
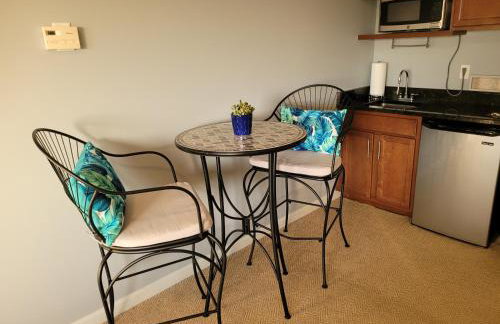
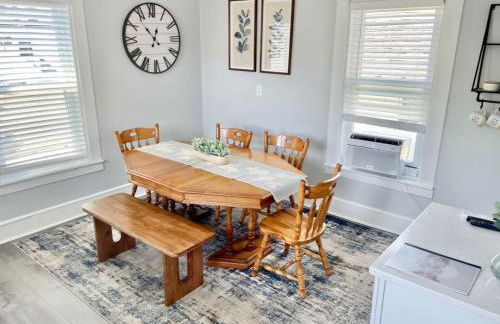
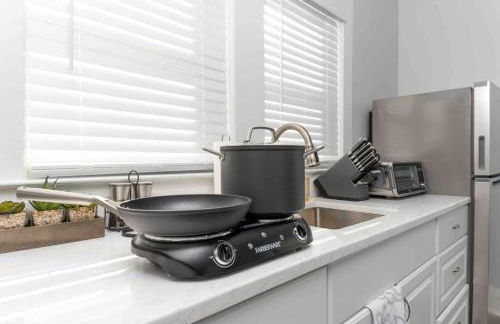
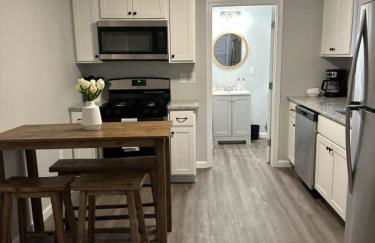
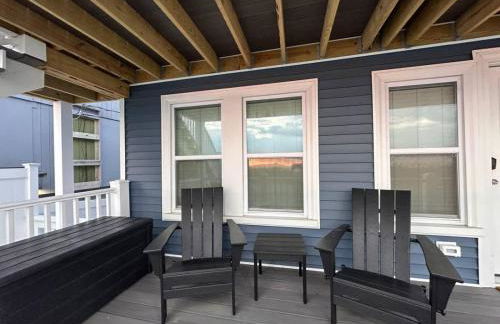
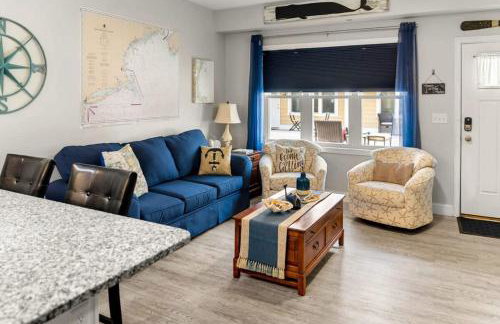
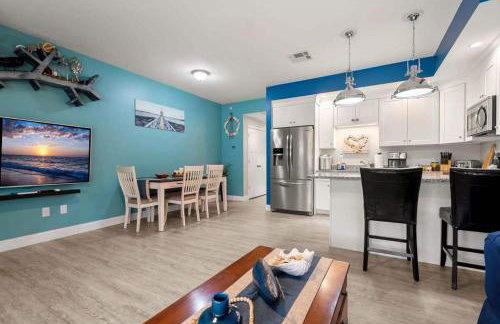
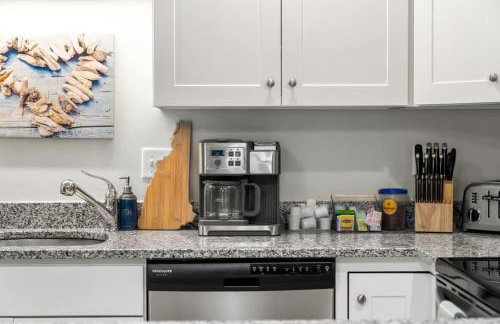
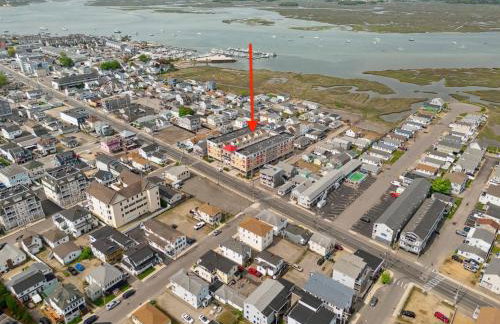
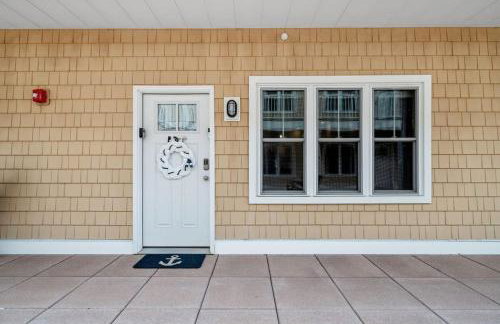
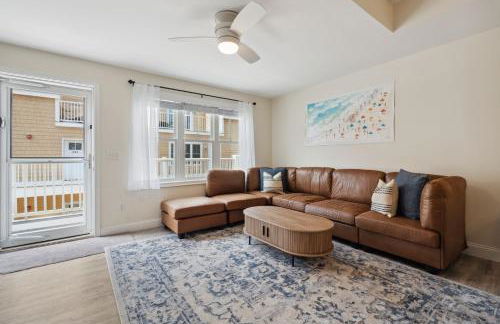
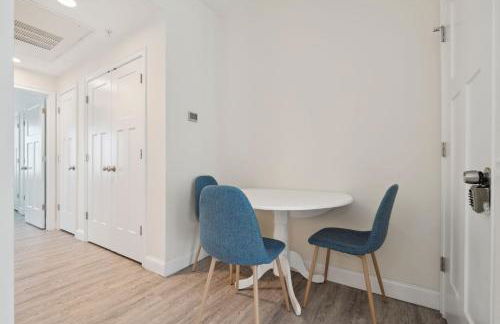
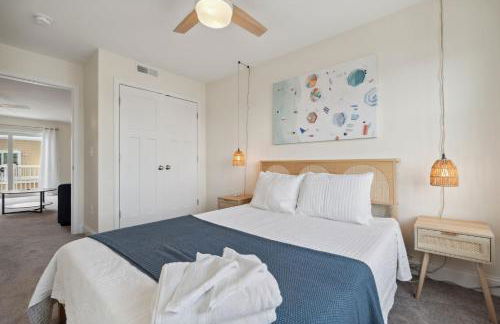
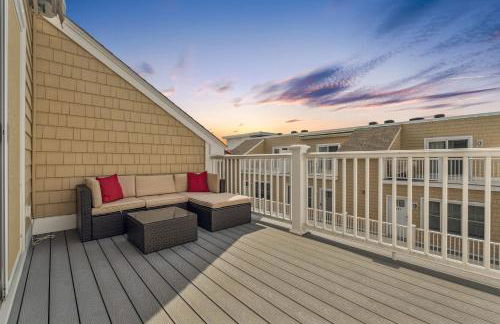
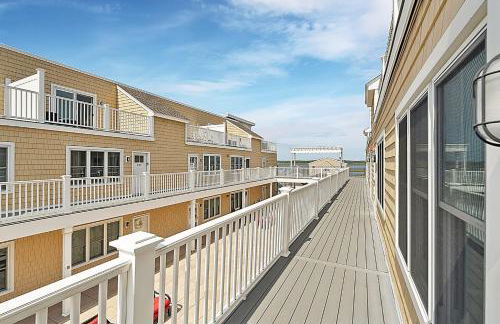
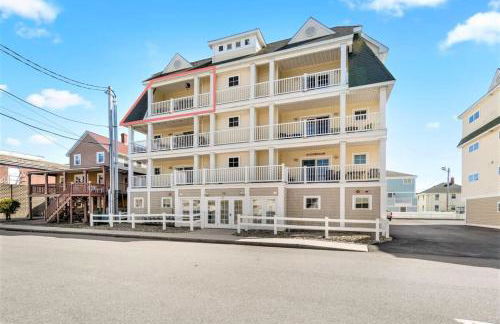
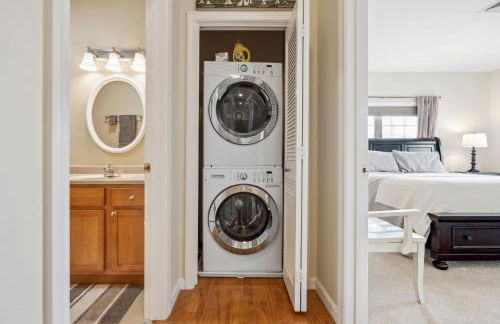
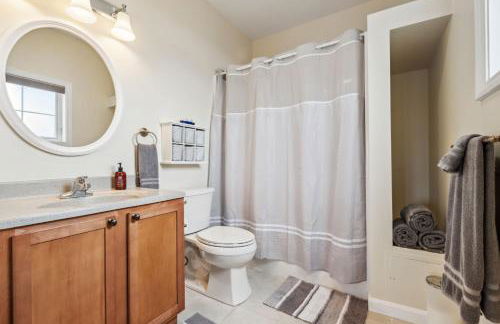
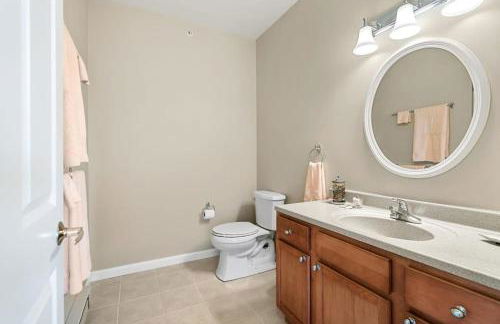
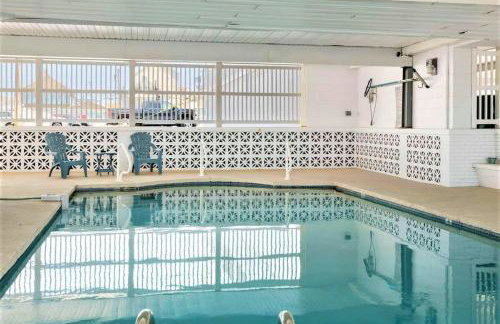
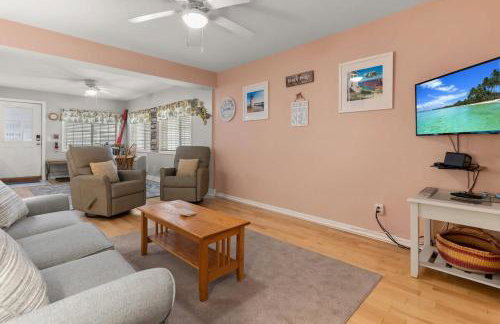
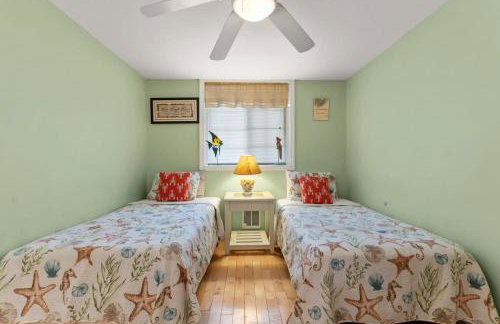
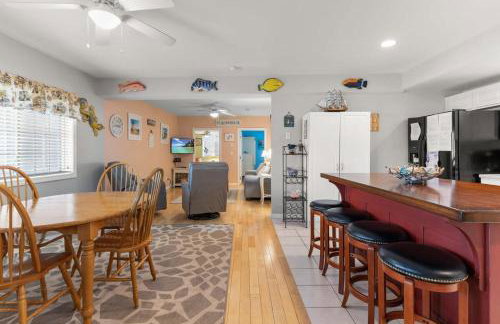
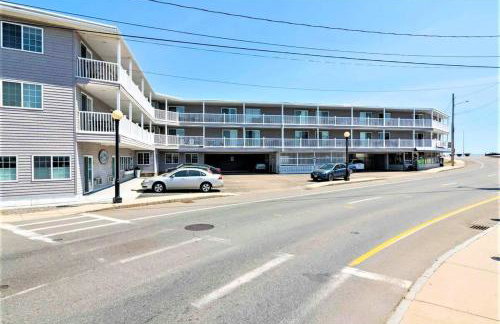
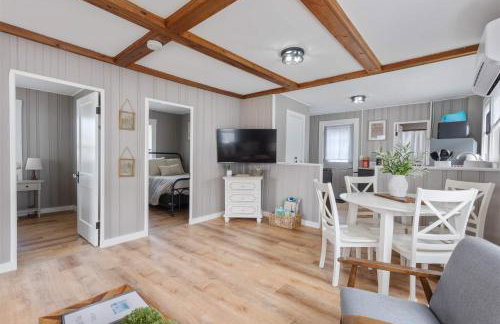
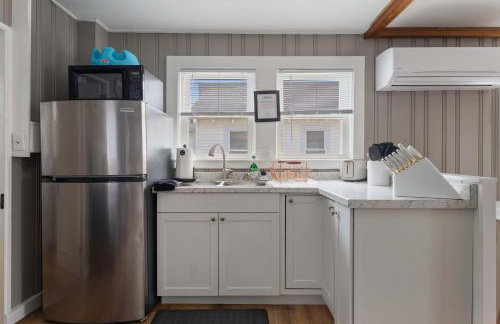
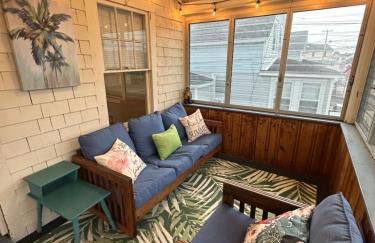
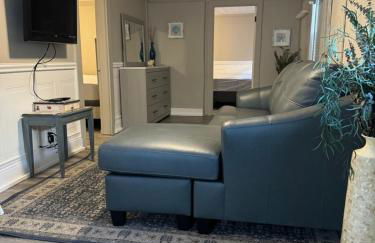
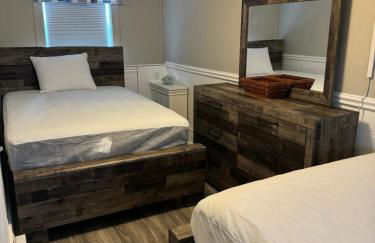
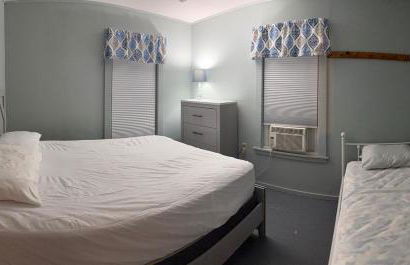
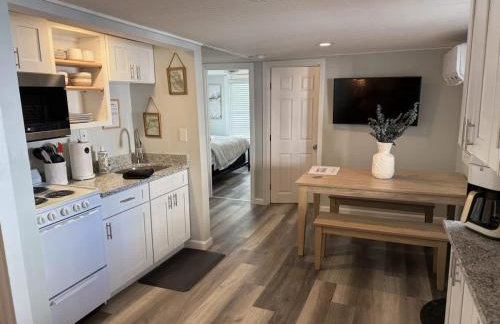
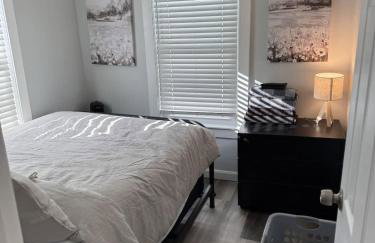
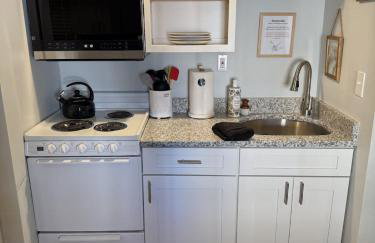
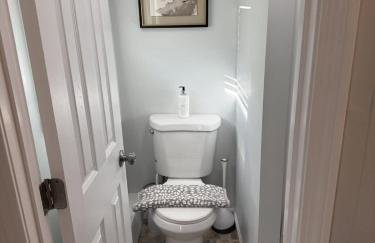
Sea Spray Condo - Foto 2
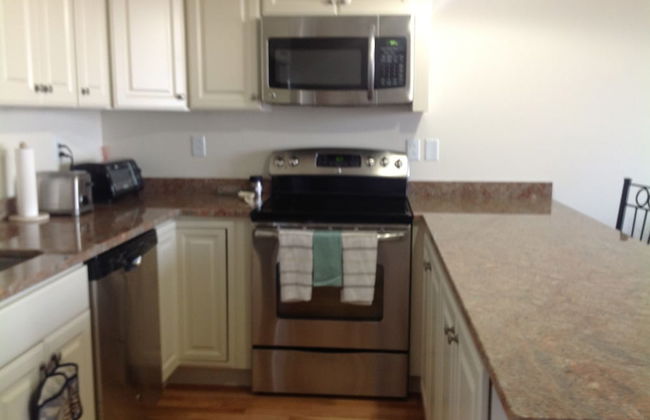
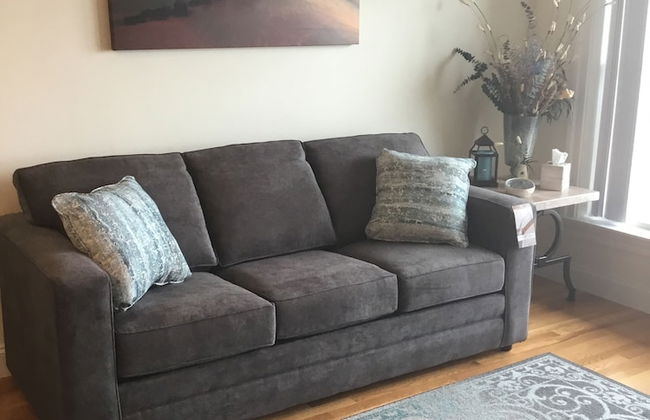
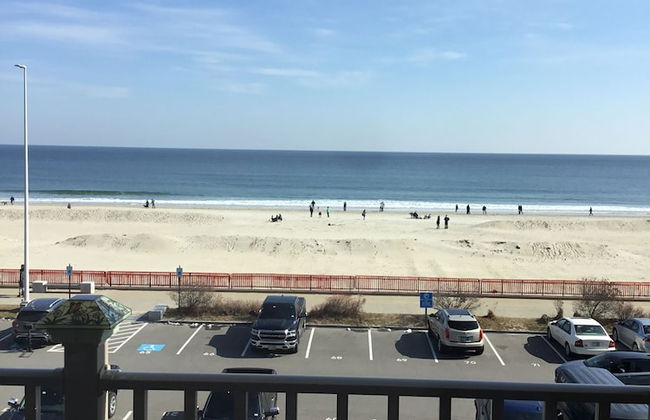
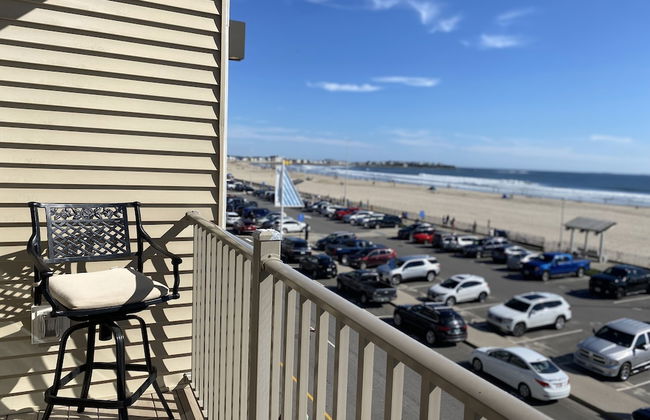
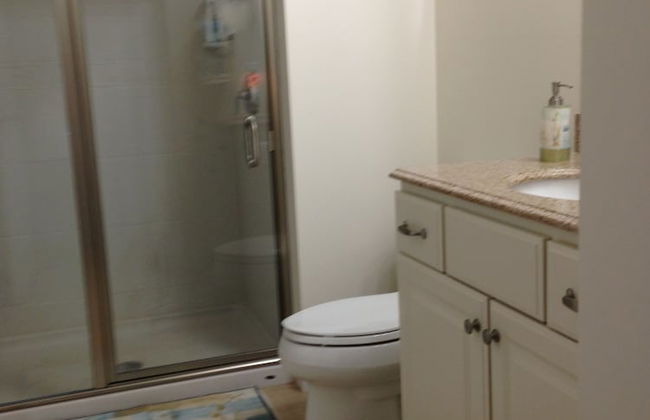
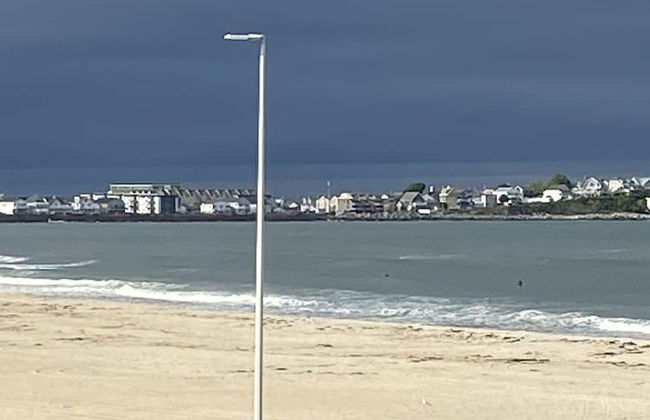
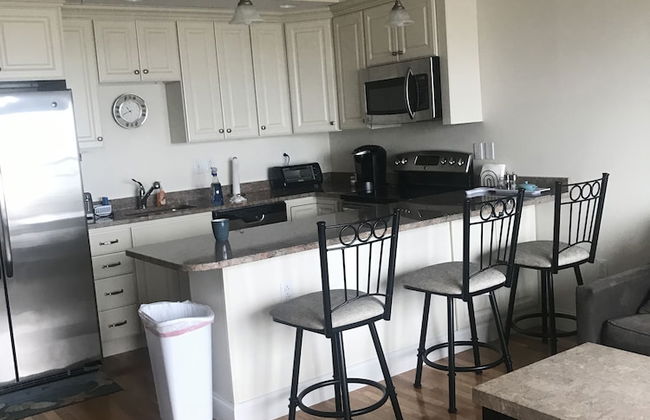
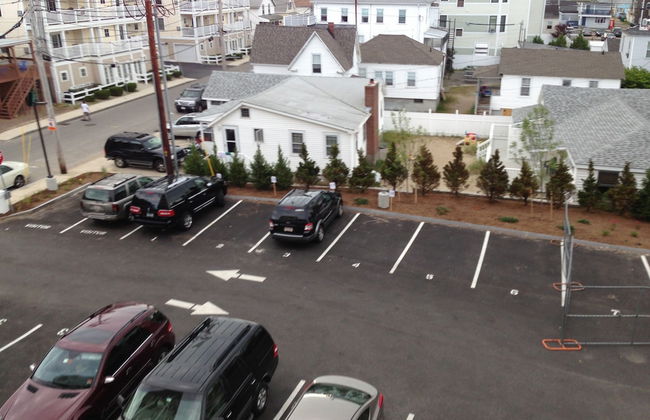
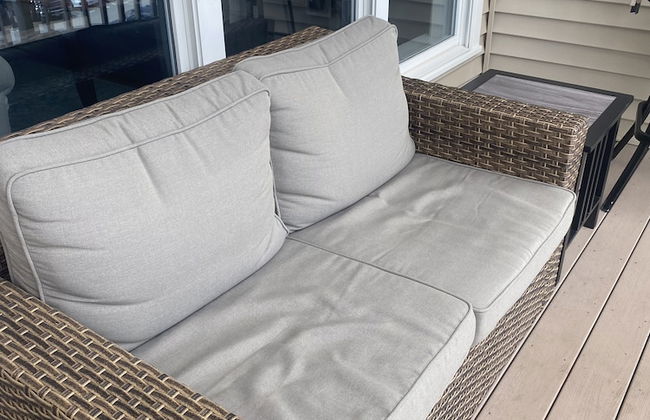
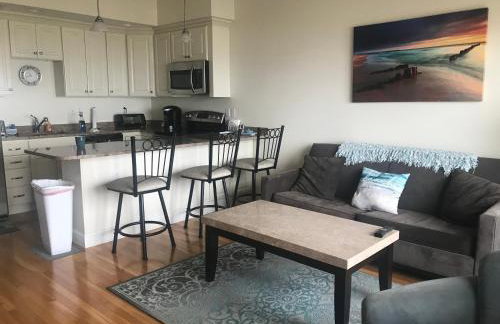
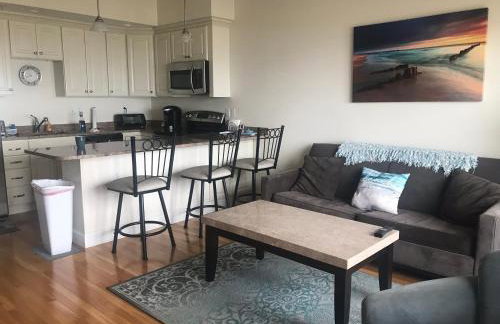
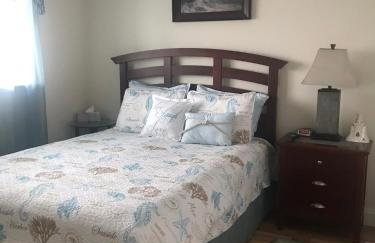
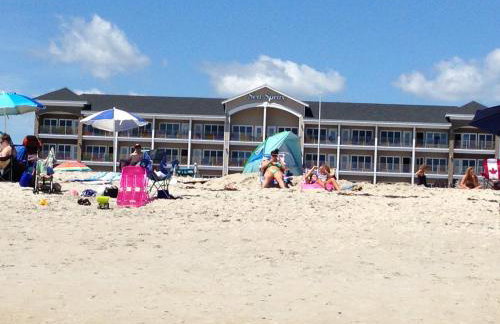
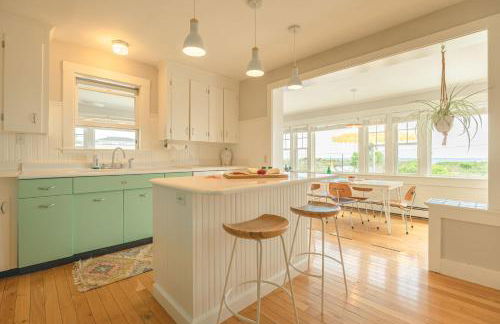
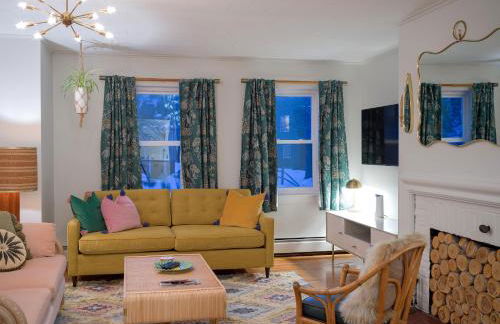
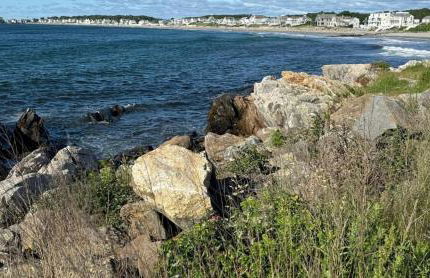
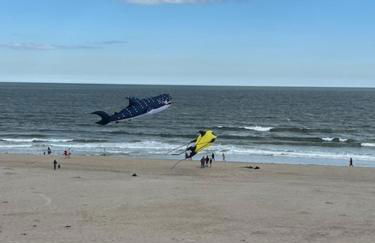
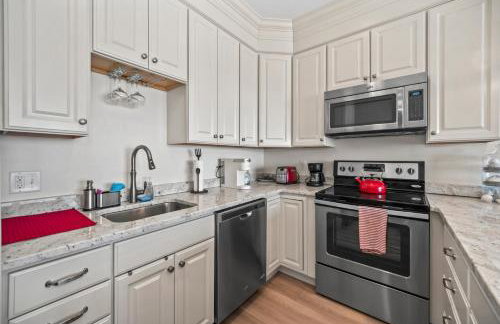
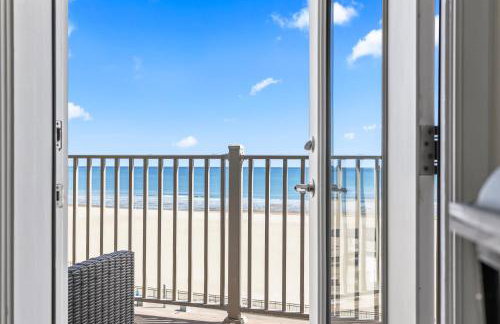
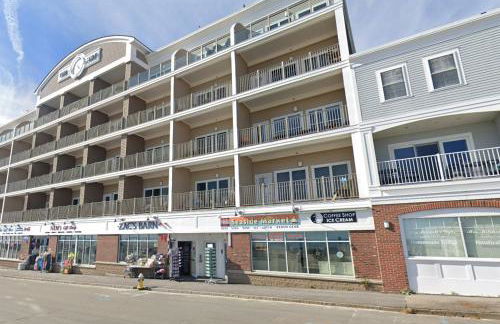
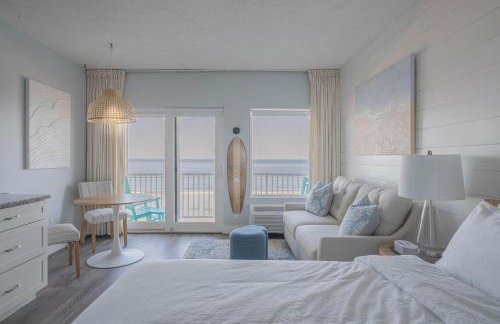
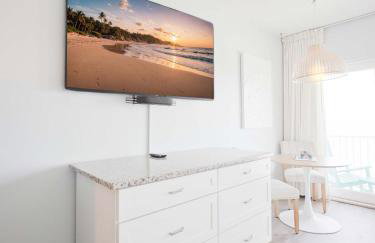
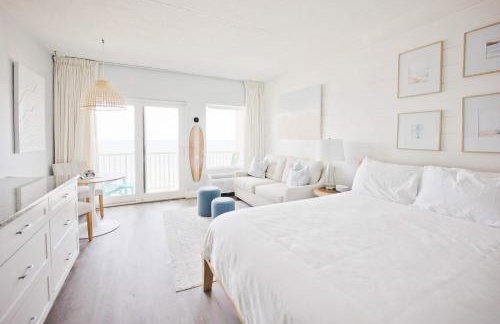
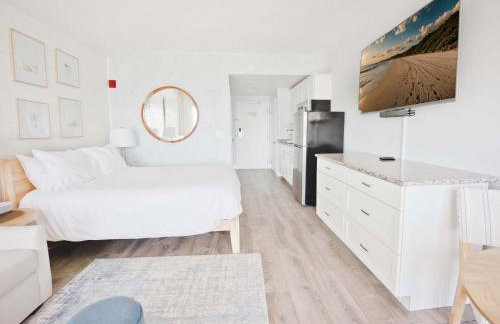
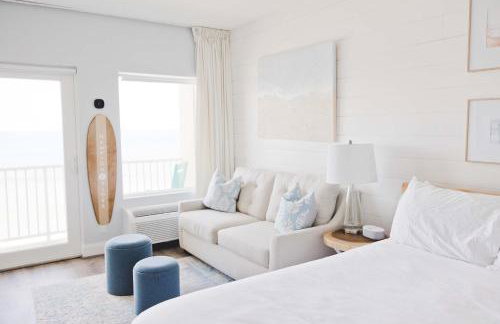
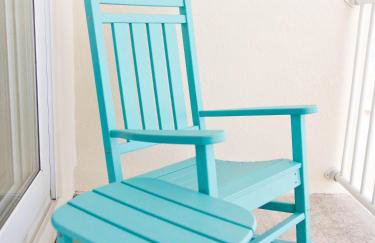
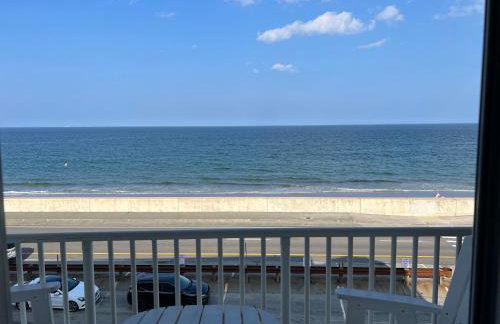
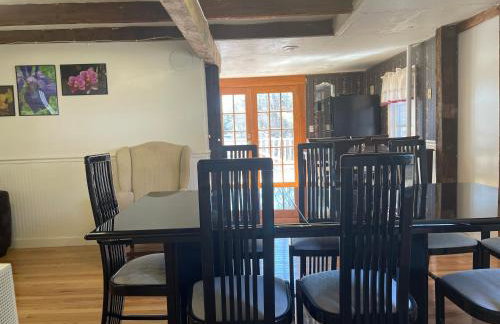
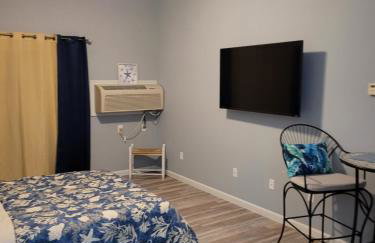
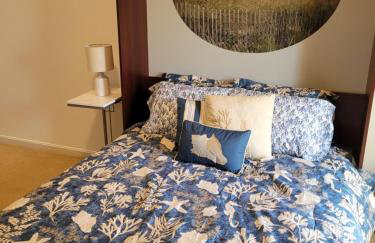
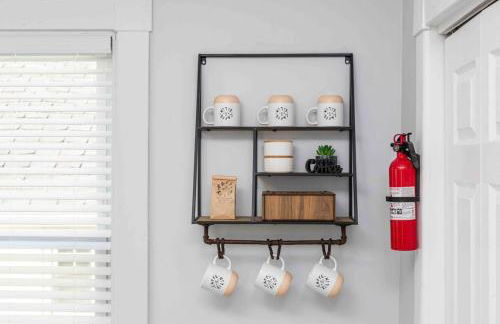
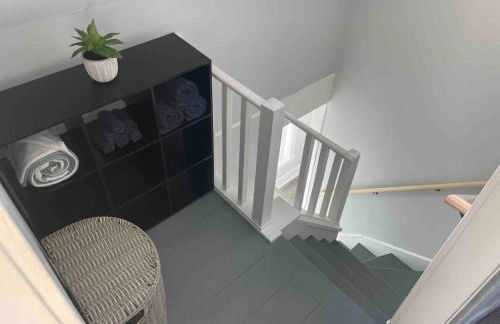
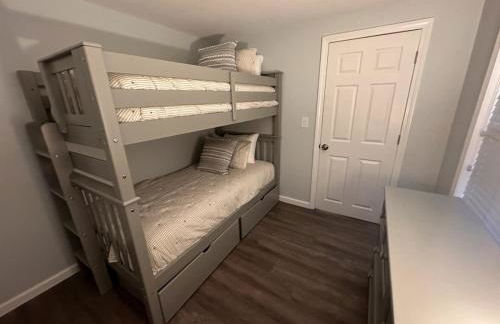
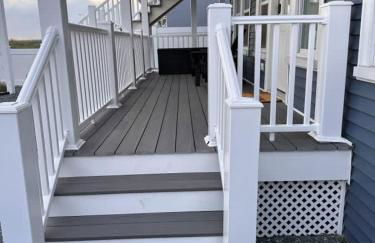
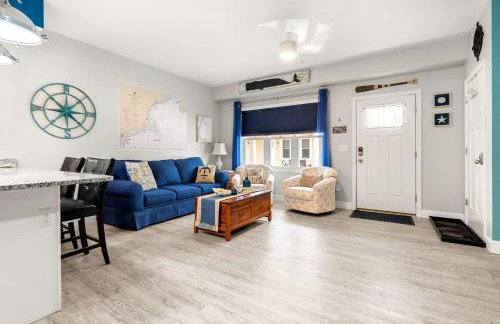
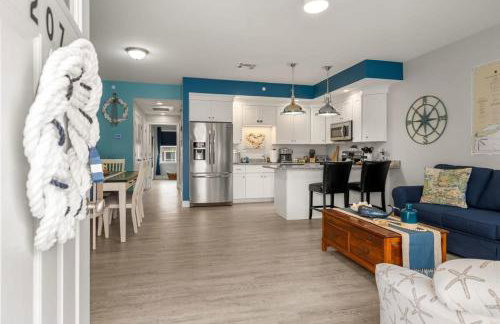
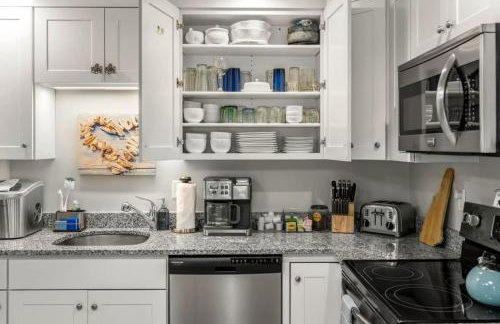
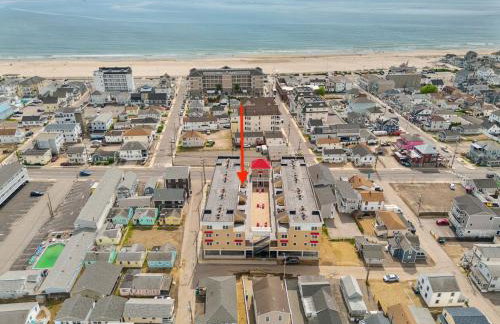
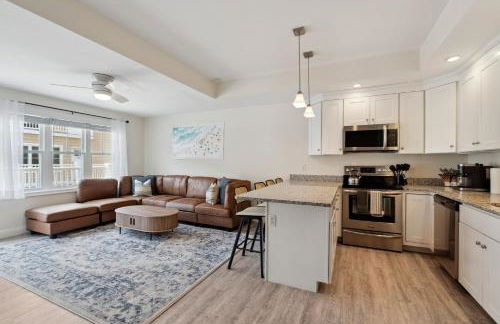
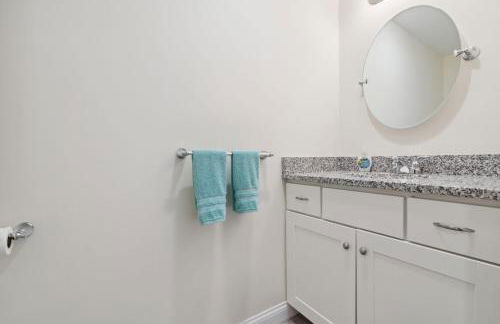
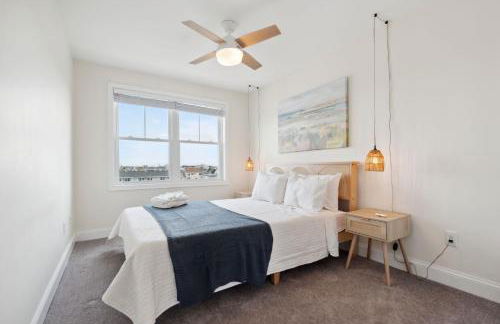
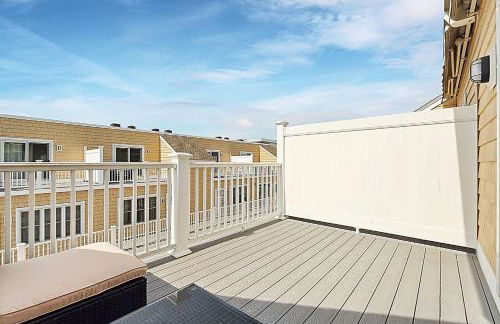
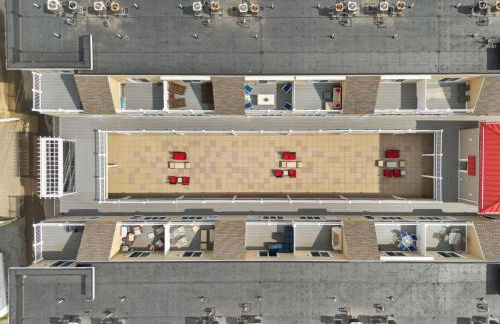
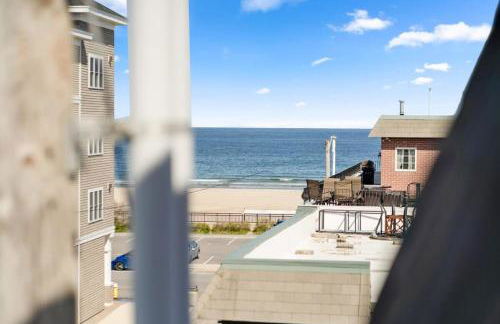
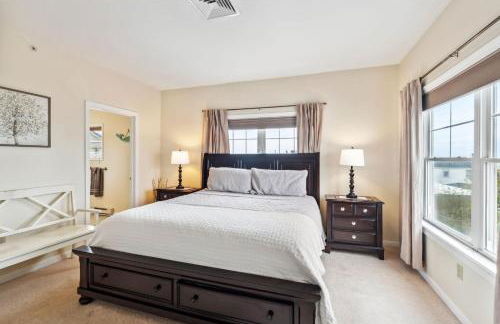
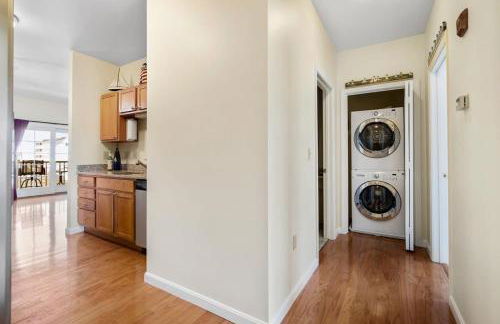
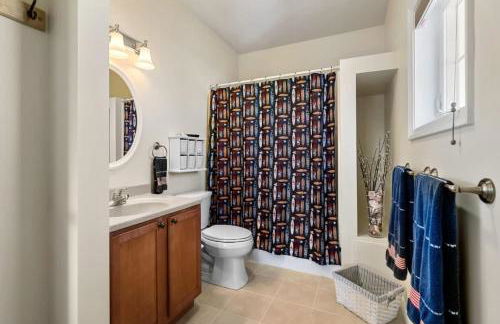
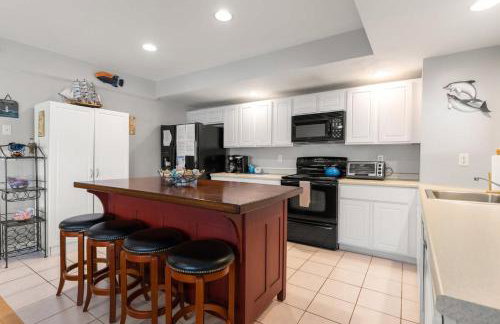
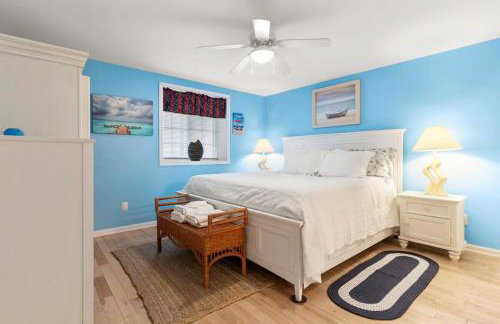
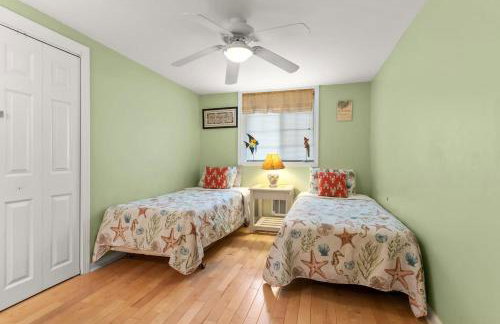
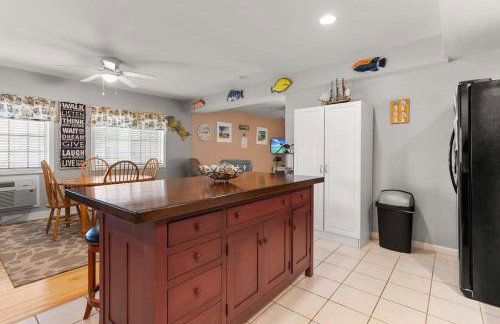
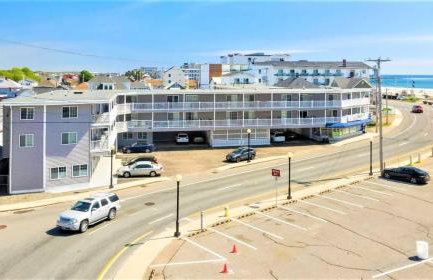
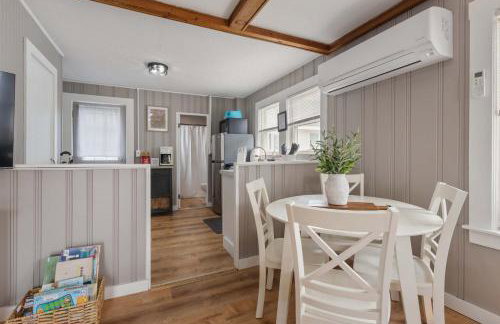
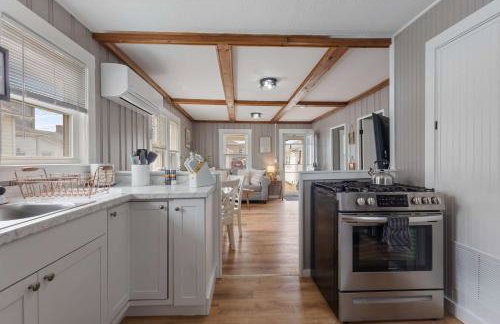
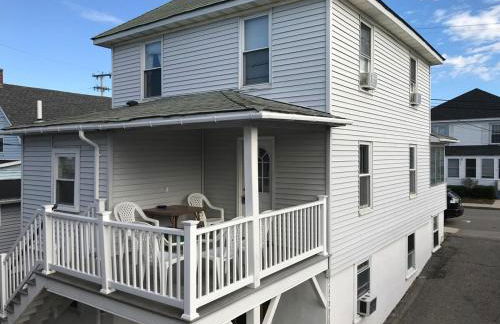
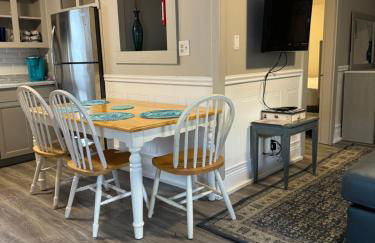
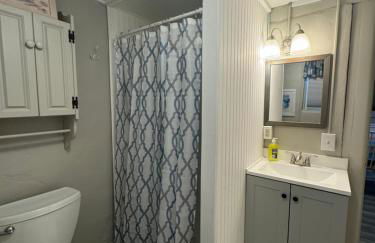
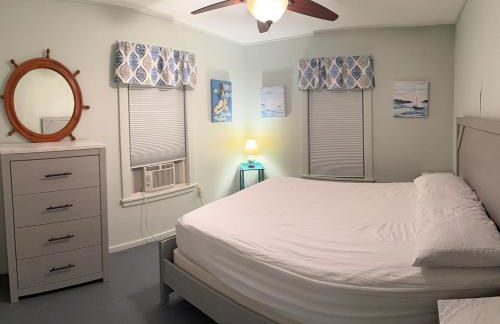
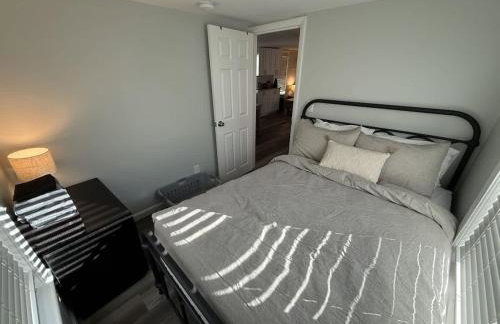
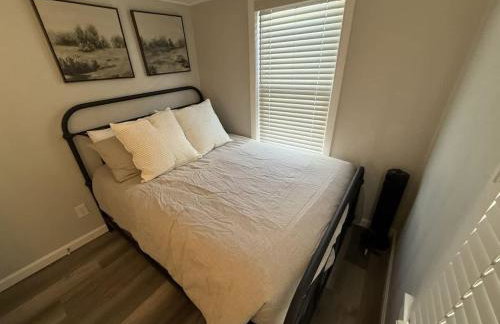
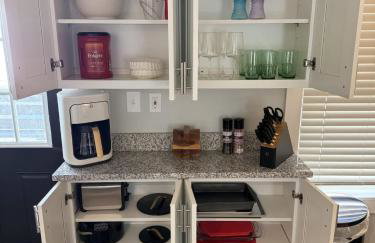
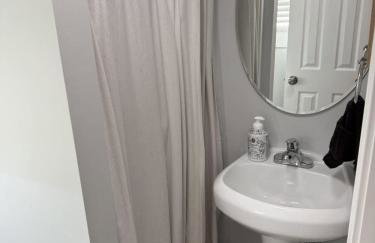
Sea Spray Condo - Foto 3
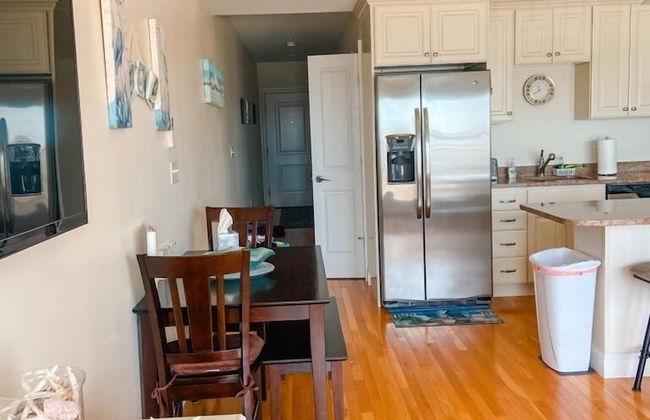
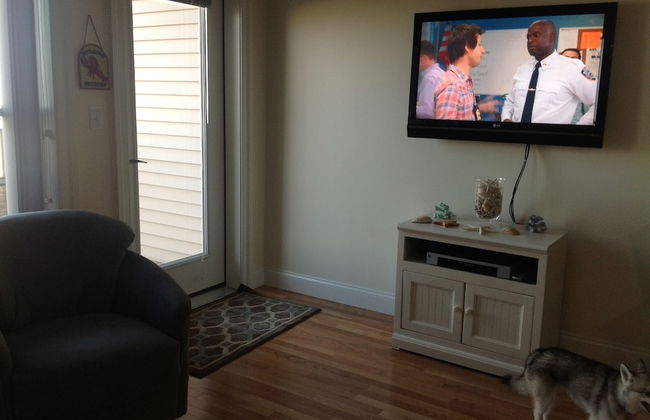
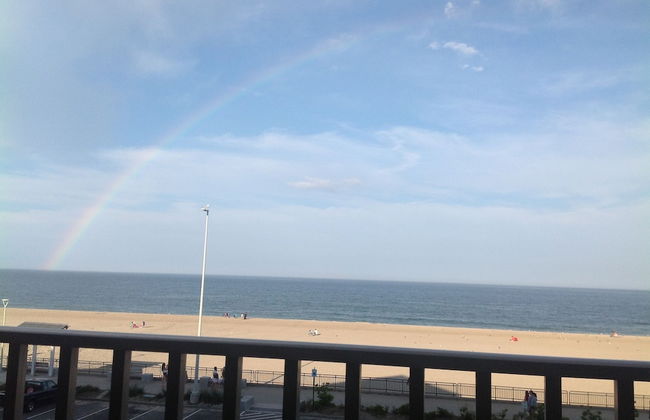
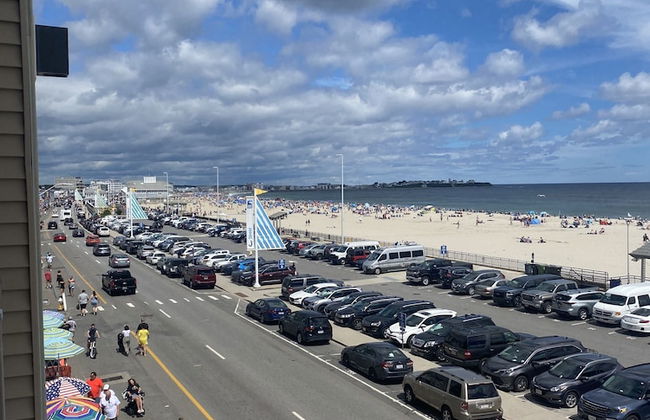
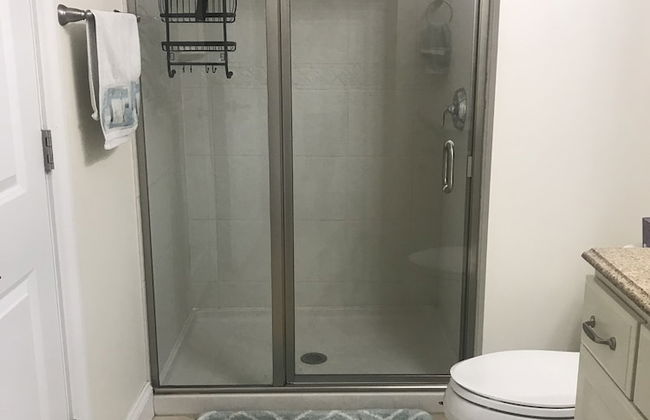
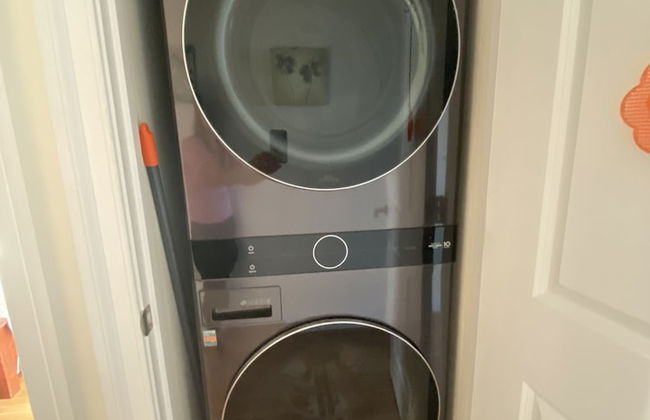
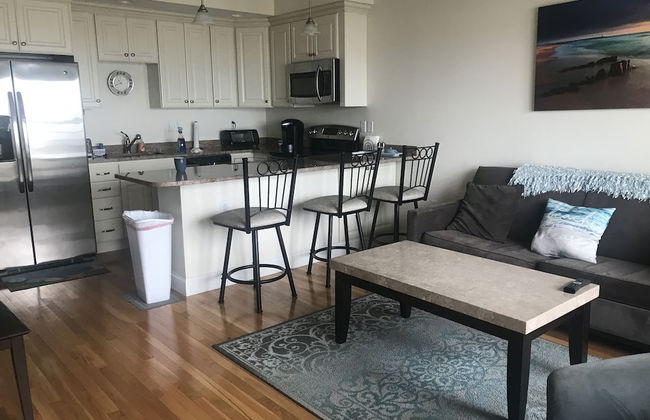
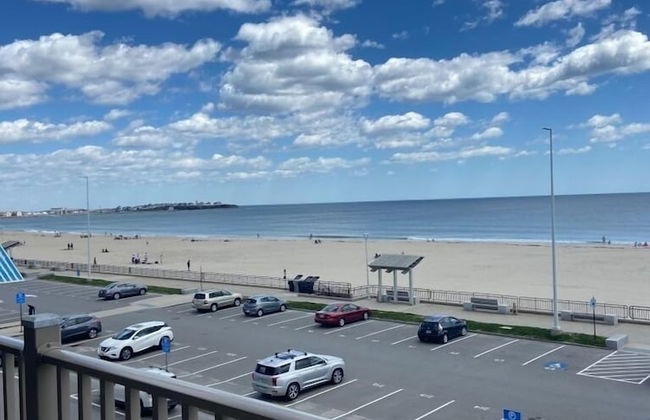
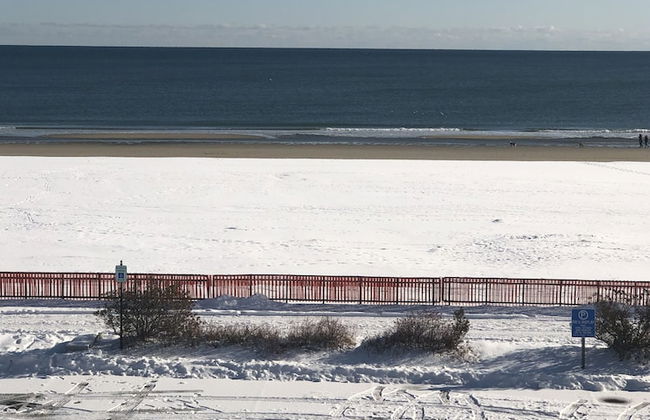
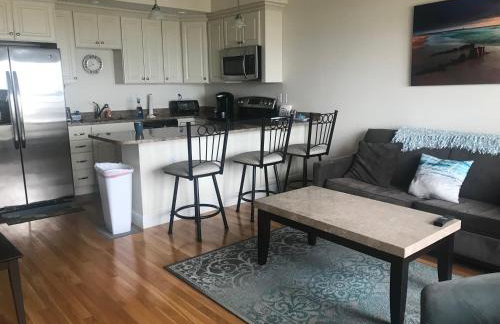
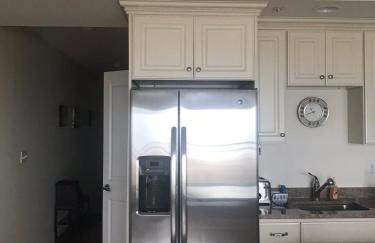
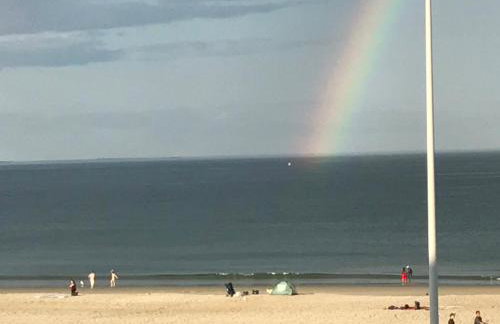
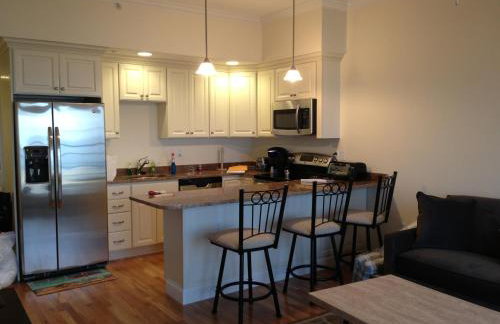
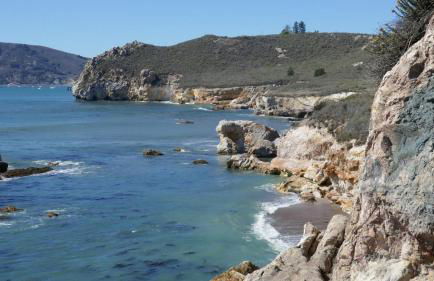
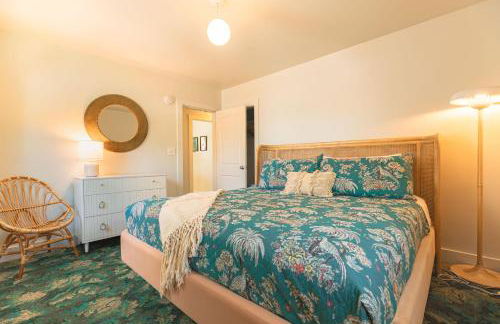
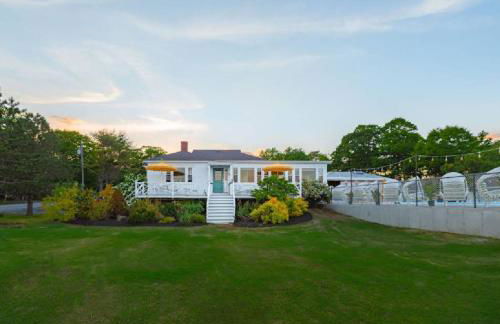
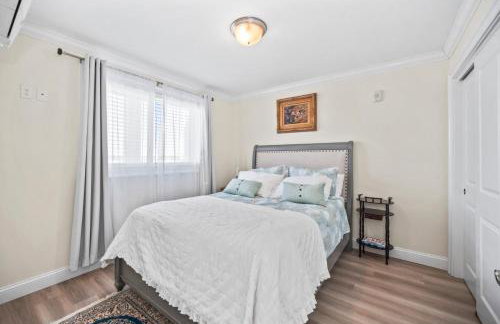
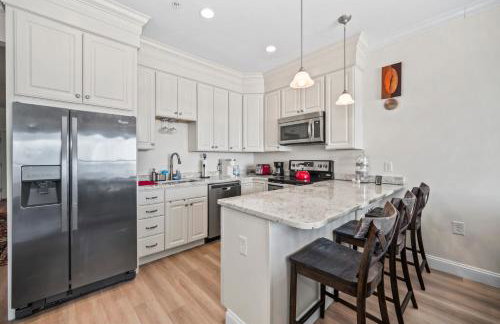
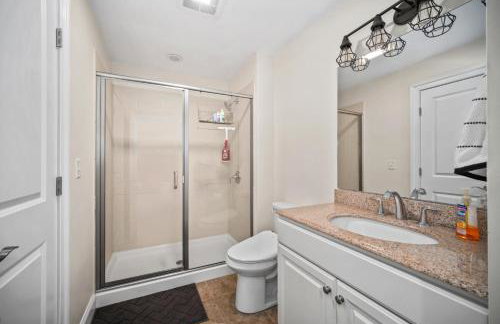
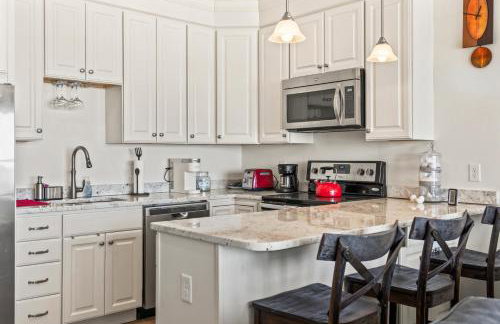
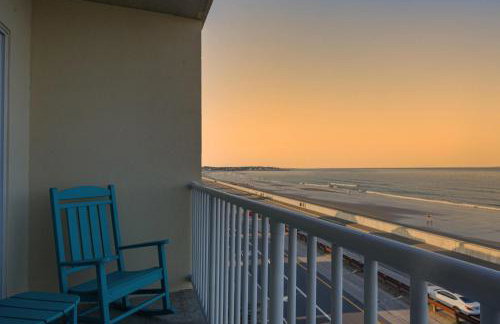
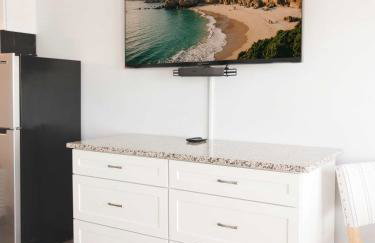
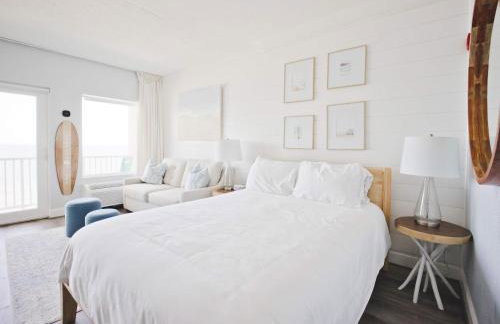
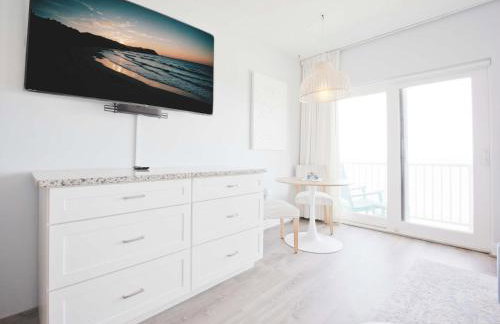
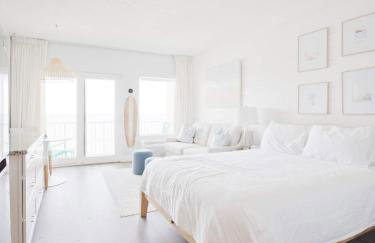
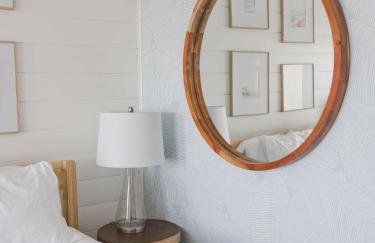
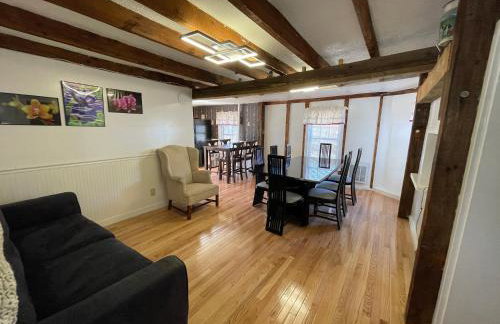
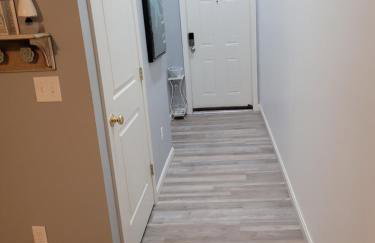
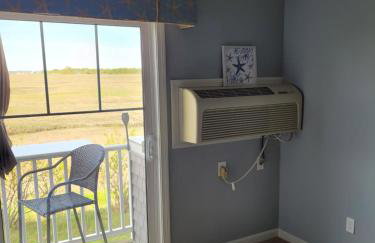
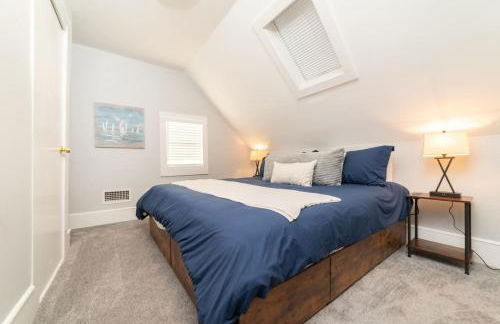
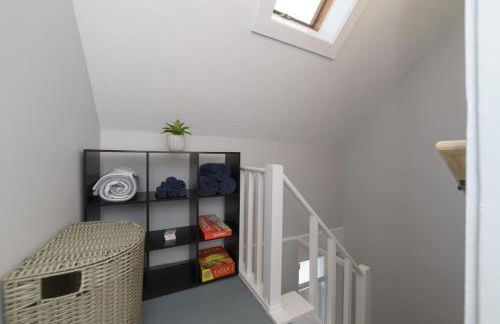
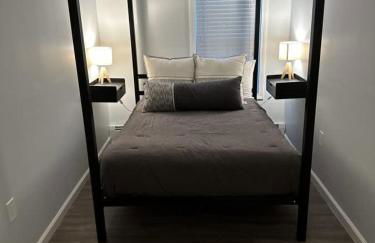
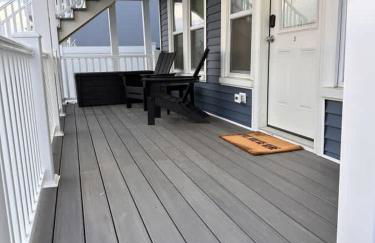
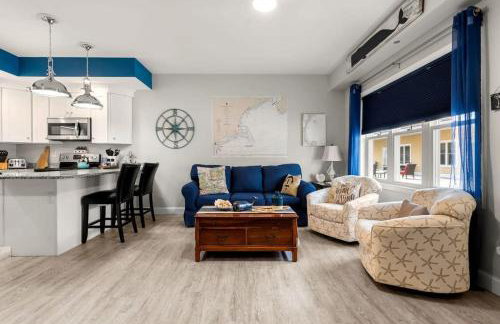
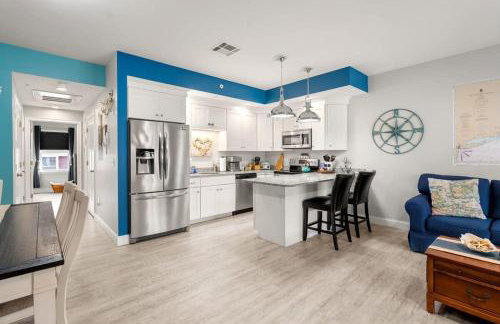
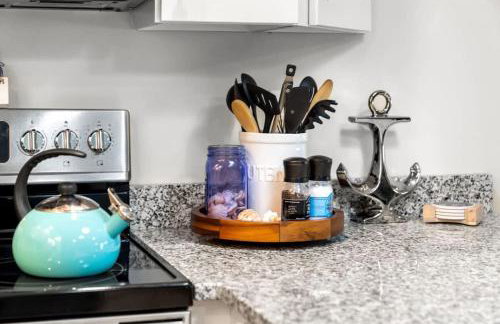
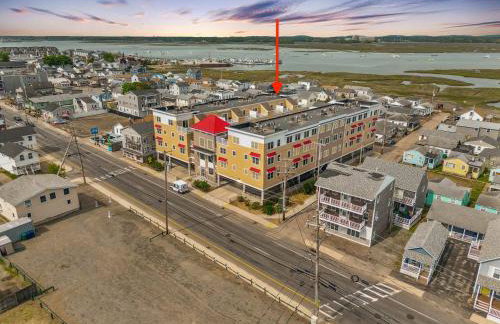
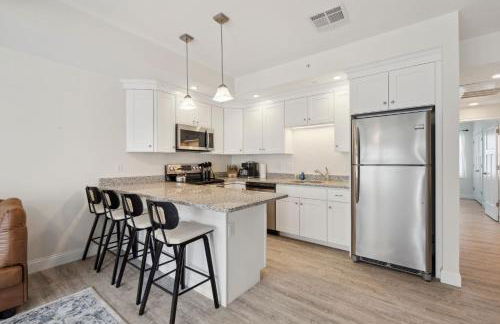
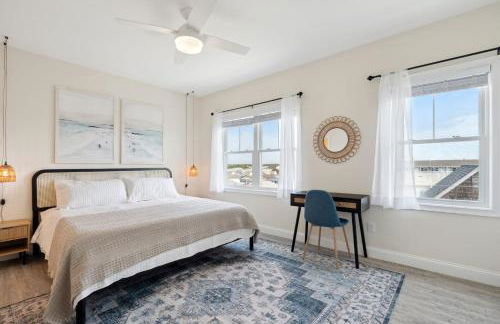
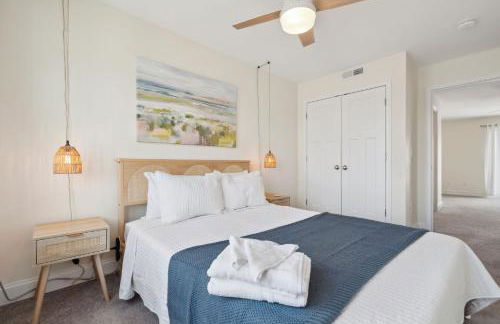
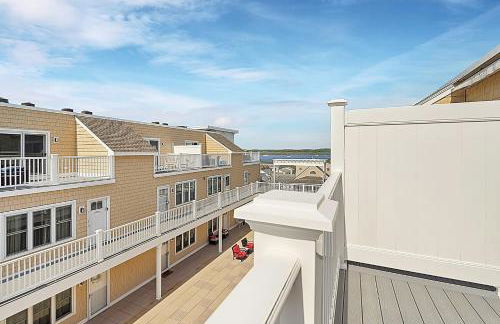
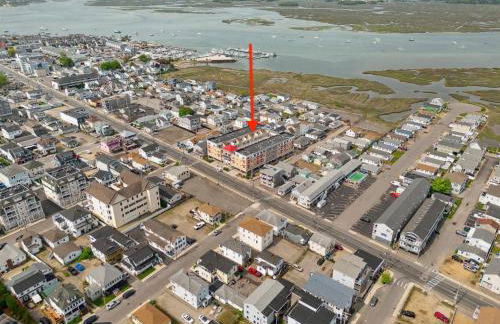
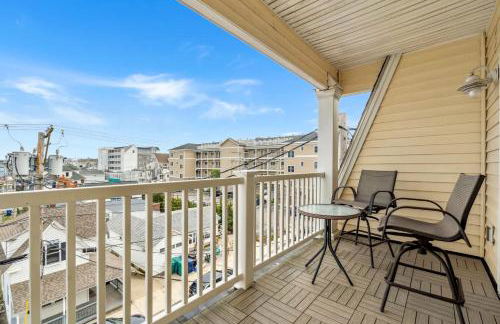
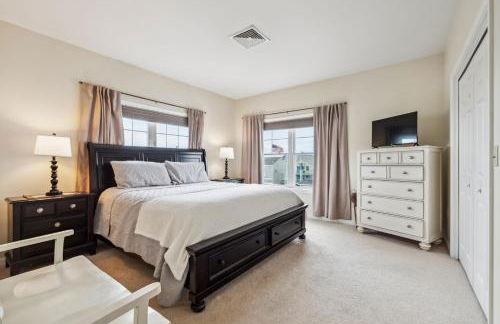
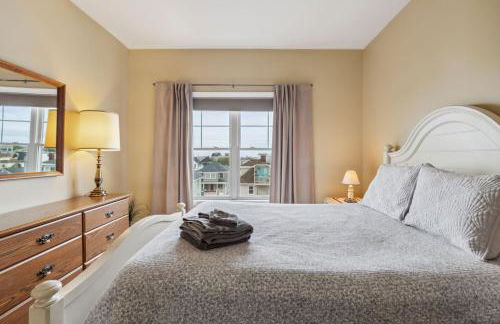
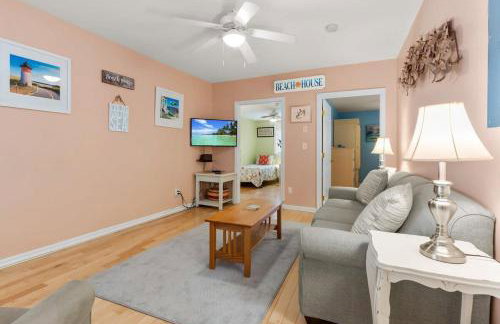
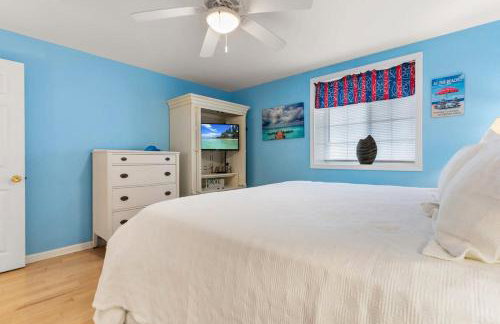
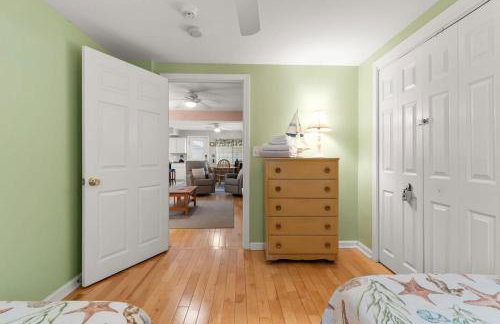
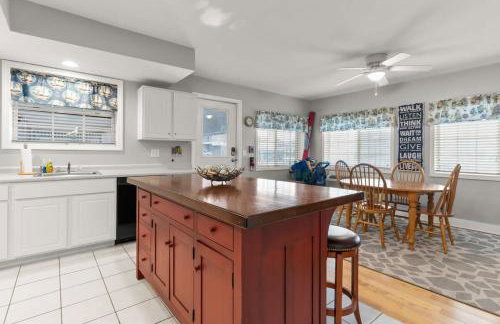
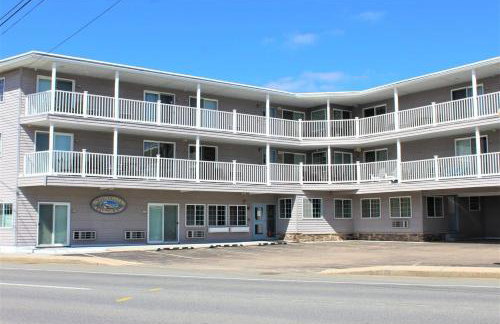
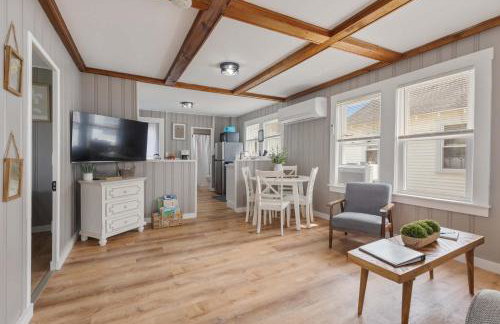
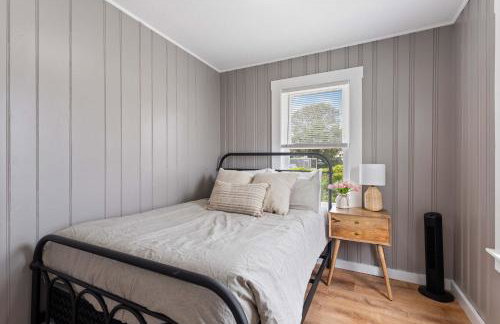
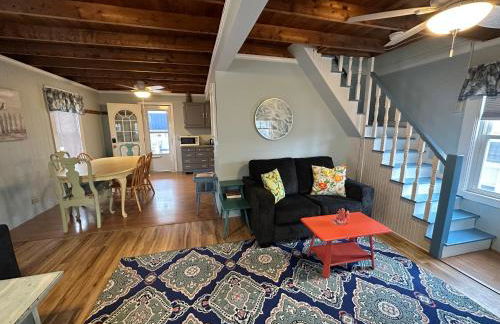
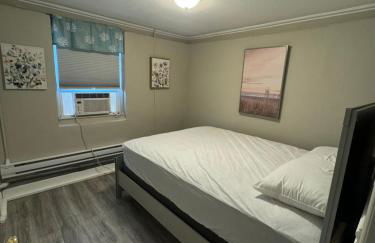
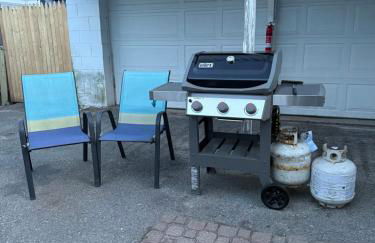
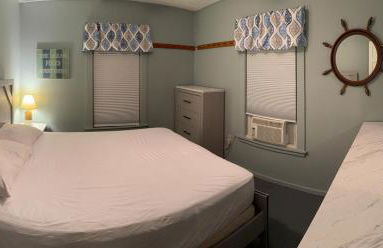
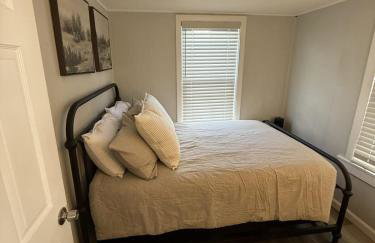
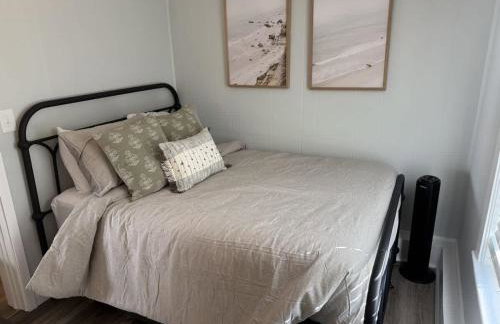
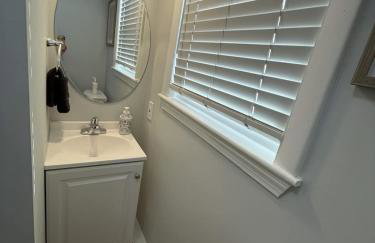
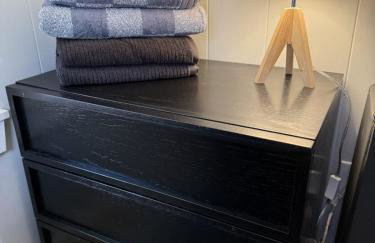
Sea Spray Condo - Foto 4
Sea Spray Condo - Foto 5
Sea Spray Condo - Foto 6
Sea Spray Condo - Foto 7
Sea Spray Condo - Foto 8
Sea Spray Condo - Foto 9
Sea Spray Condo - Foto 10
Sea Spray Condo - Foto 11
Sea Spray Condo - Foto 12
Sea Spray Condo - Foto 13
Sea Spray Condo - Foto 14
Sea Spray Condo - Foto 15
Sea Spray Condo - Foto 16
Sea Spray Condo - Foto 17
Sea Spray Condo - Foto 18
Sea Spray Condo - Foto 19
Sea Spray Condo - Foto 20
Sea Spray Condo - Foto 21
Sea Spray Condo - Foto 22
Sea Spray Condo - Foto 23
Sea Spray Condo - Foto 24
Sea Spray Condo - Foto 25
Sea Spray Condo - Foto 26
Sea Spray Condo - Foto 27
Sea Spray Condo - Foto 28
Sea Spray Condo - Foto 29
Sea Spray Condo - Foto 30
Sea Spray Condo - Foto 31
Sea Spray Condo - Foto 32
Sea Spray Condo - Foto 33
Sea Spray Condo - Foto 34
Sea Spray Condo - Foto 35
Sea Spray Condo - Foto 36
Sea Spray Condo - Foto 37
Sea Spray Condo - Foto 38
Sea Spray Condo - Foto 39
Sea Spray Condo - Foto 40
Sea Spray Condo - Foto 41
Sea Spray Condo - Foto 42
Sea Spray Condo - Foto 43
Sea Spray Condo - Foto 44
Sea Spray Condo - Foto 45
Sea Spray Condo - Foto 46
Sea Spray Condo - Foto 47
Sea Spray Condo - Foto 48
Sea Spray Condo - Foto 49
Sea Spray Condo - Foto 50
Sea Spray Condo - Foto 51
Sea Spray Condo - Foto 52
Sea Spray Condo - Foto 53
Sea Spray Condo - Foto 54
Sea Spray Condo - Foto 55
Sea Spray Condo - Foto 56
Sea Spray Condo - Foto 57
Sea Spray Condo - Foto 58
Sea Spray Condo - Foto 59
Sea Spray Condo - Foto 60
Sea Spray Condo - Foto 61
Sea Spray Condo - Foto 62
Sea Spray Condo - Foto 63
Sea Spray Condo - Foto 64
Sea Spray Condo - Foto 65
Sea Spray Condo - Foto 66
Sea Spray Condo - Foto 67
Sea Spray Condo - Foto 68
Sea Spray Condo - Foto 69
Sea Spray Condo - Foto 70
Sea Spray Condo - Foto 71
Sea Spray Condo - Foto 72
Sea Spray Condo - Foto 73
Sea Spray Condo - Foto 74
Sea Spray Condo - Foto 75

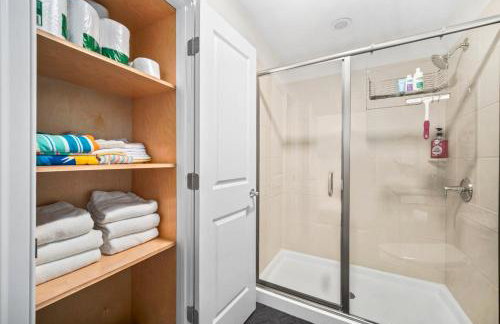
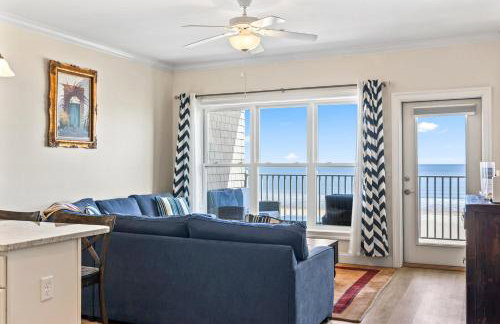
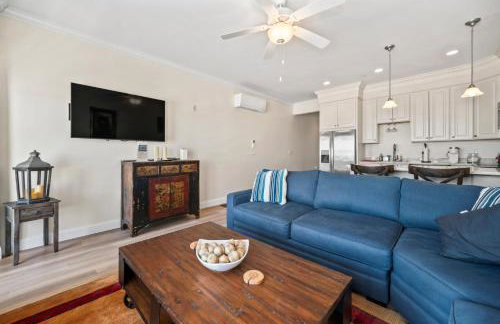
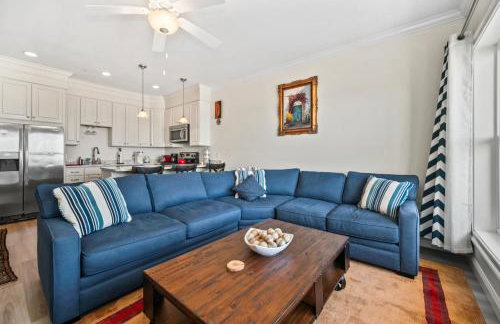
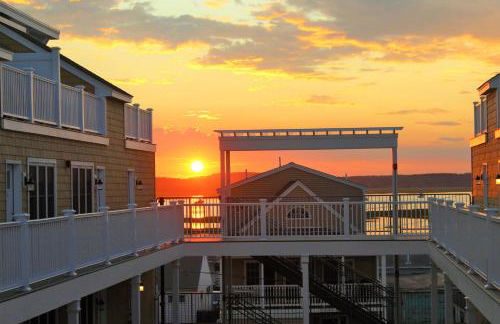
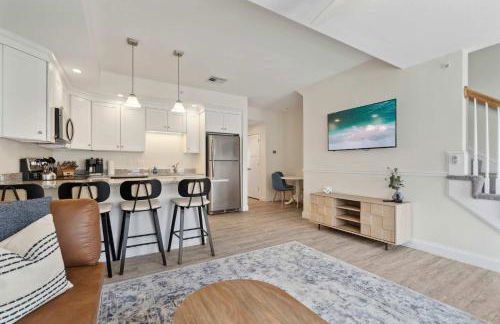
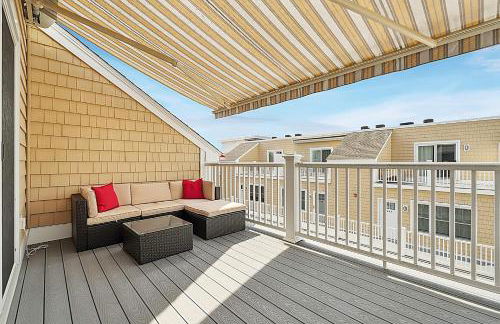
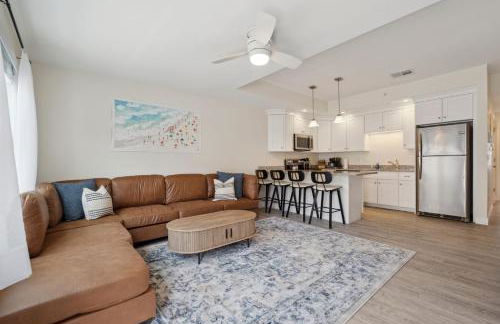
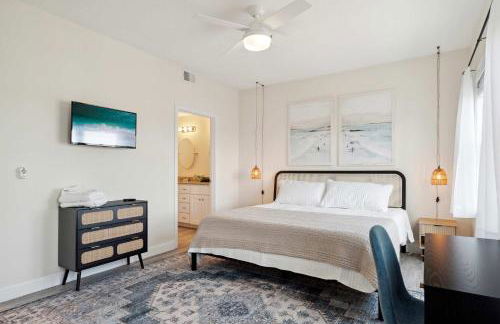
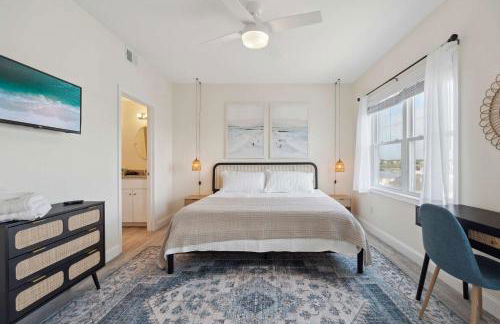
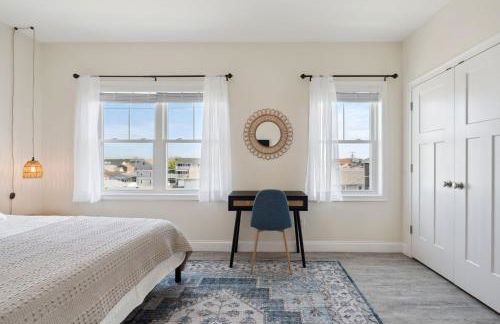
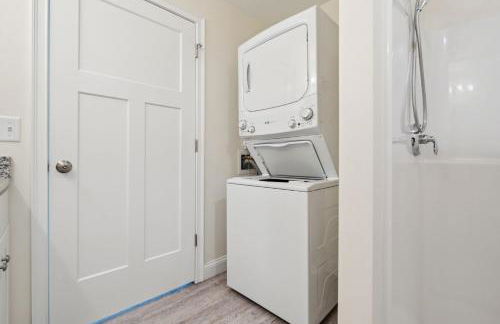
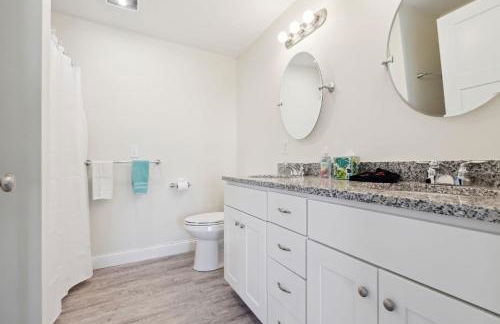
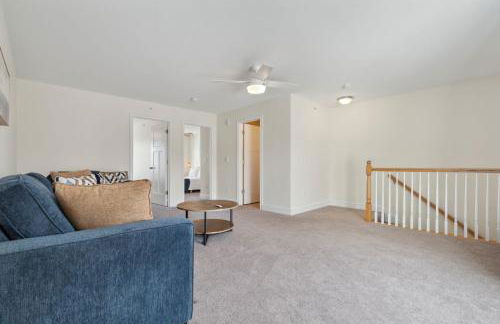
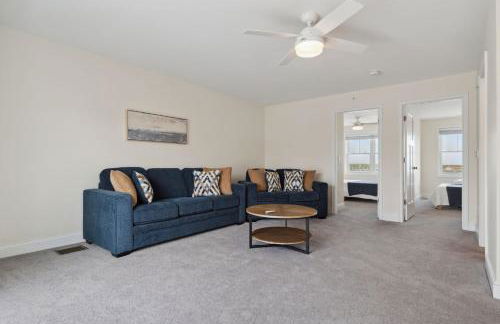
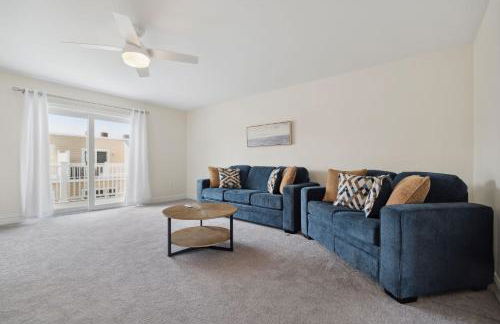
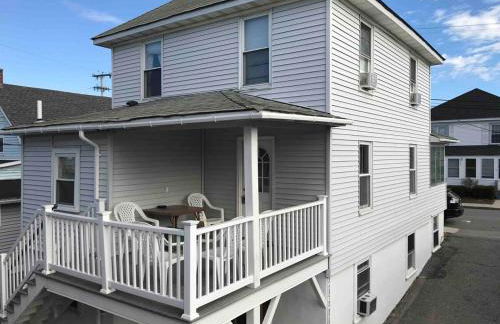
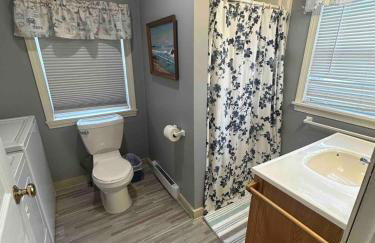
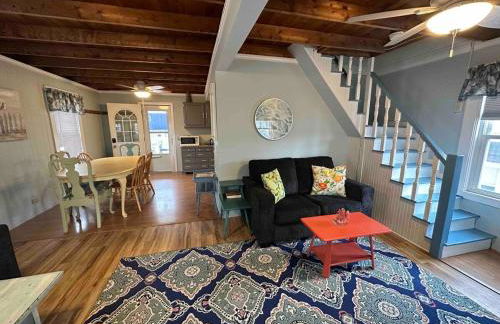
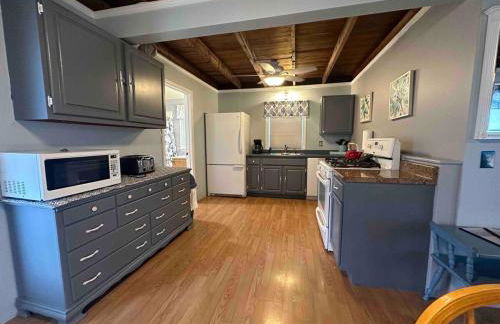
Sea Spray Condo

Hampton

  • 557 M2
  • 4 pessoas
  • Ar-condicionado
  • Aquecimento
  • Terraço
  • Estacionamento
  • Elevador
  • Varanda
  • Tv
  • Máquina de lavar roupa
  • Toalhas
  • Lençóis
10Magnífico | 12 avaliações
Ocean Front condo in the heart of Hampton Beach - Foto 1
Ocean Front condo in the heart of Hampton Beach - Foto 2
Ocean Front condo in the heart of Hampton Beach - Foto 3
Ocean Front condo in the heart of Hampton Beach - Foto 4
Ocean Front condo in the heart of Hampton Beach - Foto 5
Ocean Front condo in the heart of Hampton Beach - Foto 6
Ocean Front condo in the heart of Hampton Beach - Foto 7
Ocean Front condo in the heart of Hampton Beach - Foto 8
Ocean Front condo in the heart of Hampton Beach - Foto 9
Ocean Front condo in the heart of Hampton Beach - Foto 10
Ocean Front condo in the heart of Hampton Beach - Foto 11
Ocean Front condo in the heart of Hampton Beach - Foto 12
Ocean Front condo in the heart of Hampton Beach - Foto 13
Ocean Front condo in the heart of Hampton Beach - Foto 14
Ocean Front condo in the heart of Hampton Beach - Foto 15
Ocean Front condo in the heart of Hampton Beach - Foto 16
Ocean Front condo in the heart of Hampton Beach - Foto 17
Ocean Front condo in the heart of Hampton Beach - Foto 18
Ocean Front condo in the heart of Hampton Beach - Foto 19
Ocean Front condo in the heart of Hampton Beach - Foto 20
Ocean Front condo in the heart of Hampton Beach - Foto 21
Ocean Front condo in the heart of Hampton Beach - Foto 22
Ocean Front condo in the heart of Hampton Beach - Foto 23
Ocean Front condo in the heart of Hampton Beach - Foto 24
Ocean Front condo in the heart of Hampton Beach - Foto 25
Ocean Front condo in the heart of Hampton Beach - Foto 26
Ocean Front condo in the heart of Hampton Beach - Foto 27
Ocean Front condo in the heart of Hampton Beach - Foto 28
Ocean Front condo in the heart of Hampton Beach - Foto 29
Ocean Front condo in the heart of Hampton Beach - Foto 30
Ocean Front condo in the heart of Hampton Beach - Foto 31
Ocean Front condo in the heart of Hampton Beach - Foto 32
Ocean Front condo in the heart of Hampton Beach - Foto 33
Ocean Front condo in the heart of Hampton Beach - Foto 34
Ocean Front condo in the heart of Hampton Beach - Foto 35
Ocean Front condo in the heart of Hampton Beach - Foto 36
Ocean Front condo in the heart of Hampton Beach - Foto 37
Ocean Front condo in the heart of Hampton Beach - Foto 38
Ocean Front condo in the heart of Hampton Beach - Foto 39
Ocean Front condo in the heart of Hampton Beach - Foto 40
Ocean Front condo in the heart of Hampton Beach - Foto 41
Ocean Front condo in the heart of Hampton Beach - Foto 42
Ocean Front condo in the heart of Hampton Beach - Foto 43
Ocean Front condo in the heart of Hampton Beach - Foto 44

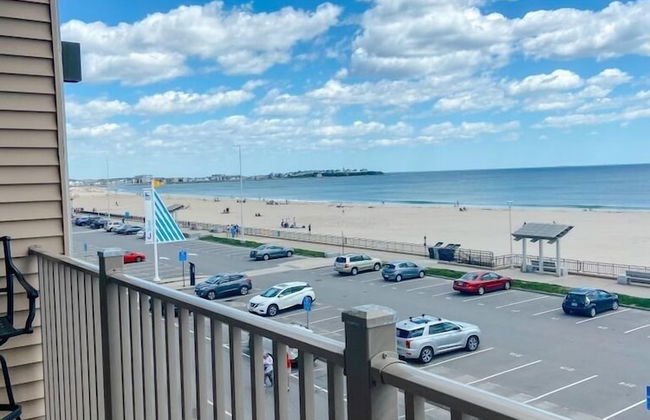
Ocean Front condo in the heart of Hampton Beach

Hampton

  • 84 M2
  • 1 quarto
  • 4 pessoas
  • Ar-condicionado
  • Aquecimento
  • Terraço
  • Estacionamento
  • Elevador
  • Jardim
9.6Excepcional | 20 avaliações
Hampton Beach OCEAN FRONT Condo at the Surf - Foto 1
Hampton Beach OCEAN FRONT Condo at the Surf - Foto 2
Hampton Beach OCEAN FRONT Condo at the Surf - Foto 3
Hampton Beach OCEAN FRONT Condo at the Surf - Foto 4
Hampton Beach OCEAN FRONT Condo at the Surf - Foto 5
Hampton Beach OCEAN FRONT Condo at the Surf - Foto 6
Hampton Beach OCEAN FRONT Condo at the Surf - Foto 7
Hampton Beach OCEAN FRONT Condo at the Surf - Foto 8
Hampton Beach OCEAN FRONT Condo at the Surf - Foto 9
Hampton Beach OCEAN FRONT Condo at the Surf - Foto 10
Hampton Beach OCEAN FRONT Condo at the Surf - Foto 11
Hampton Beach OCEAN FRONT Condo at the Surf - Foto 12
Hampton Beach OCEAN FRONT Condo at the Surf - Foto 13
Hampton Beach OCEAN FRONT Condo at the Surf - Foto 14
Hampton Beach OCEAN FRONT Condo at the Surf - Foto 15
Hampton Beach OCEAN FRONT Condo at the Surf - Foto 16
Hampton Beach OCEAN FRONT Condo at the Surf - Foto 17
Hampton Beach OCEAN FRONT Condo at the Surf - Foto 18
Hampton Beach OCEAN FRONT Condo at the Surf - Foto 19
Hampton Beach OCEAN FRONT Condo at the Surf - Foto 20
Hampton Beach OCEAN FRONT Condo at the Surf - Foto 21
Hampton Beach OCEAN FRONT Condo at the Surf - Foto 22
Hampton Beach OCEAN FRONT Condo at the Surf - Foto 23

Hampton Beach OCEAN FRONT Condo at the Surf

Hampton

  • 51 M2
  • 1 quarto
  • 3 pessoas
  • Ar-condicionado
  • Terraço
  • Estacionamento
  • Elevador
  • Jardim
9.5Excepcional | 23 avaliações
Sea & Sun Cottage #1 - Foto 1
Sea & Sun Cottage #1 - Foto 2
Sea & Sun Cottage #1 - Foto 3
Sea & Sun Cottage #1 - Foto 4
Sea & Sun Cottage #1 - Foto 5
Sea & Sun Cottage #1 - Foto 6
Sea & Sun Cottage #1 - Foto 7
Sea & Sun Cottage #1 - Foto 8
Sea & Sun Cottage #1 - Foto 9
Sea & Sun Cottage #1 - Foto 10
Sea & Sun Cottage #1 - Foto 11
Sea & Sun Cottage #1 - Foto 12
Sea & Sun Cottage #1 - Foto 13
Sea & Sun Cottage #1 - Foto 14
Sea & Sun Cottage #1 - Foto 15
Sea & Sun Cottage #1 - Foto 16
Sea & Sun Cottage #1 - Foto 17
Sea & Sun Cottage #1 - Foto 18
Sea & Sun Cottage #1 - Foto 19
Sea & Sun Cottage #1 - Foto 20
Sea & Sun Cottage #1 - Foto 21
Sea & Sun Cottage #1 - Foto 22
Sea & Sun Cottage #1 - Foto 23
Sea & Sun Cottage #1 - Foto 24
Sea & Sun Cottage #1 - Foto 25
Sea & Sun Cottage #1 - Foto 26
Sea & Sun Cottage #1 - Foto 27
Sea & Sun Cottage #1 - Foto 28

Sea & Sun Cottage #1

Hampton

  • 56 M2
  • 2 quartos
  • 5 pessoas
  • Ar-condicionado
  • Aquecimento
  • Estacionamento
9.8Excepcional | 6 avaliações
Rye Motor Inn - Oceanfront, Walk to Beach - Foto 1
Rye Motor Inn - Oceanfront, Walk to Beach - Foto 2
Rye Motor Inn - Oceanfront, Walk to Beach - Foto 3
Rye Motor Inn - Oceanfront, Walk to Beach - Foto 4
Rye Motor Inn - Oceanfront, Walk to Beach - Foto 5
Rye Motor Inn - Oceanfront, Walk to Beach - Foto 6
Rye Motor Inn - Oceanfront, Walk to Beach - Foto 7
Rye Motor Inn - Oceanfront, Walk to Beach - Foto 8
Rye Motor Inn - Oceanfront, Walk to Beach - Foto 9
Rye Motor Inn - Oceanfront, Walk to Beach - Foto 10
Rye Motor Inn - Oceanfront, Walk to Beach - Foto 11
Rye Motor Inn - Oceanfront, Walk to Beach - Foto 12
Rye Motor Inn - Oceanfront, Walk to Beach - Foto 13
Rye Motor Inn - Oceanfront, Walk to Beach - Foto 14
Rye Motor Inn - Oceanfront, Walk to Beach - Foto 15
Rye Motor Inn - Oceanfront, Walk to Beach - Foto 16
Rye Motor Inn - Oceanfront, Walk to Beach - Foto 17
Rye Motor Inn - Oceanfront, Walk to Beach - Foto 18
Rye Motor Inn - Oceanfront, Walk to Beach - Foto 19
Rye Motor Inn - Oceanfront, Walk to Beach - Foto 20
Rye Motor Inn - Oceanfront, Walk to Beach - Foto 21
Rye Motor Inn - Oceanfront, Walk to Beach - Foto 22
Rye Motor Inn - Oceanfront, Walk to Beach - Foto 23
Rye Motor Inn - Oceanfront, Walk to Beach - Foto 24
Rye Motor Inn - Oceanfront, Walk to Beach - Foto 25
Rye Motor Inn - Oceanfront, Walk to Beach - Foto 26
Rye Motor Inn - Oceanfront, Walk to Beach - Foto 27

Rye Motor Inn - Oceanfront, Walk to Beach

Rye

  • 60 M2
  • 3 pessoas
  • Ar-condicionado
  • Terraço
  • Piscina
  • Estacionamento
  • Jardim
9.3Excepcional | 76 avaliações
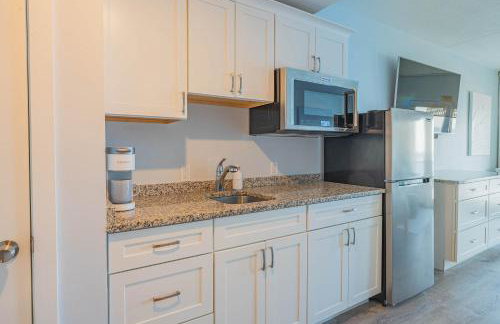
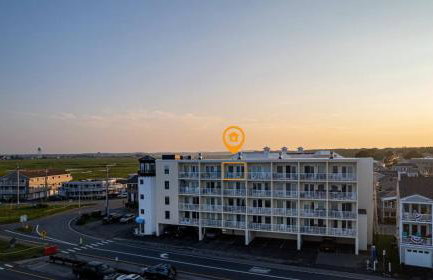
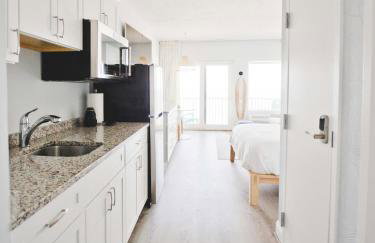
Hampton Tides-Ocean View-Top Floor With Balcony - Foto 1
Hampton Tides-Ocean View-Top Floor With Balcony - Foto 2
Hampton Tides-Ocean View-Top Floor With Balcony - Foto 3
Hampton Tides-Ocean View-Top Floor With Balcony - Foto 4
Hampton Tides-Ocean View-Top Floor With Balcony - Foto 5
Hampton Tides-Ocean View-Top Floor With Balcony - Foto 6
Hampton Tides-Ocean View-Top Floor With Balcony - Foto 7
Hampton Tides-Ocean View-Top Floor With Balcony - Foto 8
Hampton Tides-Ocean View-Top Floor With Balcony - Foto 9
Hampton Tides-Ocean View-Top Floor With Balcony - Foto 10
Hampton Tides-Ocean View-Top Floor With Balcony - Foto 11
Hampton Tides-Ocean View-Top Floor With Balcony - Foto 12
Hampton Tides-Ocean View-Top Floor With Balcony - Foto 13
Hampton Tides-Ocean View-Top Floor With Balcony - Foto 14
Hampton Tides-Ocean View-Top Floor With Balcony - Foto 15
Hampton Tides-Ocean View-Top Floor With Balcony - Foto 16
Hampton Tides-Ocean View-Top Floor With Balcony - Foto 17
Hampton Tides-Ocean View-Top Floor With Balcony - Foto 18
Hampton Tides-Ocean View-Top Floor With Balcony - Foto 19
Hampton Tides-Ocean View-Top Floor With Balcony - Foto 20
Hampton Tides-Ocean View-Top Floor With Balcony - Foto 21
Hampton Tides-Ocean View-Top Floor With Balcony - Foto 22
Hampton Tides-Ocean View-Top Floor With Balcony - Foto 23
Hampton Tides-Ocean View-Top Floor With Balcony - Foto 24
Hampton Tides-Ocean View-Top Floor With Balcony - Foto 25
Hampton Tides-Ocean View-Top Floor With Balcony - Foto 26
Hampton Tides-Ocean View-Top Floor With Balcony - Foto 27
Hampton Tides-Ocean View-Top Floor With Balcony - Foto 28
Hampton Tides-Ocean View-Top Floor With Balcony - Foto 29
Hampton Tides-Ocean View-Top Floor With Balcony - Foto 30
Hampton Tides-Ocean View-Top Floor With Balcony - Foto 31
Hampton Tides-Ocean View-Top Floor With Balcony - Foto 32
Hampton Tides-Ocean View-Top Floor With Balcony - Foto 33
Hampton Tides-Ocean View-Top Floor With Balcony - Foto 34
Hampton Tides-Ocean View-Top Floor With Balcony - Foto 35
Hampton Tides-Ocean View-Top Floor With Balcony - Foto 36
Hampton Tides-Ocean View-Top Floor With Balcony - Foto 37
Hampton Tides-Ocean View-Top Floor With Balcony - Foto 38
Hampton Tides-Ocean View-Top Floor With Balcony - Foto 39
Hampton Tides-Ocean View-Top Floor With Balcony - Foto 40
Hampton Tides-Ocean View-Top Floor With Balcony - Foto 41
Hampton Tides-Ocean View-Top Floor With Balcony - Foto 42
Hampton Tides-Ocean View-Top Floor With Balcony - Foto 43
Hampton Tides-Ocean View-Top Floor With Balcony - Foto 44
Hampton Tides-Ocean View-Top Floor With Balcony - Foto 45
Hampton Tides-Ocean View-Top Floor With Balcony - Foto 46
Hampton Tides-Ocean View-Top Floor With Balcony - Foto 47
Hampton Tides-Ocean View-Top Floor With Balcony - Foto 48
Hampton Tides-Ocean View-Top Floor With Balcony - Foto 49
Hampton Tides-Ocean View-Top Floor With Balcony - Foto 50
Hampton Tides-Ocean View-Top Floor With Balcony - Foto 51
Hampton Tides-Ocean View-Top Floor With Balcony - Foto 52
Hampton Tides-Ocean View-Top Floor With Balcony - Foto 53
Hampton Tides-Ocean View-Top Floor With Balcony - Foto 54
Hampton Tides-Ocean View-Top Floor With Balcony - Foto 55
Hampton Tides-Ocean View-Top Floor With Balcony - Foto 56
Hampton Tides-Ocean View-Top Floor With Balcony - Foto 57
Hampton Tides-Ocean View-Top Floor With Balcony - Foto 58
Hampton Tides-Ocean View-Top Floor With Balcony - Foto 59
Hampton Tides-Ocean View-Top Floor With Balcony - Foto 60
Hampton Tides-Ocean View-Top Floor With Balcony - Foto 61
Hampton Tides-Ocean View-Top Floor With Balcony - Foto 62
Hampton Tides-Ocean View-Top Floor With Balcony - Foto 63
Hampton Tides-Ocean View-Top Floor With Balcony - Foto 64
Hampton Tides-Ocean View-Top Floor With Balcony - Foto 65
Hampton Tides-Ocean View-Top Floor With Balcony - Foto 66

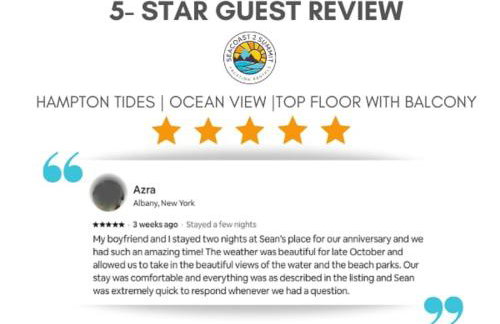
Hampton Tides-Ocean View-Top Floor With Balcony

Hampton

  • 30 M2
  • 4 pessoas
  • Ar-condicionado
  • Aquecimento
  • Estacionamento
  • Elevador
  • Jardim
9.3Excepcional | 10 avaliações
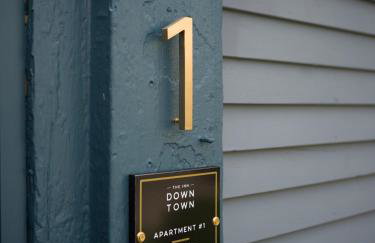
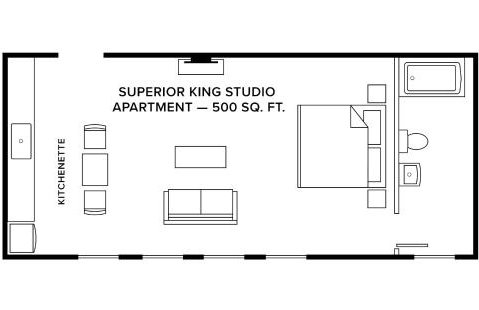
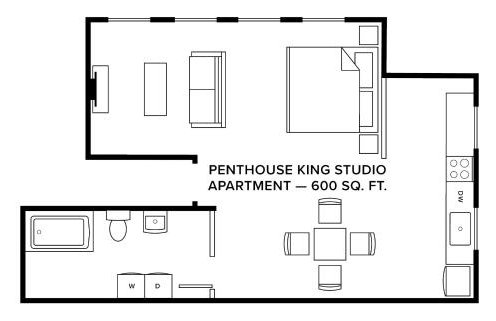
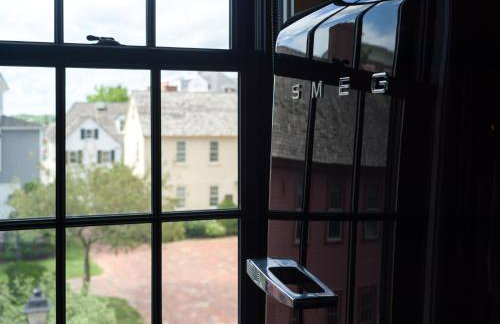
THE INN DOWNTOWN - Portsmouth, NH - Foto 1
THE INN DOWNTOWN - Portsmouth, NH - Foto 2
THE INN DOWNTOWN - Portsmouth, NH - Foto 3
THE INN DOWNTOWN - Portsmouth, NH - Foto 4
THE INN DOWNTOWN - Portsmouth, NH - Foto 5
THE INN DOWNTOWN - Portsmouth, NH - Foto 6
THE INN DOWNTOWN - Portsmouth, NH - Foto 7
THE INN DOWNTOWN - Portsmouth, NH - Foto 8
THE INN DOWNTOWN - Portsmouth, NH - Foto 9
THE INN DOWNTOWN - Portsmouth, NH - Foto 10
THE INN DOWNTOWN - Portsmouth, NH - Foto 11
THE INN DOWNTOWN - Portsmouth, NH - Foto 12
THE INN DOWNTOWN - Portsmouth, NH - Foto 13
THE INN DOWNTOWN - Portsmouth, NH - Foto 14
THE INN DOWNTOWN - Portsmouth, NH - Foto 15
THE INN DOWNTOWN - Portsmouth, NH - Foto 16
THE INN DOWNTOWN - Portsmouth, NH - Foto 17
THE INN DOWNTOWN - Portsmouth, NH - Foto 18
THE INN DOWNTOWN - Portsmouth, NH - Foto 19
THE INN DOWNTOWN - Portsmouth, NH - Foto 20
THE INN DOWNTOWN - Portsmouth, NH - Foto 21
THE INN DOWNTOWN - Portsmouth, NH - Foto 22
THE INN DOWNTOWN - Portsmouth, NH - Foto 23
THE INN DOWNTOWN - Portsmouth, NH - Foto 24

THE INN DOWNTOWN - Portsmouth, NH

Portsmouth - 860 m do centro

  • 56 M2
  • 4 pessoas
  • Ar-condicionado
  • Aquecimento
  • Estacionamento
  • Jardim
9.6Excepcional | 99 avaliações
The Beach Getaway - Foto 1
The Beach Getaway - Foto 2
The Beach Getaway - Foto 3
The Beach Getaway - Foto 4
The Beach Getaway - Foto 5
The Beach Getaway - Foto 6
The Beach Getaway - Foto 7
The Beach Getaway - Foto 8
The Beach Getaway - Foto 9
The Beach Getaway - Foto 10
The Beach Getaway - Foto 11
The Beach Getaway - Foto 12

The Beach Getaway

Hampton

  • 30 M2
  • 2 pessoas
  • Ar-condicionado
  • Estacionamento
9.5Excepcional | 18 avaliações
The Cottages at Harvey Lake - Foto 1
The Cottages at Harvey Lake - Foto 2
The Cottages at Harvey Lake - Foto 3
The Cottages at Harvey Lake - Foto 4
The Cottages at Harvey Lake - Foto 5
The Cottages at Harvey Lake - Foto 6
The Cottages at Harvey Lake - Foto 7
The Cottages at Harvey Lake - Foto 8
The Cottages at Harvey Lake - Foto 9
The Cottages at Harvey Lake - Foto 10
The Cottages at Harvey Lake - Foto 11
The Cottages at Harvey Lake - Foto 12
The Cottages at Harvey Lake - Foto 13
The Cottages at Harvey Lake - Foto 14
The Cottages at Harvey Lake - Foto 15
The Cottages at Harvey Lake - Foto 16
The Cottages at Harvey Lake - Foto 17
The Cottages at Harvey Lake - Foto 18
The Cottages at Harvey Lake - Foto 19
The Cottages at Harvey Lake - Foto 20
The Cottages at Harvey Lake - Foto 21
The Cottages at Harvey Lake - Foto 22
The Cottages at Harvey Lake - Foto 23
The Cottages at Harvey Lake - Foto 24
The Cottages at Harvey Lake - Foto 25
The Cottages at Harvey Lake - Foto 26
The Cottages at Harvey Lake - Foto 27
The Cottages at Harvey Lake - Foto 28
The Cottages at Harvey Lake - Foto 29
The Cottages at Harvey Lake - Foto 30
The Cottages at Harvey Lake - Foto 31
The Cottages at Harvey Lake - Foto 32
The Cottages at Harvey Lake - Foto 33
The Cottages at Harvey Lake - Foto 34
The Cottages at Harvey Lake - Foto 35
The Cottages at Harvey Lake - Foto 36
The Cottages at Harvey Lake - Foto 37
The Cottages at Harvey Lake - Foto 38
The Cottages at Harvey Lake - Foto 39
The Cottages at Harvey Lake - Foto 40
The Cottages at Harvey Lake - Foto 41
The Cottages at Harvey Lake - Foto 42
The Cottages at Harvey Lake - Foto 43
The Cottages at Harvey Lake - Foto 44
The Cottages at Harvey Lake - Foto 45
The Cottages at Harvey Lake - Foto 46
The Cottages at Harvey Lake - Foto 47
The Cottages at Harvey Lake - Foto 48
The Cottages at Harvey Lake - Foto 49
The Cottages at Harvey Lake - Foto 50
The Cottages at Harvey Lake - Foto 51
The Cottages at Harvey Lake - Foto 52
The Cottages at Harvey Lake - Foto 53
The Cottages at Harvey Lake - Foto 54
The Cottages at Harvey Lake - Foto 55
The Cottages at Harvey Lake - Foto 56
The Cottages at Harvey Lake - Foto 57
The Cottages at Harvey Lake - Foto 58
The Cottages at Harvey Lake - Foto 59
The Cottages at Harvey Lake - Foto 60
The Cottages at Harvey Lake - Foto 61
The Cottages at Harvey Lake - Foto 62

The Cottages at Harvey Lake

Northwood

  • 279 M2
  • 6 quartos
  • 13 pessoas
  • Ar-condicionado
  • Aquecimento
  • Terraço
  • Estacionamento
8.9Muito bom | 42 avaliações
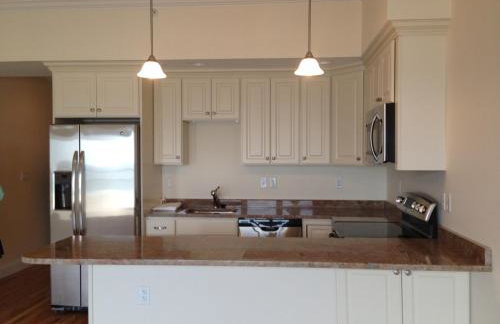
Seaside Haven - Foto 1
Seaside Haven - Foto 2
Seaside Haven - Foto 3
Seaside Haven - Foto 4
Seaside Haven - Foto 5
Seaside Haven - Foto 6
Seaside Haven - Foto 7
Seaside Haven - Foto 8
Seaside Haven - Foto 9
Seaside Haven - Foto 10
Seaside Haven - Foto 11
Seaside Haven - Foto 12
Seaside Haven - Foto 13
Seaside Haven - Foto 14
Seaside Haven - Foto 15
Seaside Haven - Foto 16
Seaside Haven - Foto 17
Seaside Haven - Foto 18
Seaside Haven - Foto 19
Seaside Haven - Foto 20
Seaside Haven - Foto 21

Seaside Haven

Seabrook

  • 35 M2
  • 2 pessoas
  • Ar-condicionado
  • Terraço
  • Estacionamento
  • Elevador
8.7Muito bom | 31 avaliações
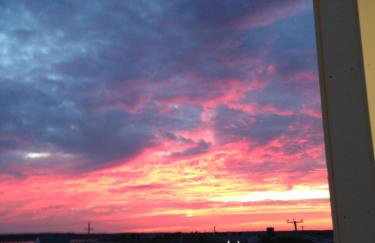
Riptide Retreat - Walk to Hampton & Seabrook Beach - Foto 1
Riptide Retreat - Walk to Hampton & Seabrook Beach - Foto 2
Riptide Retreat - Walk to Hampton & Seabrook Beach - Foto 3
Riptide Retreat - Walk to Hampton & Seabrook Beach - Foto 4
Riptide Retreat - Walk to Hampton & Seabrook Beach - Foto 5
Riptide Retreat - Walk to Hampton & Seabrook Beach - Foto 6
Riptide Retreat - Walk to Hampton & Seabrook Beach - Foto 7
Riptide Retreat - Walk to Hampton & Seabrook Beach - Foto 8
Riptide Retreat - Walk to Hampton & Seabrook Beach - Foto 9
Riptide Retreat - Walk to Hampton & Seabrook Beach - Foto 10
Riptide Retreat - Walk to Hampton & Seabrook Beach - Foto 11
Riptide Retreat - Walk to Hampton & Seabrook Beach - Foto 12
Riptide Retreat - Walk to Hampton & Seabrook Beach - Foto 13
Riptide Retreat - Walk to Hampton & Seabrook Beach - Foto 14
Riptide Retreat - Walk to Hampton & Seabrook Beach - Foto 15
Riptide Retreat - Walk to Hampton & Seabrook Beach - Foto 16
Riptide Retreat - Walk to Hampton & Seabrook Beach - Foto 17
Riptide Retreat - Walk to Hampton & Seabrook Beach - Foto 18
Riptide Retreat - Walk to Hampton & Seabrook Beach - Foto 19
Riptide Retreat - Walk to Hampton & Seabrook Beach - Foto 20
Riptide Retreat - Walk to Hampton & Seabrook Beach - Foto 21
Riptide Retreat - Walk to Hampton & Seabrook Beach - Foto 22
Riptide Retreat - Walk to Hampton & Seabrook Beach - Foto 23
Riptide Retreat - Walk to Hampton & Seabrook Beach - Foto 24
Riptide Retreat - Walk to Hampton & Seabrook Beach - Foto 25
Riptide Retreat - Walk to Hampton & Seabrook Beach - Foto 26
Riptide Retreat - Walk to Hampton & Seabrook Beach - Foto 27
Riptide Retreat - Walk to Hampton & Seabrook Beach - Foto 28
Riptide Retreat - Walk to Hampton & Seabrook Beach - Foto 29
Riptide Retreat - Walk to Hampton & Seabrook Beach - Foto 30
Riptide Retreat - Walk to Hampton & Seabrook Beach - Foto 31

Riptide Retreat - Walk to Hampton & Seabrook Beach

Seabrook

  • 79 M2
  • 2 quartos
  • 4 pessoas
  • Ar-condicionado
  • Aquecimento
  • Estacionamento
9.6Excepcional | 6 avaliações
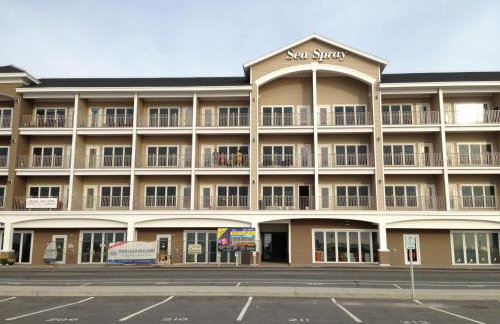
Stay Steps from Beach with Pool AC Parking - Foto 1
Stay Steps from Beach with Pool AC Parking - Foto 2
Stay Steps from Beach with Pool AC Parking - Foto 3
Stay Steps from Beach with Pool AC Parking - Foto 4
Stay Steps from Beach with Pool AC Parking - Foto 5
Stay Steps from Beach with Pool AC Parking - Foto 6
Stay Steps from Beach with Pool AC Parking - Foto 7
Stay Steps from Beach with Pool AC Parking - Foto 8
Stay Steps from Beach with Pool AC Parking - Foto 9
Stay Steps from Beach with Pool AC Parking - Foto 10
Stay Steps from Beach with Pool AC Parking - Foto 11
Stay Steps from Beach with Pool AC Parking - Foto 12
Stay Steps from Beach with Pool AC Parking - Foto 13
Stay Steps from Beach with Pool AC Parking - Foto 14
Stay Steps from Beach with Pool AC Parking - Foto 15
Stay Steps from Beach with Pool AC Parking - Foto 16
Stay Steps from Beach with Pool AC Parking - Foto 17
Stay Steps from Beach with Pool AC Parking - Foto 18
Stay Steps from Beach with Pool AC Parking - Foto 19
Stay Steps from Beach with Pool AC Parking - Foto 20
Stay Steps from Beach with Pool AC Parking - Foto 21
Stay Steps from Beach with Pool AC Parking - Foto 22
Stay Steps from Beach with Pool AC Parking - Foto 23
Stay Steps from Beach with Pool AC Parking - Foto 24
Stay Steps from Beach with Pool AC Parking - Foto 25
Stay Steps from Beach with Pool AC Parking - Foto 26
Stay Steps from Beach with Pool AC Parking - Foto 27
Stay Steps from Beach with Pool AC Parking - Foto 28
Stay Steps from Beach with Pool AC Parking - Foto 29
Stay Steps from Beach with Pool AC Parking - Foto 30
Stay Steps from Beach with Pool AC Parking - Foto 31
Stay Steps from Beach with Pool AC Parking - Foto 32
Stay Steps from Beach with Pool AC Parking - Foto 33
Stay Steps from Beach with Pool AC Parking - Foto 34
Stay Steps from Beach with Pool AC Parking - Foto 35
Stay Steps from Beach with Pool AC Parking - Foto 36
Stay Steps from Beach with Pool AC Parking - Foto 37
Stay Steps from Beach with Pool AC Parking - Foto 38
Stay Steps from Beach with Pool AC Parking - Foto 39
Stay Steps from Beach with Pool AC Parking - Foto 40
Stay Steps from Beach with Pool AC Parking - Foto 41
Stay Steps from Beach with Pool AC Parking - Foto 42
Stay Steps from Beach with Pool AC Parking - Foto 43
Stay Steps from Beach with Pool AC Parking - Foto 44
Stay Steps from Beach with Pool AC Parking - Foto 45
Stay Steps from Beach with Pool AC Parking - Foto 46
Stay Steps from Beach with Pool AC Parking - Foto 47
Stay Steps from Beach with Pool AC Parking - Foto 48
Stay Steps from Beach with Pool AC Parking - Foto 49
Stay Steps from Beach with Pool AC Parking - Foto 50
Stay Steps from Beach with Pool AC Parking - Foto 51
Stay Steps from Beach with Pool AC Parking - Foto 52
Stay Steps from Beach with Pool AC Parking - Foto 53
Stay Steps from Beach with Pool AC Parking - Foto 54
Stay Steps from Beach with Pool AC Parking - Foto 55
Stay Steps from Beach with Pool AC Parking - Foto 56
Stay Steps from Beach with Pool AC Parking - Foto 57
Stay Steps from Beach with Pool AC Parking - Foto 58
Stay Steps from Beach with Pool AC Parking - Foto 59
Stay Steps from Beach with Pool AC Parking - Foto 60
Stay Steps from Beach with Pool AC Parking - Foto 61
Stay Steps from Beach with Pool AC Parking - Foto 62
Stay Steps from Beach with Pool AC Parking - Foto 63
Stay Steps from Beach with Pool AC Parking - Foto 64
Stay Steps from Beach with Pool AC Parking - Foto 65
Stay Steps from Beach with Pool AC Parking - Foto 66
Stay Steps from Beach with Pool AC Parking - Foto 67
Stay Steps from Beach with Pool AC Parking - Foto 68

Stay Steps from Beach with Pool AC Parking

Hampton

  • 88 M2
  • 2 quartos
  • 6 pessoas
  • Ar-condicionado
  • Aquecimento
  • Piscina
  • Estacionamento
  • Churrasco
10Magnífico | 2 avaliações
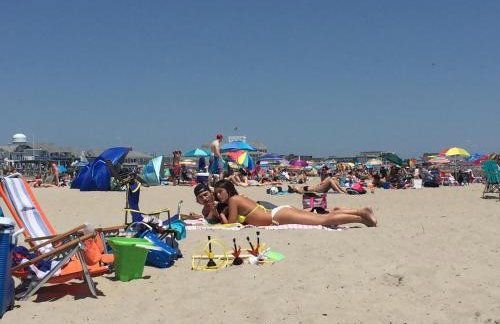
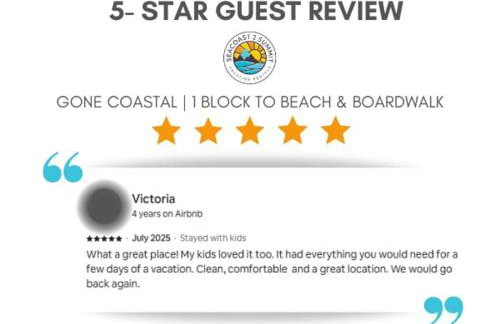
Gone Coastal 1 Block to Beach & Boardwalk AC - Foto 1
Gone Coastal 1 Block to Beach & Boardwalk AC - Foto 2
Gone Coastal 1 Block to Beach & Boardwalk AC - Foto 3
Gone Coastal 1 Block to Beach & Boardwalk AC - Foto 4
Gone Coastal 1 Block to Beach & Boardwalk AC - Foto 5
Gone Coastal 1 Block to Beach & Boardwalk AC - Foto 6
Gone Coastal 1 Block to Beach & Boardwalk AC - Foto 7
Gone Coastal 1 Block to Beach & Boardwalk AC - Foto 8
Gone Coastal 1 Block to Beach & Boardwalk AC - Foto 9
Gone Coastal 1 Block to Beach & Boardwalk AC - Foto 10
Gone Coastal 1 Block to Beach & Boardwalk AC - Foto 11
Gone Coastal 1 Block to Beach & Boardwalk AC - Foto 12
Gone Coastal 1 Block to Beach & Boardwalk AC - Foto 13
Gone Coastal 1 Block to Beach & Boardwalk AC - Foto 14
Gone Coastal 1 Block to Beach & Boardwalk AC - Foto 15
Gone Coastal 1 Block to Beach & Boardwalk AC - Foto 16
Gone Coastal 1 Block to Beach & Boardwalk AC - Foto 17
Gone Coastal 1 Block to Beach & Boardwalk AC - Foto 18
Gone Coastal 1 Block to Beach & Boardwalk AC - Foto 19
Gone Coastal 1 Block to Beach & Boardwalk AC - Foto 20
Gone Coastal 1 Block to Beach & Boardwalk AC - Foto 21
Gone Coastal 1 Block to Beach & Boardwalk AC - Foto 22
Gone Coastal 1 Block to Beach & Boardwalk AC - Foto 23
Gone Coastal 1 Block to Beach & Boardwalk AC - Foto 24
Gone Coastal 1 Block to Beach & Boardwalk AC - Foto 25
Gone Coastal 1 Block to Beach & Boardwalk AC - Foto 26
Gone Coastal 1 Block to Beach & Boardwalk AC - Foto 27
Gone Coastal 1 Block to Beach & Boardwalk AC - Foto 28
Gone Coastal 1 Block to Beach & Boardwalk AC - Foto 29
Gone Coastal 1 Block to Beach & Boardwalk AC - Foto 30
Gone Coastal 1 Block to Beach & Boardwalk AC - Foto 31
Gone Coastal 1 Block to Beach & Boardwalk AC - Foto 32
Gone Coastal 1 Block to Beach & Boardwalk AC - Foto 33
Gone Coastal 1 Block to Beach & Boardwalk AC - Foto 34
Gone Coastal 1 Block to Beach & Boardwalk AC - Foto 35
Gone Coastal 1 Block to Beach & Boardwalk AC - Foto 36
Gone Coastal 1 Block to Beach & Boardwalk AC - Foto 37
Gone Coastal 1 Block to Beach & Boardwalk AC - Foto 38
Gone Coastal 1 Block to Beach & Boardwalk AC - Foto 39
Gone Coastal 1 Block to Beach & Boardwalk AC - Foto 40
Gone Coastal 1 Block to Beach & Boardwalk AC - Foto 41
Gone Coastal 1 Block to Beach & Boardwalk AC - Foto 42
Gone Coastal 1 Block to Beach & Boardwalk AC - Foto 43
Gone Coastal 1 Block to Beach & Boardwalk AC - Foto 44
Gone Coastal 1 Block to Beach & Boardwalk AC - Foto 45
Gone Coastal 1 Block to Beach & Boardwalk AC - Foto 46
Gone Coastal 1 Block to Beach & Boardwalk AC - Foto 47
Gone Coastal 1 Block to Beach & Boardwalk AC - Foto 48
Gone Coastal 1 Block to Beach & Boardwalk AC - Foto 49
Gone Coastal 1 Block to Beach & Boardwalk AC - Foto 50
Gone Coastal 1 Block to Beach & Boardwalk AC - Foto 51
Gone Coastal 1 Block to Beach & Boardwalk AC - Foto 52
Gone Coastal 1 Block to Beach & Boardwalk AC - Foto 53
Gone Coastal 1 Block to Beach & Boardwalk AC - Foto 54

Gone Coastal 1 Block to Beach & Boardwalk AC

Hampton

  • 78 M2
  • 1 quarto
  • 4 pessoas
  • Ar-condicionado
  • Aquecimento
  • Estacionamento
  • Elevador
  • Jardim
10Magnífico | 2 avaliações
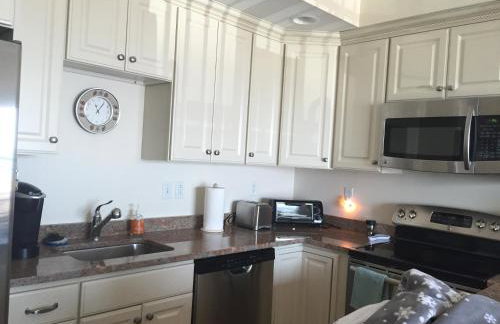
Ocean Views Balcony K Street Penthouse #5 - Foto 1
Ocean Views Balcony K Street Penthouse #5 - Foto 2
Ocean Views Balcony K Street Penthouse #5 - Foto 3
Ocean Views Balcony K Street Penthouse #5 - Foto 4
Ocean Views Balcony K Street Penthouse #5 - Foto 5
Ocean Views Balcony K Street Penthouse #5 - Foto 6
Ocean Views Balcony K Street Penthouse #5 - Foto 7
Ocean Views Balcony K Street Penthouse #5 - Foto 8
Ocean Views Balcony K Street Penthouse #5 - Foto 9
Ocean Views Balcony K Street Penthouse #5 - Foto 10
Ocean Views Balcony K Street Penthouse #5 - Foto 11
Ocean Views Balcony K Street Penthouse #5 - Foto 12
Ocean Views Balcony K Street Penthouse #5 - Foto 13
Ocean Views Balcony K Street Penthouse #5 - Foto 14
Ocean Views Balcony K Street Penthouse #5 - Foto 15
Ocean Views Balcony K Street Penthouse #5 - Foto 16
Ocean Views Balcony K Street Penthouse #5 - Foto 17
Ocean Views Balcony K Street Penthouse #5 - Foto 18
Ocean Views Balcony K Street Penthouse #5 - Foto 19
Ocean Views Balcony K Street Penthouse #5 - Foto 20
Ocean Views Balcony K Street Penthouse #5 - Foto 21
Ocean Views Balcony K Street Penthouse #5 - Foto 22
Ocean Views Balcony K Street Penthouse #5 - Foto 23
Ocean Views Balcony K Street Penthouse #5 - Foto 24
Ocean Views Balcony K Street Penthouse #5 - Foto 25
Ocean Views Balcony K Street Penthouse #5 - Foto 26
Ocean Views Balcony K Street Penthouse #5 - Foto 27
Ocean Views Balcony K Street Penthouse #5 - Foto 28
Ocean Views Balcony K Street Penthouse #5 - Foto 29
Ocean Views Balcony K Street Penthouse #5 - Foto 30
Ocean Views Balcony K Street Penthouse #5 - Foto 31
Ocean Views Balcony K Street Penthouse #5 - Foto 32
Ocean Views Balcony K Street Penthouse #5 - Foto 33
Ocean Views Balcony K Street Penthouse #5 - Foto 34
Ocean Views Balcony K Street Penthouse #5 - Foto 35
Ocean Views Balcony K Street Penthouse #5 - Foto 36
Ocean Views Balcony K Street Penthouse #5 - Foto 37
Ocean Views Balcony K Street Penthouse #5 - Foto 38
Ocean Views Balcony K Street Penthouse #5 - Foto 39
Ocean Views Balcony K Street Penthouse #5 - Foto 40
Ocean Views Balcony K Street Penthouse #5 - Foto 41
Ocean Views Balcony K Street Penthouse #5 - Foto 42
Ocean Views Balcony K Street Penthouse #5 - Foto 43
Ocean Views Balcony K Street Penthouse #5 - Foto 44
Ocean Views Balcony K Street Penthouse #5 - Foto 45
Ocean Views Balcony K Street Penthouse #5 - Foto 46
Ocean Views Balcony K Street Penthouse #5 - Foto 47
Ocean Views Balcony K Street Penthouse #5 - Foto 48
Ocean Views Balcony K Street Penthouse #5 - Foto 49
Ocean Views Balcony K Street Penthouse #5 - Foto 50
Ocean Views Balcony K Street Penthouse #5 - Foto 51
Ocean Views Balcony K Street Penthouse #5 - Foto 52
Ocean Views Balcony K Street Penthouse #5 - Foto 53
Ocean Views Balcony K Street Penthouse #5 - Foto 54

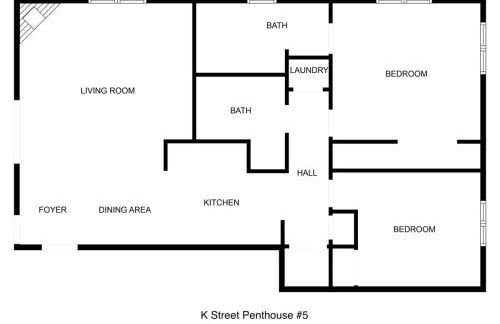
Ocean Views Balcony K Street Penthouse #5

Hampton

  • 99 M2
  • 2 quartos
  • 6 pessoas
  • Ar-condicionado
  • Aquecimento
  • Estacionamento
  • Elevador
10Magnífico | 3 avaliações
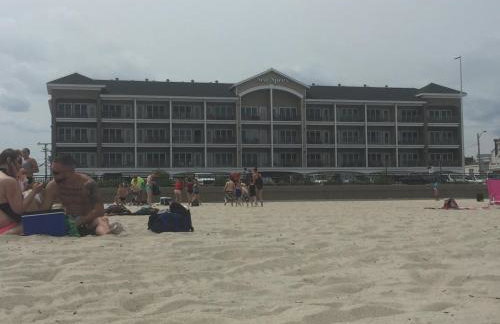
Ashworth Escape Balcony Steps to Beach AC - Foto 1
Ashworth Escape Balcony Steps to Beach AC - Foto 2
Ashworth Escape Balcony Steps to Beach AC - Foto 3
Ashworth Escape Balcony Steps to Beach AC - Foto 4
Ashworth Escape Balcony Steps to Beach AC - Foto 5
Ashworth Escape Balcony Steps to Beach AC - Foto 6
Ashworth Escape Balcony Steps to Beach AC - Foto 7
Ashworth Escape Balcony Steps to Beach AC - Foto 8
Ashworth Escape Balcony Steps to Beach AC - Foto 9
Ashworth Escape Balcony Steps to Beach AC - Foto 10
Ashworth Escape Balcony Steps to Beach AC - Foto 11
Ashworth Escape Balcony Steps to Beach AC - Foto 12
Ashworth Escape Balcony Steps to Beach AC - Foto 13
Ashworth Escape Balcony Steps to Beach AC - Foto 14
Ashworth Escape Balcony Steps to Beach AC - Foto 15
Ashworth Escape Balcony Steps to Beach AC - Foto 16
Ashworth Escape Balcony Steps to Beach AC - Foto 17
Ashworth Escape Balcony Steps to Beach AC - Foto 18
Ashworth Escape Balcony Steps to Beach AC - Foto 19
Ashworth Escape Balcony Steps to Beach AC - Foto 20
Ashworth Escape Balcony Steps to Beach AC - Foto 21
Ashworth Escape Balcony Steps to Beach AC - Foto 22
Ashworth Escape Balcony Steps to Beach AC - Foto 23
Ashworth Escape Balcony Steps to Beach AC - Foto 24
Ashworth Escape Balcony Steps to Beach AC - Foto 25
Ashworth Escape Balcony Steps to Beach AC - Foto 26
Ashworth Escape Balcony Steps to Beach AC - Foto 27
Ashworth Escape Balcony Steps to Beach AC - Foto 28
Ashworth Escape Balcony Steps to Beach AC - Foto 29
Ashworth Escape Balcony Steps to Beach AC - Foto 30
Ashworth Escape Balcony Steps to Beach AC - Foto 31
Ashworth Escape Balcony Steps to Beach AC - Foto 32
Ashworth Escape Balcony Steps to Beach AC - Foto 33
Ashworth Escape Balcony Steps to Beach AC - Foto 34
Ashworth Escape Balcony Steps to Beach AC - Foto 35
Ashworth Escape Balcony Steps to Beach AC - Foto 36
Ashworth Escape Balcony Steps to Beach AC - Foto 37
Ashworth Escape Balcony Steps to Beach AC - Foto 38
Ashworth Escape Balcony Steps to Beach AC - Foto 39
Ashworth Escape Balcony Steps to Beach AC - Foto 40
Ashworth Escape Balcony Steps to Beach AC - Foto 41
Ashworth Escape Balcony Steps to Beach AC - Foto 42
Ashworth Escape Balcony Steps to Beach AC - Foto 43
Ashworth Escape Balcony Steps to Beach AC - Foto 44
Ashworth Escape Balcony Steps to Beach AC - Foto 45
Ashworth Escape Balcony Steps to Beach AC - Foto 46
Ashworth Escape Balcony Steps to Beach AC - Foto 47
Ashworth Escape Balcony Steps to Beach AC - Foto 48
Ashworth Escape Balcony Steps to Beach AC - Foto 49
Ashworth Escape Balcony Steps to Beach AC - Foto 50
Ashworth Escape Balcony Steps to Beach AC - Foto 51
Ashworth Escape Balcony Steps to Beach AC - Foto 52

Ashworth Escape Balcony Steps to Beach AC

Hampton

  • 136 M2
  • 3 quartos
  • 8 pessoas
  • Ar-condicionado
  • Aquecimento
  • Estacionamento
  • Elevador
  • Jardim
10Magnífico | 3 avaliações
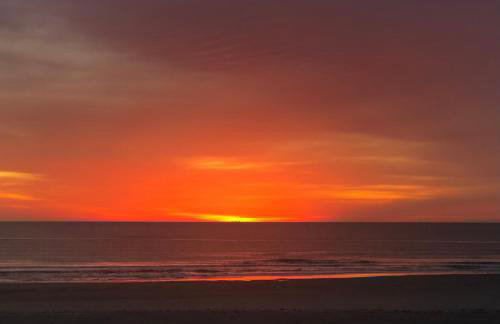
7 Beachside inn - Foto 1
7 Beachside inn - Foto 2
7 Beachside inn - Foto 3
7 Beachside inn - Foto 4
7 Beachside inn - Foto 5
7 Beachside inn - Foto 6
7 Beachside inn - Foto 7
7 Beachside inn - Foto 8
7 Beachside inn - Foto 9
7 Beachside inn - Foto 10
7 Beachside inn - Foto 11
7 Beachside inn - Foto 12
7 Beachside inn - Foto 13
7 Beachside inn - Foto 14
7 Beachside inn - Foto 15
7 Beachside inn - Foto 16
7 Beachside inn - Foto 17
7 Beachside inn - Foto 18
7 Beachside inn - Foto 19
7 Beachside inn - Foto 20
7 Beachside inn - Foto 21
7 Beachside inn - Foto 22
7 Beachside inn - Foto 23
7 Beachside inn - Foto 24
7 Beachside inn - Foto 25

7 Beachside inn

Hampton

  • 139 M2
  • 3 quartos
  • 9 pessoas
  • Ar-condicionado
  • Piscina
  • Estacionamento
  • Jardim
7.8Bom | 22 avaliações
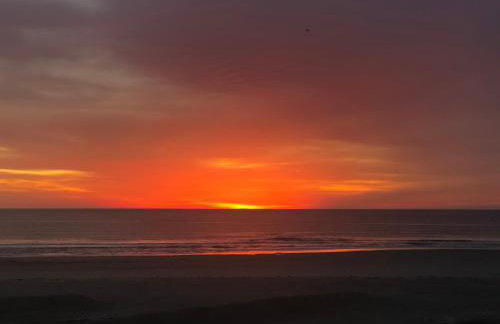
The Sand Bar - Heart of Hampton Beach - Foto 1
The Sand Bar - Heart of Hampton Beach - Foto 2
The Sand Bar - Heart of Hampton Beach - Foto 3
The Sand Bar - Heart of Hampton Beach - Foto 4
The Sand Bar - Heart of Hampton Beach - Foto 5
The Sand Bar - Heart of Hampton Beach - Foto 6
The Sand Bar - Heart of Hampton Beach - Foto 7
The Sand Bar - Heart of Hampton Beach - Foto 8
The Sand Bar - Heart of Hampton Beach - Foto 9
The Sand Bar - Heart of Hampton Beach - Foto 10
The Sand Bar - Heart of Hampton Beach - Foto 11
The Sand Bar - Heart of Hampton Beach - Foto 12
The Sand Bar - Heart of Hampton Beach - Foto 13
The Sand Bar - Heart of Hampton Beach - Foto 14
The Sand Bar - Heart of Hampton Beach - Foto 15
The Sand Bar - Heart of Hampton Beach - Foto 16
The Sand Bar - Heart of Hampton Beach - Foto 17
The Sand Bar - Heart of Hampton Beach - Foto 18
The Sand Bar - Heart of Hampton Beach - Foto 19
The Sand Bar - Heart of Hampton Beach - Foto 20
The Sand Bar - Heart of Hampton Beach - Foto 21
The Sand Bar - Heart of Hampton Beach - Foto 22
The Sand Bar - Heart of Hampton Beach - Foto 23
The Sand Bar - Heart of Hampton Beach - Foto 24
The Sand Bar - Heart of Hampton Beach - Foto 25
The Sand Bar - Heart of Hampton Beach - Foto 26
The Sand Bar - Heart of Hampton Beach - Foto 27
The Sand Bar - Heart of Hampton Beach - Foto 28
The Sand Bar - Heart of Hampton Beach - Foto 29

The Sand Bar - Heart of Hampton Beach

Hampton

  • 60 M2
  • 3 quartos
  • 6 pessoas
  • Ar-condicionado
  • Aquecimento
  • Estacionamento
9.4Excepcional | 9 avaliações
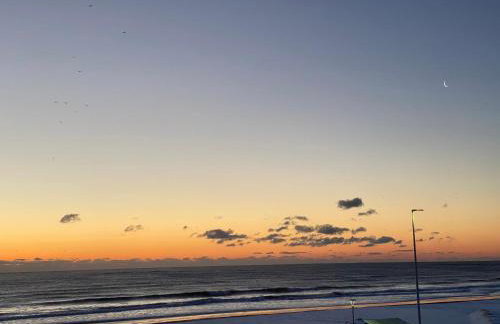
Tugboat Vista 2 Bedroom Downtown Portsmouth - Foto 1
Tugboat Vista 2 Bedroom Downtown Portsmouth - Foto 2
Tugboat Vista 2 Bedroom Downtown Portsmouth - Foto 3
Tugboat Vista 2 Bedroom Downtown Portsmouth - Foto 4
Tugboat Vista 2 Bedroom Downtown Portsmouth - Foto 5
Tugboat Vista 2 Bedroom Downtown Portsmouth - Foto 6
Tugboat Vista 2 Bedroom Downtown Portsmouth - Foto 7
Tugboat Vista 2 Bedroom Downtown Portsmouth - Foto 8
Tugboat Vista 2 Bedroom Downtown Portsmouth - Foto 9
Tugboat Vista 2 Bedroom Downtown Portsmouth - Foto 10
Tugboat Vista 2 Bedroom Downtown Portsmouth - Foto 11
Tugboat Vista 2 Bedroom Downtown Portsmouth - Foto 12
Tugboat Vista 2 Bedroom Downtown Portsmouth - Foto 13
Tugboat Vista 2 Bedroom Downtown Portsmouth - Foto 14
Tugboat Vista 2 Bedroom Downtown Portsmouth - Foto 15
Tugboat Vista 2 Bedroom Downtown Portsmouth - Foto 16
Tugboat Vista 2 Bedroom Downtown Portsmouth - Foto 17
Tugboat Vista 2 Bedroom Downtown Portsmouth - Foto 18
Tugboat Vista 2 Bedroom Downtown Portsmouth - Foto 19
Tugboat Vista 2 Bedroom Downtown Portsmouth - Foto 20
Tugboat Vista 2 Bedroom Downtown Portsmouth - Foto 21
Tugboat Vista 2 Bedroom Downtown Portsmouth - Foto 22
Tugboat Vista 2 Bedroom Downtown Portsmouth - Foto 23
Tugboat Vista 2 Bedroom Downtown Portsmouth - Foto 24
Tugboat Vista 2 Bedroom Downtown Portsmouth - Foto 25

Tugboat Vista 2 Bedroom Downtown Portsmouth

Portsmouth - 980 m do centro

  • 37 M2
  • 2 quartos
  • 6 pessoas
  • Ar-condicionado
  • Aquecimento
  • Estacionamento
10Magnífico | 2 avaliações

Sunset Pointe - Foto 1
Sunset Pointe - Foto 2
Sunset Pointe - Foto 3
Sunset Pointe - Foto 4
Sunset Pointe - Foto 5
Sunset Pointe - Foto 6
Sunset Pointe - Foto 7
Sunset Pointe - Foto 8
Sunset Pointe - Foto 9
Sunset Pointe - Foto 10
Sunset Pointe - Foto 11
Sunset Pointe - Foto 12
Sunset Pointe - Foto 13
Sunset Pointe - Foto 14
Sunset Pointe - Foto 15
Sunset Pointe - Foto 16
Sunset Pointe - Foto 17
Sunset Pointe - Foto 18
Sunset Pointe - Foto 19
Sunset Pointe - Foto 20
Sunset Pointe - Foto 21
Sunset Pointe - Foto 22
Sunset Pointe - Foto 23
Sunset Pointe - Foto 24
Sunset Pointe - Foto 25
Sunset Pointe - Foto 26
Sunset Pointe - Foto 27
Sunset Pointe - Foto 28
Sunset Pointe - Foto 29
Sunset Pointe - Foto 30
Sunset Pointe - Foto 31
Sunset Pointe - Foto 32
Sunset Pointe - Foto 33
Sunset Pointe - Foto 34
Sunset Pointe - Foto 35
Sunset Pointe - Foto 36
Sunset Pointe - Foto 37
Sunset Pointe - Foto 38
Sunset Pointe - Foto 39
Sunset Pointe - Foto 40
Sunset Pointe - Foto 41
Sunset Pointe - Foto 42
Sunset Pointe - Foto 43
Sunset Pointe - Foto 44
Sunset Pointe - Foto 45
Sunset Pointe - Foto 46
Sunset Pointe - Foto 47
Sunset Pointe - Foto 48
Sunset Pointe - Foto 49
Sunset Pointe - Foto 50
Sunset Pointe - Foto 51
Sunset Pointe - Foto 52
Sunset Pointe - Foto 53
Sunset Pointe - Foto 54
Sunset Pointe - Foto 55
Sunset Pointe - Foto 56
Sunset Pointe - Foto 57
Sunset Pointe - Foto 58
Sunset Pointe - Foto 59
Sunset Pointe - Foto 60
Sunset Pointe - Foto 61
Sunset Pointe - Foto 62
Sunset Pointe - Foto 63
Sunset Pointe - Foto 64
Sunset Pointe - Foto 65

Sunset Pointe

Hampton

  • 66 M2
  • 2 quartos
  • 6 pessoas
  • Ar-condicionado
  • Aquecimento
  • Estacionamento
  • Jardim
  • Churrasco
10Magnífico | 4 avaliações
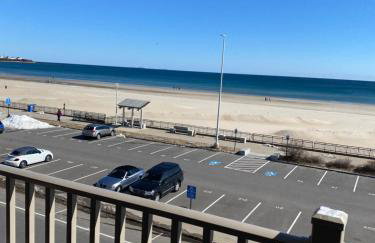
The Whale Spout - King bed and close to the Beach - Foto 1
The Whale Spout - King bed and close to the Beach - Foto 2
The Whale Spout - King bed and close to the Beach - Foto 3
The Whale Spout - King bed and close to the Beach - Foto 4
The Whale Spout - King bed and close to the Beach - Foto 5
The Whale Spout - King bed and close to the Beach - Foto 6
The Whale Spout - King bed and close to the Beach - Foto 7
The Whale Spout - King bed and close to the Beach - Foto 8
The Whale Spout - King bed and close to the Beach - Foto 9
The Whale Spout - King bed and close to the Beach - Foto 10
The Whale Spout - King bed and close to the Beach - Foto 11
The Whale Spout - King bed and close to the Beach - Foto 12
The Whale Spout - King bed and close to the Beach - Foto 13
The Whale Spout - King bed and close to the Beach - Foto 14
The Whale Spout - King bed and close to the Beach - Foto 15
The Whale Spout - King bed and close to the Beach - Foto 16
The Whale Spout - King bed and close to the Beach - Foto 17
The Whale Spout - King bed and close to the Beach - Foto 18
The Whale Spout - King bed and close to the Beach - Foto 19
The Whale Spout - King bed and close to the Beach - Foto 20
The Whale Spout - King bed and close to the Beach - Foto 21
The Whale Spout - King bed and close to the Beach - Foto 22
The Whale Spout - King bed and close to the Beach - Foto 23
The Whale Spout - King bed and close to the Beach - Foto 24
The Whale Spout - King bed and close to the Beach - Foto 25
The Whale Spout - King bed and close to the Beach - Foto 26
The Whale Spout - King bed and close to the Beach - Foto 27
The Whale Spout - King bed and close to the Beach - Foto 28
The Whale Spout - King bed and close to the Beach - Foto 29
The Whale Spout - King bed and close to the Beach - Foto 30
The Whale Spout - King bed and close to the Beach - Foto 31
The Whale Spout - King bed and close to the Beach - Foto 32
The Whale Spout - King bed and close to the Beach - Foto 33
The Whale Spout - King bed and close to the Beach - Foto 34
The Whale Spout - King bed and close to the Beach - Foto 35
The Whale Spout - King bed and close to the Beach - Foto 36
The Whale Spout - King bed and close to the Beach - Foto 37
The Whale Spout - King bed and close to the Beach - Foto 38
The Whale Spout - King bed and close to the Beach - Foto 39
The Whale Spout - King bed and close to the Beach - Foto 40
The Whale Spout - King bed and close to the Beach - Foto 41

The Whale Spout - King bed and close to the Beach

Hampton

  • 84 M2
  • 2 quartos
  • 4 pessoas
  • Ar-condicionado
  • Aquecimento
  • Estacionamento
10Magnífico | 2 avaliações
Destinos relacionados