
43 Apartamentos em Rusholme


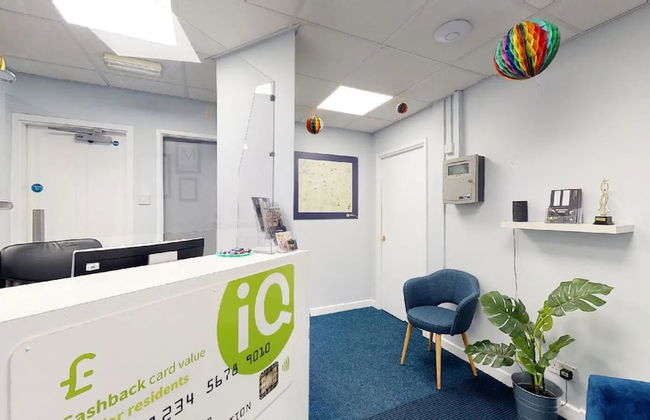
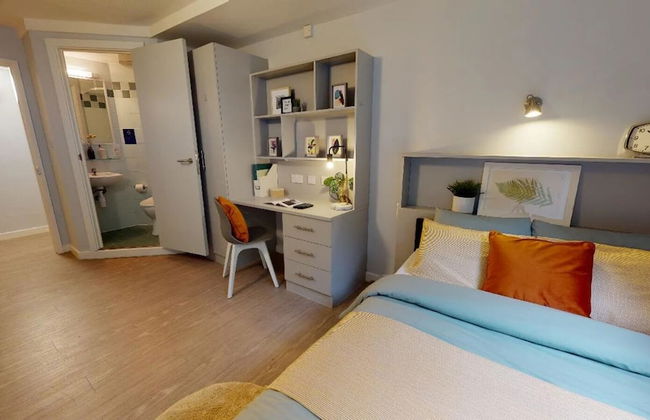
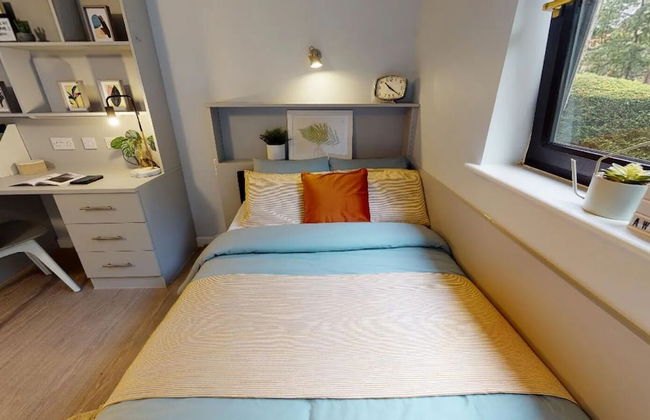
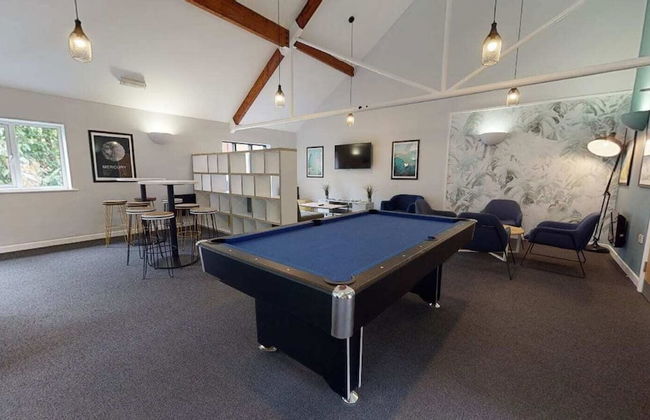
Brimmond Homes - nr to Univ, Hospitals, o2 Apollo, PLAB & 7 mins to City Centre - Stylish, Modern & Secure 2 Bed, 2 Bath Apt with Allocated Free Parking
Manchester - Rusholme - 2.9 km do centro
- 69 M2
- 2 quartos
- 6 pessoas
- Aquecimento
- Estacionamento
- Elevador
22 avaliações


Monton Co-Living - Private Room Self-Cater
Manchester - Rusholme - 2.1 km do centro
- 10 M2
- 2 pessoas
- Aquecimento
- Estacionamento
11 avaliações


Apartment with Free Parking
Manchester - Rusholme - 3 km do centro
- 54 M2
- 1 quarto
- 4 pessoas
- Estacionamento
6 avaliações


Cosy, Central 2 Bed flat parking
Manchester - Rusholme - 2.1 km do centro
- 57 M2
- 2 quartos
- 4 pessoas
- Aquecimento
- Estacionamento
- Elevador
40 avaliações


Sweet Dream Lodge
Manchester - Rusholme - 3.1 km do centro
- 60 M2
- 2 pessoas
- Ar-condicionado
- Aquecimento
- Estacionamento
224 avaliações


The Safari House - Your Ultimate Relaxation Destination
Manchester - Rusholme - 3 km do centro
- 125 M2
- 5 quartos
- 8 pessoas
- Aquecimento
- Terraço
- Estacionamento
- Jardim
30 avaliações


Luxury Spacious 3-Bed City Oasis Just 10 Mins from Centre with Free Parking
Manchester - Rusholme - 3 km do centro
- 65 M2
- 2 quartos
- 6 pessoas
- Estacionamento
- Jardim
8 avaliações


Rusholme Rooms
Manchester - Rusholme - 3 km do centro
- 93 M2
- 3 quartos
- 11 pessoas
- Aquecimento
- Estacionamento
235 avaliações


Serene Retreat Sleeps 6 with Garden
Manchester - Rusholme - 3 km do centro
- 90 M2
- 2 quartos
- 6 pessoas
- Aquecimento
- Estacionamento
- Jardim
3 avaliações


Spacious 6-Bed with Large Patio and Free Parking
Manchester - Rusholme - 2.9 km do centro
- 119 M2
- 6 quartos
- 11 pessoas
- Aquecimento
- Estacionamento
- Jardim
- Churrasco
32 avaliações


Beresford Co-Living - Private Room Self-Cater
Manchester - Rusholme - 2.3 km do centro
- 14 M2
- 2 pessoas
- Aquecimento
- Estacionamento
11 avaliações


The Victorian Charm Retreat
Manchester - Rusholme - 2.3 km do centro
- 164 M2
- 4 quartos
- 14 pessoas
- Ar-condicionado
- Aquecimento
- Estacionamento
- Jardim
- Churrasco
28 avaliações


Central Manchester Modern 4 Bed House - free parking
Manchester - Rusholme - 3 km do centro
- 93 M2
- 4 quartos
- 7 pessoas
- Aquecimento
- Estacionamento
- Jardim
6 avaliações


Rusholme Place Manchester
Manchester - Rusholme - 2.3 km do centro
- 100 M2
- 4 quartos
- 4 pessoas
- Aquecimento
- Elevador
16 avaliações


4-Bed Manchester Retreat Great for Groups
Manchester - Rusholme - 2.2 km do centro
- 12 M2
- 1 quarto
- 9 pessoas
- Estacionamento
2 avaliações


Cowesby Co-Living - Private Room Self-Cater
Manchester - Rusholme - 2.2 km do centro
- 13 M2
- 2 pessoas
- Aquecimento
- Estacionamento
28 avaliações


Daisybank Co-Living - Private Room Self-Cater
Manchester - Rusholme - 3 km do centro
- 142 M2
- 5 quartos
- 10 pessoas
- Aquecimento
25 avaliações


Casa Cove GF Flat Free Parking - 5min to Hospital
Manchester - Rusholme - 2.2 km do centro
- 71 M2
- 2 quartos
- 4 pessoas
- Aquecimento
- Estacionamento
5 avaliações