7 Apartamentos em St Kew
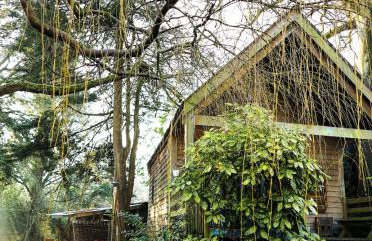
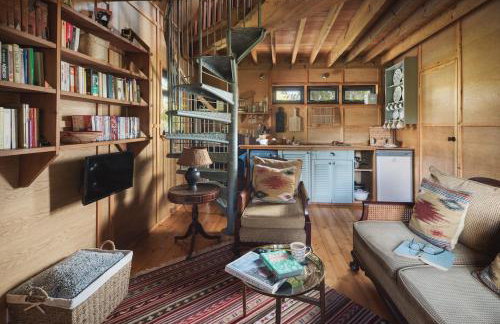
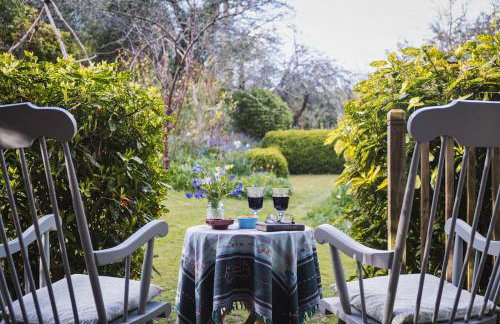
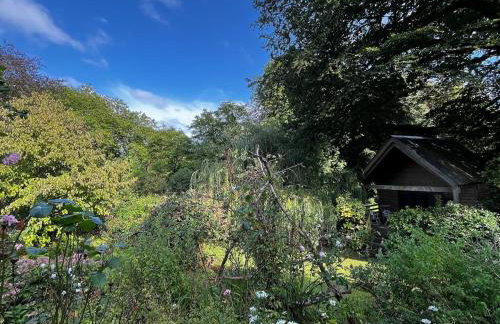
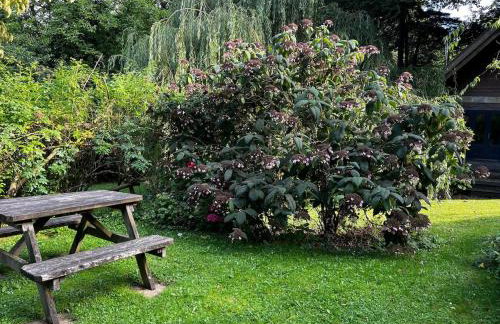
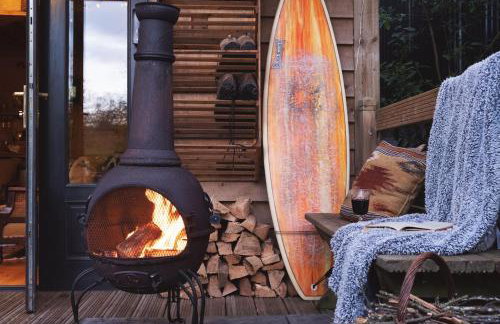
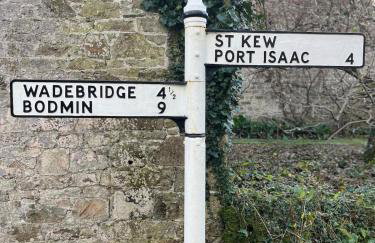
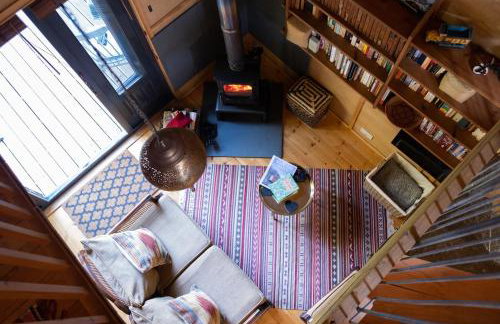
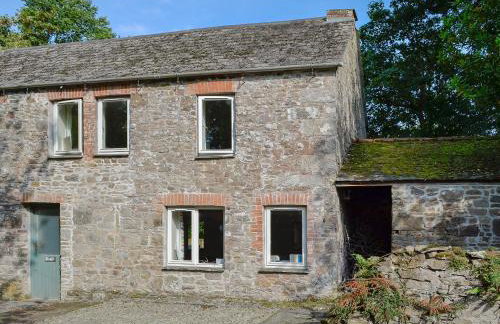
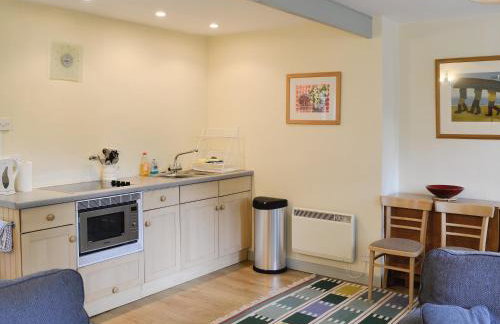
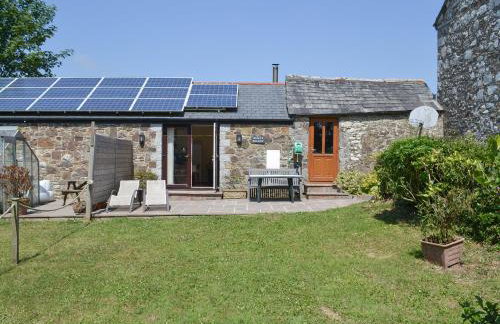
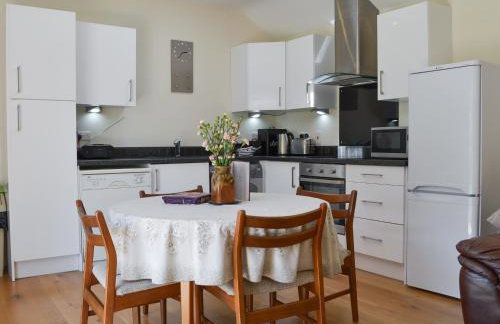
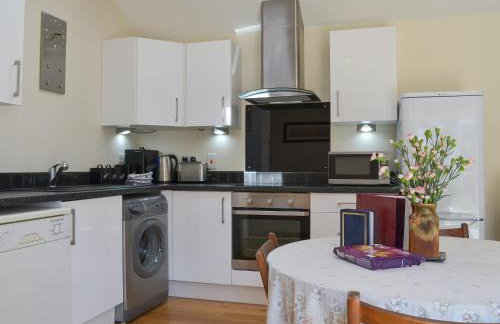
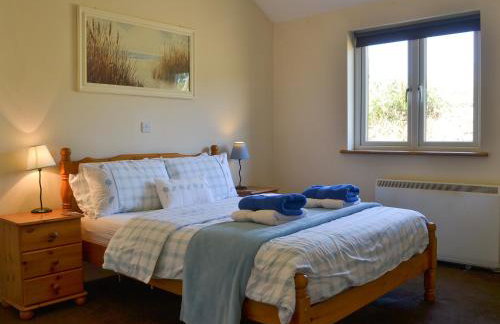
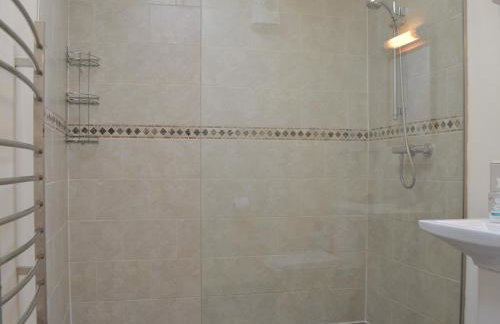
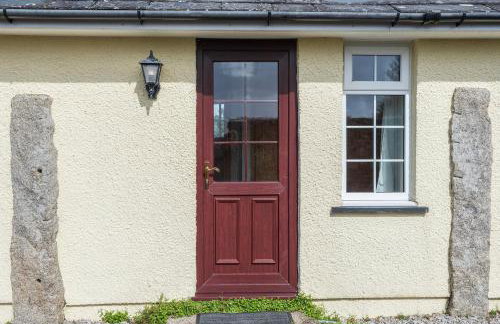
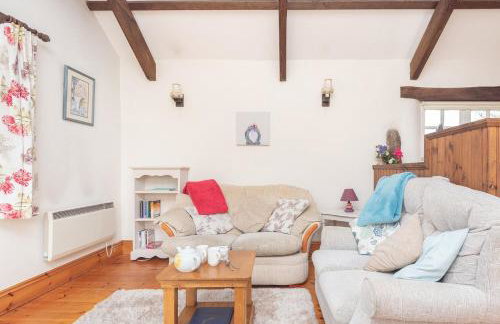
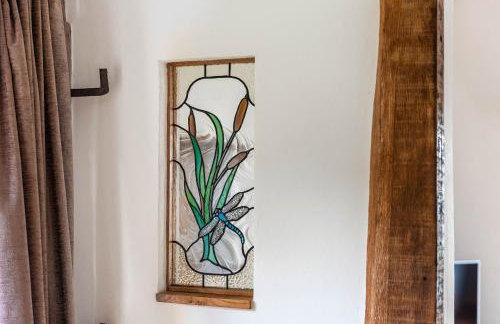
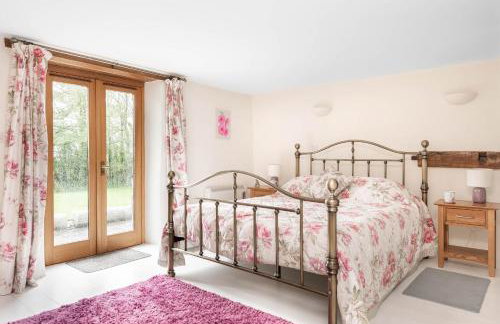
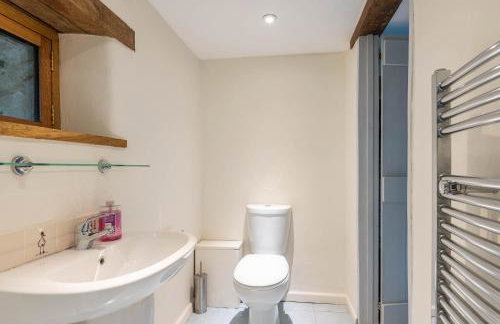
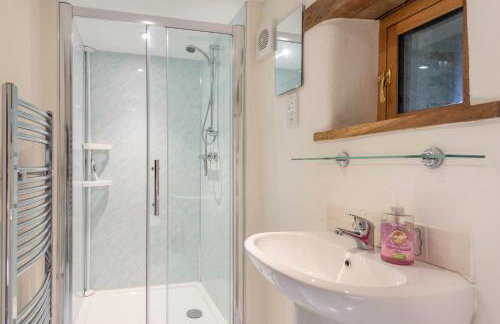
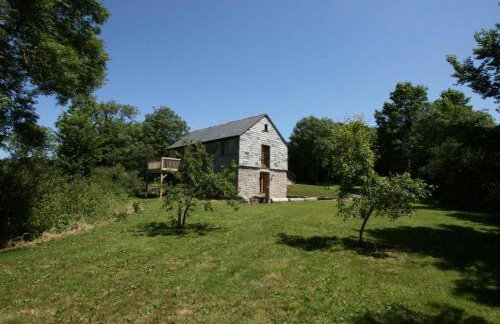
The Beech Hut, Wood Fired Hot Tub, St Kew Escapes - Foto 1
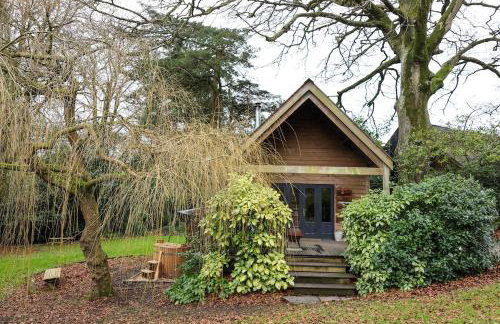
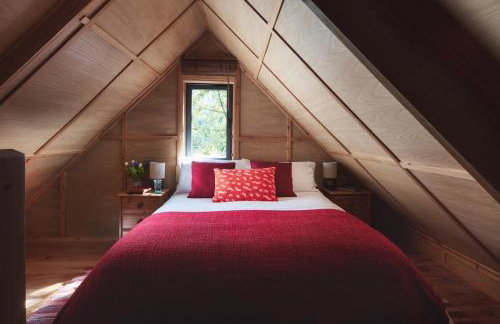
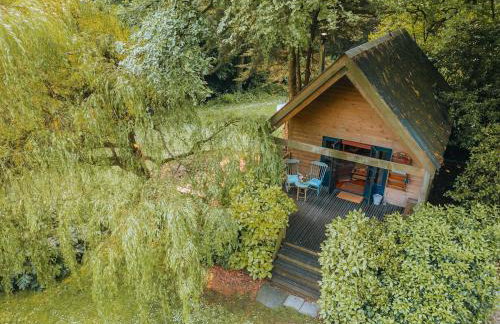
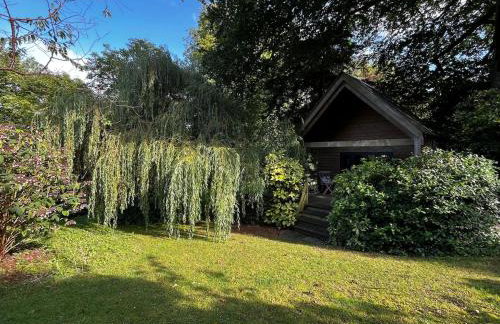
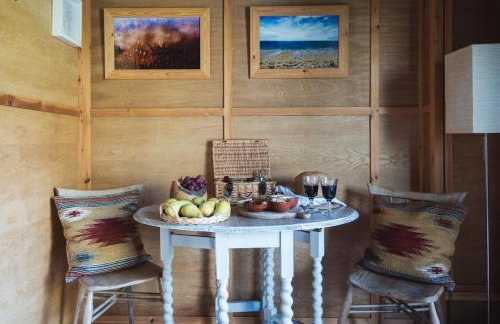
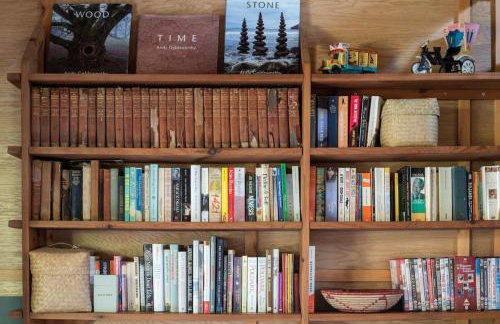
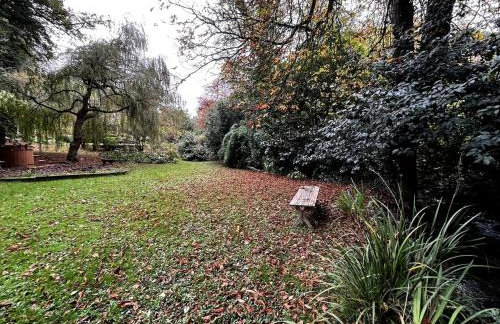
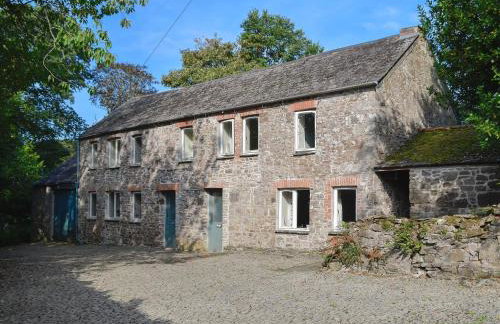
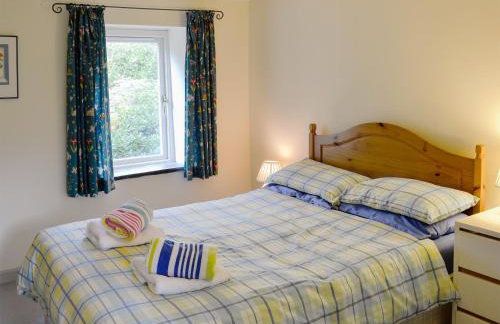
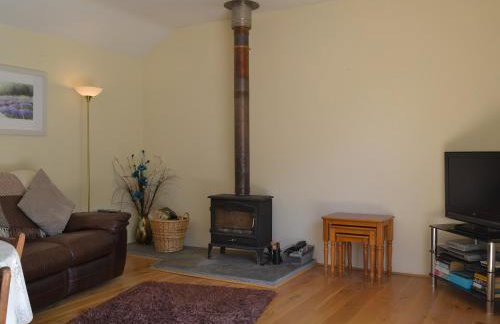
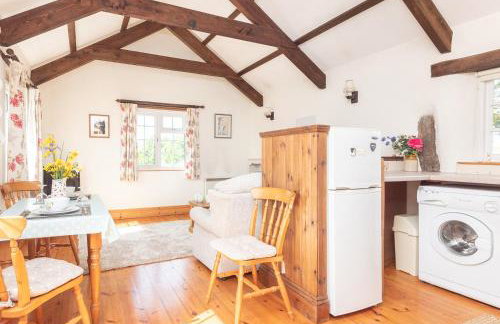
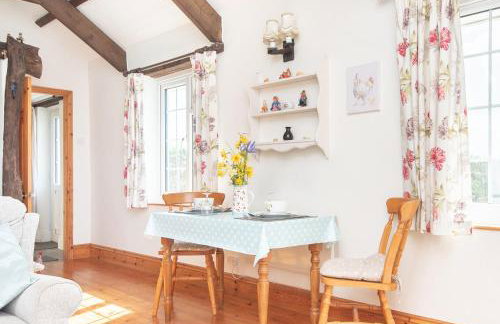
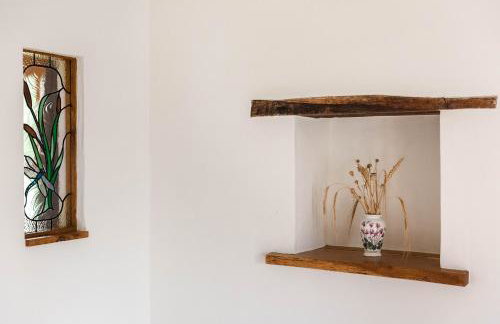
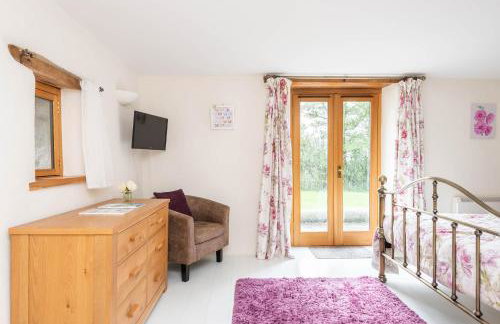
The Beech Hut, Wood Fired Hot Tub, St Kew Escapes - Foto 2
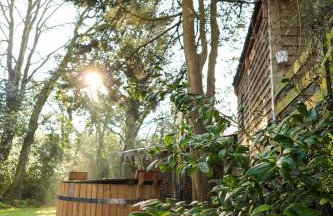
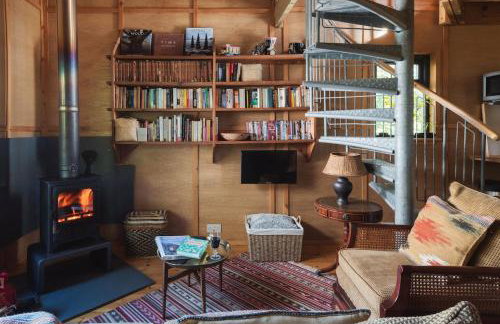
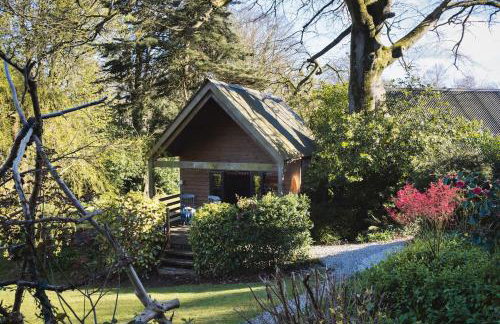
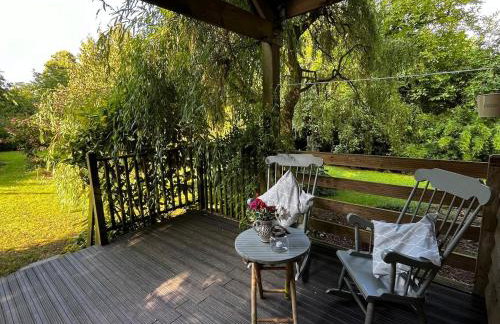
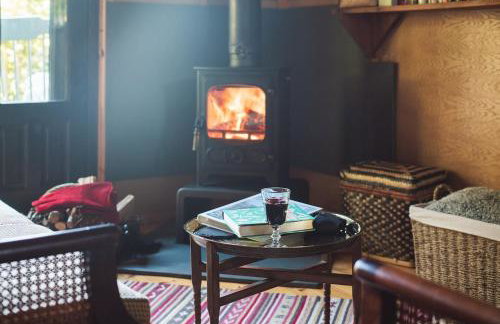
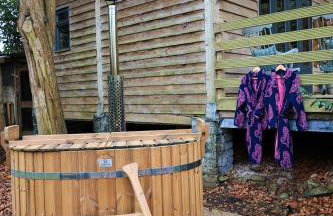
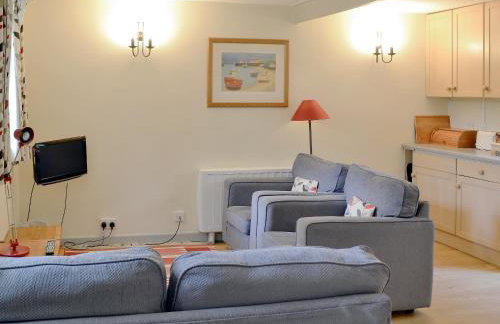
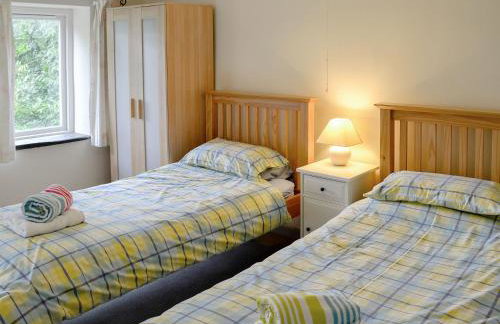
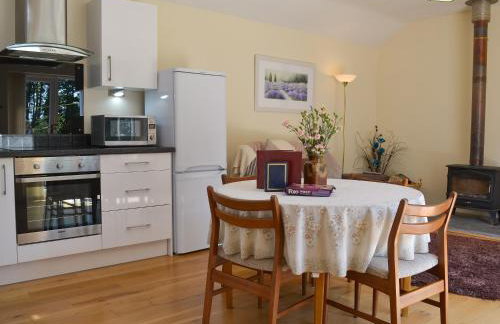
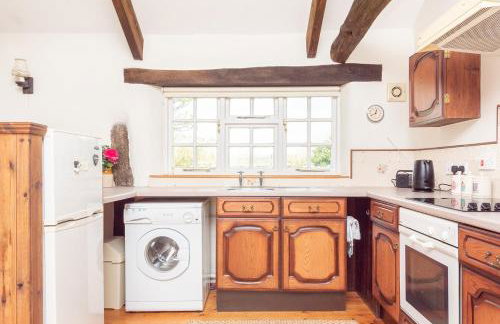
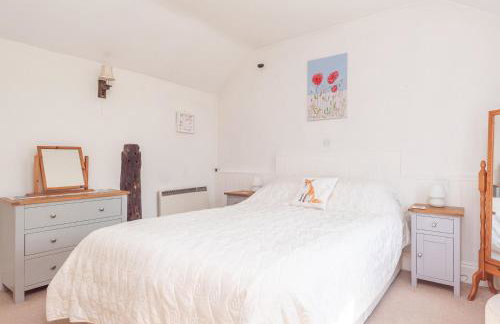
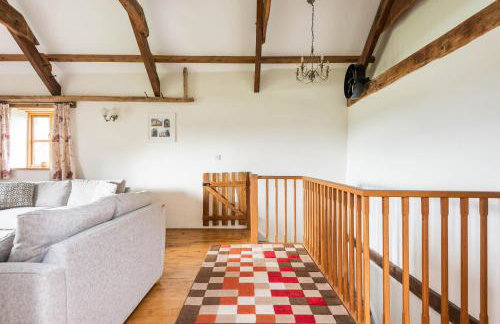
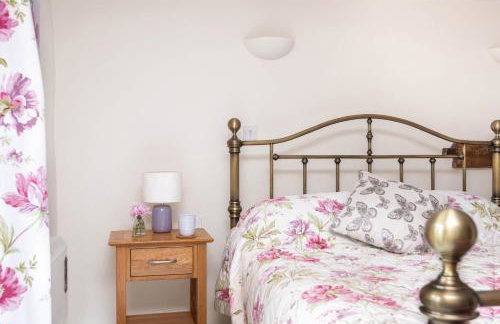
The Beech Hut, Wood Fired Hot Tub, St Kew Escapes - Foto 3
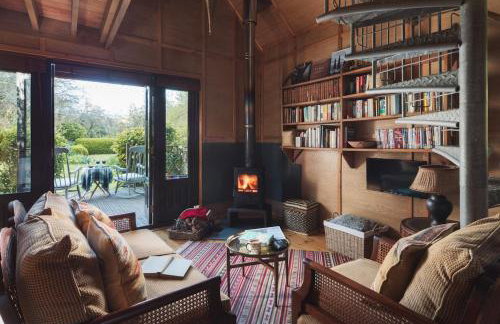
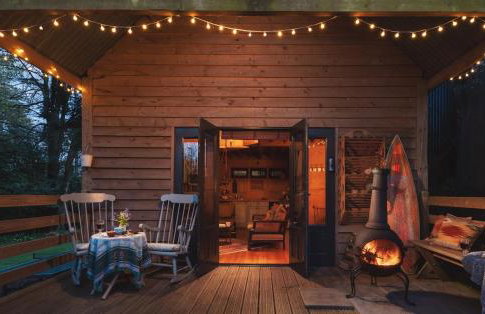
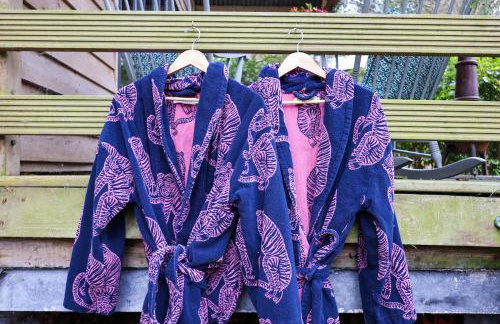
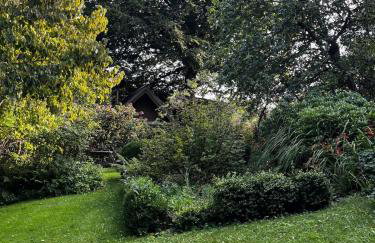
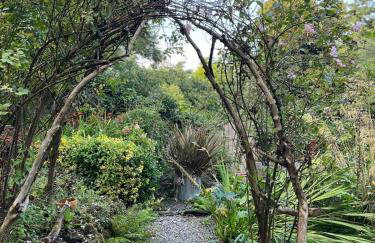
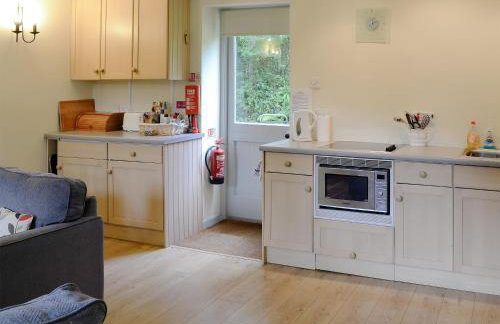
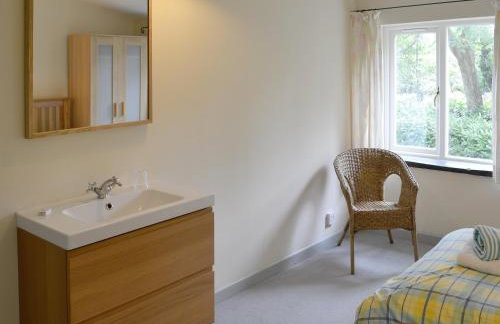
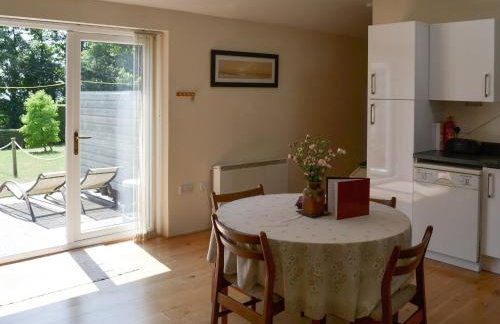
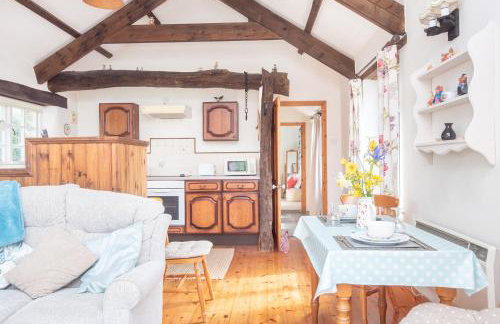
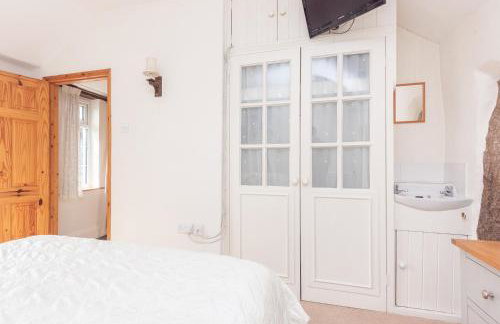
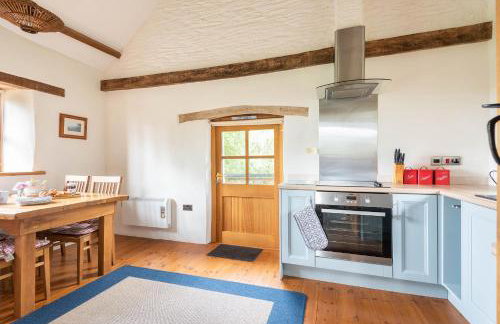
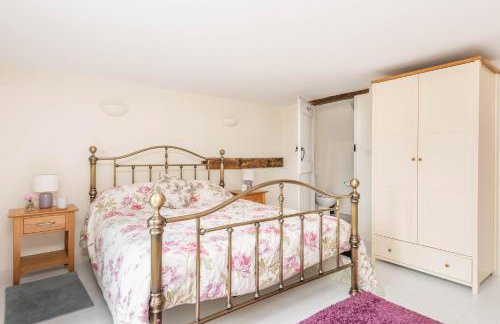
The Beech Hut, Wood Fired Hot Tub, St Kew Escapes - Foto 4
The Beech Hut, Wood Fired Hot Tub, St Kew Escapes - Foto 5
The Beech Hut, Wood Fired Hot Tub, St Kew Escapes - Foto 6
The Beech Hut, Wood Fired Hot Tub, St Kew Escapes - Foto 7
The Beech Hut, Wood Fired Hot Tub, St Kew Escapes - Foto 8
The Beech Hut, Wood Fired Hot Tub, St Kew Escapes - Foto 9
The Beech Hut, Wood Fired Hot Tub, St Kew Escapes - Foto 10
The Beech Hut, Wood Fired Hot Tub, St Kew Escapes - Foto 11
The Beech Hut, Wood Fired Hot Tub, St Kew Escapes - Foto 12
The Beech Hut, Wood Fired Hot Tub, St Kew Escapes - Foto 13
The Beech Hut, Wood Fired Hot Tub, St Kew Escapes - Foto 14
The Beech Hut, Wood Fired Hot Tub, St Kew Escapes - Foto 15
The Beech Hut, Wood Fired Hot Tub, St Kew Escapes - Foto 16
The Beech Hut, Wood Fired Hot Tub, St Kew Escapes - Foto 17
The Beech Hut, Wood Fired Hot Tub, St Kew Escapes - Foto 18
The Beech Hut, Wood Fired Hot Tub, St Kew Escapes - Foto 19
The Beech Hut, Wood Fired Hot Tub, St Kew Escapes - Foto 20
The Beech Hut, Wood Fired Hot Tub, St Kew Escapes - Foto 21
The Beech Hut, Wood Fired Hot Tub, St Kew Escapes - Foto 22
The Beech Hut, Wood Fired Hot Tub, St Kew Escapes - Foto 23
The Beech Hut, Wood Fired Hot Tub, St Kew Escapes - Foto 24
The Beech Hut, Wood Fired Hot Tub, St Kew Escapes - Foto 25
The Beech Hut, Wood Fired Hot Tub, St Kew Escapes - Foto 26
The Beech Hut, Wood Fired Hot Tub, St Kew Escapes - Foto 27
The Beech Hut, Wood Fired Hot Tub, St Kew Escapes - Foto 28
The Beech Hut, Wood Fired Hot Tub, St Kew Escapes - Foto 29
The Beech Hut, Wood Fired Hot Tub, St Kew Escapes - Foto 30
The Beech Hut, Wood Fired Hot Tub, St Kew Escapes - Foto 31

The Beech Hut, Wood Fired Hot Tub, St Kew Escapes

Bodmin - St Kew

  • 80 M2
  • 2 pessoas
  • Terraço
  • Estacionamento
  • Jardim
10Magnífico | 4 avaliações
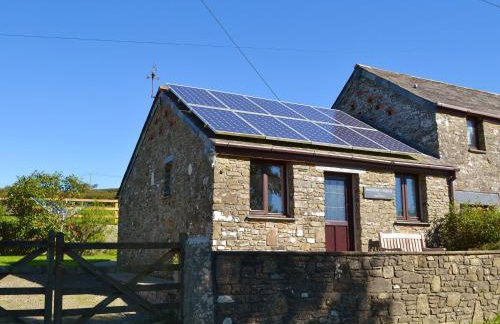
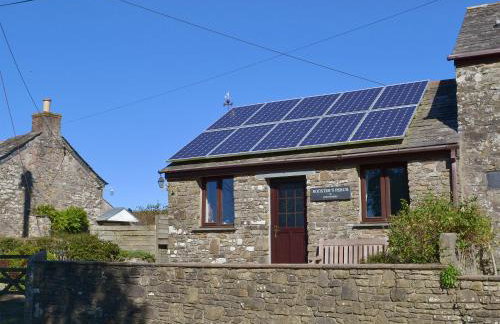
Roosters Perch - Foto 1
Roosters Perch - Foto 2
Roosters Perch - Foto 3
Roosters Perch - Foto 4
Roosters Perch - Foto 5
Roosters Perch - Foto 6
Roosters Perch - Foto 7
Roosters Perch - Foto 8
Roosters Perch - Foto 9
Roosters Perch - Foto 10

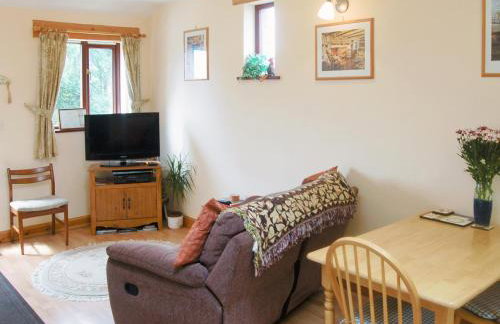
Roosters Perch

Bodmin - St Kew

  • 2 pessoas
  • Aquecimento
  • Estacionamento
  • Jardim
9.7Excepcional | 4 avaliações
Paget - Foto 1
Paget - Foto 2
Paget - Foto 3
Paget - Foto 4
Paget - Foto 5
Paget - Foto 6
Paget - Foto 7
Paget - Foto 8
Paget - Foto 9
Paget - Foto 10
Paget - Foto 11
Paget - Foto 12

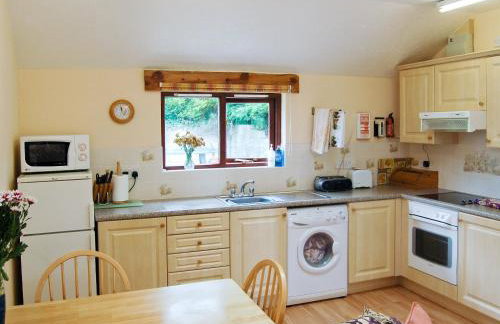
Paget

Bodmin - St Kew

  • 2 quartos
  • 4 pessoas
  • Aquecimento
  • Estacionamento
  • Jardim
7.7Bom | 3 avaliações
Every - Foto 1
Every - Foto 2
Every - Foto 3
Every - Foto 4
Every - Foto 5
Every - Foto 6
Every - Foto 7
Every - Foto 8
Every - Foto 9
Every - Foto 10
Every - Foto 11

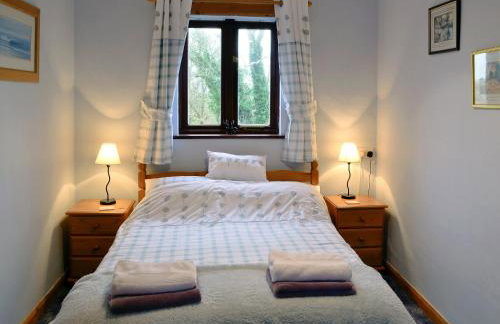
Every

Bodmin - St Kew

  • 2 quartos
  • 4 pessoas
  • Aquecimento
  • Estacionamento
  • Jardim
10Magnífico | 1 avaliação
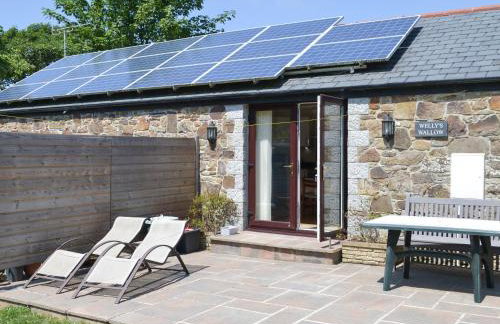
Welly's Wallow - Foto 1
Welly's Wallow - Foto 2
Welly's Wallow - Foto 3
Welly's Wallow - Foto 4
Welly's Wallow - Foto 5
Welly's Wallow - Foto 6
Welly's Wallow - Foto 7
Welly's Wallow - Foto 8
Welly's Wallow - Foto 9
Welly's Wallow - Foto 10

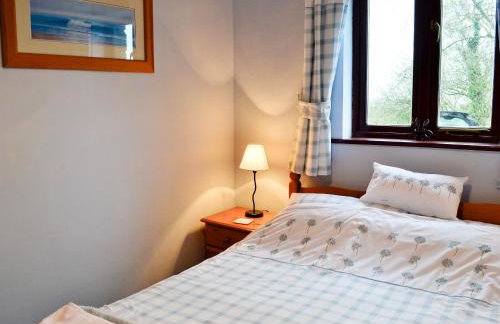
Welly's Wallow

Bodmin - St Kew

  • 2 pessoas
  • Aquecimento
  • Jardim
9Excepcional | 1 avaliação
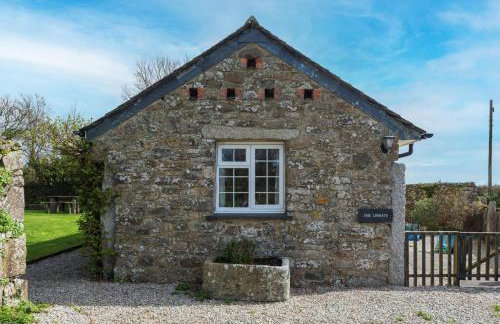
The Linhaye - Foto 1
The Linhaye - Foto 2
The Linhaye - Foto 3
The Linhaye - Foto 4
The Linhaye - Foto 5
The Linhaye - Foto 6
The Linhaye - Foto 7
The Linhaye - Foto 8
The Linhaye - Foto 9
The Linhaye - Foto 10
The Linhaye - Foto 11
The Linhaye - Foto 12
The Linhaye - Foto 13
The Linhaye - Foto 14
The Linhaye - Foto 15
The Linhaye - Foto 16
The Linhaye - Foto 17

The Linhaye

Bodmin - St Kew

  • 2 pessoas
  • Aquecimento
  • Estacionamento
  • Jardim
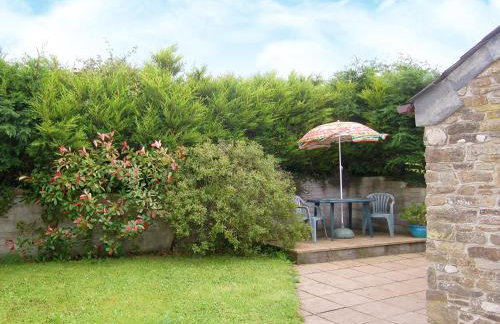
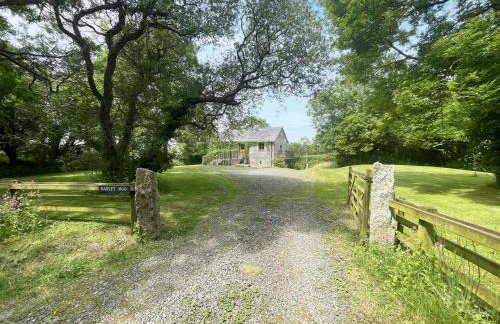
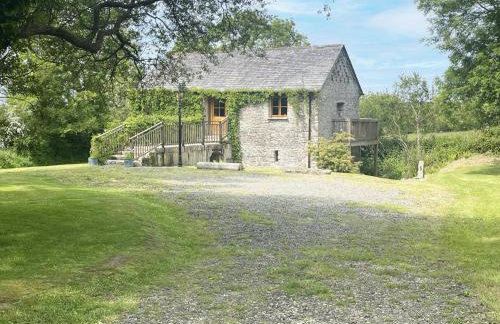
Barley Moo - Foto 1
Barley Moo - Foto 2
Barley Moo - Foto 3
Barley Moo - Foto 4
Barley Moo - Foto 5
Barley Moo - Foto 6
Barley Moo - Foto 7
Barley Moo - Foto 8
Barley Moo - Foto 9
Barley Moo - Foto 10
Barley Moo - Foto 11
Barley Moo - Foto 12
Barley Moo - Foto 13
Barley Moo - Foto 14
Barley Moo - Foto 15
Barley Moo - Foto 16
Barley Moo - Foto 17
Barley Moo - Foto 18
Barley Moo - Foto 19
Barley Moo - Foto 20
Barley Moo - Foto 21
Barley Moo - Foto 22
Barley Moo - Foto 23
Barley Moo - Foto 24
Barley Moo - Foto 25
Barley Moo - Foto 26

Barley Moo

Bodmin - St Kew

  • 2 quartos
  • 4 pessoas
  • Estacionamento
  • Jardim