
143 Apartamentos em Transylvania


Foxhunt at Sapphire Valley
Sapphire - 520 m de Ski Sapphire
- 121 M2
- 6 pessoas
- Ar-condicionado
- Aquecimento
- Piscina
- Estacionamento
- Varanda
- Tv
- Máquina de lavar roupa
- Chaminé
- Churrasco
- Toalhas
- Lençóis
470 avaliações


Twin Creeks Lodge by Avantstay 33 Acre Retreat
Brevard
- 318 M2
- 4 quartos
- 12 pessoas
- Ar-condicionado
- Aquecimento
- Estacionamento
- Varanda
- Tv
- Máquina de lavar roupa
- Chaminé
- Churrasco
- Lençóis
2 avaliações


Life's Good Retreat Bear Cottage
Brevard
- 67 M2
- 2 quartos
- 4 pessoas
- Ar-condicionado
- Aquecimento
- Estacionamento
6 avaliações


Riversong Falls
Lake Toxaway
- 12 M2
- 3 quartos
- 6 pessoas
- Ar-condicionado
- Terraço
- Piscina
- Estacionamento
2 avaliações


Meraki Escape
Brevard
- 50 M2
- 1 quarto
- 2 pessoas
- Ar-condicionado
- Terraço
- Estacionamento
- Jardim
- Churrasco
7 avaliações


Quaint Mtn Cabin: Tiny Living Near Big Adventure
Brevard
- 70 M2
- 1 quarto
- 4 pessoas
- Aquecimento
- Terraço
- Estacionamento
10 avaliações


Life's Especially Good Retreat
Brevard
- 67 M2
- 2 quartos
- 4 pessoas
- Ar-condicionado
- Aquecimento
- Estacionamento
4 avaliações


Life's Good Creek Side Retreat
Brevard
- 67 M2
- 2 quartos
- 4 pessoas
- Ar-condicionado
- Aquecimento
- Estacionamento
11 avaliações

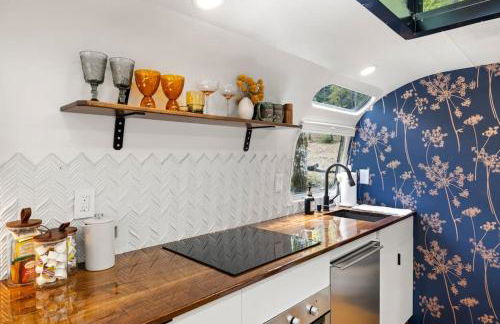
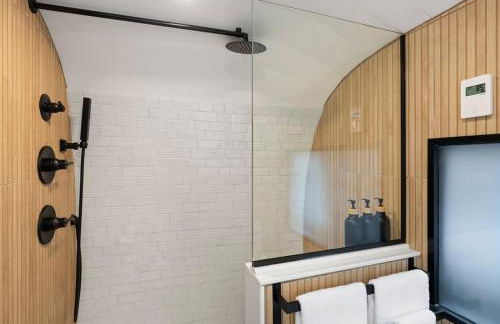
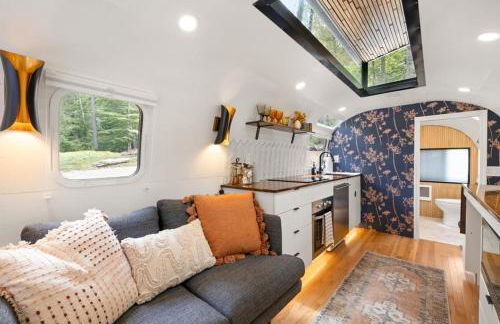
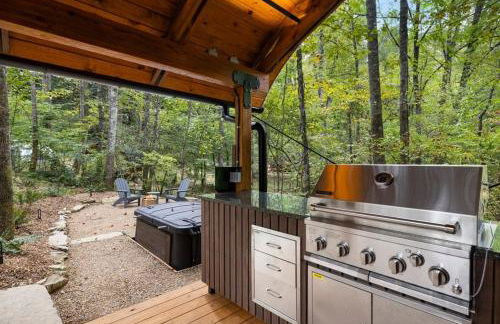

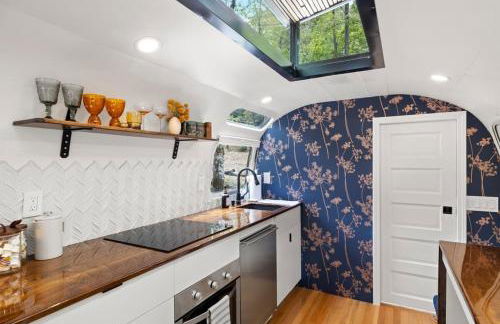
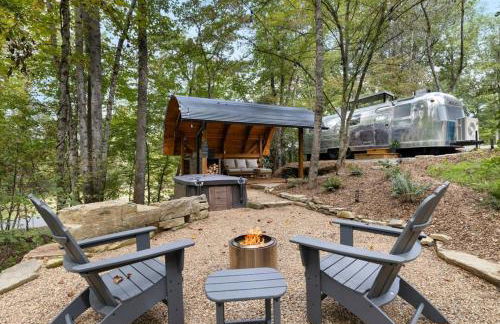
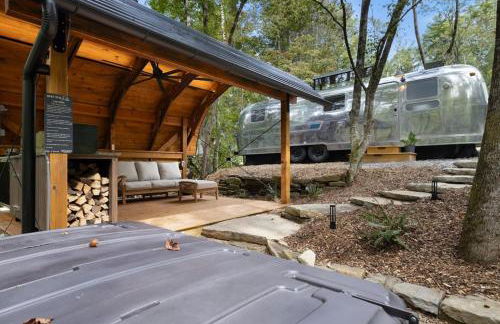
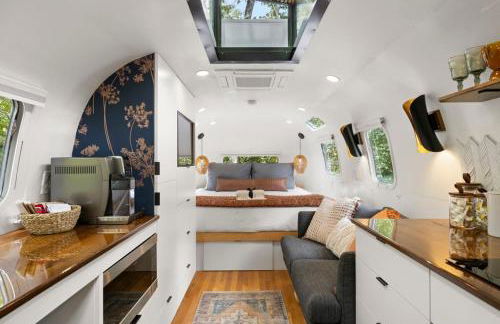
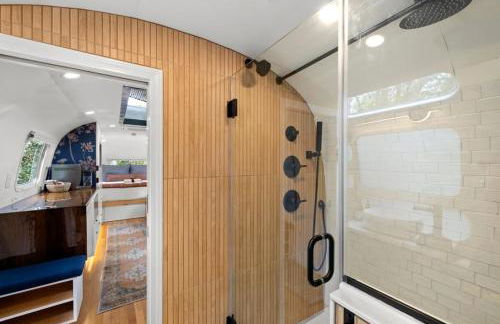
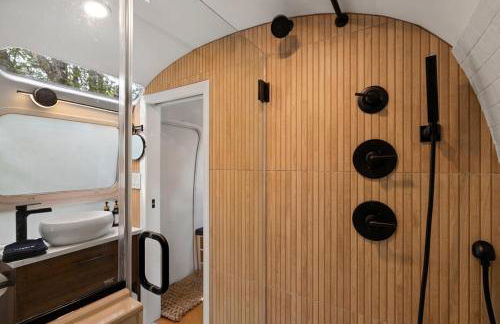
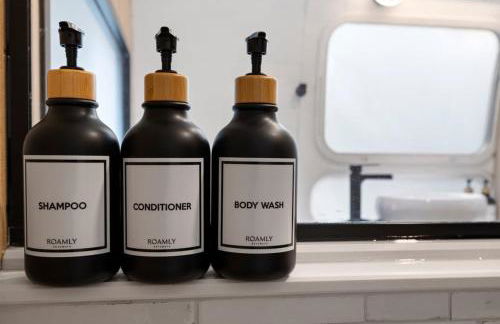
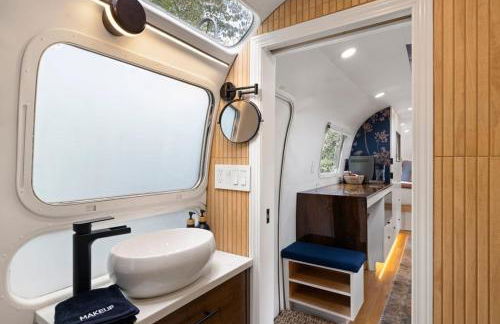
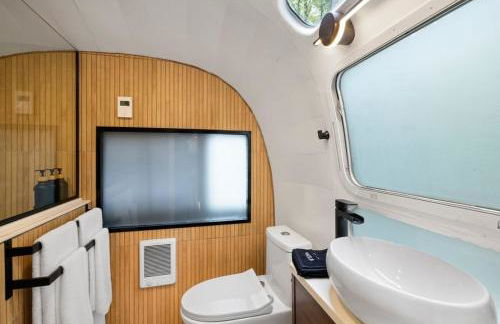
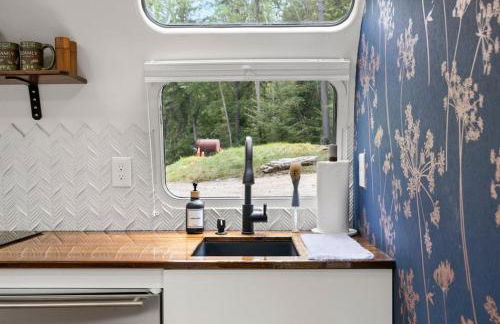


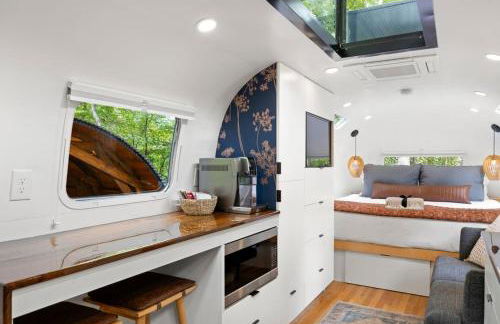
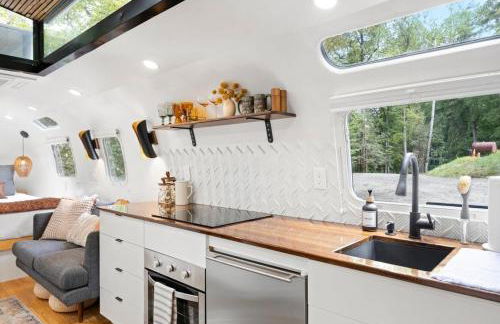
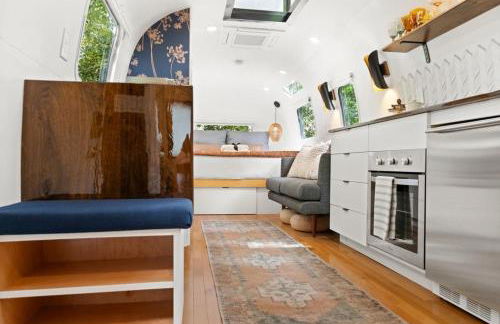
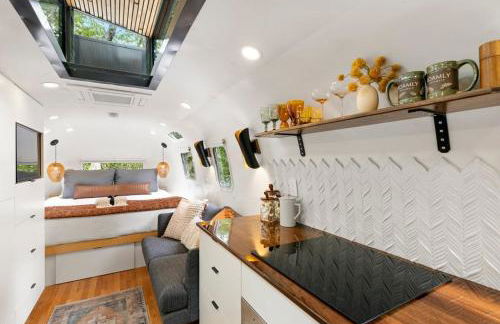
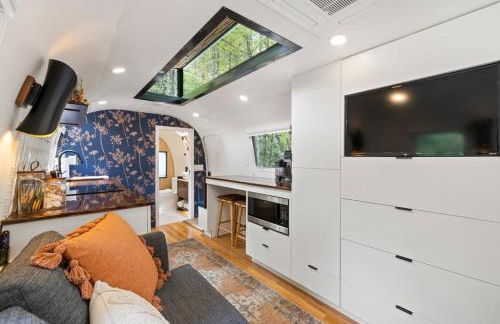
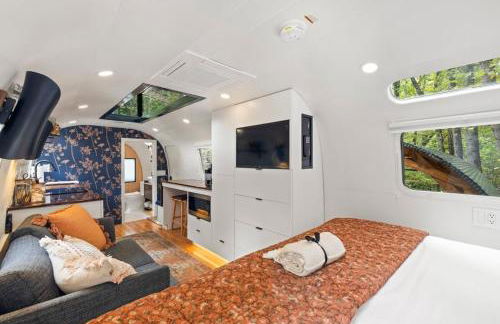
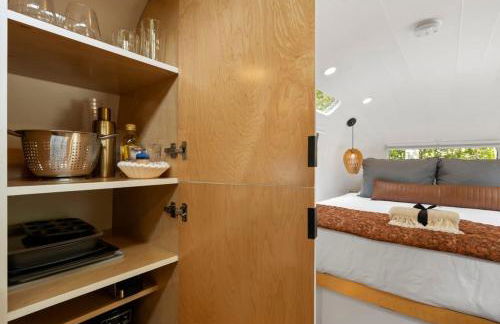
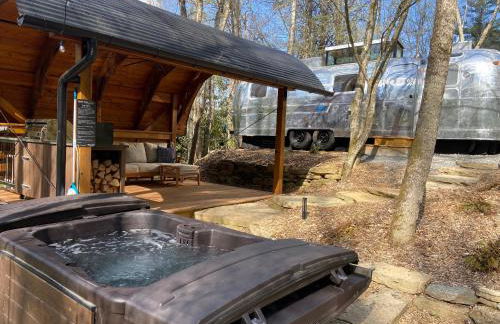
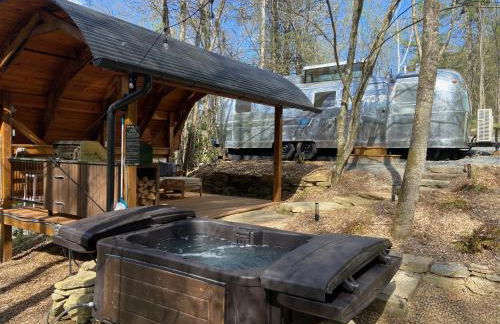
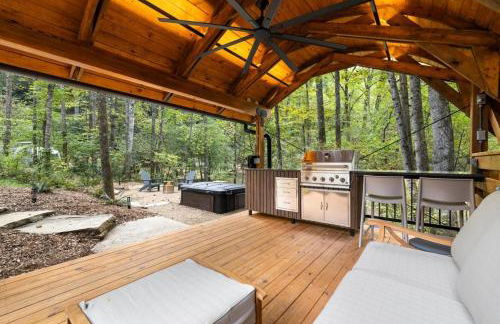
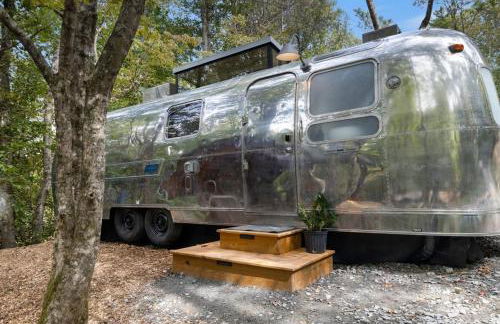


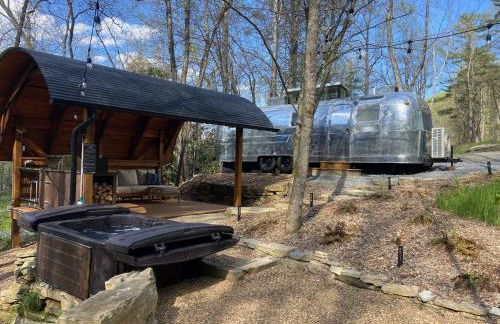
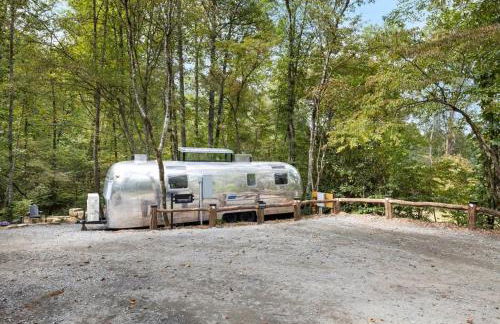
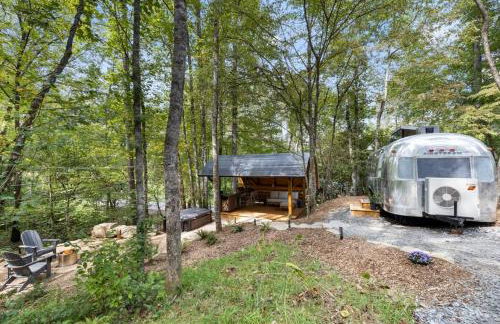

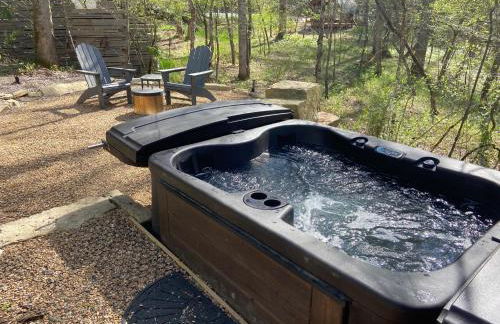


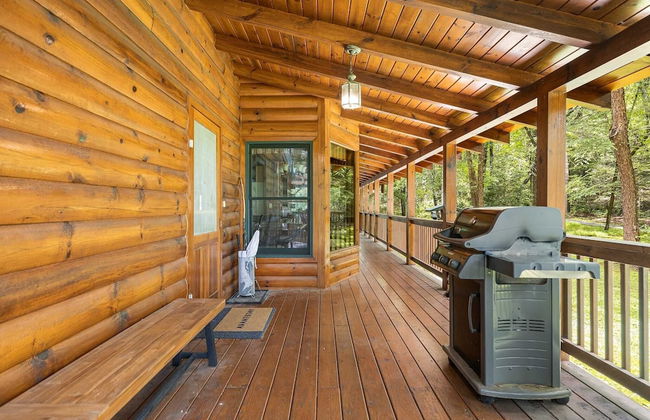
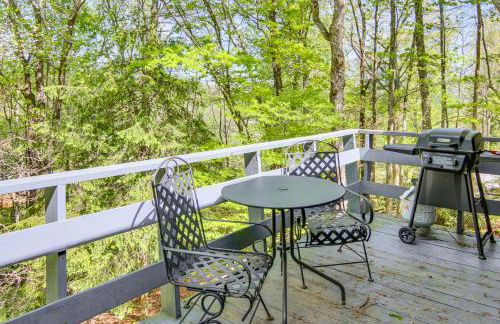
Luxury Airstream w hot tub, king bed, & grill
Pisgah
- 25 M2
- 1 quarto
- 2 pessoas
- Ar-condicionado
- Aquecimento
- Churrasco
6 avaliações


Downtown Brevard 5BR Retreat & Cyclists Dream
Brevard
- 204 M2
- 5 quartos
- 10 pessoas
- Ar-condicionado
- Aquecimento
- Terraço
- Estacionamento
- Jardim
- Churrasco
2 avaliações


Private Mountain Getaway in Little River Valley
Penrose
- 84 M2
- 1 quarto
- 4 pessoas
- Ar-condicionado
- Aquecimento
- Estacionamento
3 avaliações


Brevard Retreat ~ 3 Mi to Downtown!
Brevard
- 167 M2
- 3 quartos
- 6 pessoas
- Aquecimento
- Estacionamento
2 avaliações


Peace of Heaven in Connestee · Peace of Heaven in Connestee Fall
Brevard
- 244 M2
- 4 quartos
- 9 pessoas
- Aquecimento
- Estacionamento
- Churrasco
3 avaliações


Aunt Babbies Cabin · Aunt Babbies Cabin
Pisgah
- 74 M2
- 1 quarto
- 4 pessoas
- Aquecimento
- Estacionamento
2 avaliações


Walkable Downtown 5BR - Hot Tub and Resort Access
Brevard
- 200 M2
- 5 quartos
- 10 pessoas
- Ar-condicionado
- Aquecimento
- Terraço
- Estacionamento
- Jardim
- Churrasco
2 avaliações


1 Mi to Pisgah Nat’l Forest: Wooded Haven w/ Deck
Pisgah
- 130 M2
- 3 quartos
- 6 pessoas
- Aquecimento
- Terraço
- Estacionamento
6 avaliações


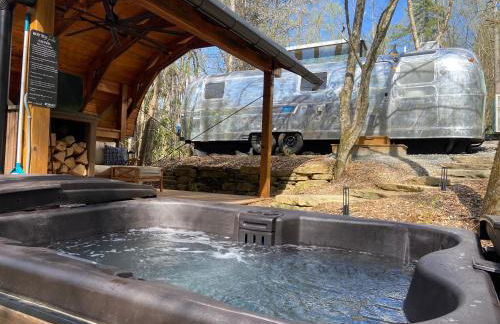
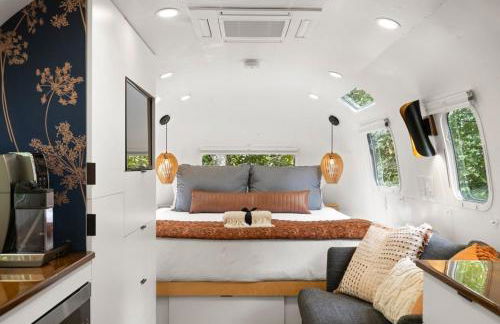
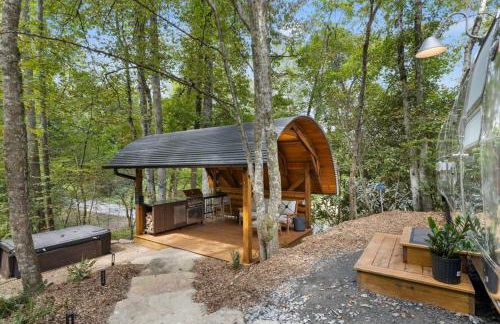
Airstream w Bathtub, River, & Hot Tub
Pisgah
- 25 M2
- 1 quarto
- 2 pessoas
- Ar-condicionado
- Aquecimento
- Churrasco
5 avaliações


Sarah`s Cabin · Sarah`s Cabin in Pisgah Forest
Pisgah
- 1 quarto
- 6 pessoas
- Aquecimento
- Estacionamento
2 avaliações


The Deep Forest Green Cottage · The Deep Forest Green Cottage
Cedar Mountain
- 78 M2
- 2 quartos
- 6 pessoas
- Aquecimento
- Estacionamento
2 avaliações