
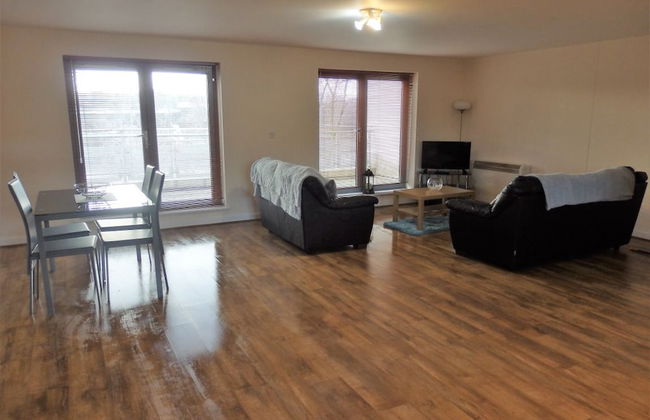
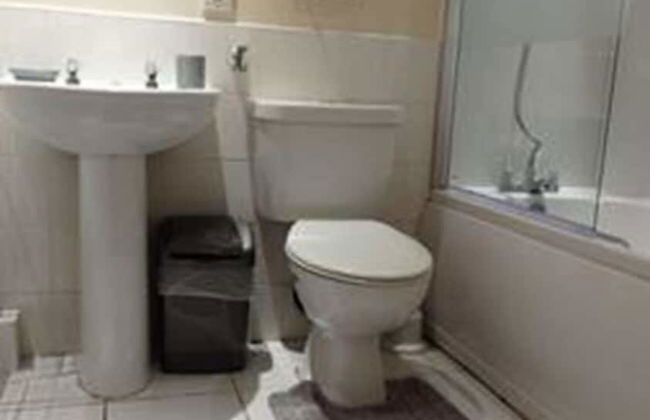
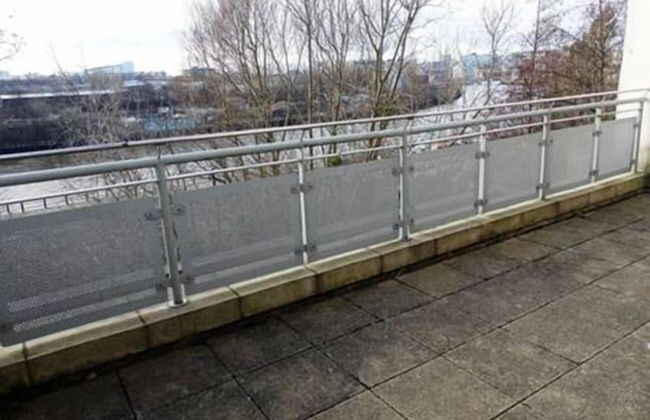
1338 Apartamentos em Tyne and Wear
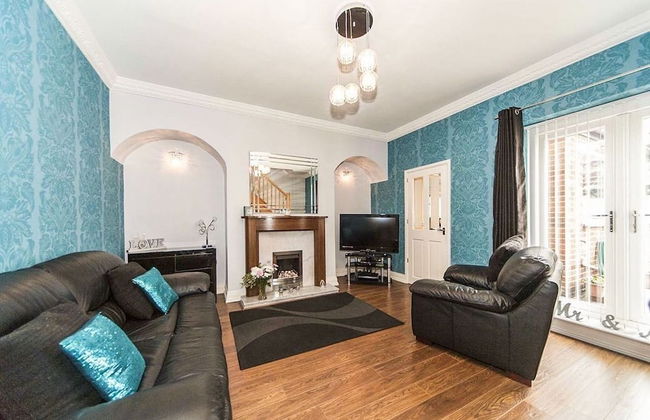


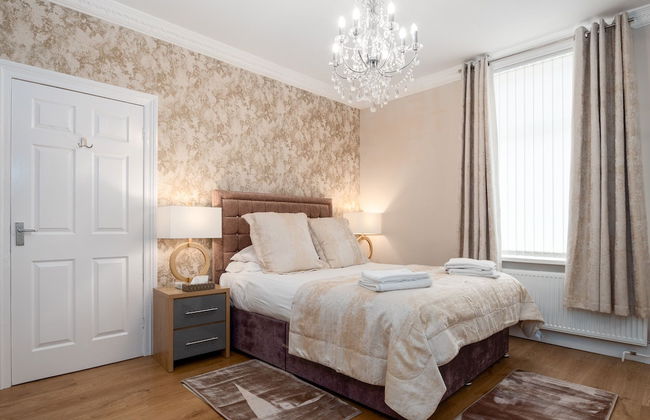


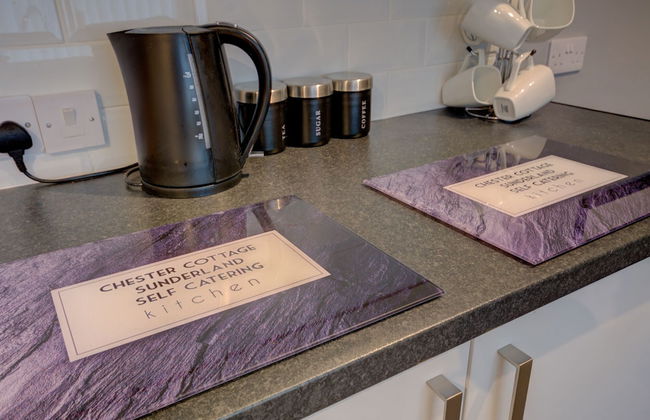
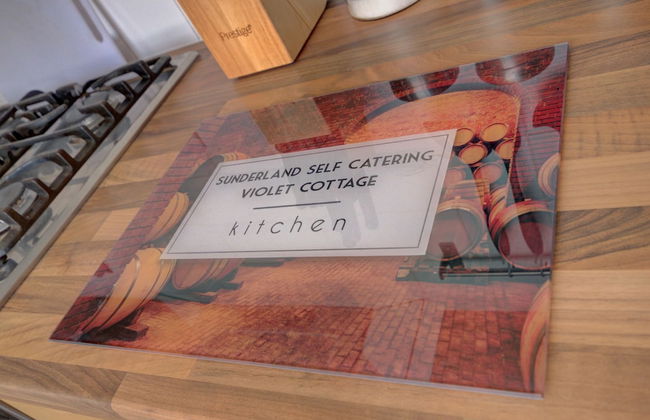
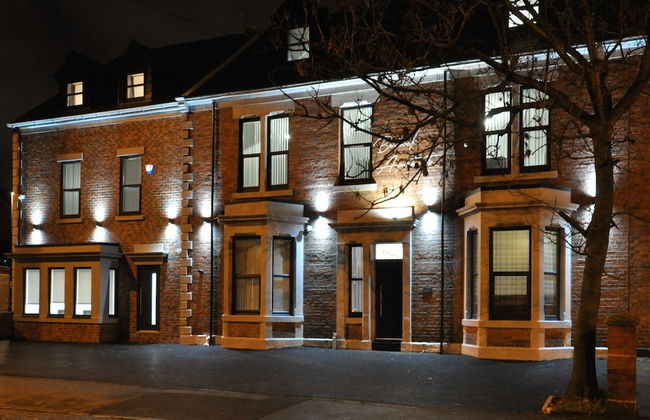
Sunderland Self Catering
Sunderland - Sunderland - No centro
- 4 pessoas
- Aquecimento
- Terraço
- Estacionamento
- Varanda
- Jardim
- Tv
- Máquina de lavar roupa
- Toalhas
- Lençóis
13 avaliações


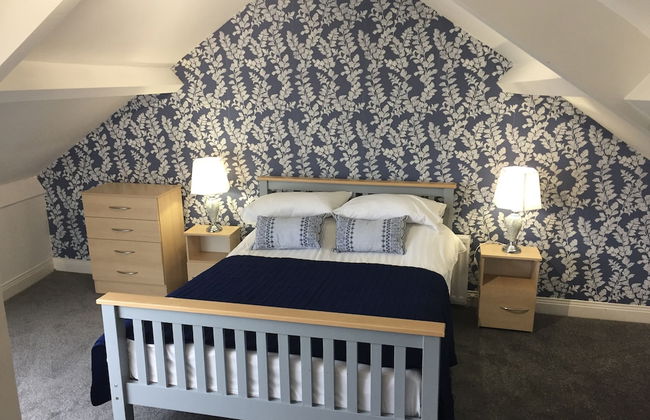
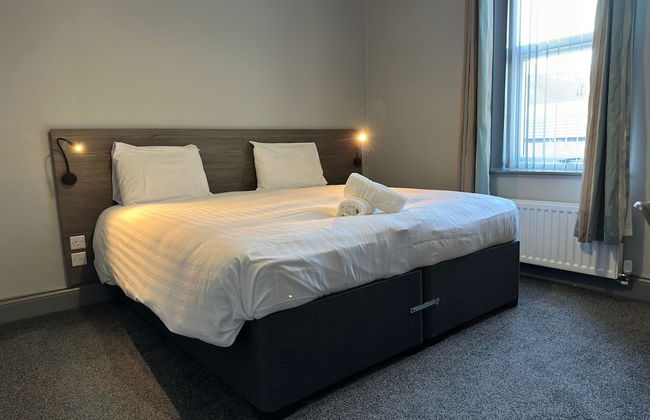
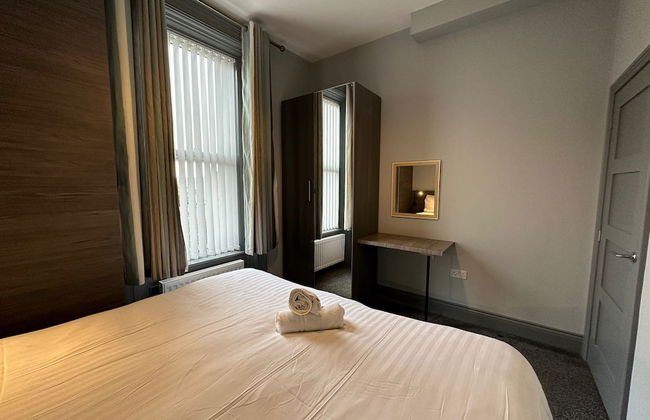
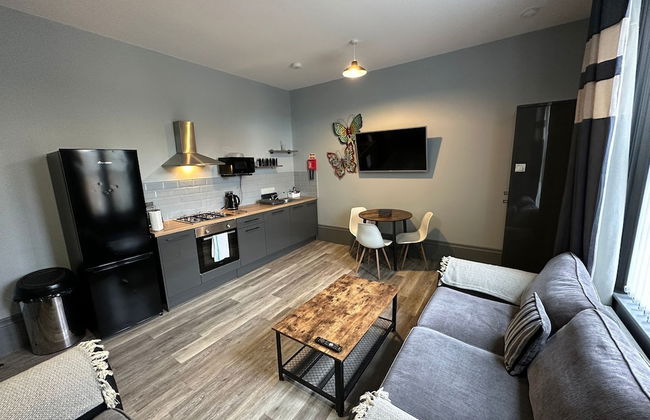
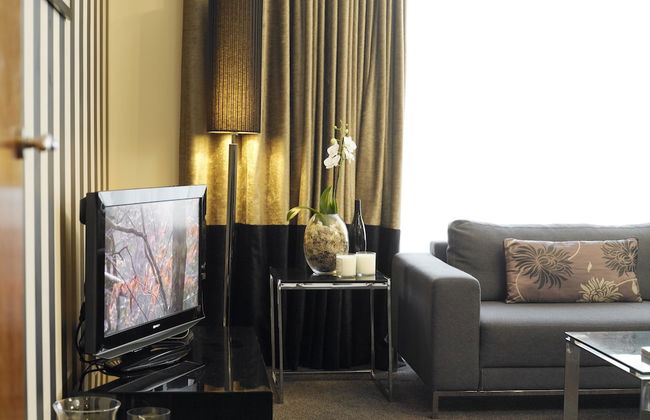
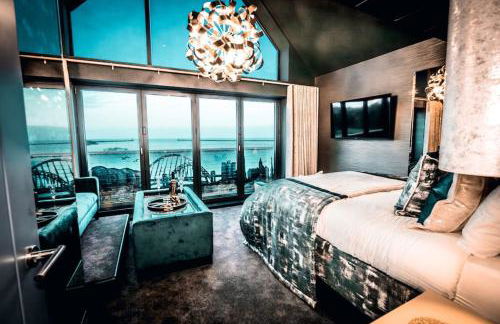
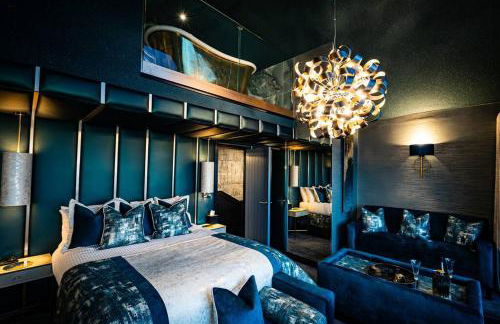
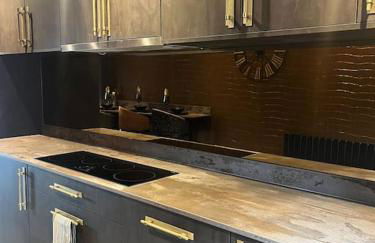
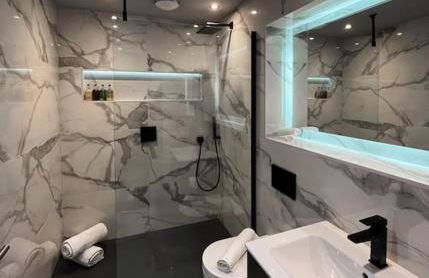
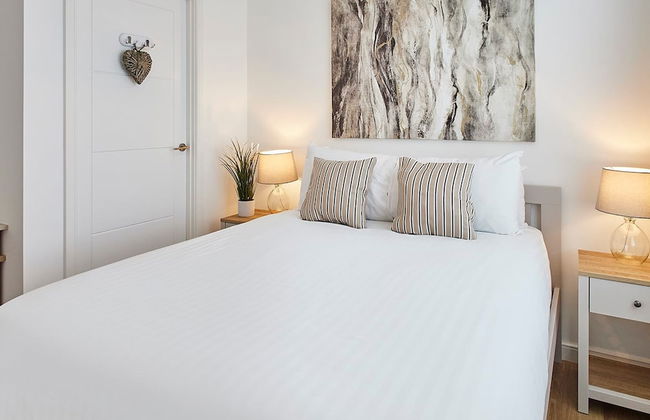
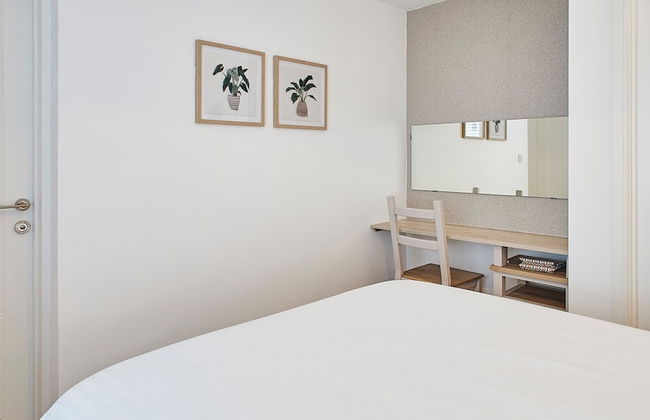
Kensington House by Warren Collection
Newcastle - Jesmond - 290 m do centro
- 40 M2
- 2 quartos
- 4 pessoas
- Aquecimento
- Estacionamento
- Tv
- Toalhas
- Lençóis
16 avaliações


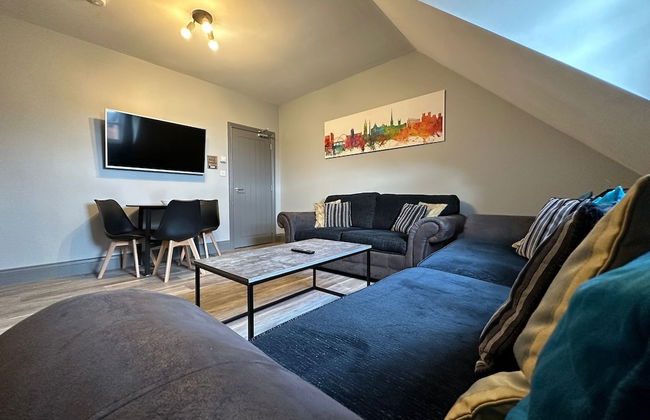


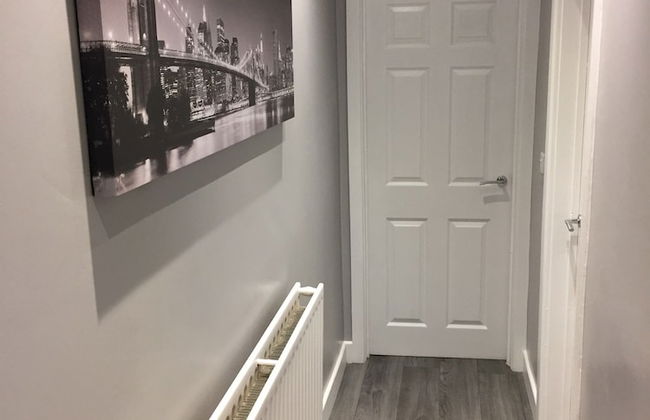
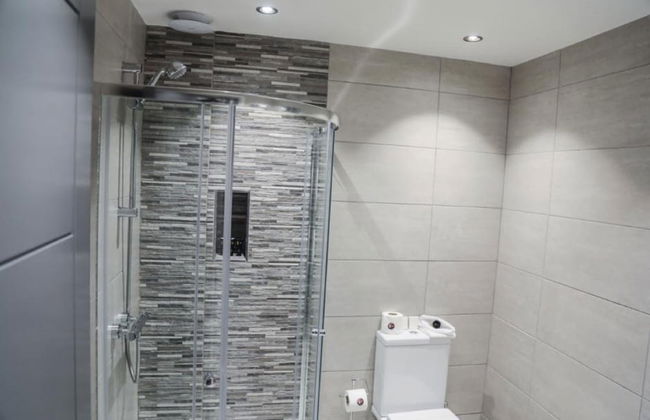
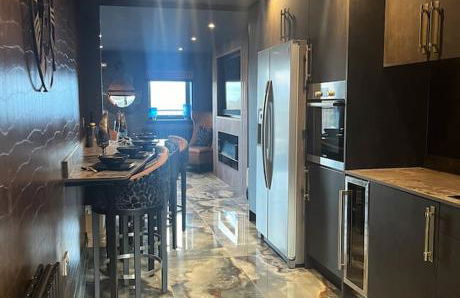
Bentinck Apartments
Newcastle - Newcastle - 1.6 km do centro
- 80 M2
- 3 quartos
- 8 pessoas
- Aquecimento
- Estacionamento
- Tv
- Toalhas
- Lençóis
74 avaliações


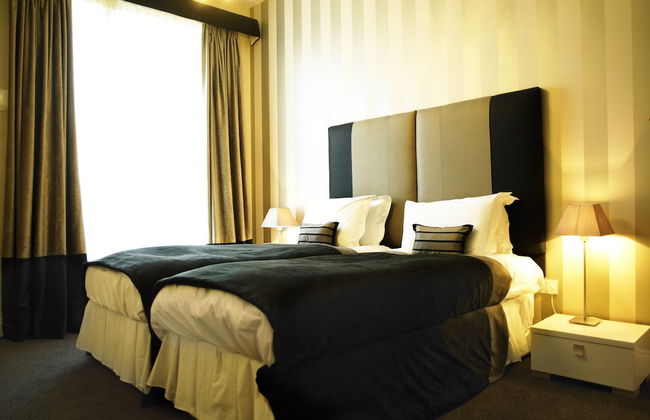
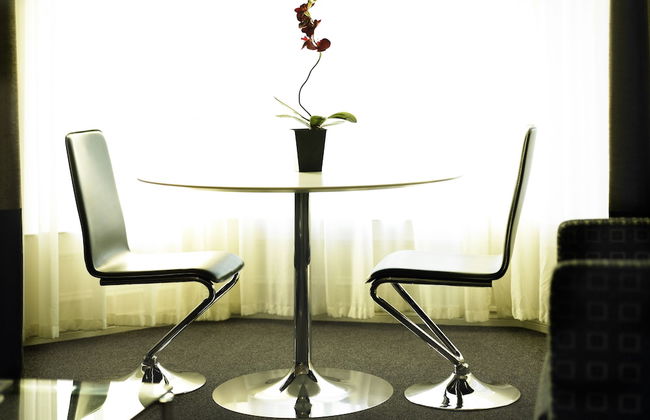


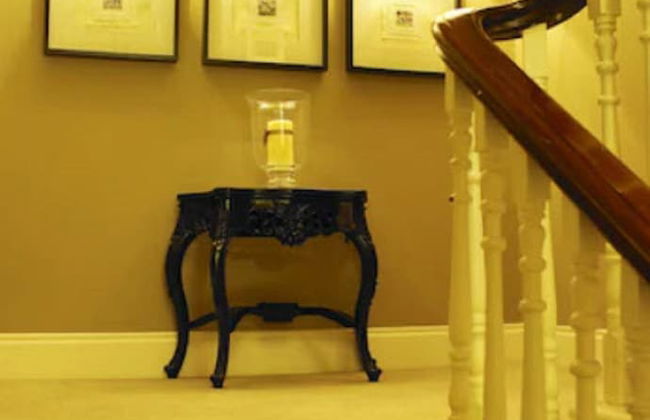


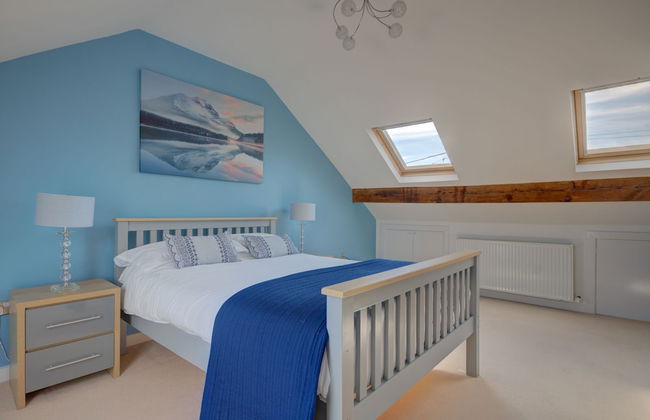
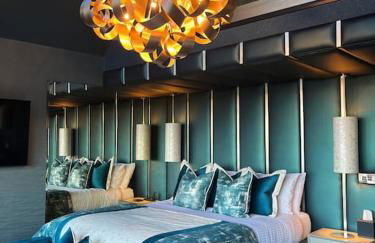
Kensington House Aparthotel
Newcastle - Jesmond - 250 m do centro
- 62 M2
- 4 pessoas
- Aquecimento
- Terraço
- Estacionamento
- Tv
- Toalhas
97 avaliações


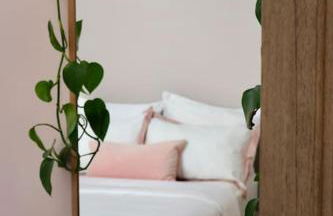
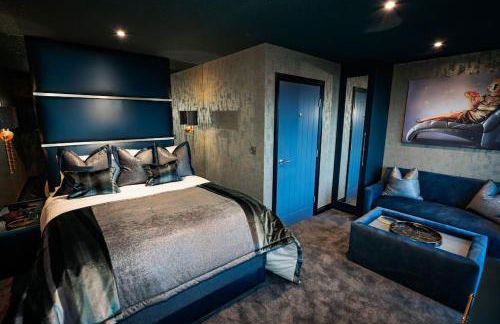
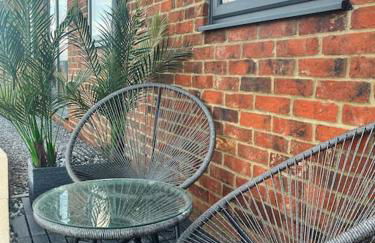
The Old Bakery
Gateshead - Springwell - 5.1 km do centro
- 65 M2
- 2 pessoas
- Aquecimento
- Terraço
- Estacionamento
- Jardim
132 avaliações


Hyem at Cullercoats
Whitley - Whitley
- 60 M2
- 1 quarto
- 3 pessoas
- Aquecimento
- Terraço
- Estacionamento
- Jardim
20 avaliações


Sleeps 7, entire apartment,with restaurant next door
Newcastle - Blackhall - 14.7 km do centro
- 115 M2
- 3 quartos
- 7 pessoas
- Aquecimento
- Terraço
- Estacionamento
- Jardim
57 avaliações


The Follonsby hot tub Retreat with own bar near city centre
Gateshead - Gateshead - 5.3 km do centro
- 160 M2
- 4 quartos
- 7 pessoas
- Aquecimento
- Terraço
- Estacionamento
- Jardim
- Churrasco
27 avaliações
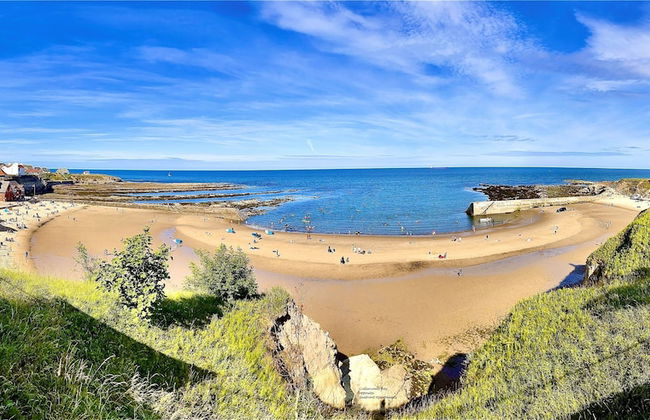
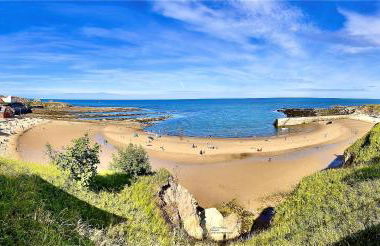
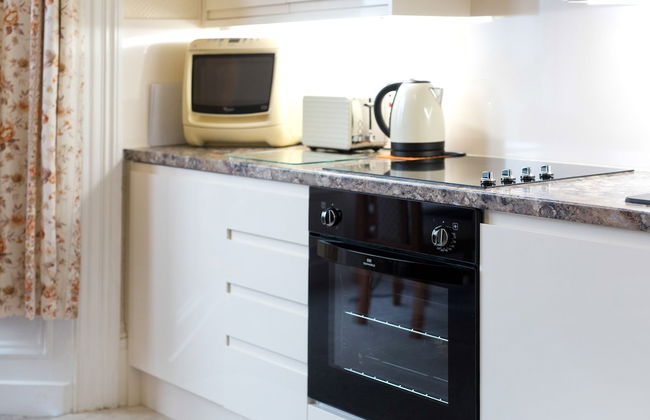
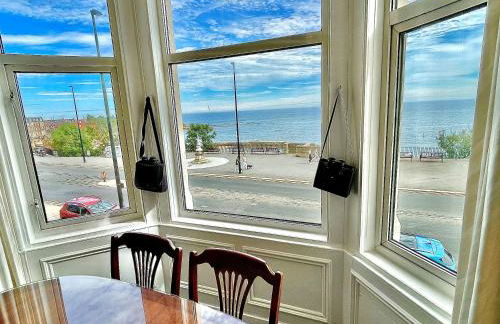

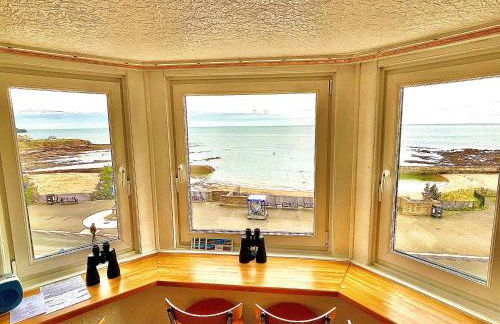


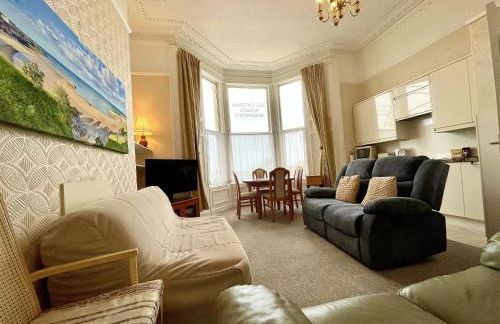

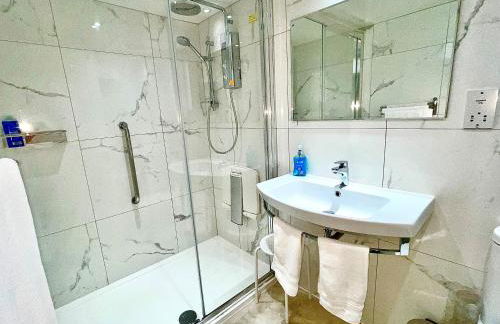

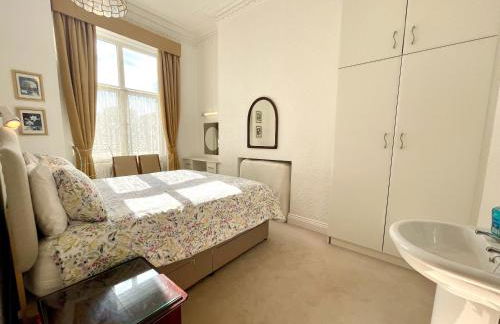
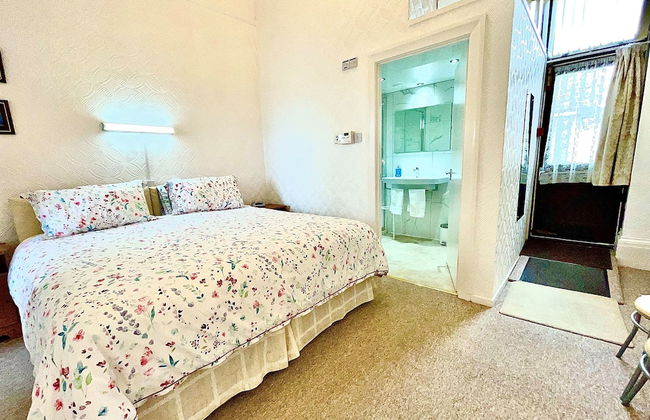
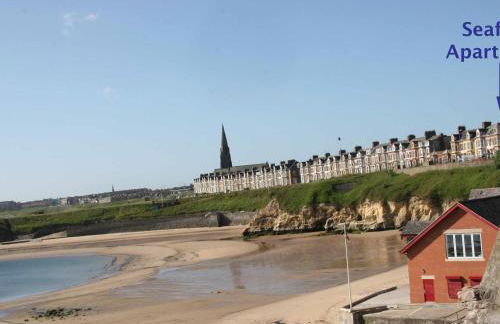

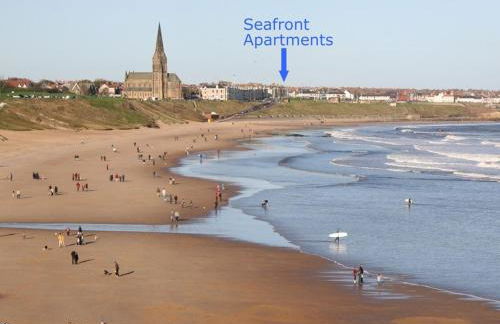


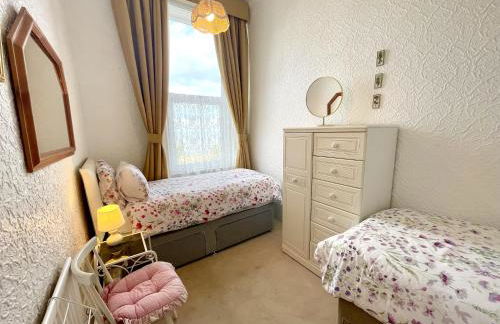
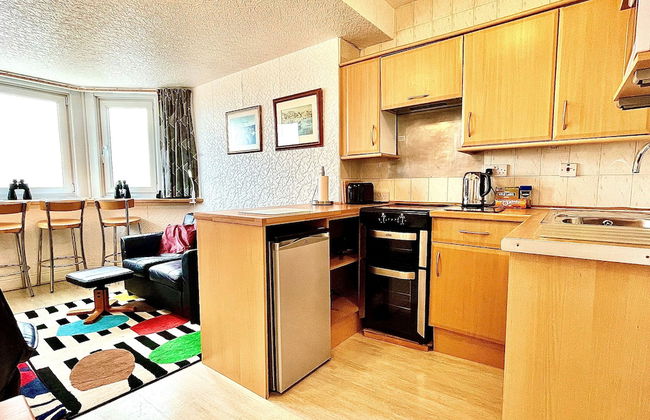
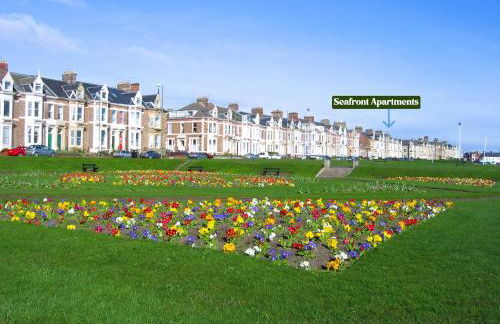
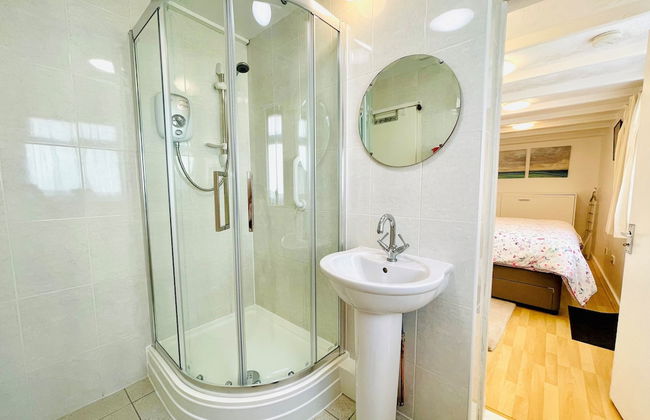


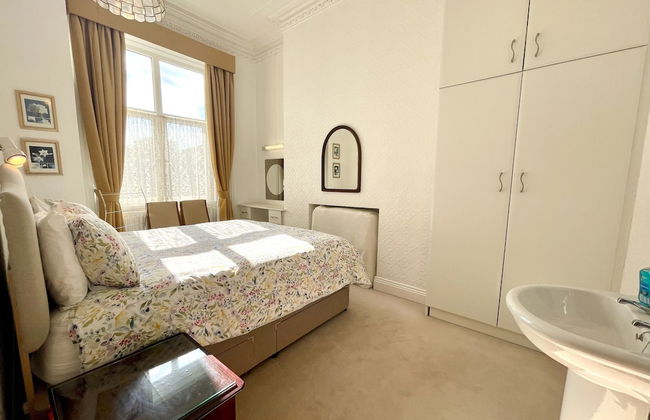


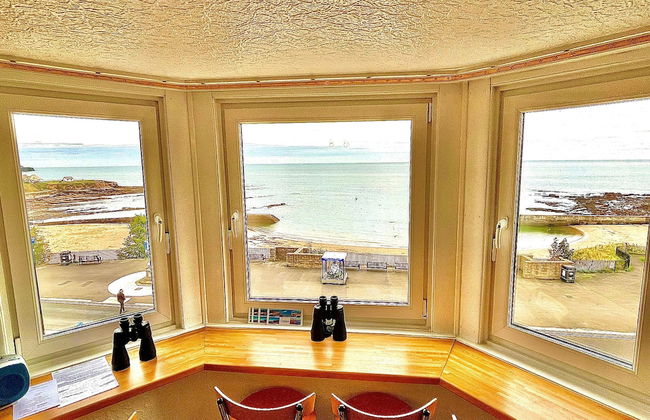


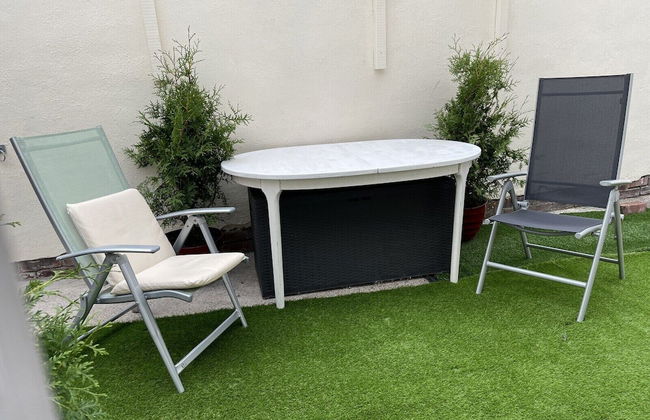


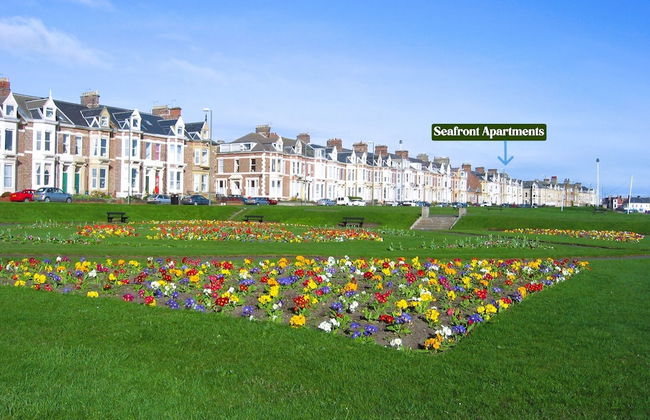
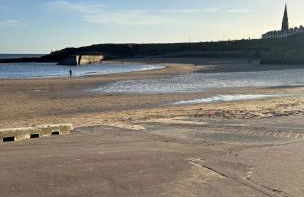
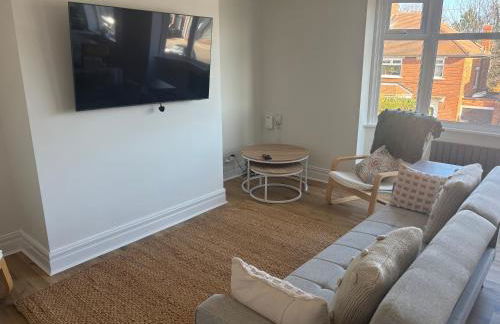
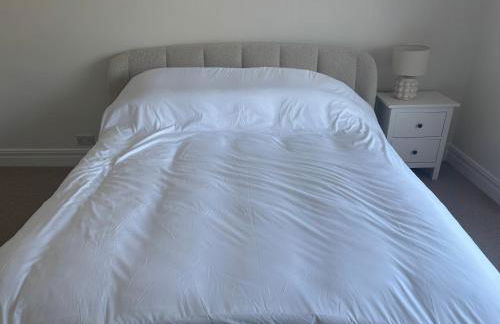
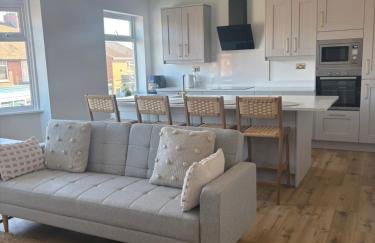
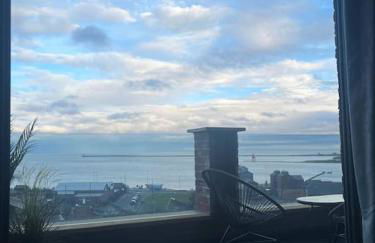
Seafront Apartments
North Shields - Cullercoats
- 55 M2
- 2 quartos
- 4 pessoas
- Kitchenette
- Aquecimento
- Estacionamento
- Tv
- Máquina de lavar roupa
- Chaminé
- Toalhas
- Lençóis
14 avaliações


Cullercoats Coastal Retreat
North Shields - North Shields
- 3 M2
- 3 quartos
- 6 pessoas
- Estacionamento
30 avaliações


The Monument
Newcastle - Grainger Town - No centro
- 10 M2
- 2 quartos
- 4 pessoas
- Ar-condicionado
- Aquecimento
- Terraço
- Elevador
108 avaliações


Old library apartment
Sunderland - Ryhope - 3.6 km do centro
- 2 pessoas
- Terraço
- Estacionamento
- Jardim
91 avaliações


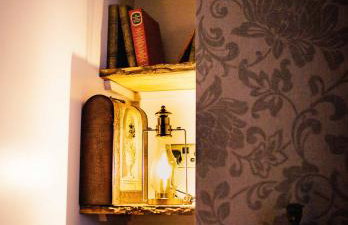

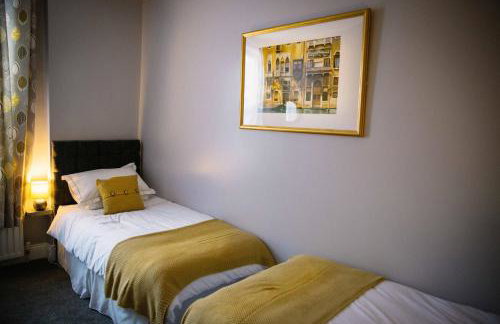


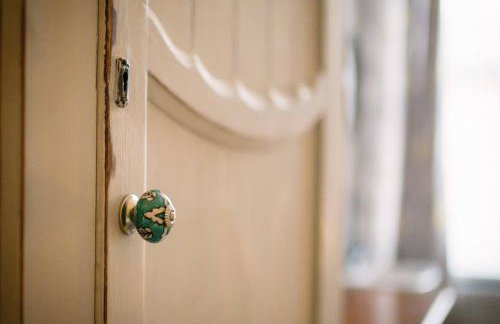


Coalminer's Cottage
Gateshead - Saltwell - 720 m do centro
- 90 M2
- 2 quartos
- 4 pessoas
- Aquecimento
- Terraço
- Estacionamento
- Tv
- Máquina de lavar roupa
- Chaminé
- Toalhas
- Lençóis
2 avaliações


Exceptional Quayside Apartment
Newcastle - Byker - 1.5 km do centro
- 6 pessoas
- Aquecimento
- Terraço
- Estacionamento
- Tv
- Máquina de lavar roupa
- Toalhas
- Lençóis
2 avaliações


Deluxe Inn Gateshead
Gateshead - Gateshead - 610 m do centro
- 33 M2
- 2 quartos
- 4 pessoas
- Estacionamento
27 avaliações


Gosling Lodge
Houghton - Rainton Gate
- 40 M2
- 1 quarto
- 3 pessoas
- Aquecimento
- Terraço
- Estacionamento
- Jardim
28 avaliações


Roker Seafront Apartments
Sunderland - Sunderland - 2.1 km do centro
- 74 M2
- 2 quartos
- 4 pessoas
- Aquecimento
- Estacionamento
78 avaliações


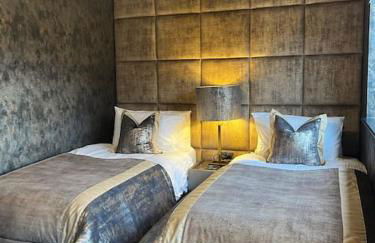

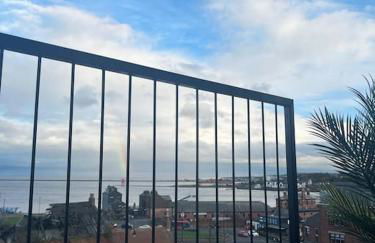
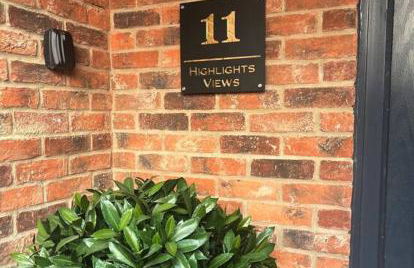
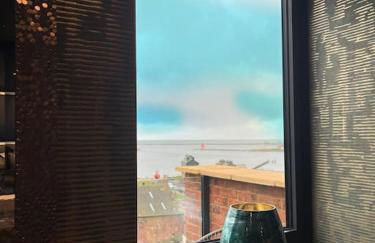


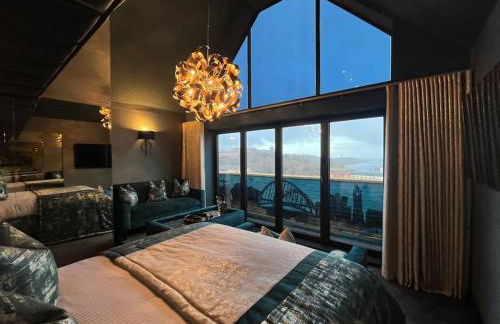


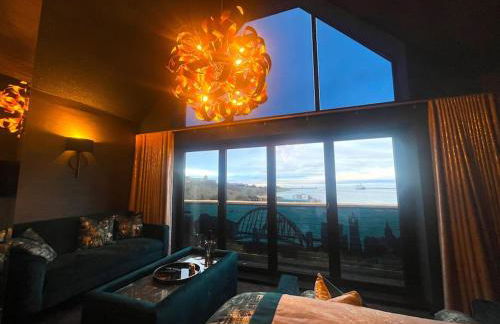

Highlights Views, Overlooking Mouth of the Tyne
North Shields - North Shields
- 150 M2
- 3 quartos
- 6 pessoas
- Aquecimento
- Terraço
- Estacionamento
- Jardim
21 avaliações


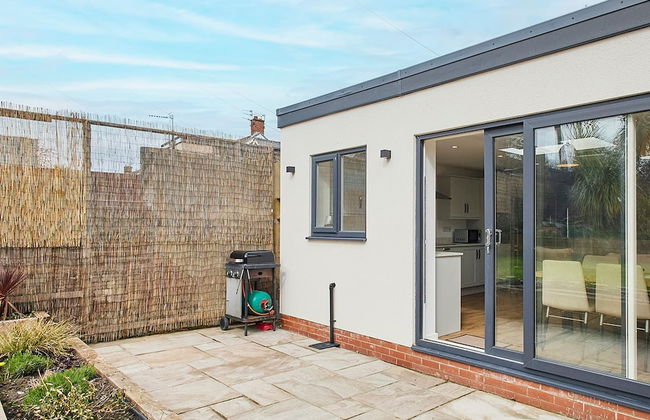

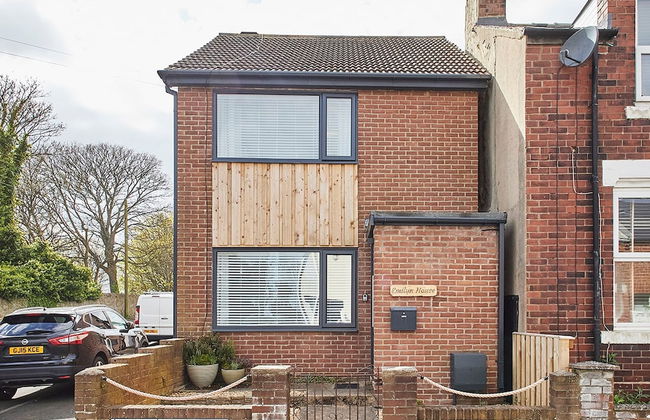


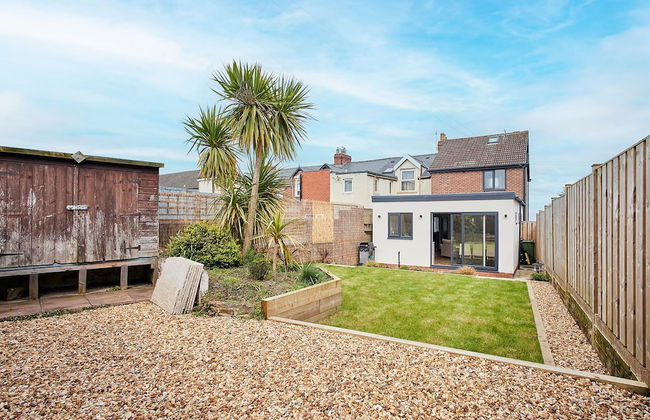


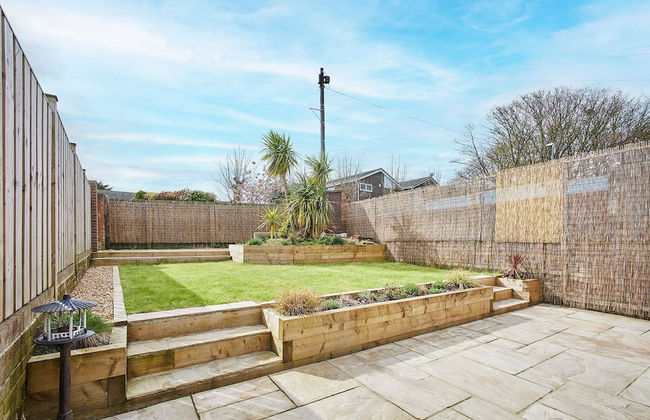

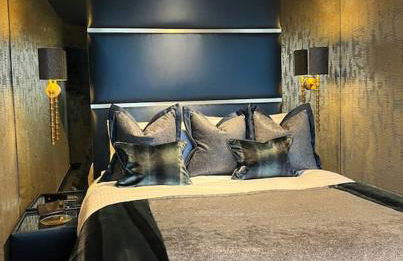
Host & Stay - Emilyn House
Sunderland - Whitburn - 5.3 km do centro
- 95 M2
- 3 quartos
- 6 pessoas
- Aquecimento
- Estacionamento
- Varanda
- Jardim
- Tv
- Máquina de lavar roupa
- Churrasco
- Toalhas
- Lençóis
9 avaliações