
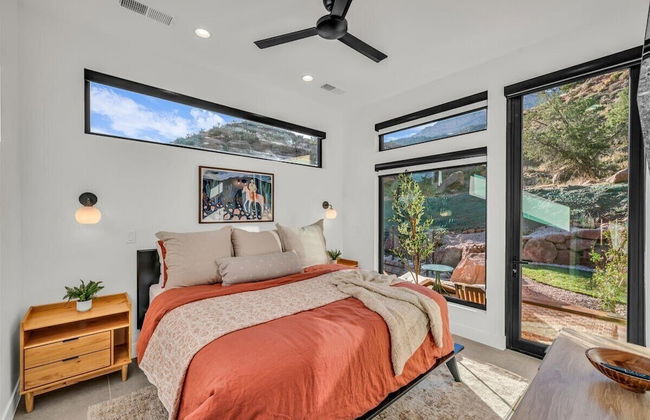
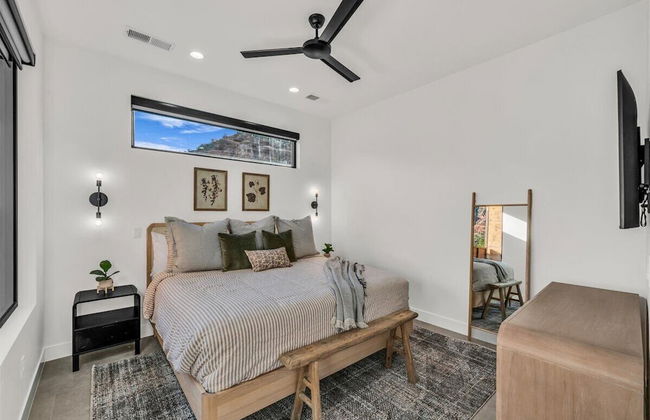
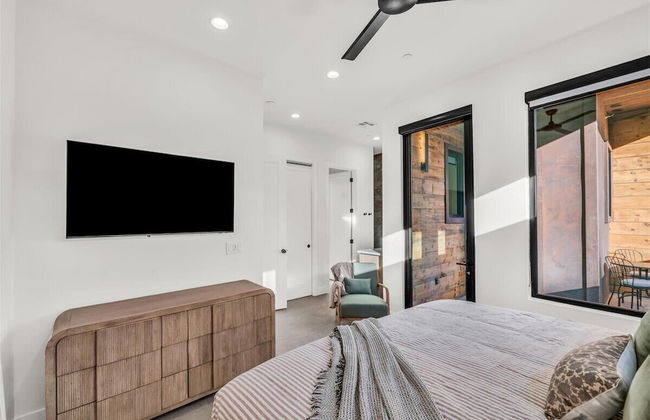
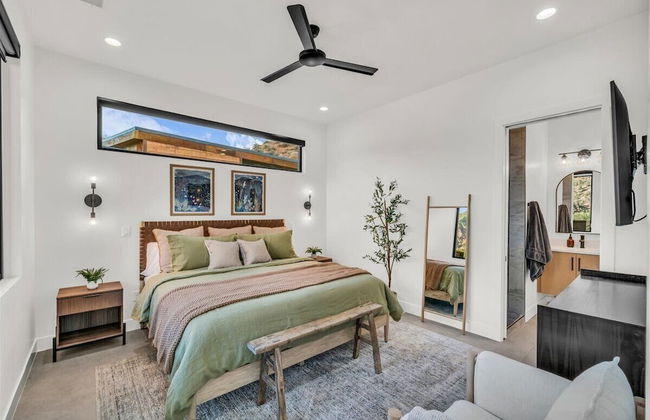
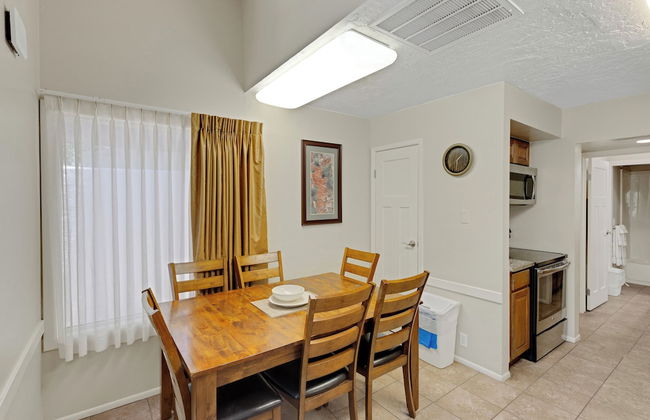
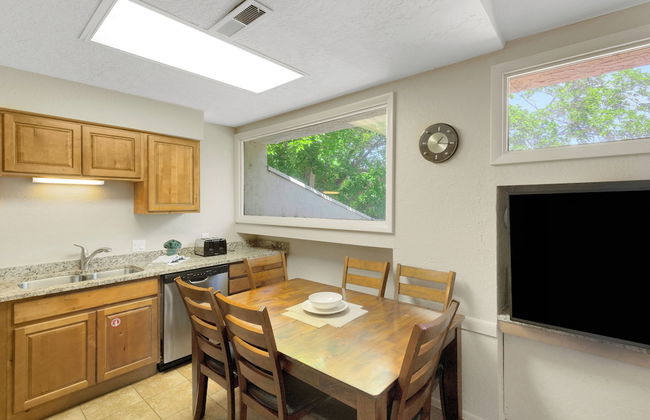
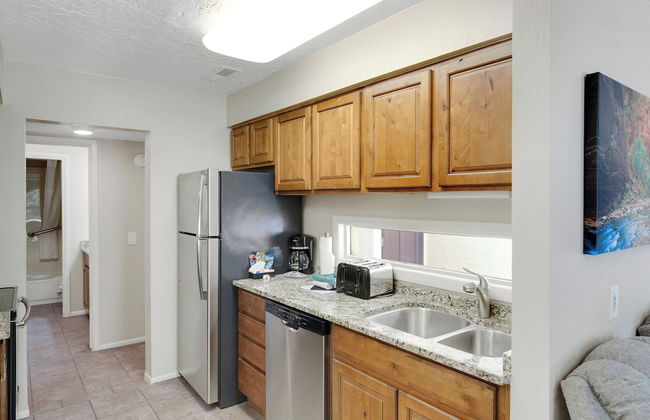
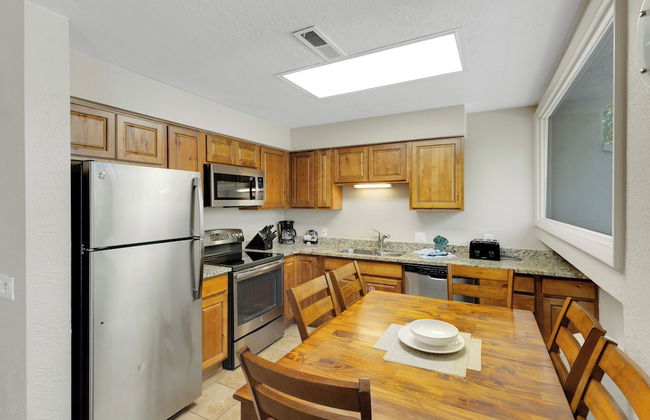
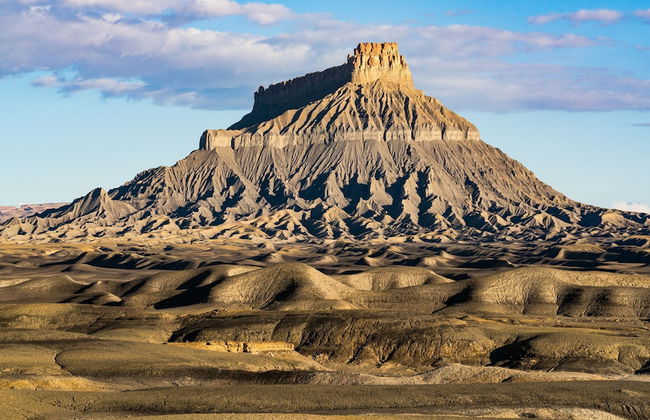
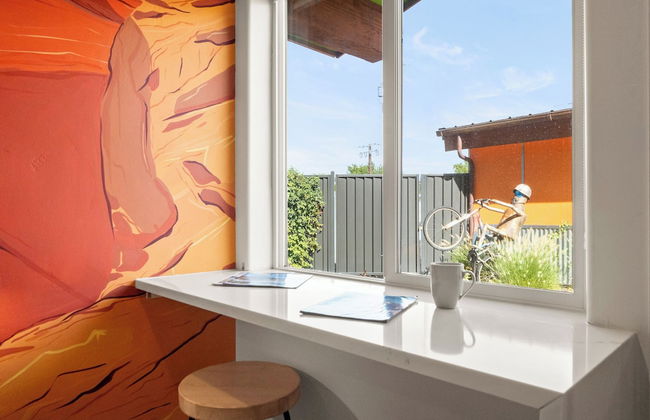
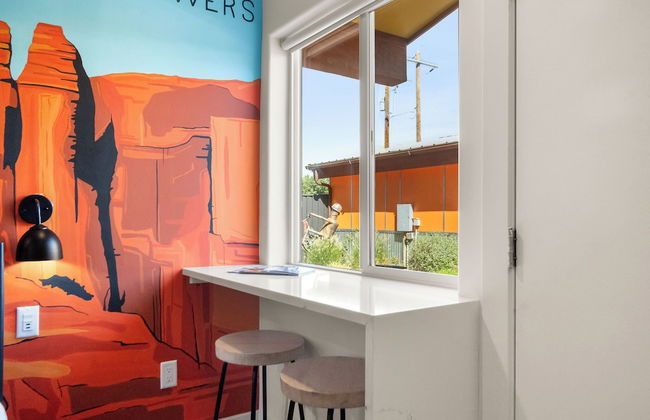
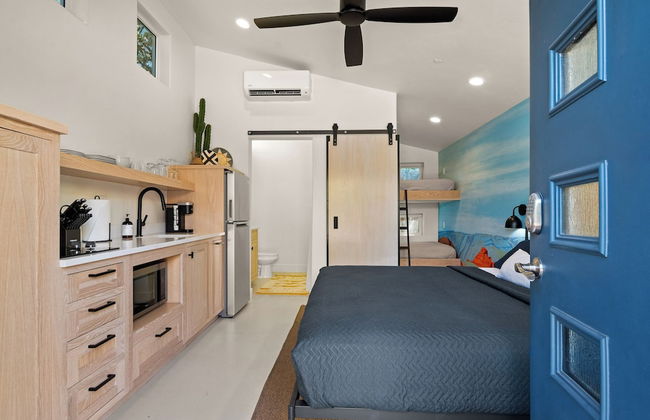
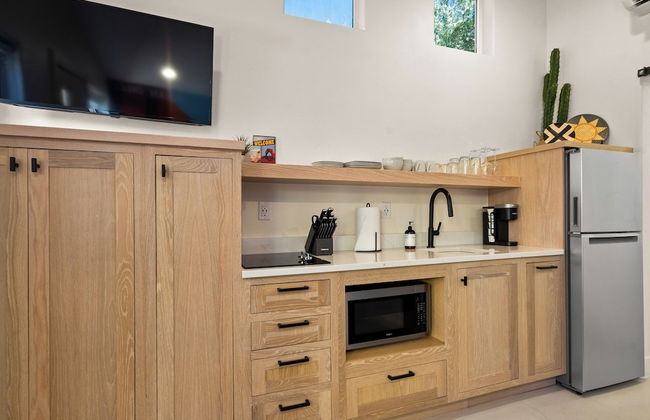
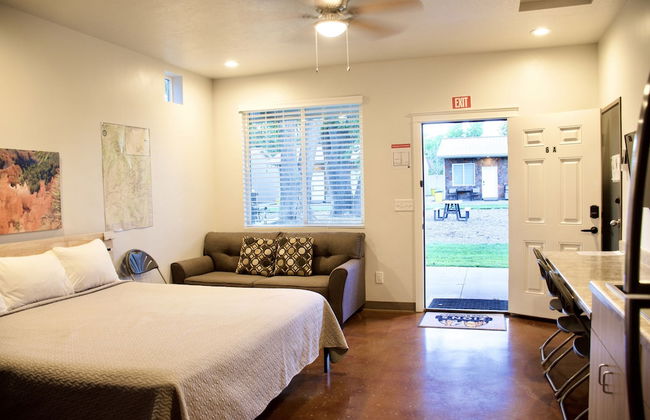
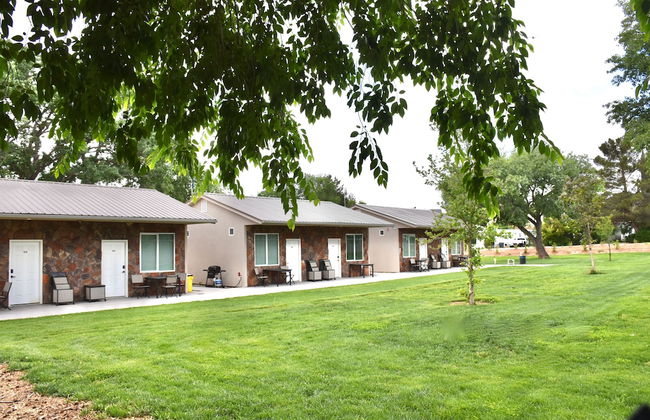
5103 Apartamentos em Utah


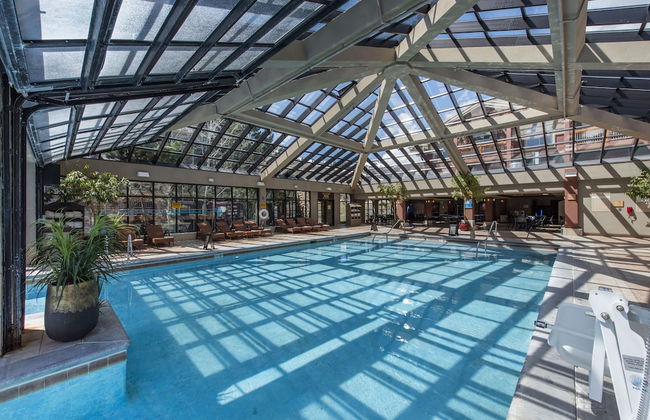
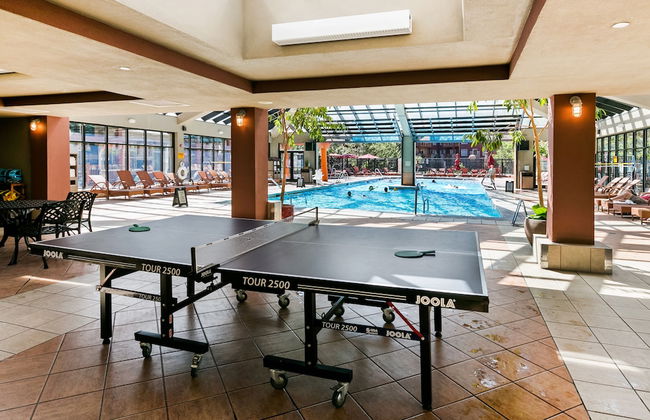
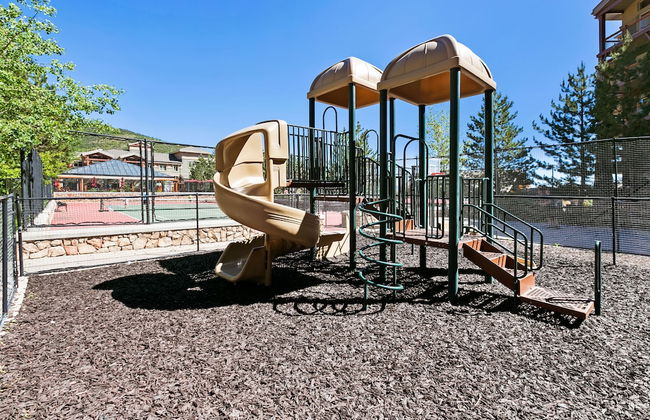
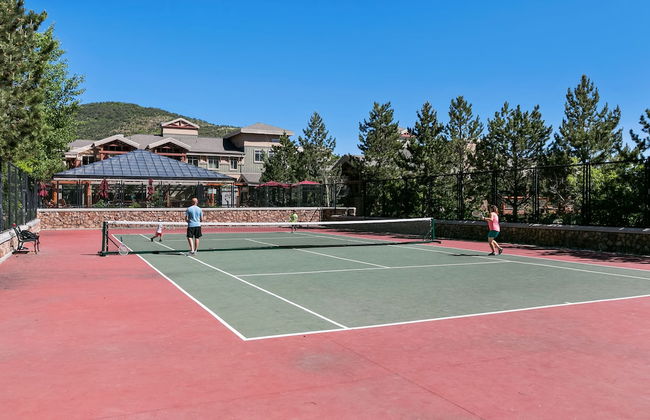
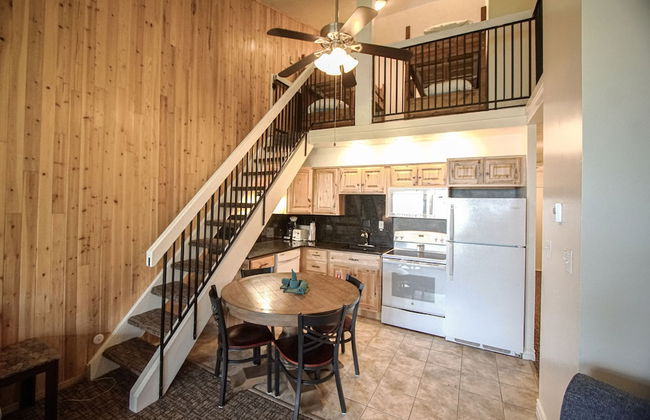
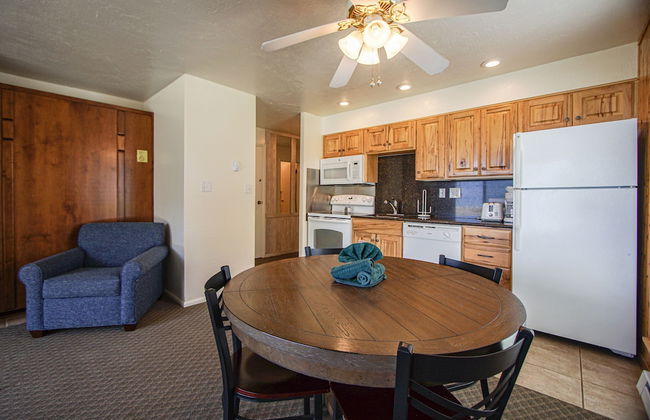
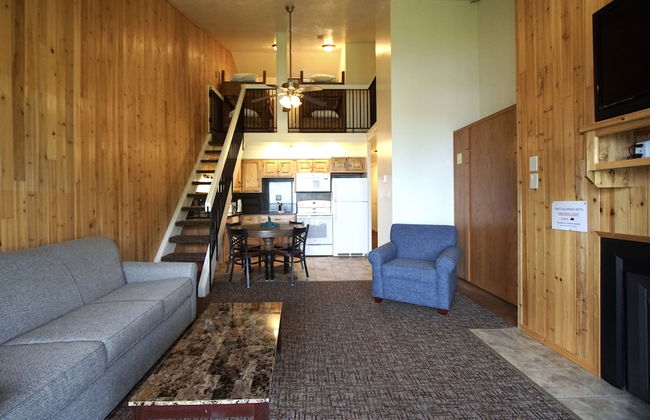
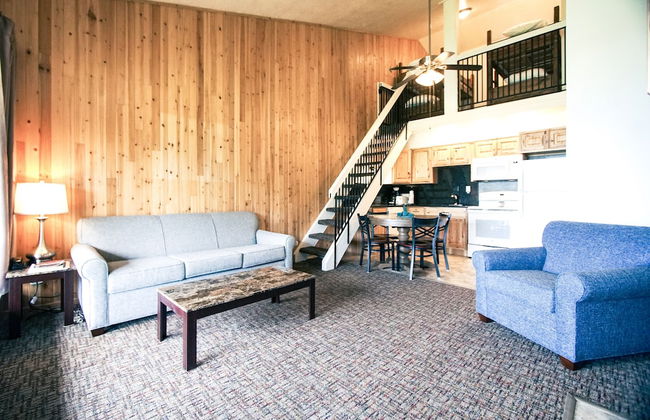
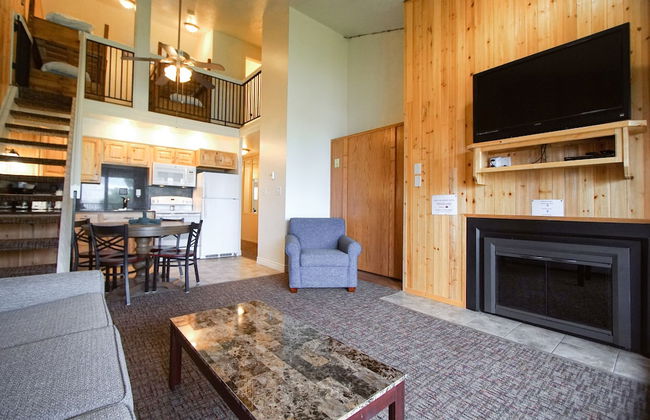
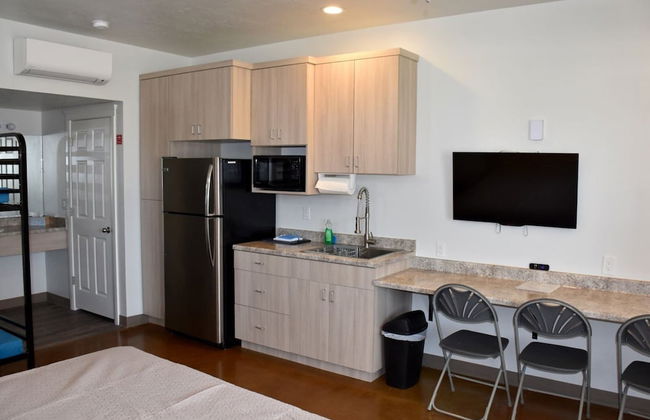
Lift by All Seasons Resort Lodging
Pk City - 6.4 km do centro
- 8 pessoas
- Ar-condicionado
- Aquecimento
- Piscina
- Estacionamento
- Elevador
- Varanda
- Tv
- Máquina de lavar roupa
- Chaminé
- Churrasco
- Toalhas
- Lençóis
17 avaliações


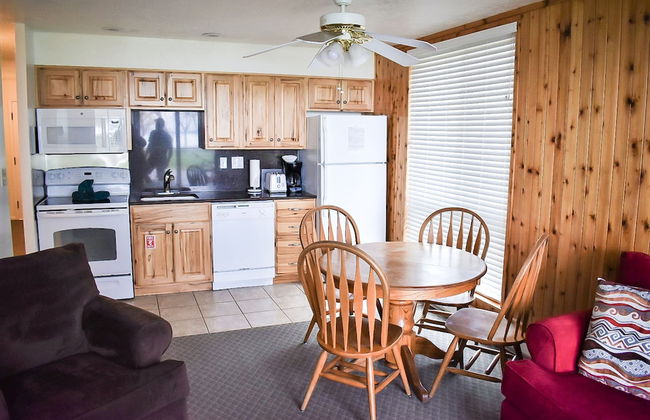
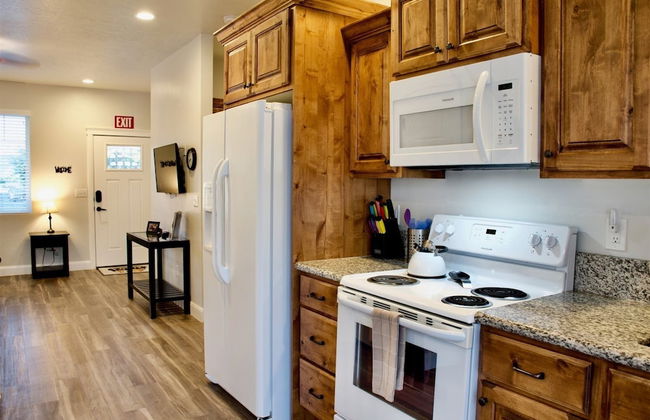
Cougar Ridge Resort
Torrey
- 12 pessoas
- Ar-condicionado
- Aquecimento
- Piscina
- Estacionamento
- Varanda
- Jardim
- Tv
- Chaminé
- Churrasco
- Toalhas
- Lençóis
149 avaliações


Castle Gate RV Park
Helper
- 6 pessoas
- Kitchenette
- Ar-condicionado
- Aquecimento
- Terraço
- Piscina
- Estacionamento
- Tv
- Chaminé
- Churrasco
- Toalhas
- Lençóis
87 avaliações


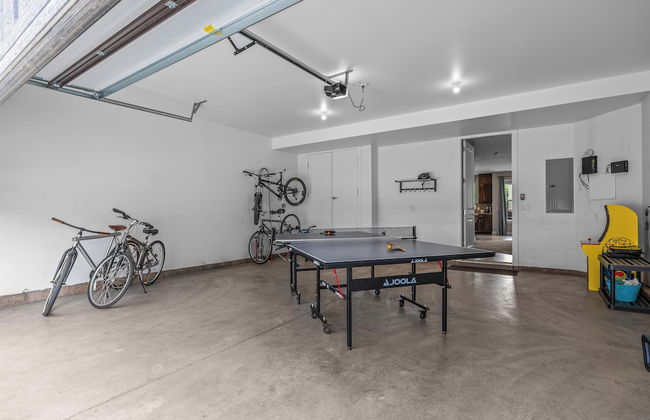
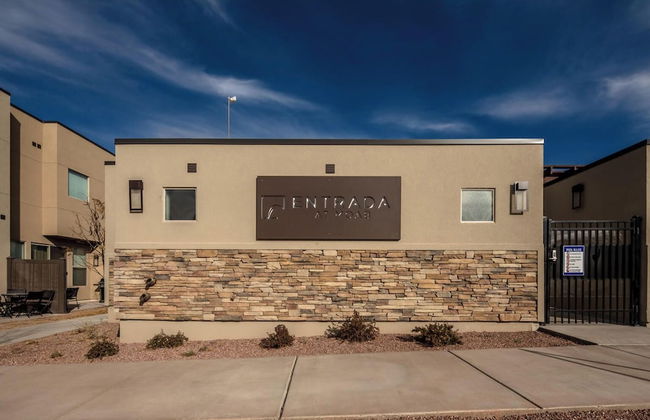
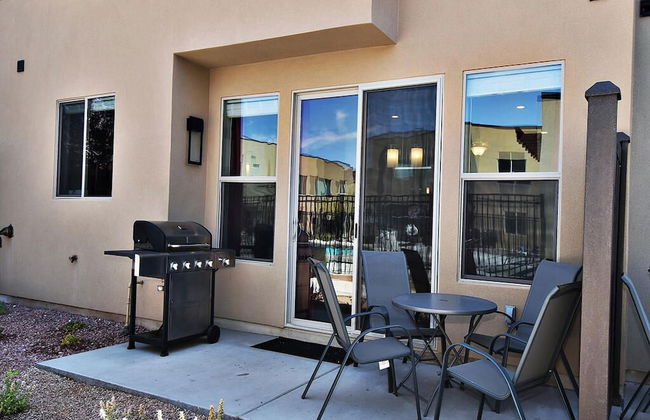
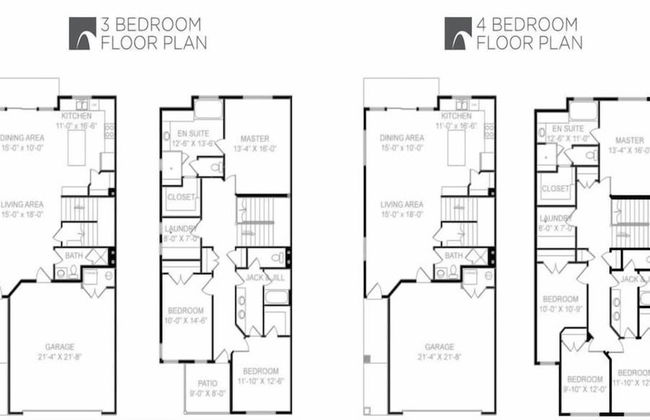
Entrada at Moab 421 and 425
Moab
- 27 pessoas
- Ar-condicionado
- Aquecimento
- Piscina
- Estacionamento
- Varanda
- Jardim
- Tv
- Máquina de lavar roupa
- Churrasco
- Toalhas
- Lençóis
16 avaliações


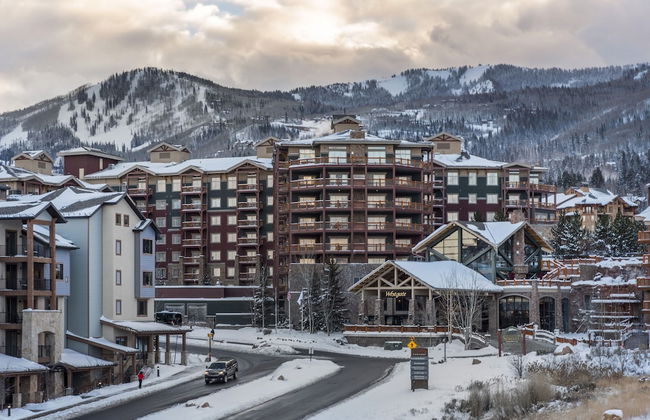
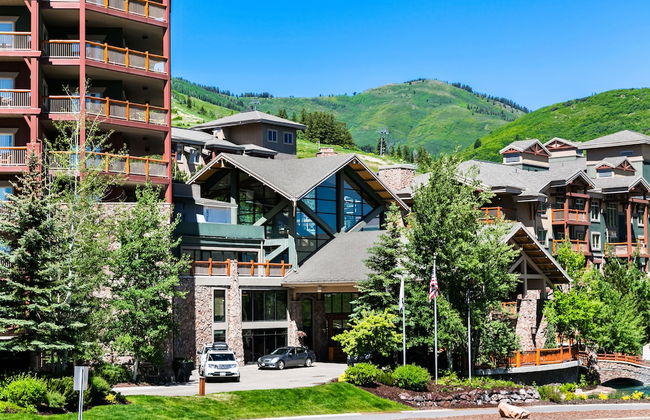
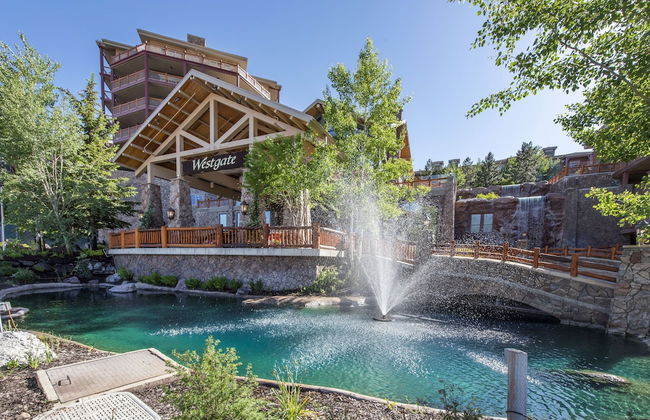
White Pines 1-BD Penthouse at Westgate - Tycoon
Pk City - 6.3 km do centro
- 72 M2
- 7 pessoas
- Ar-condicionado
- Aquecimento
- Piscina
- Estacionamento
- Elevador
- Tv
- Máquina de lavar roupa
- Lençóis
14 avaliações

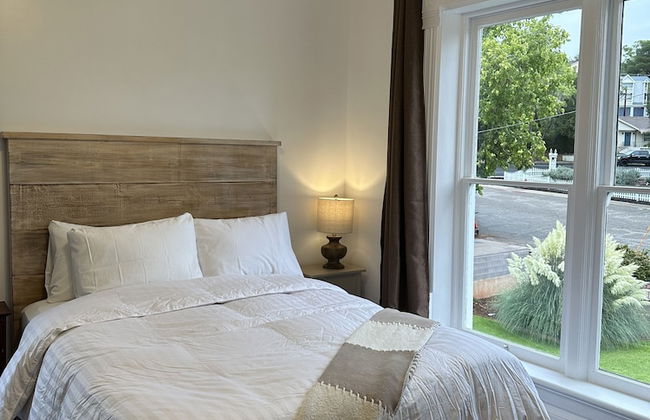


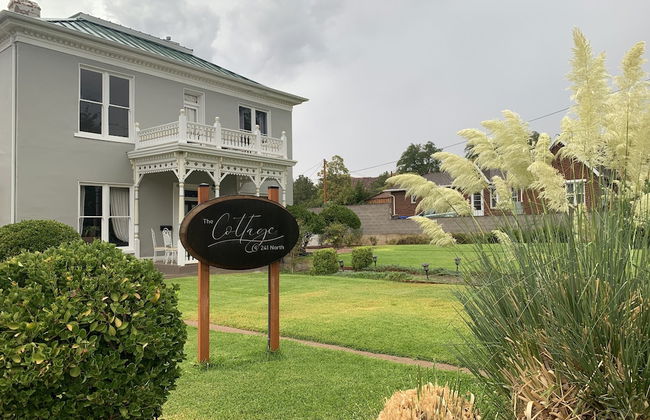

The Cottage @ 241 North
St George - No centro
- 4 pessoas
- Ar-condicionado
- Aquecimento
- Terraço
- Piscina
- Estacionamento
- Varanda
- Jardim
- Tv
- Máquina de lavar roupa
- Chaminé
- Churrasco
- Toalhas
- Lençóis
307 avaliações


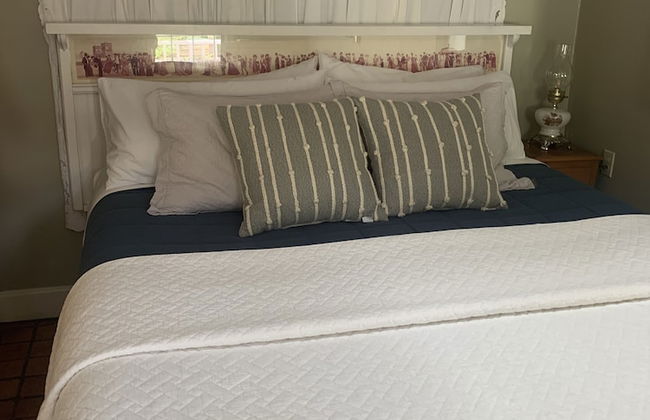
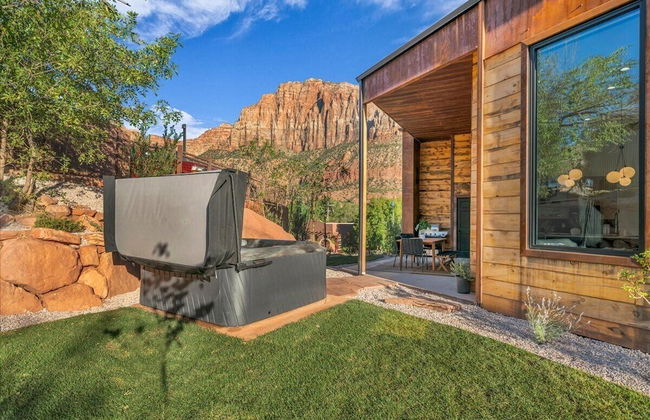
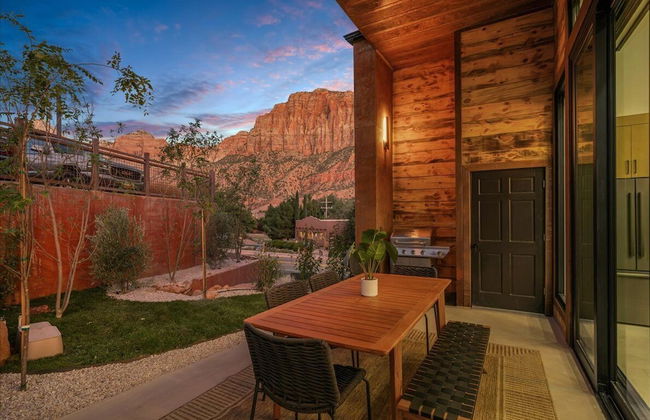
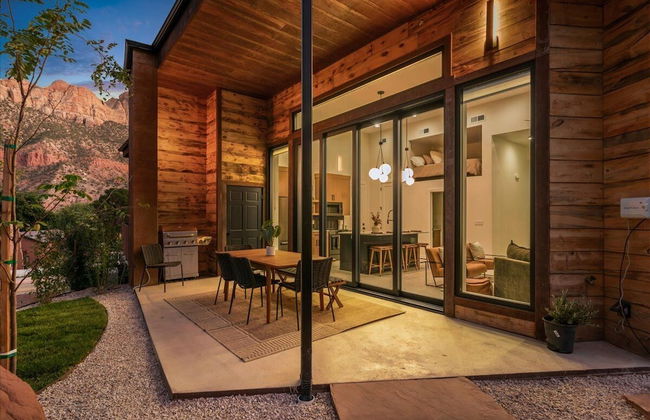
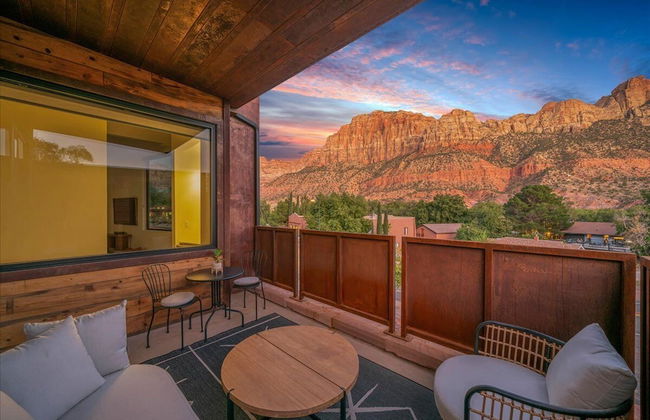
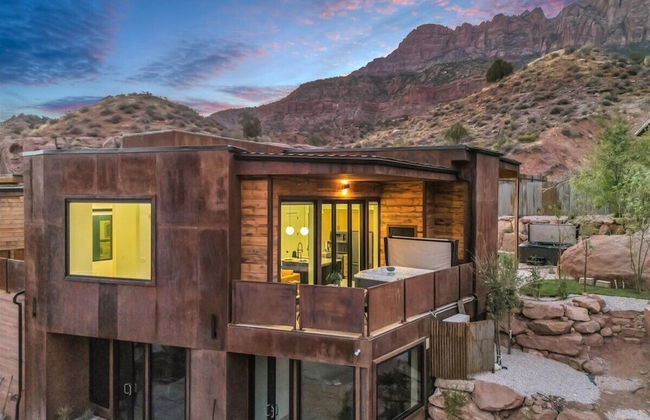
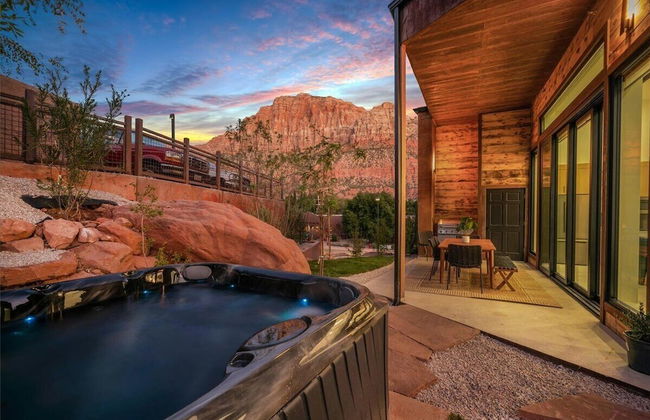
Canyon Casitas at Zion
Springdale
- 4 pessoas
- Ar-condicionado
- Aquecimento
- Estacionamento
- Tv
- Máquina de lavar roupa
- Chaminé
- Churrasco
- Toalhas
- Lençóis
33 avaliações


Zion Sage Suites
Springdale
- 115 M2
- 2 quartos
- 8 pessoas
- Ar-condicionado
- Aquecimento
- Estacionamento
- Varanda
- Tv
- Máquina de lavar roupa
- Churrasco
- Toalhas
- Lençóis
11 avaliações


Raintree's The Miners Club Park City
Pk City - 6.6 km do centro
- 204 M2
- 4 quartos
- 12 pessoas
- Ar-condicionado
- Aquecimento
- Terraço
- Piscina
- Estacionamento
- Elevador
- Varanda
- Tv
- Máquina de lavar roupa
- Chaminé
- Churrasco
- Toalhas
- Lençóis
217 avaliações


Villas at Southgate
St George - 3.6 km do centro
- 6 pessoas
- Ar-condicionado
- Aquecimento
- Piscina
- Estacionamento
- Tv
- Churrasco
- Toalhas
- Lençóis
249 avaliações


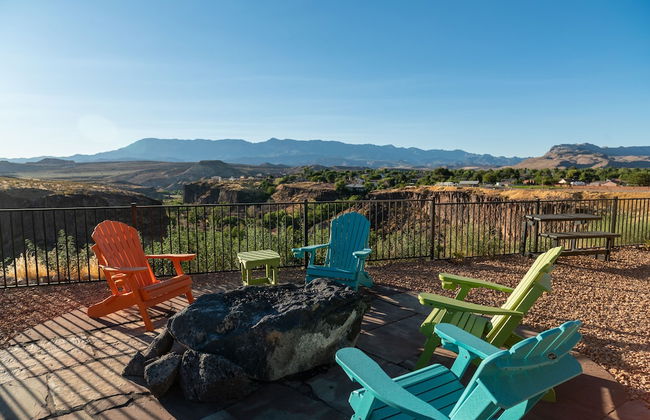
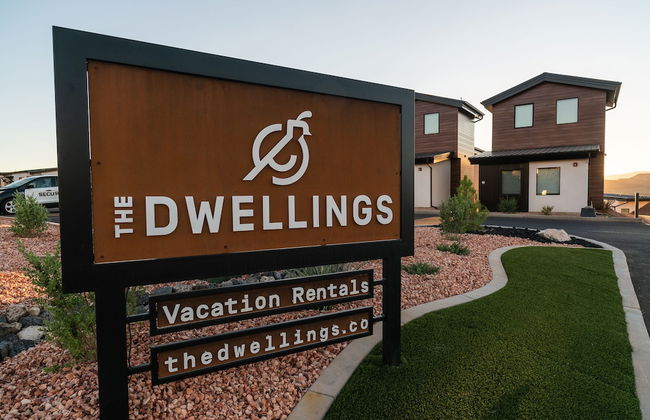
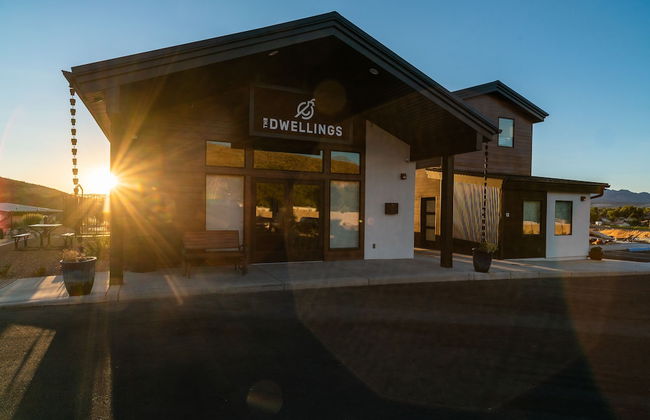
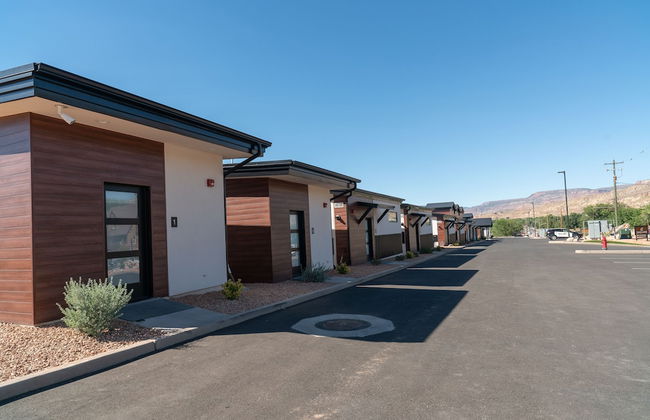


The Dwellings
La Verkin - 1.6 km do centro
- 74 M2
- 6 pessoas
- Kitchenette
- Ar-condicionado
- Aquecimento
- Piscina
- Estacionamento
- Varanda
- Tv
- Chaminé
- Toalhas
- Lençóis
471 avaliações


Gooseberry Lodges
Hurricane - 13.9 km do centro
- 58 M2
- 8 pessoas
- Kitchenette
- Ar-condicionado
- Aquecimento
- Terraço
- Estacionamento
- Chaminé
- Churrasco
- Toalhas
- Lençóis
1208 avaliações
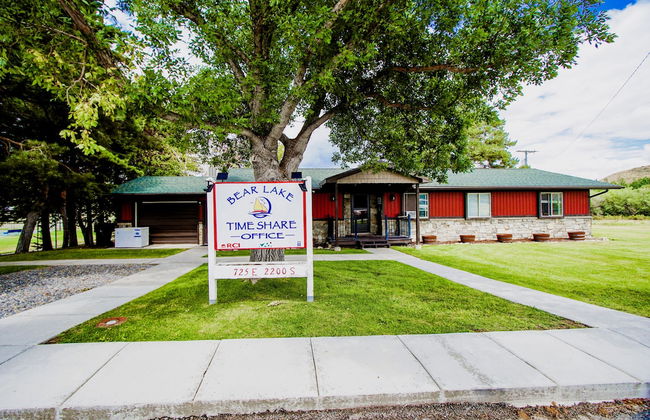


Multi Resorts at Bear Lake
Garden City - 4.7 km do centro
- 88 M2
- 10 pessoas
- Aquecimento
- Terraço
- Piscina
- Estacionamento
- Jardim
- Tv
- Churrasco
- Toalhas
- Lençóis
33 avaliações


Mount Peale Country Inn near Moab
La Sal
- 67 M2
- 6 pessoas
- Aquecimento
- Estacionamento
- Varanda
- Máquina de lavar roupa
- Chaminé
- Churrasco
- Toalhas
- Lençóis
41 avaliações


Muddy Creek Mining Company
Hanksville
- 74 M2
- 1 quarto
- 8 pessoas
- Ar-condicionado
- Aquecimento
- Estacionamento
- Jardim
- Tv
- Chaminé
- Churrasco
- Toalhas
- Lençóis
194 avaliações


Canyons of Escalante RV Park
Escalante
- 18 M2
- 5 pessoas
- Kitchenette
- Ar-condicionado
- Aquecimento
- Estacionamento
- Jardim
- Chaminé
- Churrasco
- Toalhas
- Lençóis
72 avaliações
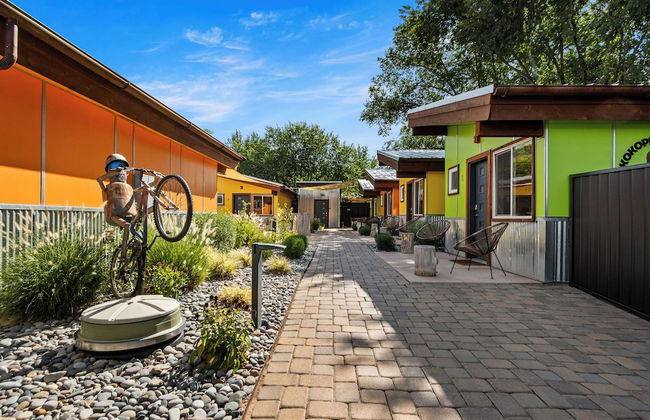

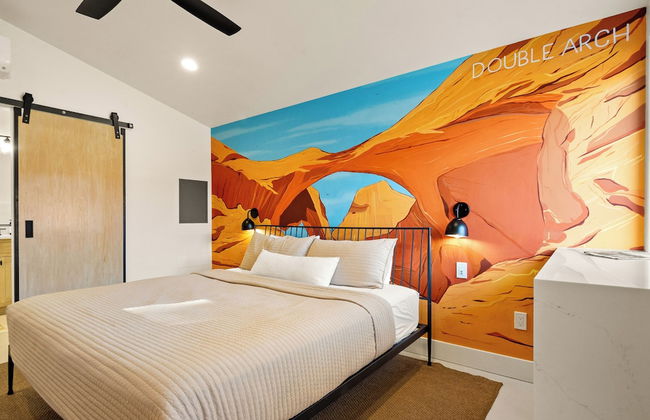

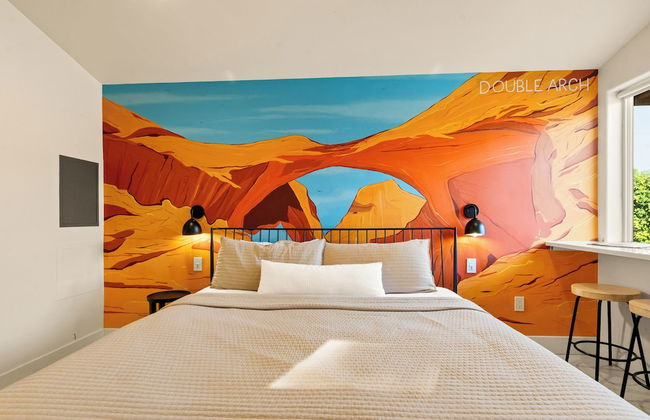


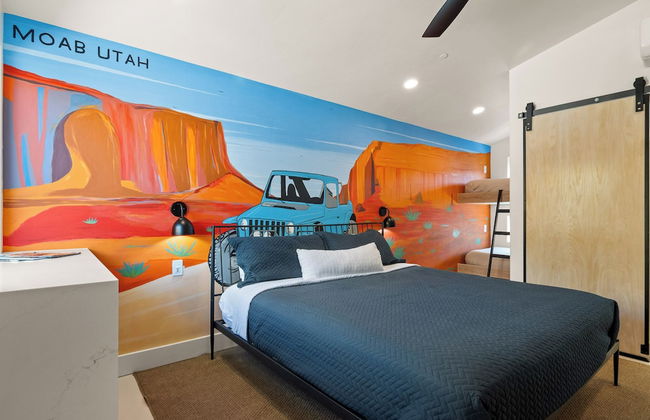
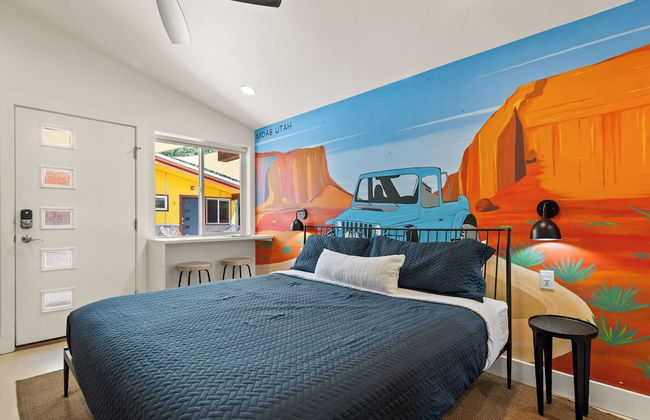


Downtown Kokopelli West 8 - Newly Remodeled Stylish Studio
Moab
- 33 M2
- 4 pessoas
- Ar-condicionado
- Aquecimento
- Estacionamento
- Varanda
- Jardim
- Tv
- Chaminé
- Churrasco
- Toalhas
- Lençóis
235 avaliações


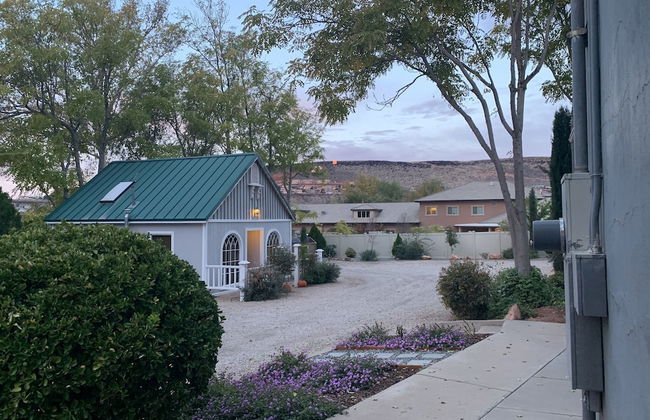
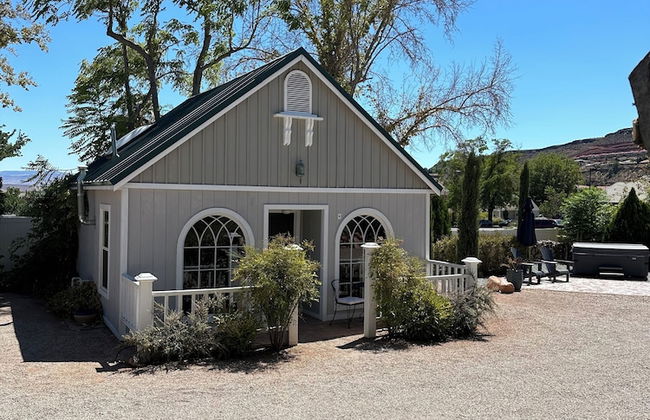
AutoCamp Zion
Virgin - 1.6 km do centro
- 6 pessoas
- Ar-condicionado
- Aquecimento
- Piscina
- Estacionamento
- Tv
- Chaminé
- Toalhas
- Lençóis
247 avaliações


The Escape to East Zion
Orderville - No centro
- 651 M2
- 5 pessoas
- Kitchenette
- Ar-condicionado
- Aquecimento
- Piscina
- Estacionamento
- Varanda
- Jardim
- Tv
- Máquina de lavar roupa
- Toalhas
- Lençóis
16 avaliações


ZC1 Home Away From Home Near Zion
La Verkin - No centro
- 93 M2
- 2 quartos
- 4 pessoas
- Kitchenette
- Ar-condicionado
- Aquecimento
- Terraço
- Estacionamento
- Varanda
- Tv
- Churrasco
- Toalhas
- Lençóis
433 avaliações