


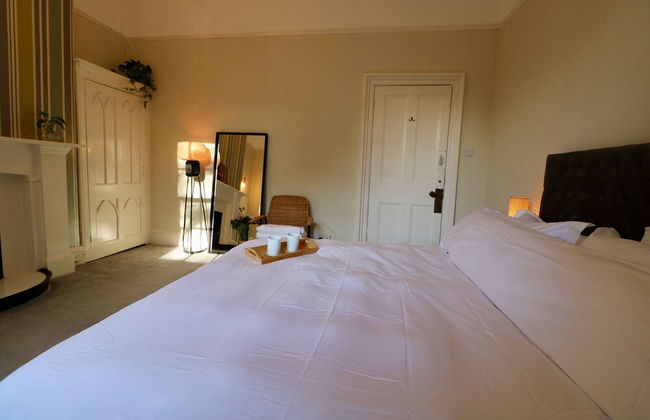
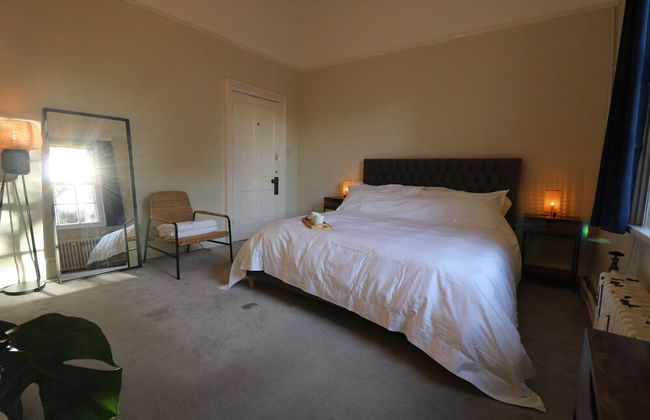
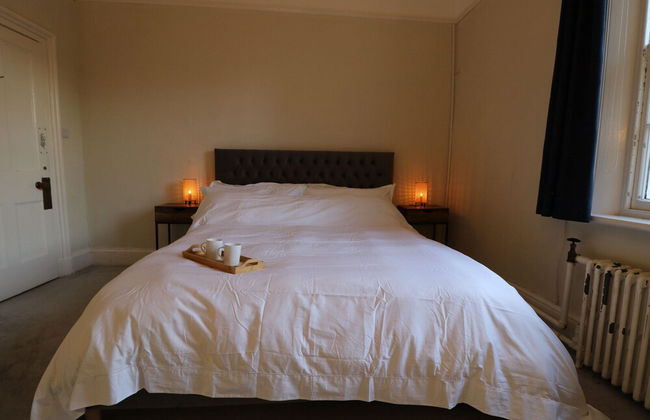


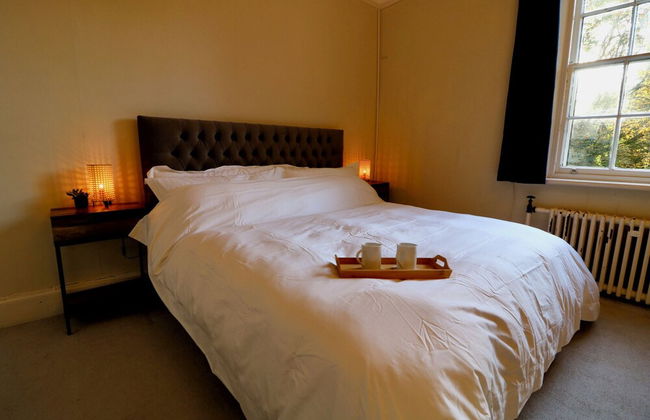

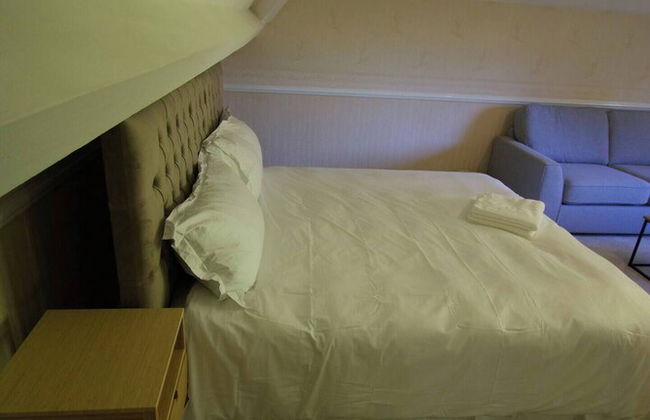


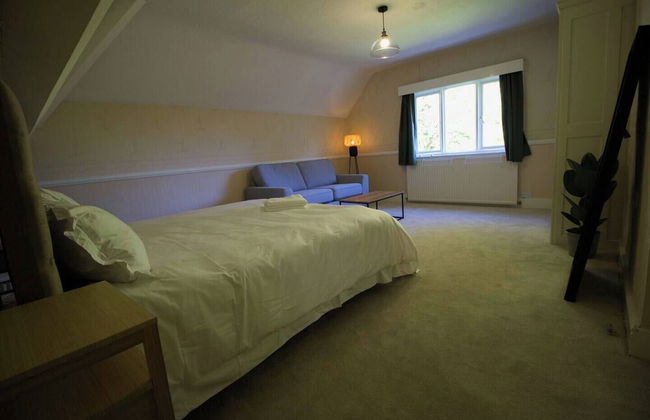


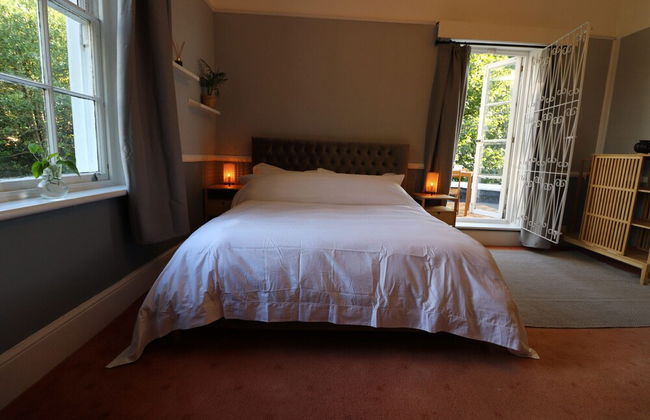


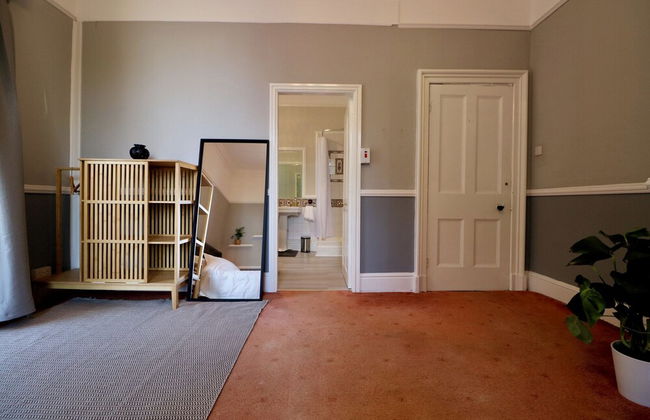
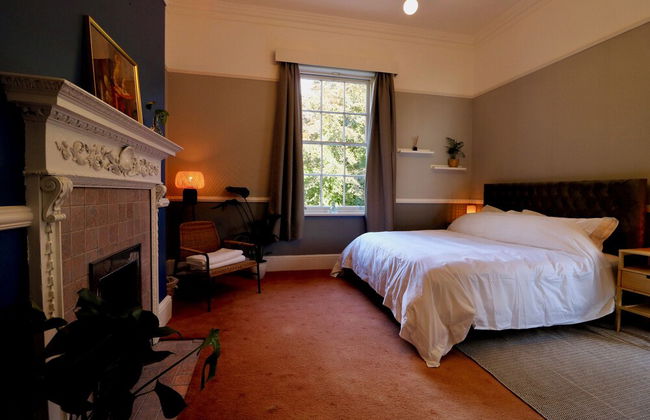

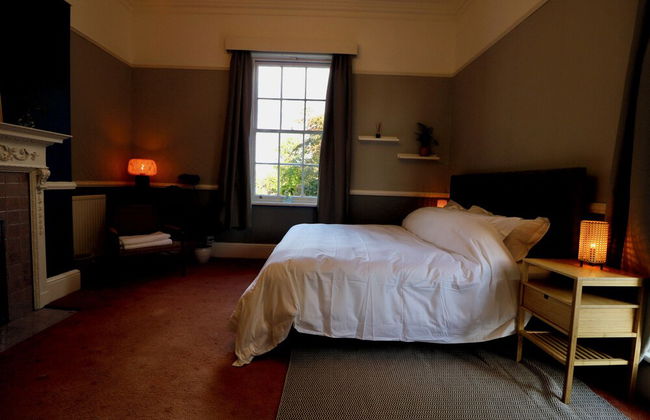

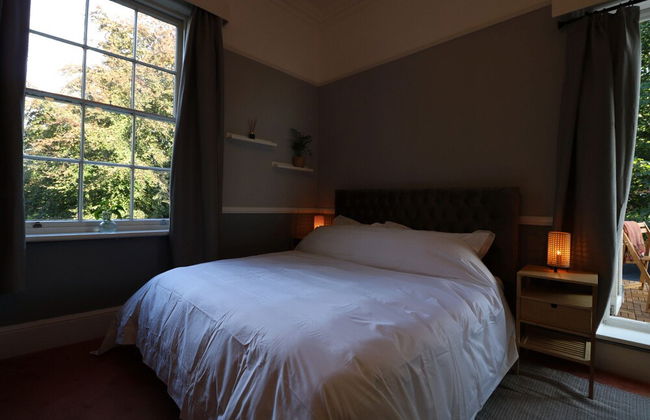


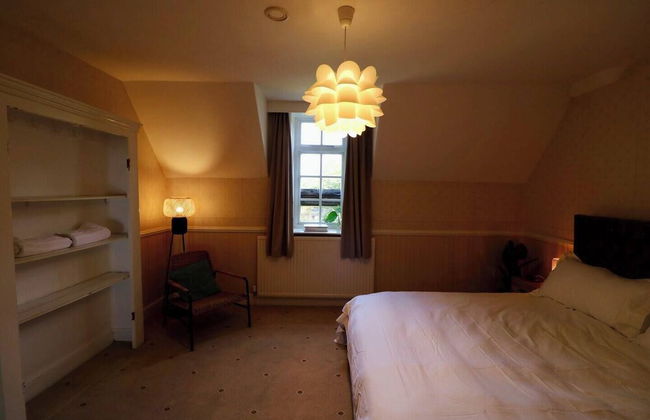


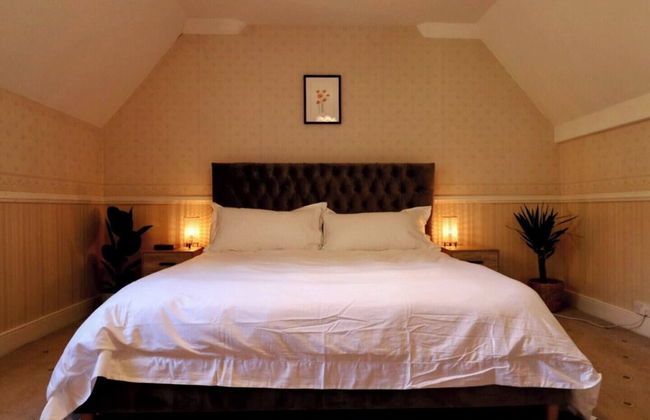


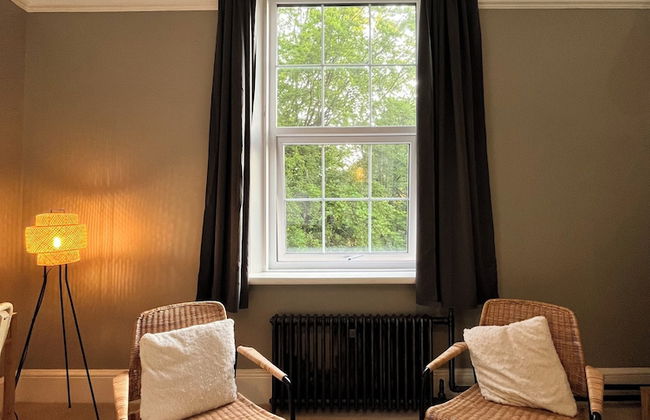

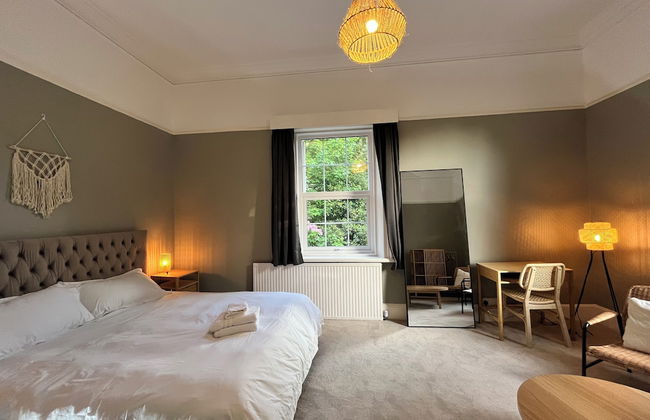


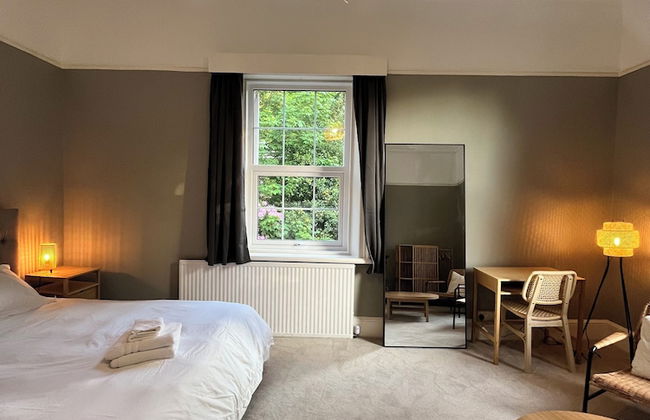

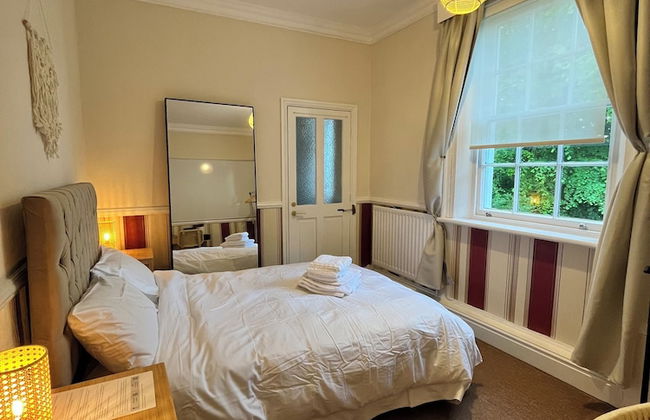

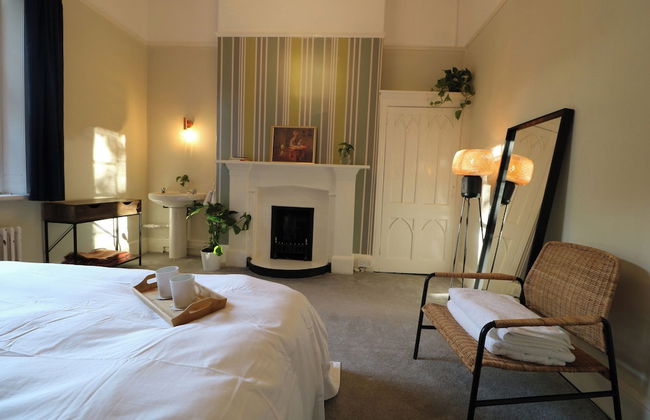
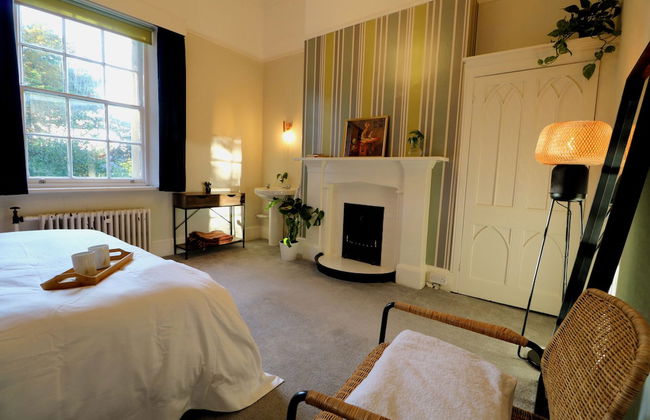


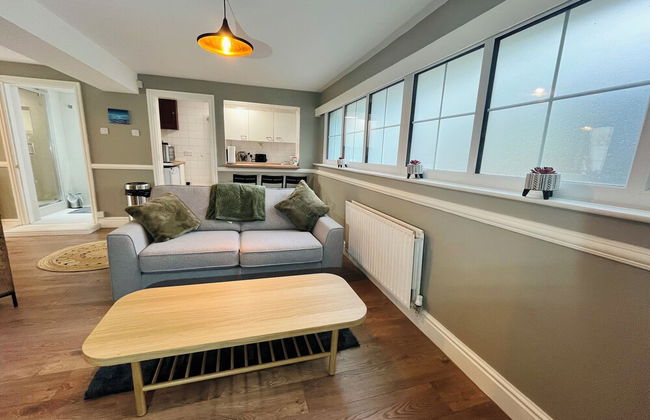

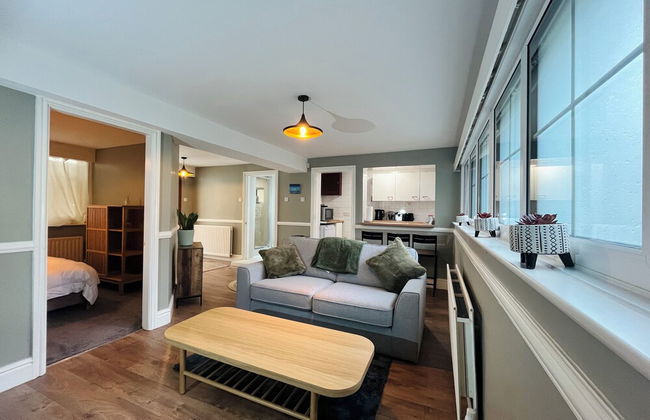


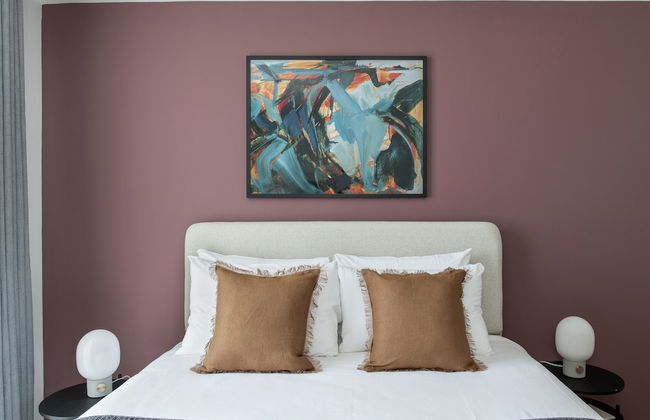
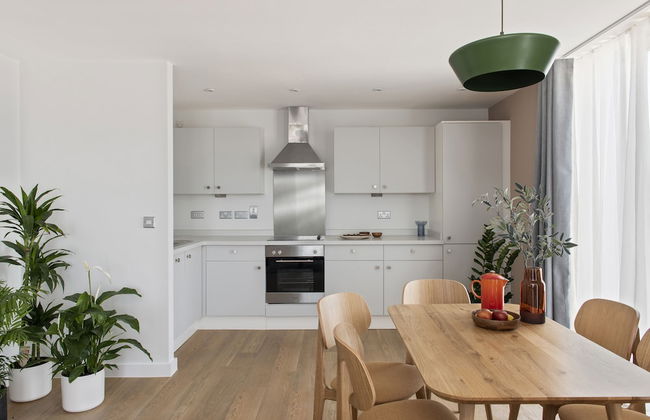
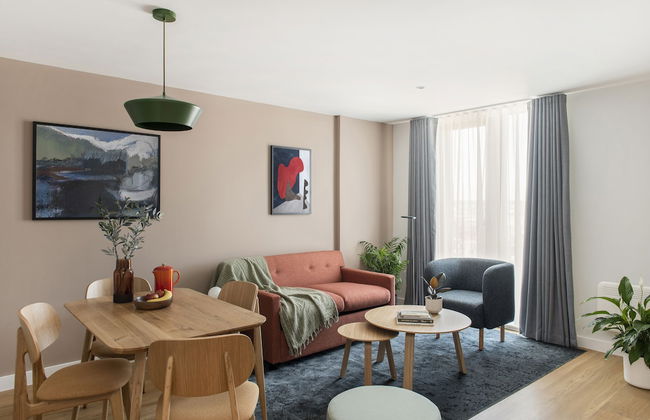
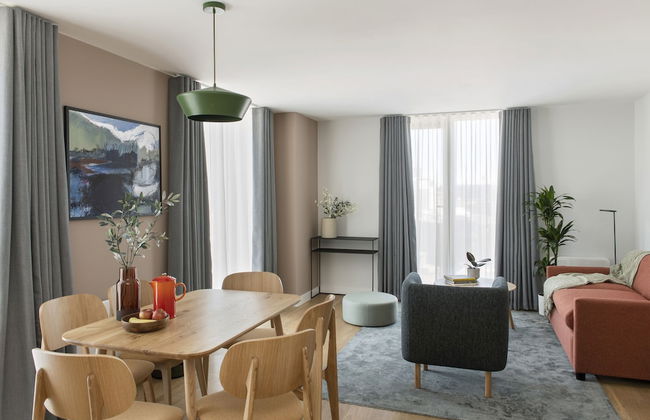
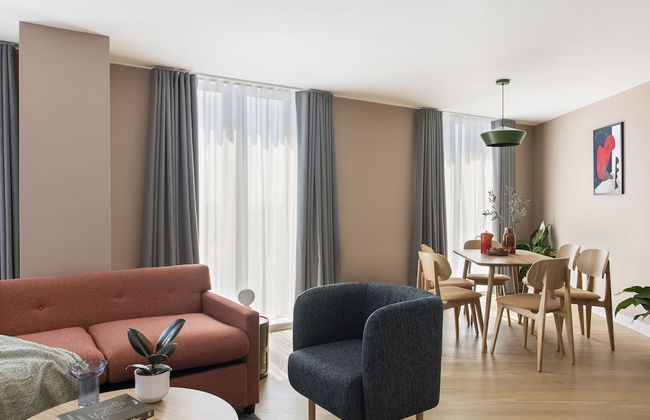
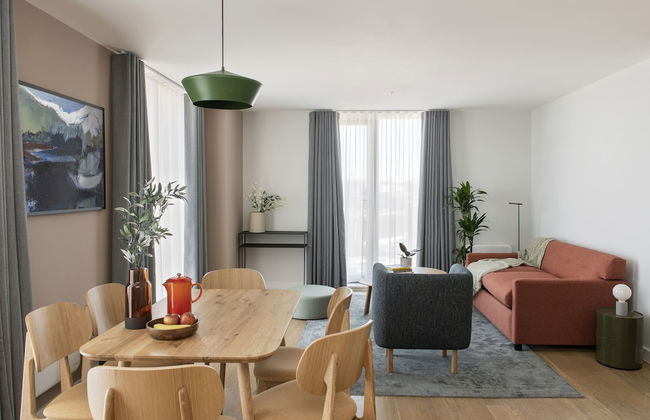
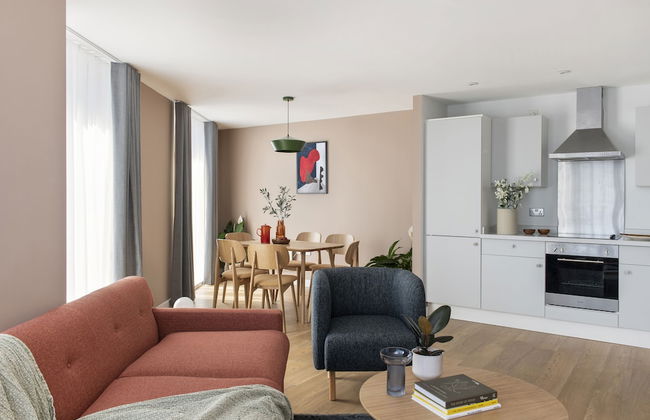
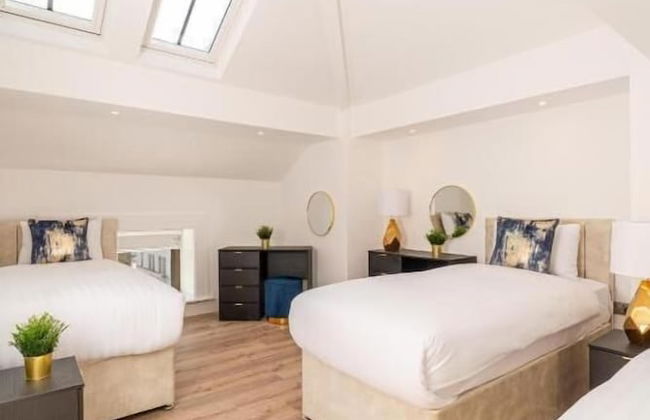
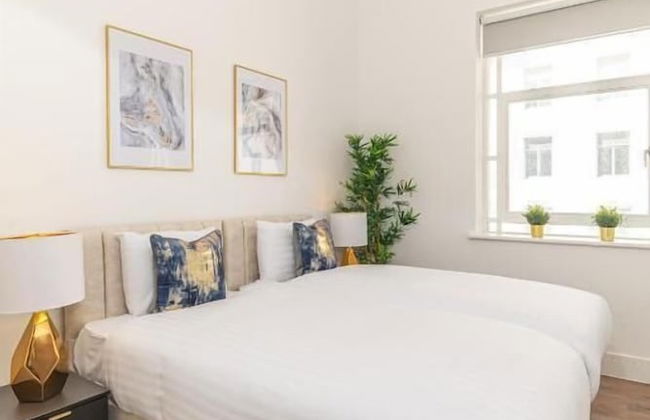
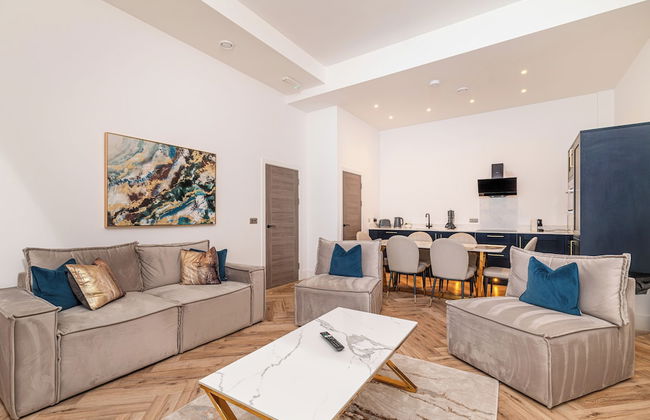
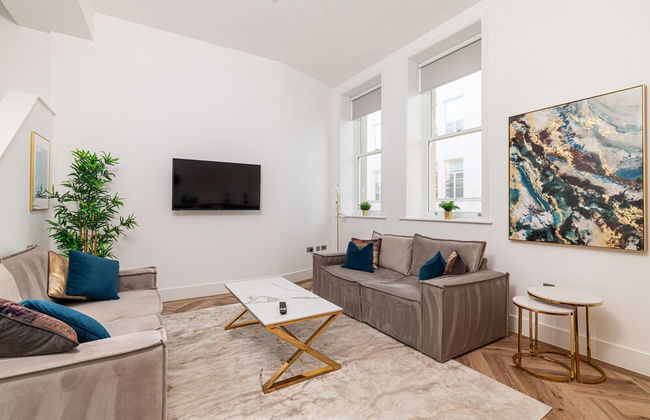
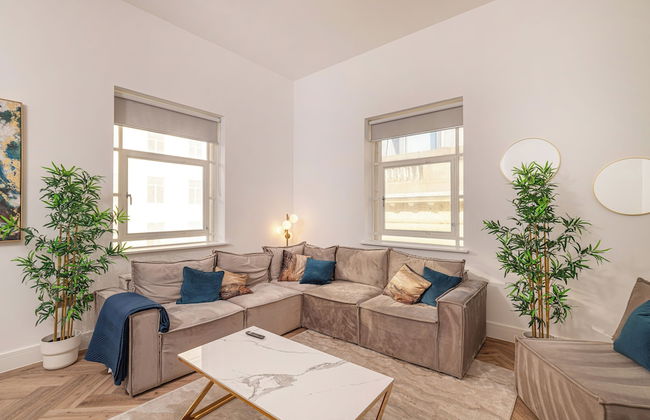
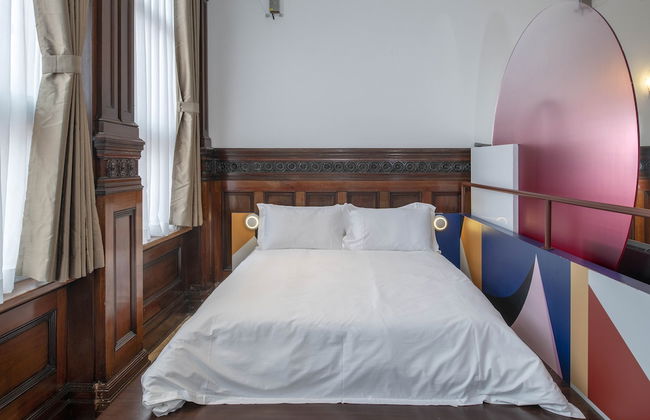
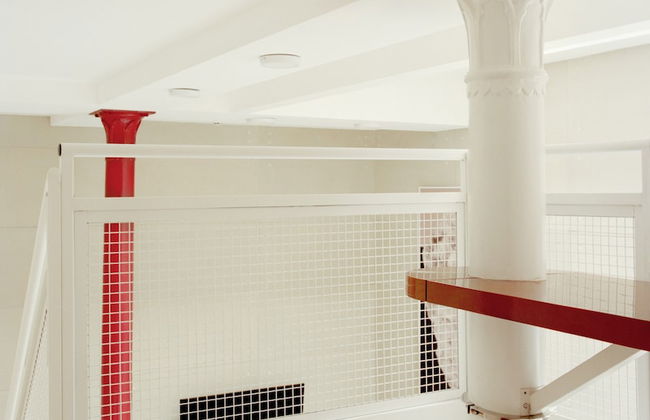
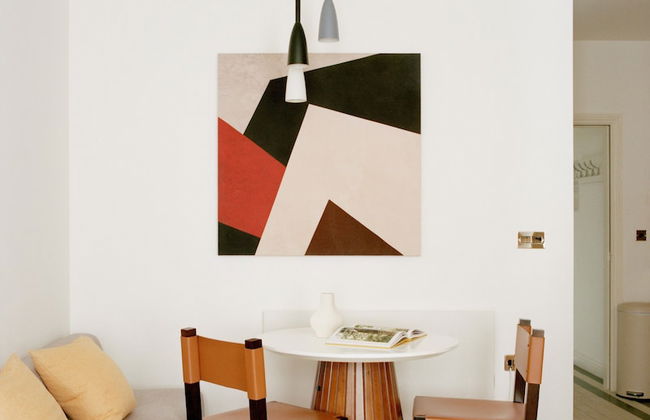
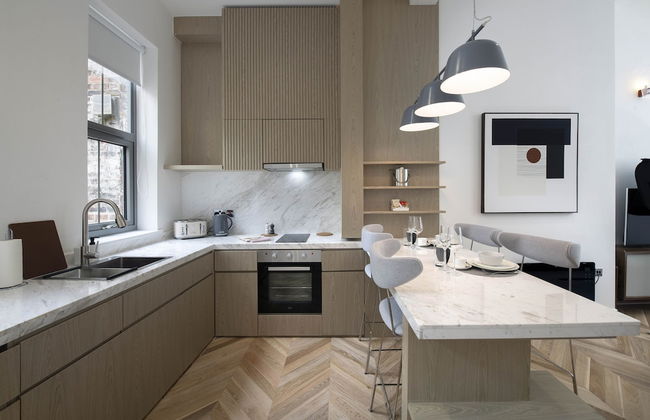
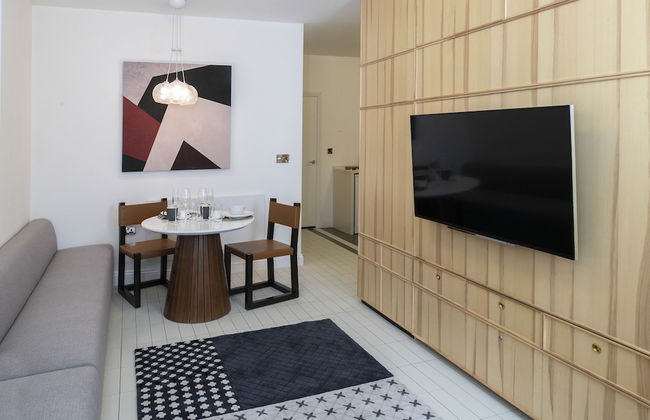
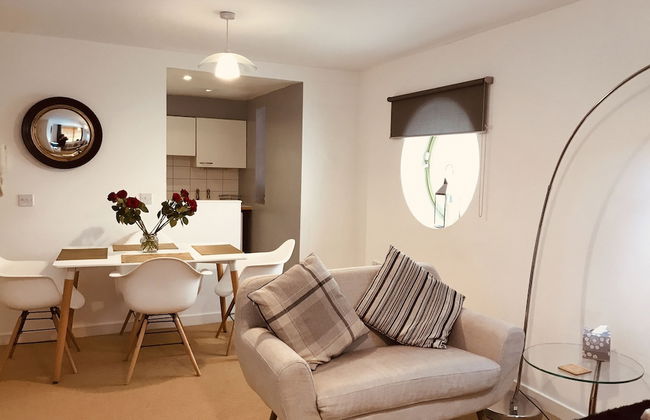
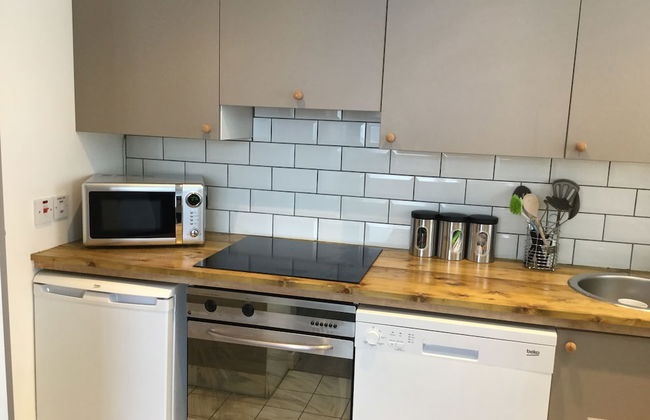
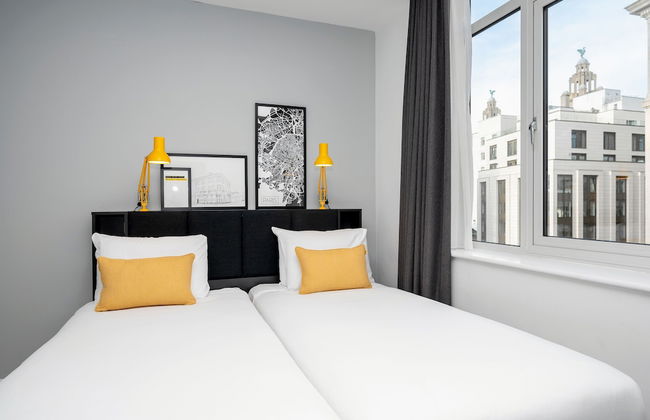
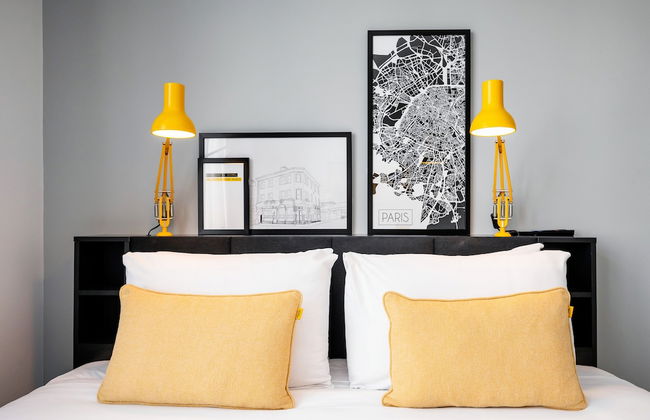
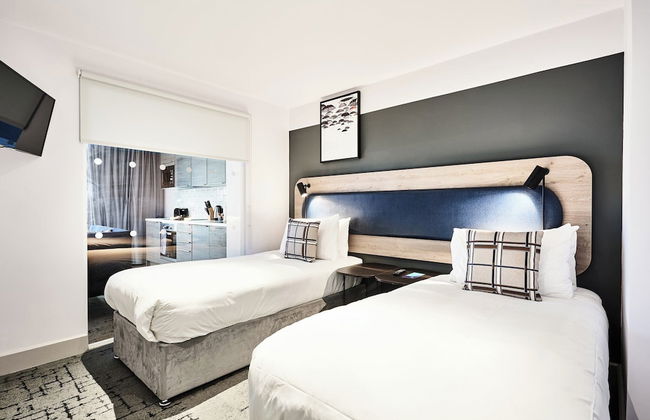
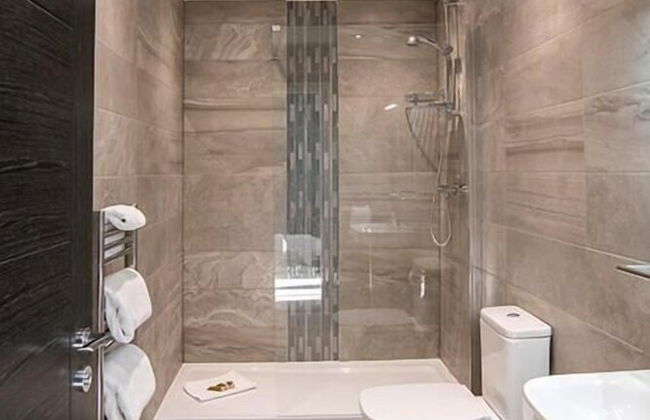
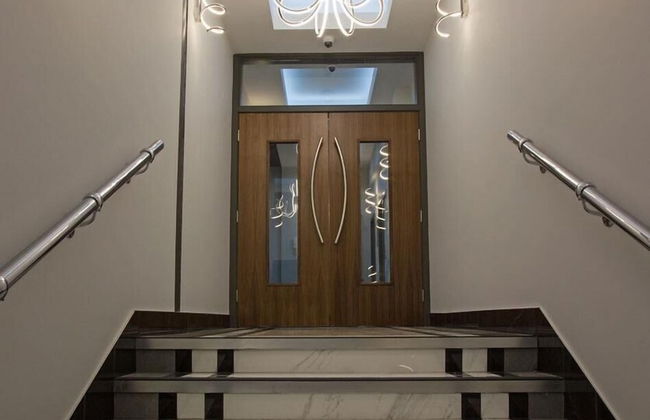
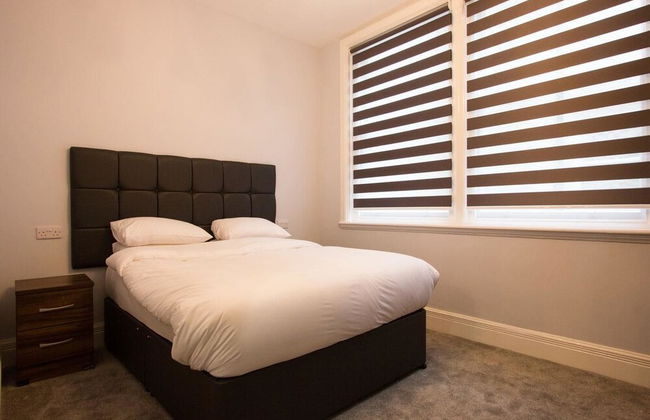
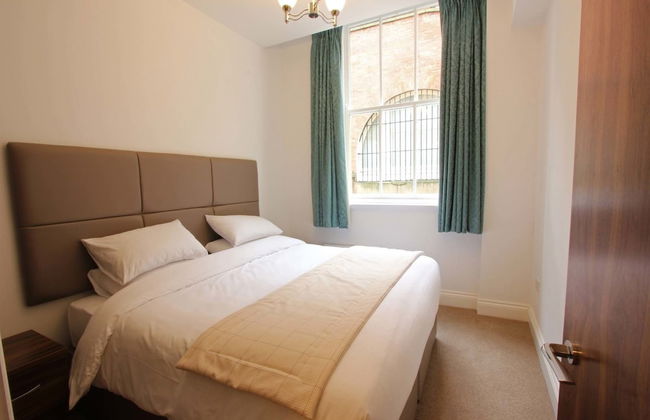
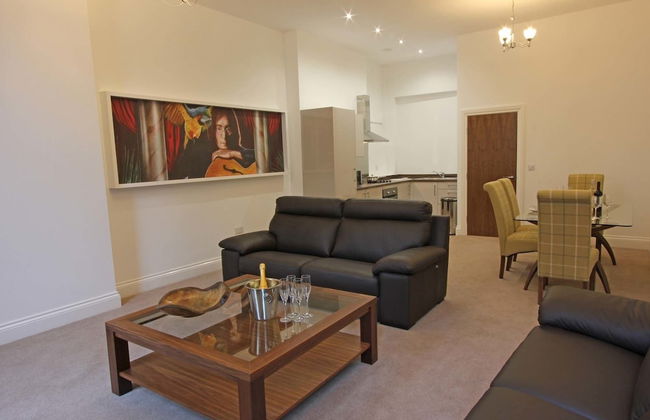
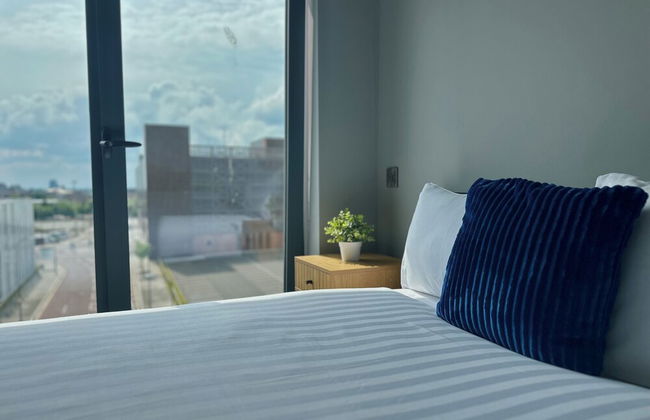
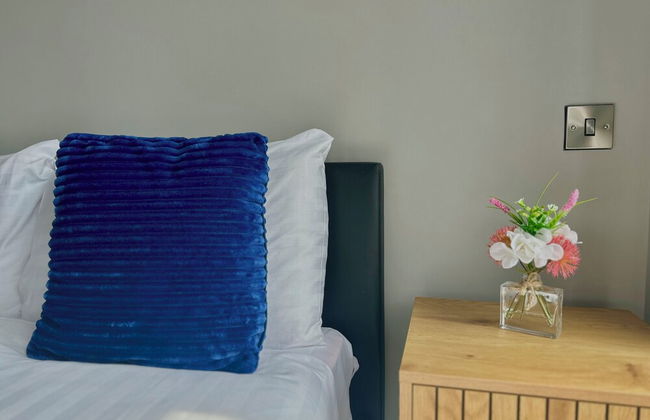
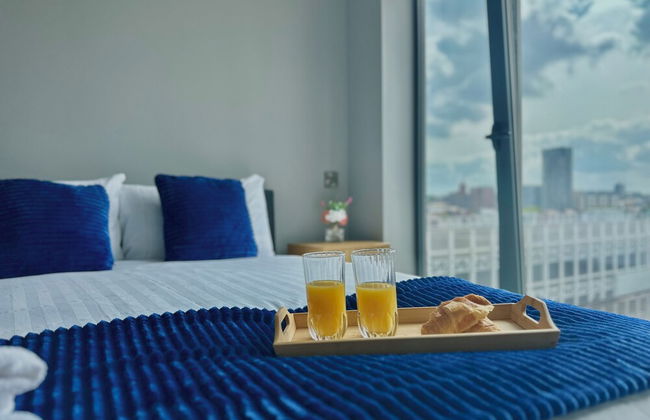
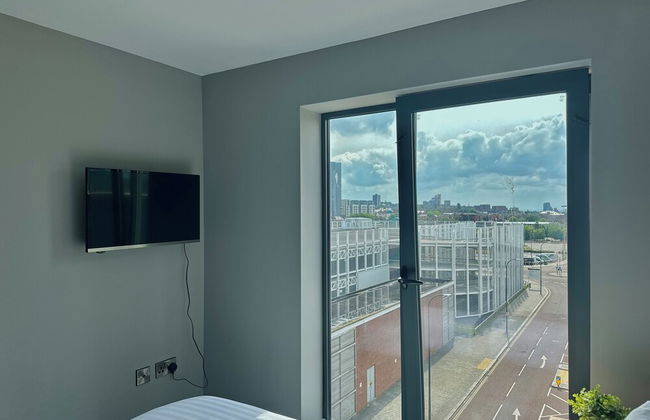
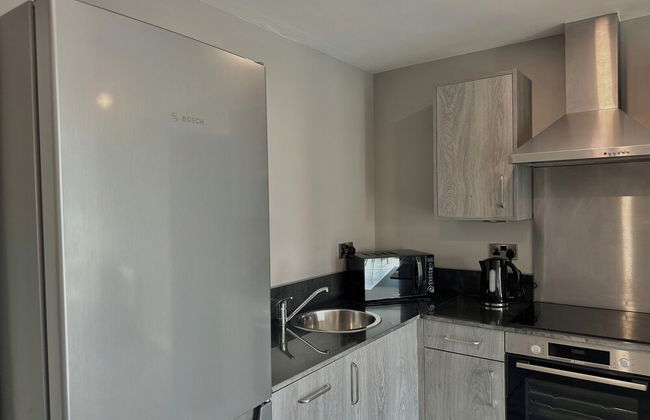
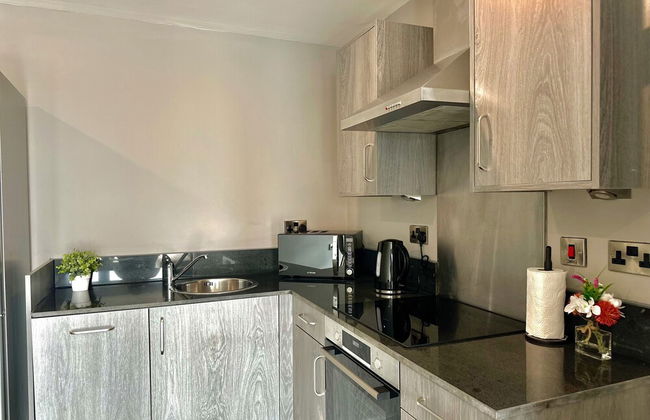
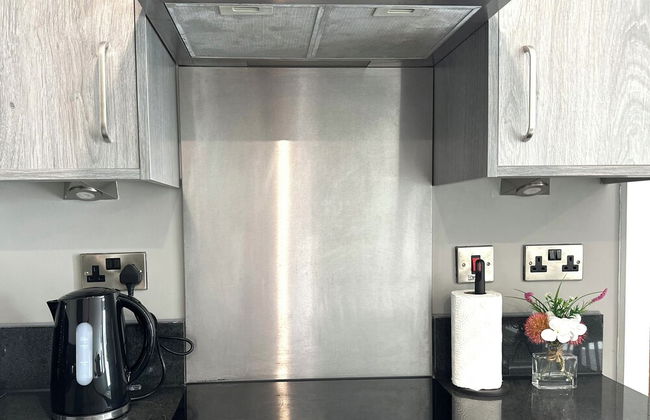
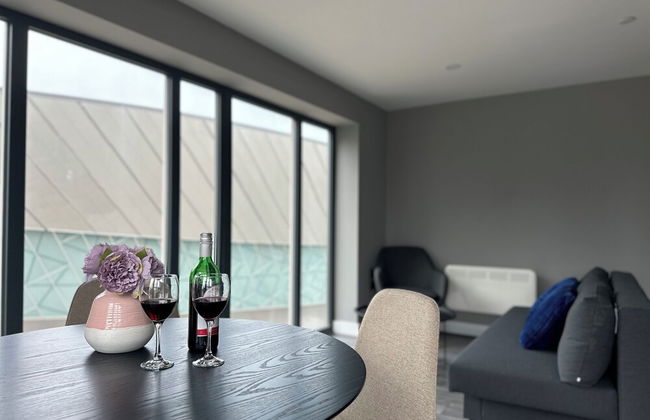
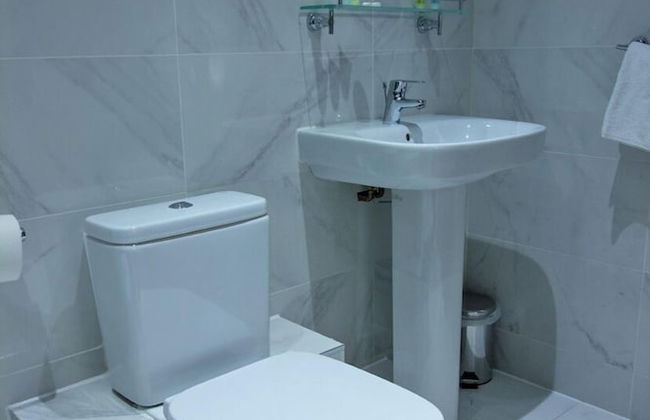
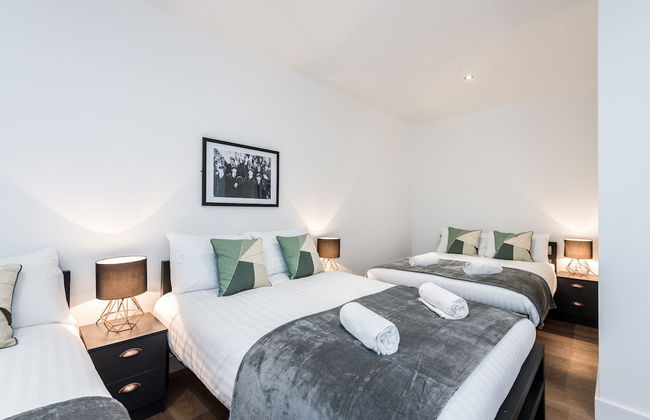
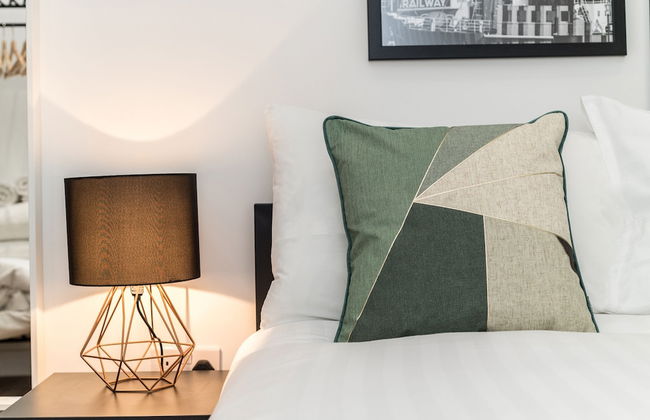
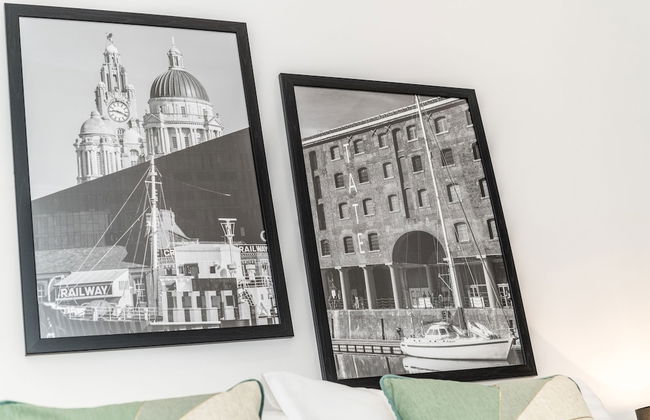
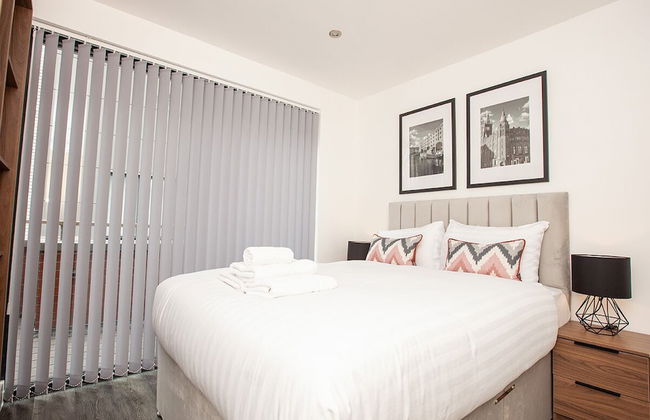
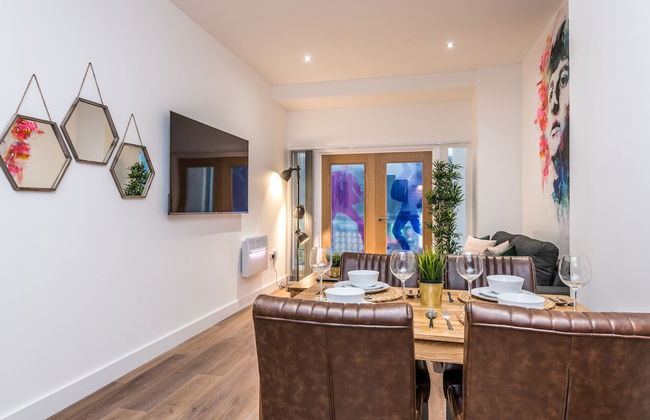
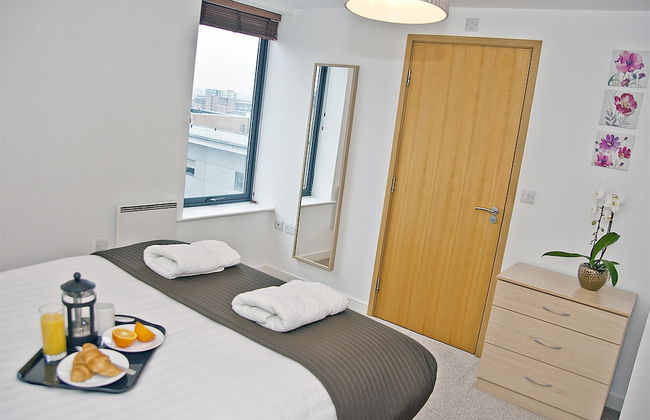
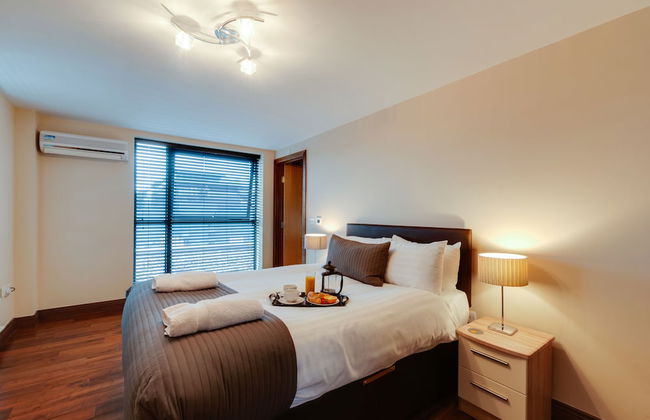
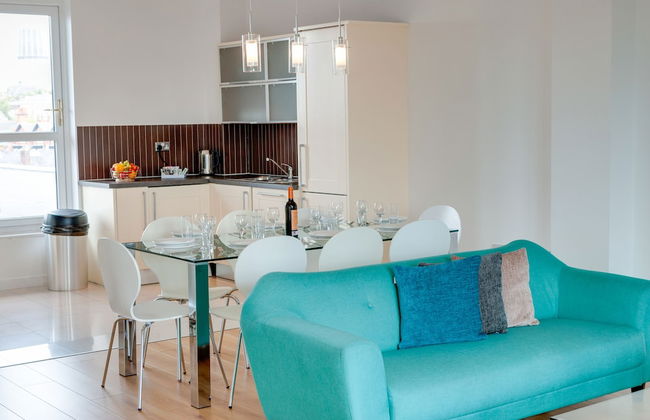
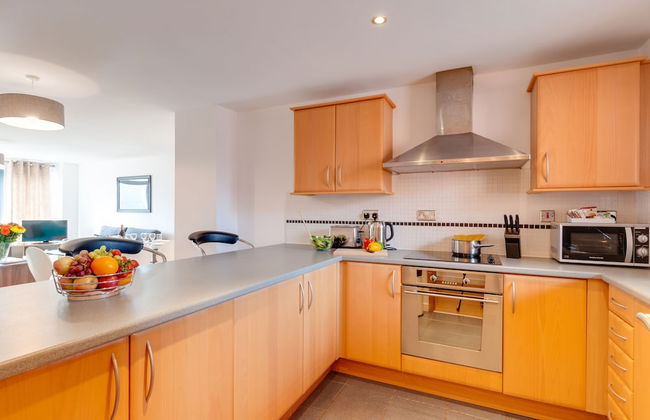
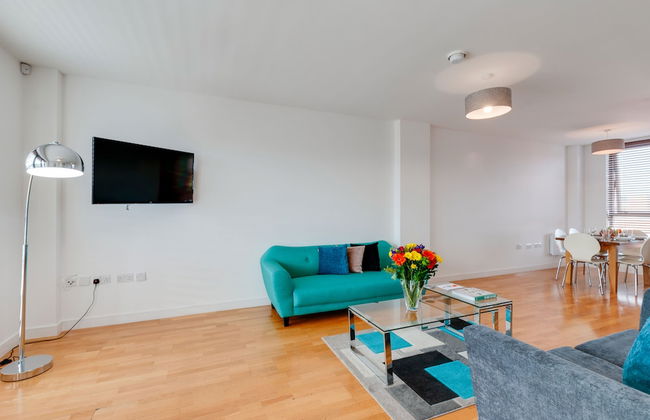
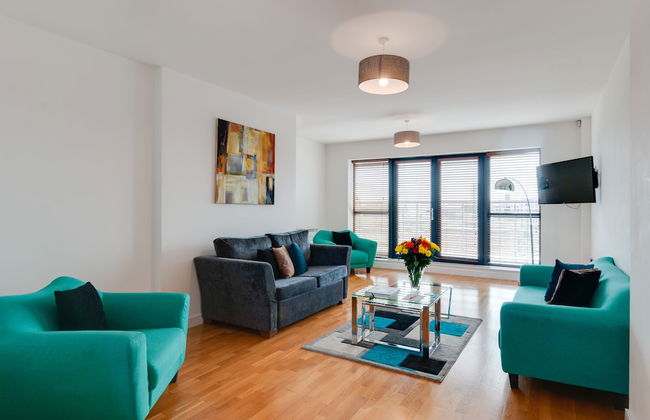
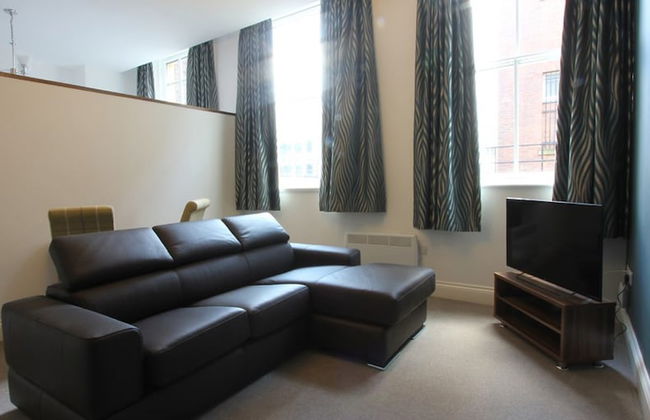
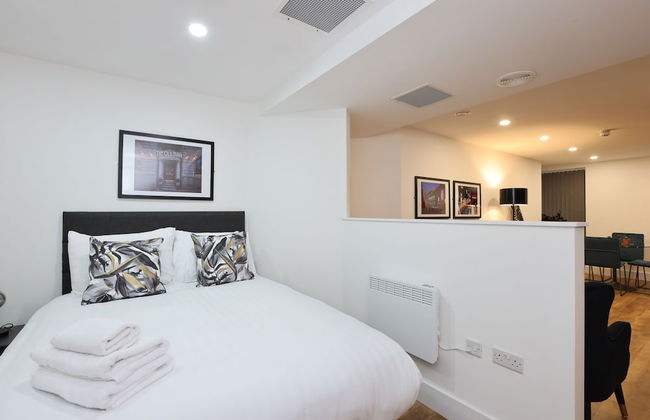
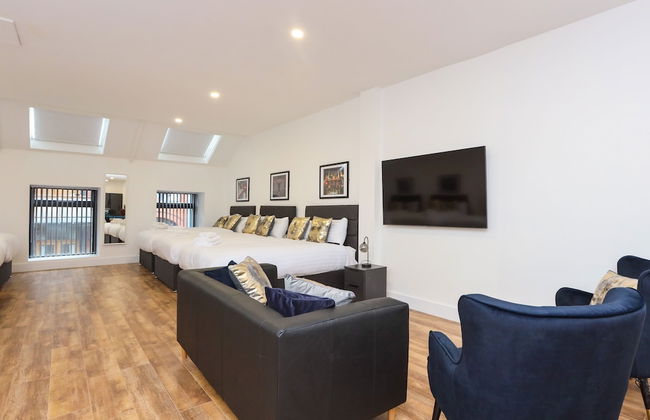
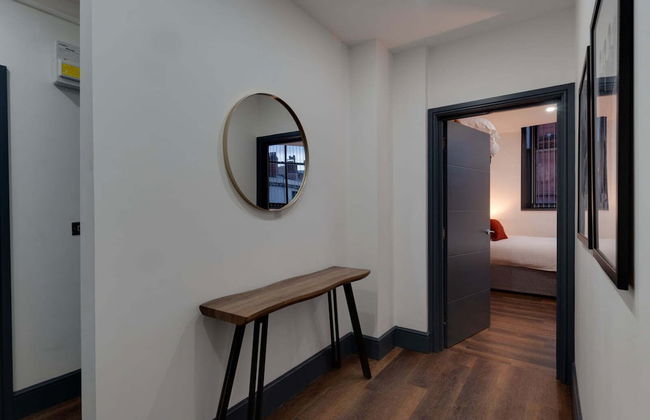
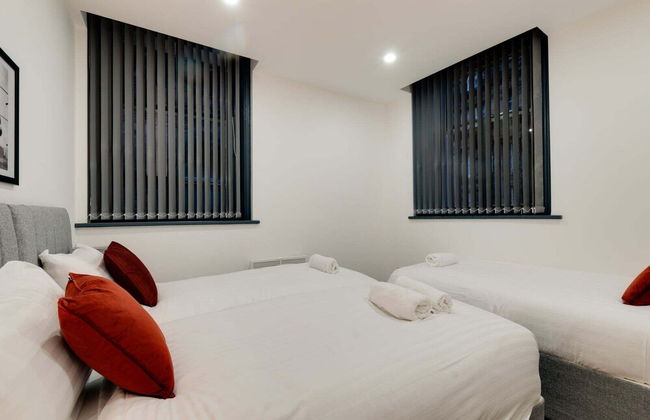
Mossley Hill Retreat
Liverpool - Mossley Hill - 4.6 km do centro
- 4 pessoas
- Aquecimento
- Terraço
- Estacionamento
- Varanda
- Jardim
- Tv
- Toalhas
- Lençóis


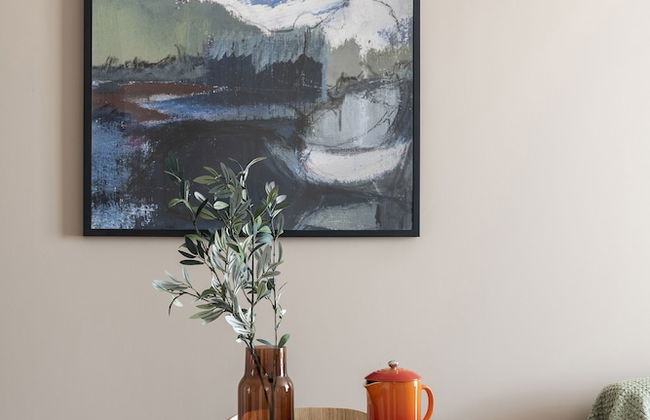


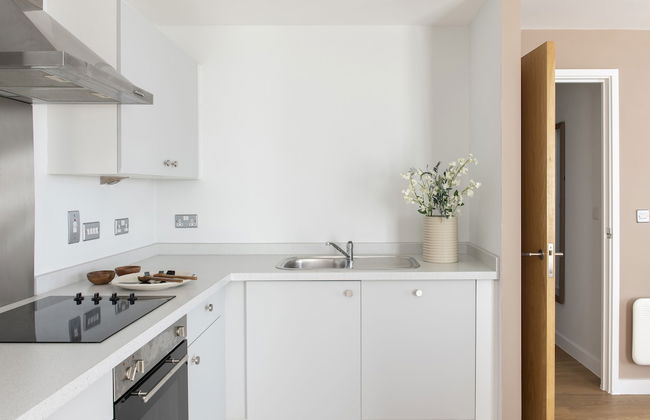


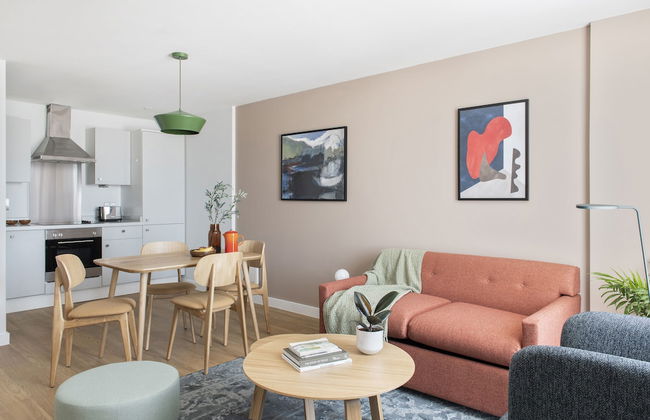


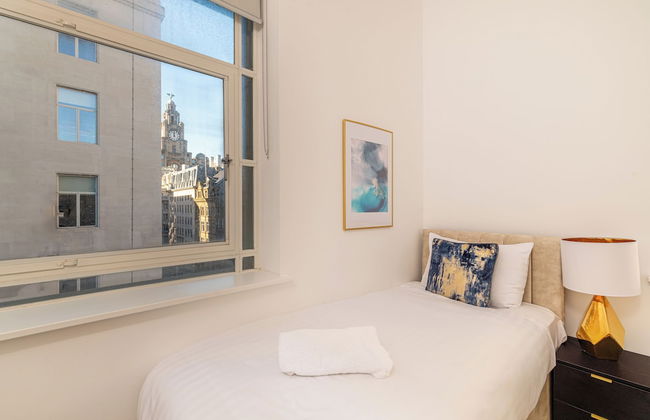
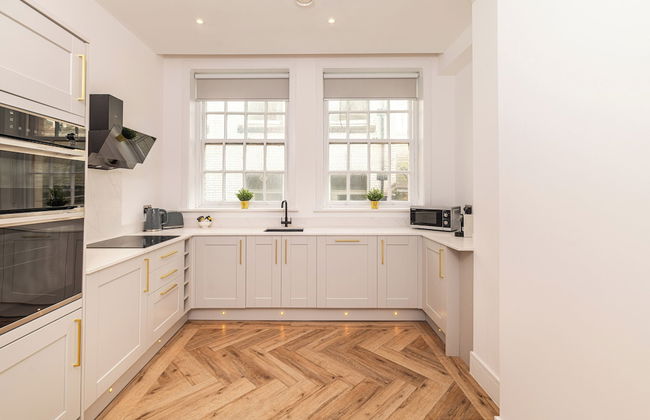
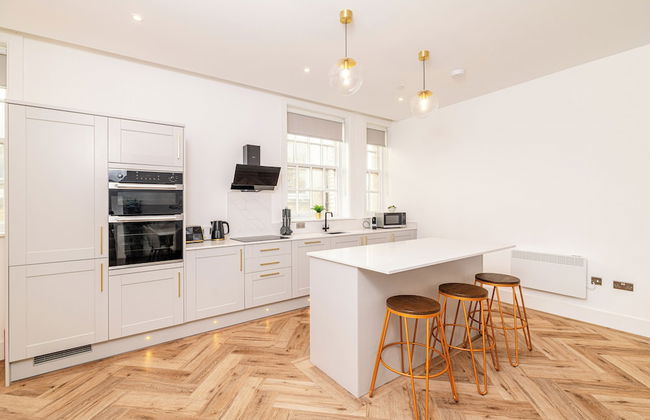
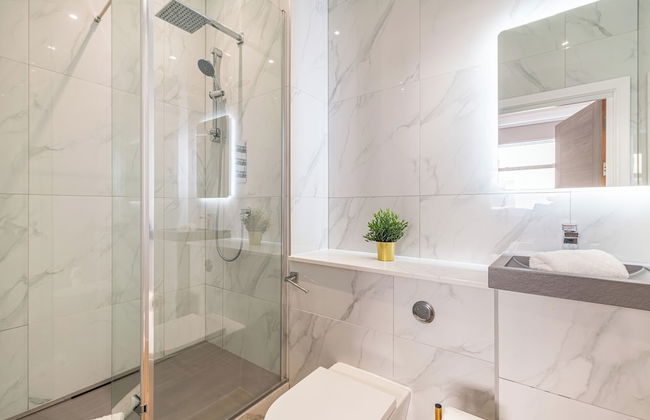
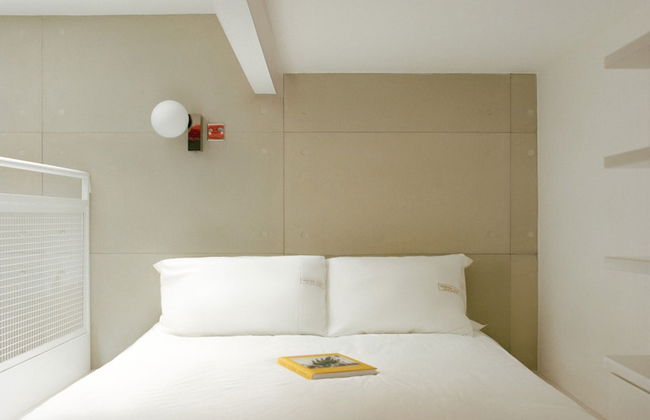
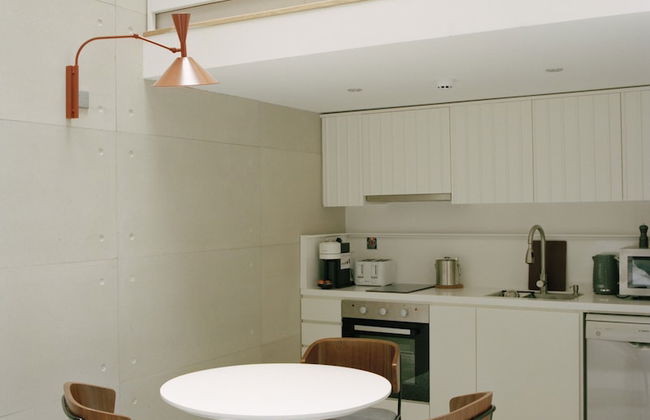
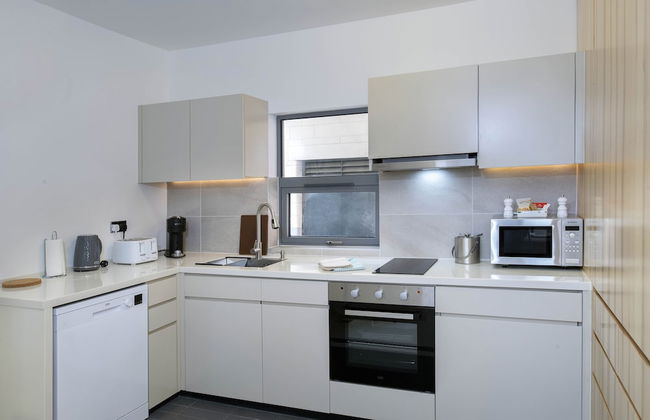
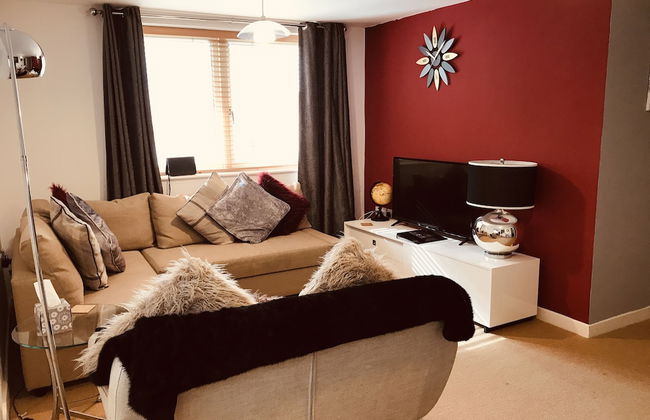
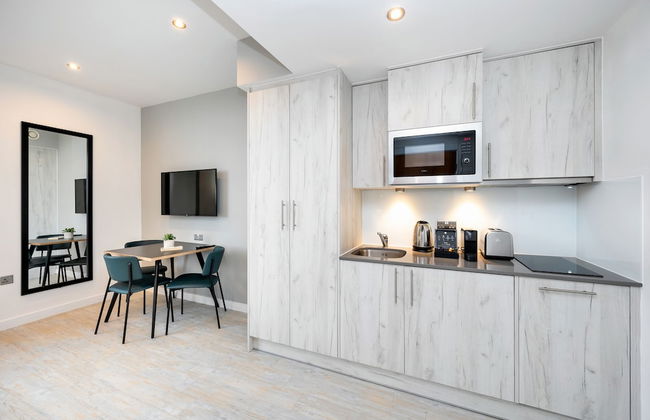
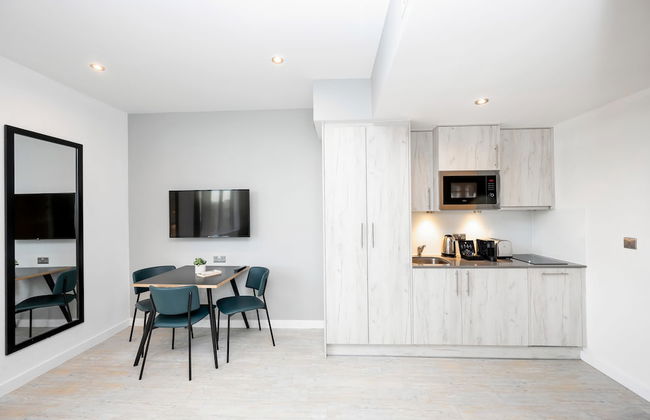
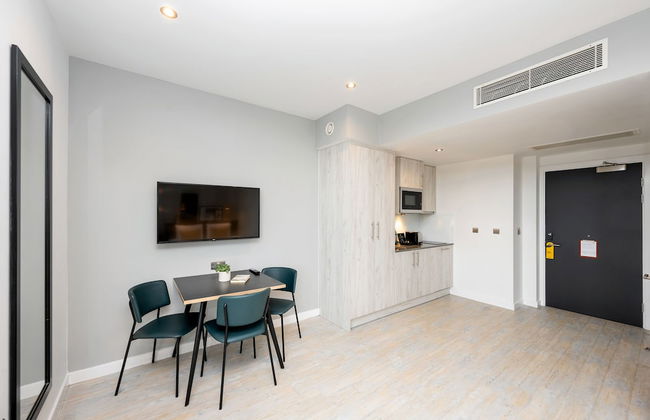
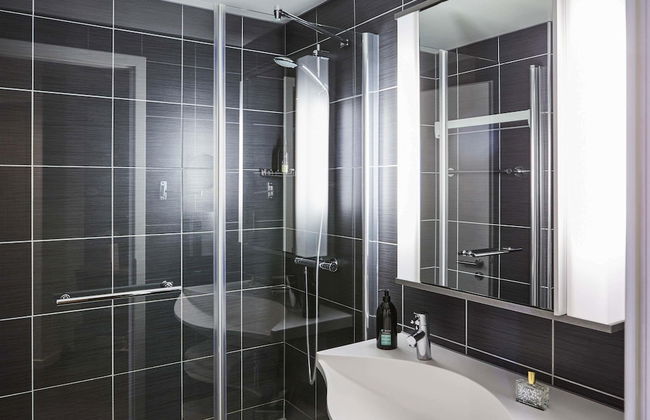
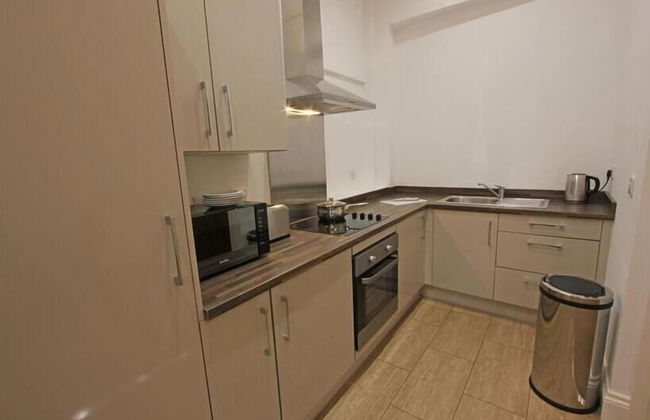
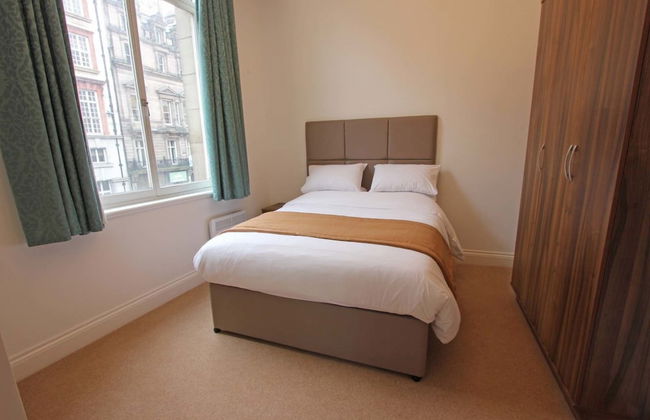
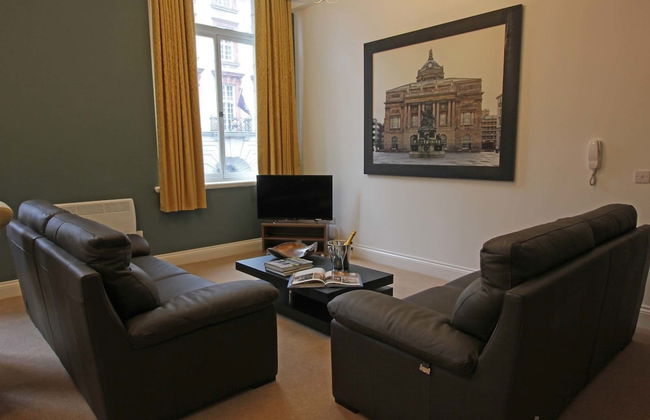
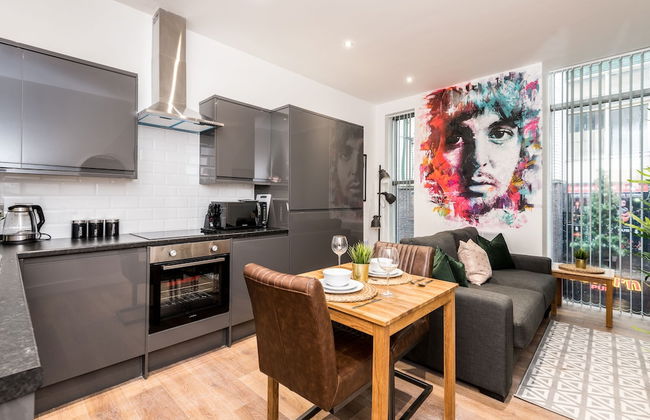
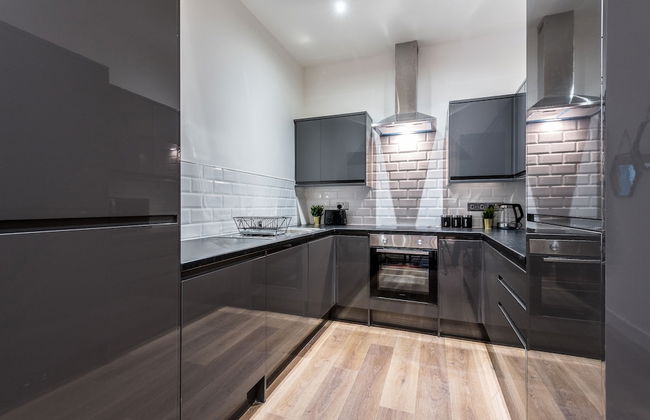
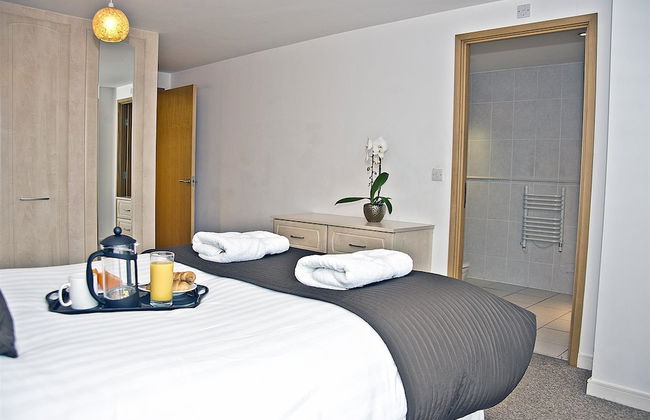
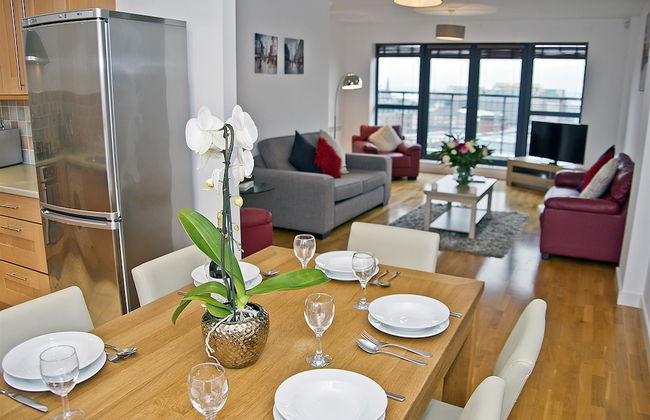
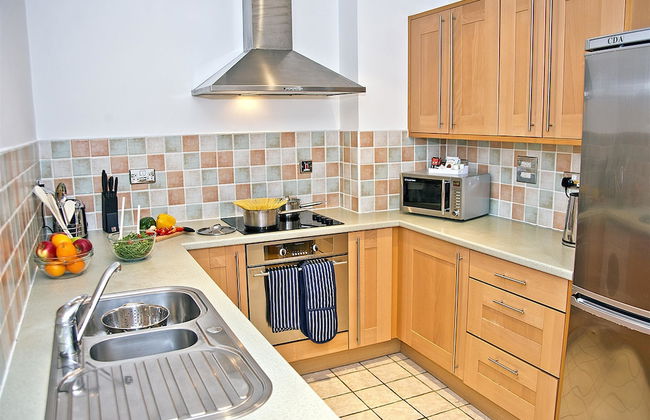
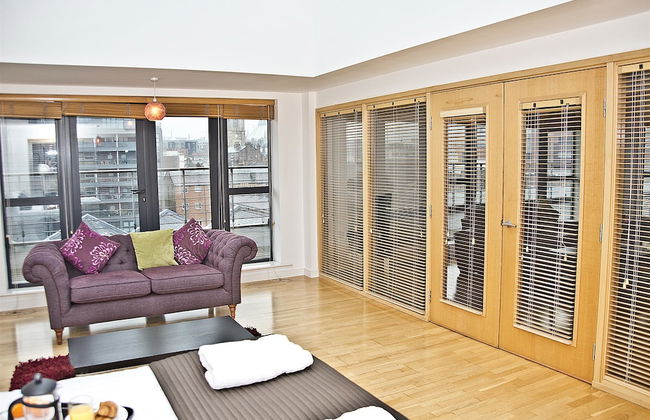
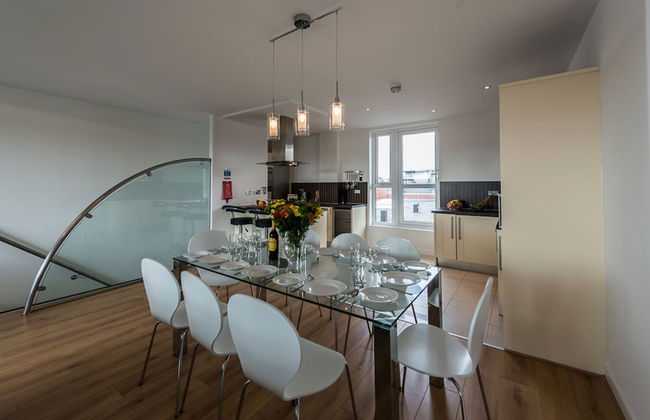
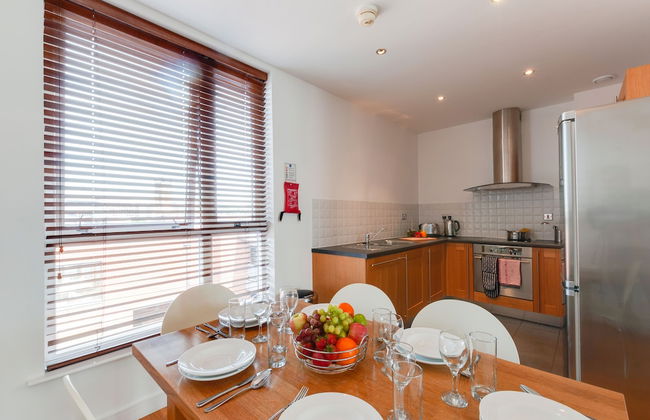
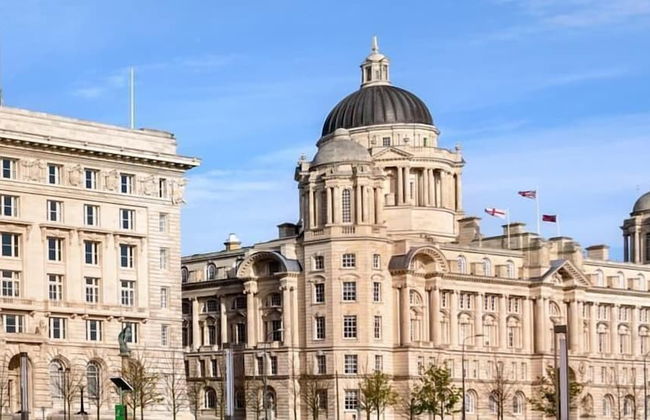
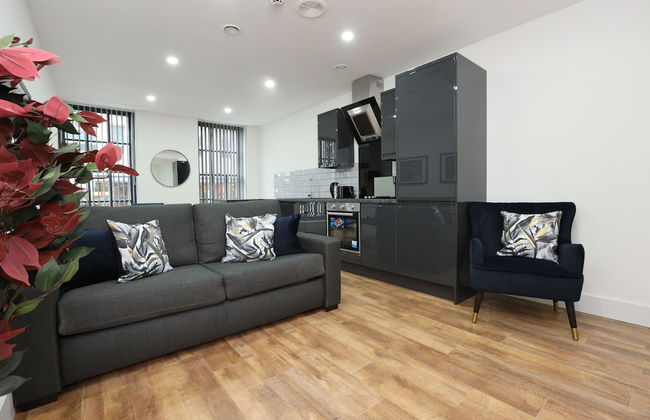
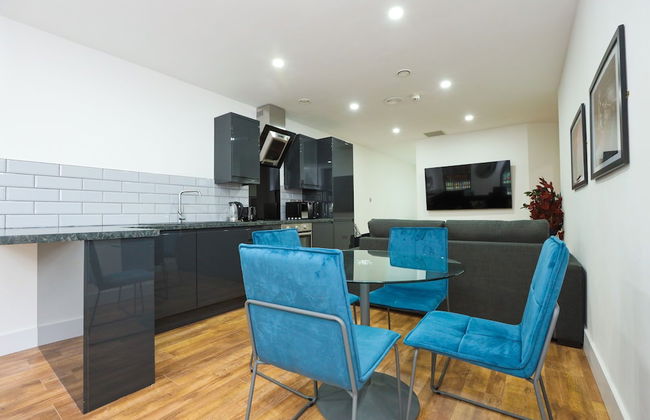
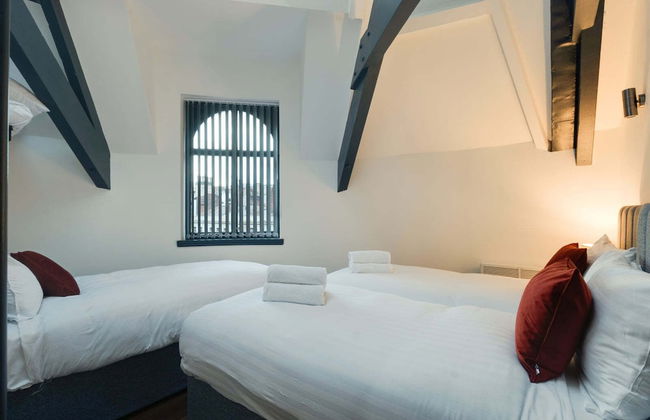
Cove Paradise Street
Liverpool - Liverpool - 370 m do centro
- 70 M2
- 6 pessoas
- Aquecimento
- Estacionamento
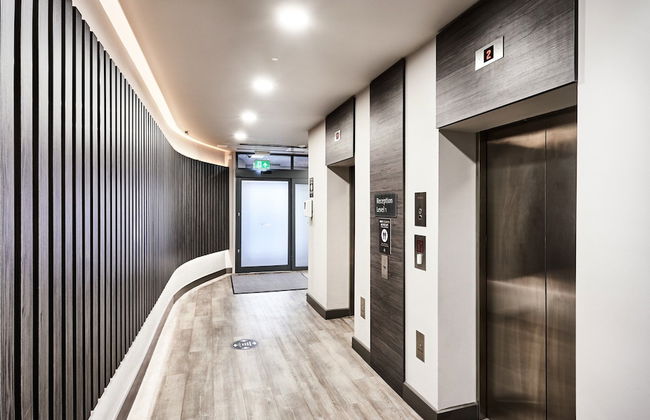
- Elevador
- Tv
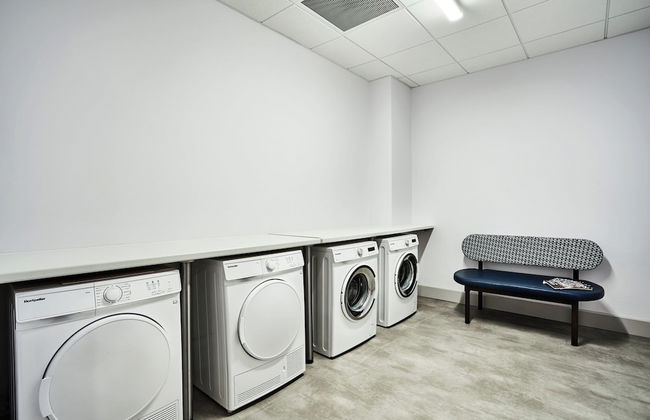
- Máquina de lavar roupa
- Toalhas
- Lençóis


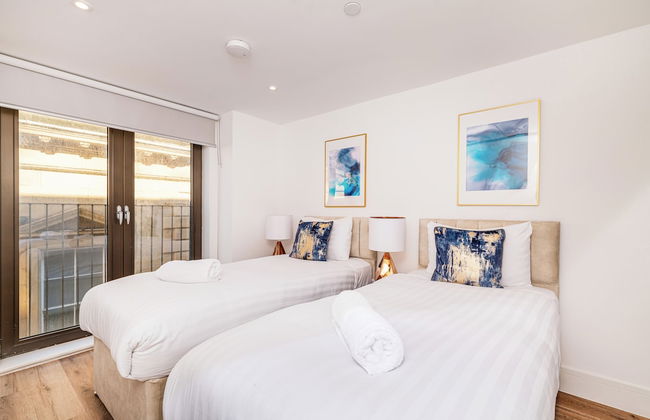


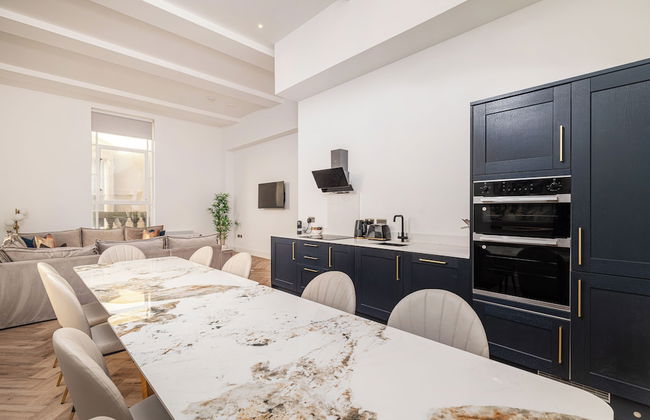
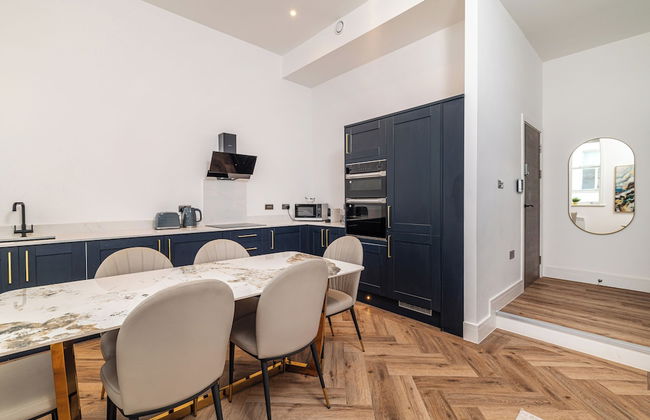


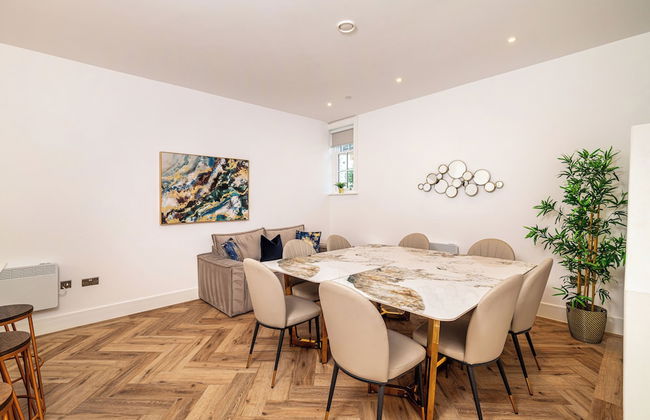


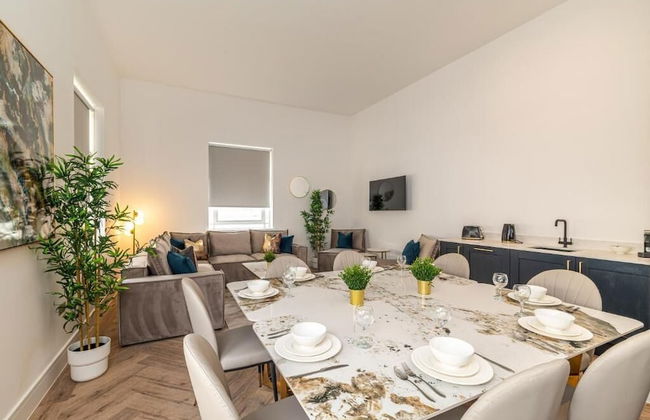

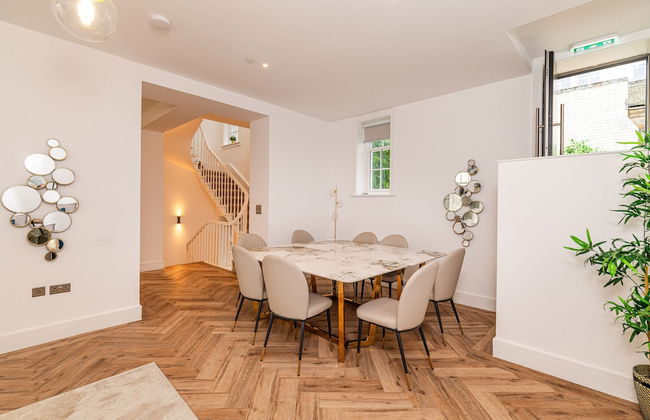

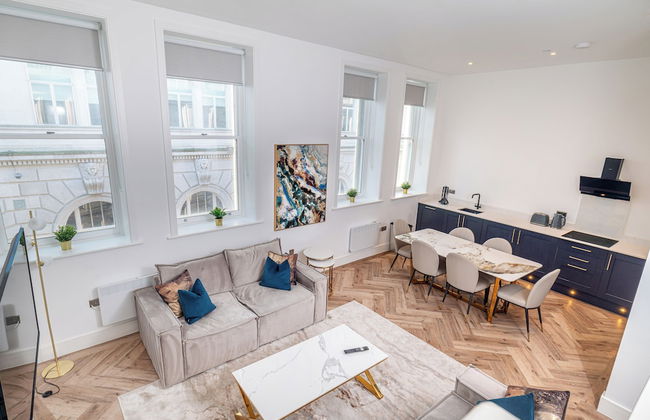
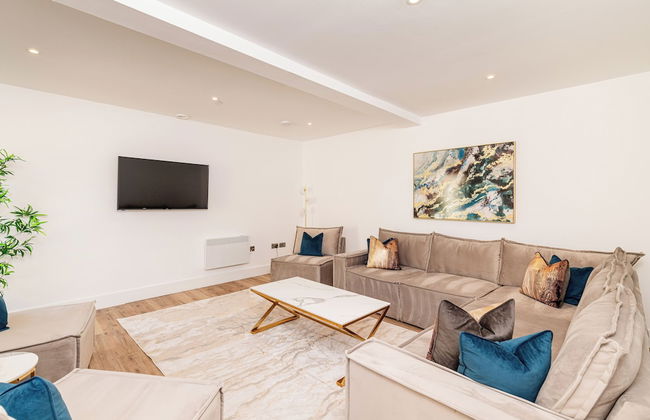


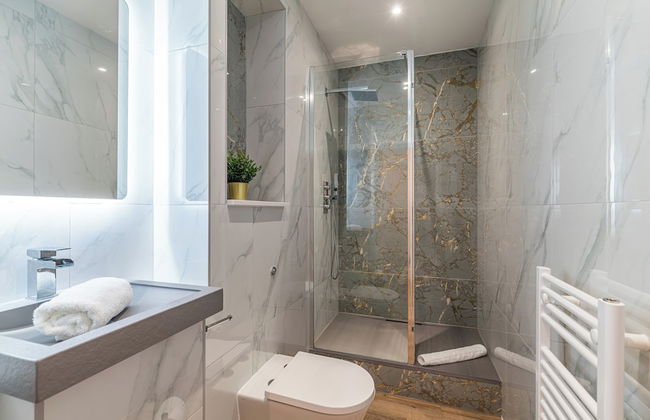


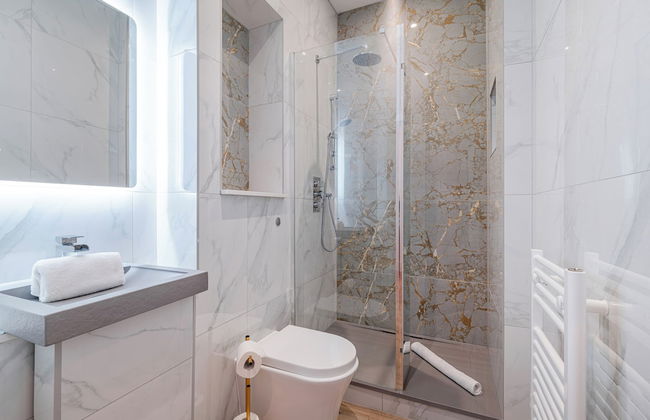


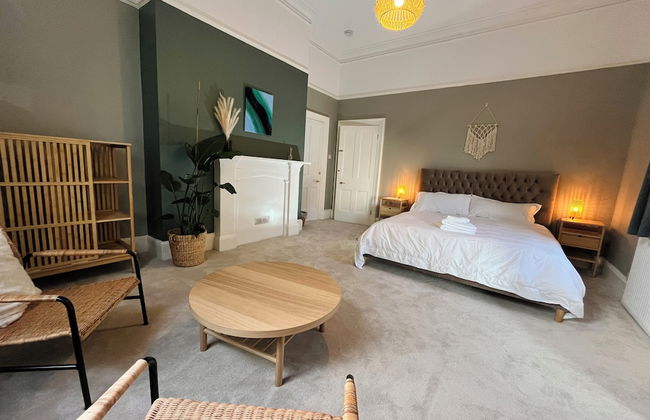
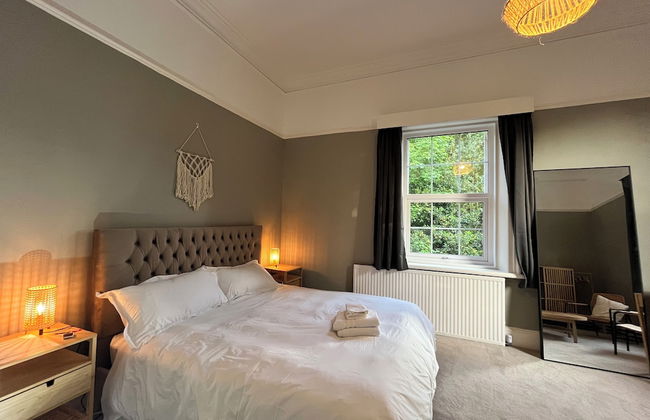
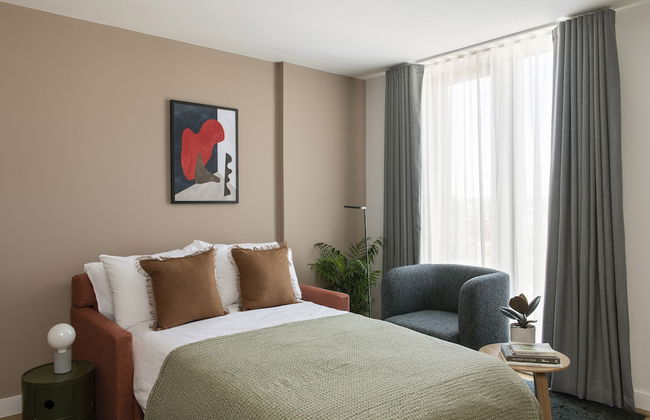
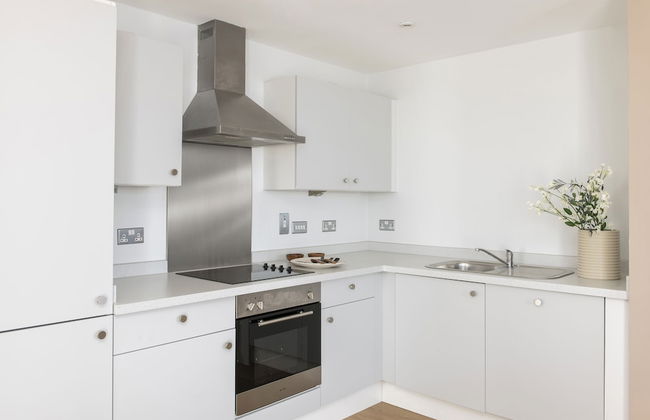
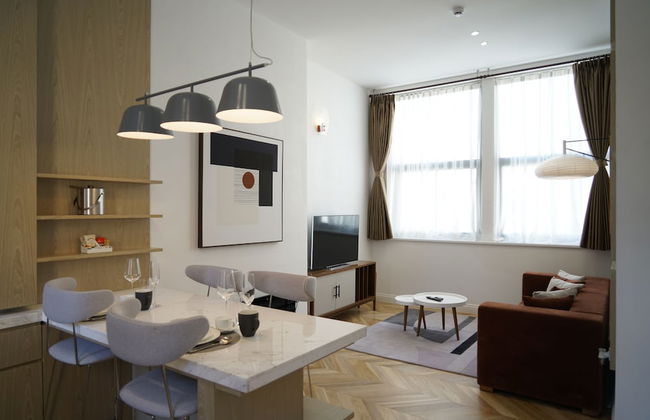
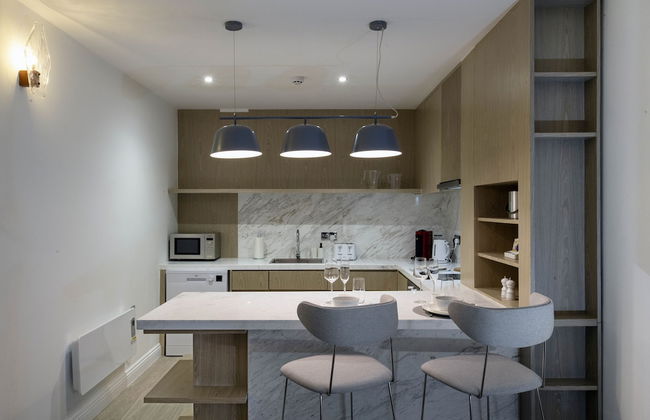
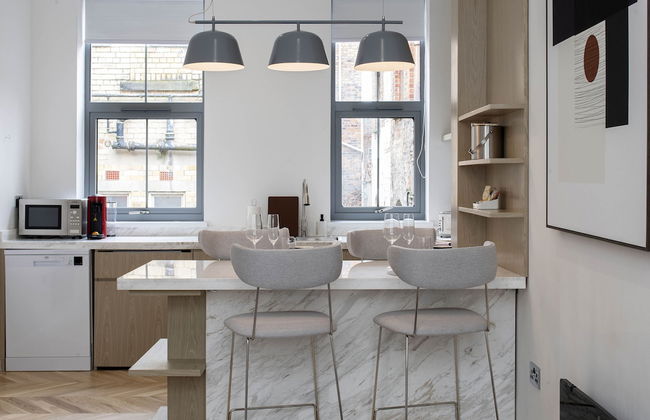
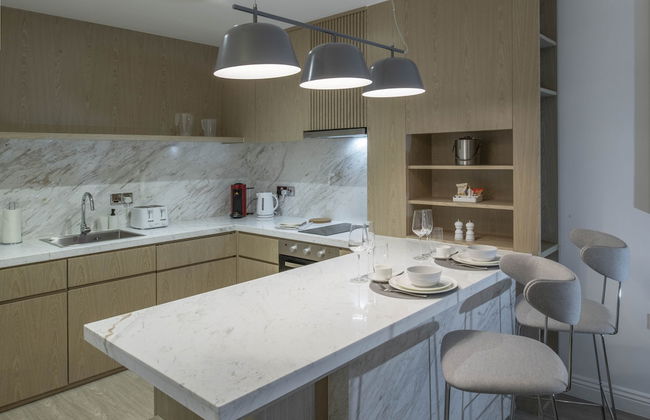
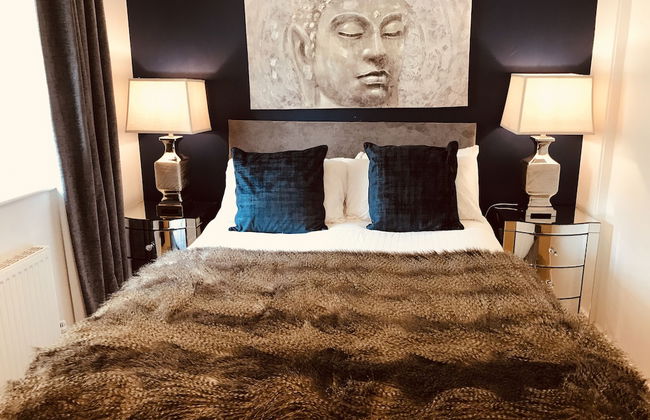
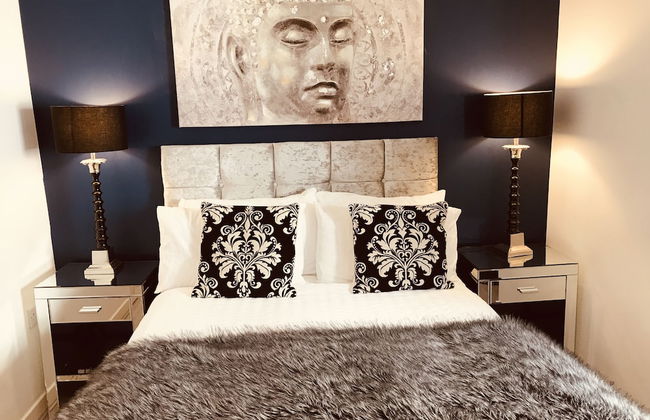
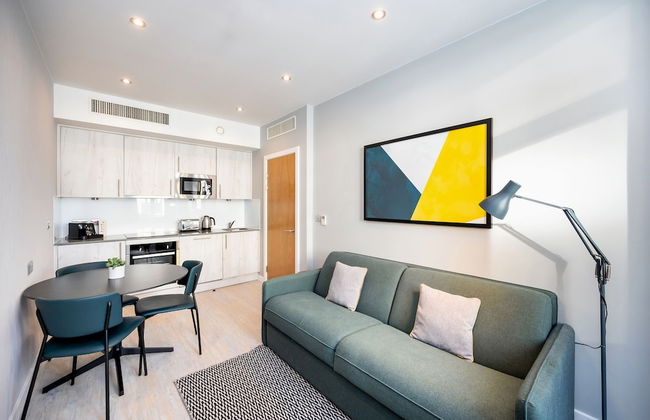
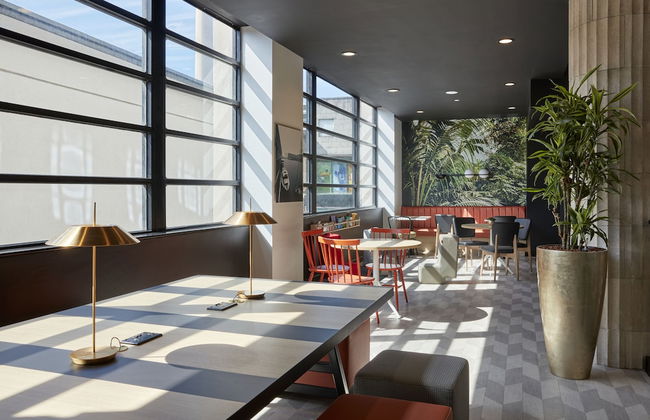
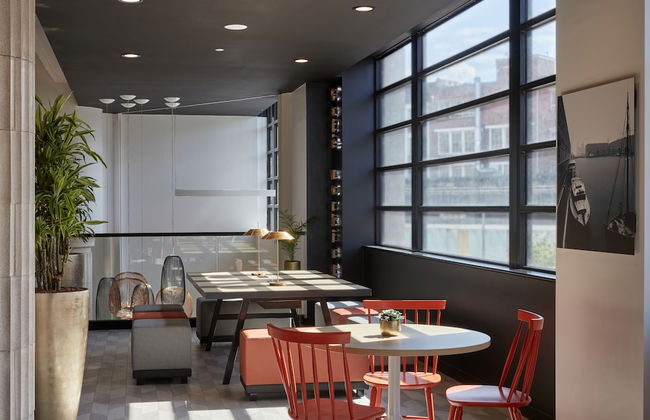
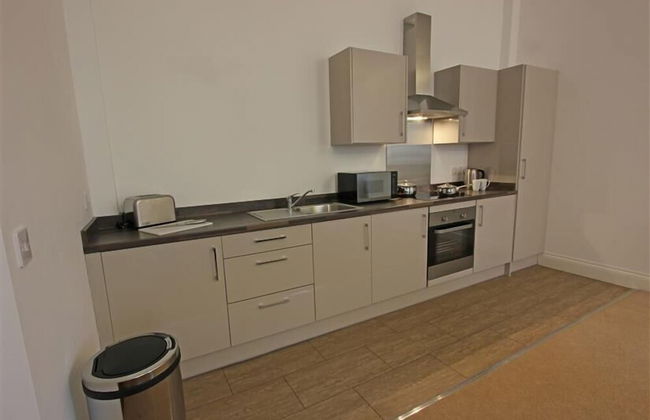
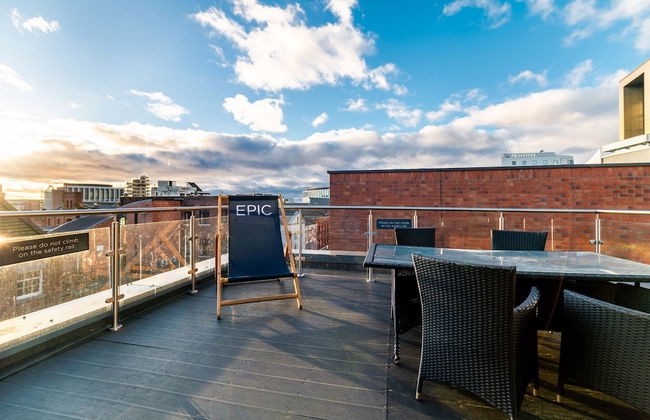
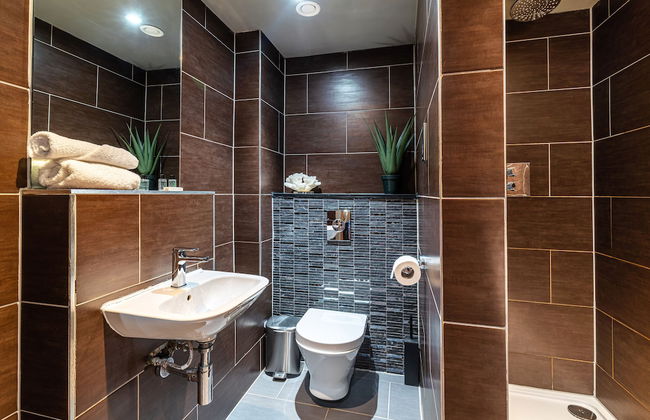
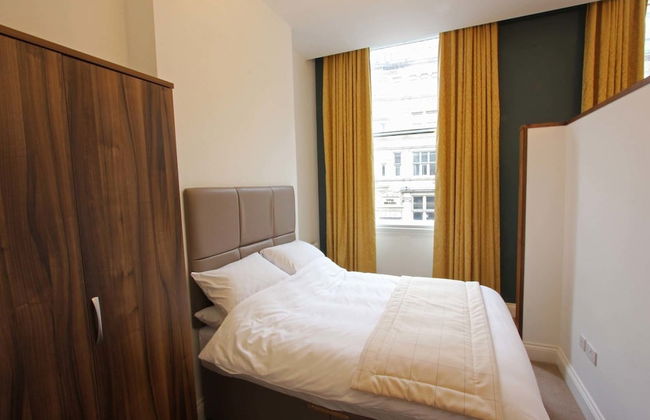
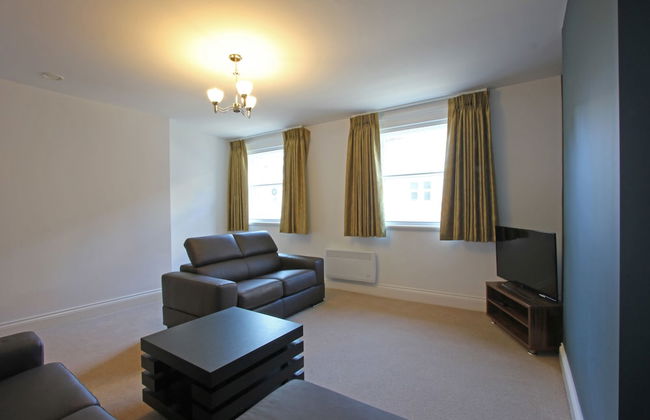
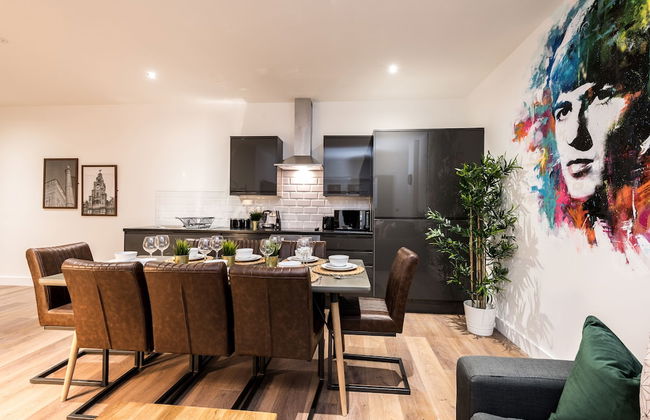
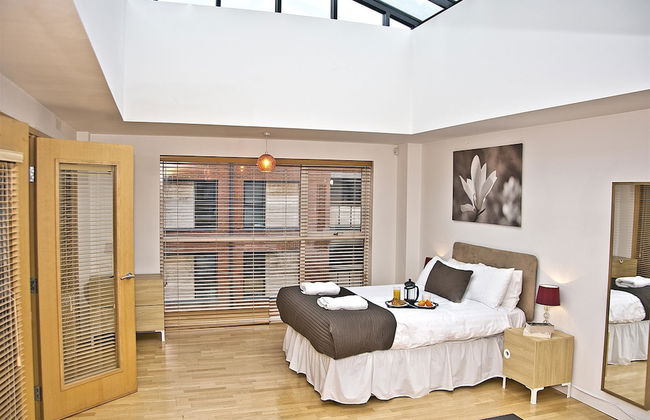
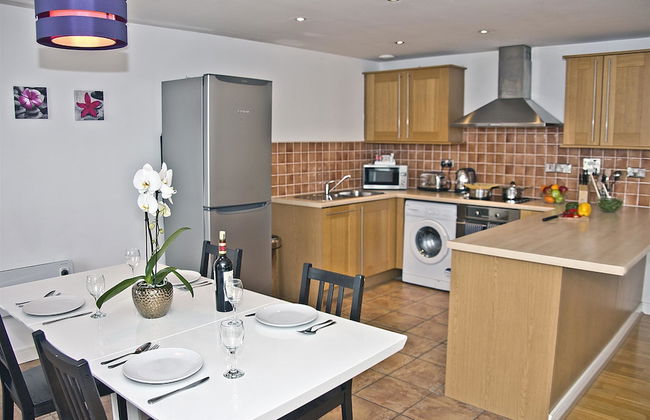
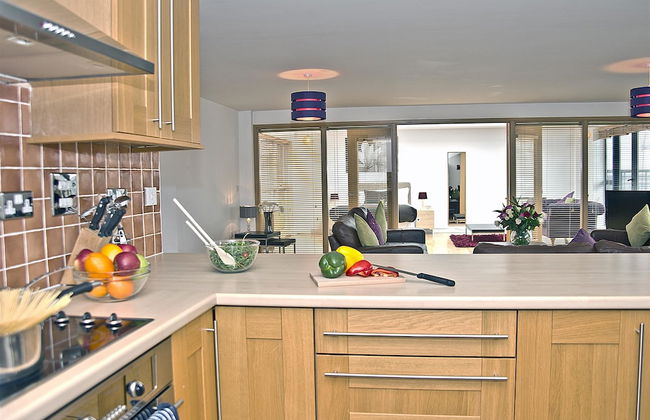
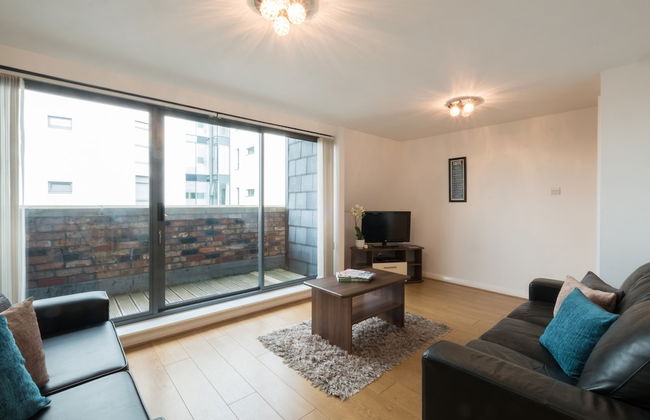
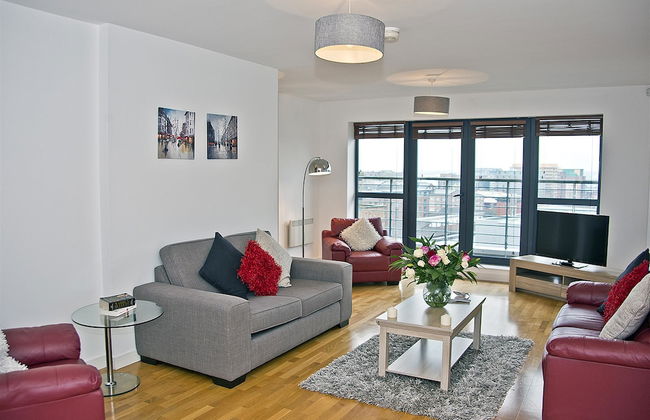
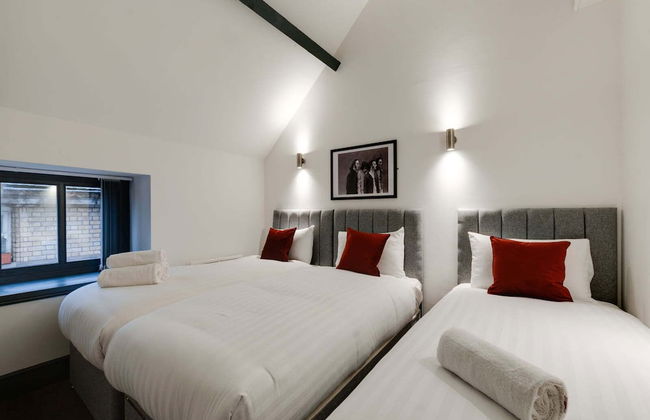
The Penthouse Collection by EPIC
Liverpool - Commercial District - 500 m do centro
- 199 M2
- 13 pessoas
- Aquecimento
- Terraço
- Elevador
- Tv
- Toalhas
- Lençóis


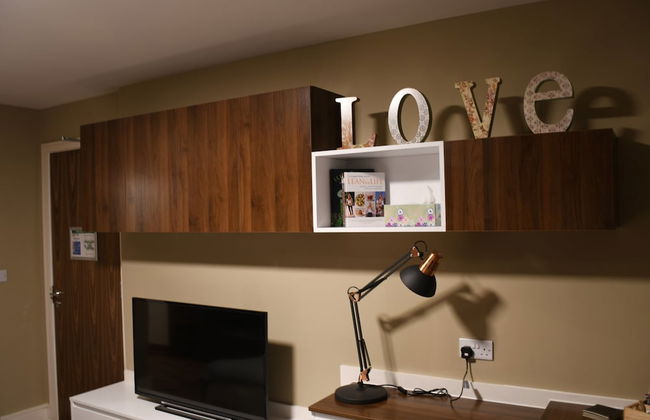


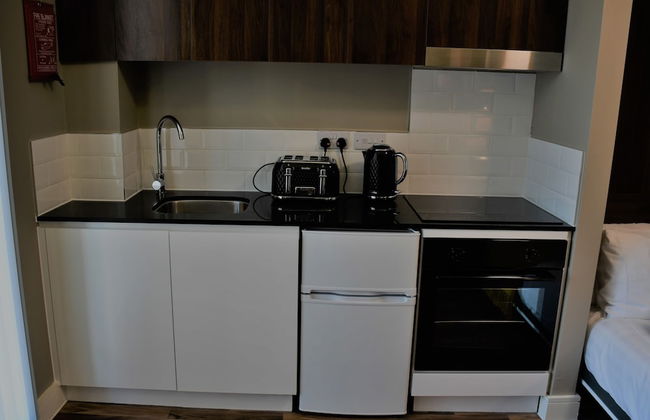


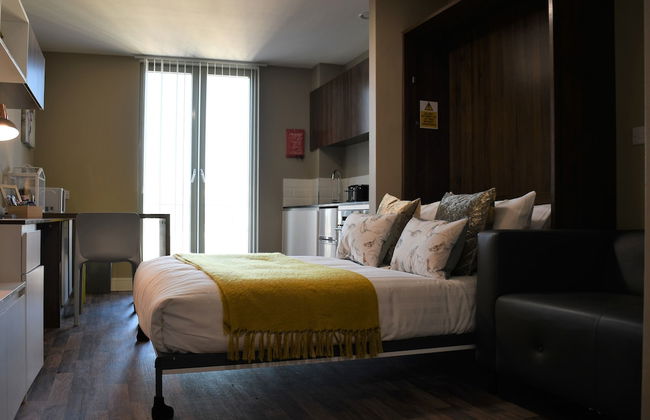


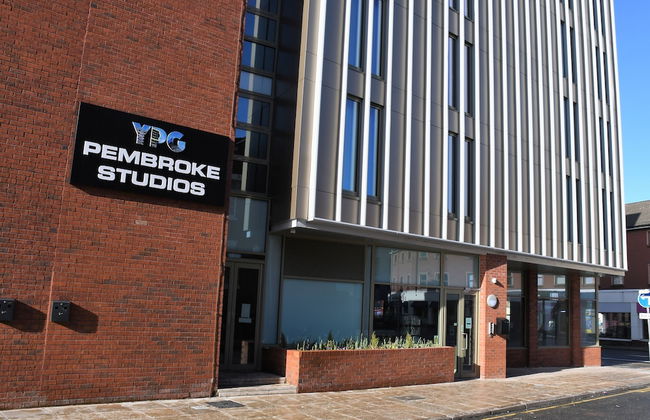


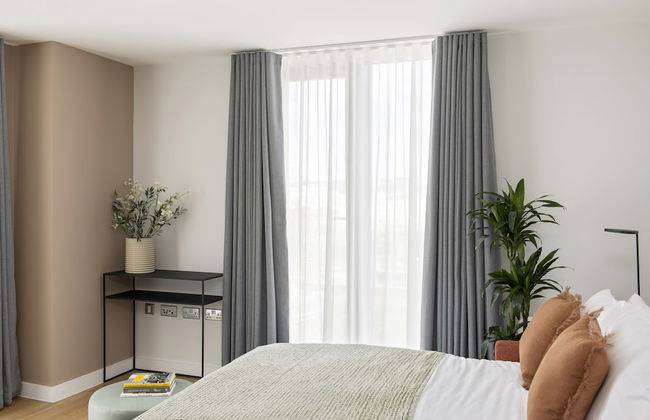
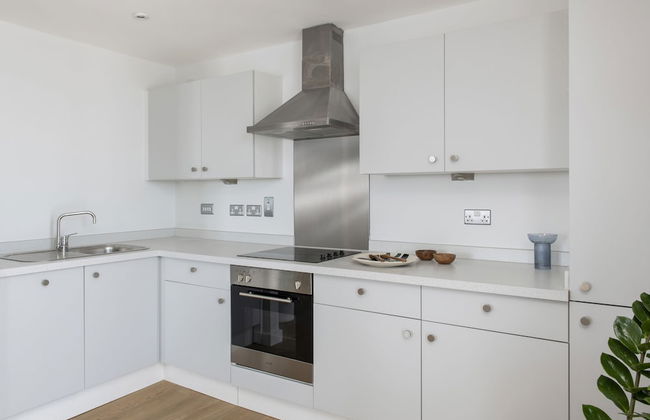
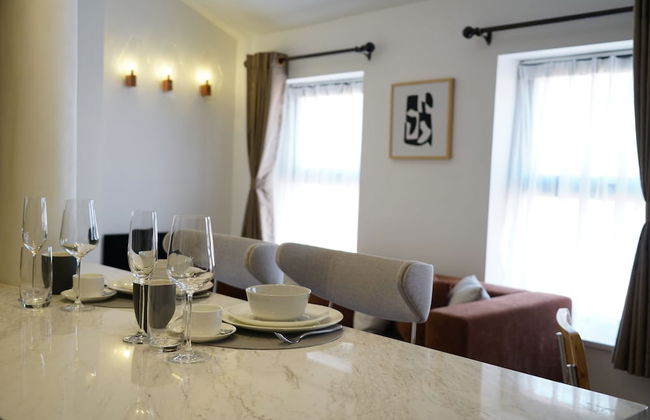
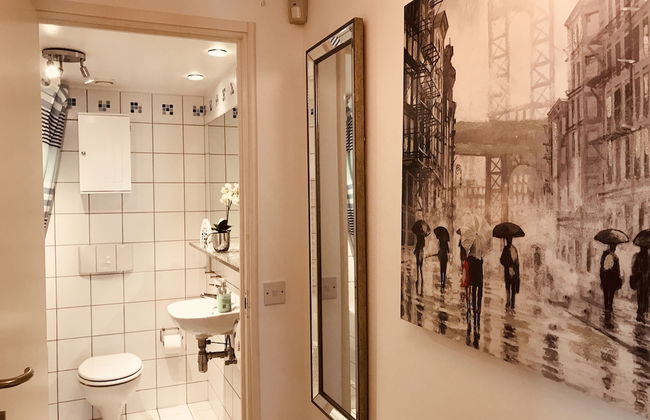
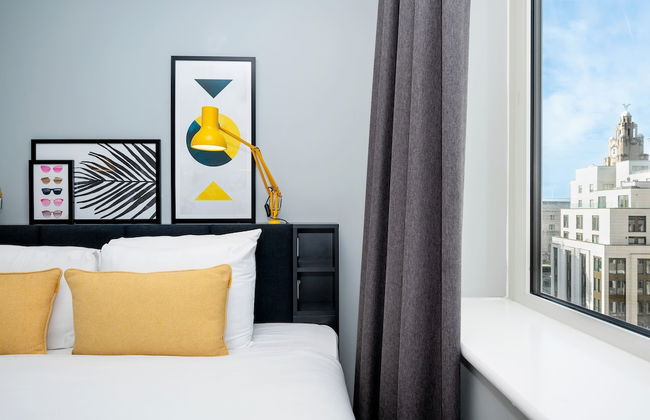
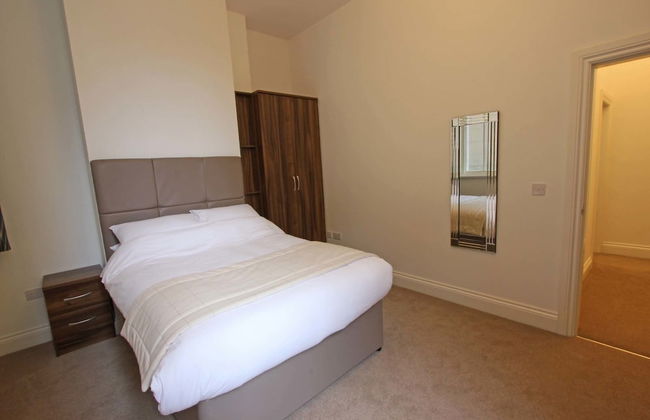
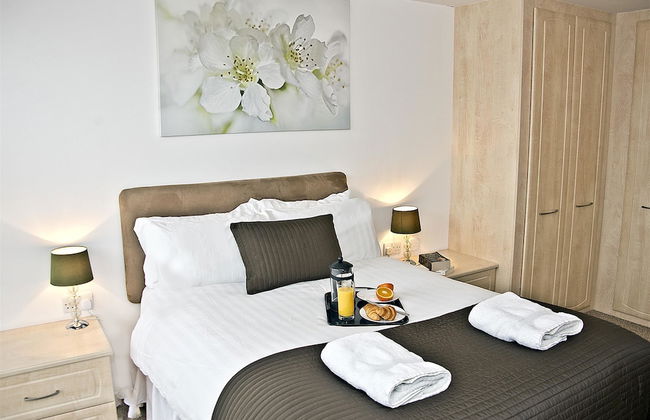
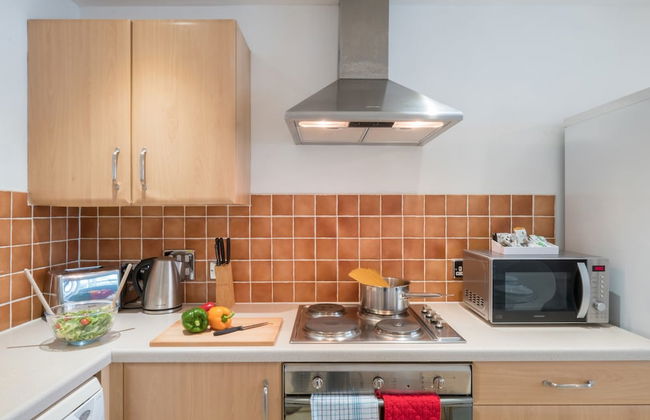
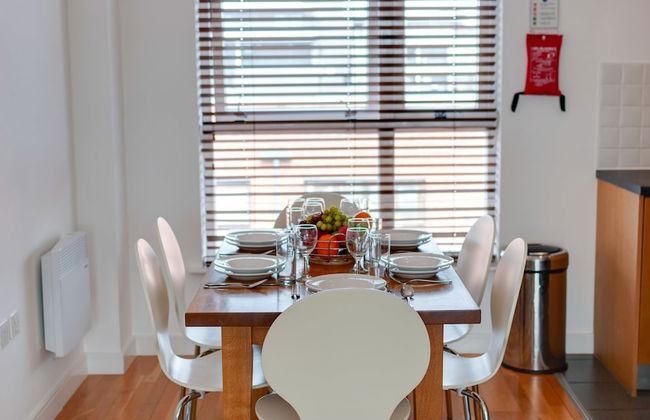
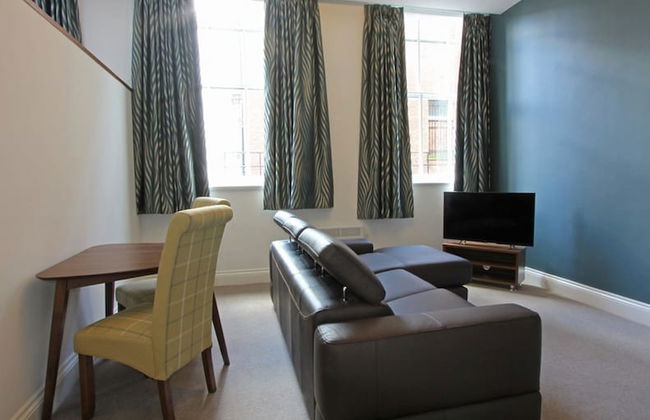
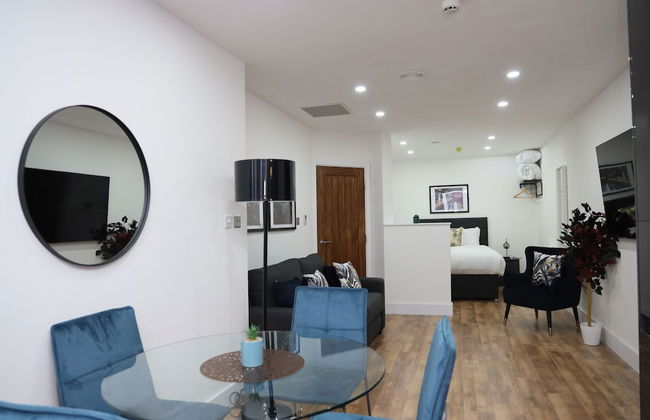
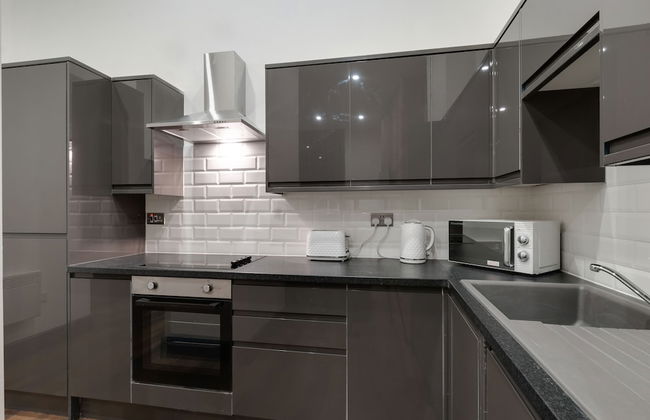
Pembroke Studios
Liverpool - University District - No centro
- 25 M2
- 2 pessoas
- Elevador
- Toalhas
- Lençóis


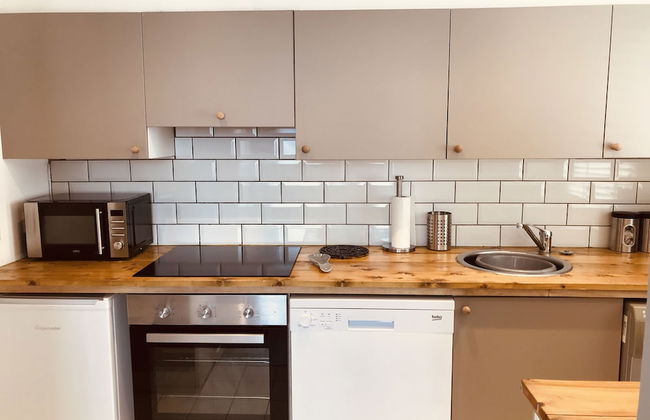
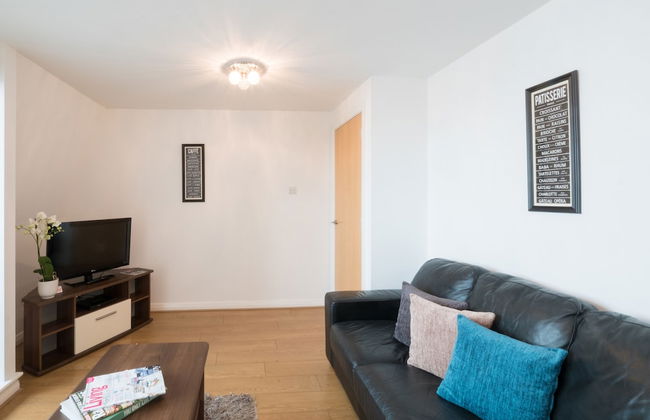
Trueman Court Luxury Serviced Apartments
Liverpool - Marybone - No centro
- 4 pessoas
- Aquecimento
- Tv
- Toalhas
- Lençóis

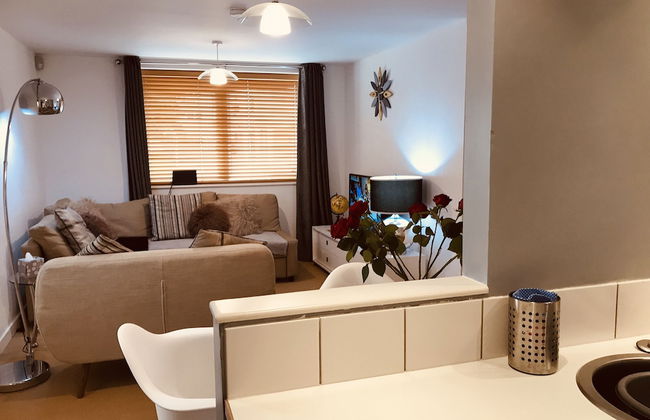


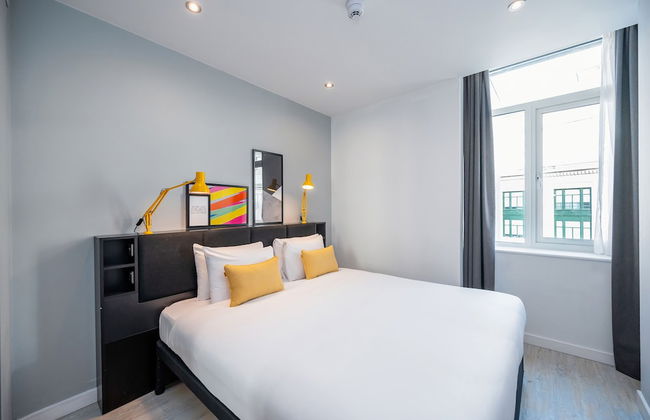
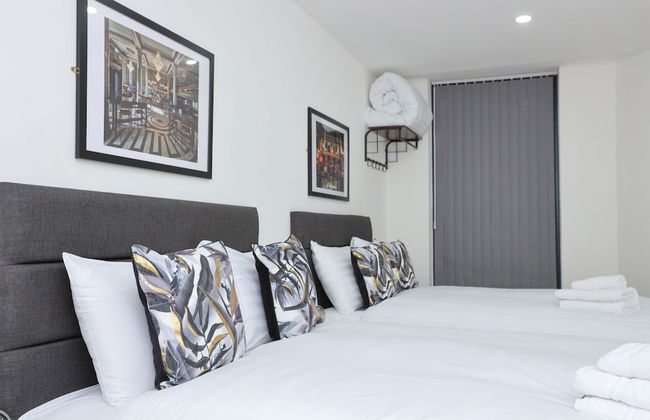
2 Bedroom Luxe Dockland Apartment with Parking
Liverpool - Kings - 980 m do centro
- 5 pessoas
- Aquecimento
- Estacionamento
- Elevador
- Tv
- Máquina de lavar roupa
- Toalhas
- Lençóis


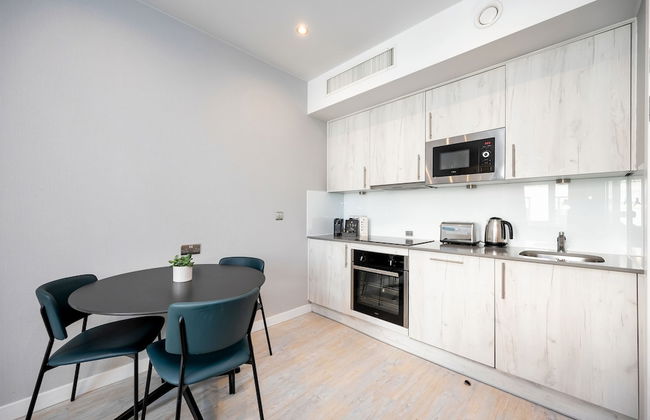


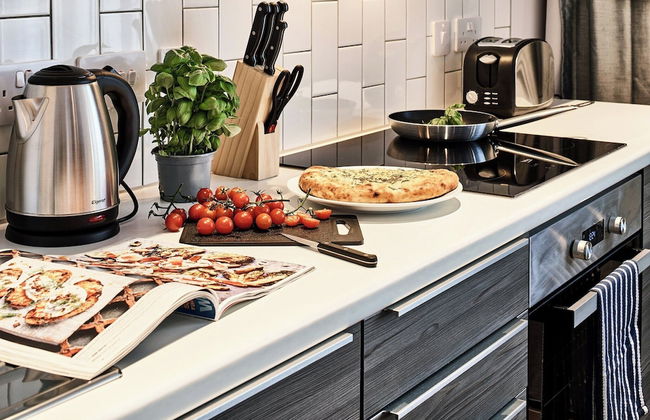
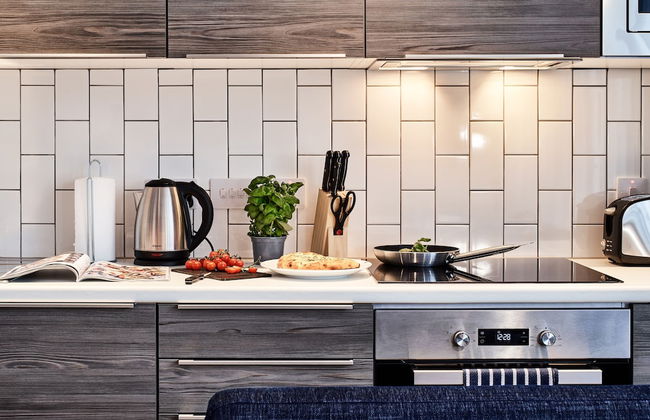
Staycity Aparthotels, Liverpool, Waterfront
Liverpool - Commercial District - 550 m do centro
- 50 M2
- 6 pessoas
- Kitchenette
- Ar-condicionado
- Aquecimento
- Estacionamento
- Elevador
- Tv
- Toalhas
- Lençóis


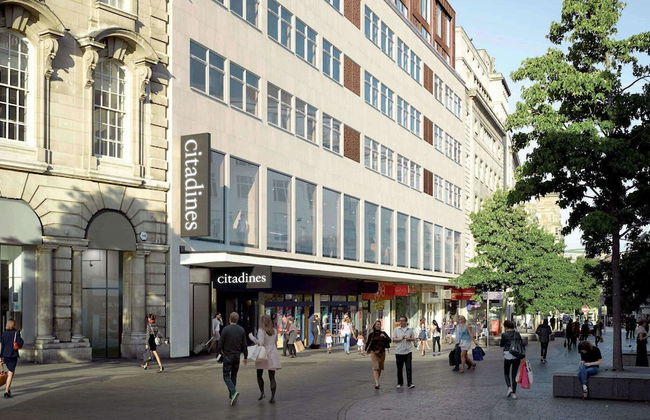

Citadines City Centre Liverpool
Liverpool - Liverpool - No centro
- 6 pessoas
- Ar-condicionado
- Aquecimento
- Estacionamento
- Tv
- Toalhas
- Lençóis


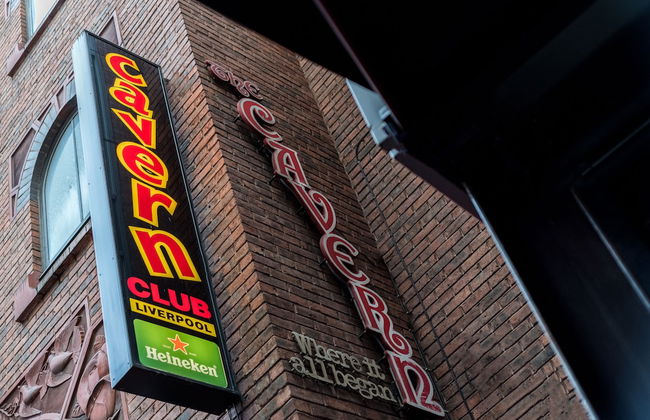
Cavern Quarter Apts - 31 North John St
Liverpool - Cavern Quarter - 280 m do centro
- 74 M2
- 4 pessoas
- Aquecimento
- Estacionamento
- Elevador
- Tv
- Máquina de lavar roupa
- Toalhas
- Lençóis


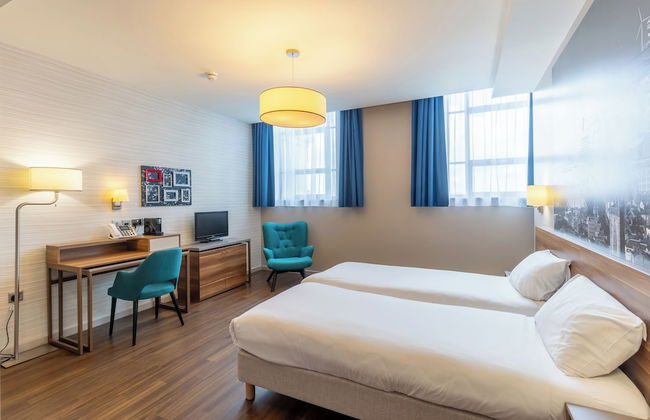


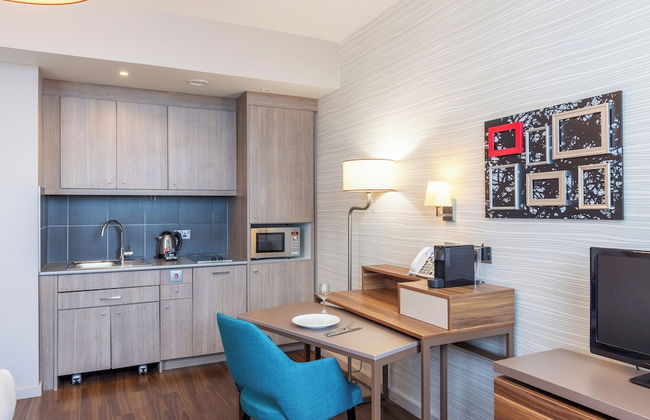


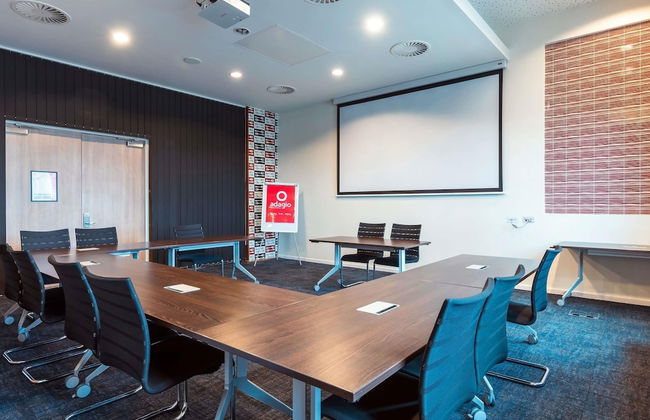


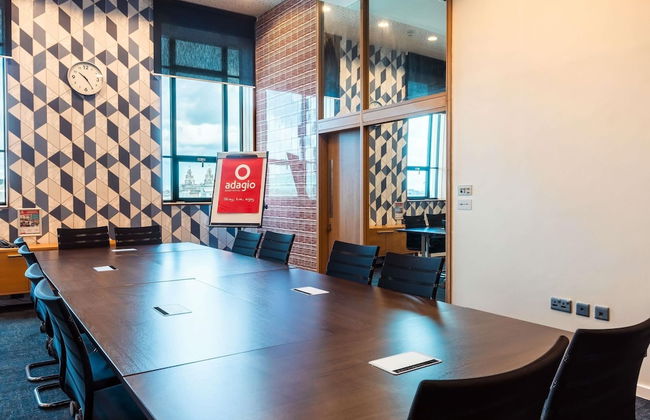

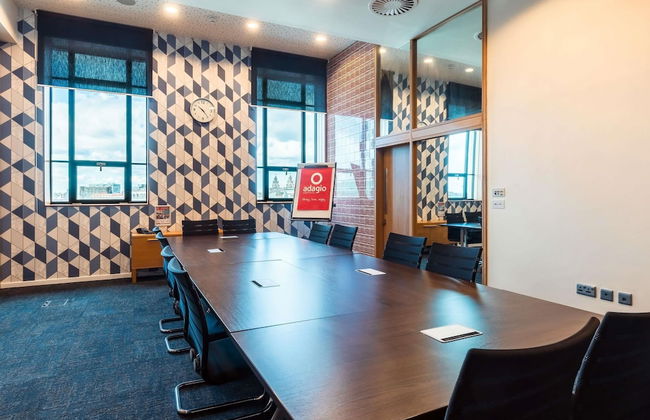

Aparthotel Adagio Liverpool City Centre
Liverpool - City Central - No centro
- 40 M2
- 4 pessoas
- Ar-condicionado
- Aquecimento
- Elevador
- Tv
- Toalhas
- Lençóis


The Castle Collection - 42 Castle Street
Liverpool - Commercial District - 450 m do centro
- 4 pessoas
- Aquecimento
- Estacionamento
- Elevador
- Tv
- Máquina de lavar roupa
- Toalhas
- Lençóis


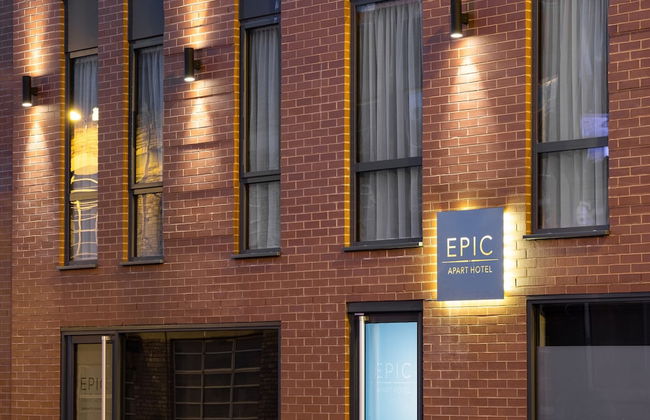
Tunnage Square Apartments by EPIC
Liverpool - Ropewalks - 450 m do centro
- 5 pessoas
- Ar-condicionado
- Aquecimento
- Elevador
- Tv
- Máquina de lavar roupa
- Toalhas
- Lençóis


The Castle Collection - 25 Castle Street
Liverpool - Commercial District - 410 m do centro
- 135 M2
- 4 pessoas
- Aquecimento
- Estacionamento
- Tv
- Máquina de lavar roupa
- Toalhas
- Lençóis


City Centre Albert Dock & Arena Apts
Liverpool - Kings - 1.2 km do centro
- 51 M2
- 5 pessoas
- Aquecimento
- Estacionamento
- Elevador
- Tv
- Máquina de lavar roupa
- Toalhas
- Lençóis


The Castle Collection - 14 Cook Street
Liverpool - Commercial District - 340 m do centro
- 4 pessoas
- Aquecimento
- Estacionamento
- Tv
- Máquina de lavar roupa
- Toalhas
- Lençóis


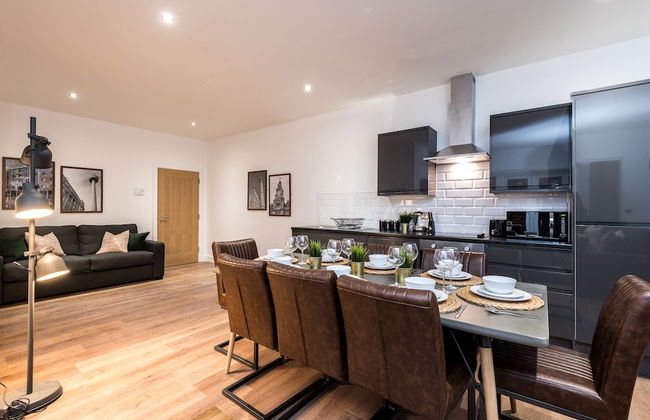
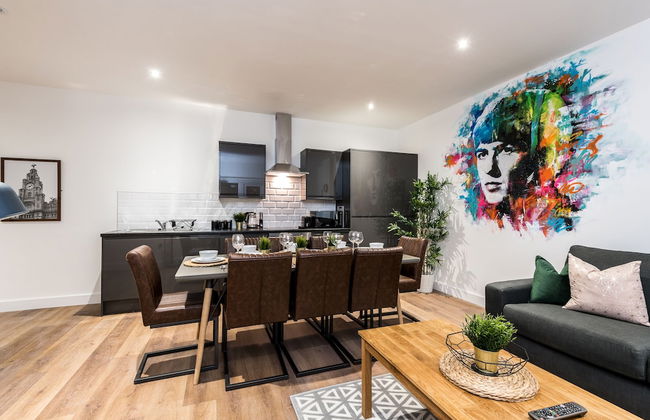


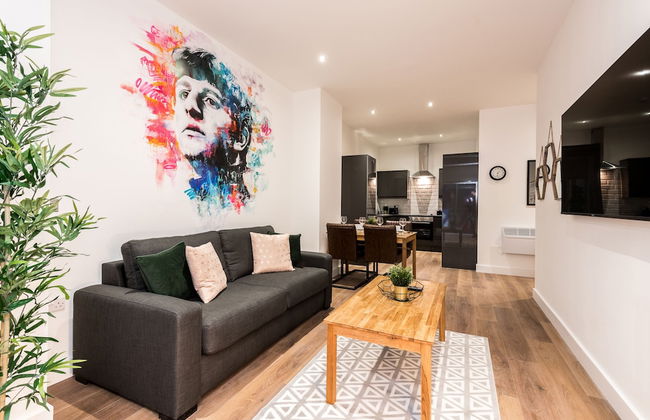


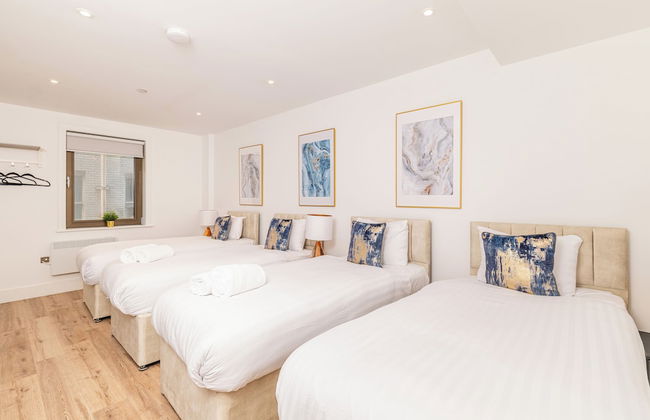
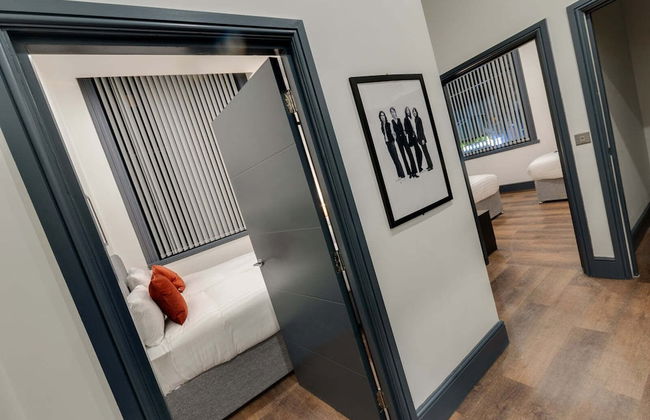
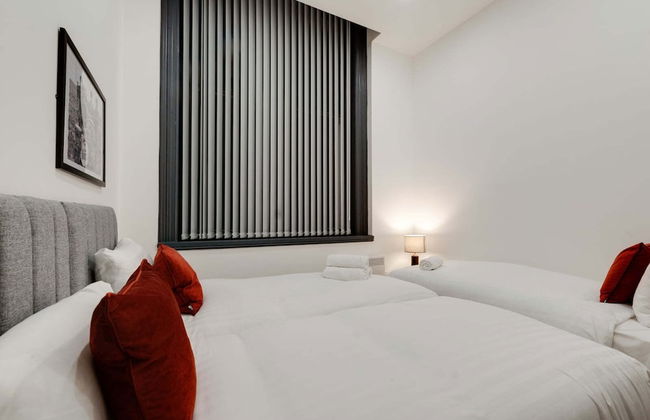
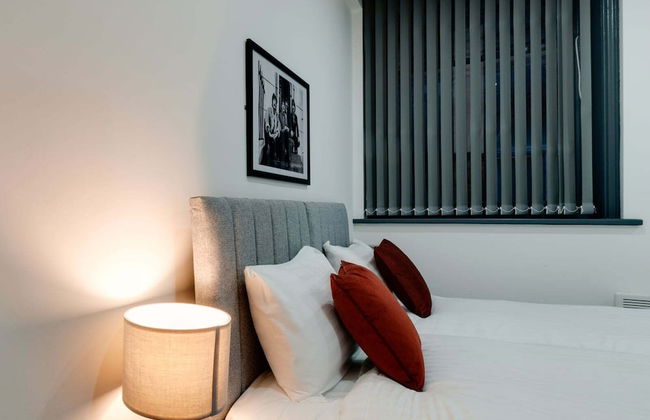
SGT Pepper’s Apartments
Liverpool - Cavern Quarter - 260 m do centro
- 70 M2
- 10 pessoas
- Aquecimento
- Estacionamento
- Elevador
- Varanda
- Tv
- Máquina de lavar roupa
- Toalhas


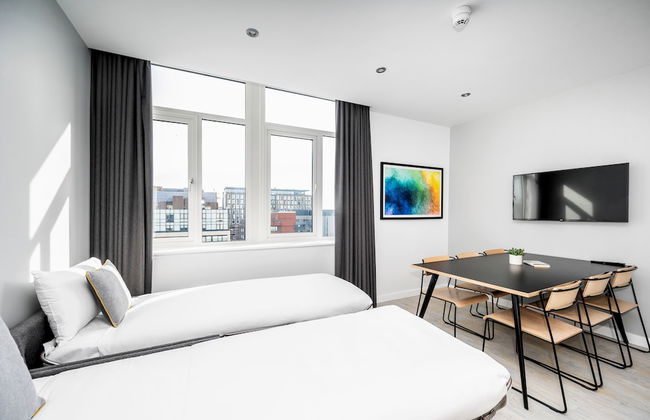
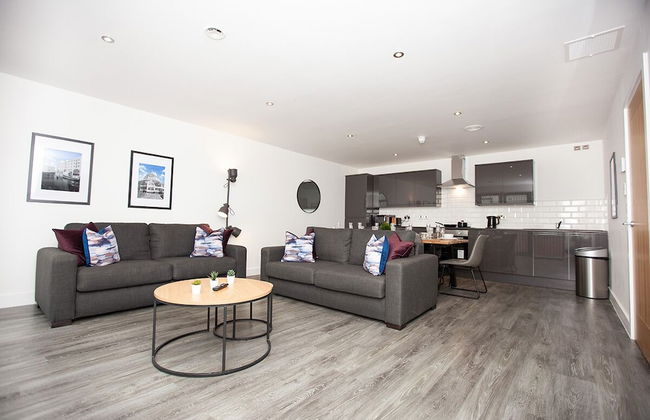
Base Serviced Apartments - Duke Street
Liverpool - Ropewalks - 510 m do centro
- 8 pessoas
- Aquecimento
- Estacionamento
- Elevador
- Varanda
- Tv
- Máquina de lavar roupa
- Toalhas
- Lençóis


The Castle Collection 3 Union Court
Liverpool - Commercial District - 360 m do centro
- 2 pessoas
- Aquecimento
- Estacionamento
- Tv
- Máquina de lavar roupa
- Toalhas
- Lençóis


Wood Street Apartments
Liverpool - Ropewalks - 290 m do centro
- 900 M2
- 8 pessoas
- Ar-condicionado
- Aquecimento
- Estacionamento
- Tv
- Máquina de lavar roupa
- Toalhas
- Lençóis


Harrisons Aparthotel
Liverpool - Commercial District - 280 m do centro
- 11 pessoas
- Kitchenette
- Ar-condicionado
- Aquecimento
- Estacionamento
- Tv
- Máquina de lavar roupa