
312 Apartamentos em Anna Maria


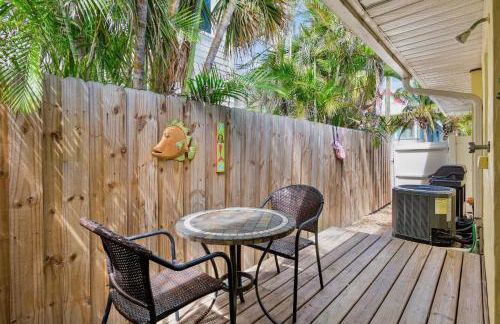
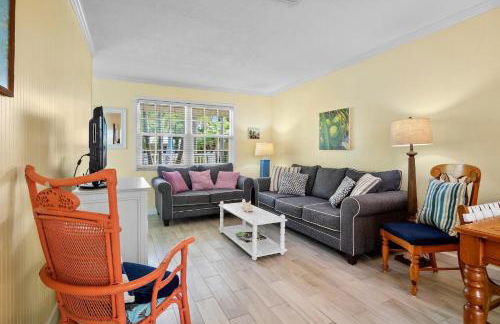
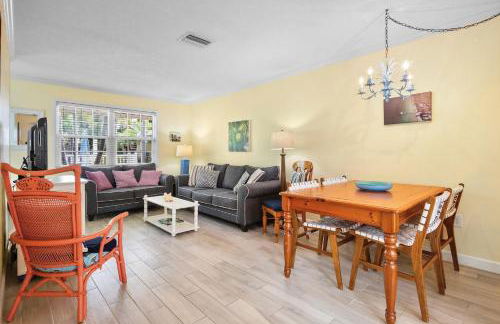
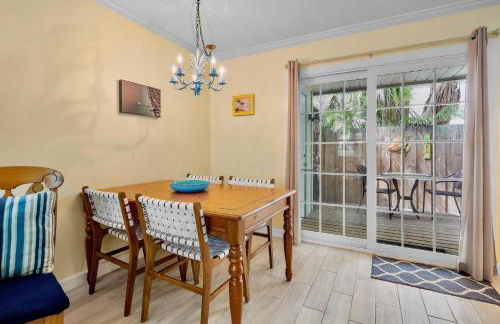
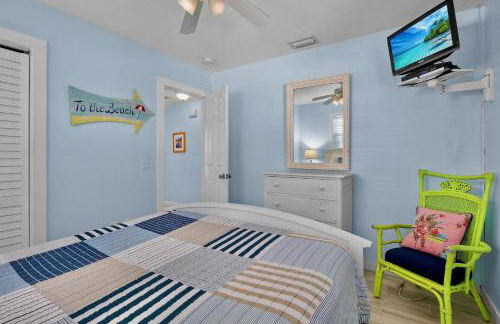
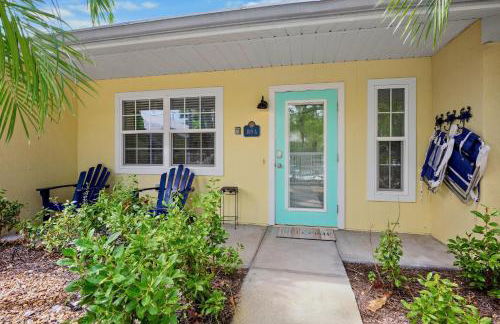
Minnow 1 1 Bedroom Cottage by RedAwning
Anna Maria
- 58 M2
- 2 pessoas
- Ar-condicionado
- Estacionamento
- Tv
- Máquina de lavar roupa
- Churrasco
- Toalhas
4 avaliações


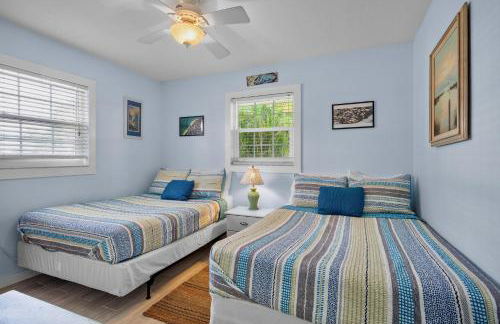
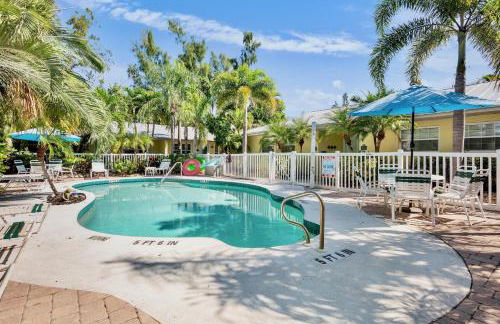
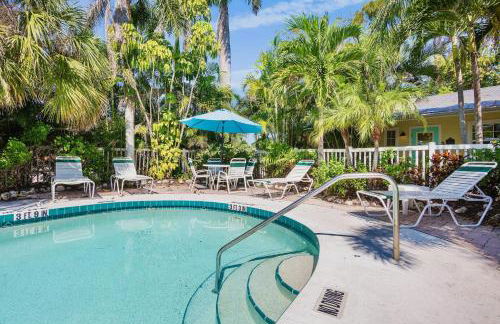
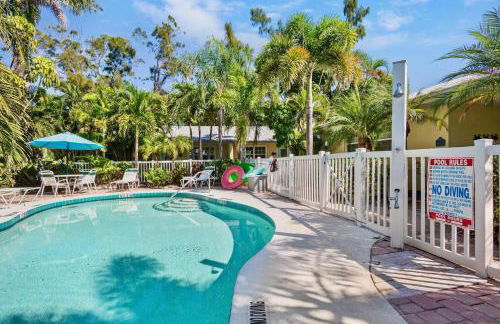
Southern Breeze 2
Anna Maria
- 73 M2
- 2 quartos
- 6 pessoas
- Ar-condicionado
- Aquecimento
- Piscina
- Estacionamento
- Churrasco
10 avaliações
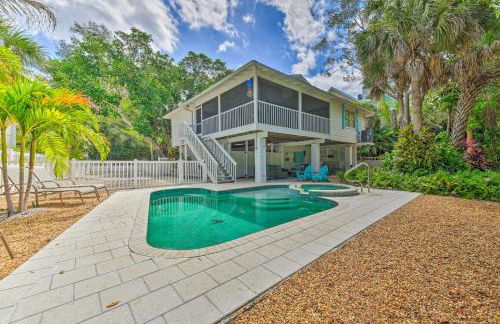

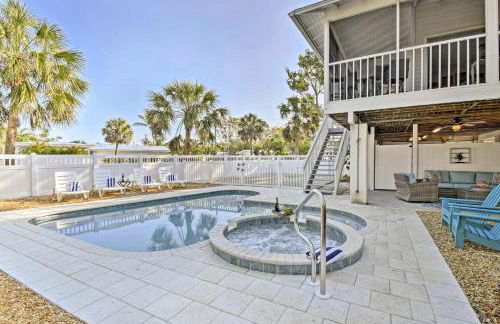
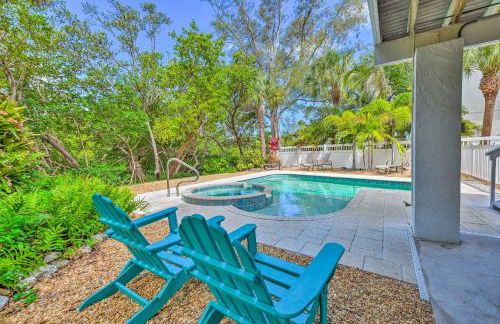
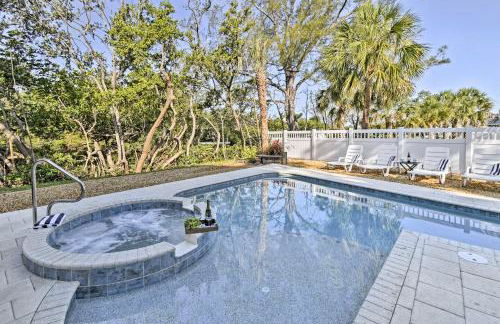
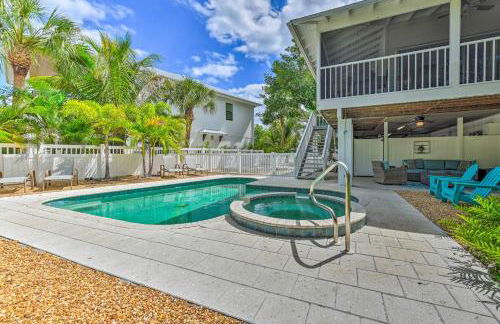
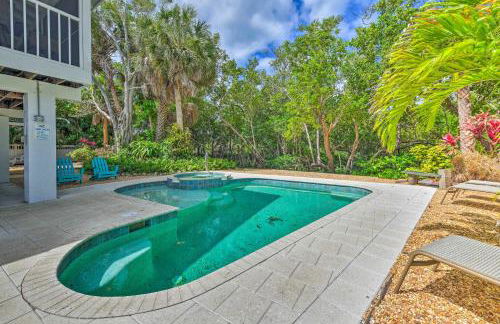
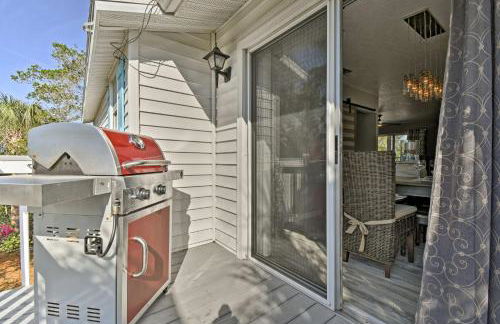


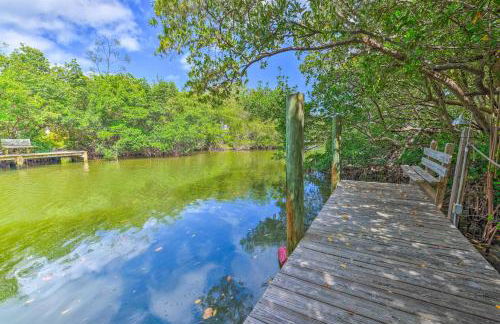
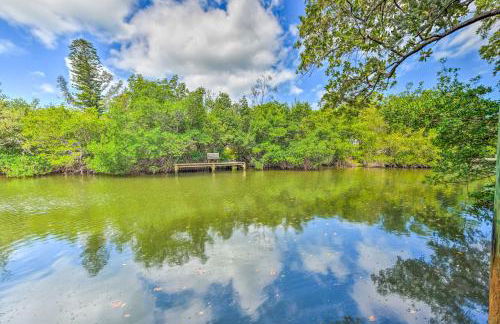
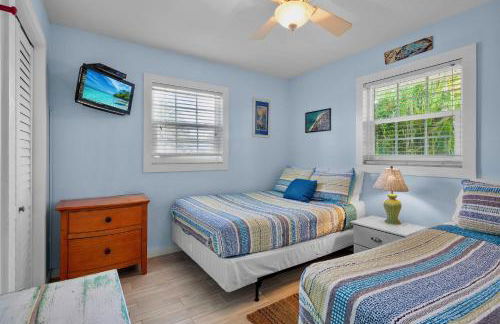
Canal-front Gem w/ Pool & Hot Tub in Anna Maria
Anna Maria
- 119 M2
- 2 quartos
- 6 pessoas
- Aquecimento
- Terraço
- Piscina
- Estacionamento
8 avaliações


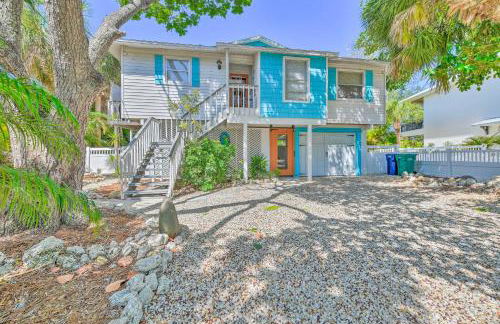
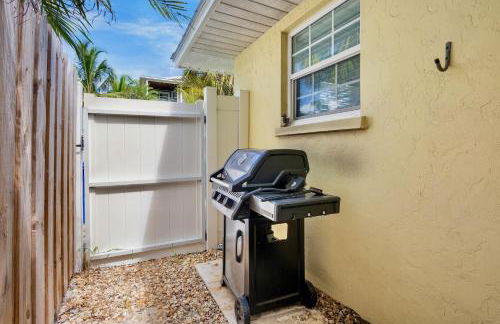
AMI 1 Block 2 Beach, Big Heated Saltwater Pool
Anna Maria
- 177 M2
- 4 quartos
- 8 pessoas
- Ar-condicionado
- Aquecimento
- Terraço
- Piscina
- Estacionamento
- Churrasco
2 avaliações


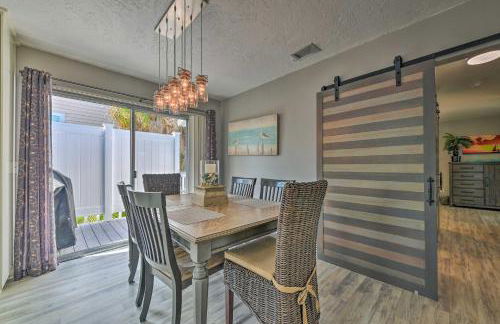
Slo MOcean
Anna Maria
- 50 M2
- 2 quartos
- 6 pessoas
- Ar-condicionado
- Aquecimento
- Estacionamento
- Jardim
- Churrasco
9 avaliações


A Place in Paradise Unit B
Anna Maria
- 77 M2
- 2 quartos
- 4 pessoas
- Ar-condicionado
- Aquecimento
- Estacionamento
6 avaliações


Bay Breezes at Bayside Bungalow
Anna Maria
- 65 M2
- 2 quartos
- 6 pessoas
- Ar-condicionado
- Aquecimento
- Piscina
- Estacionamento
- Churrasco
14 avaliações


1 Min Walk to Beach and Private Heated Pool and Spa
Anna Maria
- 125 M2
- 4 quartos
- 12 pessoas
- Ar-condicionado
- Aquecimento
- Terraço
- Piscina
2 avaliações
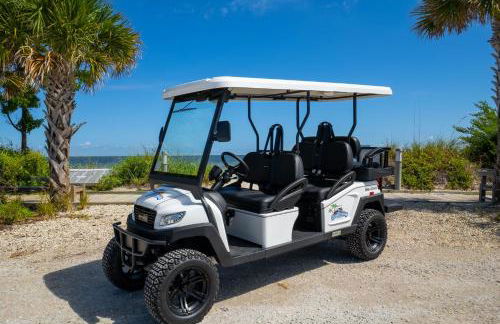


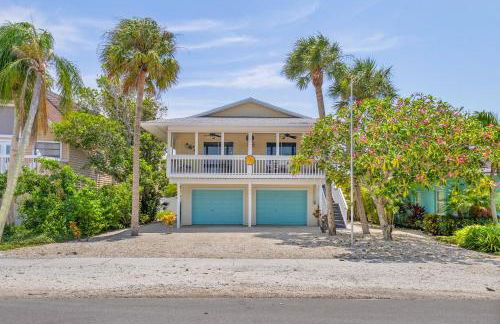
Golf Cart included! Short walk to the Beach on the Peaceful North End
Anna Maria
- 151 M2
- 4 quartos
- 8 pessoas
- Ar-condicionado
- Aquecimento
- Terraço
- Piscina
3 avaliações


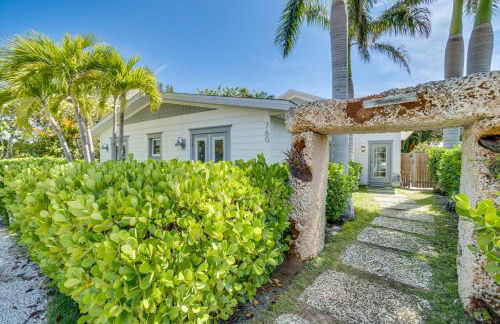
Anna Maria Guest House 317
Anna Maria
- 186 M2
- 3 quartos
- 6 pessoas
- Ar-condicionado
- Aquecimento
- Piscina
- Estacionamento
2 avaliações


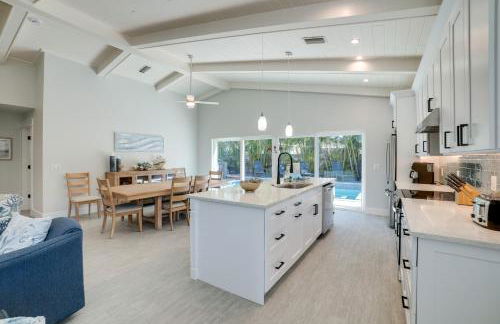
Pink Palm Bungalow
Anna Maria
- 137 M2
- 3 quartos
- 6 pessoas
- Ar-condicionado
- Aquecimento
- Piscina
- Estacionamento
- Jardim
- Churrasco
2 avaliações


Pelican Villa
Anna Maria
- 212 M2
- 4 quartos
- 8 pessoas
- Ar-condicionado
- Aquecimento
- Piscina
- Estacionamento
- Jardim
- Churrasco
2 avaliações


Sand And Sea 109 A
Anna Maria
- 71 M2
- 2 quartos
- 6 pessoas
- Ar-condicionado
- Aquecimento
- Piscina
- Estacionamento
2 avaliações


Anna Maria Guest House 212
Anna Maria
- 145 M2
- 3 quartos
- 8 pessoas
- Ar-condicionado
- Aquecimento
- Piscina
- Estacionamento
- Jardim
- Churrasco
3 avaliações


AM I Dreaming
Anna Maria
- 210 M2
- 3 quartos
- 8 pessoas
- Ar-condicionado
- Aquecimento
- Piscina
- Estacionamento
- Jardim
- Churrasco
2 avaliações


Angelfish AMV
Anna Maria
- 146 M2
- 3 quartos
- 8 pessoas
- Ar-condicionado
- Aquecimento
- Piscina
- Estacionamento
- Jardim
- Churrasco
2 avaliações


Cabana Breeze
Anna Maria
- 116 M2
- 4 quartos
- 8 pessoas
- Ar-condicionado
- Aquecimento
- Piscina
- Estacionamento
- Churrasco
2 avaliações


