
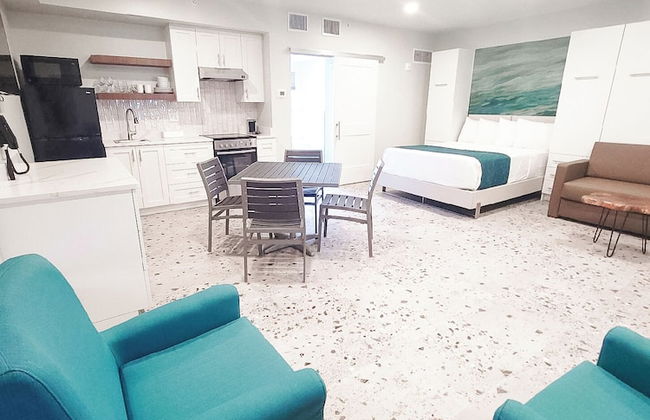
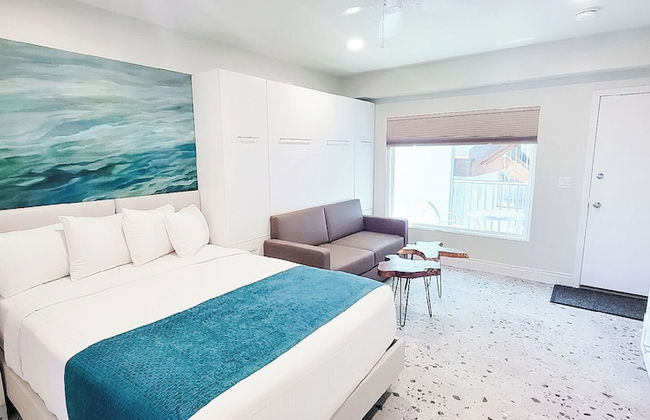
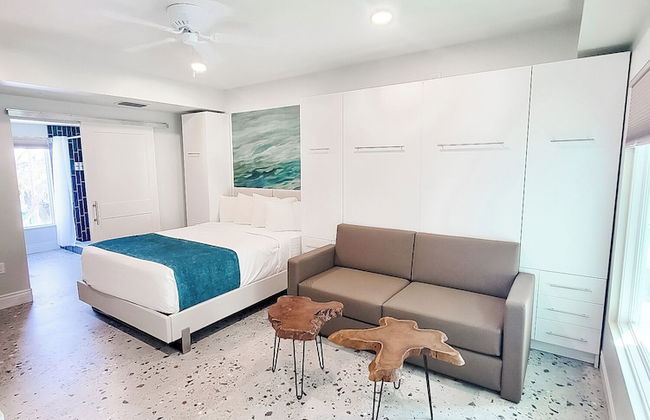
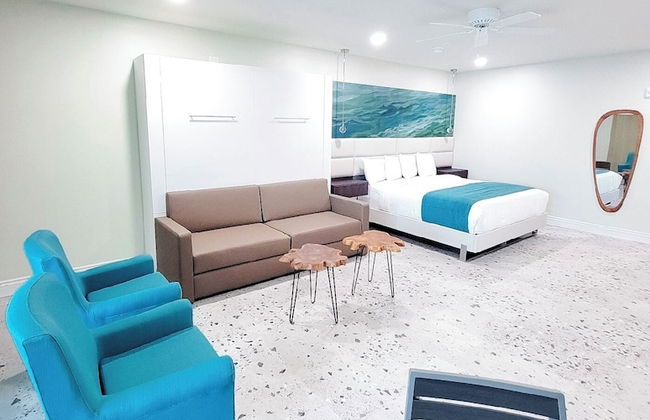
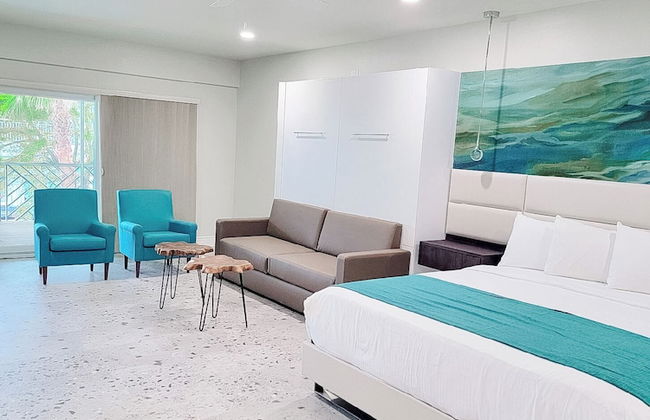
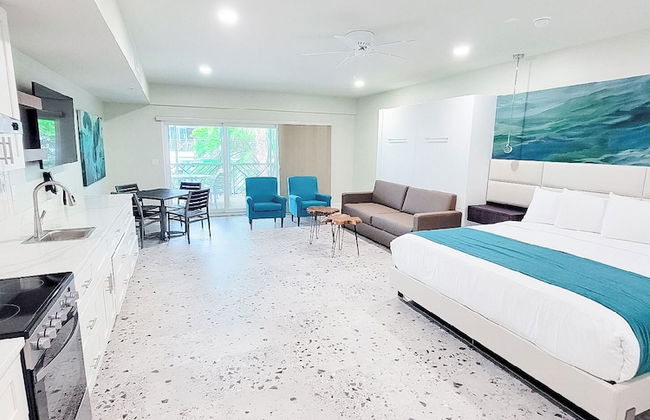
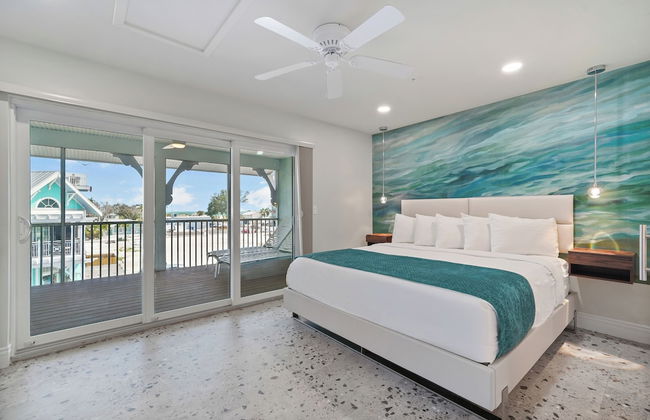
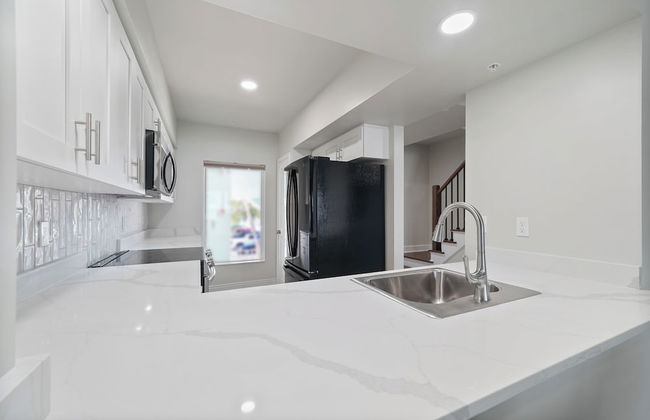
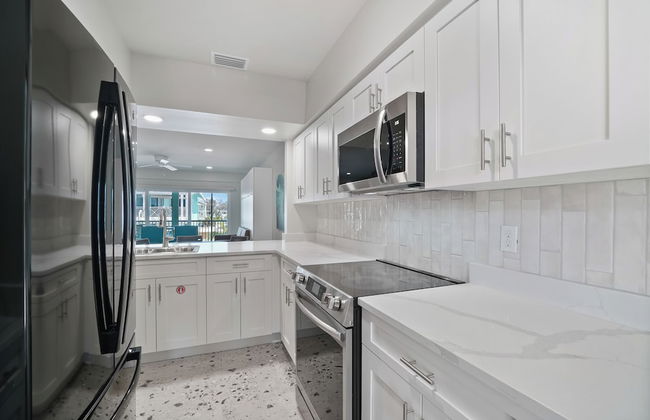
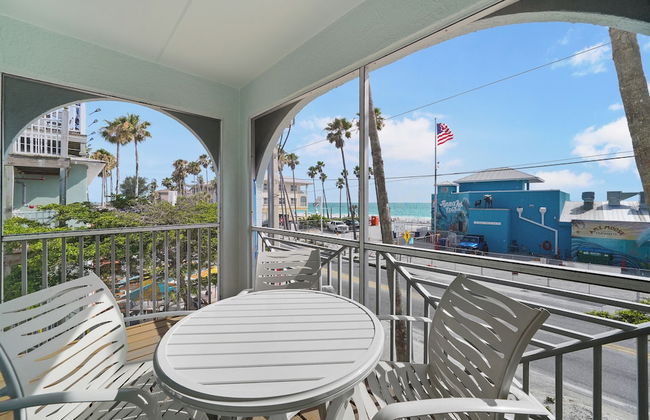
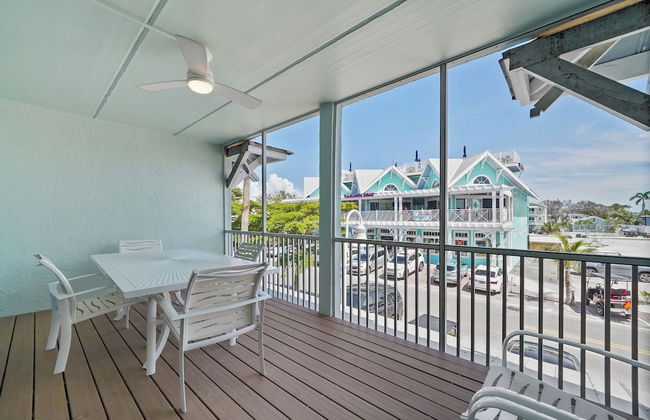
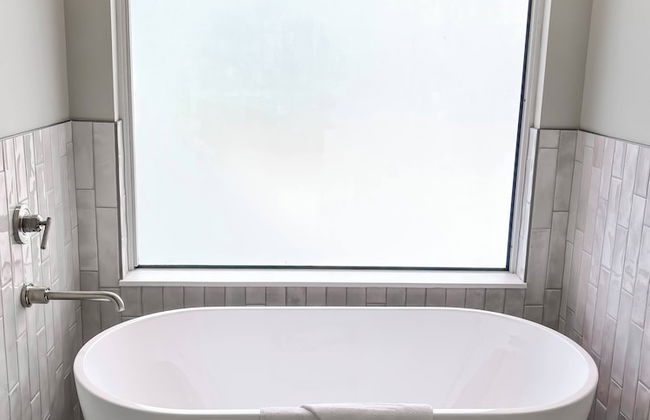
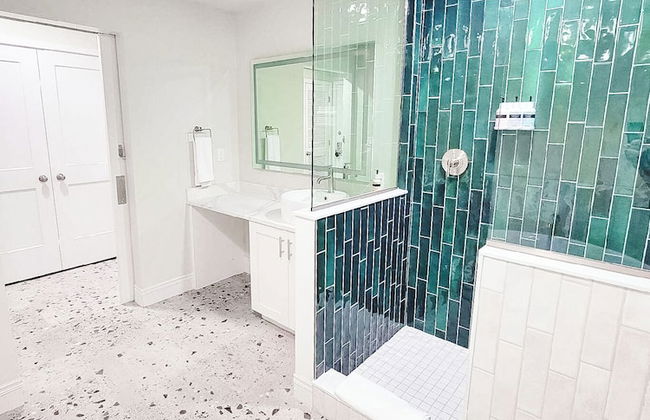
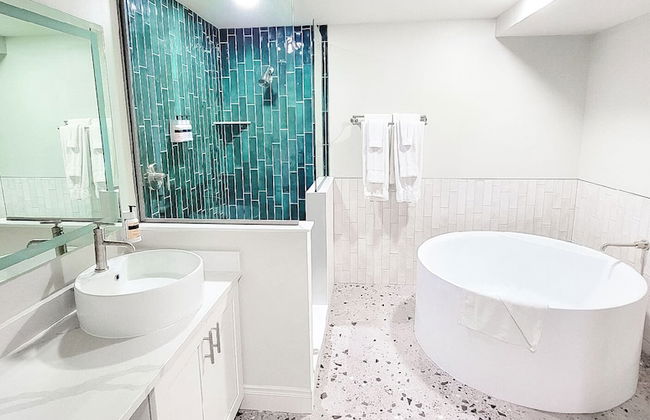
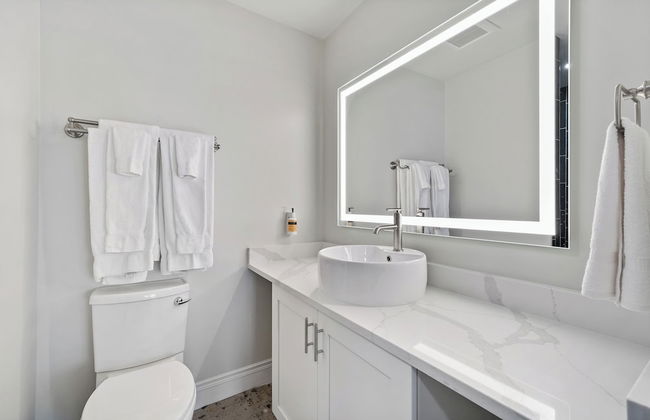
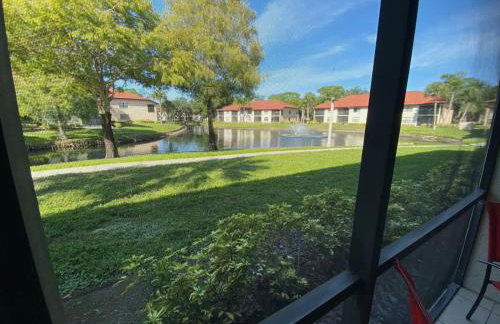
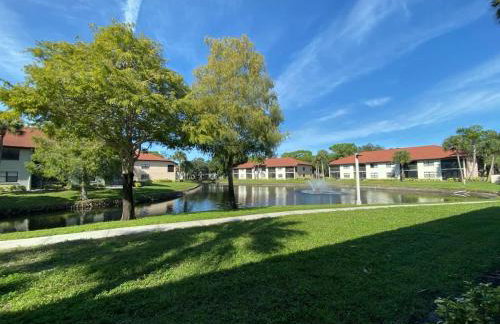
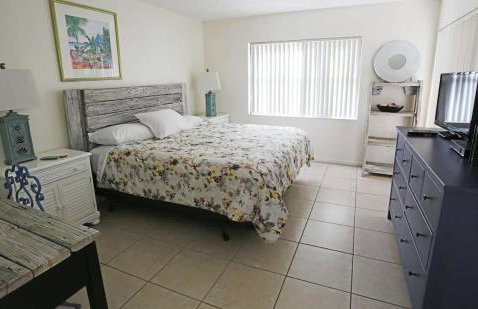
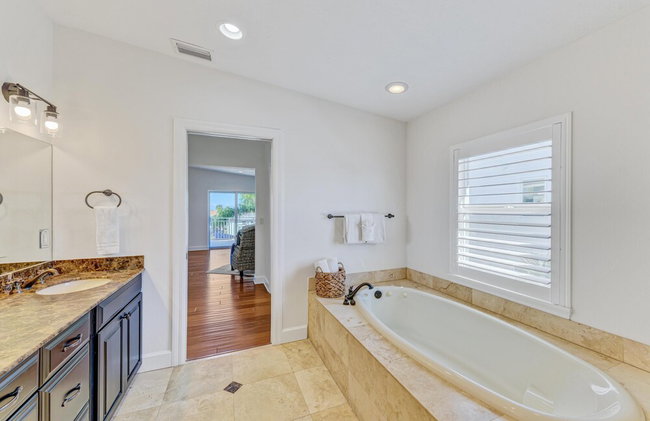
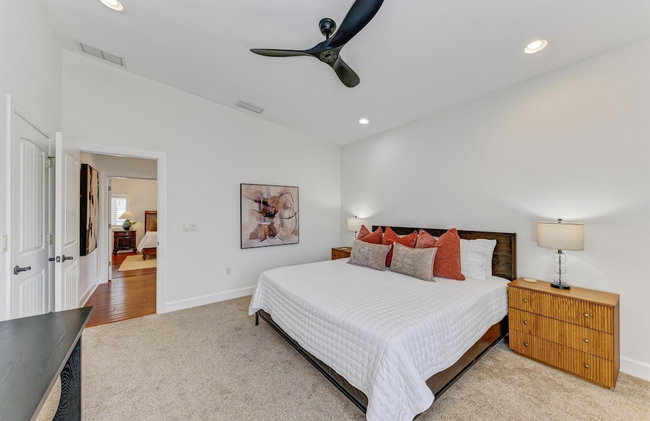
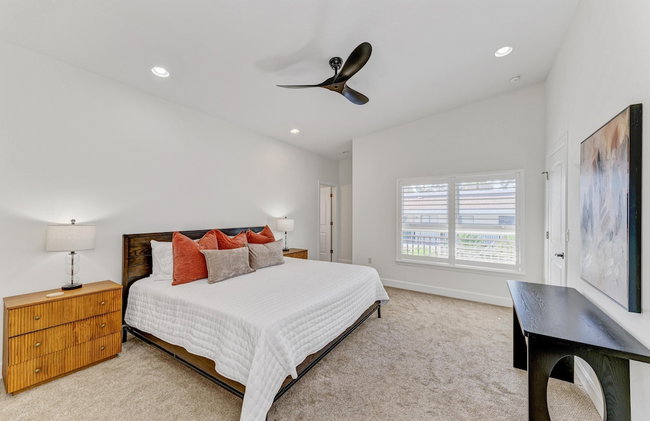
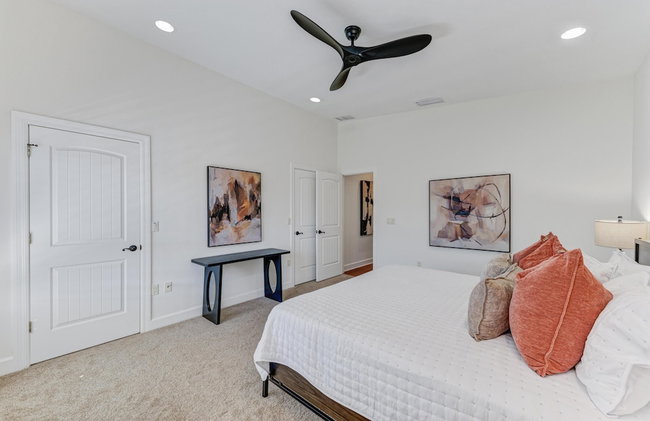
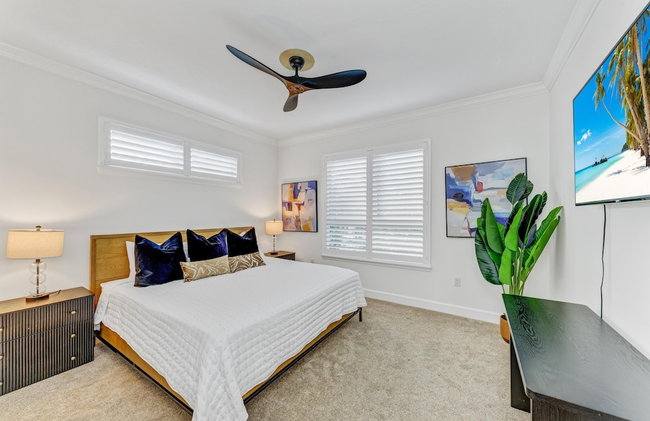
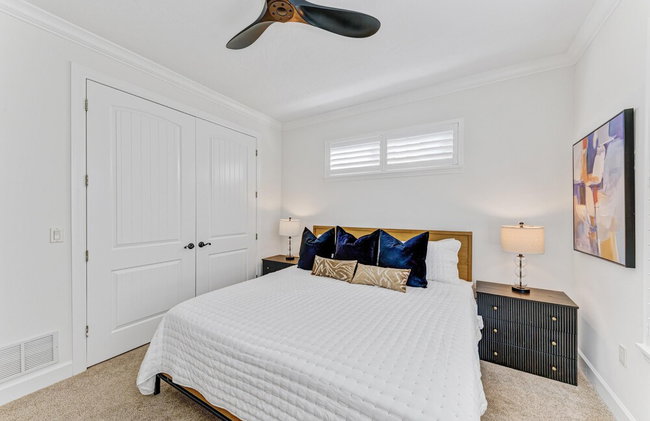
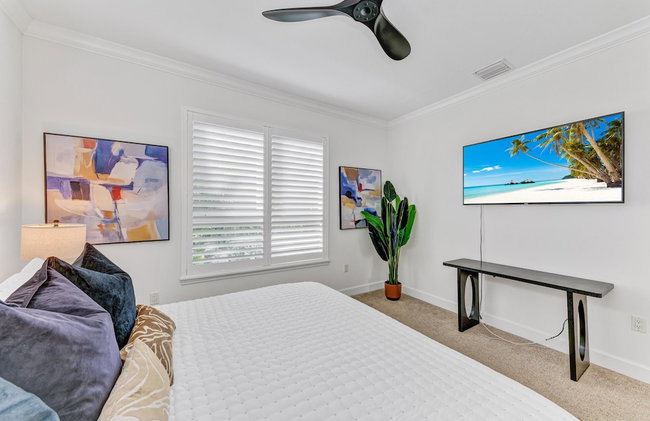
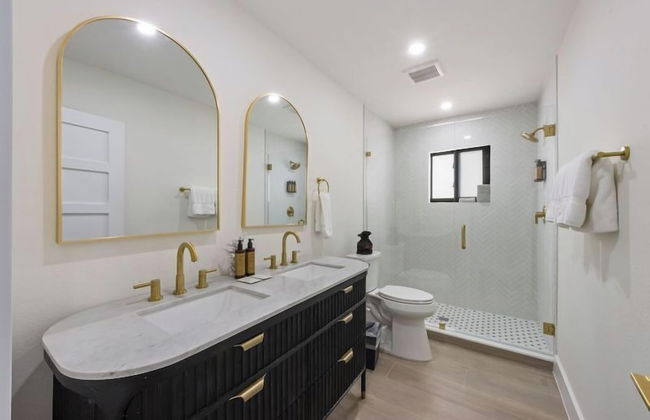
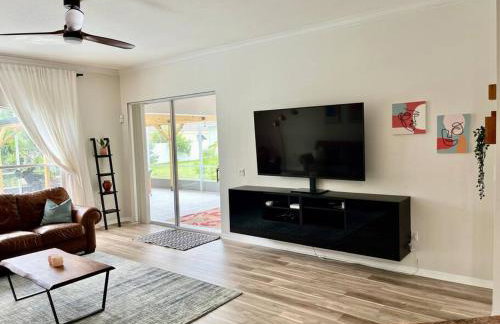
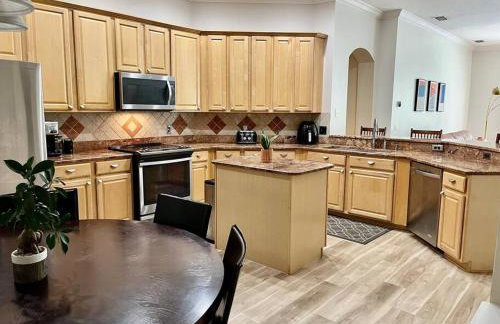
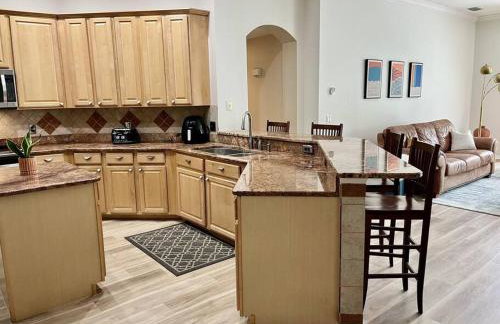
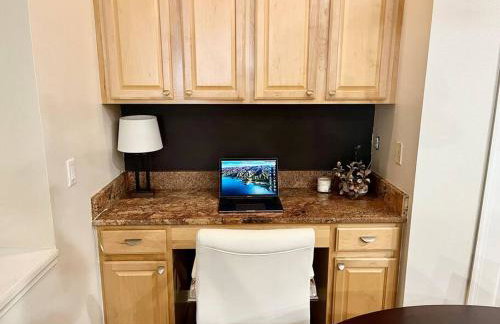
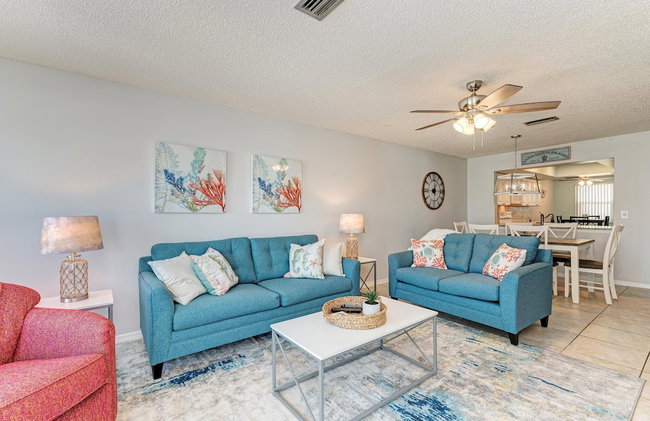
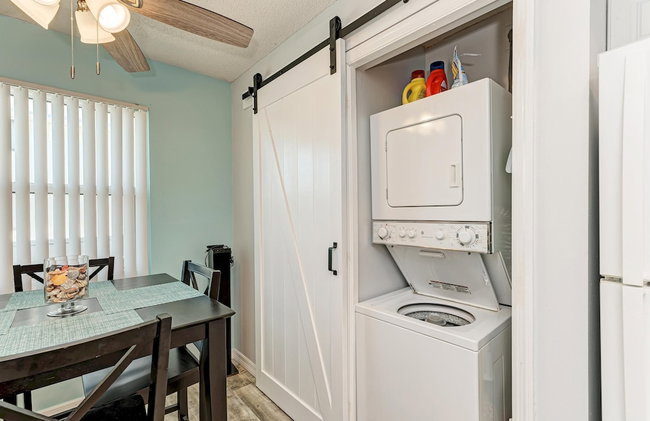
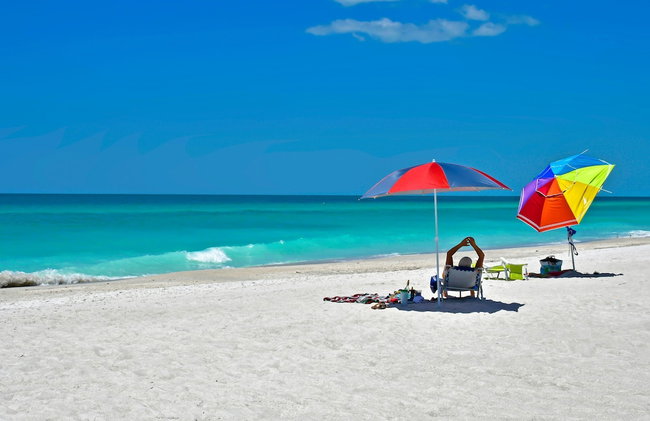
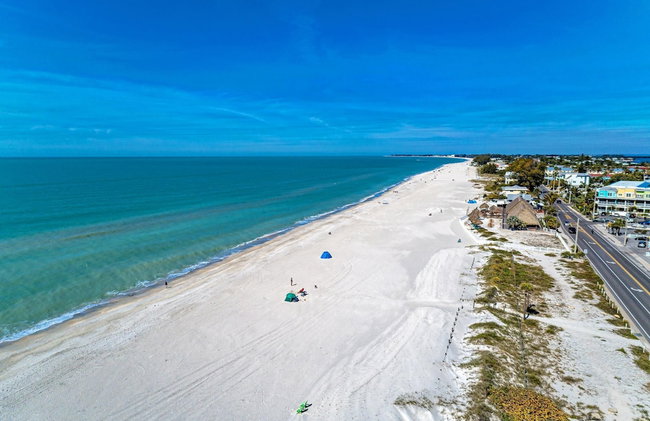
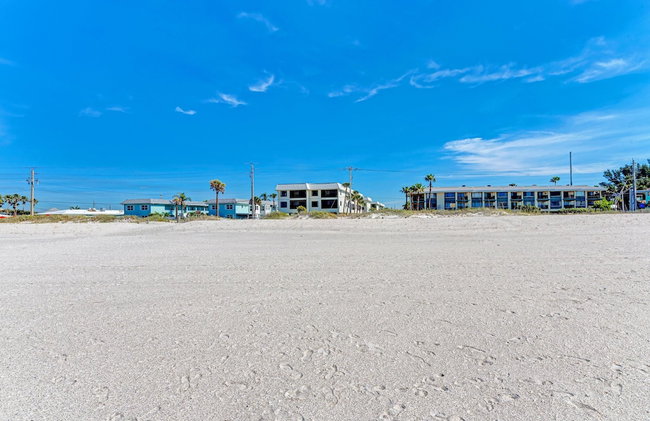
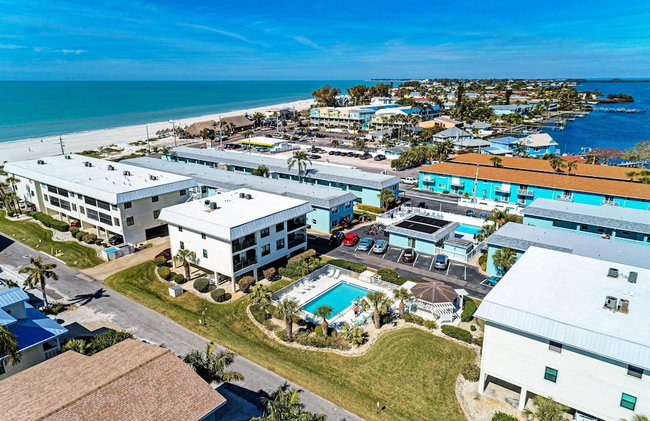
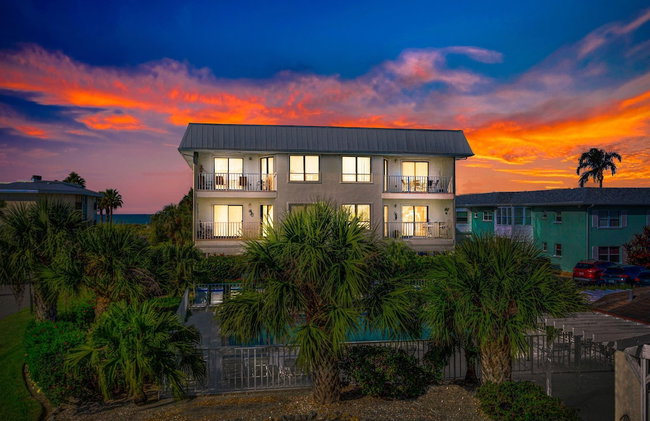
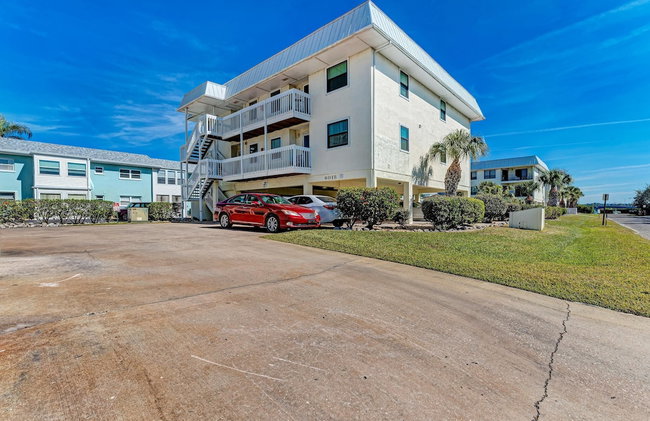
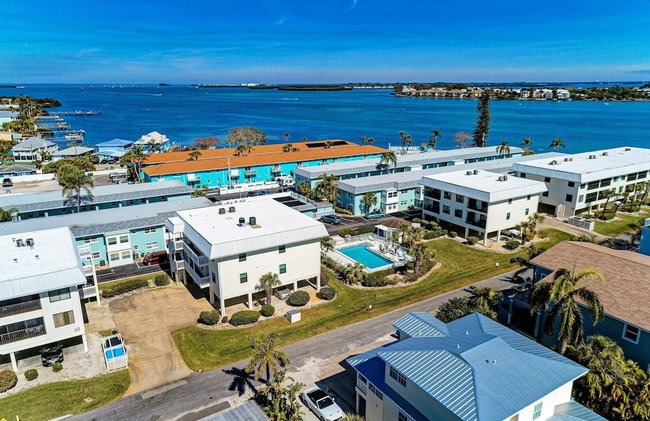
1937 Apartamentos em Manatee


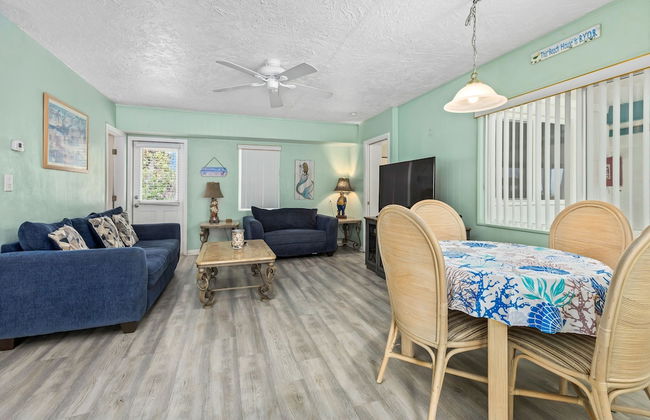


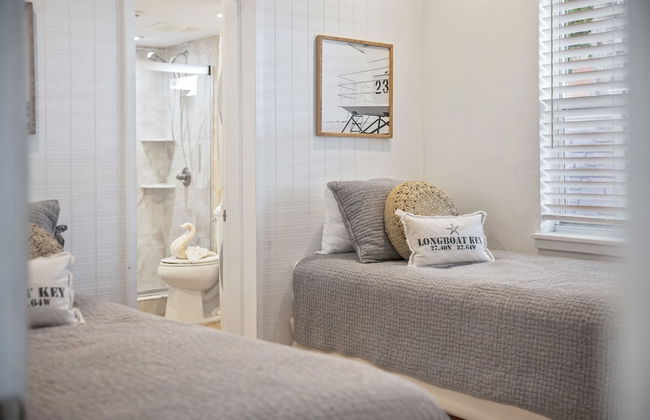


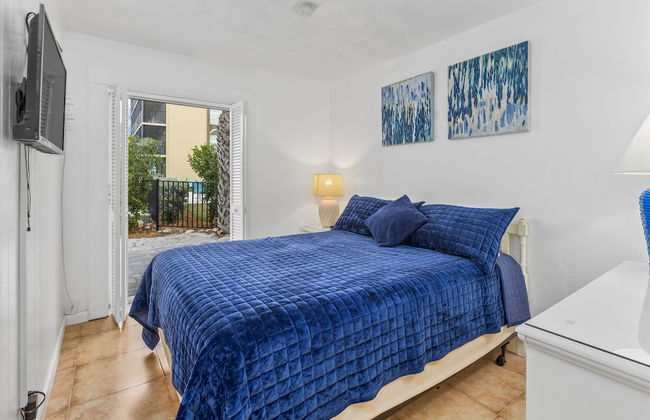


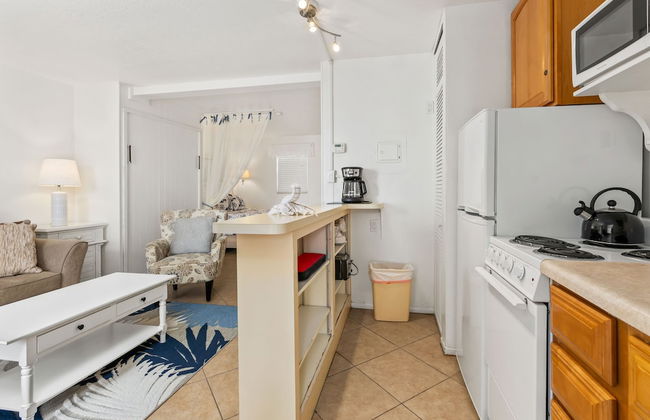


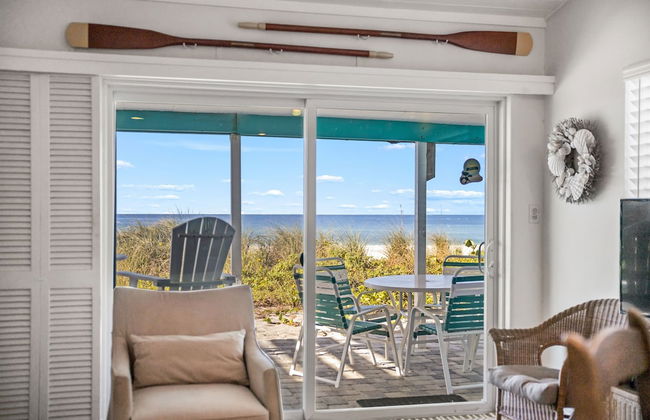

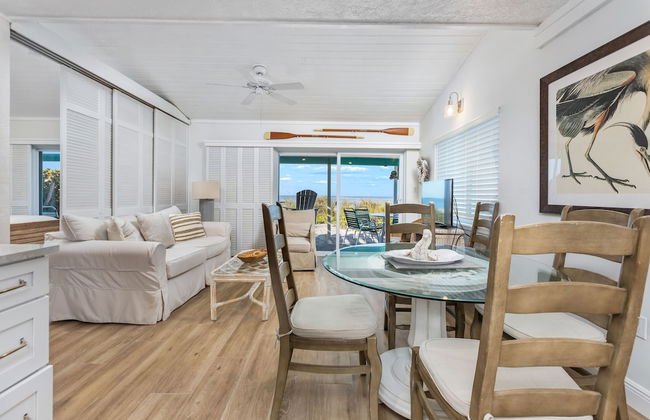

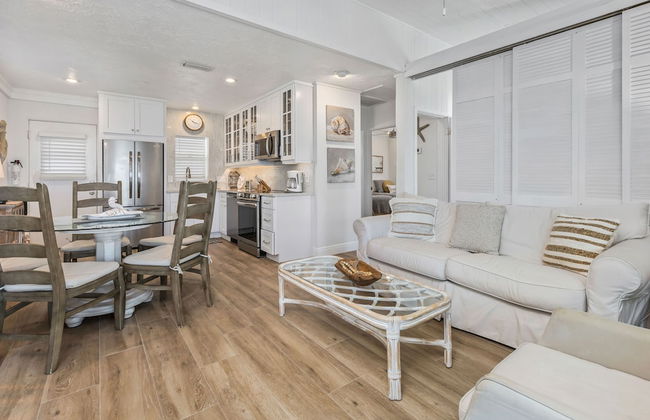

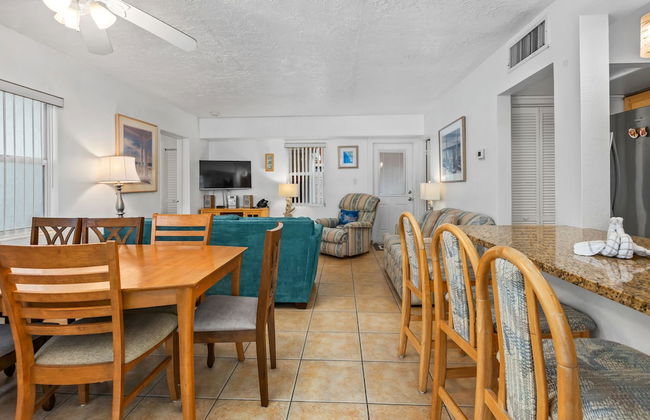


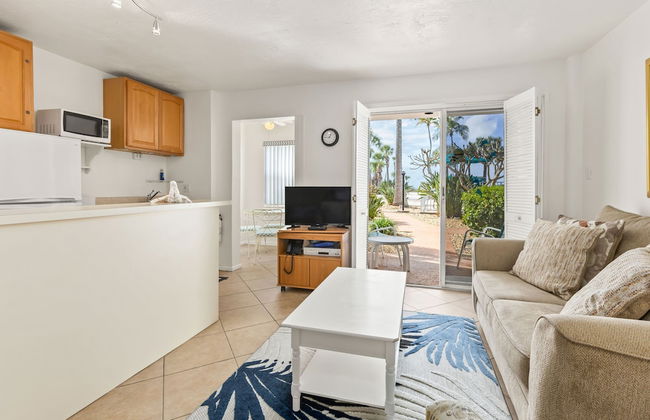


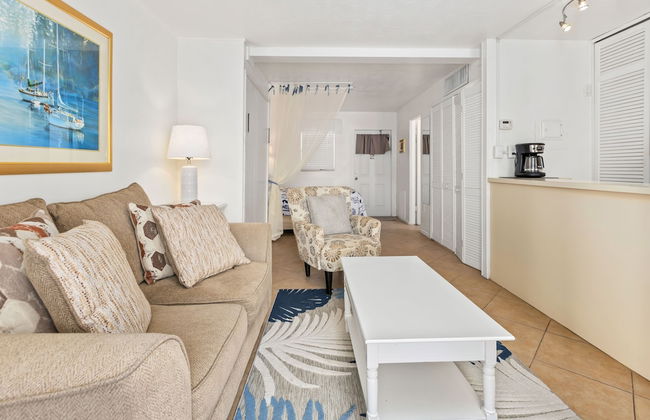


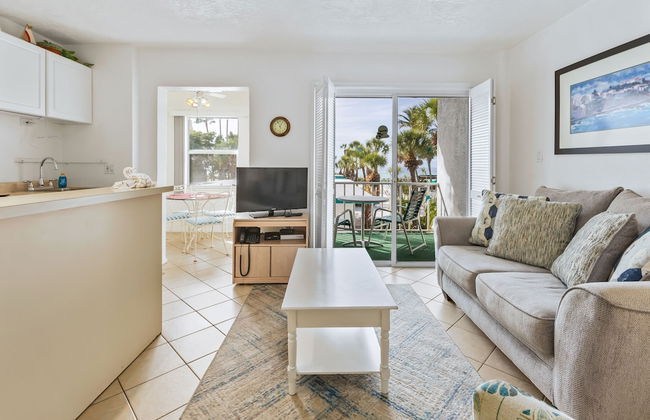

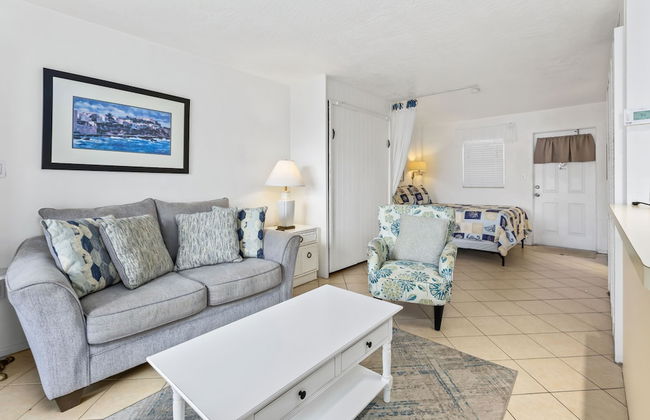


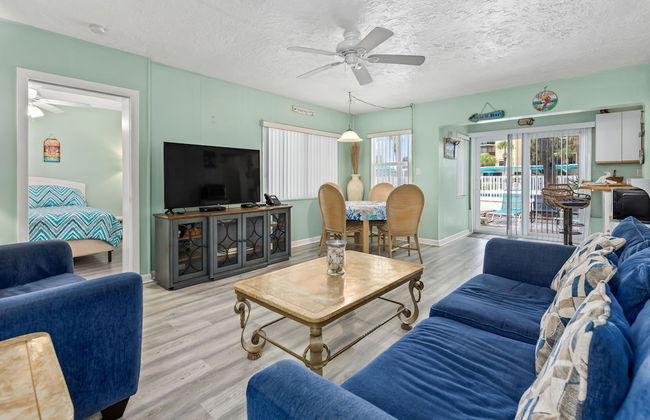


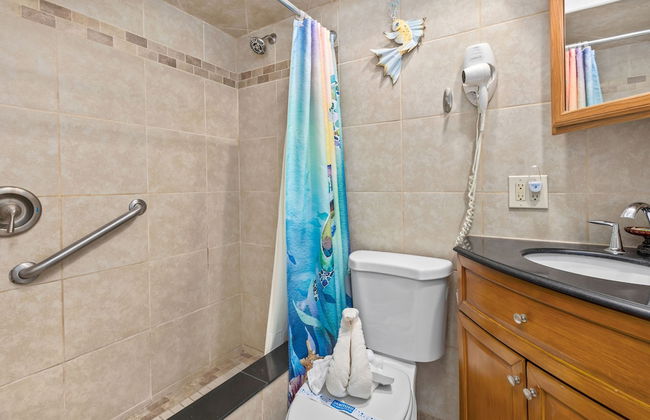


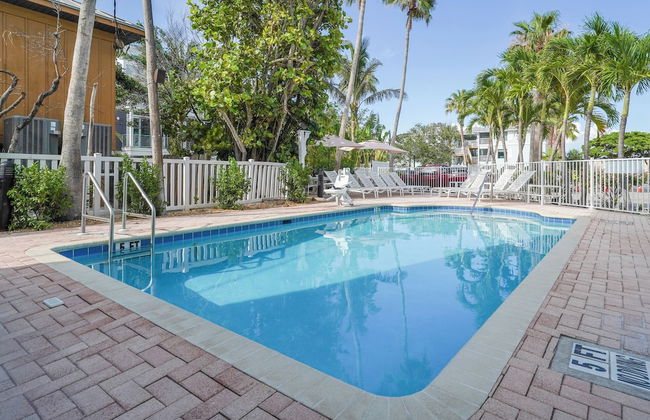
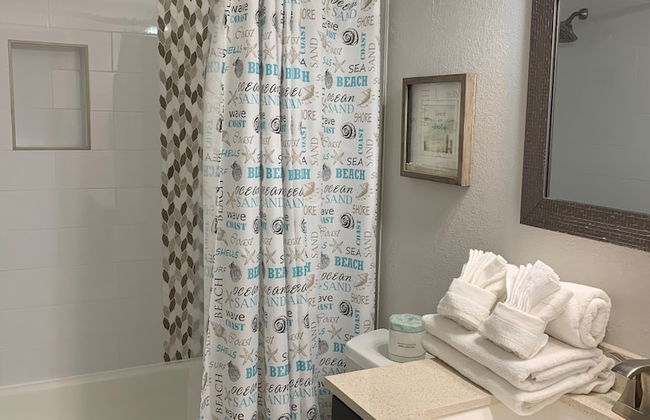
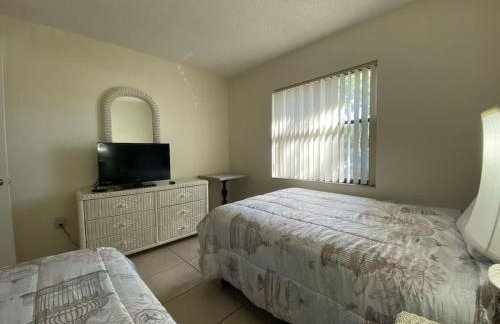
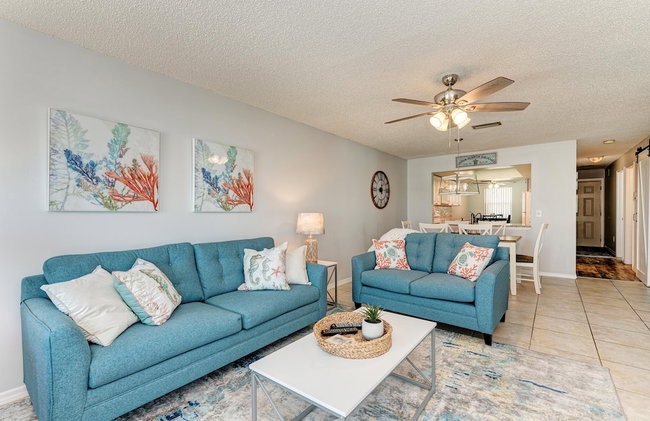
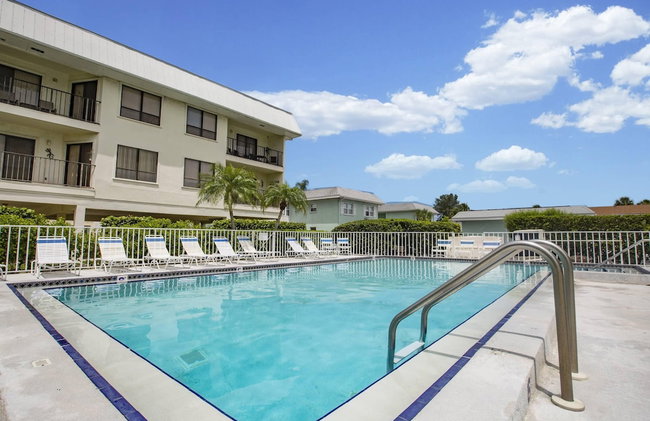
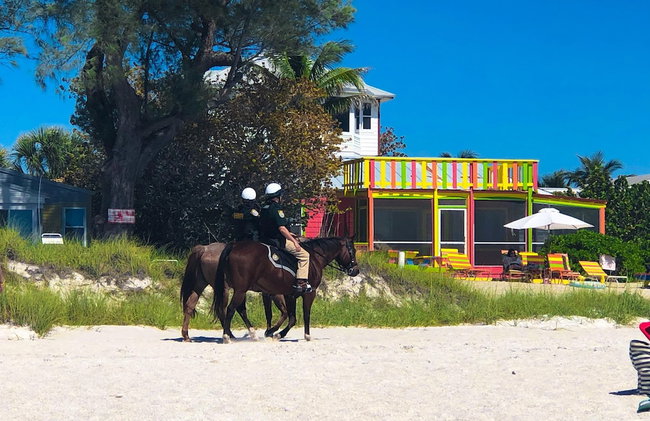
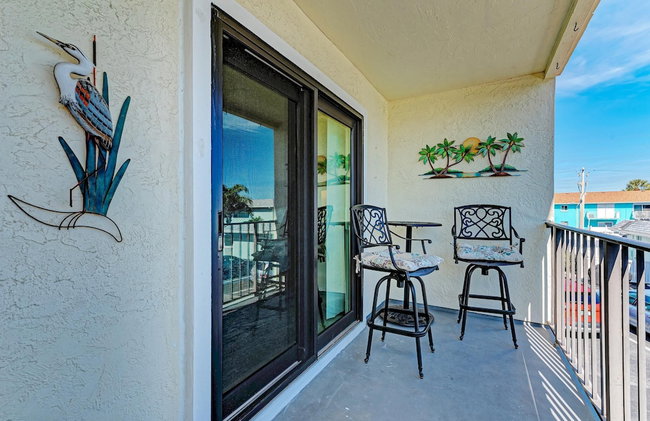
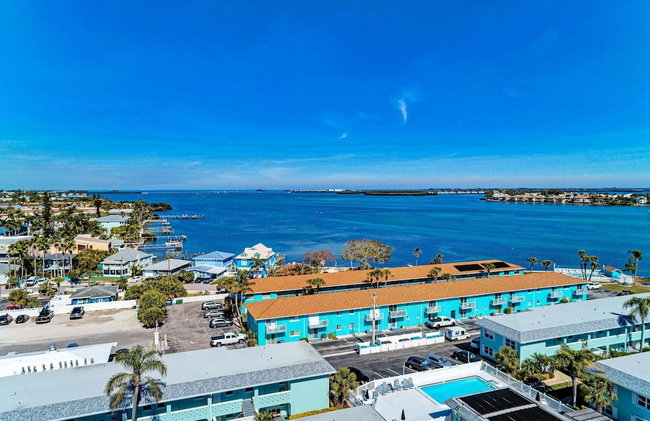
Sea Club I Beach Resort
Longboat Key - 2.2 km do centro
- 54 M2
- 2 quartos
- 4 pessoas
- Ar-condicionado
- Aquecimento
- Terraço
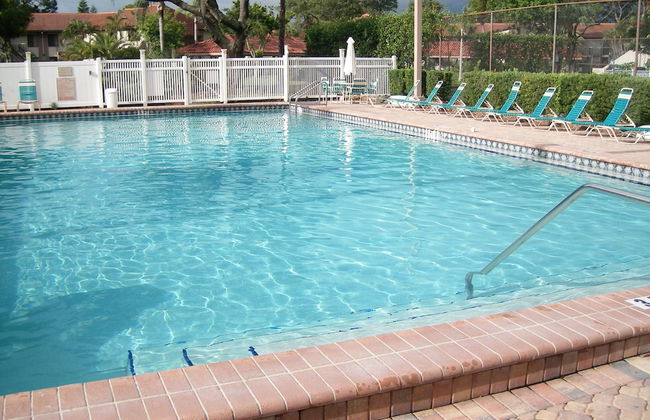
- Piscina
- Estacionamento
- Varanda
- Jardim
- Tv
- Churrasco
- Toalhas
- Lençóis
350 avaliações


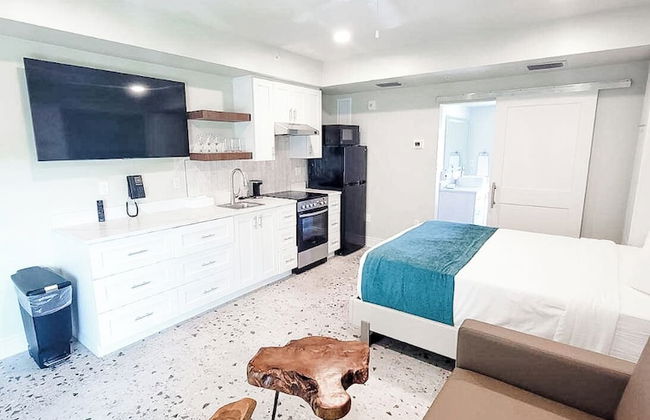


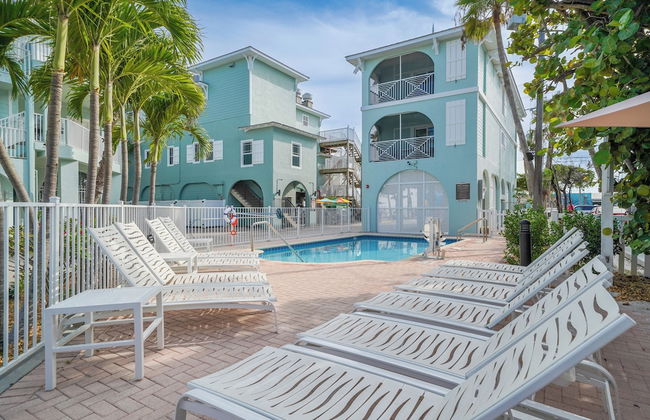
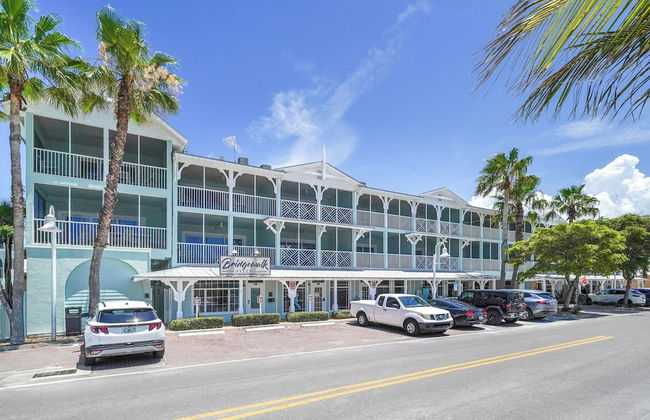
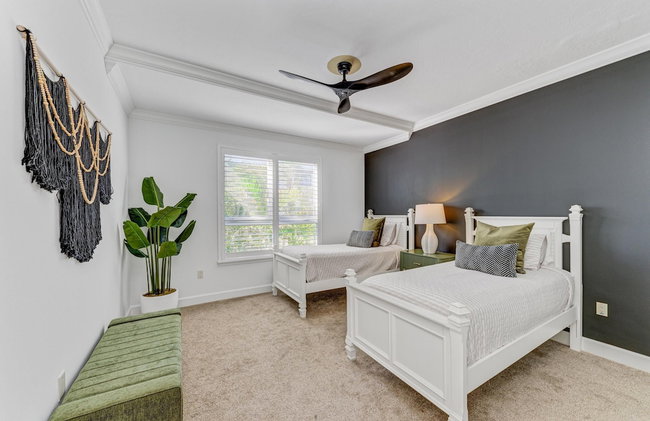
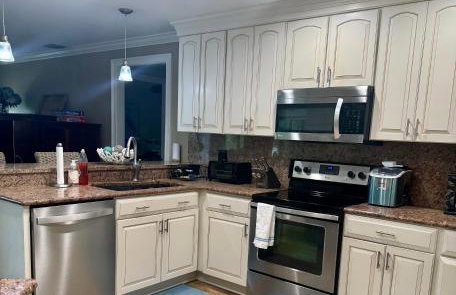
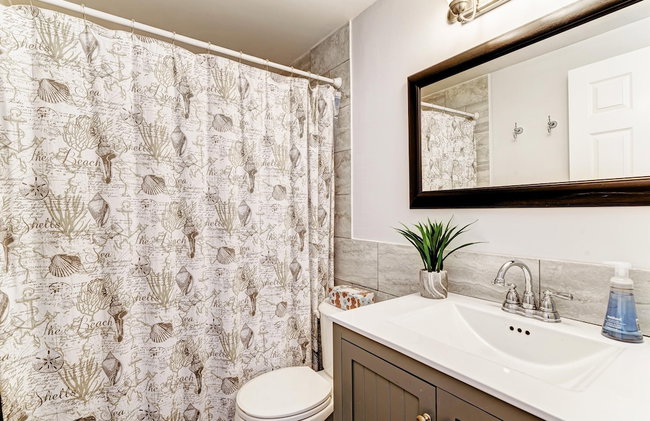
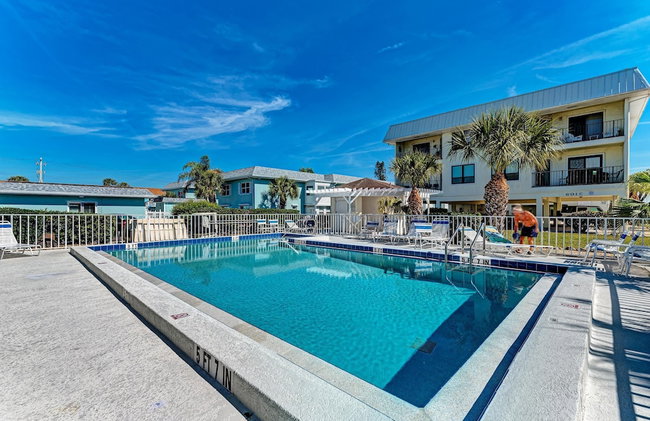
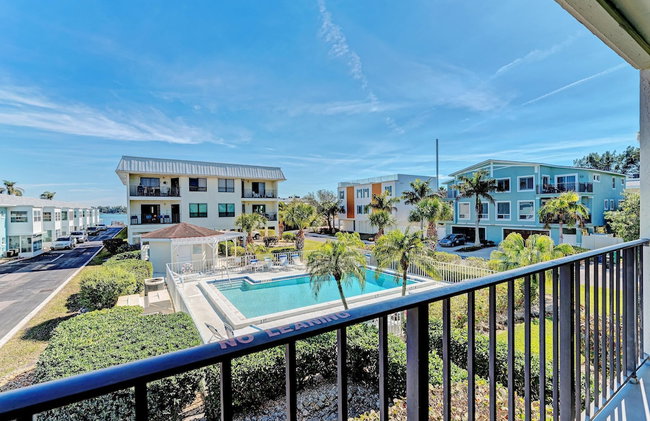
Bridgewalk Resort
Bradenton Beach
- 149 M2
- 6 pessoas
- Ar-condicionado
- Aquecimento
- Piscina
- Estacionamento
- Tv
- Máquina de lavar roupa
- Chaminé
- Toalhas
- Lençóis
812 avaliações


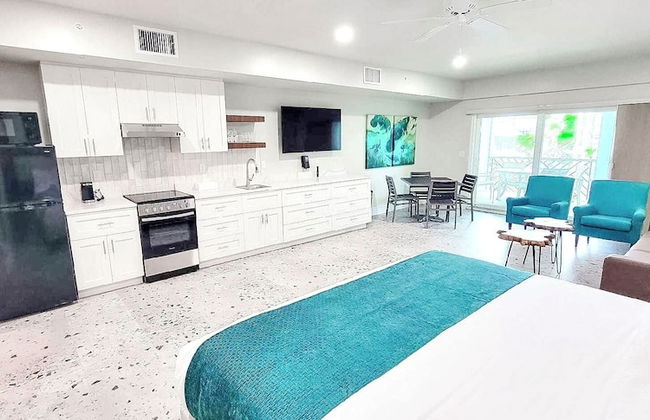
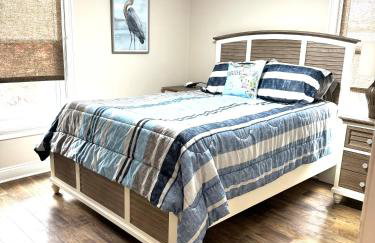
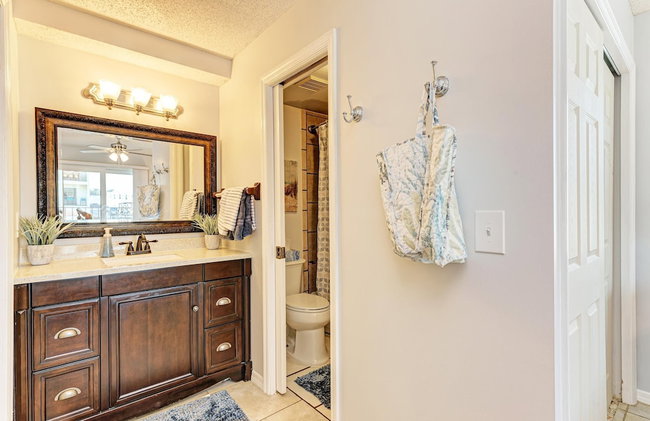
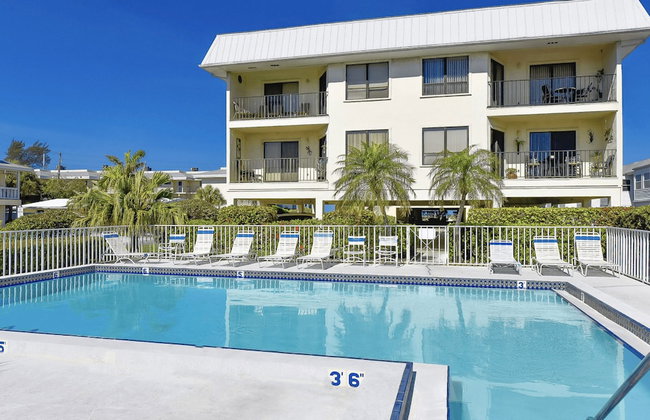
The Beach Club at Anna Maria by RVA
Bradenton Beach
- 80 M2
- 8 pessoas
- Ar-condicionado
- Aquecimento
- Terraço
- Piscina
- Estacionamento
- Tv
- Máquina de lavar roupa
- Toalhas
488 avaliações


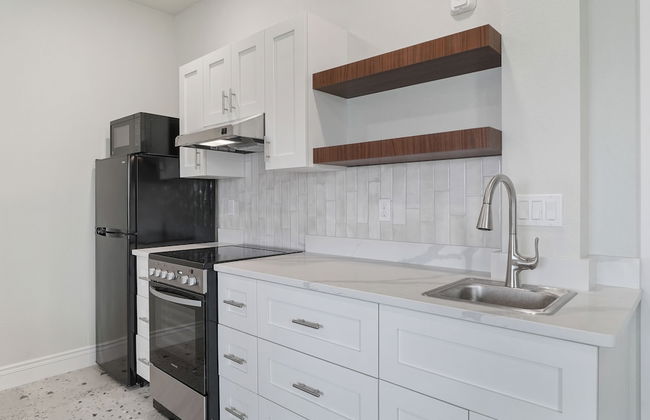
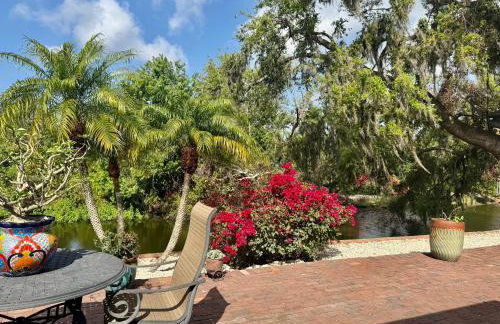
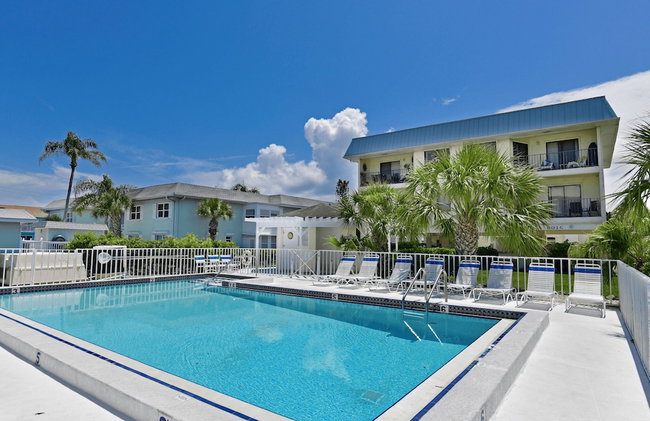
Pelican Post at Anna Maria Island Inn
Bradenton Beach
- 6 pessoas
- Ar-condicionado
- Aquecimento
- Piscina
- Estacionamento
- Jardim
- Tv
- Toalhas
- Lençóis
436 avaliações
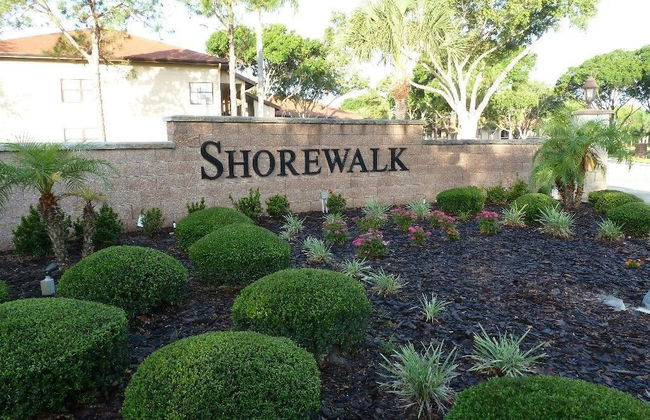
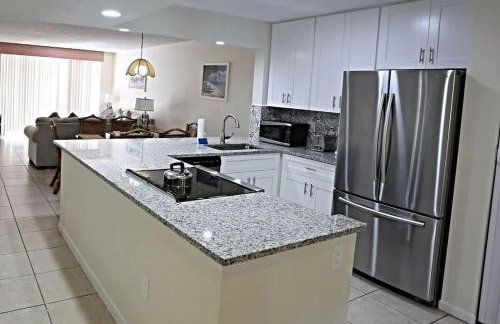


4330 Shorewalk lakeview condo close to IMG and Beach
Bradenton - 4.4 km do centro
- 116 M2
- 5 pessoas
- Ar-condicionado
- Aquecimento
- Terraço
- Piscina
- Estacionamento
- Jardim
- Tv
- Máquina de lavar roupa
- Churrasco
- Toalhas
- Lençóis
737 avaliações


Tradewinds Beach Resort
Bradenton Beach
- 6 pessoas
- Ar-condicionado
- Piscina
- Estacionamento
- Tv
- Churrasco
- Toalhas
- Lençóis
399 avaliações


Bradenton Beach Club Bliss-2 Bedroom-2 Bathroom Condo-2 Pools-hottub-private Beach Access
Bradenton Beach
- 118 M2
- 6 pessoas
- Ar-condicionado
- Terraço
- Piscina
- Estacionamento
- Elevador
- Varanda
- Jardim
- Tv
- Máquina de lavar roupa
2 avaliações


Haley's at The Anna Maria Island Inn
Bradenton Beach
- 20 M2
- 4 pessoas
- Ar-condicionado
- Aquecimento
- Terraço
- Piscina
- Estacionamento
- Jardim
- Tv
- Toalhas
- Lençóis
468 avaliações


Anna Maria Island Beach Palace
Bradenton Beach
- 8 pessoas
- Ar-condicionado
- Aquecimento
- Terraço
- Piscina
- Estacionamento
- Varanda
- Jardim
- Tv
- Máquina de lavar roupa
- Churrasco
- Toalhas
- Lençóis
2 avaliações


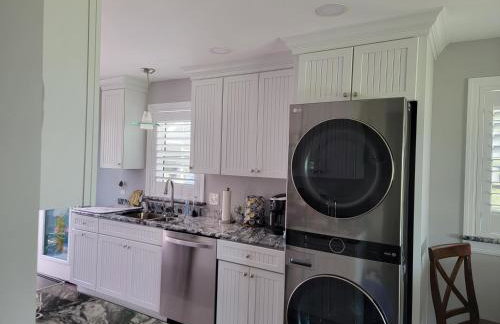
Remodeled 4BR Pool Home/IMG Golf View/Near Beaches
Bradenton - 6.8 km do centro
- 325 M2
- 4 quartos
- 16 pessoas
- Ar-condicionado
- Piscina
- Estacionamento
- Jardim
- Churrasco
11 avaliações


Seabreeze at Anna Maria Island Inn
Bradenton Beach
- 81 M2
- 8 pessoas
- Ar-condicionado
- Aquecimento
- Terraço
- Estacionamento
- Tv
- Toalhas
- Lençóis
114 avaliações


MyCataleya Beautiful Florida Condo (Bradenton)
Bradenton - 4.6 km do centro
- 100 M2
- 2 quartos
- 4 pessoas
- Ar-condicionado
- Aquecimento
- Terraço
- Piscina
- Estacionamento
- Jardim
- Churrasco
41 avaliações


Sarasota Charm
Sarasota - 6.7 km do centro
- 161 M2
- 3 quartos
- 6 pessoas
- Ar-condicionado
- Terraço
- Estacionamento
- Jardim
41 avaliações


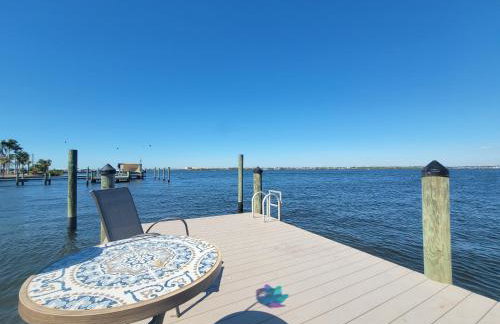
Bayview Pointe - Luxury Villa with Saltwater Heated Pool! Near Anna Maria isle!
Cortez - Cortez
- 156 M2
- 3 quartos
- 10 pessoas
- Ar-condicionado
- Aquecimento
- Piscina
- Estacionamento
- Elevador
- Jardim
20 avaliações


Anna Maria Island Bridge Port Beach Resort
Bradenton Beach
- 110 M2
- 6 pessoas
- Ar-condicionado
- Terraço
- Piscina
- Estacionamento
- Varanda
- Tv
- Máquina de lavar roupa
- Churrasco
- Toalhas
2 avaliações
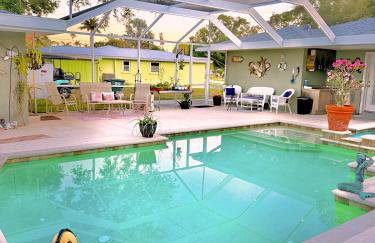


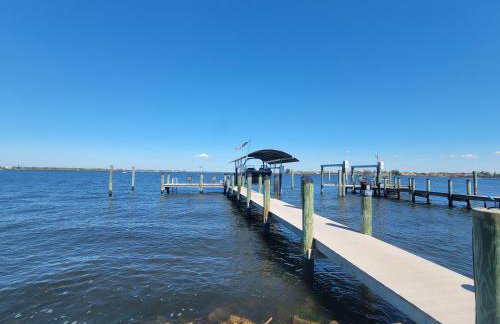

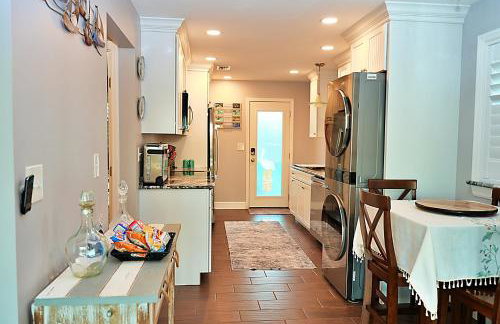
Manatee River Bungalow
Bradenton - 4.1 km do centro
- 600 M2
- 1 quarto
- 4 pessoas
- Ar-condicionado
- Terraço
- Piscina
- Estacionamento
11 avaliações


Gulf and beach view apartment 403
Longboat Key - 2.3 km do centro
- 74 M2
- 1 quarto
- 5 pessoas
- Ar-condicionado
- Aquecimento
- Terraço
- Piscina
- Estacionamento
- Elevador
- Jardim
- Churrasco
12 avaliações


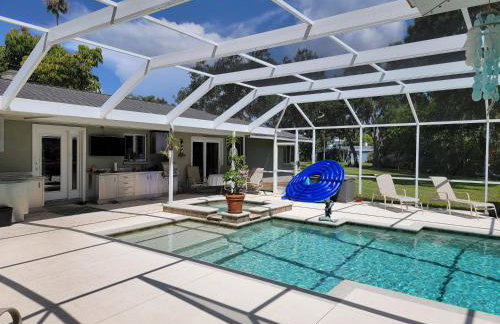
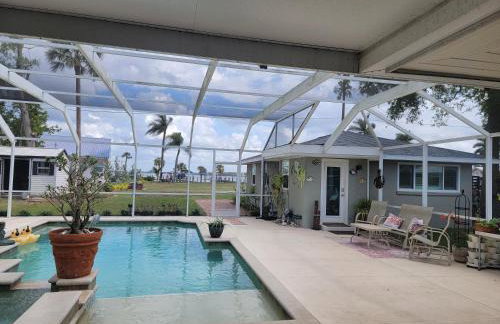
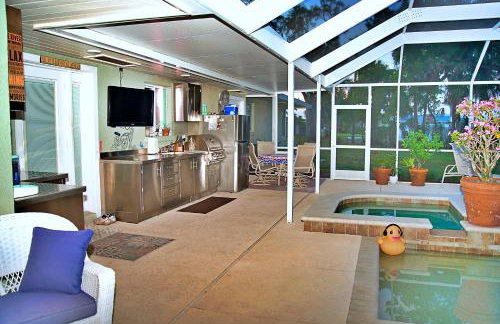
Spacious 5BR Private Home, Heated Pool & Salt Water Spa, Minutes from Beaches
Bradenton - 8.1 km do centro
- 251 M2
- 4 quartos
- 8 pessoas
- Ar-condicionado
- Terraço
- Piscina
- Estacionamento
- Jardim
- Churrasco
12 avaliações


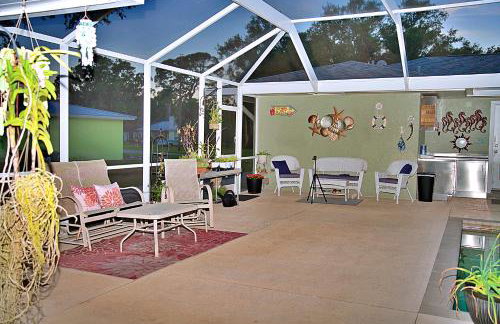
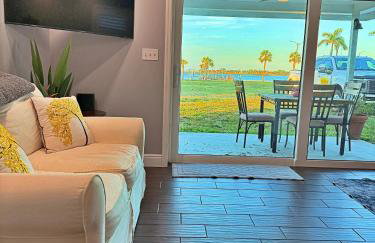
Near Beaches & IMG Academy, Mins to Downtown Oasis Villa Retreat
Bradenton - 3.5 km do centro
- 130 M2
- 2 quartos
- 4 pessoas
- Ar-condicionado
- Piscina
- Estacionamento
21 avaliações


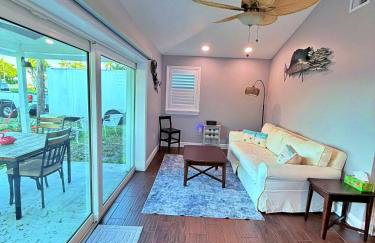
Anna Maria Island Beach Waves
Bradenton Beach
- 111 M2
- 6 pessoas
- Ar-condicionado
- Terraço
- Piscina
- Estacionamento
- Varanda
- Tv
- Máquina de lavar roupa
- Churrasco
- Toalhas
- Lençóis
6 avaliações