
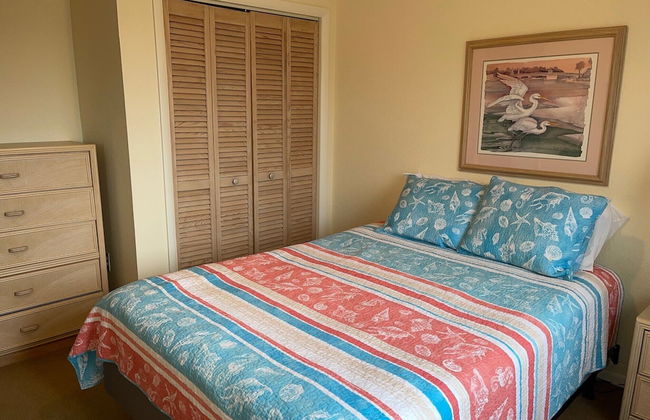
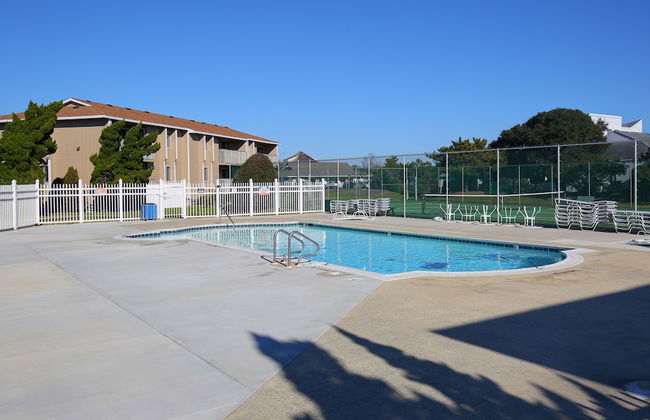
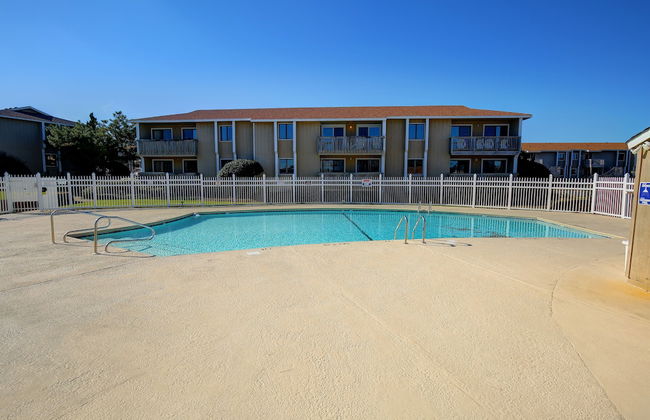
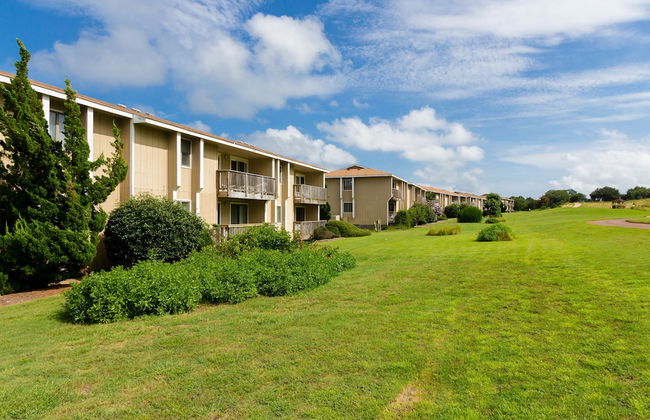
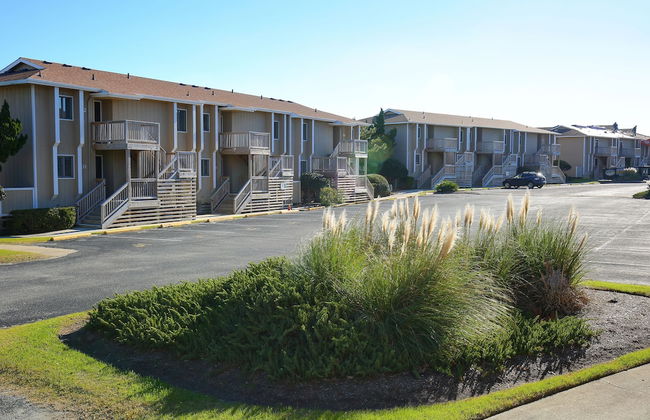
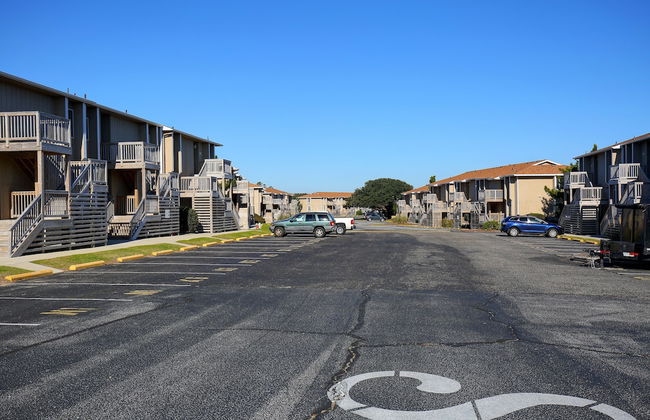
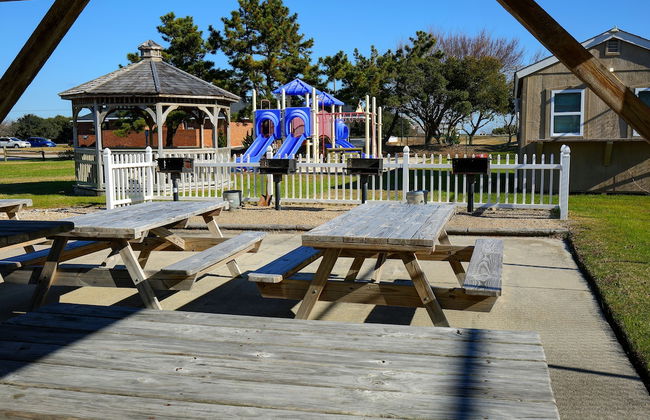
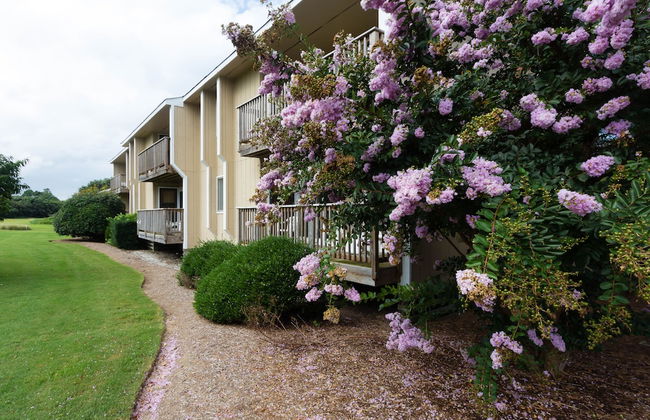
2212 Apartamentos em Dare


Salty Shenanigans
Kill Devil Hills
- 133 M2
- 2 quartos
- 6 pessoas
- Ar-condicionado
- Aquecimento
- Terraço
- Piscina
- Estacionamento
- Elevador
- Jardim
- Churrasco
18 avaliações


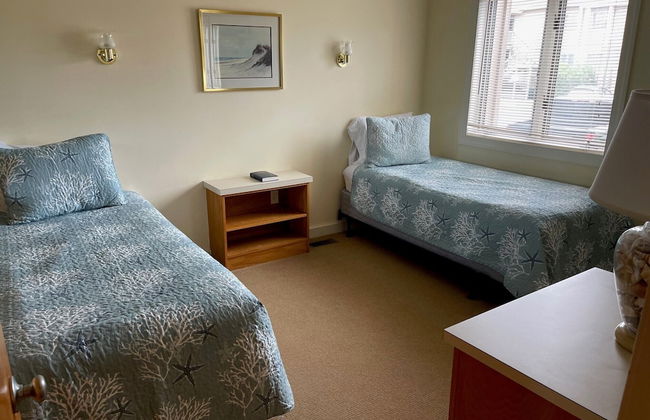
The Wright Stuff OBX
Kill Devil Hills
- 15 M2
- 4 quartos
- 9 pessoas
- Ar-condicionado
- Aquecimento
- Terraço
- Piscina
- Estacionamento
- Jardim
- Churrasco
11 avaliações


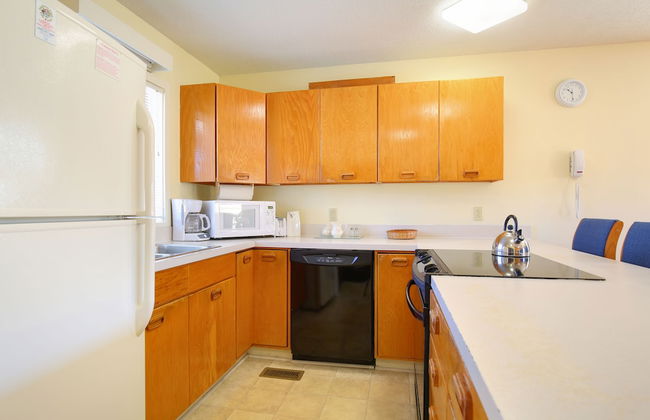
The Villas at Hatteras Landing by Kees Vacations
Hatteras
- 50 M2
- 1 quarto
- 4 pessoas
- Terraço
- Piscina
- Estacionamento
- Tv
- Toalhas
- Lençóis
189 avaliações


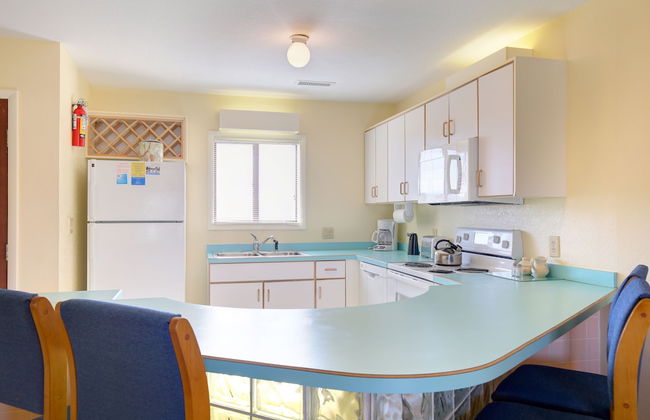


Sea Scape Beach and Golf Villas
Kitty Hawk
- 74 M2
- 2 quartos
- 6 pessoas
- Kitchenette
- Ar-condicionado
- Aquecimento
- Piscina
- Estacionamento
- Varanda
- Jardim
- Tv
- Máquina de lavar roupa
- Churrasco
- Toalhas
- Lençóis
110 avaliações


Oceanside Cottage -3BDR 2BA-Walk to Beach!
Kill Devil Hills
- 102 M2
- 3 quartos
- 9 pessoas
- Ar-condicionado
- Aquecimento
- Terraço
- Estacionamento
- Jardim
- Churrasco
12 avaliações


The Grey Goose
Kitty Hawk
- 279 M2
- 4 quartos
- 10 pessoas
- Ar-condicionado
- Aquecimento
- Piscina
- Estacionamento
- Jardim
- Churrasco
10 avaliações


Ocean Pines Resort
Kitty Hawk
- 103 M2
- 6 pessoas
- Ar-condicionado
- Aquecimento
- Piscina
- Estacionamento
- Varanda
- Jardim
- Tv
- Máquina de lavar roupa
- Chaminé
- Churrasco
- Toalhas
118 avaliações


Canal-Front Paradise with Dock in Kill Devil Hills
Kill Devil Hills
- 160 M2
- 3 quartos
- 8 pessoas
- Aquecimento
- Piscina
- Estacionamento
- Jardim
10 avaliações


The Lost Loggerhead- OBX Ocean view Beach House
Avon
- 186 M2
- 4 quartos
- 10 pessoas
- Ar-condicionado
- Aquecimento
- Terraço
- Estacionamento
- Jardim
- Churrasco
10 avaliações


Sea Cave, OBX gem, private studio, couple's nest!
Kill Devil Hills
- 28 M2
- 1 quarto
- 3 pessoas
- Ar-condicionado
- Aquecimento
- Terraço
- Estacionamento
- Jardim
31 avaliações


Amazing Ocean View-Newly Renovated Modern Oasis
Avon
- 204 M2
- 4 quartos
- 12 pessoas
- Ar-condicionado
- Aquecimento
- Terraço
- Piscina
- Estacionamento
- Jardim
- Churrasco
14 avaliações


Breeze On Inn
Kill Devil Hills
- 167 M2
- 4 quartos
- 8 pessoas
- Ar-condicionado
- Aquecimento
- Piscina
- Estacionamento
- Jardim
5 avaliações


8528 Beach Road
Nags Head - 10 km do centro
- 409 M2
- 6 quartos
- 18 pessoas
- Ar-condicionado
- Aquecimento
- Piscina
- Estacionamento
- Jardim
- Churrasco
2 avaliações


Nags Head Apt with Patio - half Mile Walk to Beach!
Nags Head - 330 m do centro
- 51 M2
- 2 pessoas
- Estacionamento
16 avaliações


Outer Banks Beach Club
Kill Devil Hills
- 111 M2
- 3 quartos
- 8 pessoas
- Ar-condicionado
- Aquecimento
- Piscina
- Estacionamento
- Elevador
- Jardim
- Churrasco
454 avaliações


Kitty Hawk Vacation Rental 1 Mi to Beaches!
Kitty Hawk
- 126 M2
- 2 quartos
- 8 pessoas
- Aquecimento
- Piscina
- Estacionamento
14 avaliações


Kitty Hawk Townhome at Sea Dunes - Walk to Beach!
Kitty Hawk
- 167 M2
- 3 quartos
- 7 pessoas
- Aquecimento
- Piscina
- Estacionamento
- Jardim
13 avaliações


Cozy Hatteras Island Abode about 1 Mi to Frisco Beach!
Frisco
- 72 M2
- 2 quartos
- 4 pessoas
- Aquecimento
- Estacionamento
11 avaliações


114 Sandbar, Private Pool, Short Walk to Beach
Kitty Hawk
- 167 M2
- 5 quartos
- 10 pessoas
- Ar-condicionado
- Aquecimento
- Terraço
- Piscina
- Estacionamento
- Jardim
6 avaliações