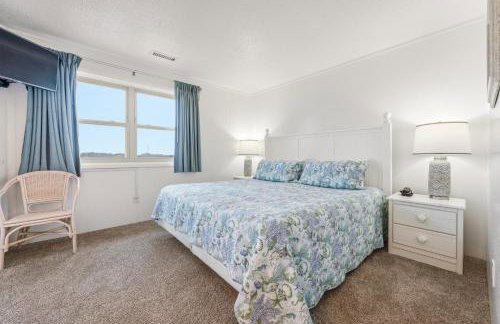
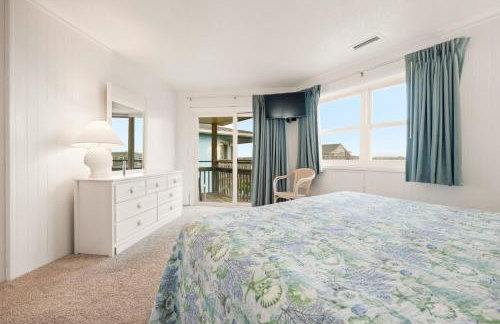
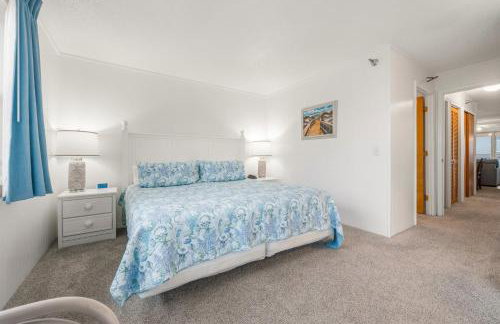
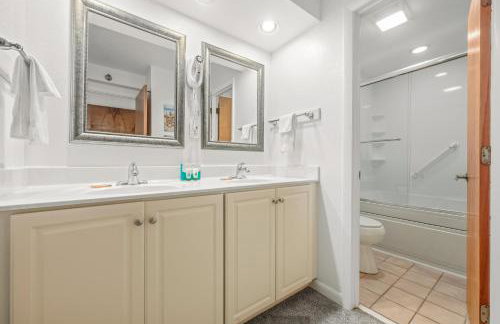
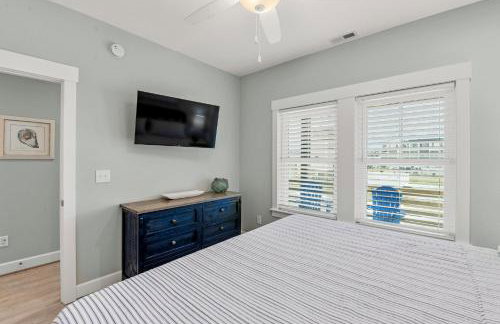
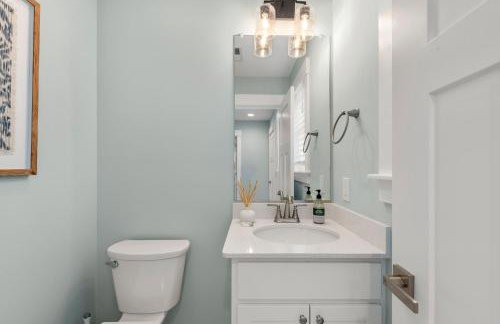
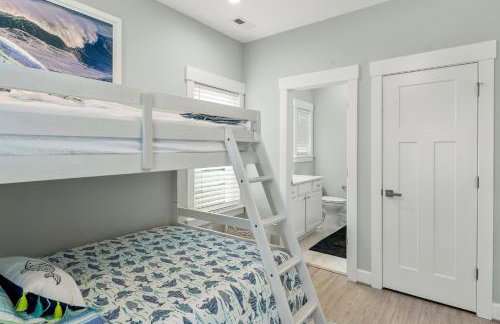
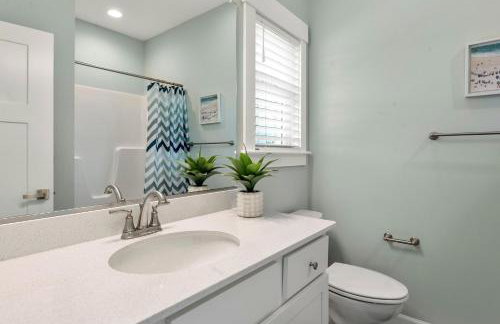
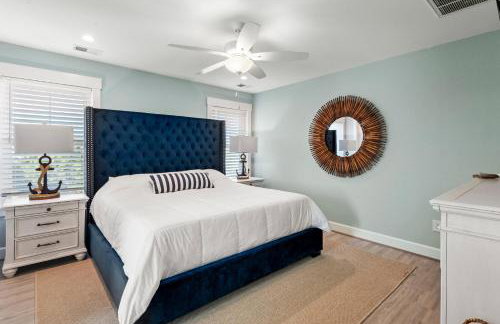
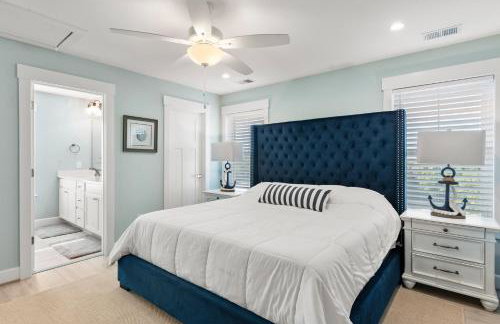
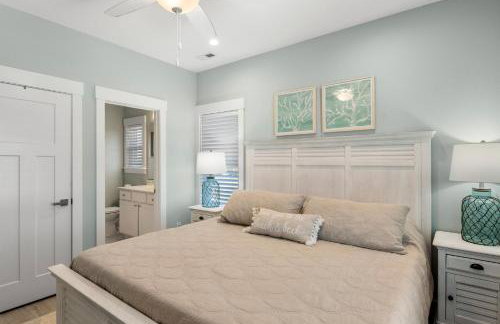
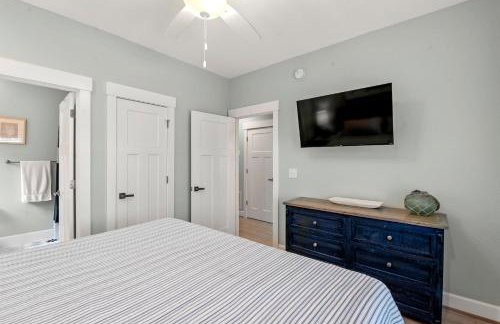
322 Apartamentos em Kill Devil Hills
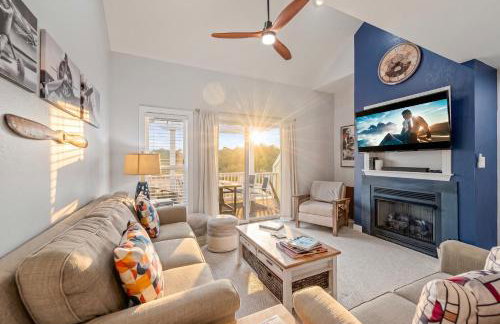
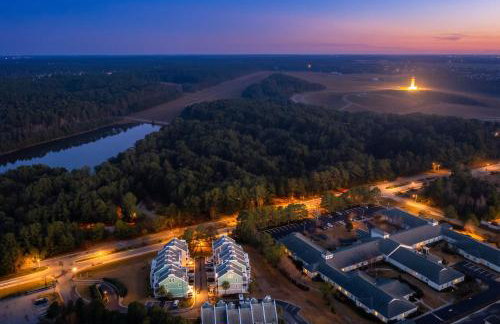
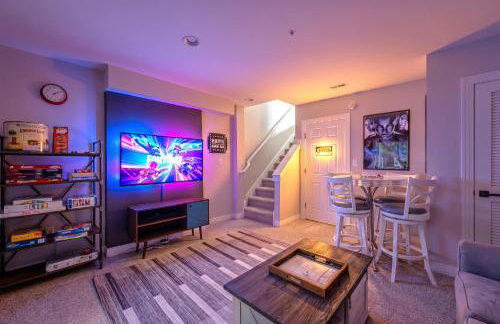
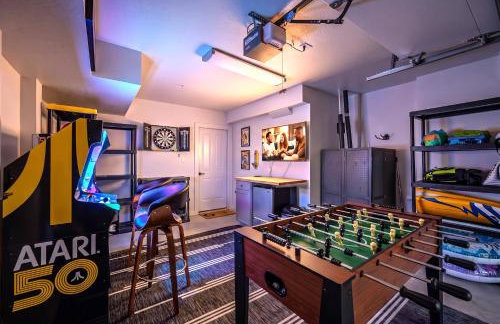
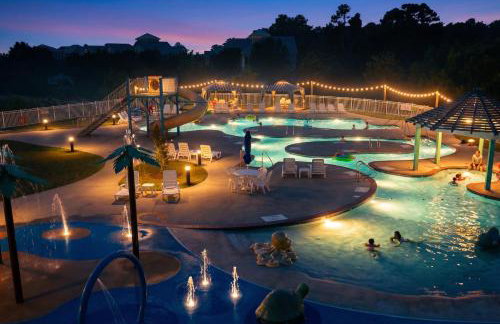
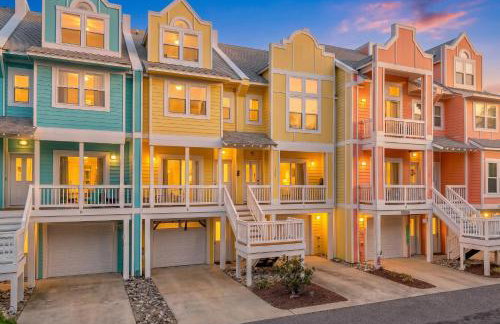
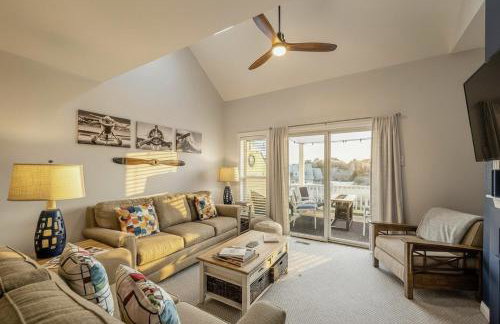
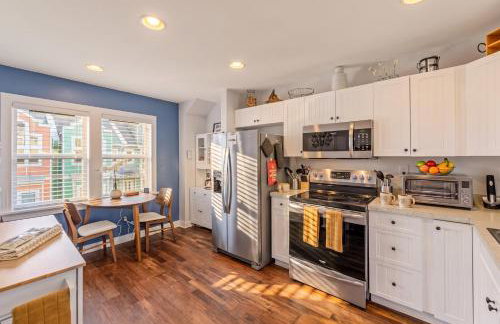
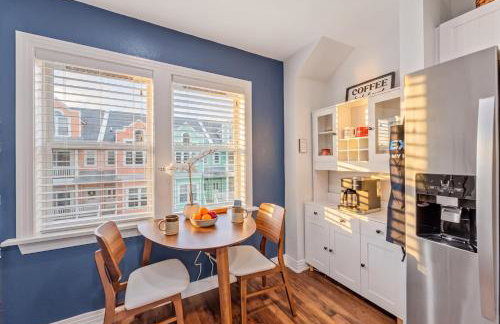
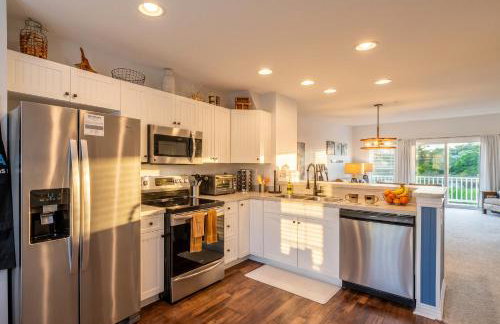
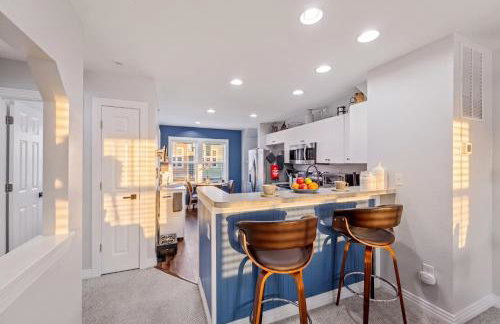
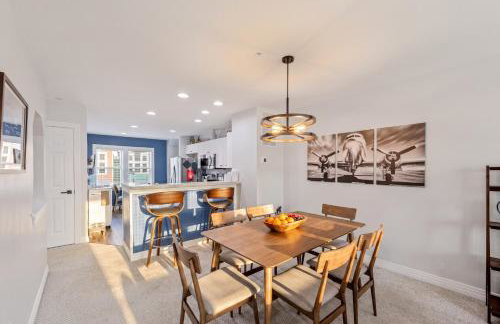
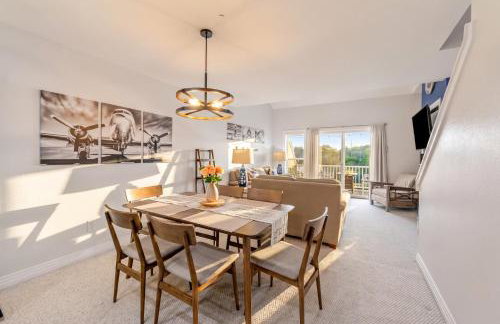
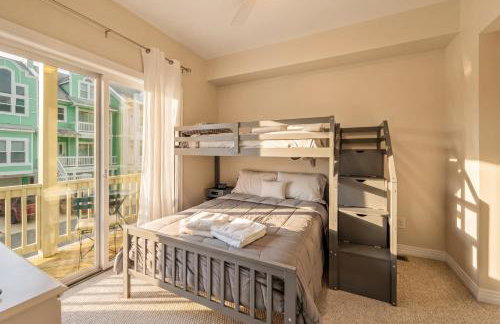
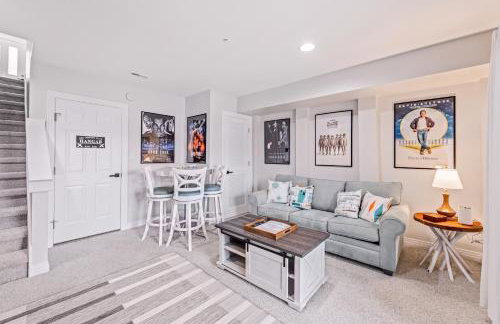
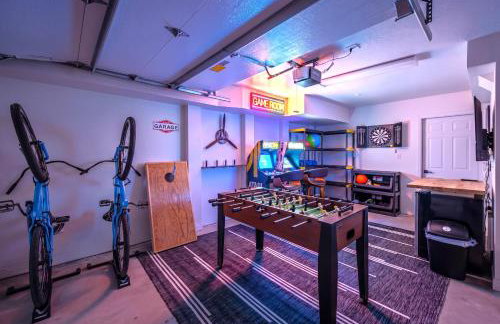
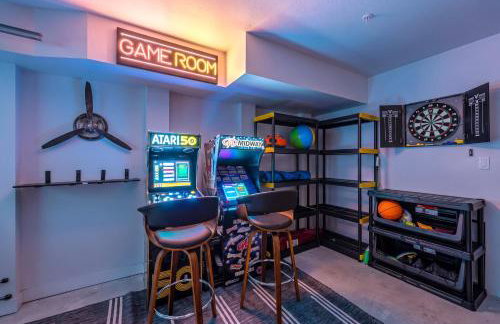
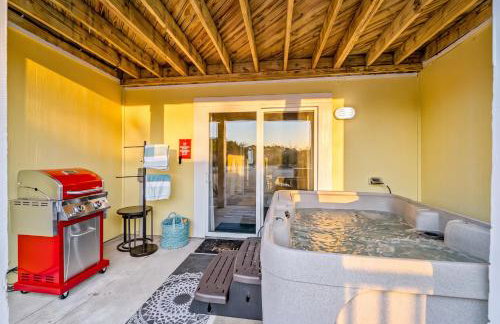
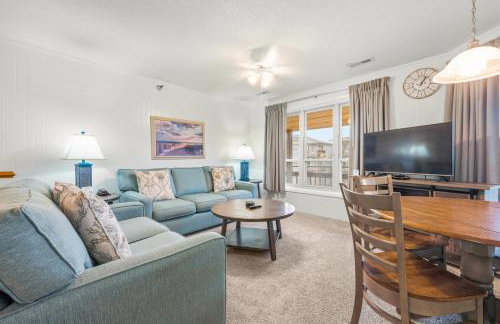
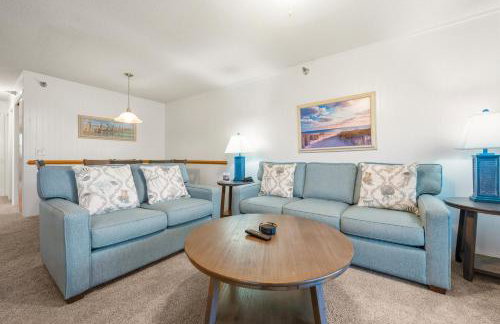
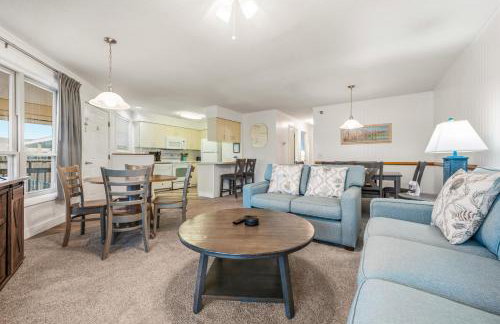
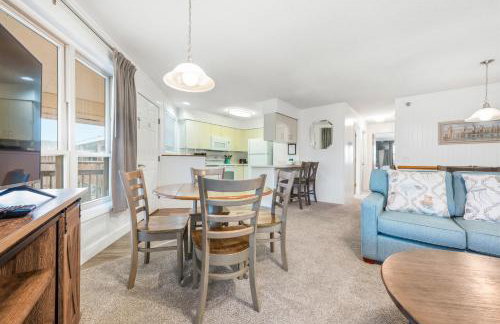
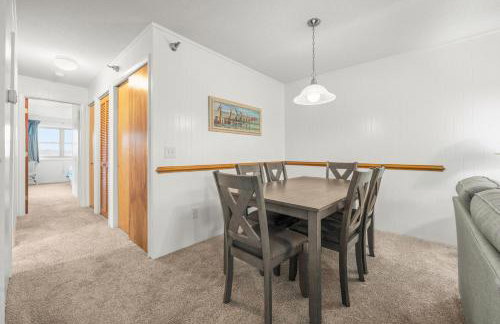
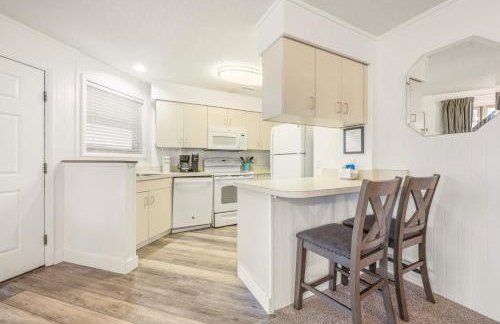
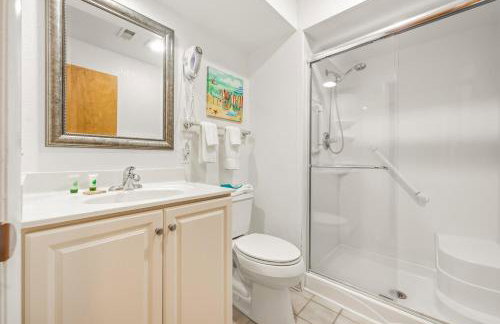
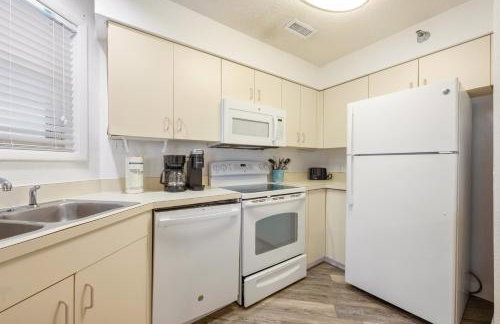
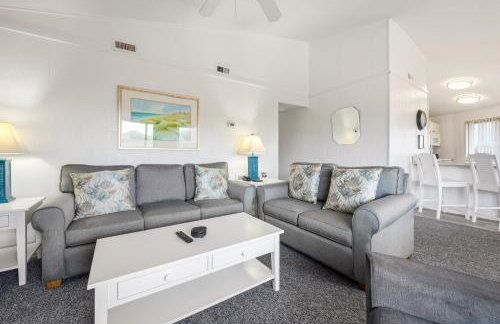
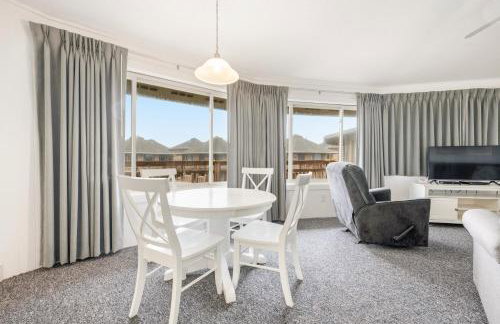
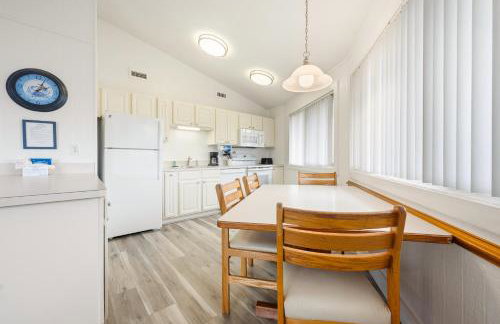
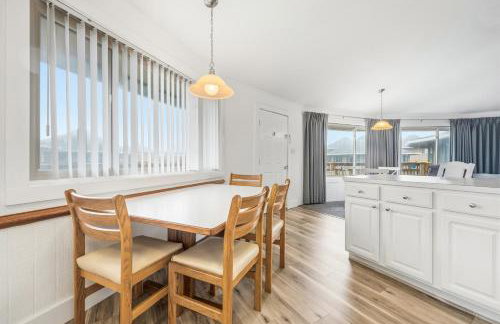
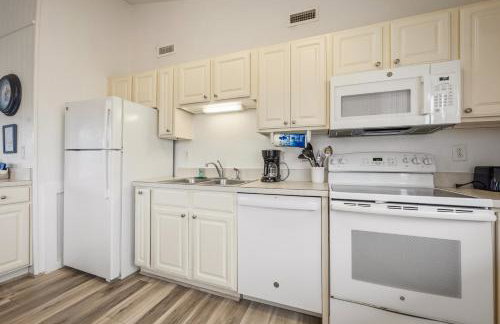
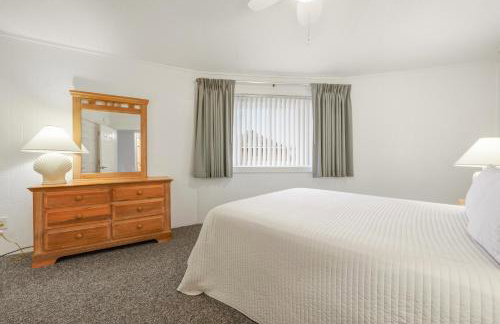
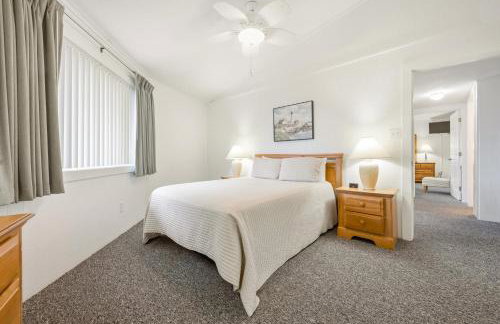
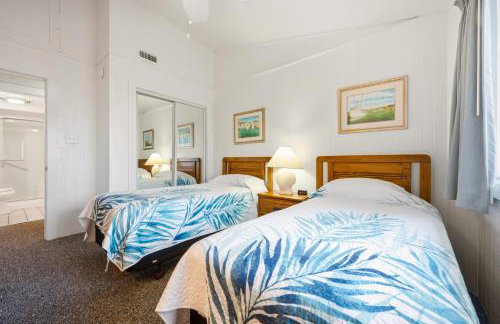
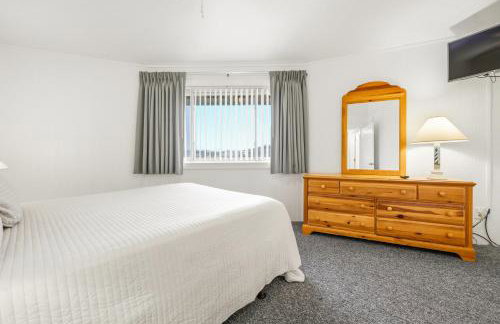
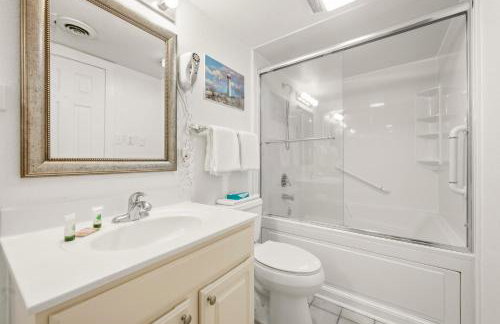
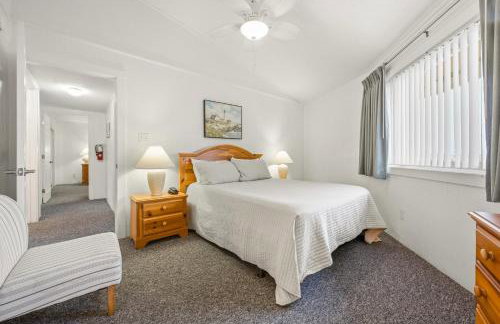
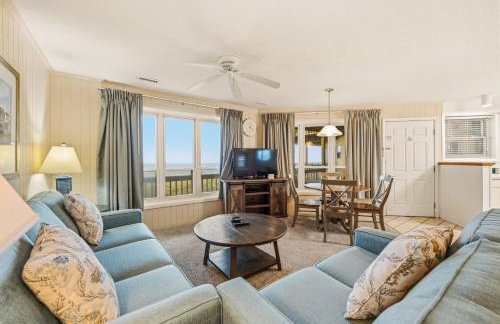
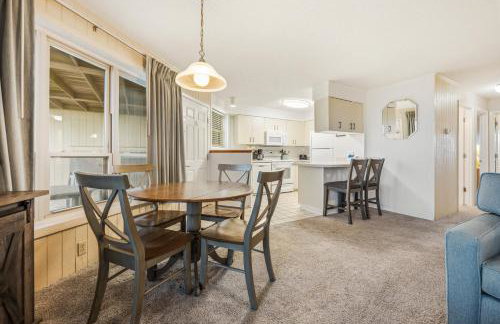
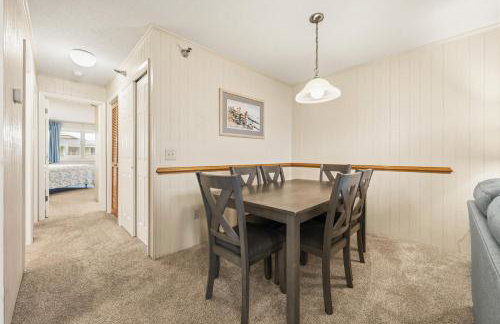
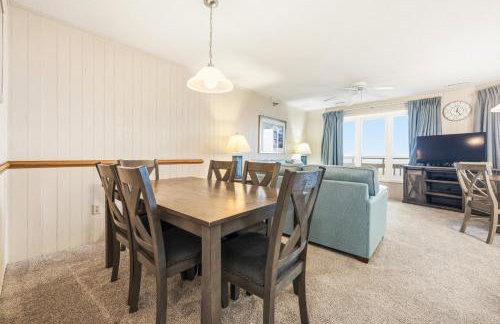
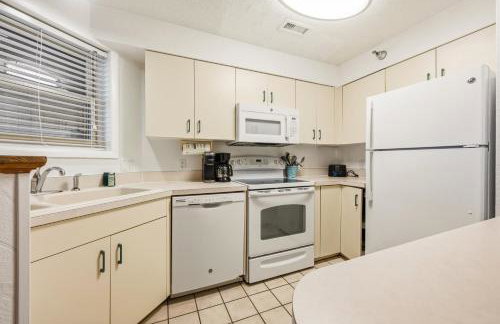
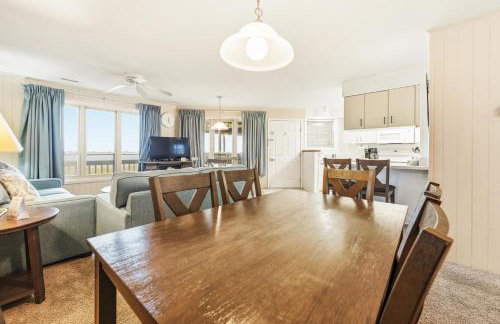
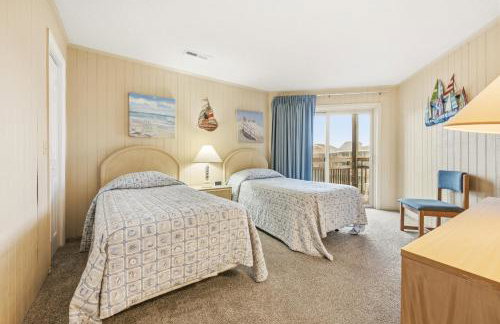
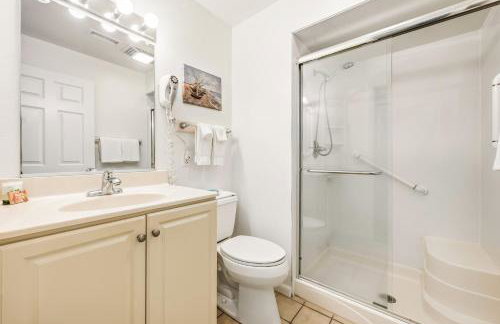
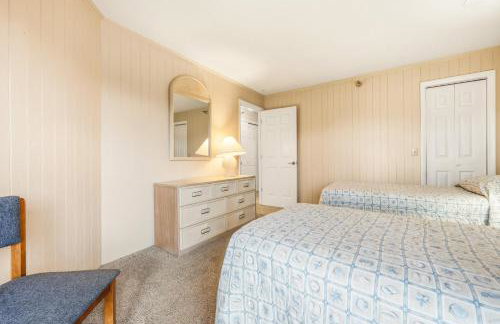
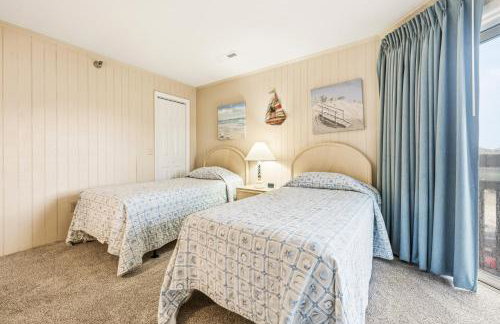
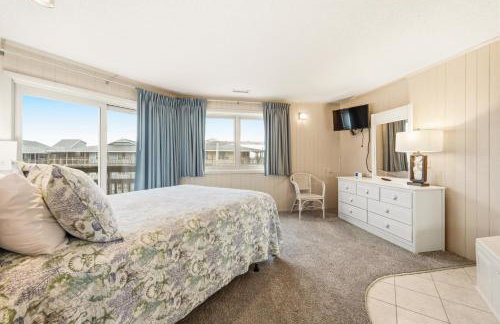
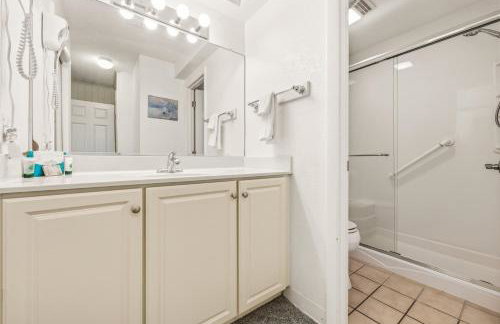
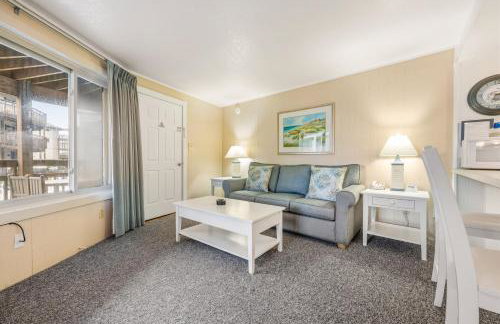
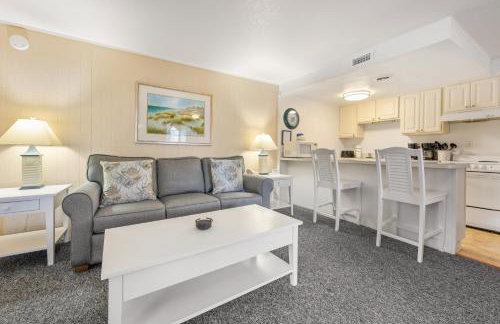
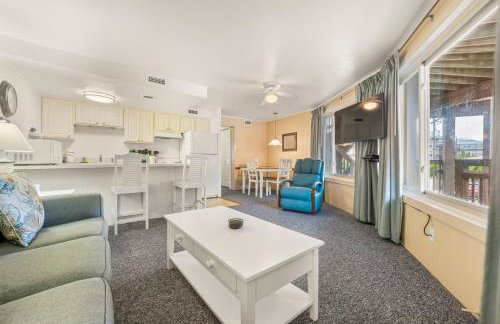
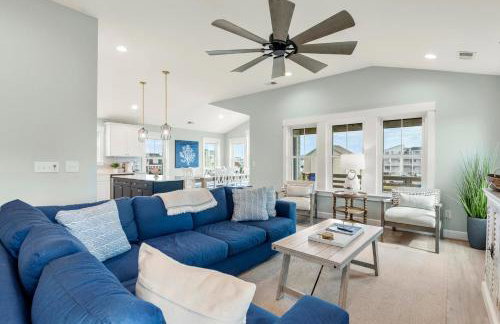
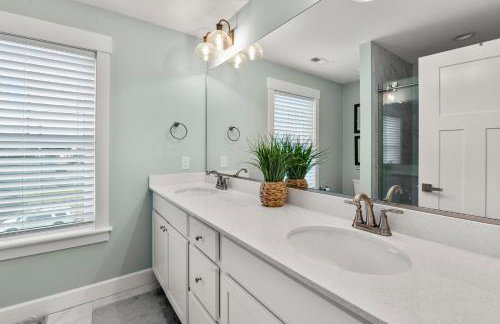
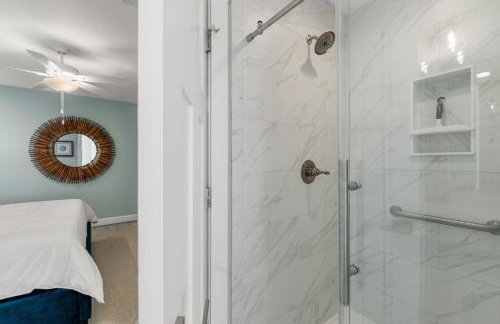
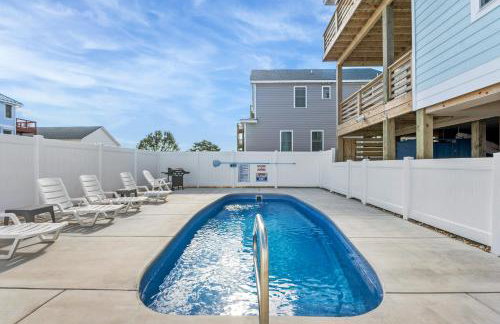
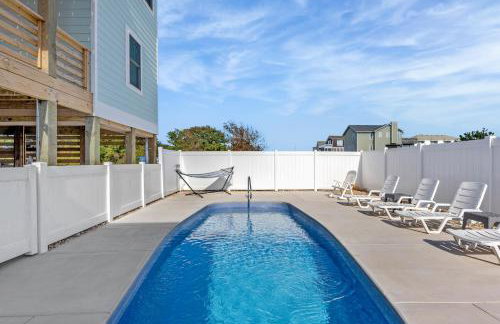
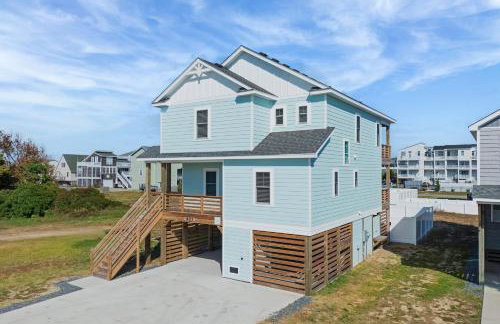
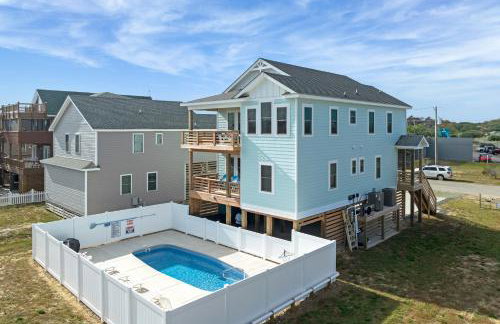
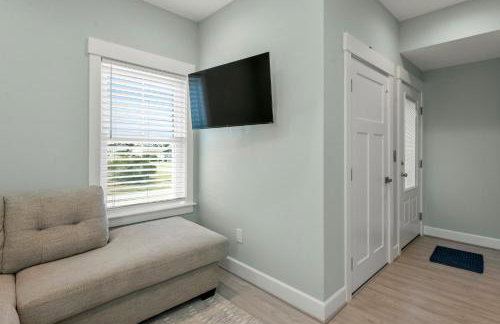
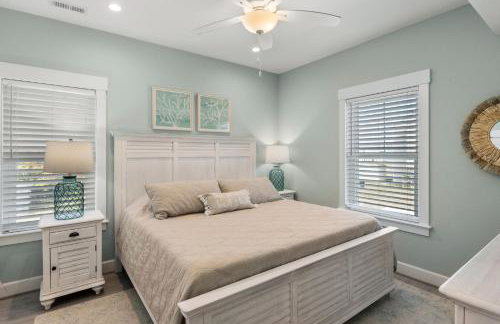
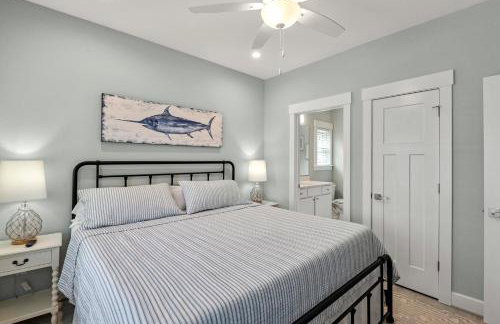
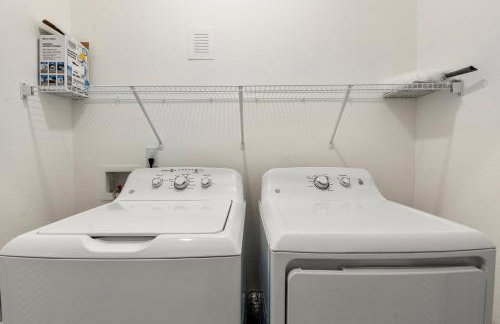
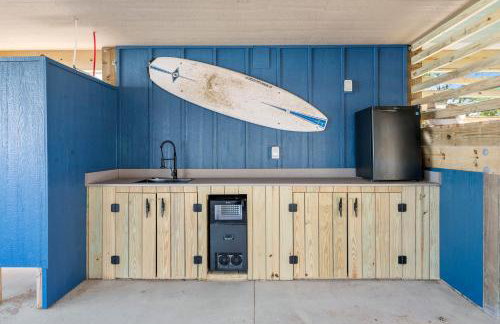
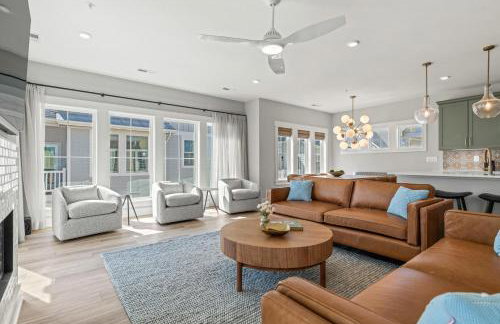
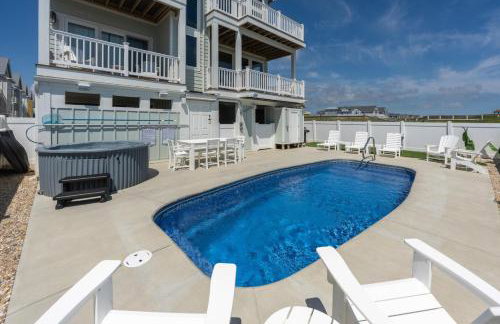
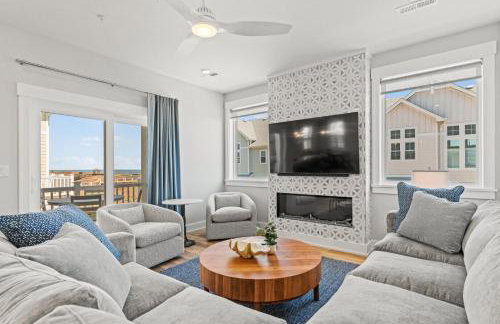
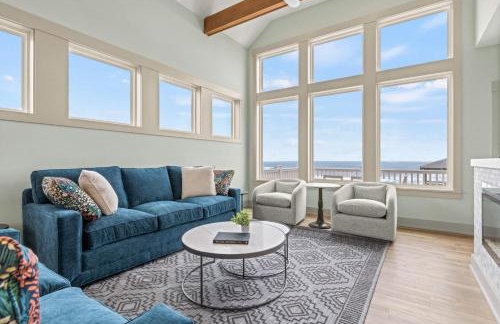
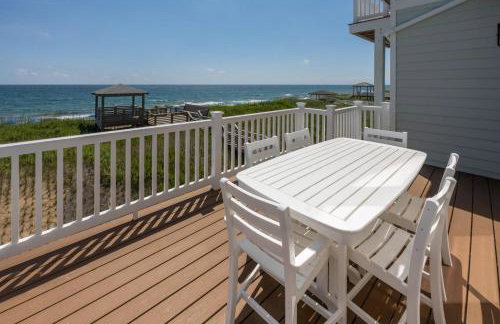
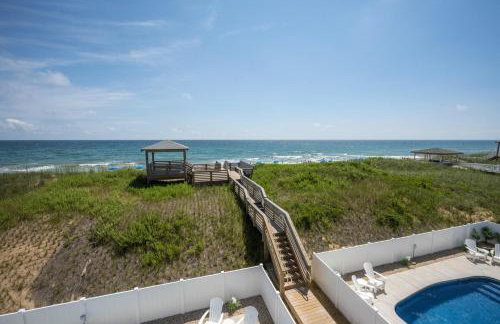
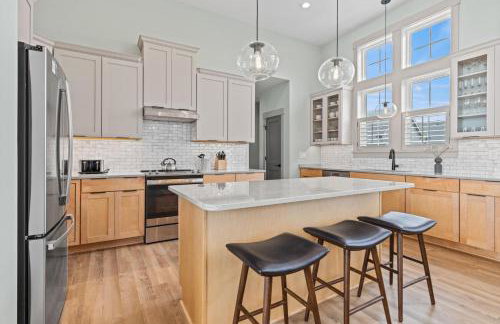
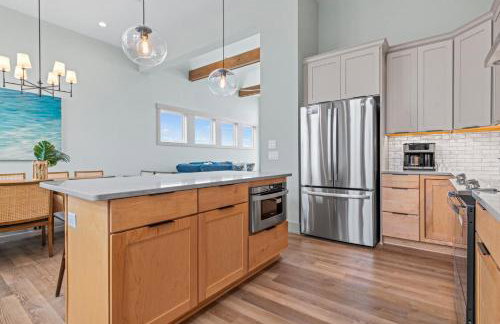
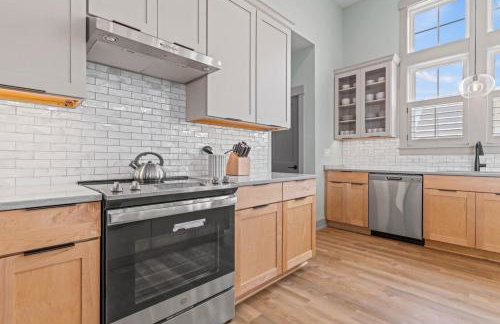
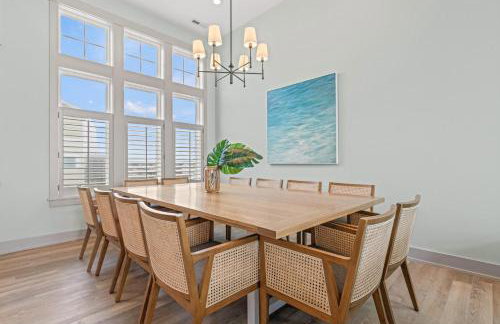
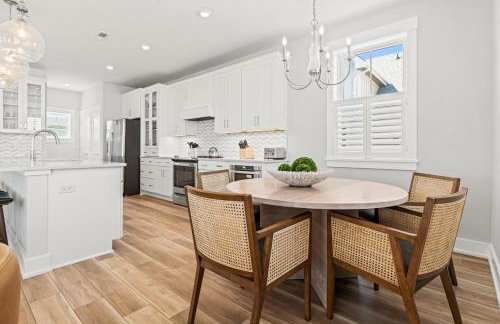
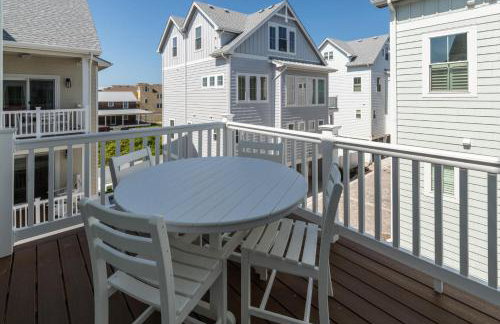
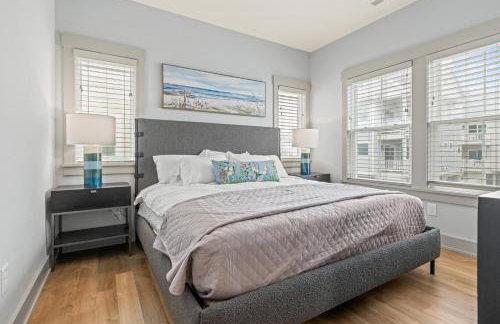
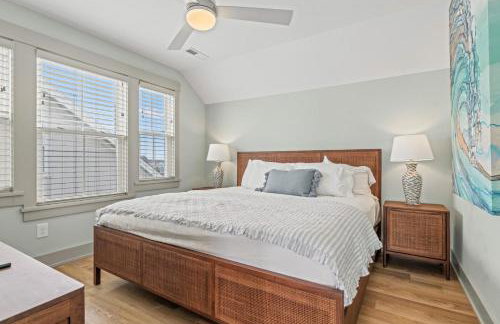
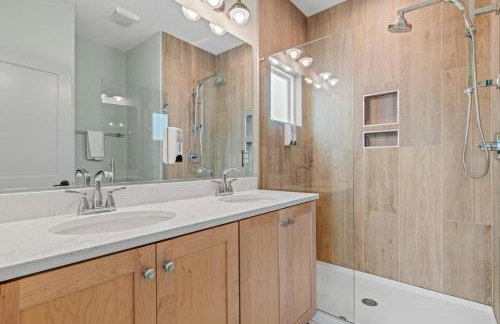
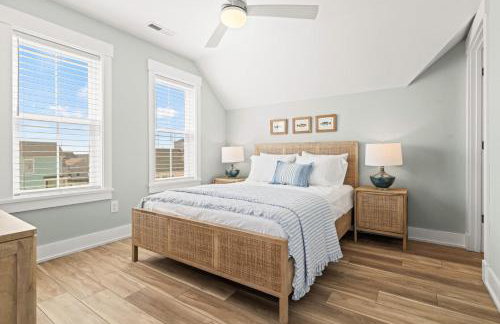
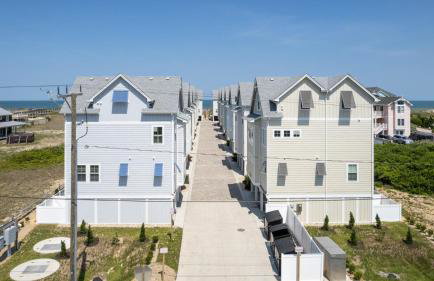
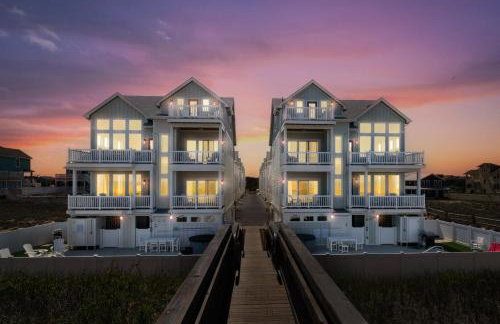
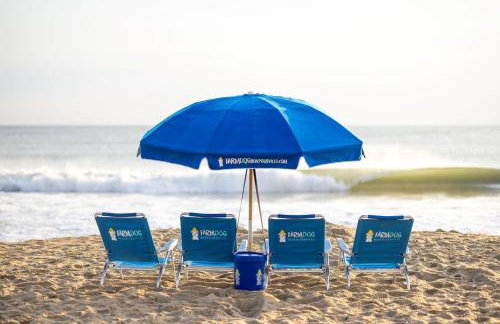
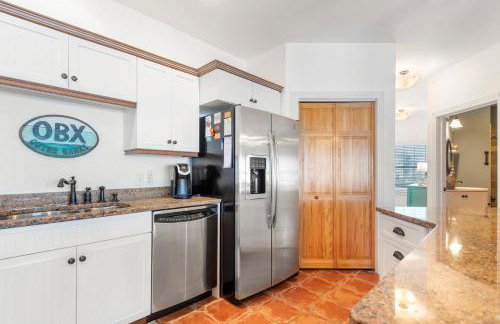
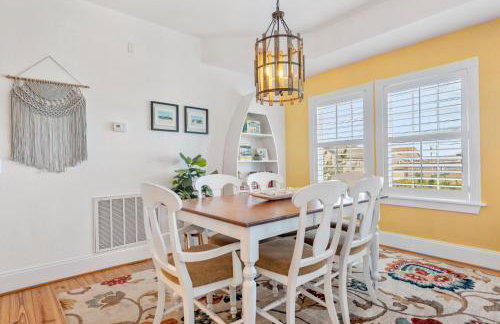
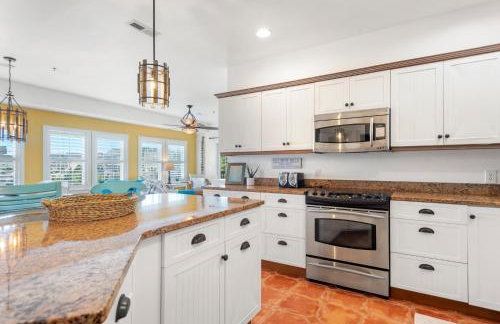
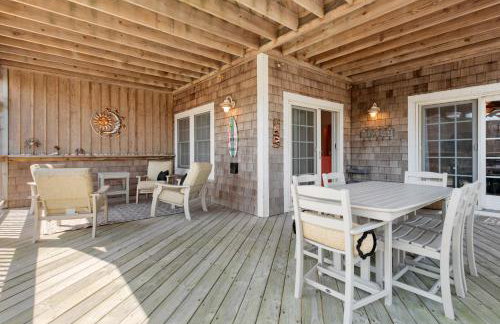
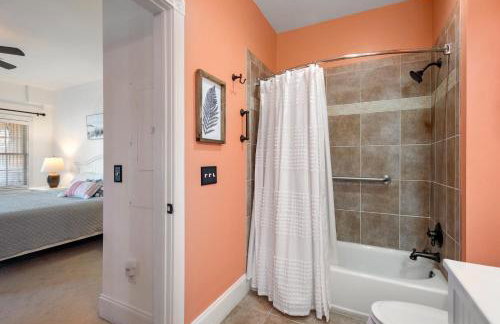
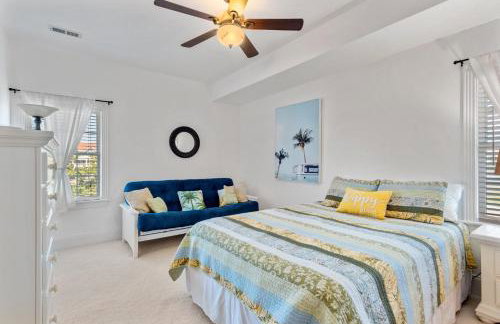
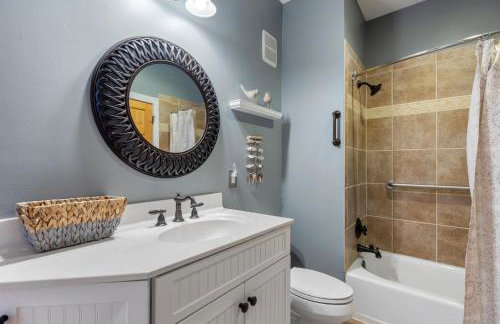
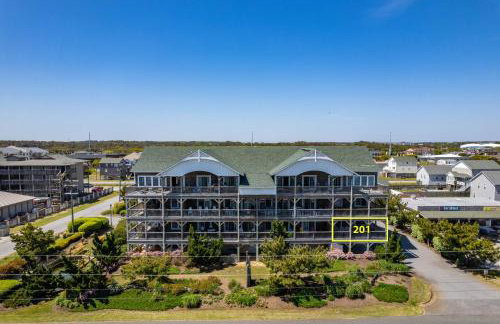
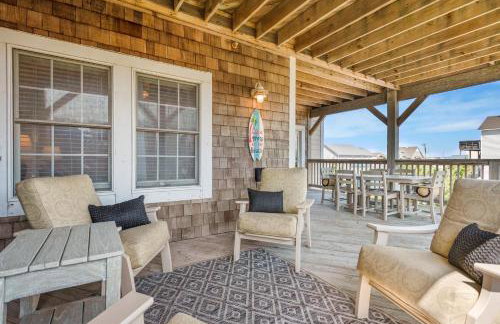
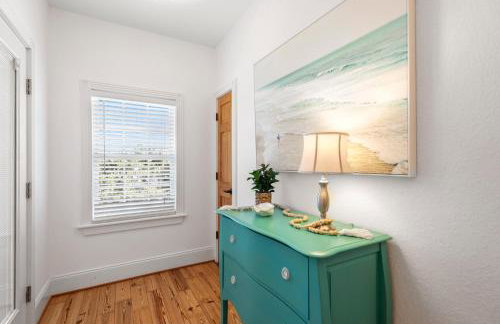
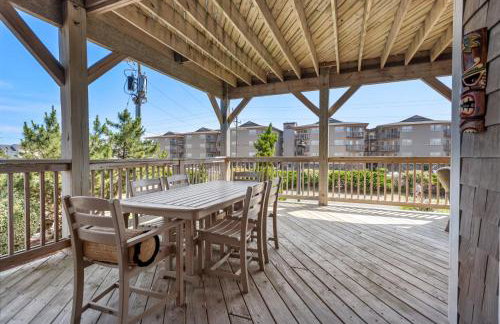
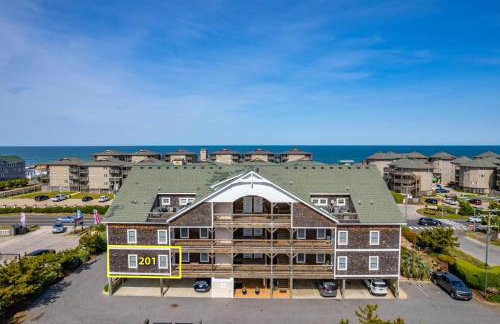
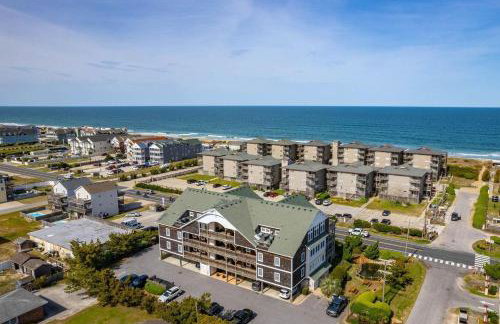
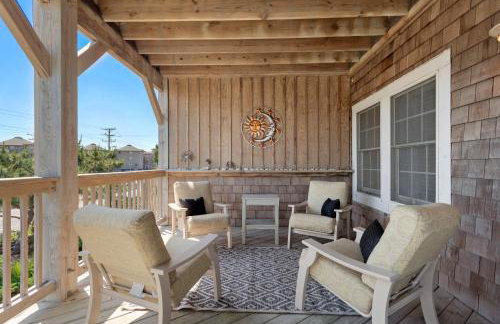
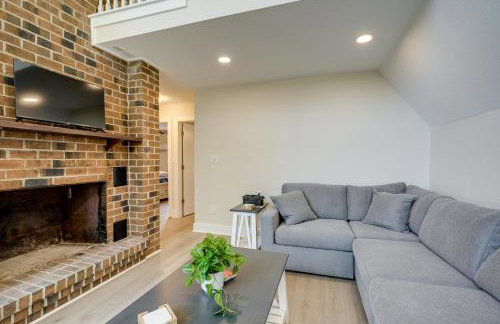
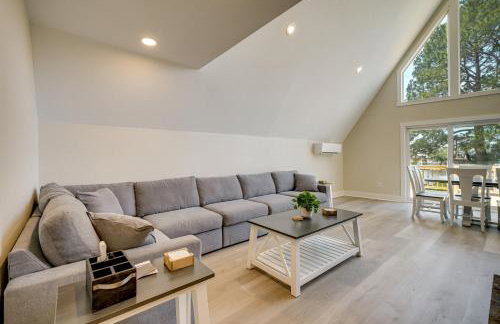
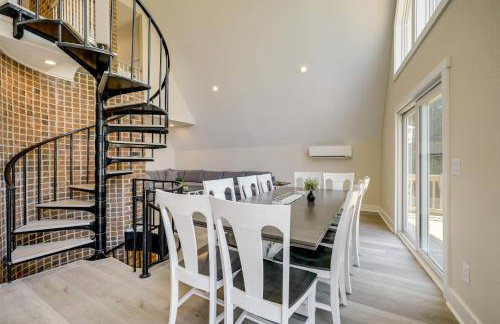
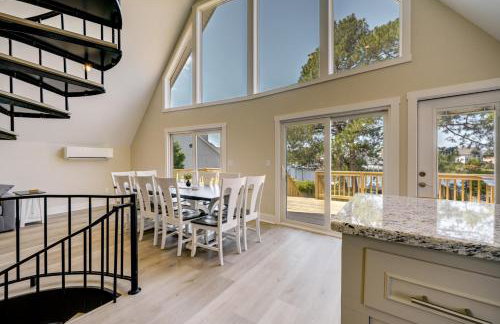
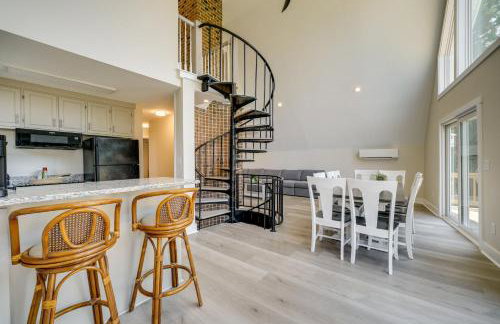
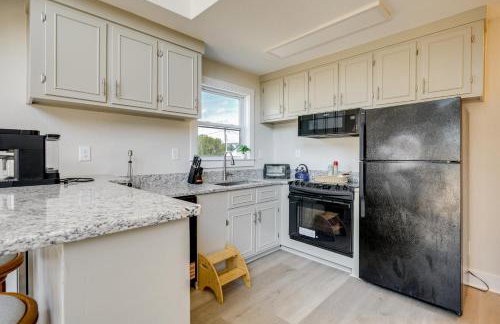
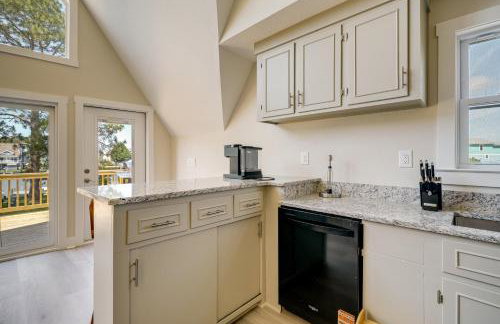
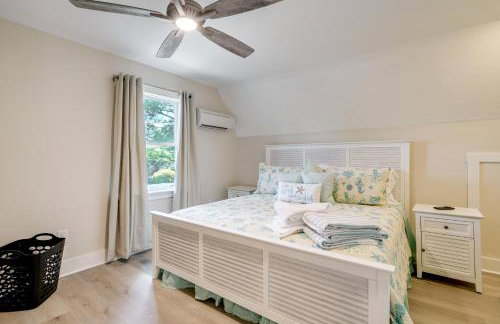
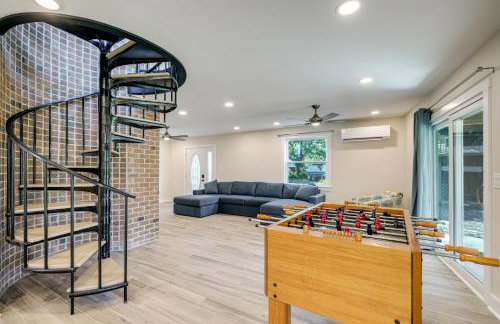
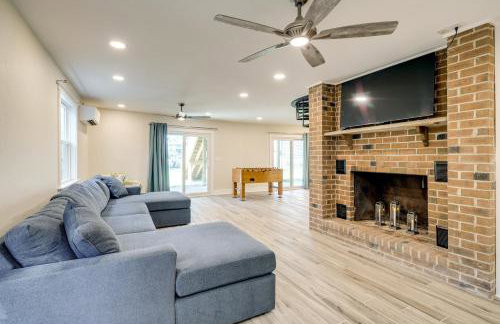
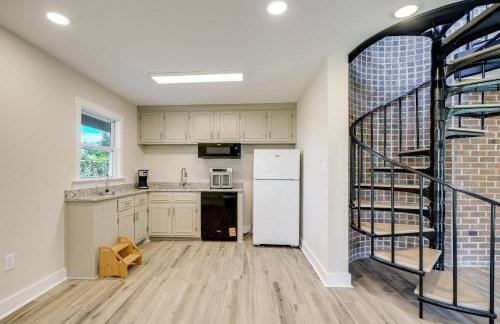
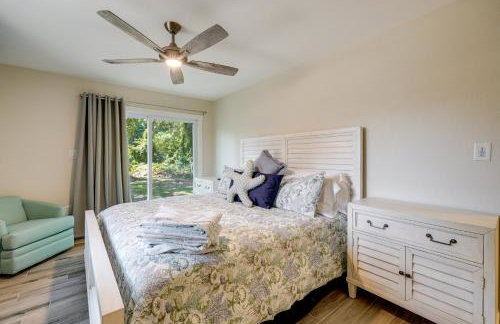
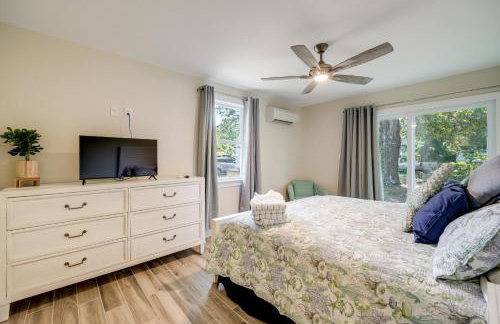
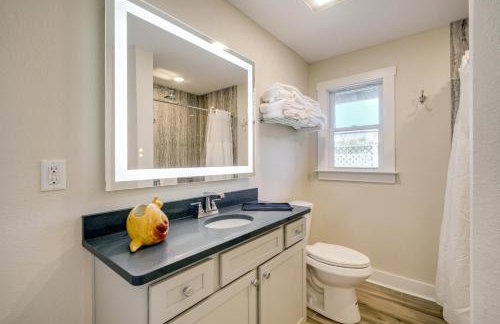
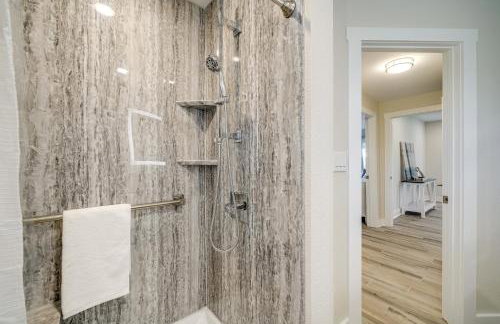
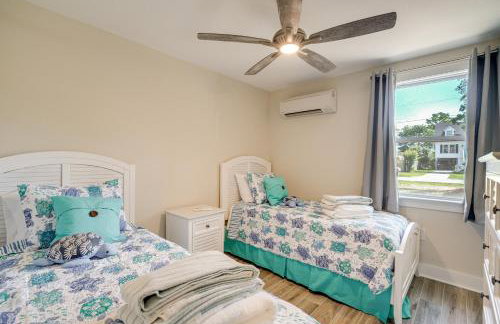
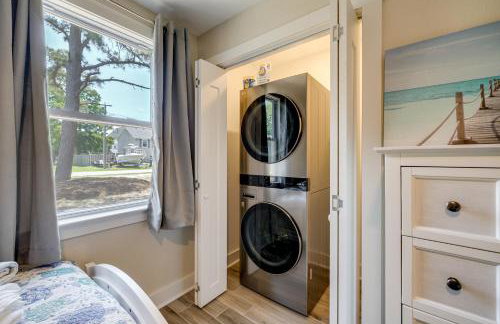
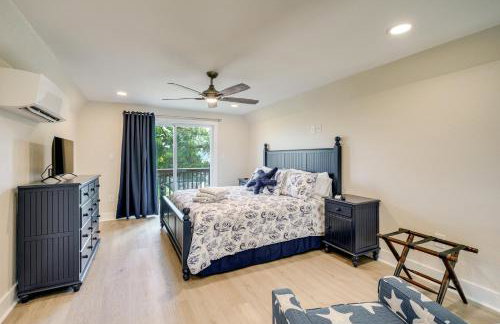
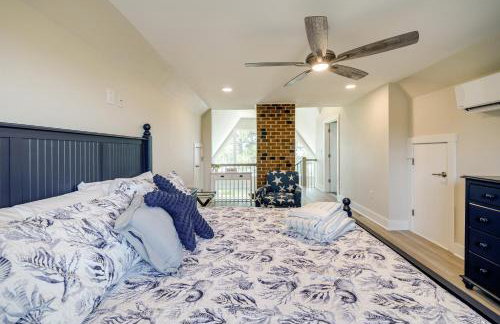
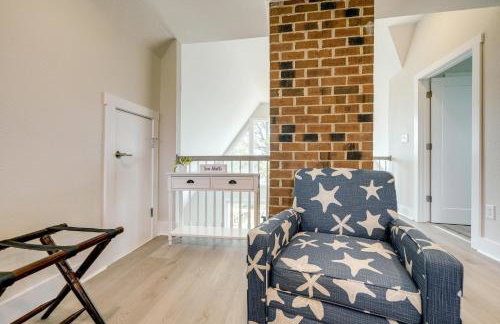
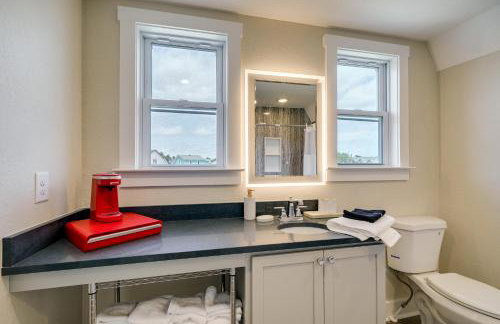
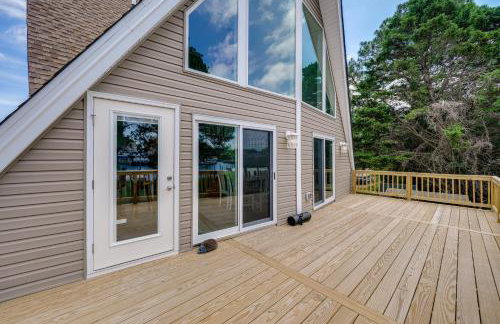
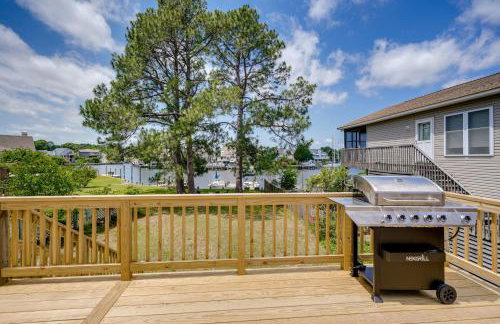
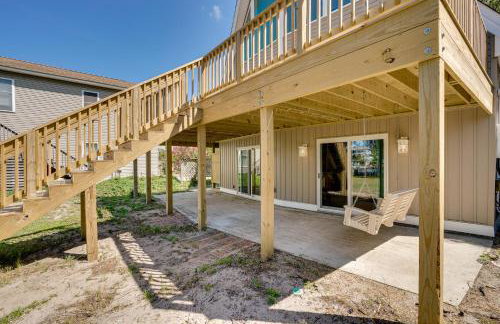
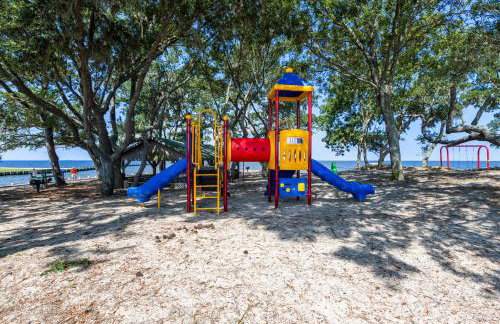
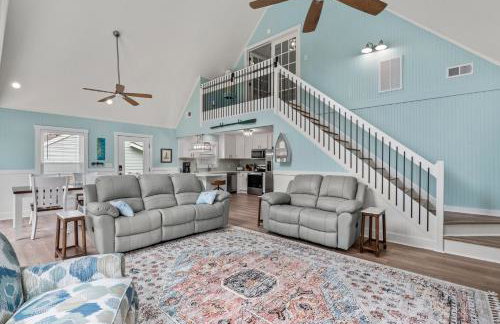
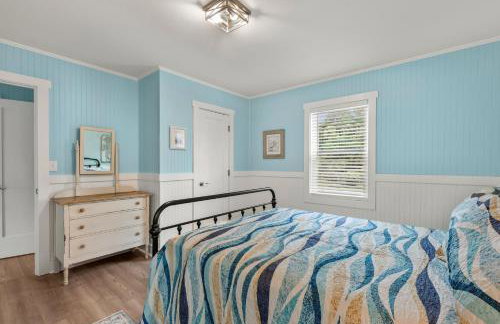
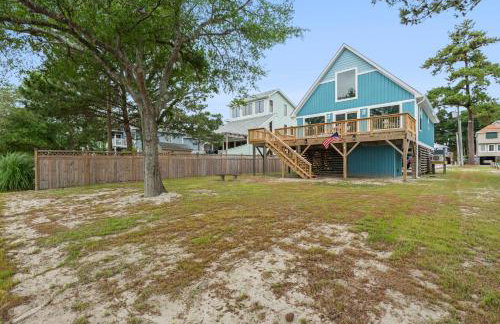
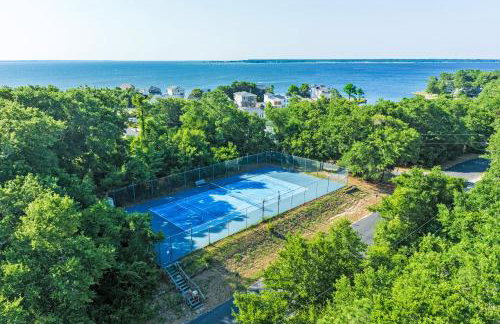
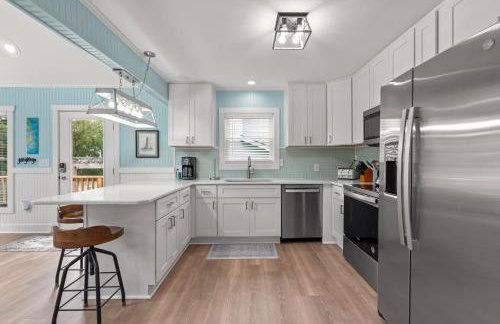
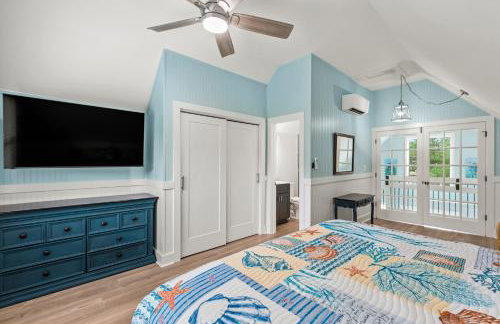
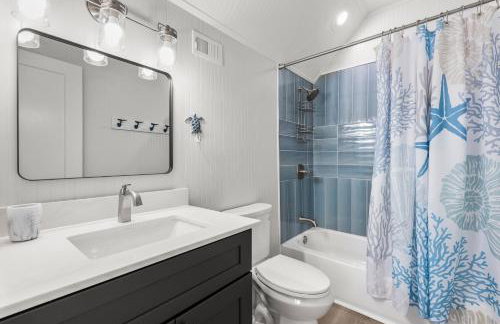
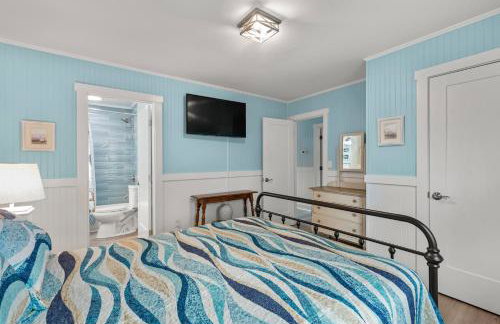
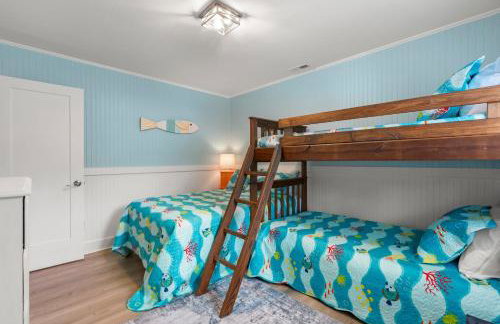
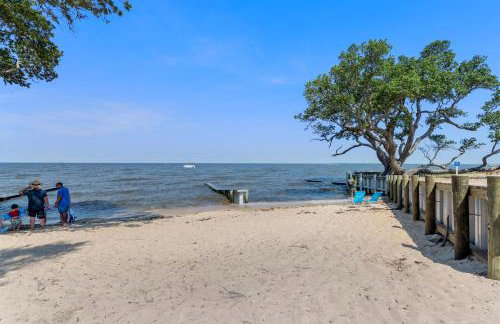
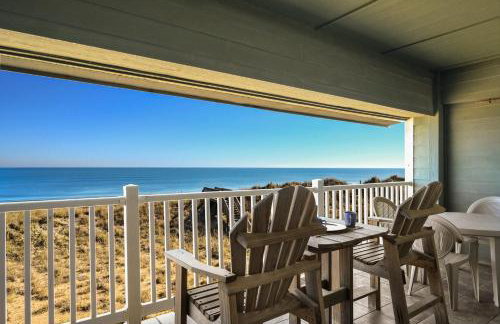
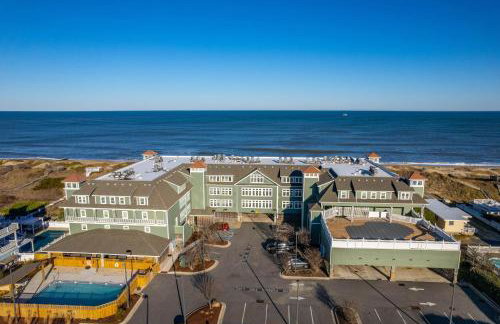
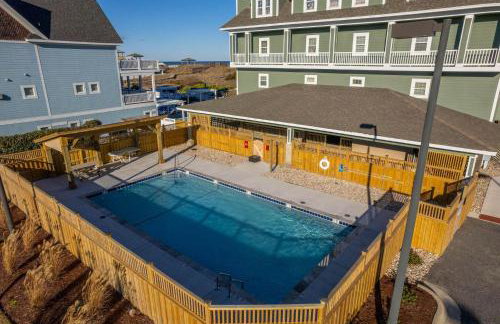
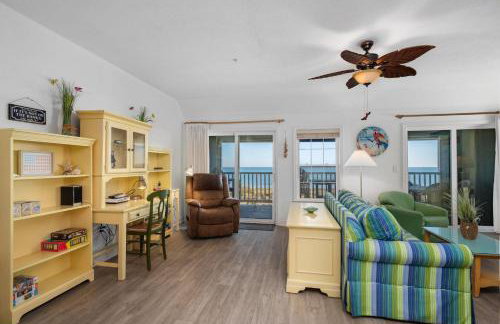
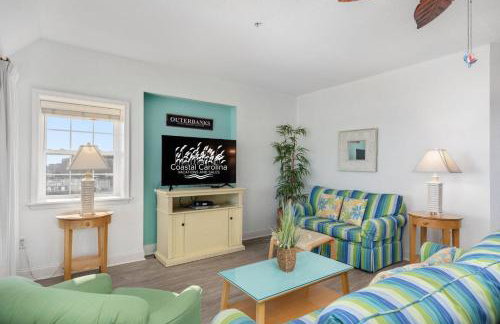
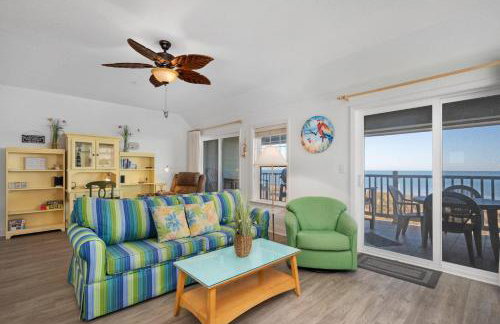
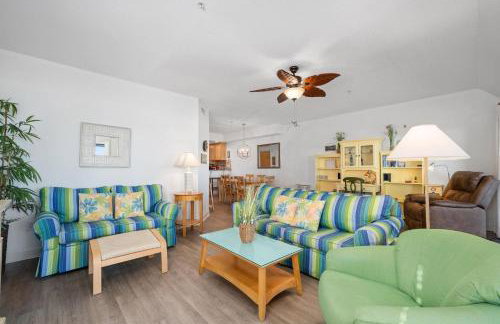
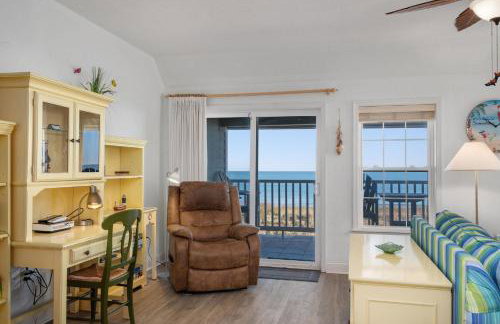
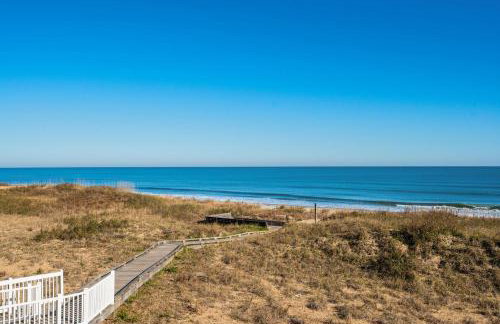
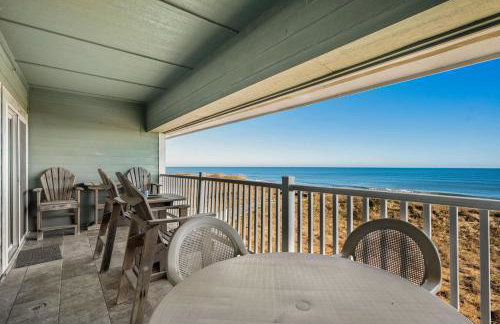
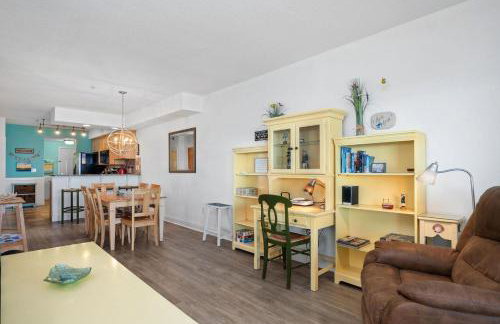
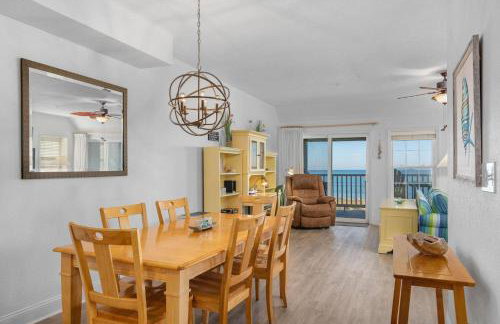
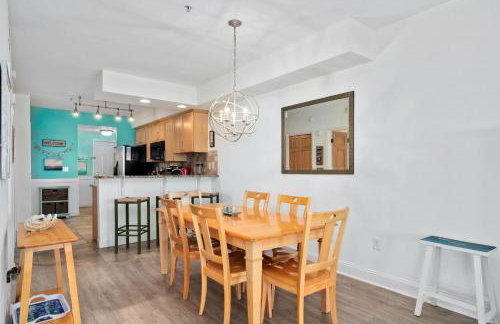
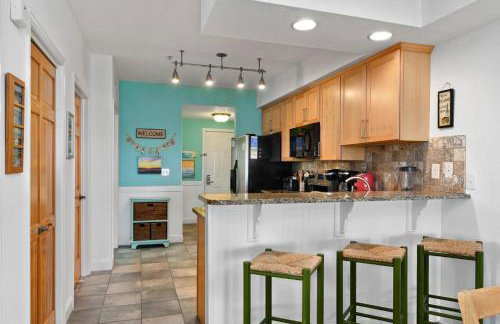
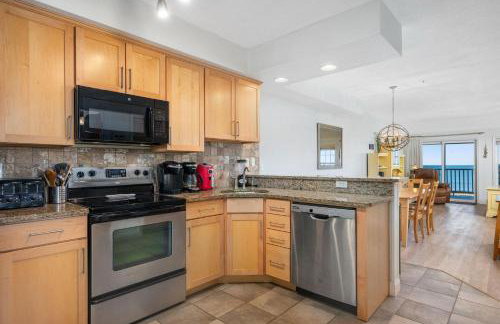
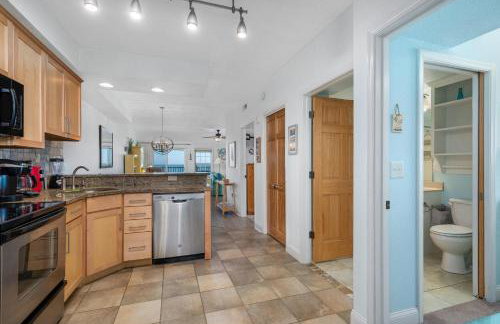
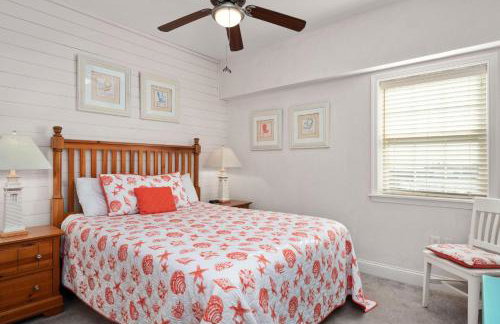
Breeze On Inn - Foto 1
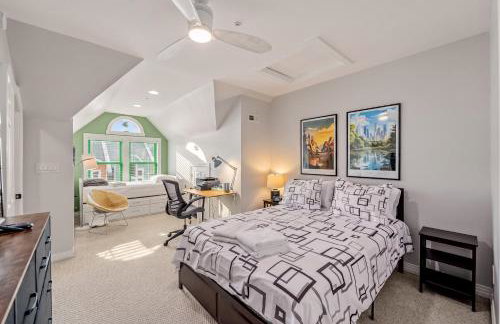
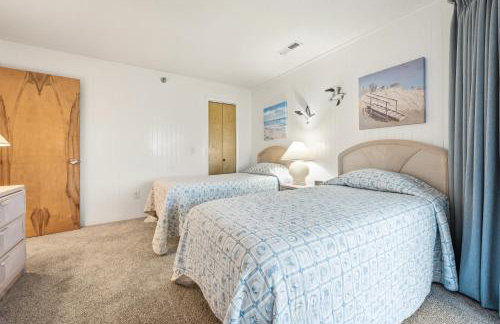
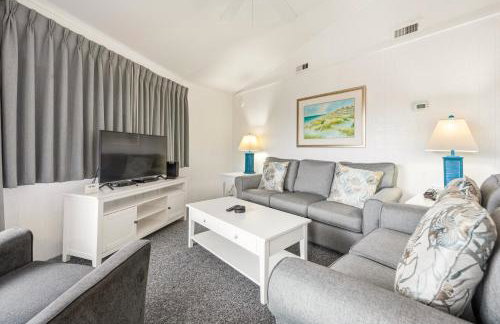
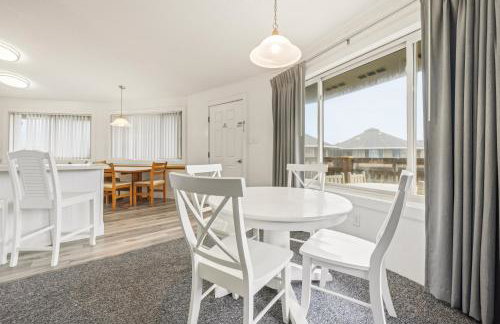
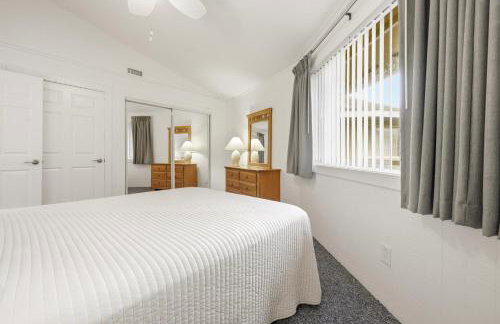
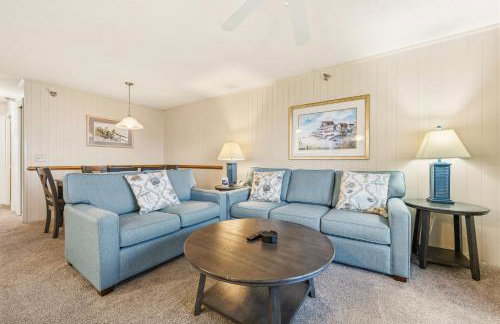
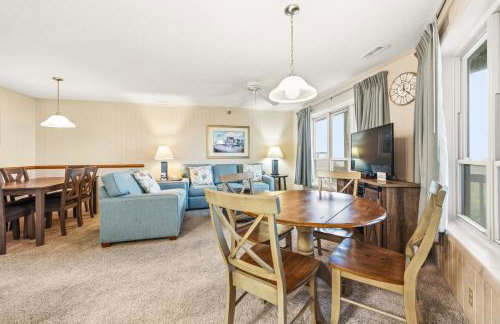
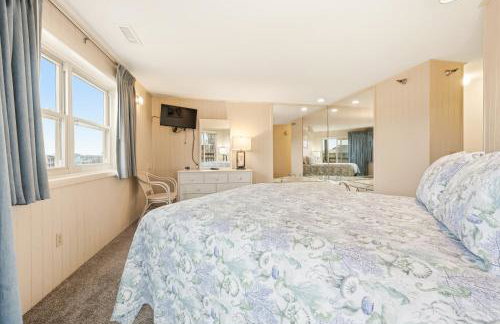
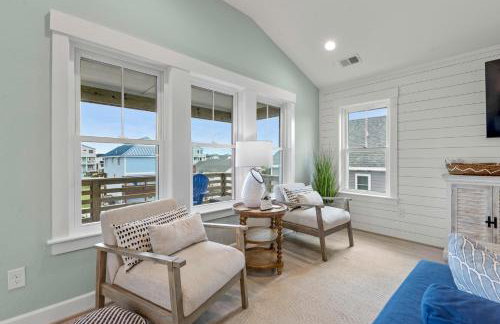
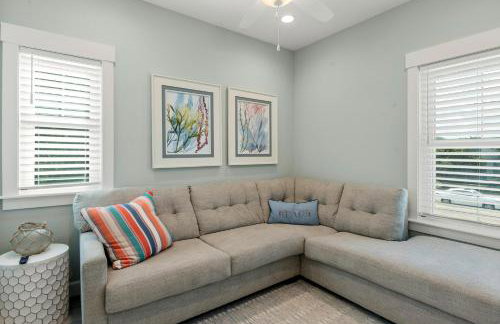
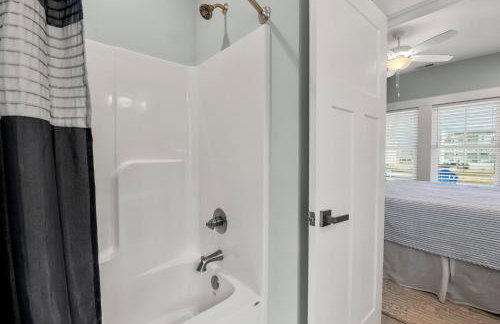
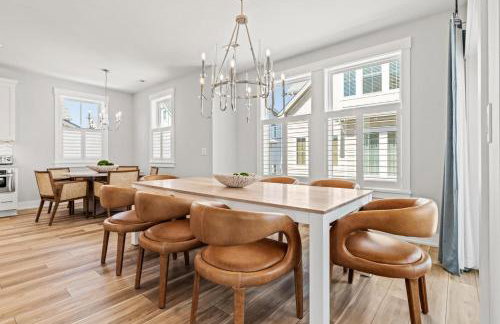
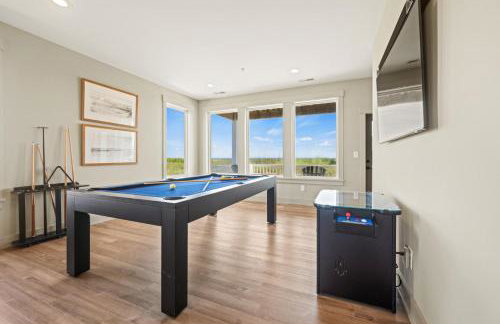
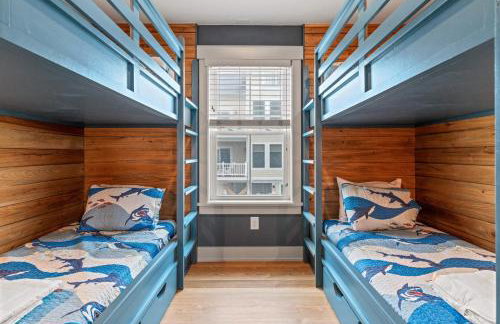
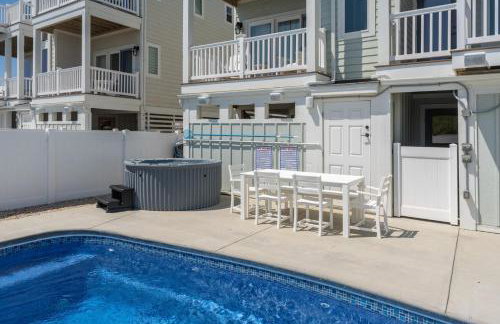
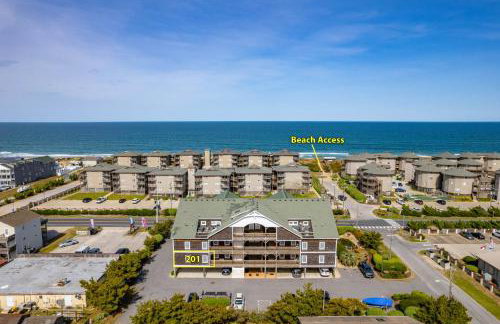
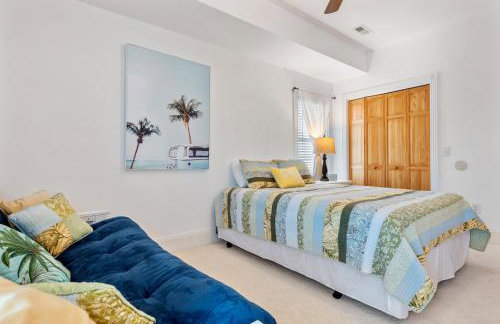
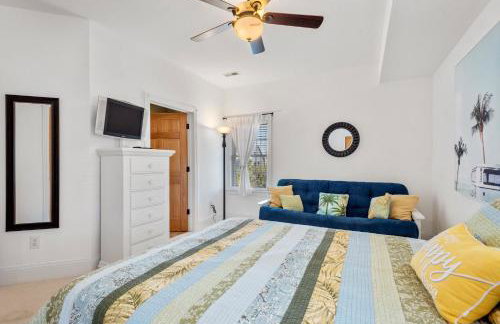
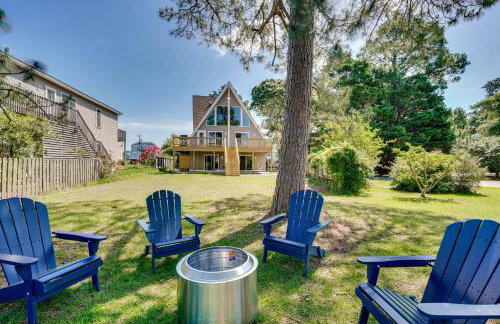
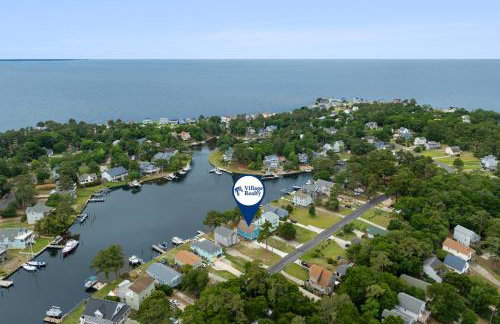
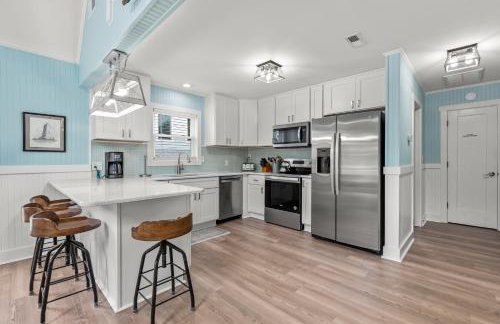
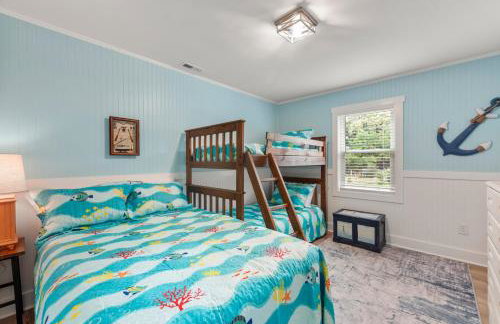
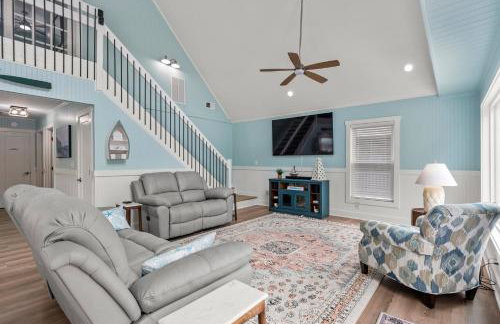
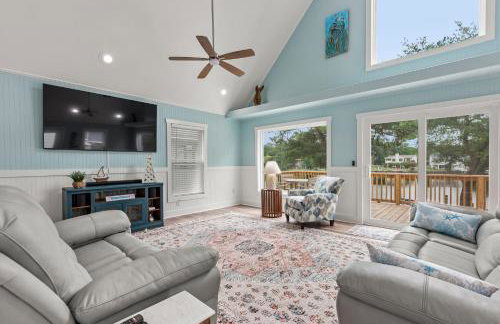
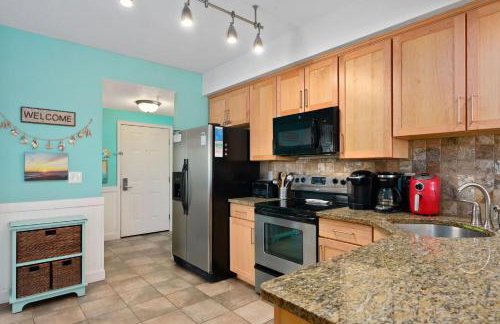
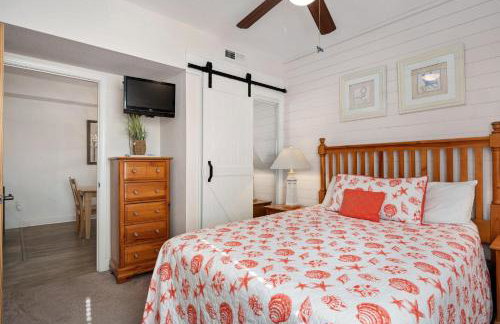
Breeze On Inn - Foto 2
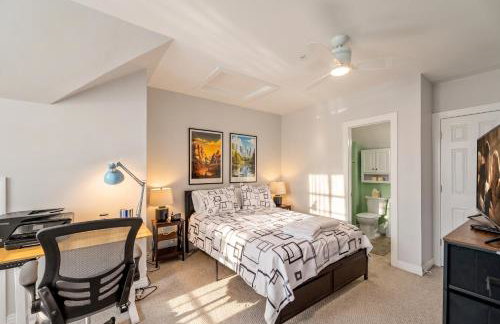
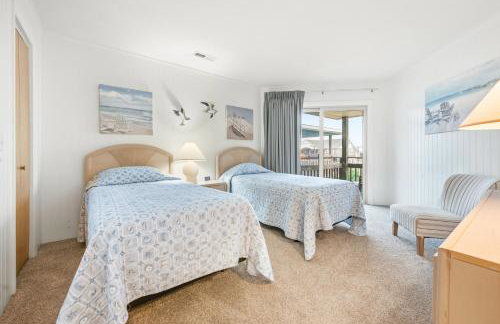
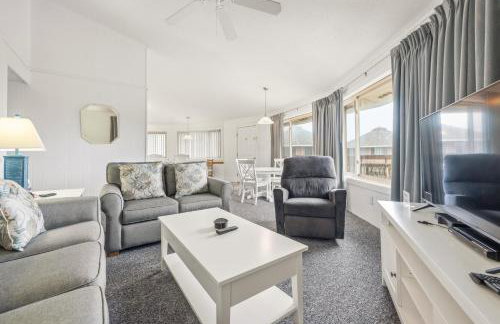
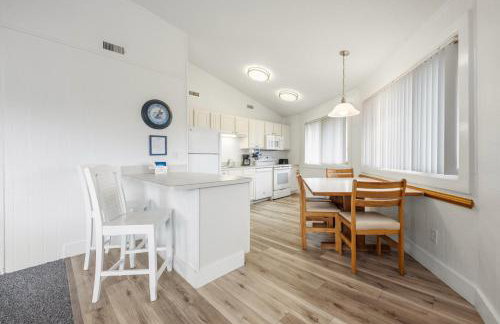
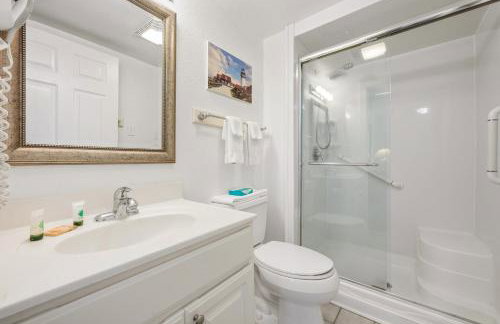
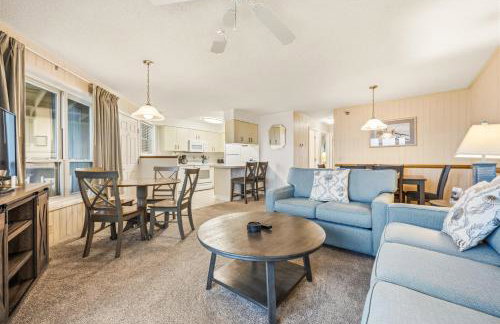
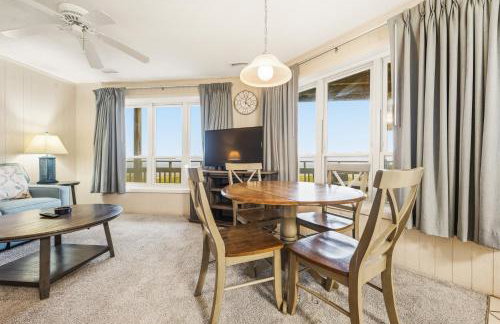
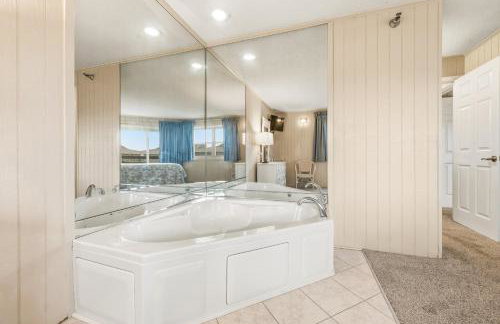
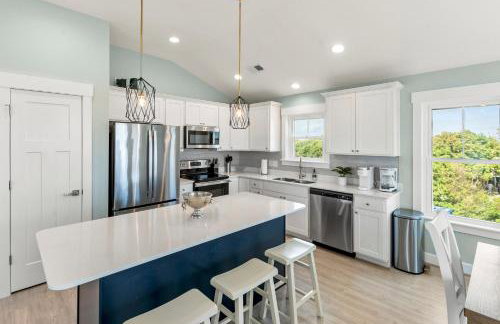
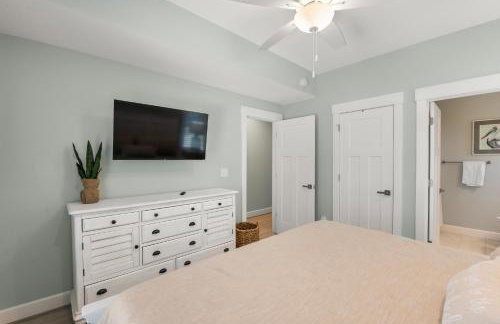
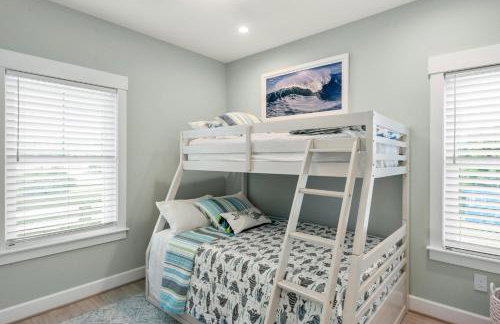
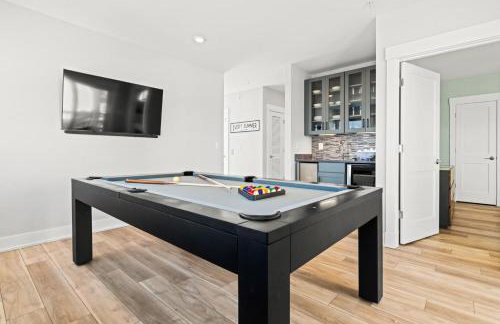
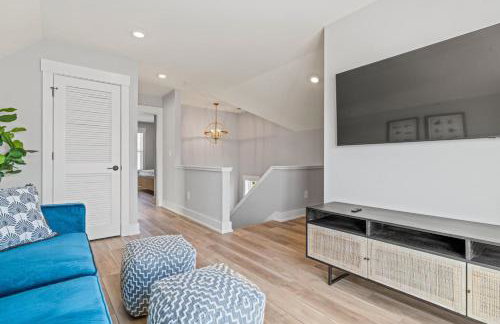
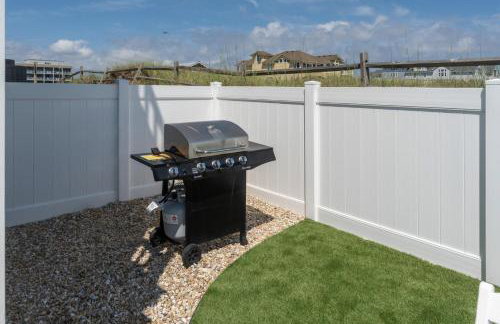
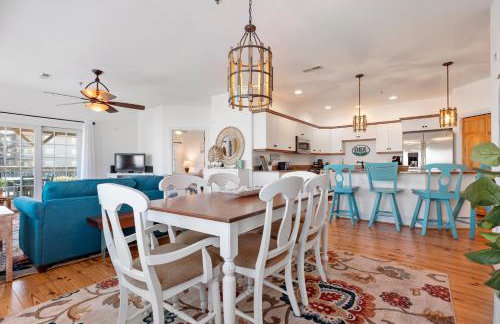
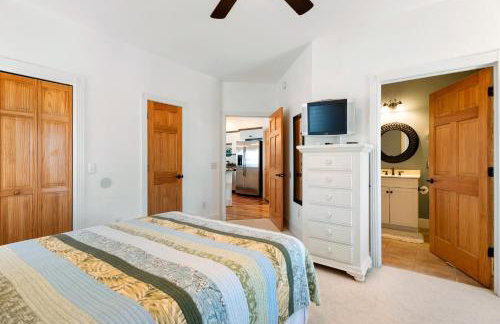
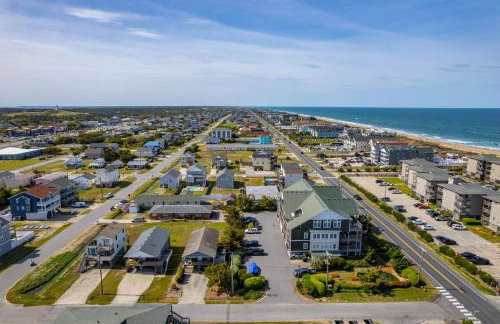
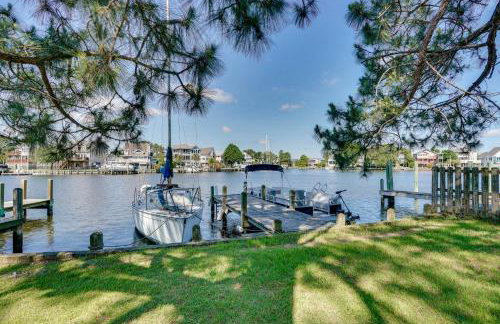
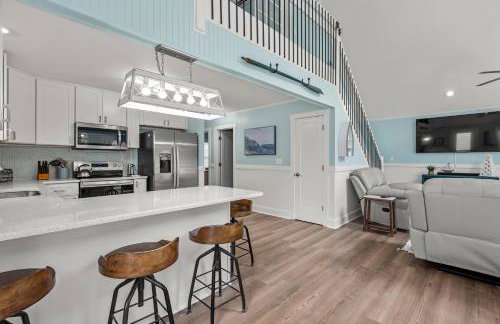
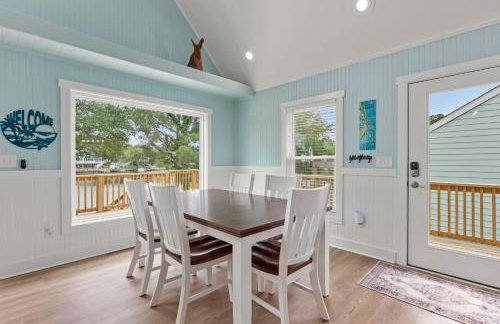
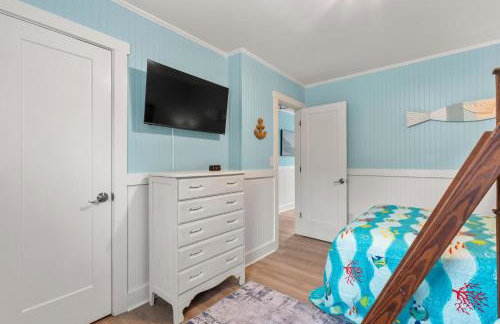
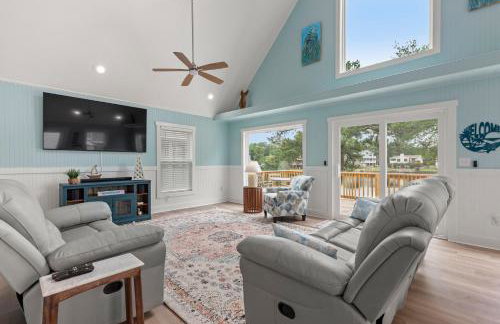
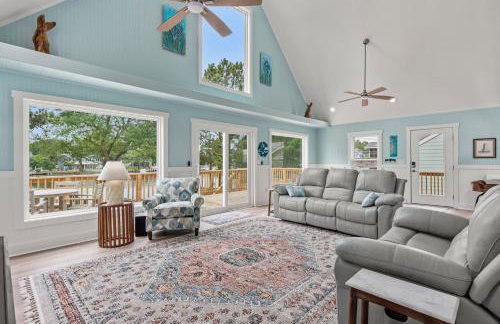
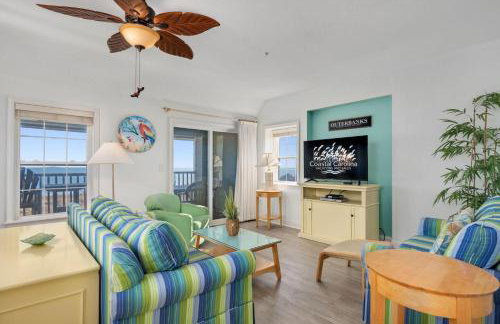
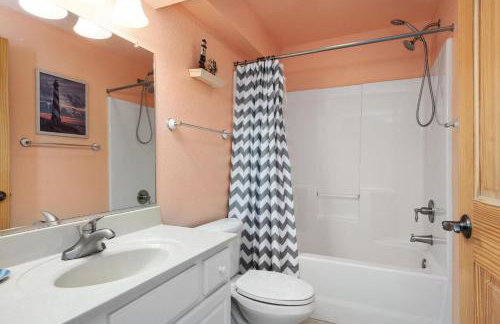
Breeze On Inn - Foto 3
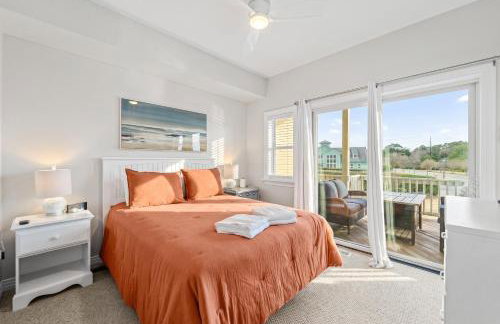
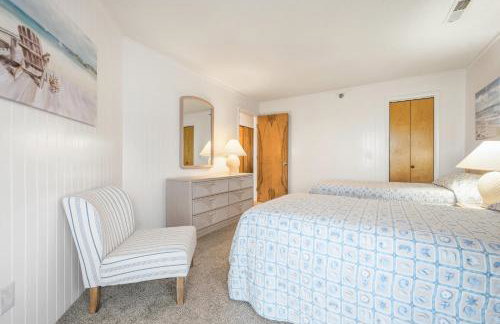
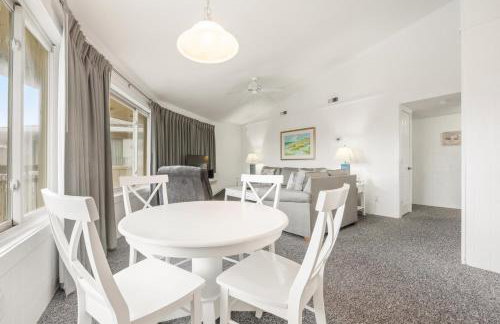
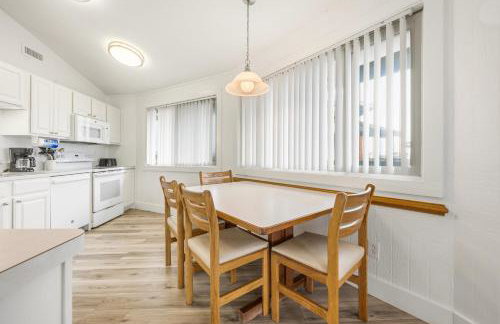
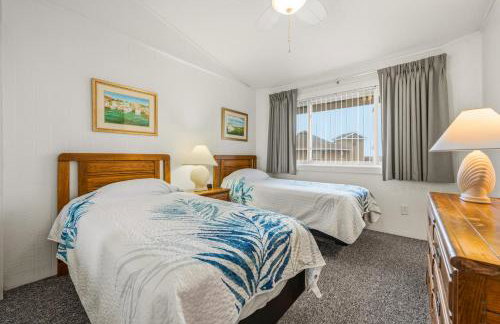
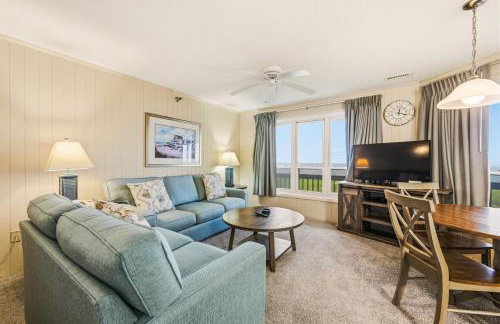
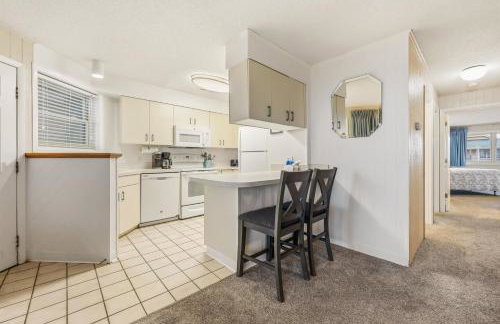
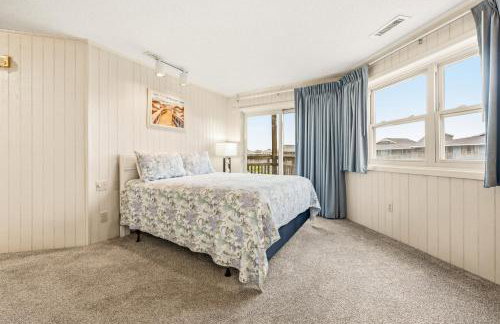
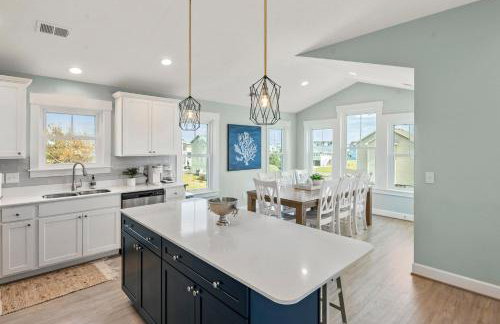
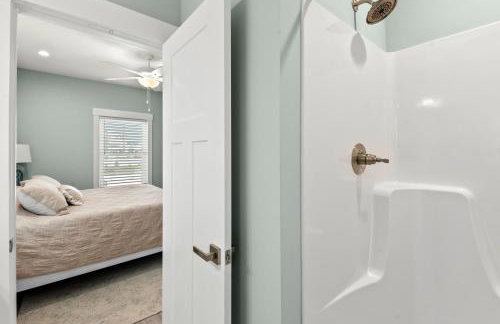
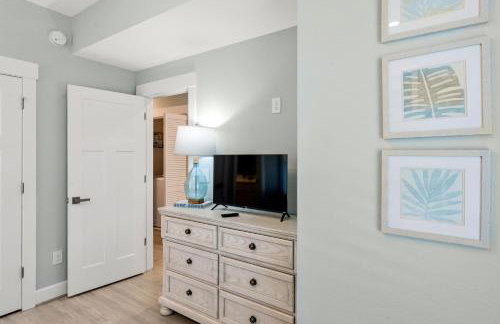
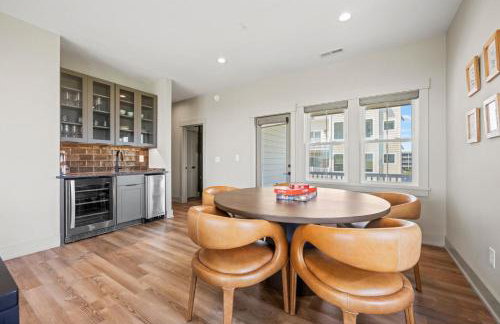
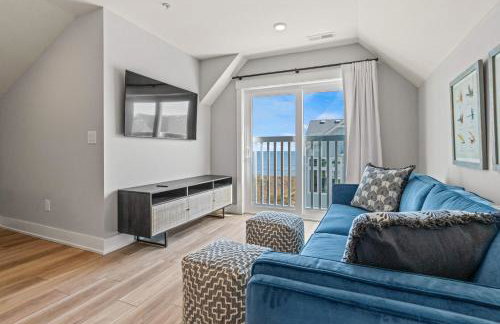
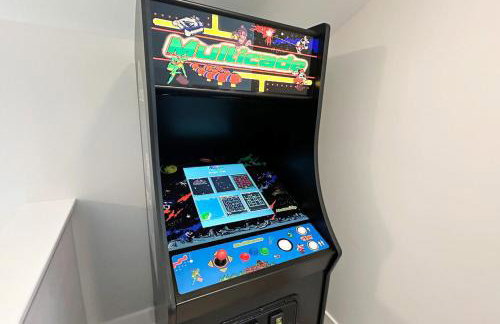
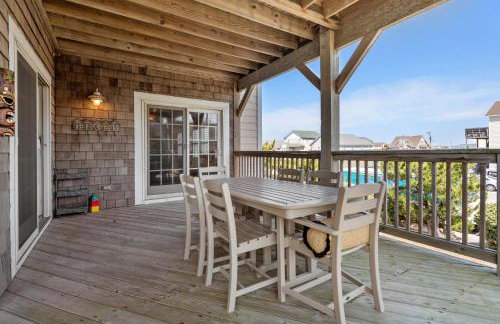
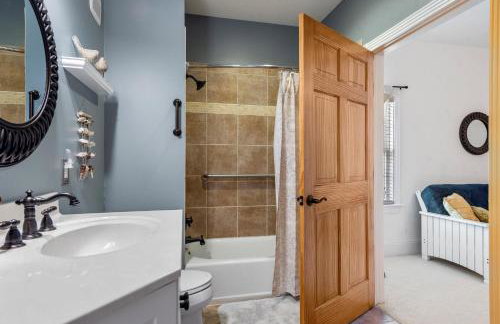
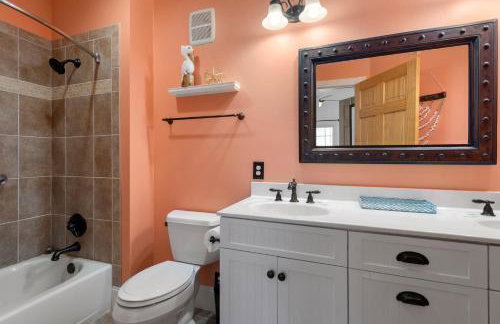
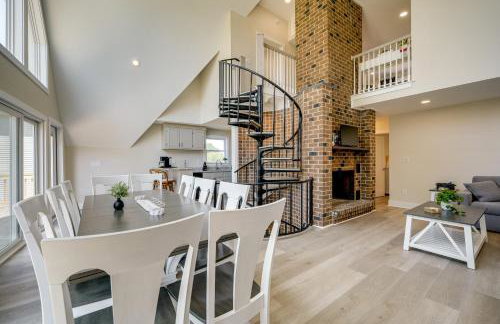
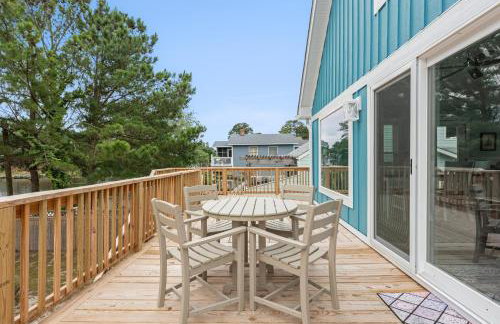
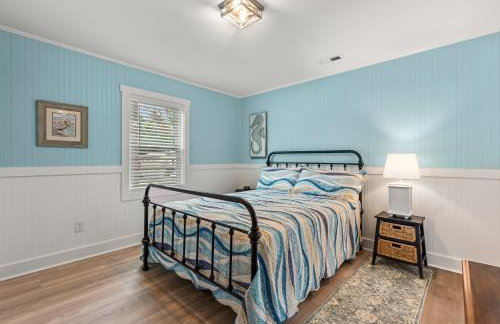
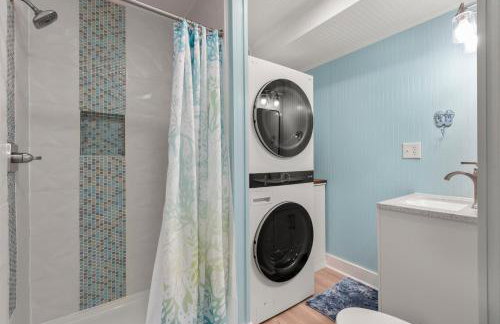
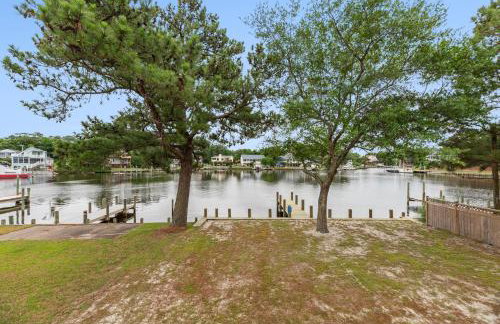
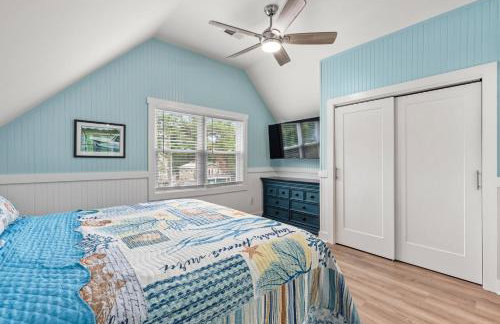
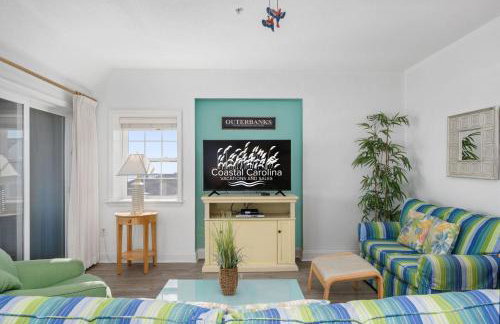
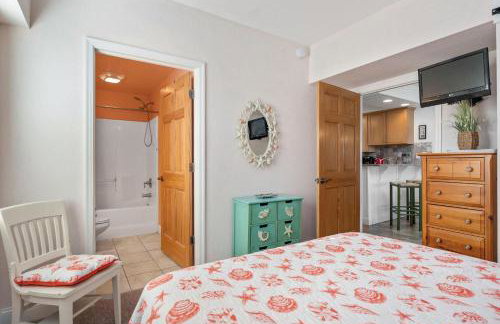
Breeze On Inn - Foto 4
Breeze On Inn - Foto 5
Breeze On Inn - Foto 6
Breeze On Inn - Foto 7
Breeze On Inn - Foto 8
Breeze On Inn - Foto 9
Breeze On Inn - Foto 10
Breeze On Inn - Foto 11
Breeze On Inn - Foto 12
Breeze On Inn - Foto 13
Breeze On Inn - Foto 14
Breeze On Inn - Foto 15
Breeze On Inn - Foto 16
Breeze On Inn - Foto 17
Breeze On Inn - Foto 18
Breeze On Inn - Foto 19
Breeze On Inn - Foto 20
Breeze On Inn - Foto 21
Breeze On Inn - Foto 22
Breeze On Inn - Foto 23
Breeze On Inn - Foto 24
Breeze On Inn - Foto 25
Breeze On Inn - Foto 26
Breeze On Inn - Foto 27
Breeze On Inn - Foto 28
Breeze On Inn - Foto 29
Breeze On Inn - Foto 30
Breeze On Inn - Foto 31
Breeze On Inn - Foto 32
Breeze On Inn - Foto 33
Breeze On Inn - Foto 34
Breeze On Inn - Foto 35
Breeze On Inn - Foto 36
Breeze On Inn - Foto 37
Breeze On Inn - Foto 38

Breeze On Inn

Kill Devil Hills

  • 167 M2
  • 4 quartos
  • 8 pessoas
  • Ar-condicionado
  • Aquecimento
  • Piscina
  • Estacionamento
  • Jardim
10Magnífico | 10 avaliações
Salty Shenanigans - Foto 1
Salty Shenanigans - Foto 2
Salty Shenanigans - Foto 3
Salty Shenanigans - Foto 4
Salty Shenanigans - Foto 5
Salty Shenanigans - Foto 6
Salty Shenanigans - Foto 7
Salty Shenanigans - Foto 8
Salty Shenanigans - Foto 9
Salty Shenanigans - Foto 10
Salty Shenanigans - Foto 11
Salty Shenanigans - Foto 12
Salty Shenanigans - Foto 13
Salty Shenanigans - Foto 14
Salty Shenanigans - Foto 15
Salty Shenanigans - Foto 16
Salty Shenanigans - Foto 17
Salty Shenanigans - Foto 18
Salty Shenanigans - Foto 19
Salty Shenanigans - Foto 20
Salty Shenanigans - Foto 21
Salty Shenanigans - Foto 22
Salty Shenanigans - Foto 23
Salty Shenanigans - Foto 24
Salty Shenanigans - Foto 25
Salty Shenanigans - Foto 26
Salty Shenanigans - Foto 27
Salty Shenanigans - Foto 28
Salty Shenanigans - Foto 29
Salty Shenanigans - Foto 30
Salty Shenanigans - Foto 31
Salty Shenanigans - Foto 32
Salty Shenanigans - Foto 33
Salty Shenanigans - Foto 34
Salty Shenanigans - Foto 35
Salty Shenanigans - Foto 36
Salty Shenanigans - Foto 37
Salty Shenanigans - Foto 38

Salty Shenanigans

Kill Devil Hills

  • 133 M2
  • 2 quartos
  • 6 pessoas
  • Ar-condicionado
  • Aquecimento
  • Terraço
  • Piscina
  • Estacionamento
  • Elevador
  • Jardim
  • Churrasco
9.8Excepcional | 19 avaliações
The Wright Stuff OBX - Foto 1
The Wright Stuff OBX - Foto 2
The Wright Stuff OBX - Foto 3
The Wright Stuff OBX - Foto 4
The Wright Stuff OBX - Foto 5
The Wright Stuff OBX - Foto 6
The Wright Stuff OBX - Foto 7
The Wright Stuff OBX - Foto 8
The Wright Stuff OBX - Foto 9
The Wright Stuff OBX - Foto 10
The Wright Stuff OBX - Foto 11
The Wright Stuff OBX - Foto 12
The Wright Stuff OBX - Foto 13
The Wright Stuff OBX - Foto 14
The Wright Stuff OBX - Foto 15
The Wright Stuff OBX - Foto 16
The Wright Stuff OBX - Foto 17
The Wright Stuff OBX - Foto 18
The Wright Stuff OBX - Foto 19
The Wright Stuff OBX - Foto 20
The Wright Stuff OBX - Foto 21
The Wright Stuff OBX - Foto 22
The Wright Stuff OBX - Foto 23
The Wright Stuff OBX - Foto 24
The Wright Stuff OBX - Foto 25
The Wright Stuff OBX - Foto 26
The Wright Stuff OBX - Foto 27
The Wright Stuff OBX - Foto 28
The Wright Stuff OBX - Foto 29
The Wright Stuff OBX - Foto 30
The Wright Stuff OBX - Foto 31
The Wright Stuff OBX - Foto 32
The Wright Stuff OBX - Foto 33
The Wright Stuff OBX - Foto 34
The Wright Stuff OBX - Foto 35
The Wright Stuff OBX - Foto 36
The Wright Stuff OBX - Foto 37
The Wright Stuff OBX - Foto 38
The Wright Stuff OBX - Foto 39
The Wright Stuff OBX - Foto 40

The Wright Stuff OBX

Kill Devil Hills

  • 15 M2
  • 4 quartos
  • 8 pessoas
  • Ar-condicionado
  • Aquecimento
  • Terraço
  • Piscina
  • Estacionamento
  • Jardim
  • Churrasco
9.5Excepcional | 11 avaliações
Oceanside Cottage -3BDR 2BA-Walk to Beach! - Foto 1
Oceanside Cottage -3BDR 2BA-Walk to Beach! - Foto 2
Oceanside Cottage -3BDR 2BA-Walk to Beach! - Foto 3
Oceanside Cottage -3BDR 2BA-Walk to Beach! - Foto 4
Oceanside Cottage -3BDR 2BA-Walk to Beach! - Foto 5
Oceanside Cottage -3BDR 2BA-Walk to Beach! - Foto 6
Oceanside Cottage -3BDR 2BA-Walk to Beach! - Foto 7
Oceanside Cottage -3BDR 2BA-Walk to Beach! - Foto 8
Oceanside Cottage -3BDR 2BA-Walk to Beach! - Foto 9
Oceanside Cottage -3BDR 2BA-Walk to Beach! - Foto 10
Oceanside Cottage -3BDR 2BA-Walk to Beach! - Foto 11
Oceanside Cottage -3BDR 2BA-Walk to Beach! - Foto 12
Oceanside Cottage -3BDR 2BA-Walk to Beach! - Foto 13
Oceanside Cottage -3BDR 2BA-Walk to Beach! - Foto 14
Oceanside Cottage -3BDR 2BA-Walk to Beach! - Foto 15
Oceanside Cottage -3BDR 2BA-Walk to Beach! - Foto 16
Oceanside Cottage -3BDR 2BA-Walk to Beach! - Foto 17
Oceanside Cottage -3BDR 2BA-Walk to Beach! - Foto 18
Oceanside Cottage -3BDR 2BA-Walk to Beach! - Foto 19
Oceanside Cottage -3BDR 2BA-Walk to Beach! - Foto 20
Oceanside Cottage -3BDR 2BA-Walk to Beach! - Foto 21
Oceanside Cottage -3BDR 2BA-Walk to Beach! - Foto 22
Oceanside Cottage -3BDR 2BA-Walk to Beach! - Foto 23
Oceanside Cottage -3BDR 2BA-Walk to Beach! - Foto 24
Oceanside Cottage -3BDR 2BA-Walk to Beach! - Foto 25
Oceanside Cottage -3BDR 2BA-Walk to Beach! - Foto 26
Oceanside Cottage -3BDR 2BA-Walk to Beach! - Foto 27
Oceanside Cottage -3BDR 2BA-Walk to Beach! - Foto 28
Oceanside Cottage -3BDR 2BA-Walk to Beach! - Foto 29
Oceanside Cottage -3BDR 2BA-Walk to Beach! - Foto 30
Oceanside Cottage -3BDR 2BA-Walk to Beach! - Foto 31
Oceanside Cottage -3BDR 2BA-Walk to Beach! - Foto 32
Oceanside Cottage -3BDR 2BA-Walk to Beach! - Foto 33
Oceanside Cottage -3BDR 2BA-Walk to Beach! - Foto 34
Oceanside Cottage -3BDR 2BA-Walk to Beach! - Foto 35
Oceanside Cottage -3BDR 2BA-Walk to Beach! - Foto 36
Oceanside Cottage -3BDR 2BA-Walk to Beach! - Foto 37
Oceanside Cottage -3BDR 2BA-Walk to Beach! - Foto 38
Oceanside Cottage -3BDR 2BA-Walk to Beach! - Foto 39
Oceanside Cottage -3BDR 2BA-Walk to Beach! - Foto 40
Oceanside Cottage -3BDR 2BA-Walk to Beach! - Foto 41
Oceanside Cottage -3BDR 2BA-Walk to Beach! - Foto 42
Oceanside Cottage -3BDR 2BA-Walk to Beach! - Foto 43
Oceanside Cottage -3BDR 2BA-Walk to Beach! - Foto 44
Oceanside Cottage -3BDR 2BA-Walk to Beach! - Foto 45
Oceanside Cottage -3BDR 2BA-Walk to Beach! - Foto 46
Oceanside Cottage -3BDR 2BA-Walk to Beach! - Foto 47
Oceanside Cottage -3BDR 2BA-Walk to Beach! - Foto 48
Oceanside Cottage -3BDR 2BA-Walk to Beach! - Foto 49
Oceanside Cottage -3BDR 2BA-Walk to Beach! - Foto 50
Oceanside Cottage -3BDR 2BA-Walk to Beach! - Foto 51
Oceanside Cottage -3BDR 2BA-Walk to Beach! - Foto 52
Oceanside Cottage -3BDR 2BA-Walk to Beach! - Foto 53
Oceanside Cottage -3BDR 2BA-Walk to Beach! - Foto 54

Oceanside Cottage -3BDR 2BA-Walk to Beach!

Kill Devil Hills

  • 102 M2
  • 3 quartos
  • 9 pessoas
  • Ar-condicionado
  • Aquecimento
  • Terraço
  • Estacionamento
  • Jardim
  • Churrasco
9.8Excepcional | 12 avaliações
Sea Cave, OBX gem, private studio, couple's nest! - Foto 1
Sea Cave, OBX gem, private studio, couple's nest! - Foto 2
Sea Cave, OBX gem, private studio, couple's nest! - Foto 3
Sea Cave, OBX gem, private studio, couple's nest! - Foto 4
Sea Cave, OBX gem, private studio, couple's nest! - Foto 5
Sea Cave, OBX gem, private studio, couple's nest! - Foto 6
Sea Cave, OBX gem, private studio, couple's nest! - Foto 7
Sea Cave, OBX gem, private studio, couple's nest! - Foto 8
Sea Cave, OBX gem, private studio, couple's nest! - Foto 9
Sea Cave, OBX gem, private studio, couple's nest! - Foto 10
Sea Cave, OBX gem, private studio, couple's nest! - Foto 11
Sea Cave, OBX gem, private studio, couple's nest! - Foto 12
Sea Cave, OBX gem, private studio, couple's nest! - Foto 13
Sea Cave, OBX gem, private studio, couple's nest! - Foto 14
Sea Cave, OBX gem, private studio, couple's nest! - Foto 15
Sea Cave, OBX gem, private studio, couple's nest! - Foto 16
Sea Cave, OBX gem, private studio, couple's nest! - Foto 17
Sea Cave, OBX gem, private studio, couple's nest! - Foto 18
Sea Cave, OBX gem, private studio, couple's nest! - Foto 19
Sea Cave, OBX gem, private studio, couple's nest! - Foto 20
Sea Cave, OBX gem, private studio, couple's nest! - Foto 21
Sea Cave, OBX gem, private studio, couple's nest! - Foto 22

Sea Cave, OBX gem, private studio, couple's nest!

Kill Devil Hills

  • 28 M2
  • 1 quarto
  • 3 pessoas
  • Ar-condicionado
  • Aquecimento
  • Terraço
  • Estacionamento
  • Jardim
9.7Excepcional | 32 avaliações
OBX 4BR Oceanfront Cottage - Foto 1
OBX 4BR Oceanfront Cottage - Foto 2
OBX 4BR Oceanfront Cottage - Foto 3
OBX 4BR Oceanfront Cottage - Foto 4
OBX 4BR Oceanfront Cottage - Foto 5
OBX 4BR Oceanfront Cottage - Foto 6
OBX 4BR Oceanfront Cottage - Foto 7
OBX 4BR Oceanfront Cottage - Foto 8
OBX 4BR Oceanfront Cottage - Foto 9
OBX 4BR Oceanfront Cottage - Foto 10
OBX 4BR Oceanfront Cottage - Foto 11
OBX 4BR Oceanfront Cottage - Foto 12
OBX 4BR Oceanfront Cottage - Foto 13
OBX 4BR Oceanfront Cottage - Foto 14
OBX 4BR Oceanfront Cottage - Foto 15
OBX 4BR Oceanfront Cottage - Foto 16
OBX 4BR Oceanfront Cottage - Foto 17
OBX 4BR Oceanfront Cottage - Foto 18
OBX 4BR Oceanfront Cottage - Foto 19
OBX 4BR Oceanfront Cottage - Foto 20
OBX 4BR Oceanfront Cottage - Foto 21
OBX 4BR Oceanfront Cottage - Foto 22
OBX 4BR Oceanfront Cottage - Foto 23
OBX 4BR Oceanfront Cottage - Foto 24
OBX 4BR Oceanfront Cottage - Foto 25
OBX 4BR Oceanfront Cottage - Foto 26
OBX 4BR Oceanfront Cottage - Foto 27
OBX 4BR Oceanfront Cottage - Foto 28
OBX 4BR Oceanfront Cottage - Foto 29
OBX 4BR Oceanfront Cottage - Foto 30
OBX 4BR Oceanfront Cottage - Foto 31
OBX 4BR Oceanfront Cottage - Foto 32
OBX 4BR Oceanfront Cottage - Foto 33

OBX 4BR Oceanfront Cottage

Kill Devil Hills

  • 60 M2
  • 4 quartos
  • 9 pessoas
  • Ar-condicionado
  • Aquecimento
  • Jardim
9.6Excepcional | 12 avaliações
Hamilton Cay at Bermuda Bay by Kees Vacations - Foto 1
Hamilton Cay at Bermuda Bay by Kees Vacations - Foto 2
Hamilton Cay at Bermuda Bay by Kees Vacations - Foto 3
Hamilton Cay at Bermuda Bay by Kees Vacations - Foto 4
Hamilton Cay at Bermuda Bay by Kees Vacations - Foto 5
Hamilton Cay at Bermuda Bay by Kees Vacations - Foto 6
Hamilton Cay at Bermuda Bay by Kees Vacations - Foto 7
Hamilton Cay at Bermuda Bay by Kees Vacations - Foto 8
Hamilton Cay at Bermuda Bay by Kees Vacations - Foto 9
Hamilton Cay at Bermuda Bay by Kees Vacations - Foto 10
Hamilton Cay at Bermuda Bay by Kees Vacations - Foto 11
Hamilton Cay at Bermuda Bay by Kees Vacations - Foto 12
Hamilton Cay at Bermuda Bay by Kees Vacations - Foto 13
Hamilton Cay at Bermuda Bay by Kees Vacations - Foto 14
Hamilton Cay at Bermuda Bay by Kees Vacations - Foto 15
Hamilton Cay at Bermuda Bay by Kees Vacations - Foto 16
Hamilton Cay at Bermuda Bay by Kees Vacations - Foto 17
Hamilton Cay at Bermuda Bay by Kees Vacations - Foto 18
Hamilton Cay at Bermuda Bay by Kees Vacations - Foto 19
Hamilton Cay at Bermuda Bay by Kees Vacations - Foto 20
Hamilton Cay at Bermuda Bay by Kees Vacations - Foto 21
Hamilton Cay at Bermuda Bay by Kees Vacations - Foto 22
Hamilton Cay at Bermuda Bay by Kees Vacations - Foto 23
Hamilton Cay at Bermuda Bay by Kees Vacations - Foto 24
Hamilton Cay at Bermuda Bay by Kees Vacations - Foto 25
Hamilton Cay at Bermuda Bay by Kees Vacations - Foto 26
Hamilton Cay at Bermuda Bay by Kees Vacations - Foto 27
Hamilton Cay at Bermuda Bay by Kees Vacations - Foto 28
Hamilton Cay at Bermuda Bay by Kees Vacations - Foto 29
Hamilton Cay at Bermuda Bay by Kees Vacations - Foto 30
Hamilton Cay at Bermuda Bay by Kees Vacations - Foto 31
Hamilton Cay at Bermuda Bay by Kees Vacations - Foto 32
Hamilton Cay at Bermuda Bay by Kees Vacations - Foto 33
Hamilton Cay at Bermuda Bay by Kees Vacations - Foto 34
Hamilton Cay at Bermuda Bay by Kees Vacations - Foto 35
Hamilton Cay at Bermuda Bay by Kees Vacations - Foto 36

Hamilton Cay at Bermuda Bay by Kees Vacations

Kill Devil Hills

  • 130 M2
  • 4 pessoas
  • Ar-condicionado
  • Aquecimento
  • Piscina
  • Estacionamento
  • Elevador
  • Churrasco
8.9Muito bom | 14 avaliações
High Dunes - Foto 1
High Dunes - Foto 2
High Dunes - Foto 3
High Dunes - Foto 4
High Dunes - Foto 5
High Dunes - Foto 6
High Dunes - Foto 7
High Dunes - Foto 8
High Dunes - Foto 9
High Dunes - Foto 10
High Dunes - Foto 11
High Dunes - Foto 12
High Dunes - Foto 13
High Dunes - Foto 14
High Dunes - Foto 15
High Dunes - Foto 16
High Dunes - Foto 17
High Dunes - Foto 18
High Dunes - Foto 19
High Dunes - Foto 20
High Dunes - Foto 21
High Dunes - Foto 22
High Dunes - Foto 23
High Dunes - Foto 24
High Dunes - Foto 25
High Dunes - Foto 26
High Dunes - Foto 27
High Dunes - Foto 28

High Dunes

Kill Devil Hills

  • 2 quartos
  • 4 pessoas
  • Ar-condicionado
  • Aquecimento
  • Estacionamento
9.5Excepcional | 16 avaliações
Outer Banks Beach Club - Foto 1
Outer Banks Beach Club - Foto 2
Outer Banks Beach Club - Foto 3
Outer Banks Beach Club - Foto 4
Outer Banks Beach Club - Foto 5
Outer Banks Beach Club - Foto 6
Outer Banks Beach Club - Foto 7
Outer Banks Beach Club - Foto 8
Outer Banks Beach Club - Foto 9
Outer Banks Beach Club - Foto 10
Outer Banks Beach Club - Foto 11
Outer Banks Beach Club - Foto 12
Outer Banks Beach Club - Foto 13
Outer Banks Beach Club - Foto 14
Outer Banks Beach Club - Foto 15
Outer Banks Beach Club - Foto 16
Outer Banks Beach Club - Foto 17
Outer Banks Beach Club - Foto 18
Outer Banks Beach Club - Foto 19
Outer Banks Beach Club - Foto 20
Outer Banks Beach Club - Foto 21
Outer Banks Beach Club - Foto 22
Outer Banks Beach Club - Foto 23
Outer Banks Beach Club - Foto 24
Outer Banks Beach Club - Foto 25
Outer Banks Beach Club - Foto 26
Outer Banks Beach Club - Foto 27
Outer Banks Beach Club - Foto 28
Outer Banks Beach Club - Foto 29
Outer Banks Beach Club - Foto 30
Outer Banks Beach Club - Foto 31
Outer Banks Beach Club - Foto 32
Outer Banks Beach Club - Foto 33
Outer Banks Beach Club - Foto 34
Outer Banks Beach Club - Foto 35
Outer Banks Beach Club - Foto 36
Outer Banks Beach Club - Foto 37
Outer Banks Beach Club - Foto 38
Outer Banks Beach Club - Foto 39
Outer Banks Beach Club - Foto 40
Outer Banks Beach Club - Foto 41
Outer Banks Beach Club - Foto 42
Outer Banks Beach Club - Foto 43
Outer Banks Beach Club - Foto 44
Outer Banks Beach Club - Foto 45
Outer Banks Beach Club - Foto 46
Outer Banks Beach Club - Foto 47
Outer Banks Beach Club - Foto 48
Outer Banks Beach Club - Foto 49
Outer Banks Beach Club - Foto 50
Outer Banks Beach Club - Foto 51
Outer Banks Beach Club - Foto 52
Outer Banks Beach Club - Foto 53
Outer Banks Beach Club - Foto 54
Outer Banks Beach Club - Foto 55
Outer Banks Beach Club - Foto 56
Outer Banks Beach Club - Foto 57
Outer Banks Beach Club - Foto 58
Outer Banks Beach Club - Foto 59
Outer Banks Beach Club - Foto 60
Outer Banks Beach Club - Foto 61
Outer Banks Beach Club - Foto 62
Outer Banks Beach Club - Foto 63
Outer Banks Beach Club - Foto 64
Outer Banks Beach Club - Foto 65
Outer Banks Beach Club - Foto 66
Outer Banks Beach Club - Foto 67
Outer Banks Beach Club - Foto 68
Outer Banks Beach Club - Foto 69
Outer Banks Beach Club - Foto 70
Outer Banks Beach Club - Foto 71
Outer Banks Beach Club - Foto 72
Outer Banks Beach Club - Foto 73
Outer Banks Beach Club - Foto 74
Outer Banks Beach Club - Foto 75
Outer Banks Beach Club - Foto 76
Outer Banks Beach Club - Foto 77

Outer Banks Beach Club

Kill Devil Hills

  • 111 M2
  • 3 quartos
  • 8 pessoas
  • Ar-condicionado
  • Aquecimento
  • Piscina
  • Estacionamento
  • Elevador
  • Jardim
  • Churrasco
8.6Muito bom | 492 avaliações
Crystal Cove - Foto 1
Crystal Cove - Foto 2
Crystal Cove - Foto 3
Crystal Cove - Foto 4
Crystal Cove - Foto 5
Crystal Cove - Foto 6
Crystal Cove - Foto 7
Crystal Cove - Foto 8
Crystal Cove - Foto 9
Crystal Cove - Foto 10
Crystal Cove - Foto 11
Crystal Cove - Foto 12
Crystal Cove - Foto 13
Crystal Cove - Foto 14
Crystal Cove - Foto 15
Crystal Cove - Foto 16
Crystal Cove - Foto 17
Crystal Cove - Foto 18
Crystal Cove - Foto 19
Crystal Cove - Foto 20
Crystal Cove - Foto 21
Crystal Cove - Foto 22
Crystal Cove - Foto 23
Crystal Cove - Foto 24
Crystal Cove - Foto 25
Crystal Cove - Foto 26
Crystal Cove - Foto 27
Crystal Cove - Foto 28
Crystal Cove - Foto 29
Crystal Cove - Foto 30
Crystal Cove - Foto 31
Crystal Cove - Foto 32
Crystal Cove - Foto 33
Crystal Cove - Foto 34
Crystal Cove - Foto 35
Crystal Cove - Foto 36
Crystal Cove - Foto 37
Crystal Cove - Foto 38
Crystal Cove - Foto 39
Crystal Cove - Foto 40
Crystal Cove - Foto 41
Crystal Cove - Foto 42
Crystal Cove - Foto 43

Crystal Cove

Kill Devil Hills

  • 195 M2
  • 4 quartos
  • 8 pessoas
  • Ar-condicionado
  • Aquecimento
  • Piscina
  • Estacionamento
  • Elevador
  • Jardim
  • Churrasco
10Magnífico | 2 avaliações
The Tides by KEES Vacations - Foto 1
The Tides by KEES Vacations - Foto 2
The Tides by KEES Vacations - Foto 3
The Tides by KEES Vacations - Foto 4
The Tides by KEES Vacations - Foto 5
The Tides by KEES Vacations - Foto 6
The Tides by KEES Vacations - Foto 7
The Tides by KEES Vacations - Foto 8
The Tides by KEES Vacations - Foto 9
The Tides by KEES Vacations - Foto 10
The Tides by KEES Vacations - Foto 11
The Tides by KEES Vacations - Foto 12
The Tides by KEES Vacations - Foto 13
The Tides by KEES Vacations - Foto 14
The Tides by KEES Vacations - Foto 15
The Tides by KEES Vacations - Foto 16
The Tides by KEES Vacations - Foto 17
The Tides by KEES Vacations - Foto 18
The Tides by KEES Vacations - Foto 19
The Tides by KEES Vacations - Foto 20
The Tides by KEES Vacations - Foto 21
The Tides by KEES Vacations - Foto 22
The Tides by KEES Vacations - Foto 23
The Tides by KEES Vacations - Foto 24
The Tides by KEES Vacations - Foto 25
The Tides by KEES Vacations - Foto 26
The Tides by KEES Vacations - Foto 27
The Tides by KEES Vacations - Foto 28
The Tides by KEES Vacations - Foto 29
The Tides by KEES Vacations - Foto 30
The Tides by KEES Vacations - Foto 31
The Tides by KEES Vacations - Foto 32
The Tides by KEES Vacations - Foto 33
The Tides by KEES Vacations - Foto 34
The Tides by KEES Vacations - Foto 35
The Tides by KEES Vacations - Foto 36
The Tides by KEES Vacations - Foto 37
The Tides by KEES Vacations - Foto 38
The Tides by KEES Vacations - Foto 39
The Tides by KEES Vacations - Foto 40

The Tides by KEES Vacations

Kill Devil Hills

  • 9 M2
  • 5 quartos
  • 12 pessoas
  • Ar-condicionado
  • Estacionamento
  • Jardim
9.3Excepcional | 12 avaliações
Couples Retreat with Hot Tub, Beach Cruisers, Spa Bath - Foto 1
Couples Retreat with Hot Tub, Beach Cruisers, Spa Bath - Foto 2
Couples Retreat with Hot Tub, Beach Cruisers, Spa Bath - Foto 3
Couples Retreat with Hot Tub, Beach Cruisers, Spa Bath - Foto 4
Couples Retreat with Hot Tub, Beach Cruisers, Spa Bath - Foto 5
Couples Retreat with Hot Tub, Beach Cruisers, Spa Bath - Foto 6
Couples Retreat with Hot Tub, Beach Cruisers, Spa Bath - Foto 7
Couples Retreat with Hot Tub, Beach Cruisers, Spa Bath - Foto 8
Couples Retreat with Hot Tub, Beach Cruisers, Spa Bath - Foto 9
Couples Retreat with Hot Tub, Beach Cruisers, Spa Bath - Foto 10
Couples Retreat with Hot Tub, Beach Cruisers, Spa Bath - Foto 11
Couples Retreat with Hot Tub, Beach Cruisers, Spa Bath - Foto 12
Couples Retreat with Hot Tub, Beach Cruisers, Spa Bath - Foto 13
Couples Retreat with Hot Tub, Beach Cruisers, Spa Bath - Foto 14
Couples Retreat with Hot Tub, Beach Cruisers, Spa Bath - Foto 15
Couples Retreat with Hot Tub, Beach Cruisers, Spa Bath - Foto 16
Couples Retreat with Hot Tub, Beach Cruisers, Spa Bath - Foto 17
Couples Retreat with Hot Tub, Beach Cruisers, Spa Bath - Foto 18
Couples Retreat with Hot Tub, Beach Cruisers, Spa Bath - Foto 19
Couples Retreat with Hot Tub, Beach Cruisers, Spa Bath - Foto 20
Couples Retreat with Hot Tub, Beach Cruisers, Spa Bath - Foto 21
Couples Retreat with Hot Tub, Beach Cruisers, Spa Bath - Foto 22
Couples Retreat with Hot Tub, Beach Cruisers, Spa Bath - Foto 23
Couples Retreat with Hot Tub, Beach Cruisers, Spa Bath - Foto 24
Couples Retreat with Hot Tub, Beach Cruisers, Spa Bath - Foto 25
Couples Retreat with Hot Tub, Beach Cruisers, Spa Bath - Foto 26
Couples Retreat with Hot Tub, Beach Cruisers, Spa Bath - Foto 27
Couples Retreat with Hot Tub, Beach Cruisers, Spa Bath - Foto 28
Couples Retreat with Hot Tub, Beach Cruisers, Spa Bath - Foto 29
Couples Retreat with Hot Tub, Beach Cruisers, Spa Bath - Foto 30
Couples Retreat with Hot Tub, Beach Cruisers, Spa Bath - Foto 31
Couples Retreat with Hot Tub, Beach Cruisers, Spa Bath - Foto 32
Couples Retreat with Hot Tub, Beach Cruisers, Spa Bath - Foto 33
Couples Retreat with Hot Tub, Beach Cruisers, Spa Bath - Foto 34
Couples Retreat with Hot Tub, Beach Cruisers, Spa Bath - Foto 35
Couples Retreat with Hot Tub, Beach Cruisers, Spa Bath - Foto 36
Couples Retreat with Hot Tub, Beach Cruisers, Spa Bath - Foto 37
Couples Retreat with Hot Tub, Beach Cruisers, Spa Bath - Foto 38
Couples Retreat with Hot Tub, Beach Cruisers, Spa Bath - Foto 39
Couples Retreat with Hot Tub, Beach Cruisers, Spa Bath - Foto 40
Couples Retreat with Hot Tub, Beach Cruisers, Spa Bath - Foto 41
Couples Retreat with Hot Tub, Beach Cruisers, Spa Bath - Foto 42
Couples Retreat with Hot Tub, Beach Cruisers, Spa Bath - Foto 43
Couples Retreat with Hot Tub, Beach Cruisers, Spa Bath - Foto 44
Couples Retreat with Hot Tub, Beach Cruisers, Spa Bath - Foto 45
Couples Retreat with Hot Tub, Beach Cruisers, Spa Bath - Foto 46
Couples Retreat with Hot Tub, Beach Cruisers, Spa Bath - Foto 47
Couples Retreat with Hot Tub, Beach Cruisers, Spa Bath - Foto 48
Couples Retreat with Hot Tub, Beach Cruisers, Spa Bath - Foto 49
Couples Retreat with Hot Tub, Beach Cruisers, Spa Bath - Foto 50
Couples Retreat with Hot Tub, Beach Cruisers, Spa Bath - Foto 51
Couples Retreat with Hot Tub, Beach Cruisers, Spa Bath - Foto 52
Couples Retreat with Hot Tub, Beach Cruisers, Spa Bath - Foto 53
Couples Retreat with Hot Tub, Beach Cruisers, Spa Bath - Foto 54

Couples Retreat with Hot Tub, Beach Cruisers, Spa Bath

Kill Devil Hills

  • 65 M2
  • 1 quarto
  • 2 pessoas
  • Ar-condicionado
  • Estacionamento
10Magnífico | 6 avaliações
Nags Head Cottage: Screened Porch, Walk to Beach! - Foto 1
Nags Head Cottage: Screened Porch, Walk to Beach! - Foto 2
Nags Head Cottage: Screened Porch, Walk to Beach! - Foto 3
Nags Head Cottage: Screened Porch, Walk to Beach! - Foto 4
Nags Head Cottage: Screened Porch, Walk to Beach! - Foto 5
Nags Head Cottage: Screened Porch, Walk to Beach! - Foto 6
Nags Head Cottage: Screened Porch, Walk to Beach! - Foto 7
Nags Head Cottage: Screened Porch, Walk to Beach! - Foto 8
Nags Head Cottage: Screened Porch, Walk to Beach! - Foto 9
Nags Head Cottage: Screened Porch, Walk to Beach! - Foto 10
Nags Head Cottage: Screened Porch, Walk to Beach! - Foto 11
Nags Head Cottage: Screened Porch, Walk to Beach! - Foto 12
Nags Head Cottage: Screened Porch, Walk to Beach! - Foto 13
Nags Head Cottage: Screened Porch, Walk to Beach! - Foto 14
Nags Head Cottage: Screened Porch, Walk to Beach! - Foto 15
Nags Head Cottage: Screened Porch, Walk to Beach! - Foto 16
Nags Head Cottage: Screened Porch, Walk to Beach! - Foto 17
Nags Head Cottage: Screened Porch, Walk to Beach! - Foto 18
Nags Head Cottage: Screened Porch, Walk to Beach! - Foto 19
Nags Head Cottage: Screened Porch, Walk to Beach! - Foto 20
Nags Head Cottage: Screened Porch, Walk to Beach! - Foto 21
Nags Head Cottage: Screened Porch, Walk to Beach! - Foto 22
Nags Head Cottage: Screened Porch, Walk to Beach! - Foto 23
Nags Head Cottage: Screened Porch, Walk to Beach! - Foto 24
Nags Head Cottage: Screened Porch, Walk to Beach! - Foto 25

Nags Head Cottage: Screened Porch, Walk to Beach!

Kill Devil Hills

  • 89 M2
  • 3 quartos
  • 6 pessoas
  • Aquecimento
  • Estacionamento
9.8Excepcional | 8 avaliações
Hamilton Cay Reserve at Bermuda Bay by KEES Vacations - Foto 1
Hamilton Cay Reserve at Bermuda Bay by KEES Vacations - Foto 2
Hamilton Cay Reserve at Bermuda Bay by KEES Vacations - Foto 3
Hamilton Cay Reserve at Bermuda Bay by KEES Vacations - Foto 4
Hamilton Cay Reserve at Bermuda Bay by KEES Vacations - Foto 5
Hamilton Cay Reserve at Bermuda Bay by KEES Vacations - Foto 6
Hamilton Cay Reserve at Bermuda Bay by KEES Vacations - Foto 7
Hamilton Cay Reserve at Bermuda Bay by KEES Vacations - Foto 8
Hamilton Cay Reserve at Bermuda Bay by KEES Vacations - Foto 9
Hamilton Cay Reserve at Bermuda Bay by KEES Vacations - Foto 10
Hamilton Cay Reserve at Bermuda Bay by KEES Vacations - Foto 11
Hamilton Cay Reserve at Bermuda Bay by KEES Vacations - Foto 12
Hamilton Cay Reserve at Bermuda Bay by KEES Vacations - Foto 13
Hamilton Cay Reserve at Bermuda Bay by KEES Vacations - Foto 14
Hamilton Cay Reserve at Bermuda Bay by KEES Vacations - Foto 15
Hamilton Cay Reserve at Bermuda Bay by KEES Vacations - Foto 16
Hamilton Cay Reserve at Bermuda Bay by KEES Vacations - Foto 17
Hamilton Cay Reserve at Bermuda Bay by KEES Vacations - Foto 18
Hamilton Cay Reserve at Bermuda Bay by KEES Vacations - Foto 19
Hamilton Cay Reserve at Bermuda Bay by KEES Vacations - Foto 20
Hamilton Cay Reserve at Bermuda Bay by KEES Vacations - Foto 21
Hamilton Cay Reserve at Bermuda Bay by KEES Vacations - Foto 22
Hamilton Cay Reserve at Bermuda Bay by KEES Vacations - Foto 23
Hamilton Cay Reserve at Bermuda Bay by KEES Vacations - Foto 24
Hamilton Cay Reserve at Bermuda Bay by KEES Vacations - Foto 25
Hamilton Cay Reserve at Bermuda Bay by KEES Vacations - Foto 26
Hamilton Cay Reserve at Bermuda Bay by KEES Vacations - Foto 27
Hamilton Cay Reserve at Bermuda Bay by KEES Vacations - Foto 28
Hamilton Cay Reserve at Bermuda Bay by KEES Vacations - Foto 29
Hamilton Cay Reserve at Bermuda Bay by KEES Vacations - Foto 30
Hamilton Cay Reserve at Bermuda Bay by KEES Vacations - Foto 31
Hamilton Cay Reserve at Bermuda Bay by KEES Vacations - Foto 32
Hamilton Cay Reserve at Bermuda Bay by KEES Vacations - Foto 33
Hamilton Cay Reserve at Bermuda Bay by KEES Vacations - Foto 34
Hamilton Cay Reserve at Bermuda Bay by KEES Vacations - Foto 35
Hamilton Cay Reserve at Bermuda Bay by KEES Vacations - Foto 36
Hamilton Cay Reserve at Bermuda Bay by KEES Vacations - Foto 37
Hamilton Cay Reserve at Bermuda Bay by KEES Vacations - Foto 38
Hamilton Cay Reserve at Bermuda Bay by KEES Vacations - Foto 39
Hamilton Cay Reserve at Bermuda Bay by KEES Vacations - Foto 40
Hamilton Cay Reserve at Bermuda Bay by KEES Vacations - Foto 41
Hamilton Cay Reserve at Bermuda Bay by KEES Vacations - Foto 42
Hamilton Cay Reserve at Bermuda Bay by KEES Vacations - Foto 43
Hamilton Cay Reserve at Bermuda Bay by KEES Vacations - Foto 44
Hamilton Cay Reserve at Bermuda Bay by KEES Vacations - Foto 45
Hamilton Cay Reserve at Bermuda Bay by KEES Vacations - Foto 46
Hamilton Cay Reserve at Bermuda Bay by KEES Vacations - Foto 47
Hamilton Cay Reserve at Bermuda Bay by KEES Vacations - Foto 48
Hamilton Cay Reserve at Bermuda Bay by KEES Vacations - Foto 49
Hamilton Cay Reserve at Bermuda Bay by KEES Vacations - Foto 50
Hamilton Cay Reserve at Bermuda Bay by KEES Vacations - Foto 51
Hamilton Cay Reserve at Bermuda Bay by KEES Vacations - Foto 52
Hamilton Cay Reserve at Bermuda Bay by KEES Vacations - Foto 53
Hamilton Cay Reserve at Bermuda Bay by KEES Vacations - Foto 54

Hamilton Cay Reserve at Bermuda Bay by KEES Vacations

Kill Devil Hills

  • 135 M2
  • 3 quartos
  • 6 pessoas
  • Ar-condicionado
  • Piscina
  • Estacionamento
  • Elevador
8.6Muito bom | 17 avaliações
Captain Stews - Foto 1
Captain Stews - Foto 2
Captain Stews - Foto 3
Captain Stews - Foto 4
Captain Stews - Foto 5
Captain Stews - Foto 6
Captain Stews - Foto 7
Captain Stews - Foto 8
Captain Stews - Foto 9
Captain Stews - Foto 10
Captain Stews - Foto 11
Captain Stews - Foto 12
Captain Stews - Foto 13
Captain Stews - Foto 14
Captain Stews - Foto 15
Captain Stews - Foto 16
Captain Stews - Foto 17
Captain Stews - Foto 18
Captain Stews - Foto 19
Captain Stews - Foto 20
Captain Stews - Foto 21
Captain Stews - Foto 22
Captain Stews - Foto 23
Captain Stews - Foto 24
Captain Stews - Foto 25
Captain Stews - Foto 26
Captain Stews - Foto 27
Captain Stews - Foto 28
Captain Stews - Foto 29
Captain Stews - Foto 30
Captain Stews - Foto 31
Captain Stews - Foto 32

Captain Stews

Kill Devil Hills

  • 119 M2
  • 2 quartos
  • 4 pessoas
  • Ar-condicionado
  • Aquecimento
  • Estacionamento
  • Elevador
  • Jardim
  • Churrasco
9.7Excepcional | 3 avaliações
Private Dock & Beach Access: Outer Banks Area Home - Foto 1
Private Dock & Beach Access: Outer Banks Area Home - Foto 2
Private Dock & Beach Access: Outer Banks Area Home - Foto 3
Private Dock & Beach Access: Outer Banks Area Home - Foto 4
Private Dock & Beach Access: Outer Banks Area Home - Foto 5
Private Dock & Beach Access: Outer Banks Area Home - Foto 6
Private Dock & Beach Access: Outer Banks Area Home - Foto 7
Private Dock & Beach Access: Outer Banks Area Home - Foto 8
Private Dock & Beach Access: Outer Banks Area Home - Foto 9
Private Dock & Beach Access: Outer Banks Area Home - Foto 10
Private Dock & Beach Access: Outer Banks Area Home - Foto 11
Private Dock & Beach Access: Outer Banks Area Home - Foto 12
Private Dock & Beach Access: Outer Banks Area Home - Foto 13
Private Dock & Beach Access: Outer Banks Area Home - Foto 14
Private Dock & Beach Access: Outer Banks Area Home - Foto 15
Private Dock & Beach Access: Outer Banks Area Home - Foto 16
Private Dock & Beach Access: Outer Banks Area Home - Foto 17
Private Dock & Beach Access: Outer Banks Area Home - Foto 18
Private Dock & Beach Access: Outer Banks Area Home - Foto 19
Private Dock & Beach Access: Outer Banks Area Home - Foto 20
Private Dock & Beach Access: Outer Banks Area Home - Foto 21
Private Dock & Beach Access: Outer Banks Area Home - Foto 22
Private Dock & Beach Access: Outer Banks Area Home - Foto 23
Private Dock & Beach Access: Outer Banks Area Home - Foto 24
Private Dock & Beach Access: Outer Banks Area Home - Foto 25
Private Dock & Beach Access: Outer Banks Area Home - Foto 26
Private Dock & Beach Access: Outer Banks Area Home - Foto 27
Private Dock & Beach Access: Outer Banks Area Home - Foto 28
Private Dock & Beach Access: Outer Banks Area Home - Foto 29
Private Dock & Beach Access: Outer Banks Area Home - Foto 30
Private Dock & Beach Access: Outer Banks Area Home - Foto 31
Private Dock & Beach Access: Outer Banks Area Home - Foto 32
Private Dock & Beach Access: Outer Banks Area Home - Foto 33
Private Dock & Beach Access: Outer Banks Area Home - Foto 34
Private Dock & Beach Access: Outer Banks Area Home - Foto 35
Private Dock & Beach Access: Outer Banks Area Home - Foto 36
Private Dock & Beach Access: Outer Banks Area Home - Foto 37
Private Dock & Beach Access: Outer Banks Area Home - Foto 38
Private Dock & Beach Access: Outer Banks Area Home - Foto 39
Private Dock & Beach Access: Outer Banks Area Home - Foto 40
Private Dock & Beach Access: Outer Banks Area Home - Foto 41
Private Dock & Beach Access: Outer Banks Area Home - Foto 42
Private Dock & Beach Access: Outer Banks Area Home - Foto 43
Private Dock & Beach Access: Outer Banks Area Home - Foto 44

Private Dock & Beach Access: Outer Banks Area Home

Kill Devil Hills

  • 204 M2
  • 5 quartos
  • 10 pessoas
  • Aquecimento
  • Terraço
  • Piscina
  • Estacionamento
9.5Excepcional | 2 avaliações
Sunbeam Sands - Foto 1
Sunbeam Sands - Foto 2
Sunbeam Sands - Foto 3
Sunbeam Sands - Foto 4
Sunbeam Sands - Foto 5
Sunbeam Sands - Foto 6
Sunbeam Sands - Foto 7
Sunbeam Sands - Foto 8
Sunbeam Sands - Foto 9
Sunbeam Sands - Foto 10
Sunbeam Sands - Foto 11
Sunbeam Sands - Foto 12
Sunbeam Sands - Foto 13
Sunbeam Sands - Foto 14
Sunbeam Sands - Foto 15
Sunbeam Sands - Foto 16
Sunbeam Sands - Foto 17
Sunbeam Sands - Foto 18
Sunbeam Sands - Foto 19
Sunbeam Sands - Foto 20
Sunbeam Sands - Foto 21
Sunbeam Sands - Foto 22
Sunbeam Sands - Foto 23
Sunbeam Sands - Foto 24
Sunbeam Sands - Foto 25
Sunbeam Sands - Foto 26
Sunbeam Sands - Foto 27
Sunbeam Sands - Foto 28
Sunbeam Sands - Foto 29
Sunbeam Sands - Foto 30
Sunbeam Sands - Foto 31
Sunbeam Sands - Foto 32
Sunbeam Sands - Foto 33
Sunbeam Sands - Foto 34
Sunbeam Sands - Foto 35
Sunbeam Sands - Foto 36

Sunbeam Sands

Kill Devil Hills

  • 156 M2
  • 3 quartos
  • 6 pessoas
  • Ar-condicionado
  • Aquecimento
  • Estacionamento
  • Jardim
10Magnífico | 4 avaliações
FF216 Tutter's Two - Foto 1
FF216 Tutter's Two - Foto 2
FF216 Tutter's Two - Foto 3
FF216 Tutter's Two - Foto 4
FF216 Tutter's Two - Foto 5
FF216 Tutter's Two - Foto 6
FF216 Tutter's Two - Foto 7
FF216 Tutter's Two - Foto 8
FF216 Tutter's Two - Foto 9
FF216 Tutter's Two - Foto 10
FF216 Tutter's Two - Foto 11
FF216 Tutter's Two - Foto 12
FF216 Tutter's Two - Foto 13
FF216 Tutter's Two - Foto 14
FF216 Tutter's Two - Foto 15
FF216 Tutter's Two - Foto 16
FF216 Tutter's Two - Foto 17
FF216 Tutter's Two - Foto 18
FF216 Tutter's Two - Foto 19
FF216 Tutter's Two - Foto 20
FF216 Tutter's Two - Foto 21
FF216 Tutter's Two - Foto 22
FF216 Tutter's Two - Foto 23
FF216 Tutter's Two - Foto 24
FF216 Tutter's Two - Foto 25
FF216 Tutter's Two - Foto 26
FF216 Tutter's Two - Foto 27
FF216 Tutter's Two - Foto 28
FF216 Tutter's Two - Foto 29
FF216 Tutter's Two - Foto 30
FF216 Tutter's Two - Foto 31
FF216 Tutter's Two - Foto 32
FF216 Tutter's Two - Foto 33
FF216 Tutter's Two - Foto 34
FF216 Tutter's Two - Foto 35

FF216 Tutter's Two

Kill Devil Hills

  • 98 M2
  • 2 quartos
  • 7 pessoas
  • Aquecimento
  • Piscina
  • Estacionamento
  • Elevador
9.5Excepcional | 2 avaliações
High-End Canal Front Paradise in Kill Devil Hills - Foto 1
High-End Canal Front Paradise in Kill Devil Hills - Foto 2
High-End Canal Front Paradise in Kill Devil Hills - Foto 3
High-End Canal Front Paradise in Kill Devil Hills - Foto 4
High-End Canal Front Paradise in Kill Devil Hills - Foto 5
High-End Canal Front Paradise in Kill Devil Hills - Foto 6
High-End Canal Front Paradise in Kill Devil Hills - Foto 7
High-End Canal Front Paradise in Kill Devil Hills - Foto 8
High-End Canal Front Paradise in Kill Devil Hills - Foto 9
High-End Canal Front Paradise in Kill Devil Hills - Foto 10
High-End Canal Front Paradise in Kill Devil Hills - Foto 11
High-End Canal Front Paradise in Kill Devil Hills - Foto 12
High-End Canal Front Paradise in Kill Devil Hills - Foto 13
High-End Canal Front Paradise in Kill Devil Hills - Foto 14
High-End Canal Front Paradise in Kill Devil Hills - Foto 15
High-End Canal Front Paradise in Kill Devil Hills - Foto 16
High-End Canal Front Paradise in Kill Devil Hills - Foto 17
High-End Canal Front Paradise in Kill Devil Hills - Foto 18
High-End Canal Front Paradise in Kill Devil Hills - Foto 19
High-End Canal Front Paradise in Kill Devil Hills - Foto 20
High-End Canal Front Paradise in Kill Devil Hills - Foto 21
High-End Canal Front Paradise in Kill Devil Hills - Foto 22
High-End Canal Front Paradise in Kill Devil Hills - Foto 23
High-End Canal Front Paradise in Kill Devil Hills - Foto 24
High-End Canal Front Paradise in Kill Devil Hills - Foto 25
High-End Canal Front Paradise in Kill Devil Hills - Foto 26
High-End Canal Front Paradise in Kill Devil Hills - Foto 27
High-End Canal Front Paradise in Kill Devil Hills - Foto 28
High-End Canal Front Paradise in Kill Devil Hills - Foto 29
High-End Canal Front Paradise in Kill Devil Hills - Foto 30

High-End Canal Front Paradise in Kill Devil Hills

Kill Devil Hills

  • 160 M2
  • 3 quartos
  • 8 pessoas
  • Aquecimento
  • Terraço
  • Piscina
  • Estacionamento
  • Jardim
7.9Bom | 11 avaliações
< 1/2 Mi to Beach Access + Pier: OBX Getaway - Foto 1
< 1/2 Mi to Beach Access + Pier: OBX Getaway - Foto 2
< 1/2 Mi to Beach Access + Pier: OBX Getaway - Foto 3
< 1/2 Mi to Beach Access + Pier: OBX Getaway - Foto 4
< 1/2 Mi to Beach Access + Pier: OBX Getaway - Foto 5
< 1/2 Mi to Beach Access + Pier: OBX Getaway - Foto 6
< 1/2 Mi to Beach Access + Pier: OBX Getaway - Foto 7
< 1/2 Mi to Beach Access + Pier: OBX Getaway - Foto 8
< 1/2 Mi to Beach Access + Pier: OBX Getaway - Foto 9
< 1/2 Mi to Beach Access + Pier: OBX Getaway - Foto 10
< 1/2 Mi to Beach Access + Pier: OBX Getaway - Foto 11
< 1/2 Mi to Beach Access + Pier: OBX Getaway - Foto 12
< 1/2 Mi to Beach Access + Pier: OBX Getaway - Foto 13
< 1/2 Mi to Beach Access + Pier: OBX Getaway - Foto 14
< 1/2 Mi to Beach Access + Pier: OBX Getaway - Foto 15
< 1/2 Mi to Beach Access + Pier: OBX Getaway - Foto 16
< 1/2 Mi to Beach Access + Pier: OBX Getaway - Foto 17
< 1/2 Mi to Beach Access + Pier: OBX Getaway - Foto 18
< 1/2 Mi to Beach Access + Pier: OBX Getaway - Foto 19
< 1/2 Mi to Beach Access + Pier: OBX Getaway - Foto 20
< 1/2 Mi to Beach Access + Pier: OBX Getaway - Foto 21
< 1/2 Mi to Beach Access + Pier: OBX Getaway - Foto 22
< 1/2 Mi to Beach Access + Pier: OBX Getaway - Foto 23
< 1/2 Mi to Beach Access + Pier: OBX Getaway - Foto 24
< 1/2 Mi to Beach Access + Pier: OBX Getaway - Foto 25
< 1/2 Mi to Beach Access + Pier: OBX Getaway - Foto 26
< 1/2 Mi to Beach Access + Pier: OBX Getaway - Foto 27
< 1/2 Mi to Beach Access + Pier: OBX Getaway - Foto 28
< 1/2 Mi to Beach Access + Pier: OBX Getaway - Foto 29

< 1/2 Mi to Beach Access + Pier: OBX Getaway

Kill Devil Hills

  • 123 M2
  • 3 quartos
  • 6 pessoas
  • Aquecimento
  • Estacionamento
10Magnífico | 2 avaliações

Destinos relacionados