
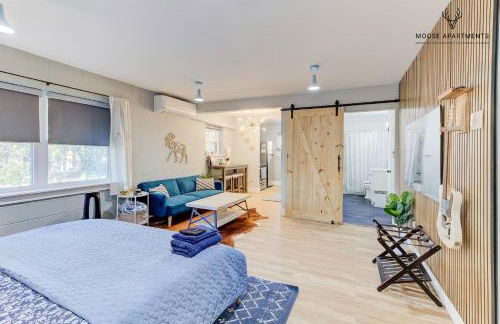
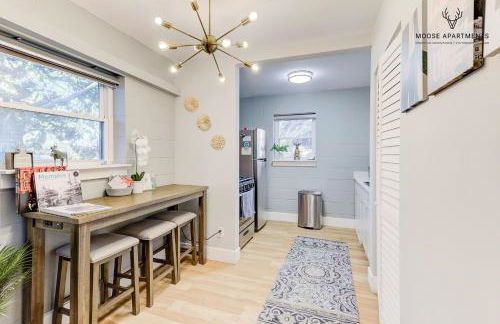
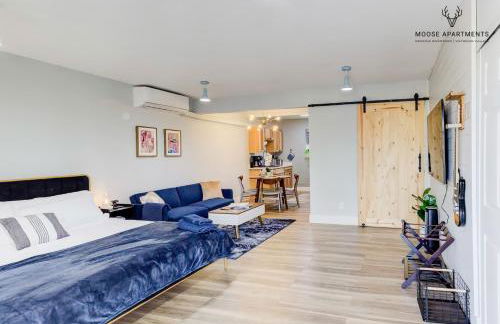
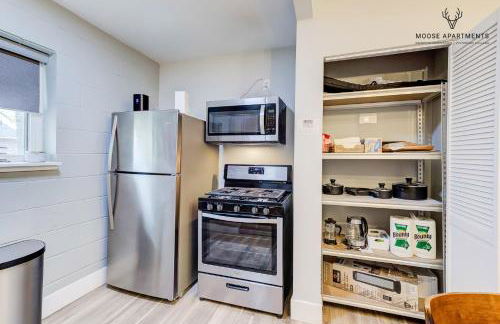
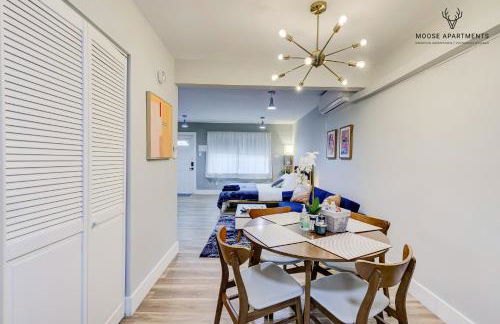
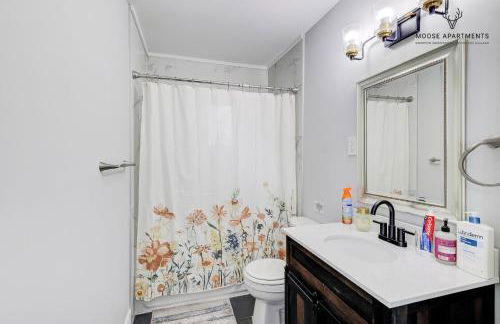
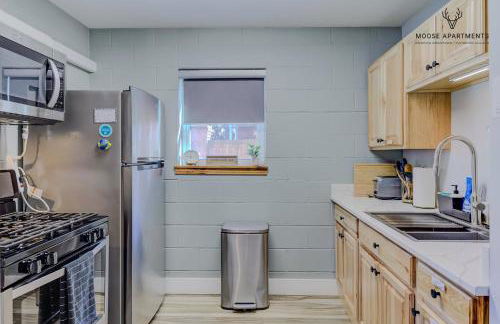
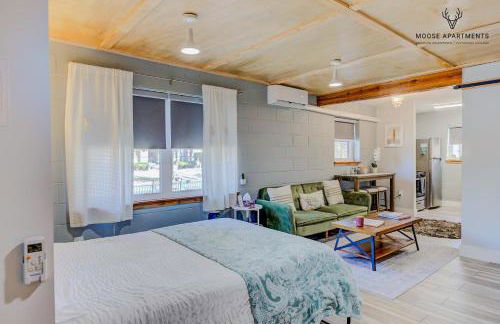
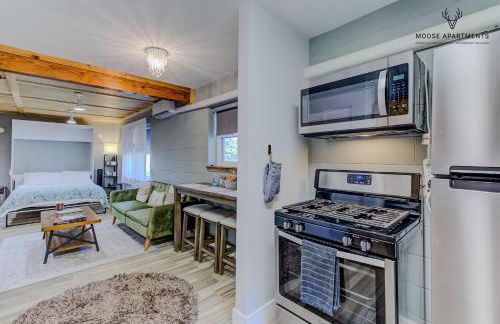
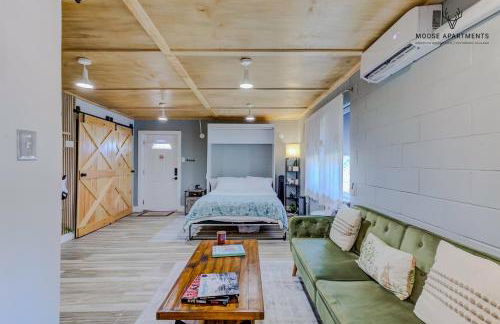
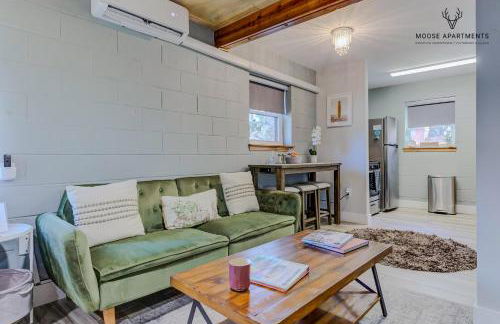
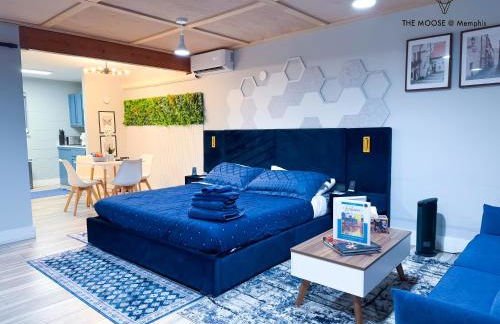
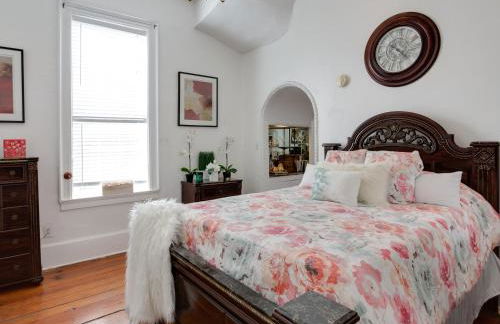
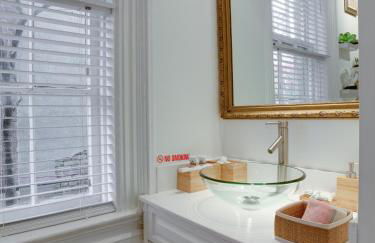
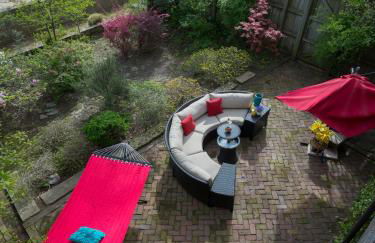
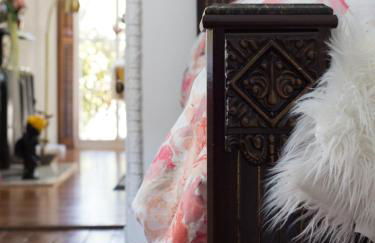
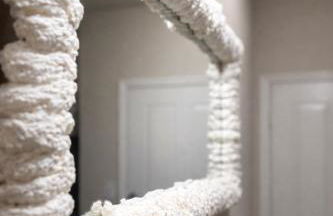
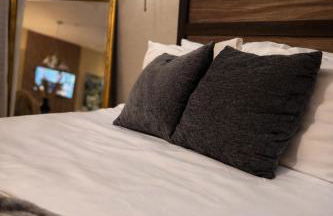
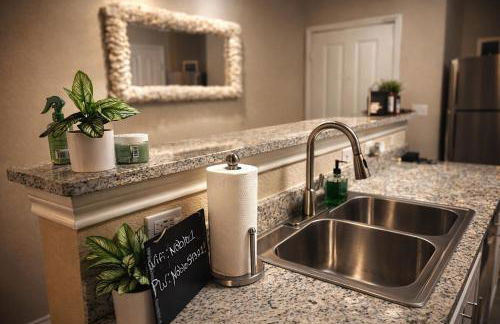
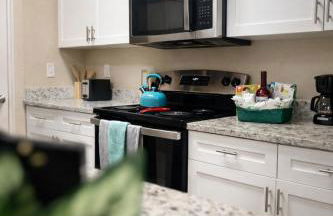
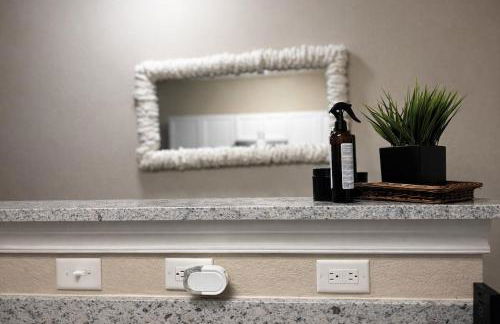
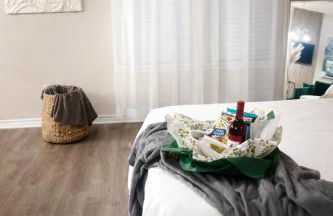
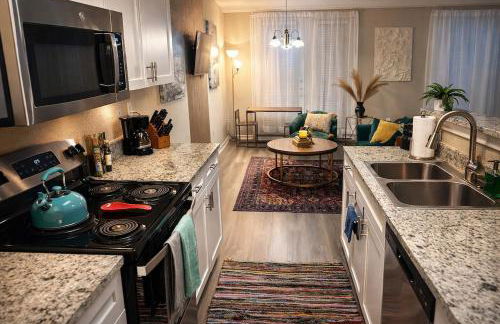
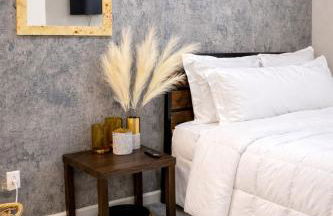
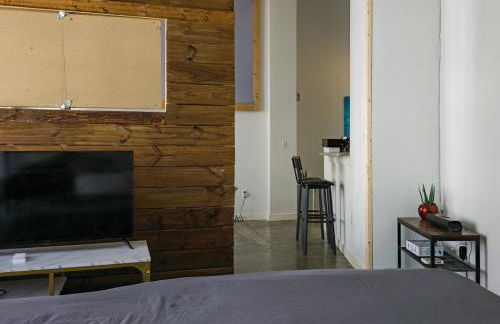
28 Apartamentos em Downtown Core


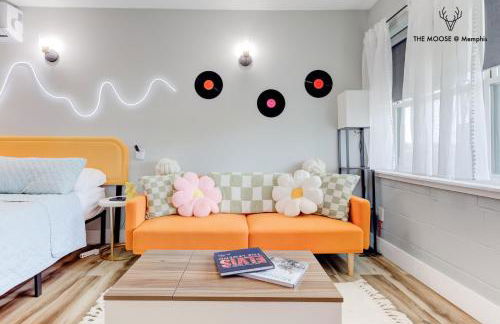


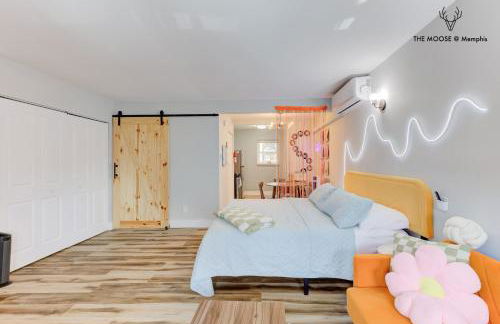


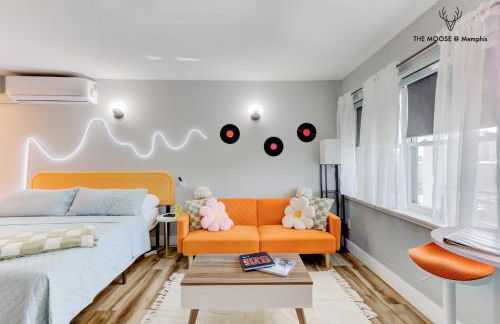

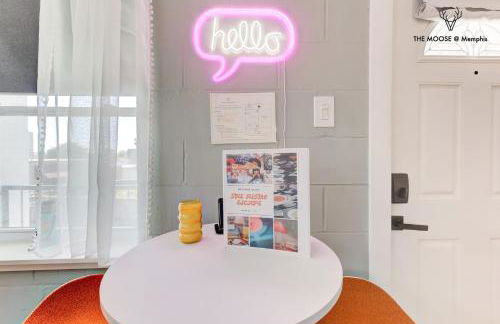

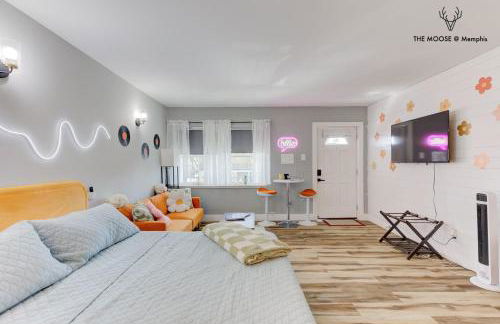

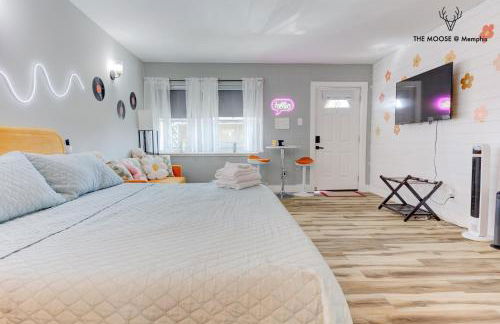


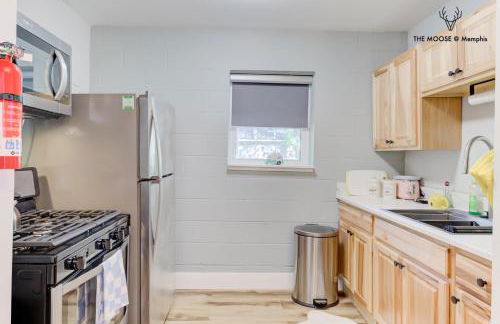


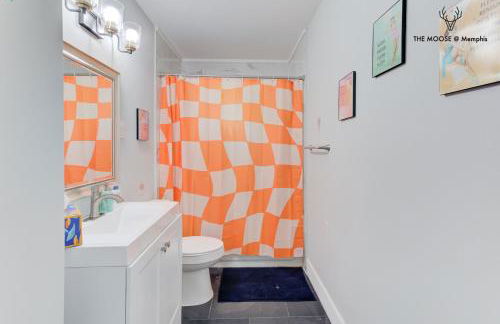

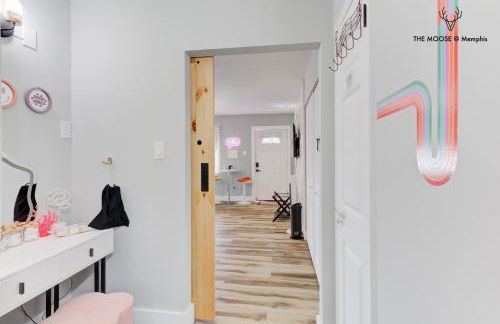

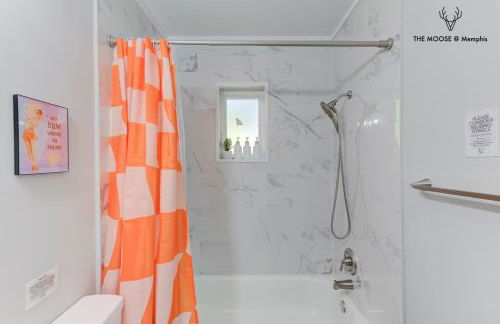

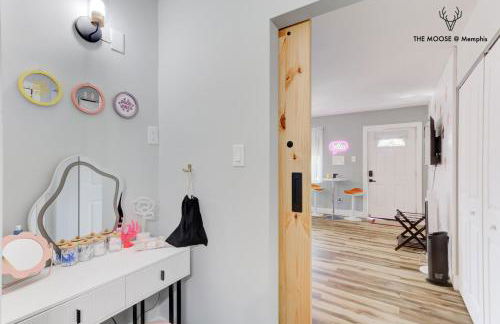

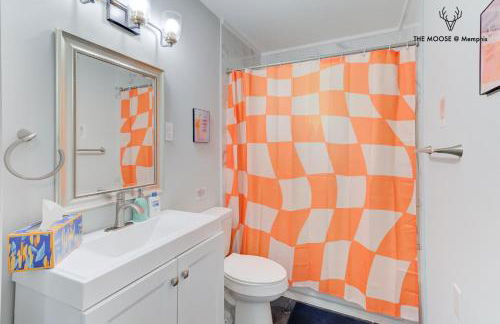


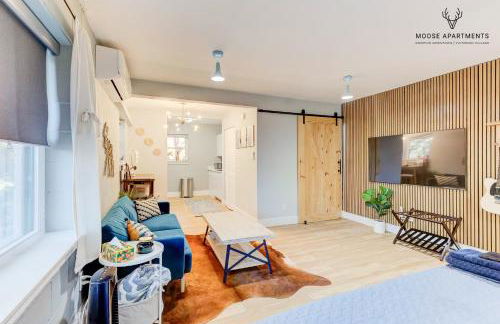
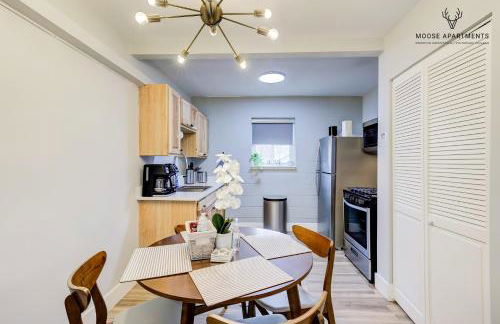
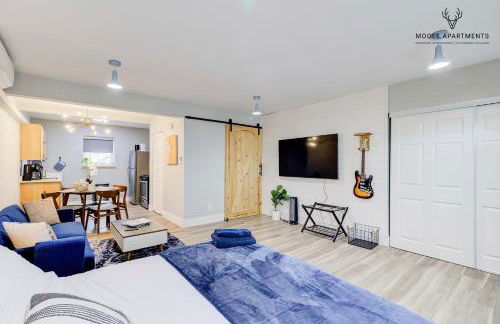
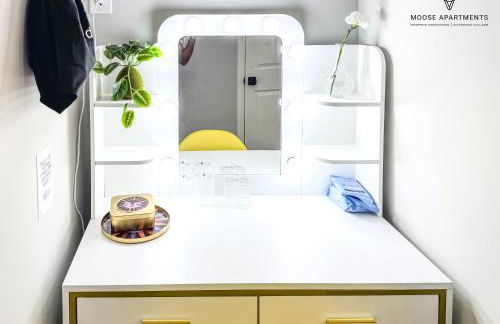
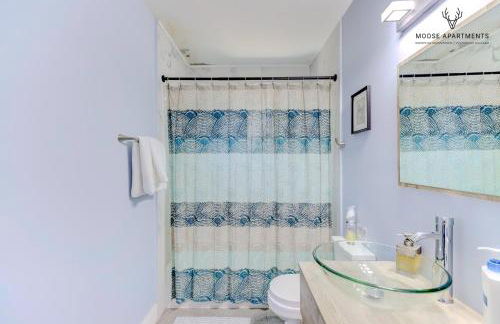
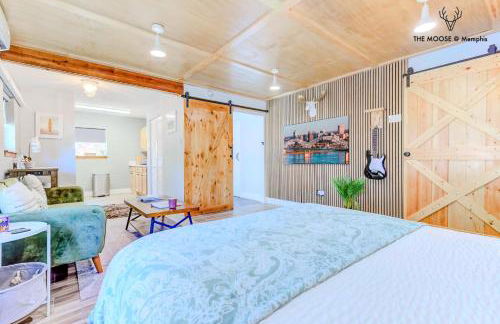
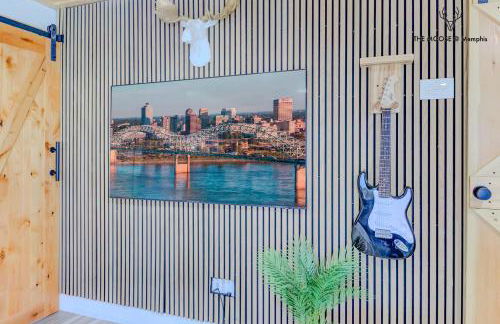
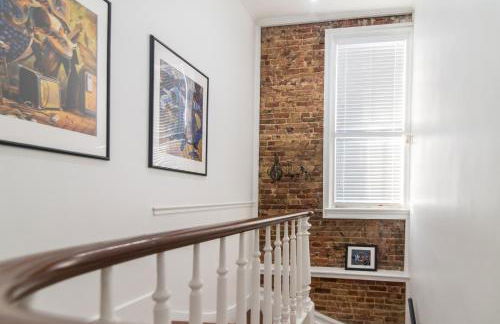
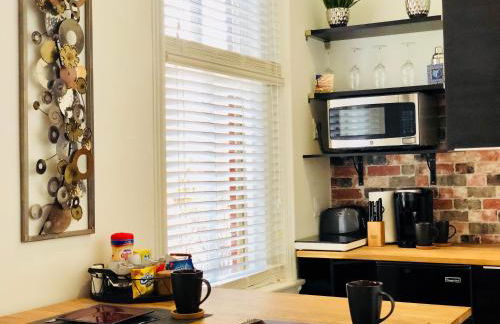
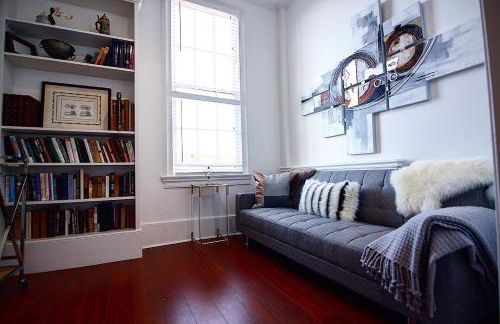
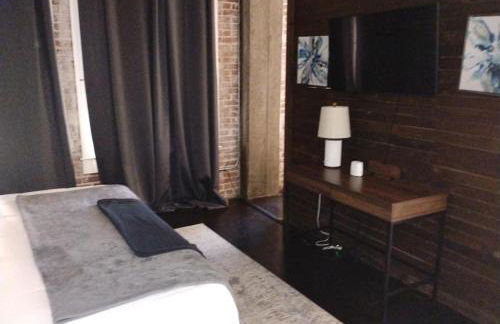
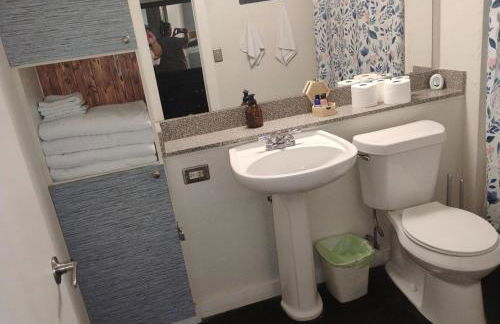
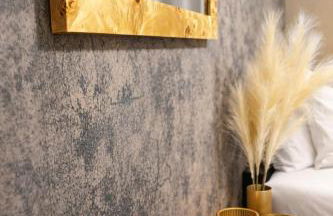
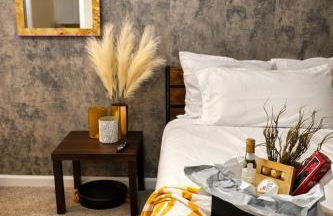
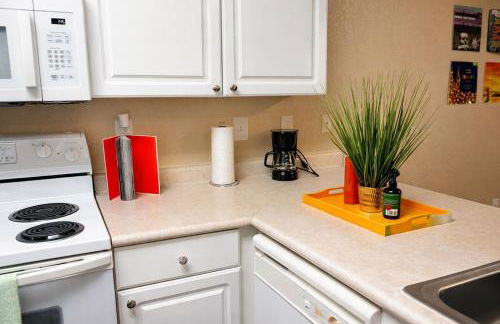
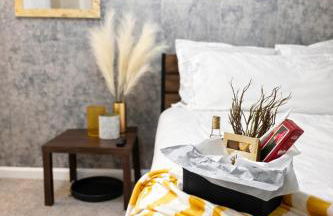
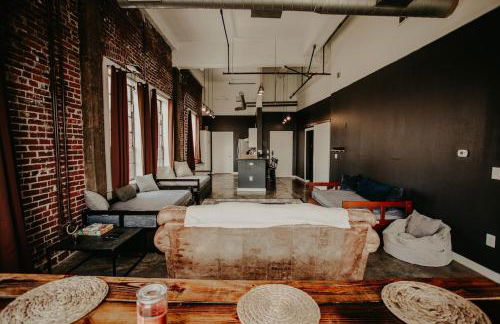
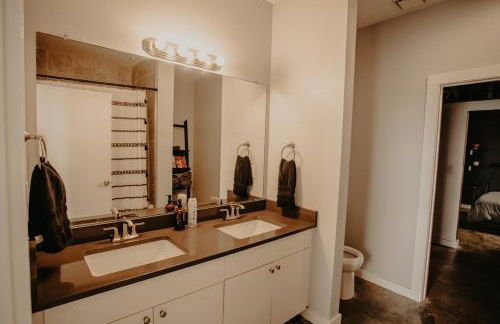
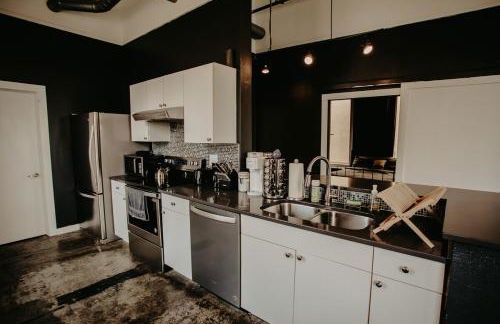
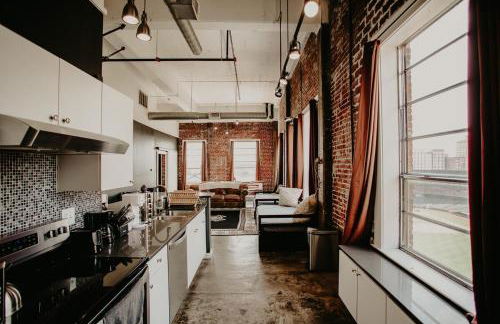
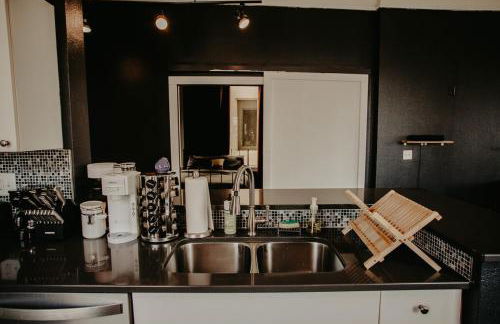
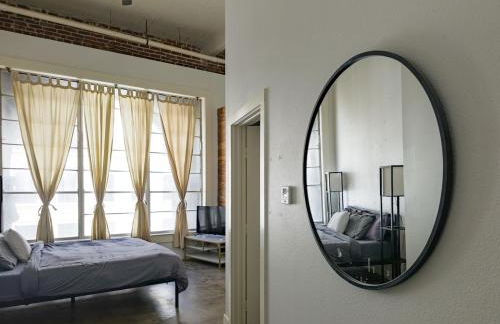
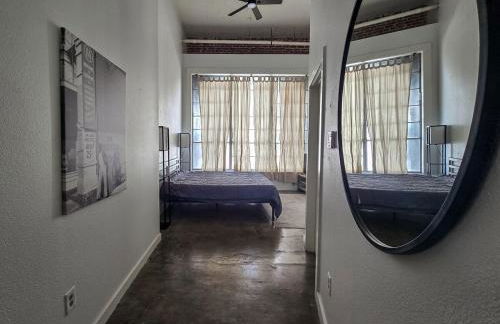
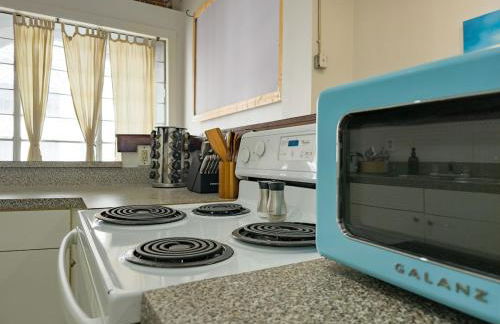
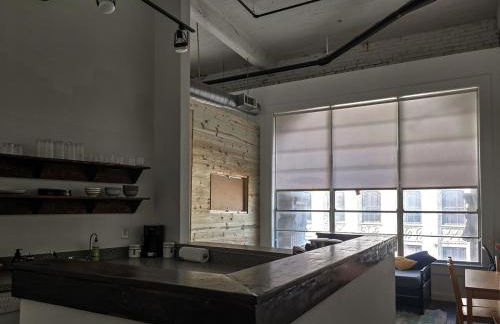
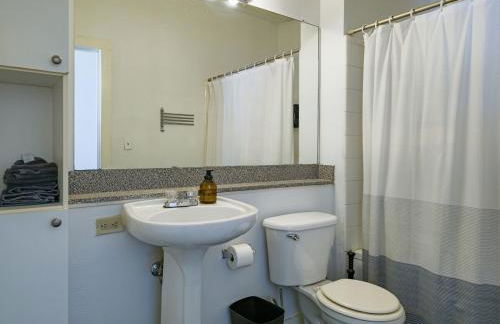
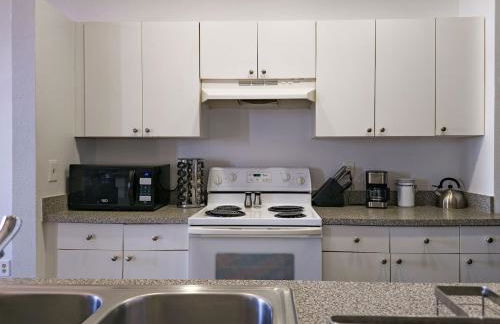
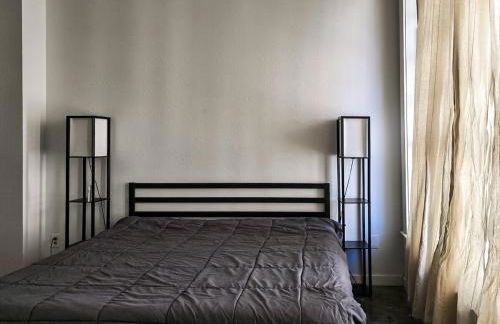
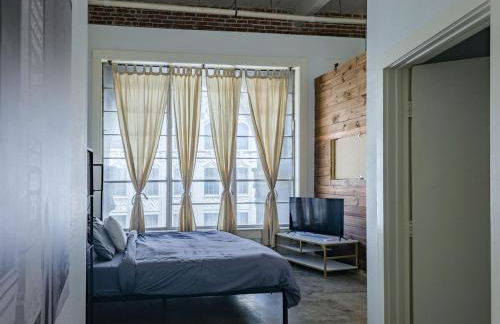
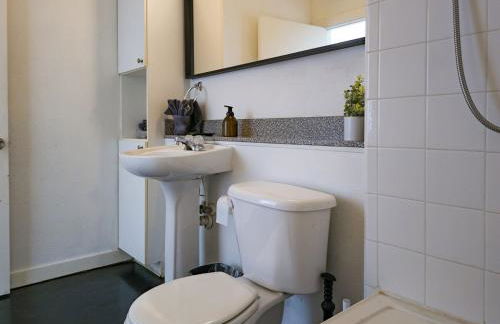
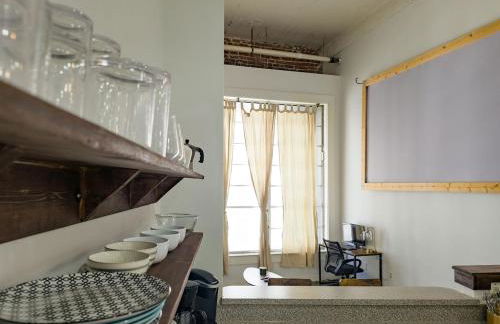
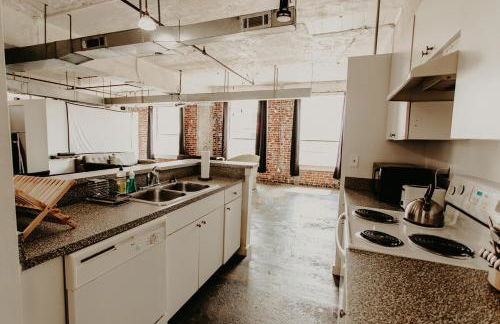
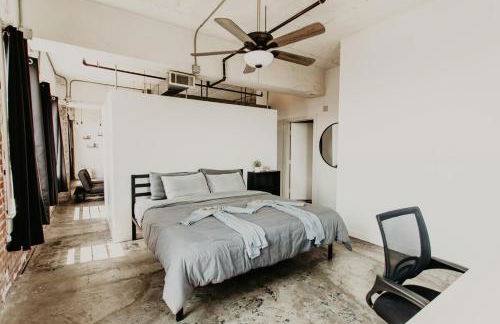
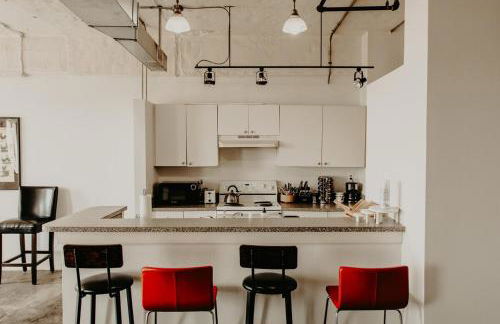
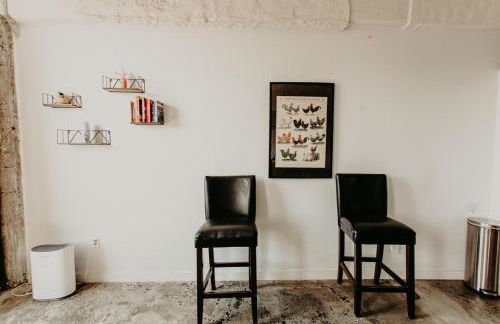
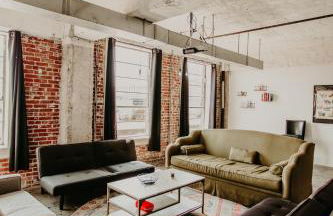
The Moose #10 - Stylish Loft with King Bed, Free Parking & Wi-Fi
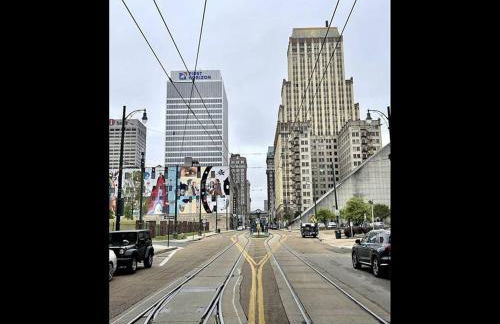
Memphis - Downtown Core - 670 m do centro
- 56 M2
- 1 quarto
- 3 pessoas
- Ar-condicionado
- Aquecimento
- Estacionamento
- Jardim
- Tv
- Máquina de lavar roupa
- Churrasco
- Toalhas
- Lençóis
132 avaliações


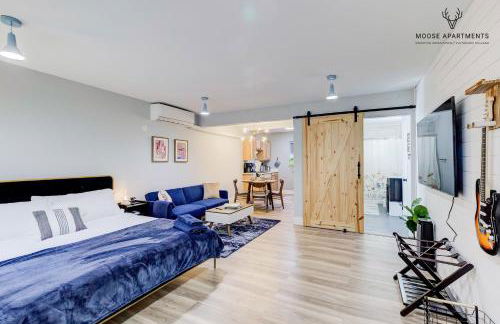
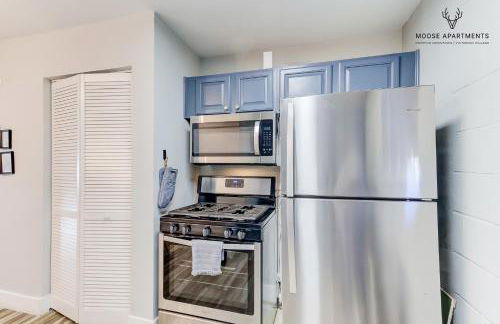
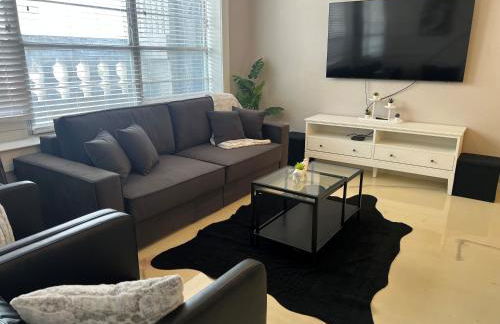
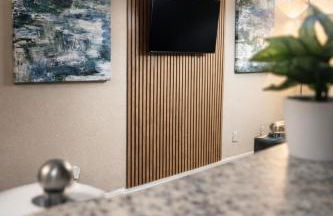
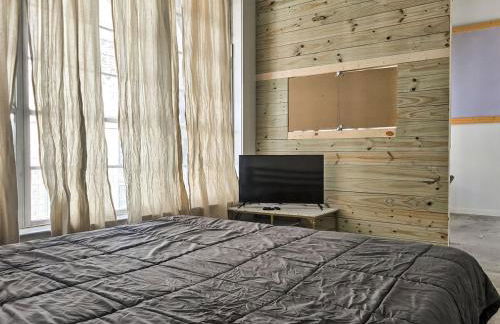
The Moose #12 - Brand New Modern Luxe Loft with Free Parking, King Bed & Fast WiFi
Memphis - Downtown Core - 670 m do centro
- 56 M2
- 1 quarto
- 3 pessoas
- Ar-condicionado
- Aquecimento
- Estacionamento
- Jardim
24 avaliações


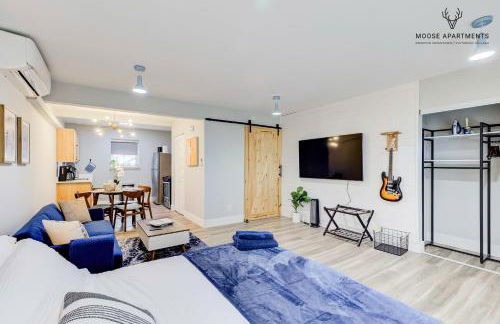
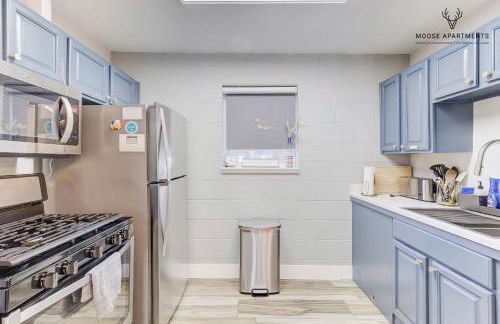
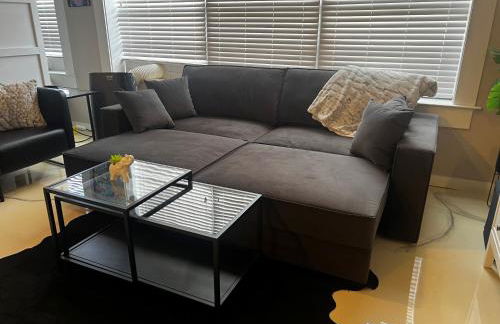
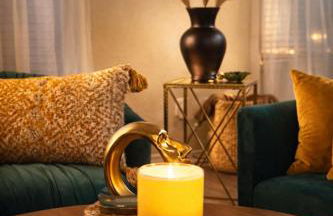
The Moose #8 - Modern Luxe Loft with King Bed & Free Parking & Wifi
Memphis - Downtown Core - 670 m do centro
- 56 M2
- 1 quarto
- 3 pessoas
- Ar-condicionado
- Aquecimento
- Estacionamento
- Jardim
140 avaliações


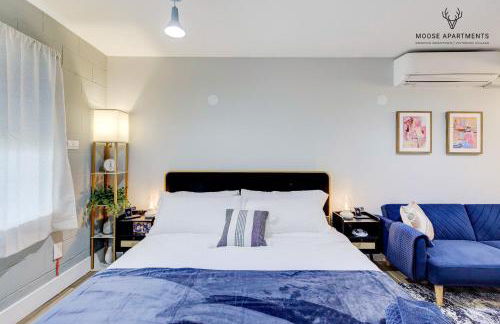
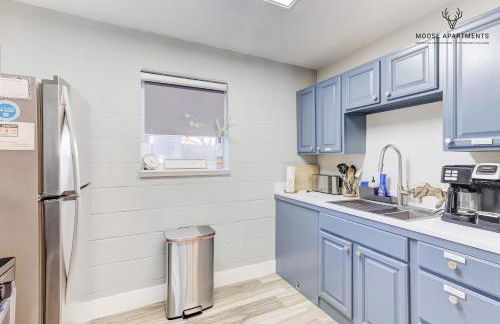
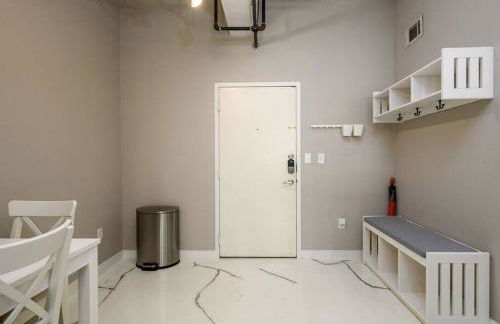
The Moose #11 - Luxe Modern loft with King Bed, Free Parking & Wi-Fi
Memphis - Downtown Core - 670 m do centro
- 56 M2
- 1 quarto
- 3 pessoas
- Ar-condicionado
- Aquecimento
- Estacionamento
- Jardim
- Churrasco
61 avaliações


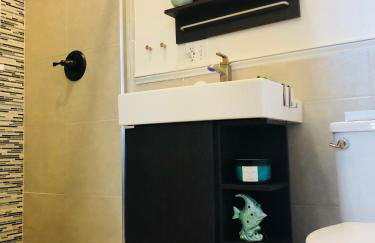
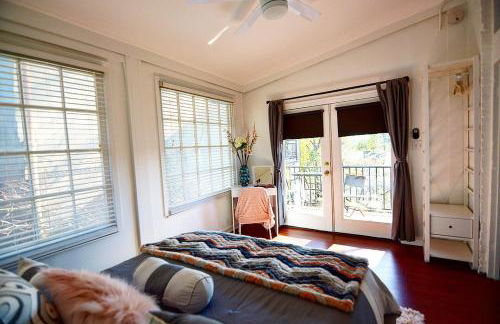
The Moose #5 - Modern Comfy Studio with King Bed, Free Parking & Fast WiFi
Memphis - Downtown Core - 670 m do centro
- 56 M2
- 1 quarto
- 3 pessoas
- Ar-condicionado
- Aquecimento
- Estacionamento
- Jardim
69 avaliações


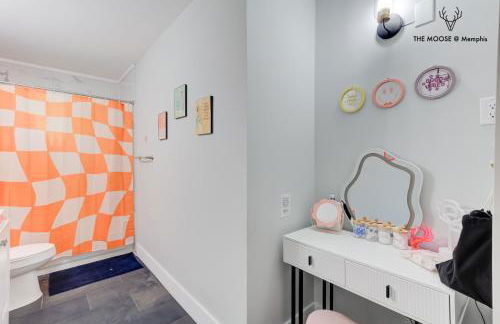
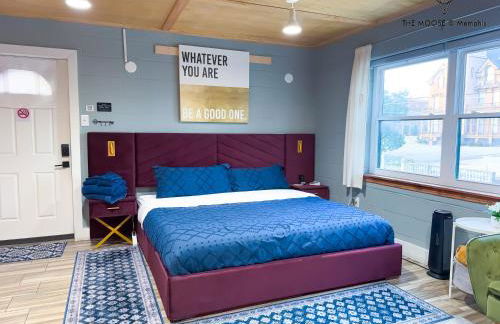
The Moose #4 - Elvis Presley King Suite with Free Parking and WIFI
Memphis - Downtown Core - 670 m do centro
- 55 M2
- 1 quarto
- 3 pessoas
- Ar-condicionado
- Aquecimento
- Estacionamento
- Jardim
- Churrasco
38 avaliações


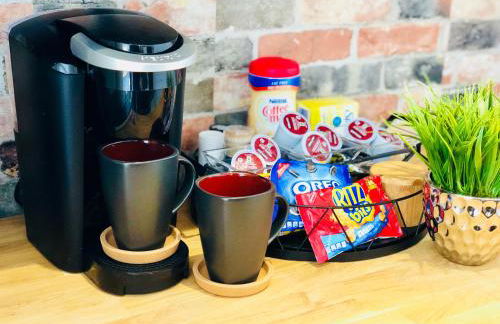
The Moose #6 - Modern Luxe Studio with Free Parking & King Bed
Memphis - Downtown Core - 630 m do centro
- 56 M2
- 3 pessoas
- Ar-condicionado
- Aquecimento
- Estacionamento
- Jardim
- Churrasco
144 avaliações


The Moose #7 - Instaworthy Studio with Amazing Views, Free Parking & Heated King Bed
Memphis - Downtown Core - 670 m do centro
- 56 M2
- 1 quarto
- 3 pessoas
- Ar-condicionado
- Aquecimento
- Estacionamento
- Jardim
- Churrasco
65 avaliações


The Moose #9 - Brand New Luxe Modern loft with Free Parking, King Bed & Fast WiFi
Memphis - Downtown Core - 680 m do centro
- 56 M2
- 1 quarto
- 3 pessoas
- Ar-condicionado
- Aquecimento
- Estacionamento
- Jardim
- Churrasco
106 avaliações


The Moose #3 - Modern Luxe Studio with Free Gated Parking & Wifi
Memphis - Downtown Core - 650 m do centro
- 56 M2
- 2 pessoas
- Ar-condicionado
- Aquecimento
- Estacionamento
- Jardim
- Churrasco
118 avaliações


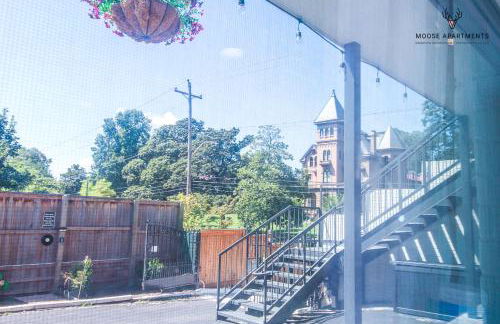


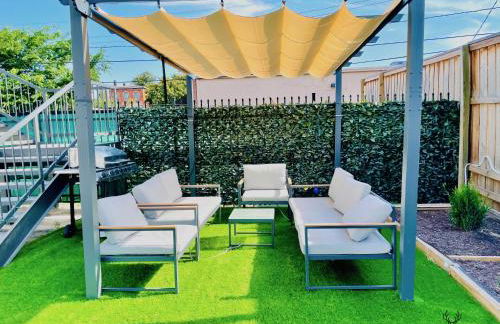
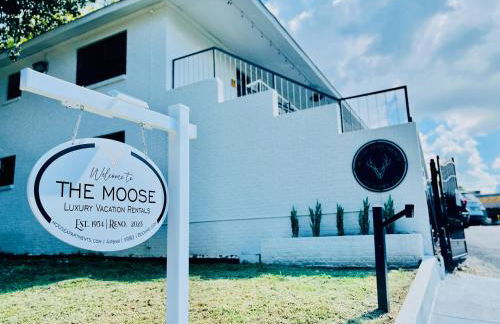
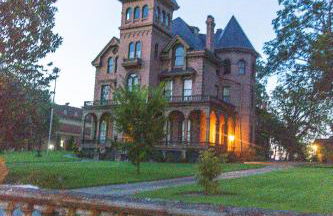
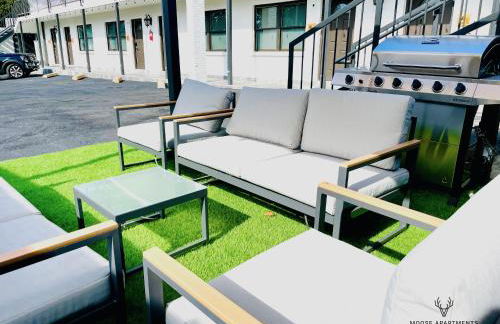
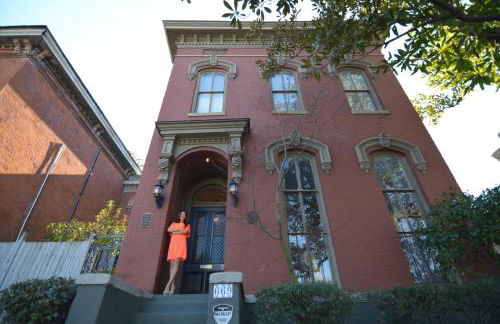
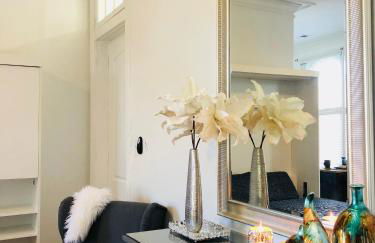
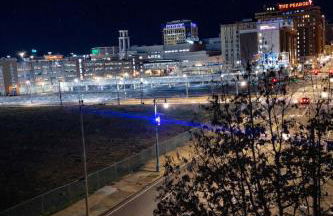
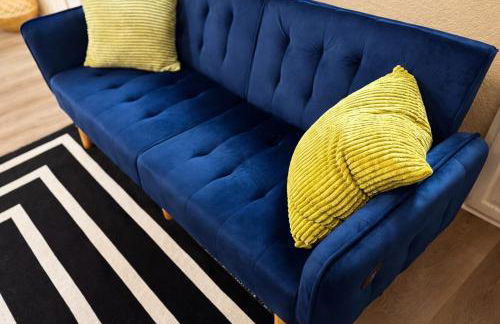
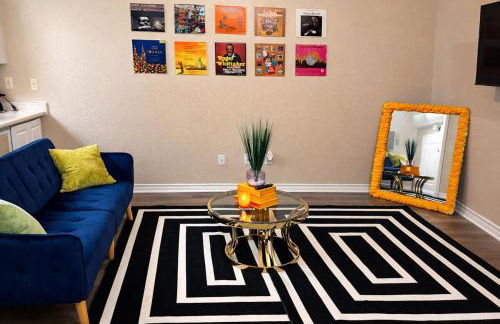
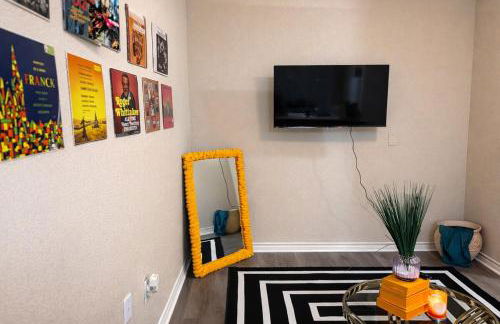
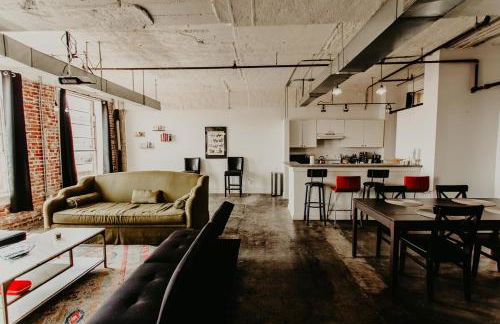
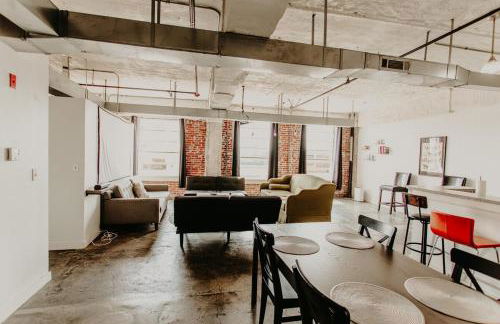
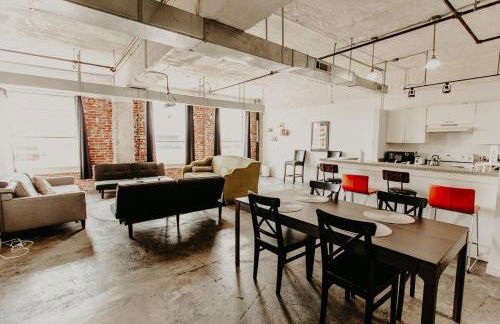
The Moose at Memphis Downtown & Victorian Village
Memphis - Downtown Core - 680 m do centro
- 56 M2
- 1 quarto
- 3 pessoas
- Ar-condicionado
- Aquecimento
- Estacionamento
- Jardim
- Churrasco
265 avaliações


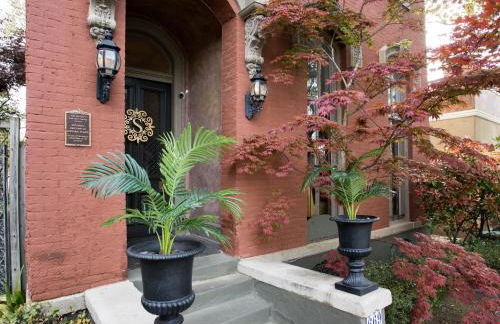
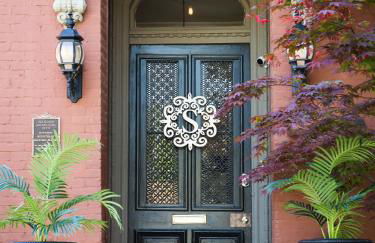
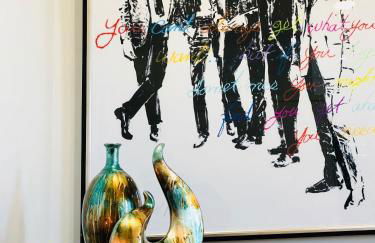
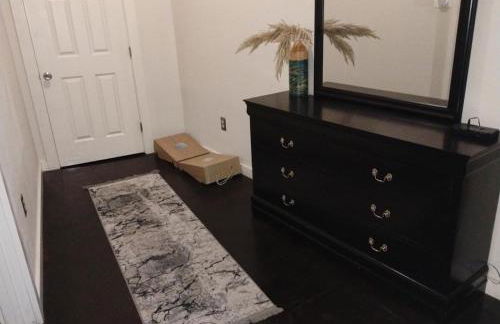
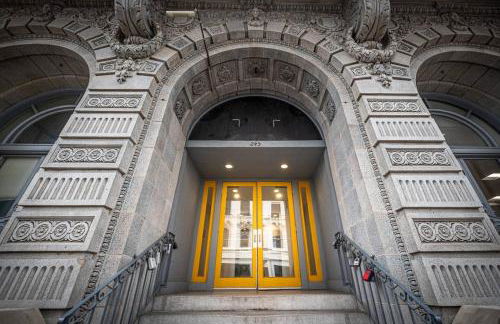
Downtown Memphis Luxury Condo
Memphis - Downtown Core - No centro
- 91 M2
- 1 quarto
- 4 pessoas
- Ar-condicionado
- Aquecimento
- Estacionamento
- Elevador
37 avaliações


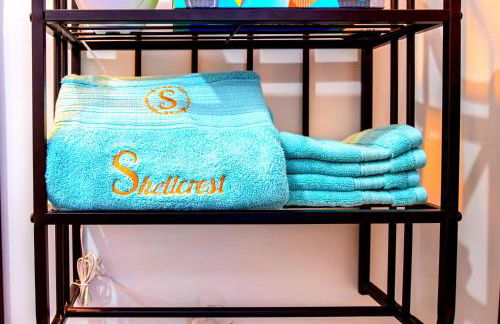


Downtown Memphis Shellcrest Apartments
Memphis - Downtown Core - 710 m do centro
- 118 M2
- 2 quartos
- 7 pessoas
- Ar-condicionado
- Aquecimento
- Terraço
- Estacionamento
- Jardim
- Churrasco
49 avaliações

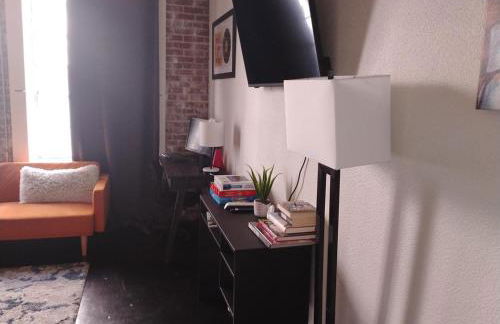


The Downtown Grizz Loft
Memphis - Downtown Core - No centro
- 79 M2
- 1 quarto
- 7 pessoas
- Ar-condicionado
- Estacionamento
- Elevador
11 avaliações


Modern Condo Prime Area 1 min to Beale Street Gated Parking
Memphis - Downtown Core - 250 m do centro
- 16 M2
- 1 quarto
- 4 pessoas
- Ar-condicionado
- Piscina
- Estacionamento
6 avaliações


Boutique Condo with Patio Heart of Downtown Memphis Gated Parking
Memphis - Downtown Core - 370 m do centro
- 81 M2
- 1 quarto
- 4 pessoas
- Ar-condicionado
- Piscina
- Estacionamento
3 avaliações


The Downtown Bungalow Loft
Memphis - Downtown Core - No centro
- 117 M2
- 2 quartos
- 12 pessoas
- Ar-condicionado
- Estacionamento
- Elevador
10 avaliações


The Downtown Factory Loft
Memphis - Downtown Core - No centro
- 70 M2
- 1 quarto
- 7 pessoas
- Ar-condicionado
- Estacionamento
6 avaliações


The Downtown Industrial Loft
Memphis - Downtown Core - No centro
- 74 M2
- 1 quarto
- 11 pessoas
- Ar-condicionado
- Estacionamento
- Elevador
4 avaliações