
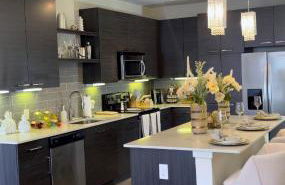
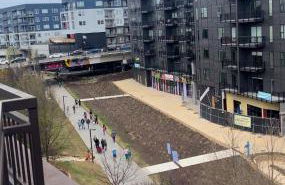
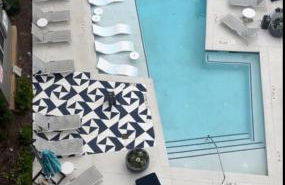
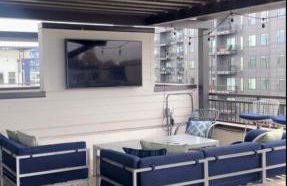
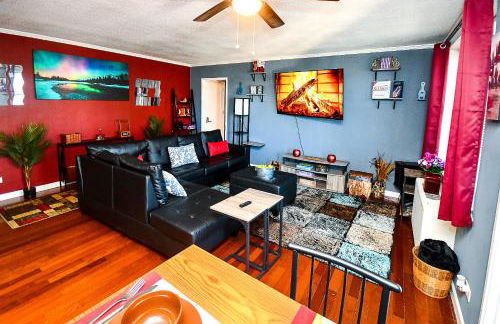
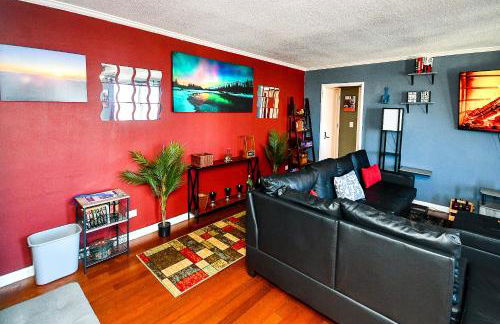
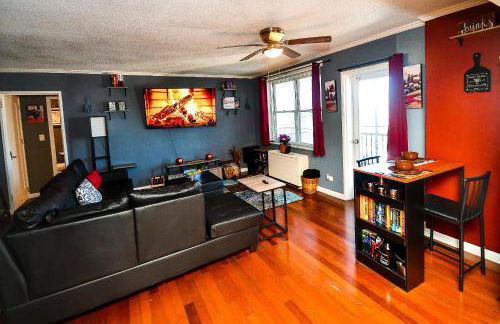
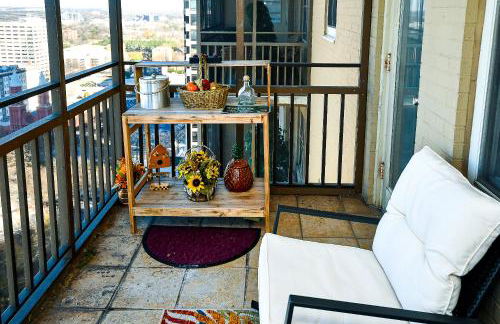
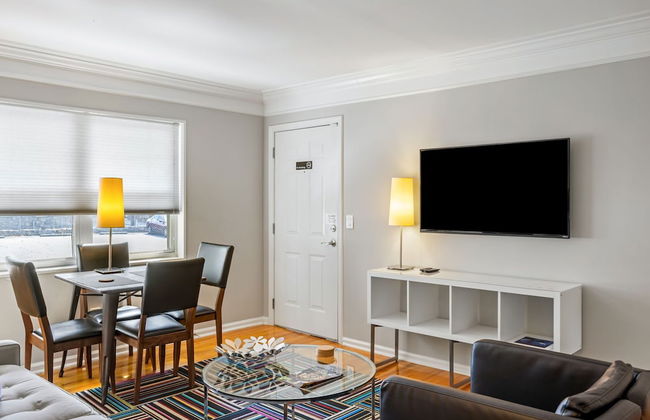
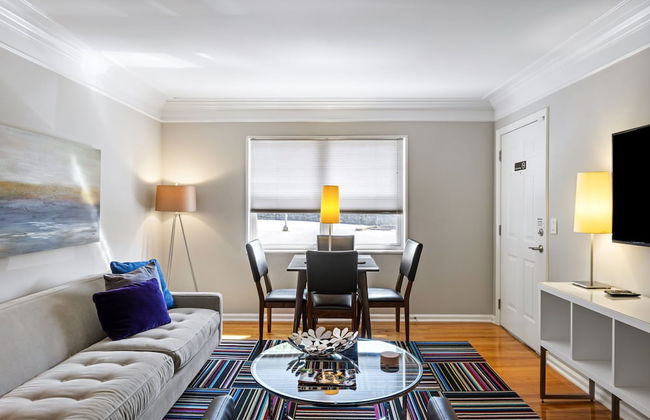
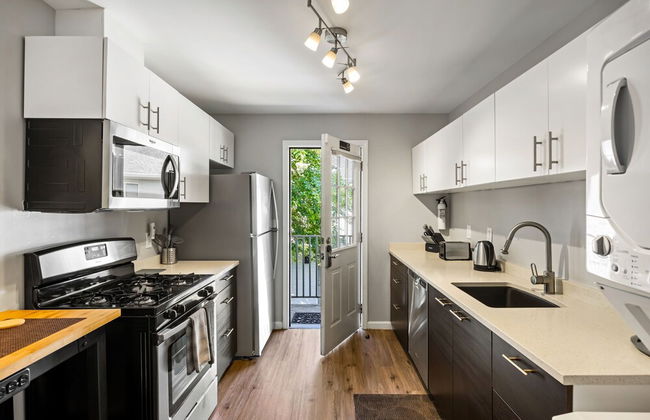
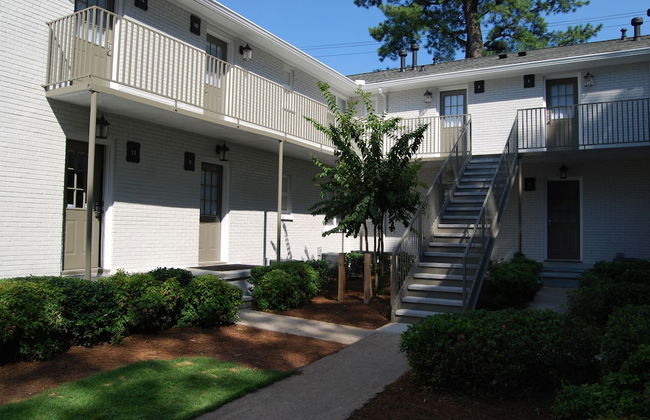
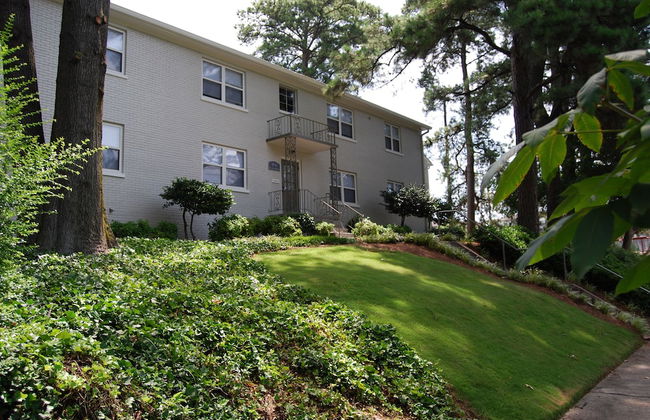
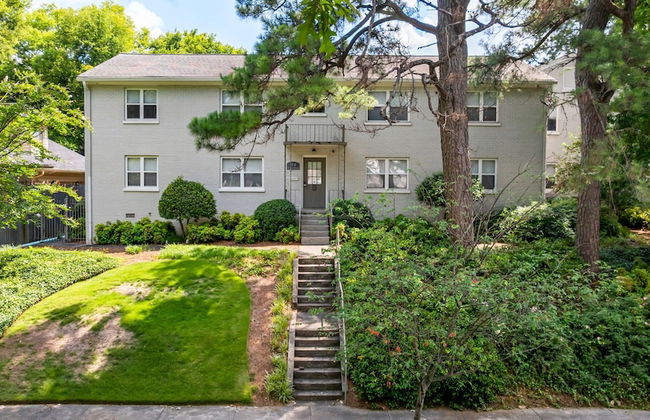
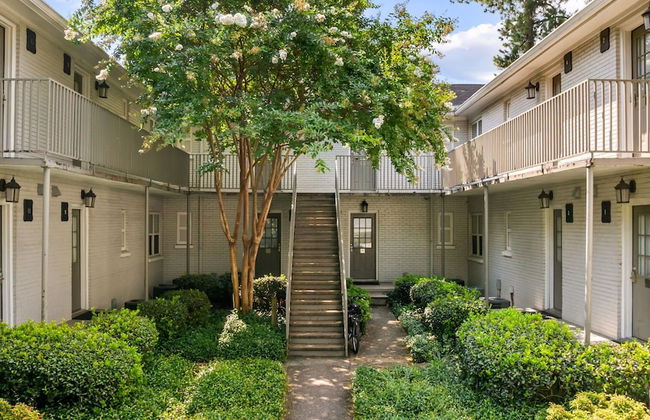
1203 Apartamentos em Fulton


Giaviana's
Atlanta - Home Park - 3.9 km do centro
- 105 M2
- 2 quartos
- 6 pessoas
- Ar-condicionado
- Aquecimento
- Terraço
- Piscina
- Estacionamento
- Elevador
- Jardim
- Churrasco
15 avaliações


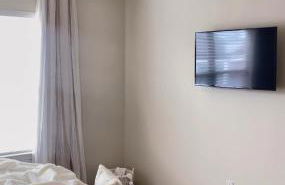


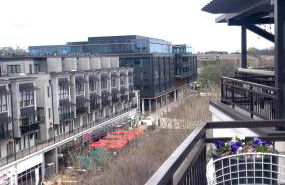


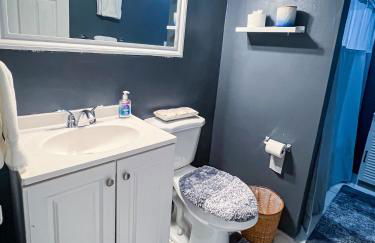
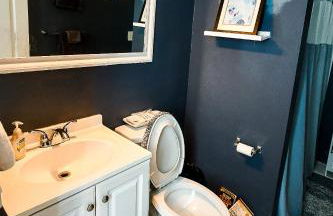
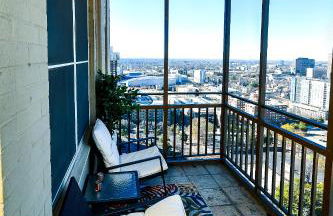
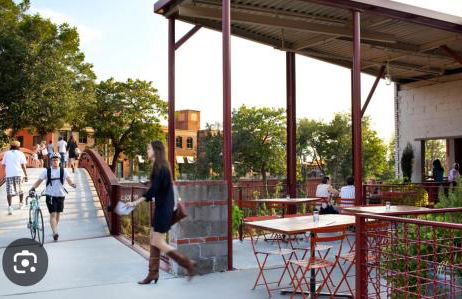
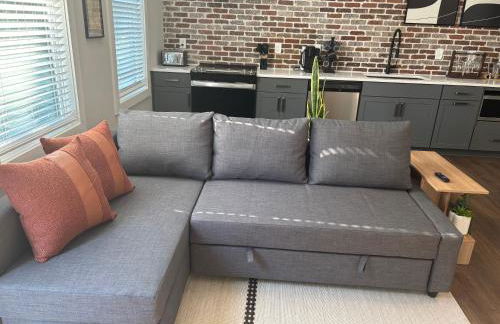
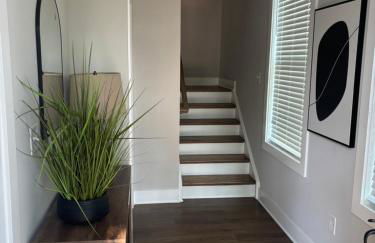
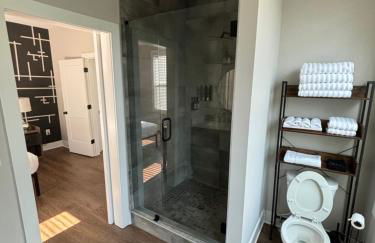
Atlanta Beltline Luxury Suite
Atlanta - Inman Park - 2.1 km do centro
- 1 M2
- 1 quarto
- 3 pessoas
- Ar-condicionado
- Aquecimento
- Terraço
- Piscina
- Estacionamento
- Elevador
- Jardim
59 avaliações


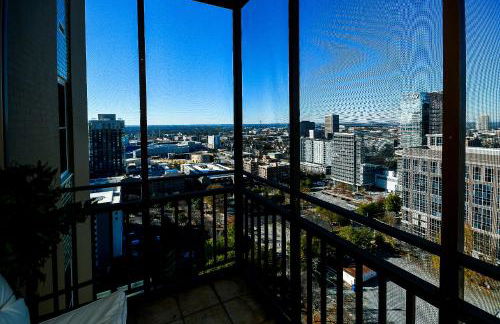


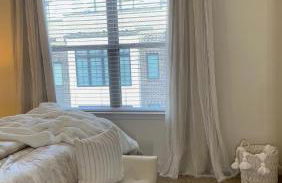
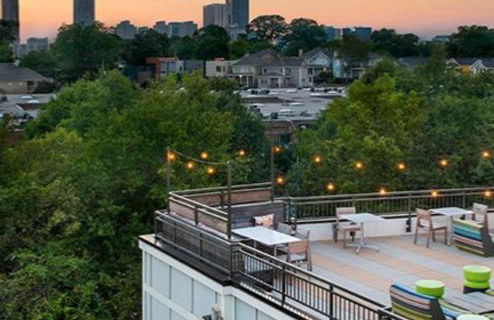
Modern Designed DTWN Condo with a 99 percent Walk Score
Atlanta - Downtown - 1.1 km do centro
- 93 M2
- 1 quarto
- 4 pessoas
- Ar-condicionado
- Aquecimento
- Estacionamento
- Elevador
- Jardim
- Tv
17 avaliações


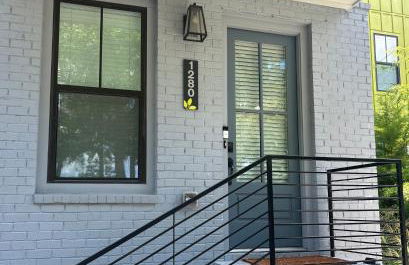


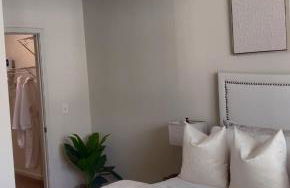
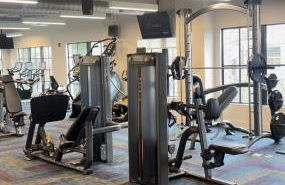
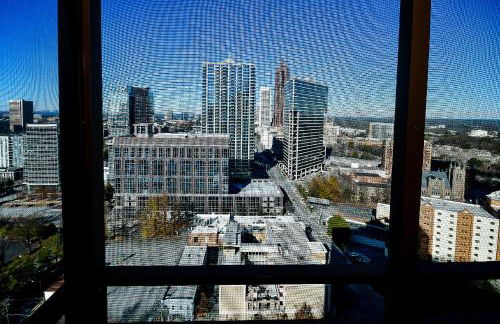
1280 Bungalow
Atlanta - Blandtown - 5 km do centro
- 93 M2
- 2 quartos
- Ar-condicionado
- Terraço
- Estacionamento
- Jardim
11 avaliações


Buckhead Atlanta Luxury Suite
Atlanta - South Tuxedo Park - 10.3 km do centro
- 7 M2
- 2 pessoas
- Ar-condicionado
- Aquecimento
- Terraço
- Piscina
- Estacionamento
- Elevador
- Jardim
- Churrasco
35 avaliações


Brookwood Courtyard by BCA Furnished Apartments
Atlanta - 5.1 km do centro
- 79 M2
- 2 quartos
- 4 pessoas
- Ar-condicionado
- Aquecimento
- Estacionamento
- Tv
- Máquina de lavar roupa
- Toalhas
- Lençóis
8 avaliações


Perfect DTWN Condo with King beds
Atlanta - Downtown - 1.1 km do centro
- 6 pessoas
- Ar-condicionado
- Aquecimento
- Estacionamento
- Tv
- Máquina de lavar roupa
- Chaminé
- Toalhas
- Lençóis
19 avaliações


BCA Furnished Apartments
Atlanta - 5.4 km do centro
- 177 M2
- 3 quartos
- 6 pessoas
- Ar-condicionado
- Aquecimento
- Estacionamento
- Varanda
- Tv
- Máquina de lavar roupa
- Chaminé
- Toalhas
- Lençóis
479 avaliações


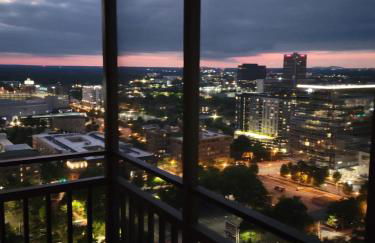
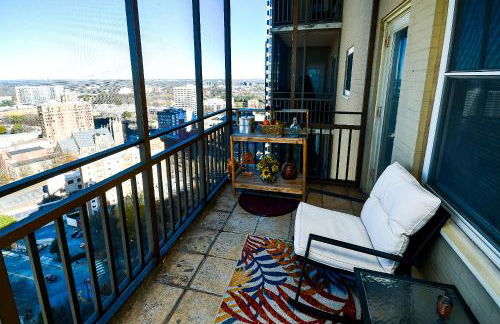
Views from ATL Beltline
Atlanta - Inman Park - 2.1 km do centro
- 2 pessoas
- Ar-condicionado
- Terraço
- Piscina
- Estacionamento
46 avaliações


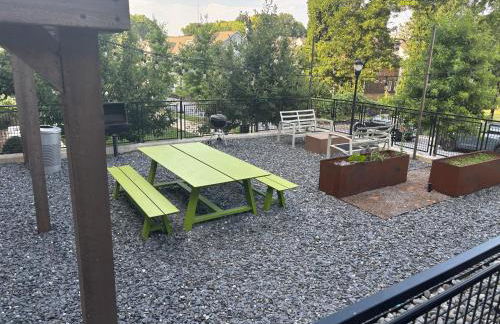
Spacious Gorgeous 3bd home with large deck Close to EVERYTHING
Atlanta - Lakewood Heights - 5 km do centro
- 22 M2
- 3 quartos
- 8 pessoas
- Ar-condicionado
- Terraço
- Estacionamento
16 avaliações


Luxury Gated Cascades Oasis - Tempur-Pedic Beds & Gated Community
Atlanta - Mays - 9.9 km do centro
- 158 M2
- 3 quartos
- 8 pessoas
- Ar-condicionado
- Piscina
- Estacionamento
12 avaliações


Midtown Penthouse 2 bdrm
Atlanta - Home Park - 3.8 km do centro
- 121 M2
- 2 quartos
- 4 pessoas
- Ar-condicionado
- Aquecimento
- Terraço
- Piscina
- Estacionamento
22 avaliações


Stylish 1-Bedroom Condo Downtown Atlanta
Atlanta - Downtown - 1.1 km do centro
- 58 M2
- 3 pessoas
- Ar-condicionado
- Estacionamento
- Elevador
18 avaliações


Piedmont Park 2 bdrm
Atlanta - Midtown - 3.5 km do centro
- 107 M2
- 2 quartos
- 4 pessoas
- Ar-condicionado
- Aquecimento
- Terraço
- Piscina
- Estacionamento
23 avaliações


Cozy Contemporary Condo
Atlanta - Castleberry Hill - 330 m do centro
- 102 M2
- 2 quartos
- 7 pessoas
- Ar-condicionado
- Aquecimento
- Terraço
- Piscina
- Estacionamento
- Elevador
4 avaliações


Studios On 25th by BCA Furnished Apartments
Atlanta - 5.4 km do centro
- 28 M2
- 2 pessoas
- Ar-condicionado
- Aquecimento
- Estacionamento
- Tv
- Toalhas
- Lençóis
15 avaliações


Piedmont Park 3 bdrm with city views
Atlanta - Midtown - 3.5 km do centro
- 130 M2
- 6 pessoas
- Ar-condicionado
- Aquecimento
- Piscina
- Estacionamento
10 avaliações


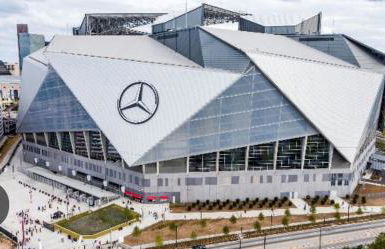
Vine City Home - Duplex - 3 Mins From GWCC & Mercedes- Benz Stadium
Atlanta - Washington - 1.9 km do centro
- 232 M2
- 6 quartos
- 12 pessoas
- Ar-condicionado
- Aquecimento
- Estacionamento
31 avaliações


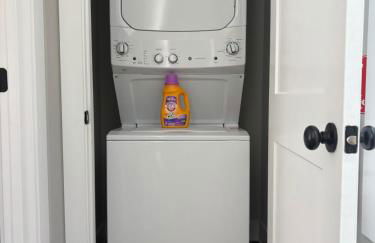
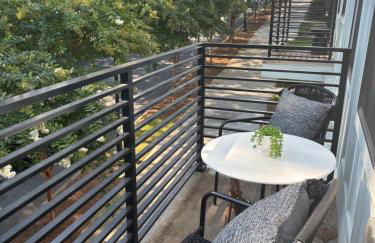
Luxury New 1B1B Private Balcony w Dryer Washer 525Pkwy211
Atlanta - Bedford Pine - 2.3 km do centro
- 46 M2
- 1 quarto
- 3 pessoas
- Ar-condicionado
- Aquecimento
- Estacionamento
- Elevador
11 avaliações


Atlanta Beltline Luxury Double Suite
Atlanta - Inman Park - 2.1 km do centro
- 1000 M2
- 2 quartos
- 4 pessoas
- Ar-condicionado
- Terraço
- Piscina
- Estacionamento
8 avaliações