
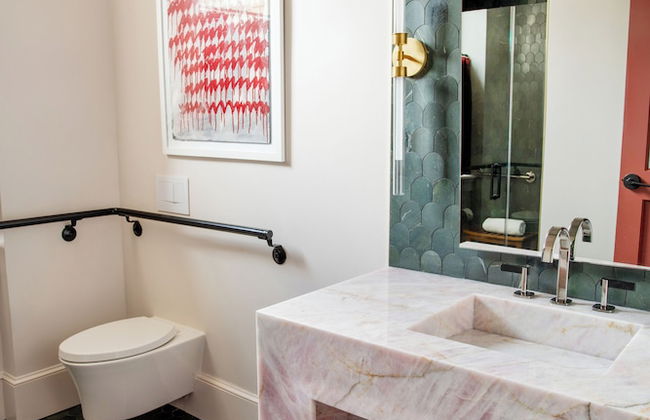
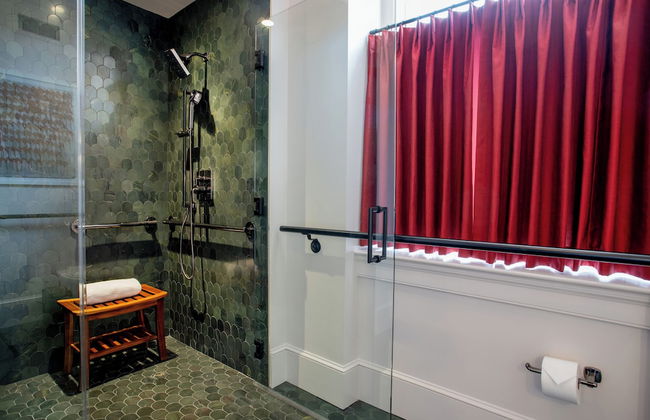
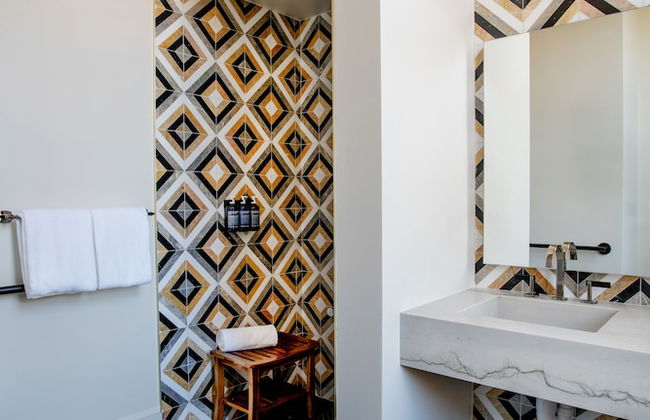
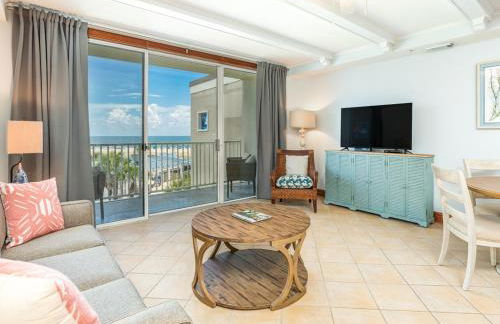
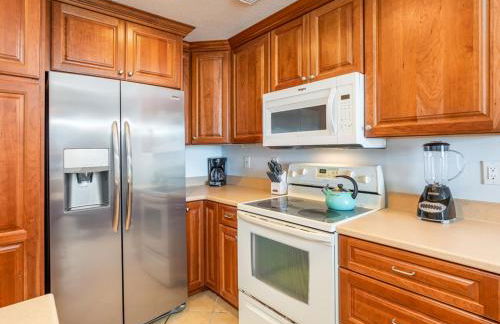
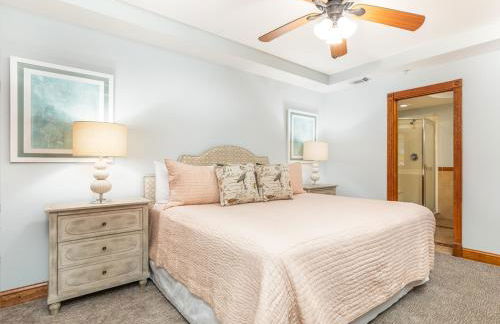
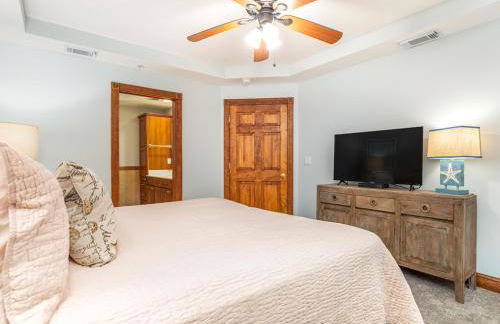
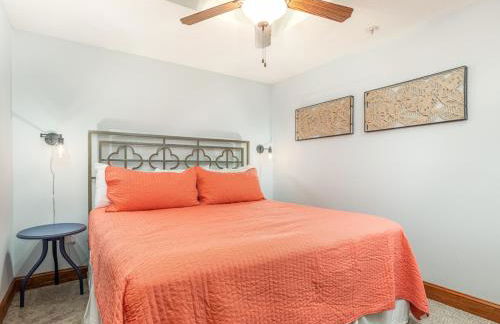
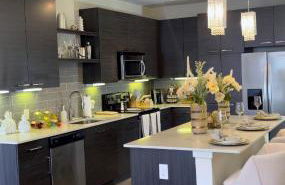
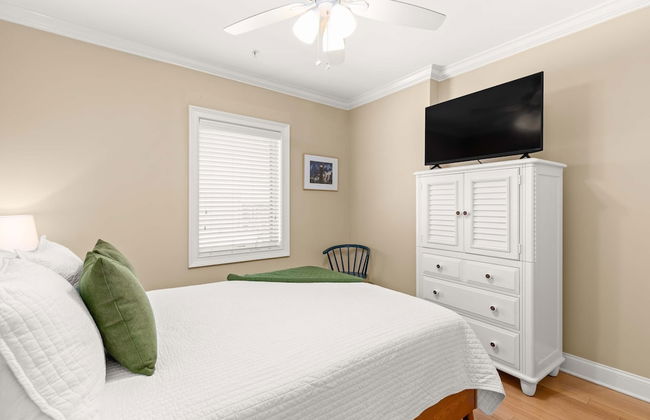
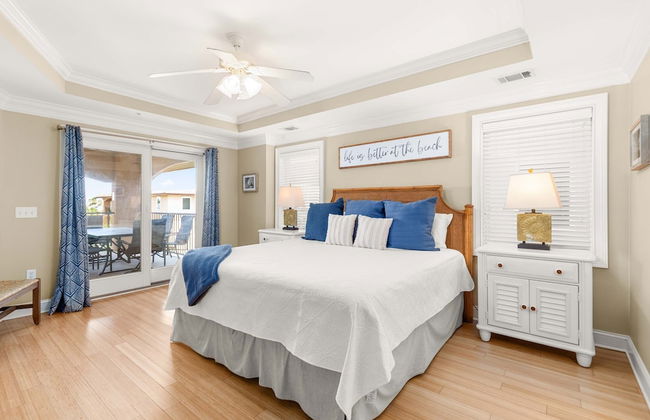
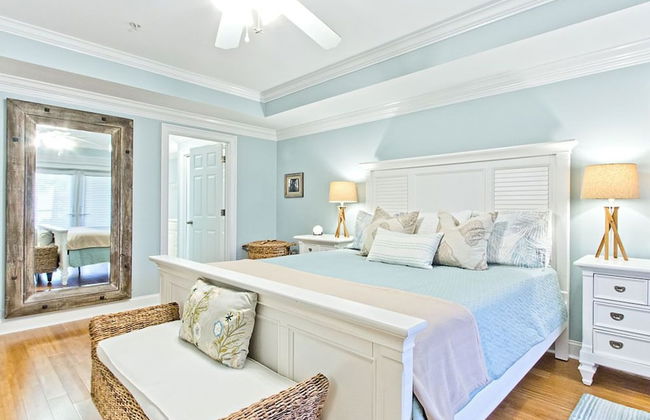
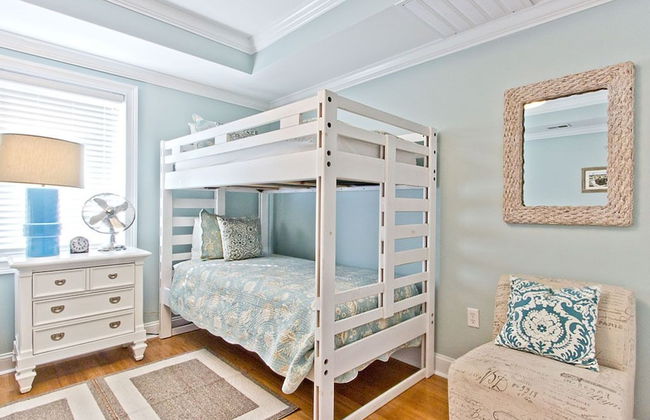
6982 Apartamentos em Georgia


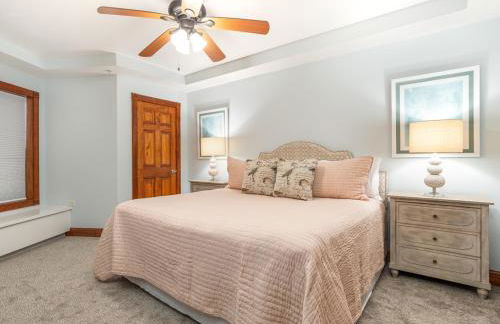
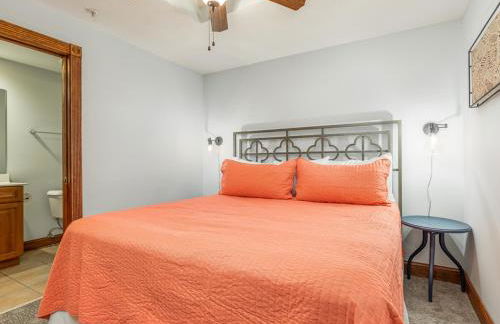
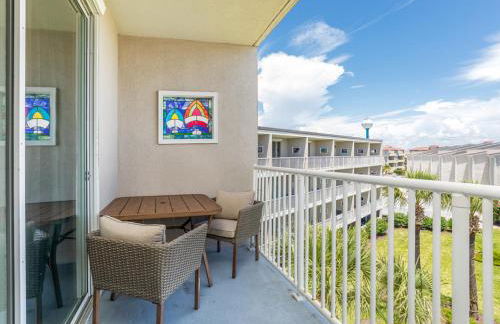
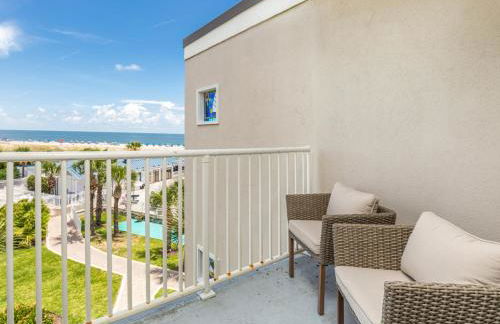
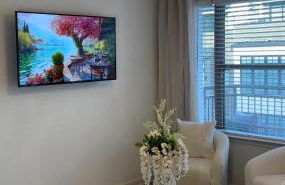
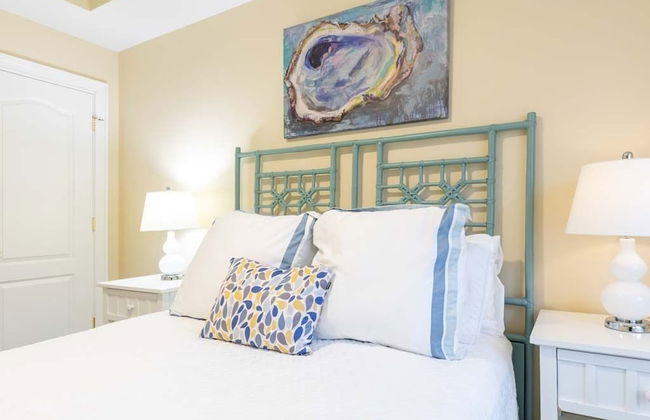
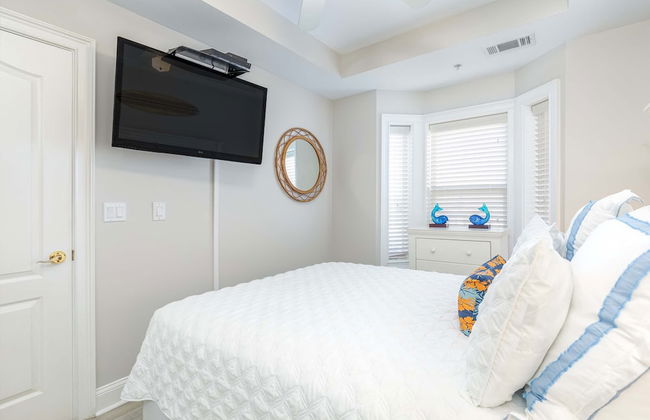
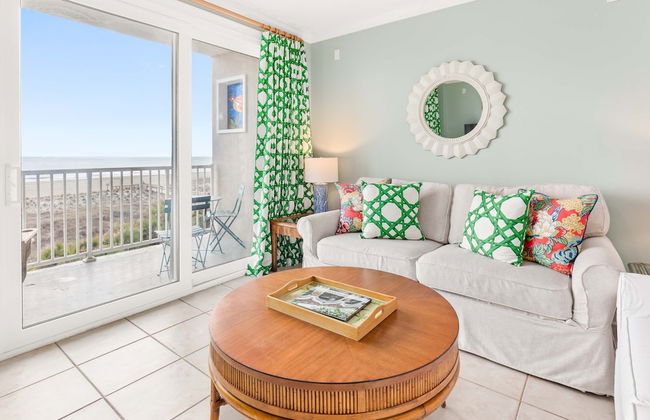
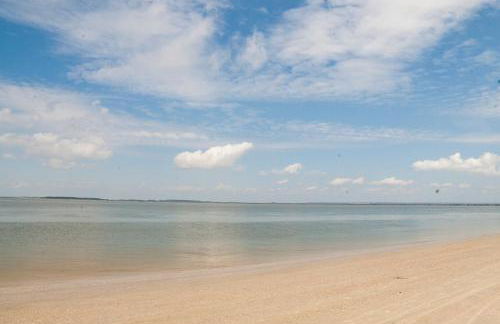
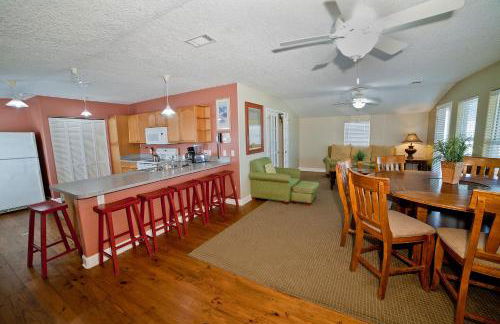
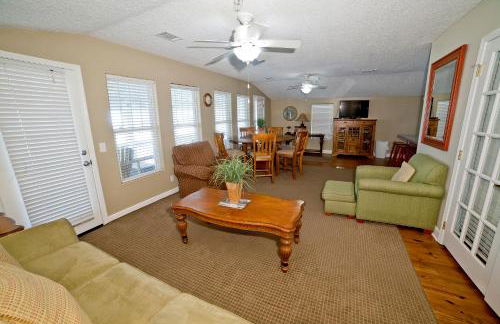
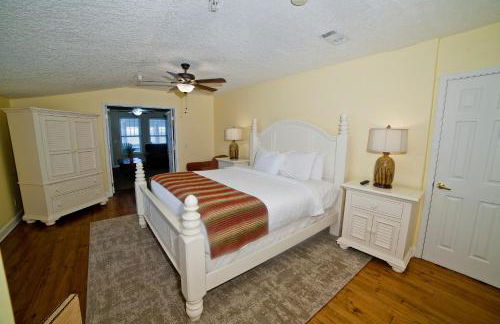
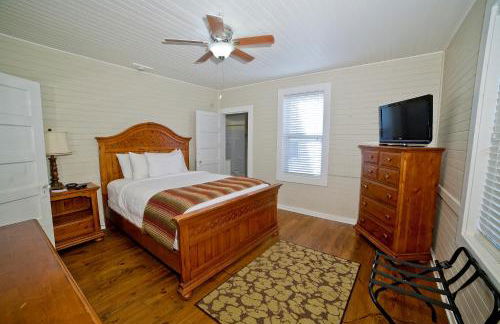
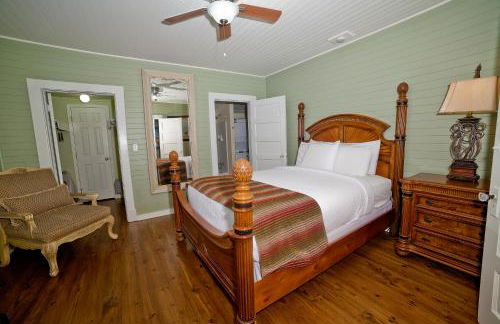
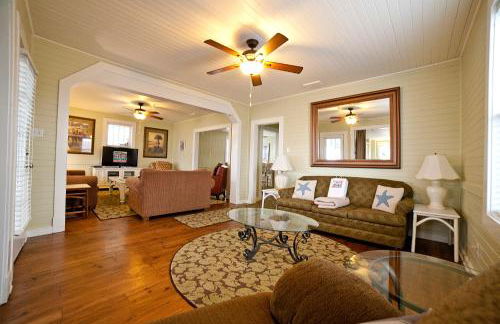
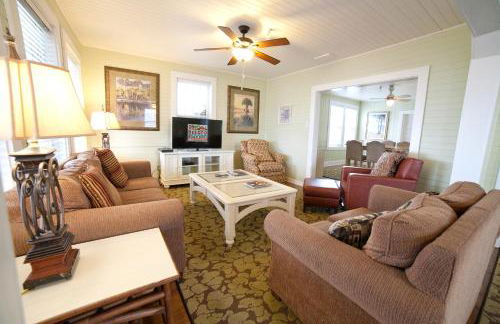
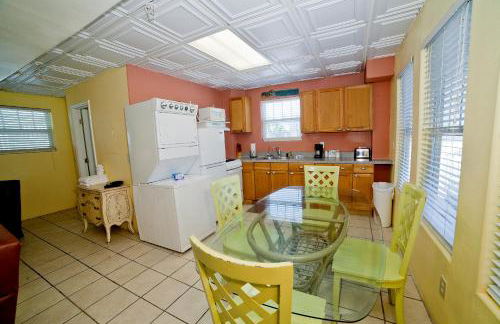
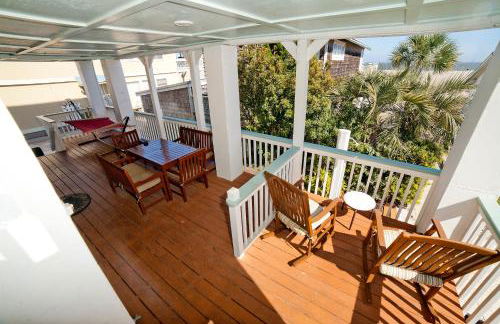
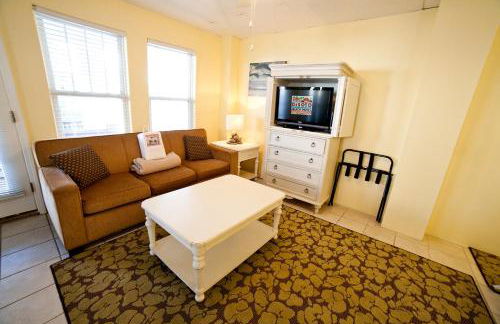
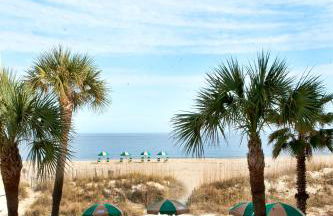
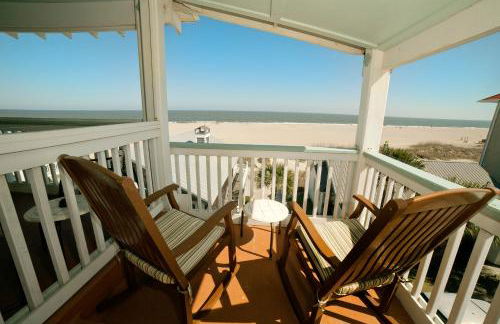
The Sea Gate
St Simons Island
- 4 pessoas
- Ar-condicionado
- Aquecimento
- Terraço
- Piscina
- Estacionamento
- Elevador
- Varanda
- Tv
- Máquina de lavar roupa
- Toalhas
- Lençóis
615 avaliações


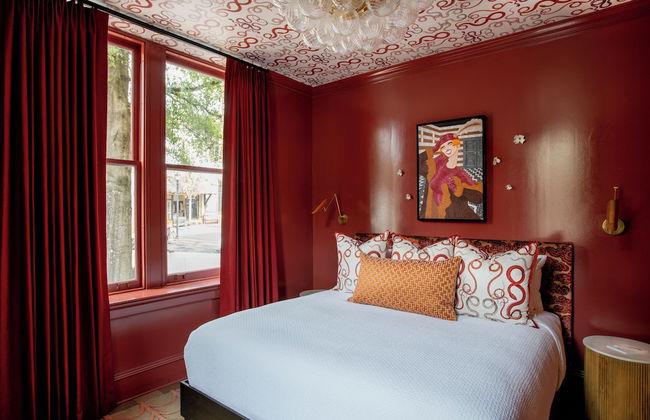
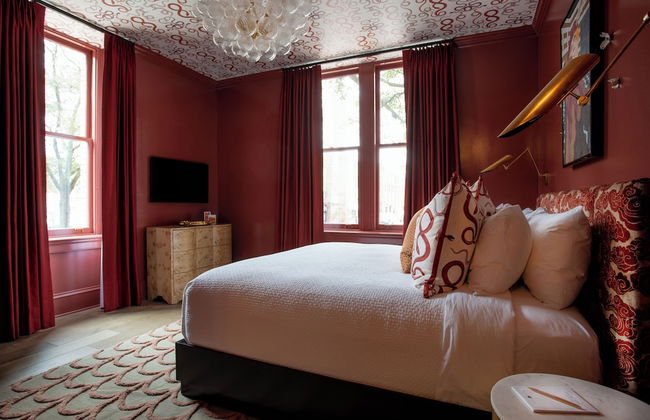


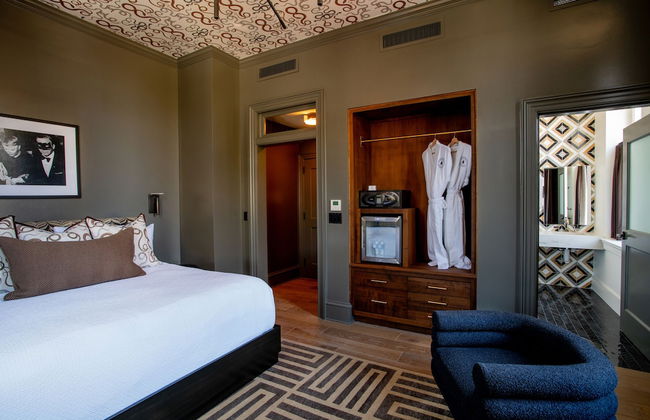


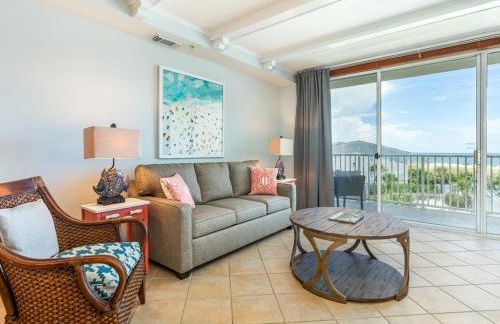
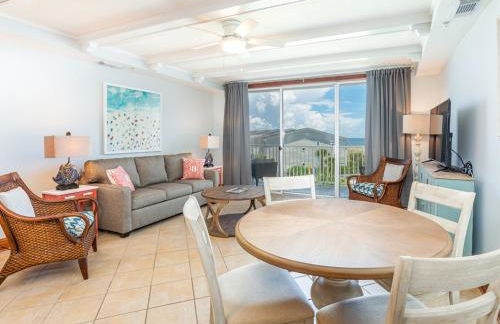
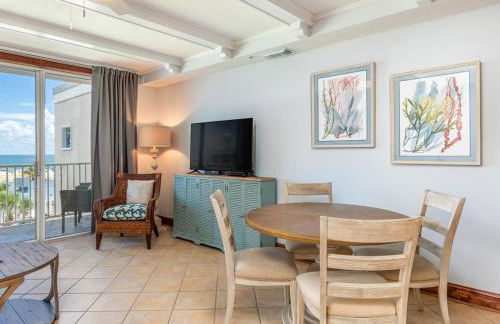
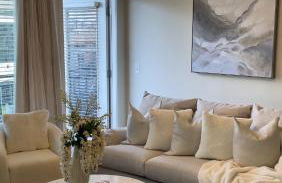
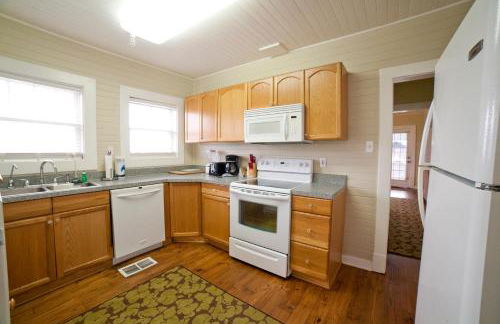
The Bell Athens by Kasa Living
Athens - No centro
- 179 M2
- 8 pessoas
- Ar-condicionado
- Aquecimento
- Terraço
- Estacionamento
- Elevador
- Varanda
- Tv
- Toalhas
35 avaliações


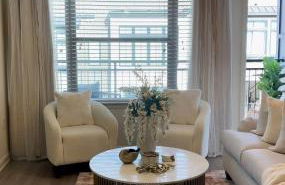
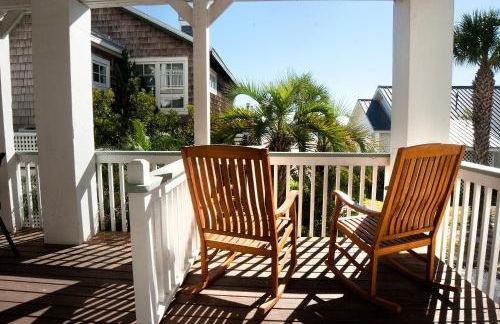
The Cottages at Laurel Brooke
Peachtree City - 2.4 km do centro
- 46 M2
- 2 pessoas
- Kitchenette
- Ar-condicionado
- Aquecimento
- Estacionamento
- Tv
- Toalhas
- Lençóis
22 avaliações


Giaviana's
Atlanta - Home Park - 3.9 km do centro
- 105 M2
- 2 quartos
- 6 pessoas
- Ar-condicionado
- Aquecimento
- Terraço
- Piscina
- Estacionamento
- Elevador
- Jardim
- Churrasco
15 avaliações


The Vue by Tybee Vacation Rentals
Tybee Island
- 130 M2
- 2 quartos
- 6 pessoas
- Ar-condicionado
- Aquecimento
- Piscina
- Estacionamento
- Elevador
- Varanda
- Tv
- Máquina de lavar roupa
- Churrasco
- Toalhas
- Lençóis
15 avaliações


Gingershack Farms
Ellijay
- 63 M2
- 6 pessoas
- Kitchenette
- Ar-condicionado
- Aquecimento
- Estacionamento
- Varanda
- Jardim
- Tv
- Máquina de lavar roupa
- Chaminé
- Churrasco
- Toalhas
- Lençóis
68 avaliações


Atlanta Beltline Luxury Suite
Atlanta - Inman Park - 2.1 km do centro
- 1 M2
- 1 quarto
- 3 pessoas
- Ar-condicionado
- Aquecimento
- Terraço
- Piscina
- Estacionamento
- Elevador
- Jardim
70 avaliações


Petit Crest Villas
Jasper - 12.3 km do centro
- 112 M2
- 8 pessoas
- Ar-condicionado
- Aquecimento
- Piscina
- Estacionamento
- Varanda
- Tv
- Máquina de lavar roupa
- Chaminé
- Toalhas
- Lençóis
42 avaliações


Kasa Jules Savannah
Savannah - Downtown Savannah - No centro
- 93 M2
- 2 quartos
- 6 pessoas
- Ar-condicionado
- Aquecimento
- Elevador
- Tv
- Máquina de lavar roupa
- Toalhas
- Lençóis
126 avaliações


Beach House 1 by Tybee Vacation Rentals
Tybee Island
- 123 M2
- 3 quartos
- 8 pessoas
- Ar-condicionado
- Aquecimento
- Piscina
- Estacionamento
- Elevador
- Tv
- Máquina de lavar roupa
- Churrasco
- Toalhas
6 avaliações


Lighthouse Point 1 by Tybee Vacation Rentals
Tybee Island
- 80 M2
- 6 pessoas
- Ar-condicionado
- Aquecimento
- Piscina
- Estacionamento
- Elevador
- Tv
- Máquina de lavar roupa
- Toalhas
- Lençóis
67 avaliações


Postcard Cabins Chattahoochee, Outdoor Collection by Marriott Bonvoy
Suches
- 15 M2
- 4 pessoas
- Kitchenette
- Ar-condicionado
- Aquecimento
- Terraço
- Estacionamento
- Chaminé
- Toalhas
- Lençóis
76 avaliações


Brookwood Courtyard by BCA Furnished Apartments
Atlanta - 5.1 km do centro
- 79 M2
- 2 quartos
- 4 pessoas
- Ar-condicionado
- Aquecimento
- Estacionamento
- Tv
- Máquina de lavar roupa
- Toalhas
- Lençóis
17 avaliações


Mountain Cove Farms Resort
Chickamauga
- 6 pessoas
- Ar-condicionado
- Aquecimento
- Terraço
- Estacionamento
- Jardim
- Tv
- Máquina de lavar roupa
- Chaminé
- Churrasco
- Toalhas
- Lençóis
8 avaliações


stayAPT Suites Columbus-Fort Benning
Columbus - 10.3 km do centro
- 4 pessoas
- Ar-condicionado
- Aquecimento
- Estacionamento
- Elevador
- Tv
- Chaminé
- Churrasco
- Toalhas
- Lençóis
160 avaliações


stayAPT Suites Atlanta-Newnan
Newnan - 2.3 km do centro
- 48 M2
- 4 pessoas
- Ar-condicionado
- Aquecimento
- Estacionamento
- Elevador
- Tv
- Chaminé
- Churrasco
- Toalhas
- Lençóis
84 avaliações


Captains Watch 1 by Tybee Vacation Rentals
Tybee Island
- 93 M2
- 2 quartos
- 6 pessoas
- Ar-condicionado
- Aquecimento
- Piscina
- Estacionamento
- Elevador
- Tv
- Máquina de lavar roupa
- Toalhas
- Lençóis
7 avaliações


Desoto Beach Terraces
Tybee Island
- 139 M2
- 2 quartos
- 8 pessoas
- Ar-condicionado
- Aquecimento
- Terraço
- Piscina
- Estacionamento
- Elevador
- Varanda
- Jardim
- Tv
- Máquina de lavar roupa
- Churrasco
- Toalhas
- Lençóis
120 avaliações


Brass Rail Villas by Tybee Vacation Rentals
Tybee Island
- 128 M2
- 3 quartos
- 8 pessoas
- Ar-condicionado
- Aquecimento
- Piscina
- Estacionamento
- Elevador
- Varanda
- Tv
- Máquina de lavar roupa
- Toalhas
- Lençóis
17 avaliações


Bay View Villas by Tybee Vacation Rentals
Tybee Island
- 139 M2
- 2 quartos
- 8 pessoas
- Ar-condicionado
- Aquecimento
- Piscina
- Estacionamento
- Elevador
- Tv
- Máquina de lavar roupa
- Churrasco
- Toalhas
- Lençóis
12 avaliações