
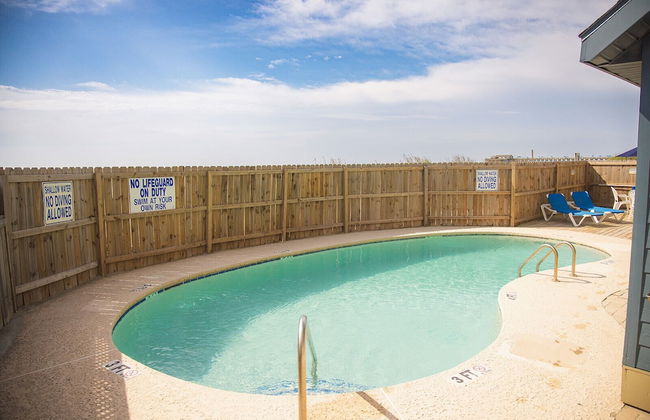
571 Apartamentos em Georgetown


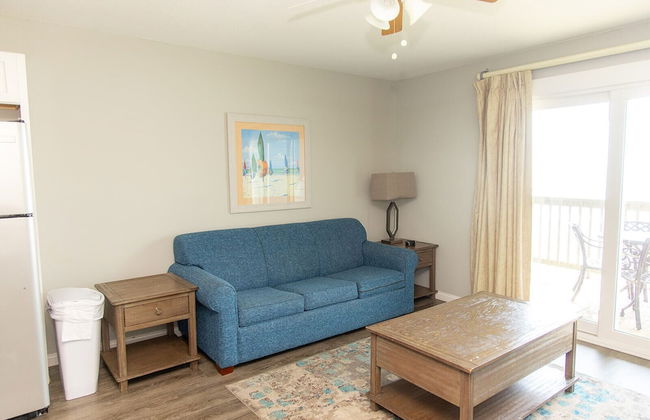
Atalaya Towers
Murrells Inlet
- 89 M2
- 8 pessoas
- Ar-condicionado
- Aquecimento
- Piscina
- Estacionamento
- Elevador
- Varanda
- Tv
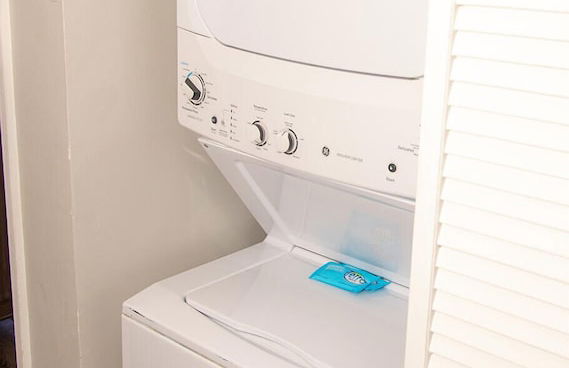
- Máquina de lavar roupa
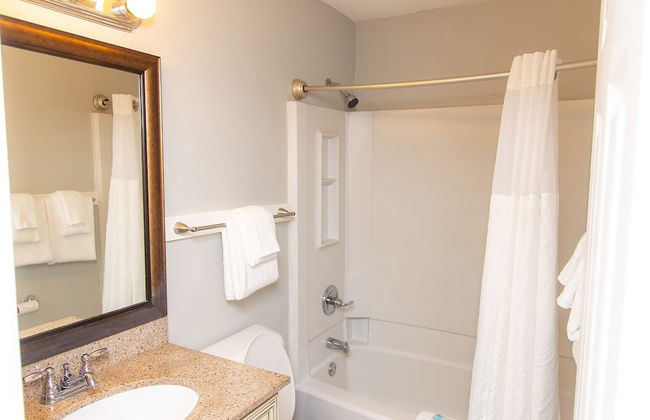
- Toalhas
13 avaliações


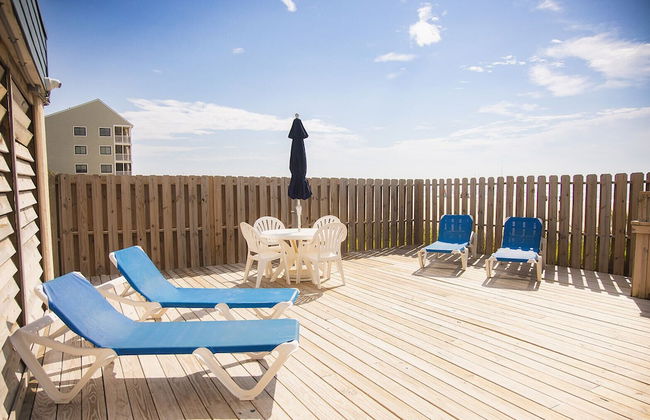
Seawatch Inn at the Landing
Murrells Inlet
- 8 pessoas
- Ar-condicionado
- Aquecimento
- Terraço
- Piscina
- Estacionamento
- Jardim
- Tv
- Máquina de lavar roupa
- Churrasco
- Toalhas
- Lençóis
15 avaliações


Wedgefield Bed & Breakfast
Georgetown
- 800 M2
- 2 quartos
- 4 pessoas
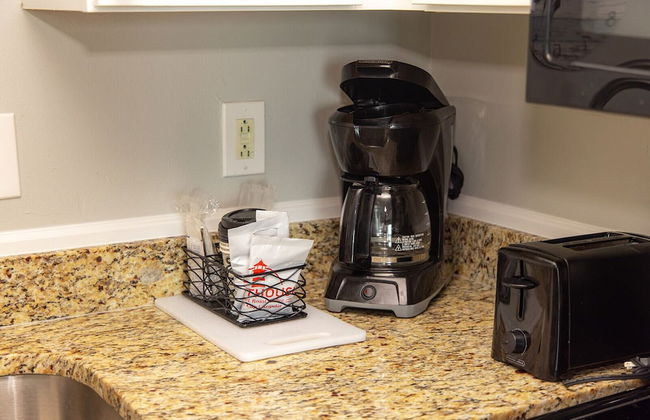
- Kitchenette
- Ar-condicionado
- Aquecimento
- Terraço
- Estacionamento
- Tv
- Toalhas
- Lençóis
21 avaliações
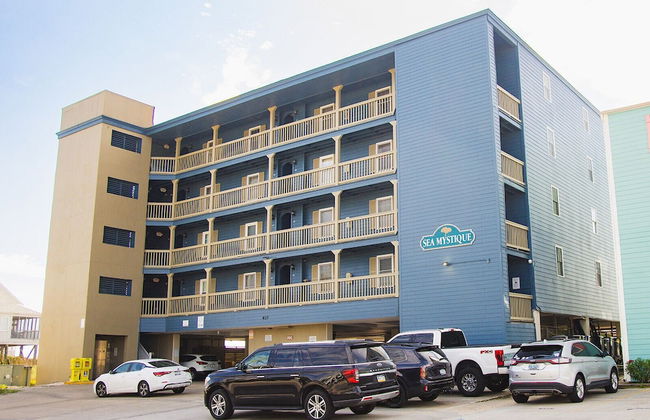


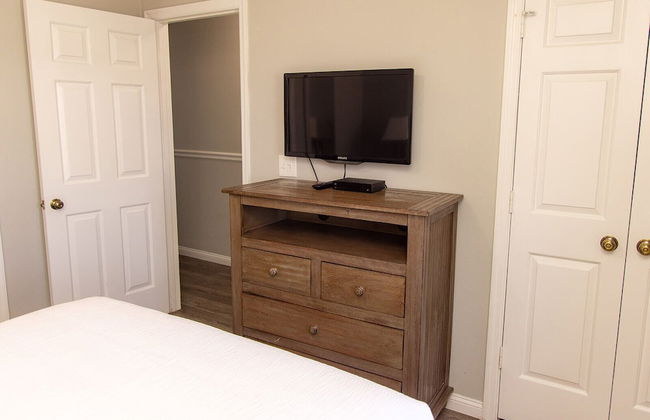


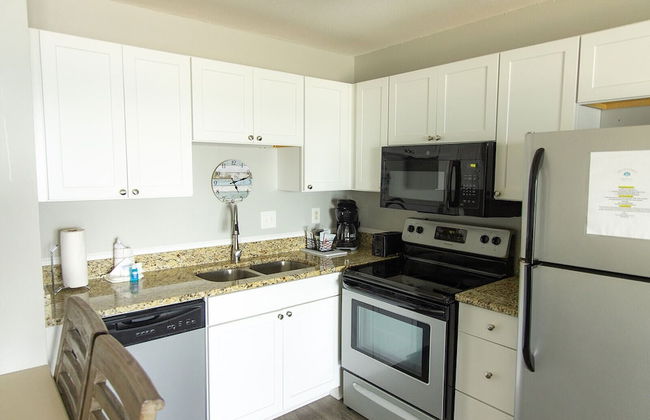


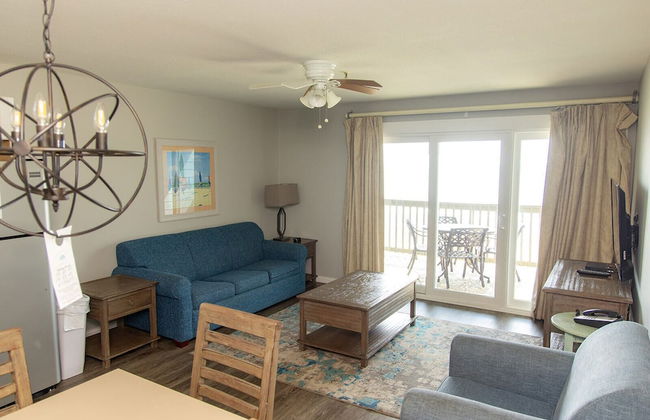


Sea Mystique Murrells Inlet
Murrells Inlet
- 6 pessoas
- Ar-condicionado
- Aquecimento
- Piscina
- Estacionamento
- Varanda
- Jardim
- Tv
- Máquina de lavar roupa
- Churrasco
- Toalhas
- Lençóis
47 avaliações


Charming upgraded 2-bed condo in amazing Pawleys Island True Blue Golf Course
Pawleys Island
- 93 M2
- 2 quartos
- 4 pessoas
- Ar-condicionado
- Aquecimento
- Piscina
- Estacionamento
11 avaliações


Marvelous 3-bedroom 2-bathroom house with Central Air charming Georgetown
Georgetown
- 8 M2
- 3 quartos
- 6 pessoas
- Ar-condicionado
- Aquecimento
- Estacionamento
- Jardim
2 avaliações


COFFEE on THE BEACH WINE on THE MARSH DOCK
Pawleys Island
- 23 M2
- 2 quartos
- 7 pessoas
- Ar-condicionado
- Aquecimento
- Terraço
- Piscina
- Estacionamento
- Elevador
- Jardim
3 avaliações


Coastal Murrells Inlet Condo with Balcony!
Murrells Inlet
- 74 M2
- 2 quartos
- 6 pessoas
- Aquecimento
- Piscina
- Estacionamento
14 avaliações


Summerhouse Villas Condo Private Resort Beach!
Pawleys Island
- 58 M2
- 1 quarto
- 6 pessoas
- Aquecimento
- Piscina
- Estacionamento
- Elevador
6 avaliações


Pawleys Island Condo with Screened Porch and Golfing!
Pawleys Island
- 85 M2
- 2 quartos
- 6 pessoas
- Aquecimento
- Piscina
- Estacionamento
8 avaliações


Welcome to After Dune Delight Golf Course Condo!
Pawleys Island
- 118 M2
- 2 quartos
- 4 pessoas
- Aquecimento
- Piscina
- Estacionamento
8 avaliações


Captain's Quarters Upscale 3 Bedroom Condo
Pawleys Island
- 151 M2
- 3 quartos
- 8 pessoas
- Ar-condicionado
- Piscina
- Estacionamento
- Elevador
2 avaliações


Coastal Escape
Pawleys Island
- 190 M2
- 4 quartos
- 11 pessoas
- Ar-condicionado
- Aquecimento
- Piscina
- Churrasco
6 avaliações


Palmetto Sunrise
Pawleys Island
- 149 M2
- 3 quartos
- 6 pessoas
- Ar-condicionado
- Aquecimento
- Piscina
- Elevador
- Jardim
4 avaliações


Beachside Paradise 3BR Panoramic Ocean Views
Pawleys Island
- 156 M2
- 3 quartos
- 8 pessoas
- Ar-condicionado
- Piscina
- Estacionamento
- Elevador
3 avaliações


The Little Brick Cottage
Murrells Inlet
- 106 M2
- 2 quartos
- 6 pessoas
- Ar-condicionado
- Aquecimento
- Jardim
- Churrasco
13 avaliações


Waterfront Gem with Balcony in Garden City
Murrells Inlet
- 74 M2
- 2 quartos
- 5 pessoas
- Aquecimento
- Piscina
- Estacionamento
3 avaliações


Coastal Vacation Rental - 2 Mi to Huntington Beach
Murrells Inlet
- 111 M2
- 2 quartos
- 6 pessoas
- Aquecimento
- Estacionamento
12 avaliações


Pinehurst Condos, Unit 6-J
Pawleys Island
- 88 M2
- 2 quartos
- 6 pessoas
- Ar-condicionado
- Aquecimento
- Piscina
- Jardim
8 avaliações