
10457 Apartamentos em South Carolina


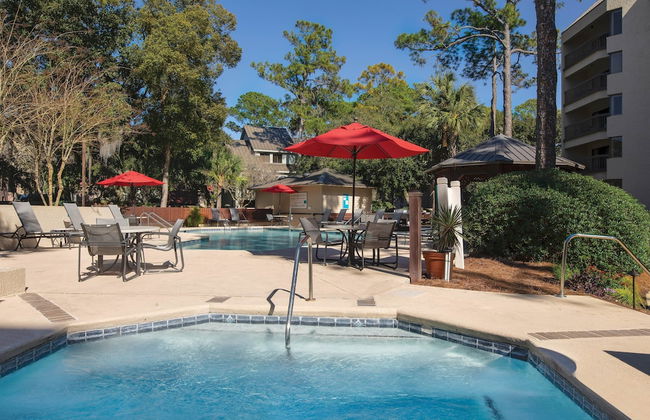
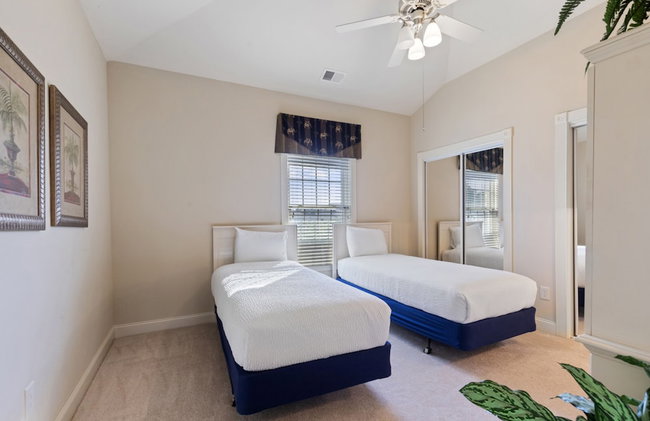
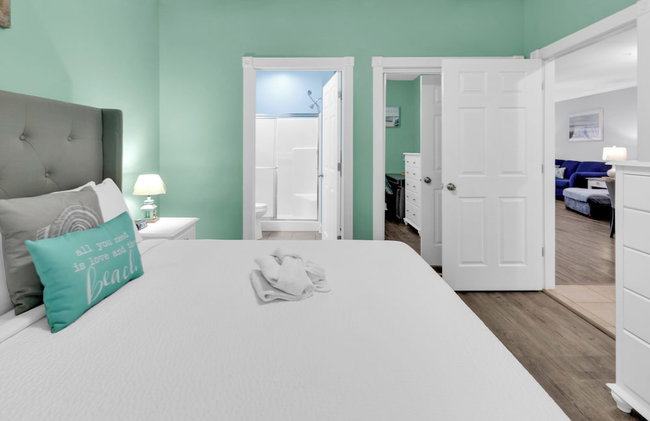
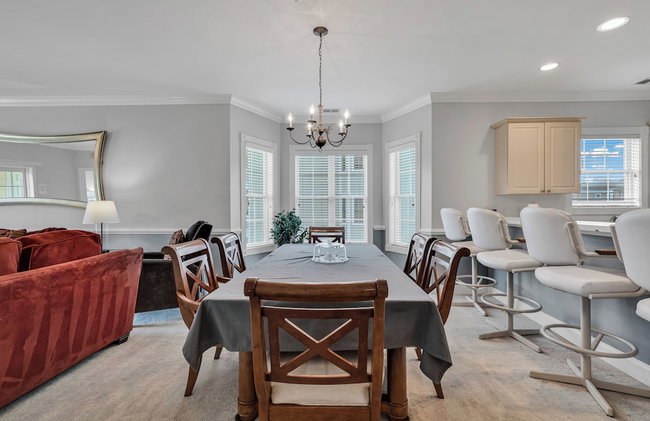
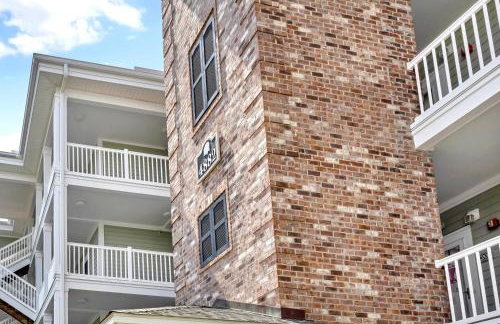
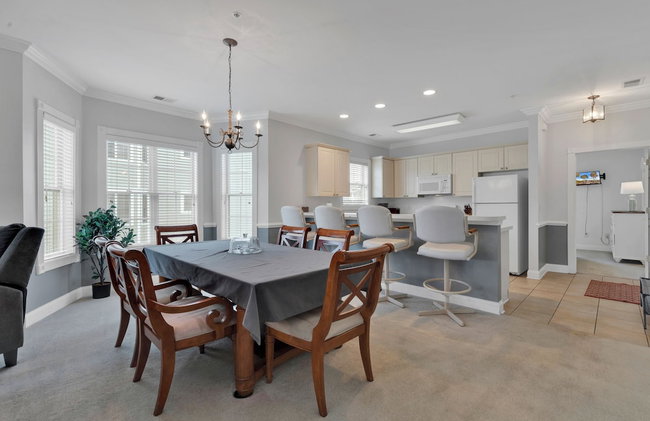
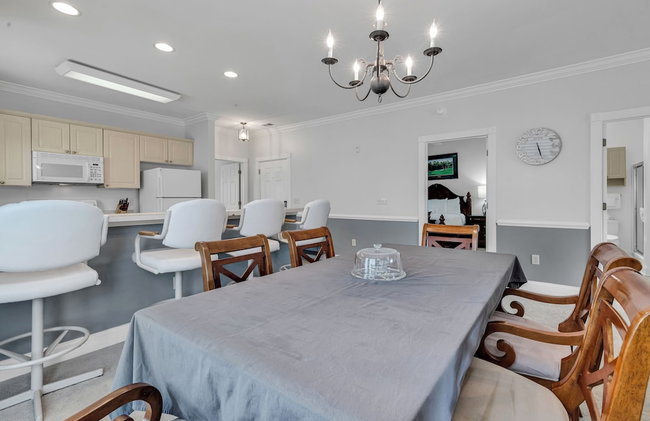
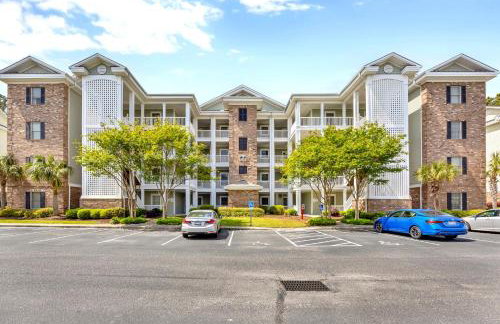
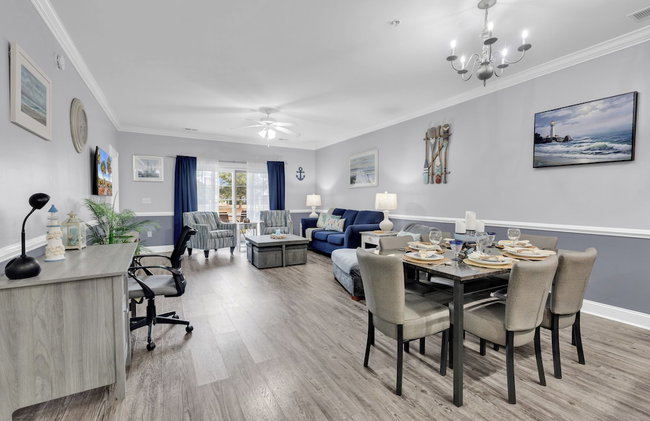
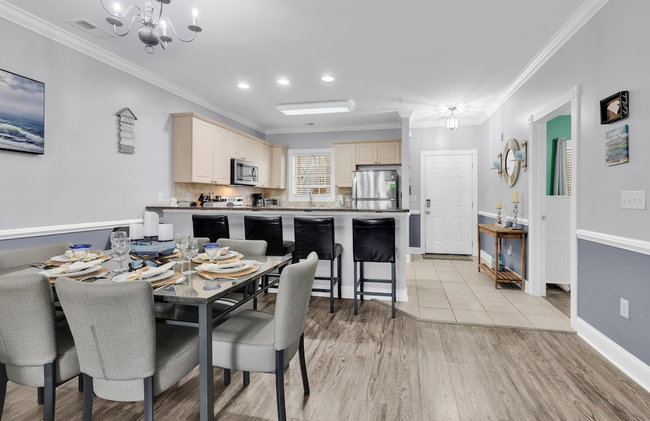
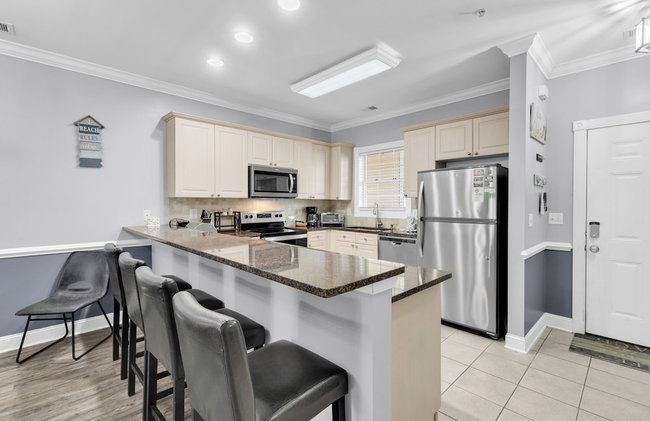
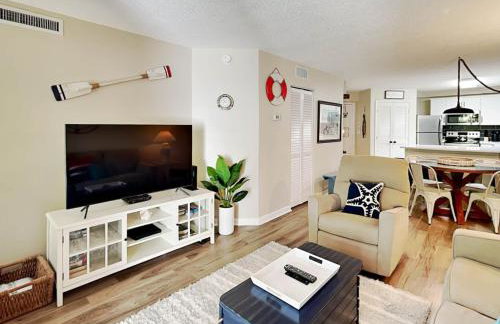
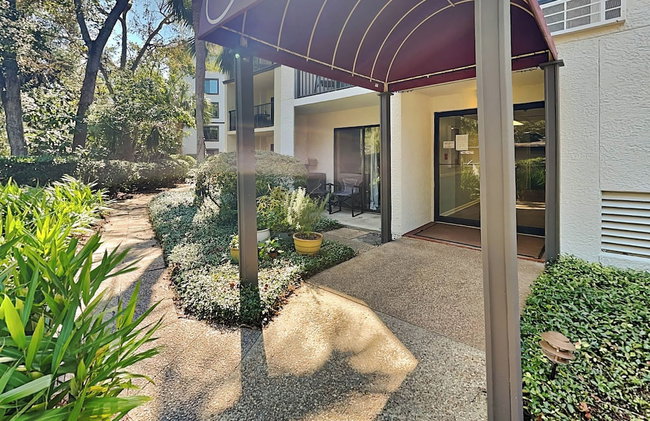
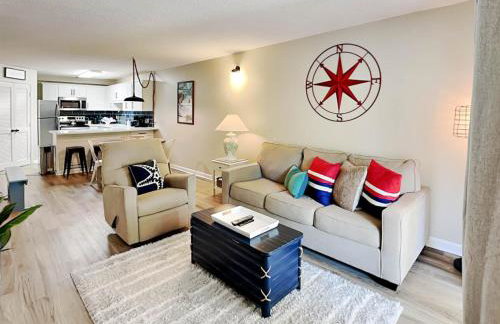
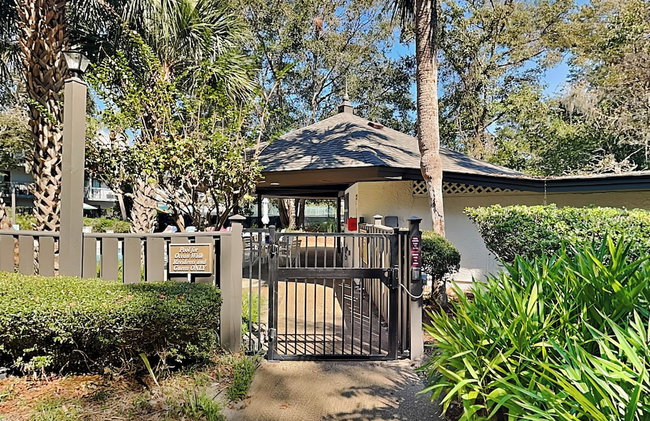
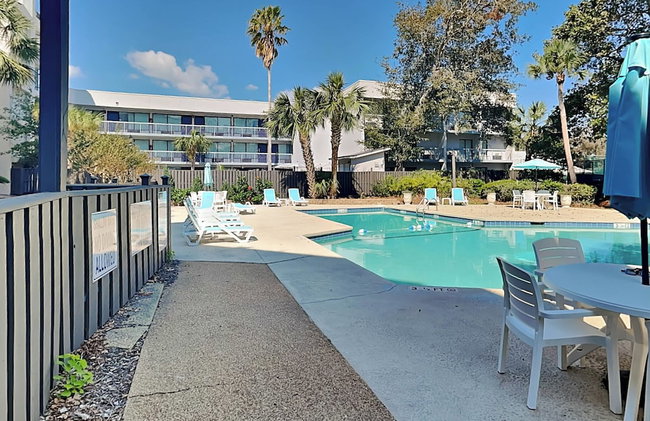
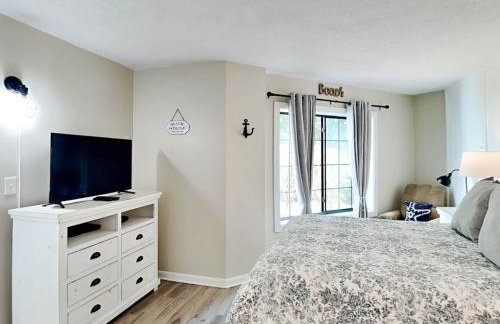
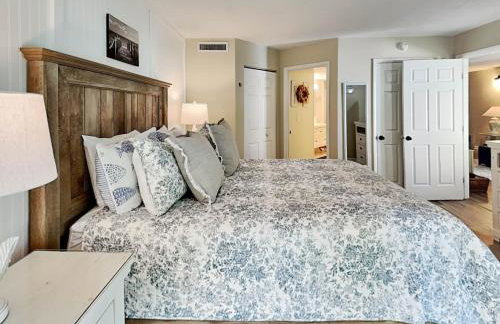
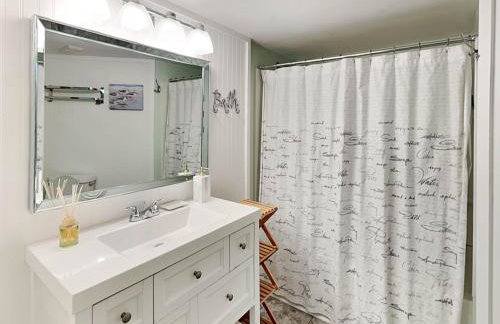
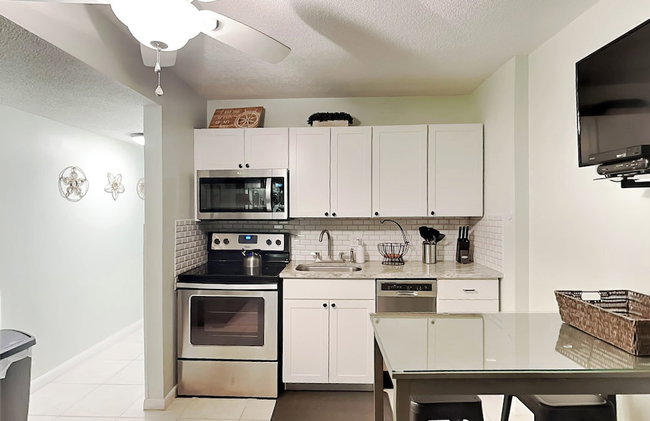
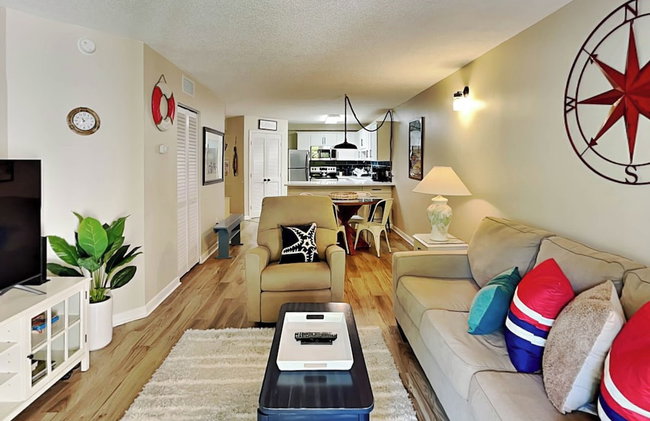
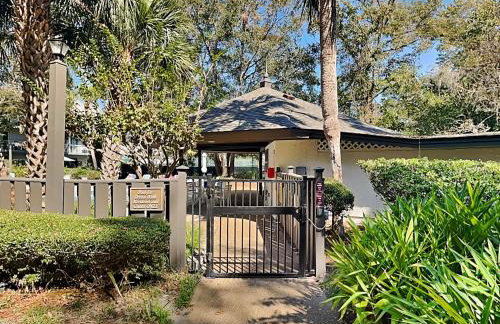
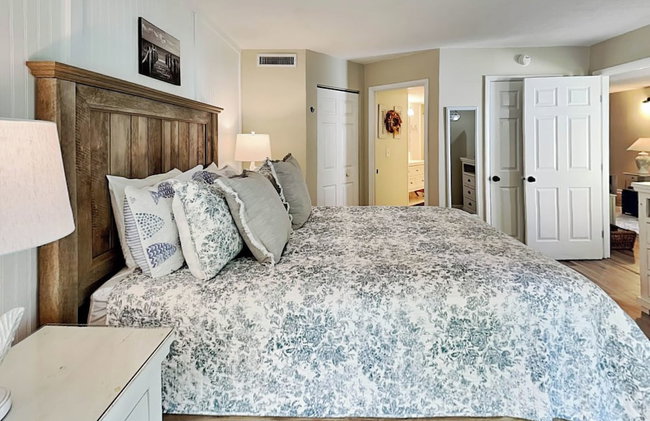
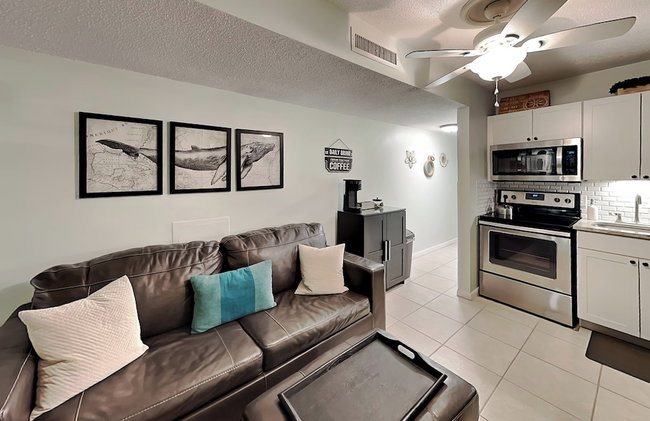
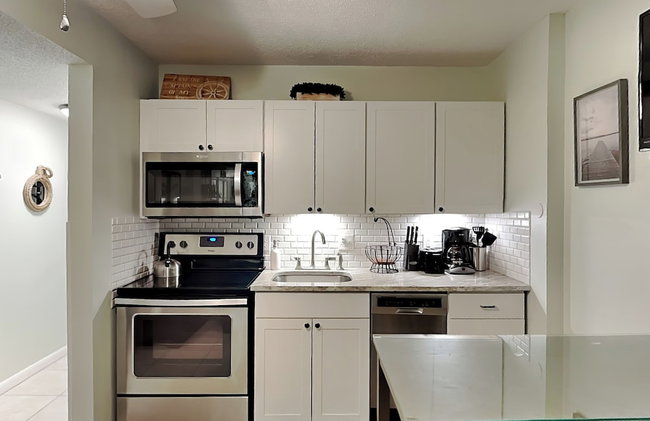
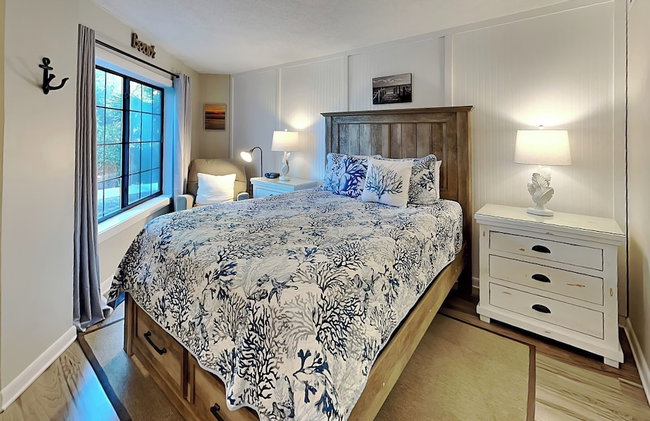
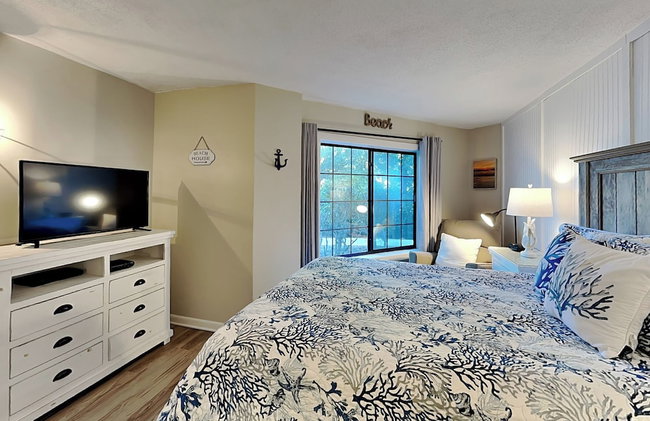
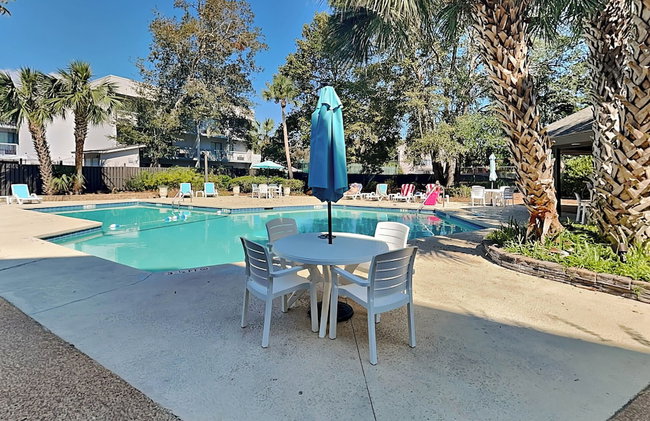
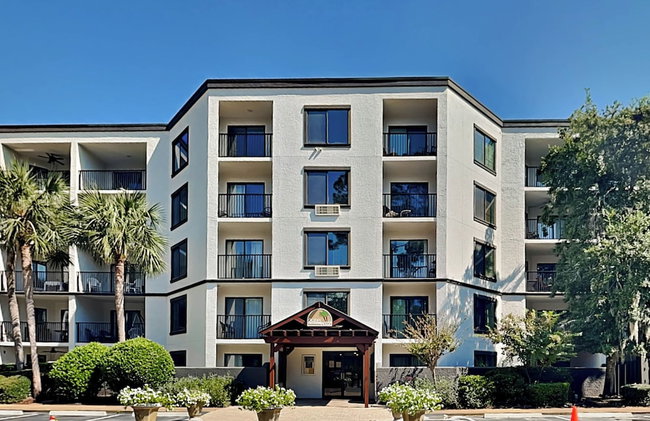
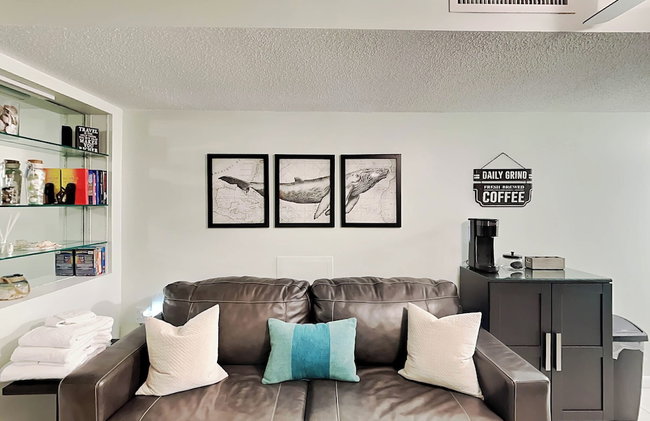
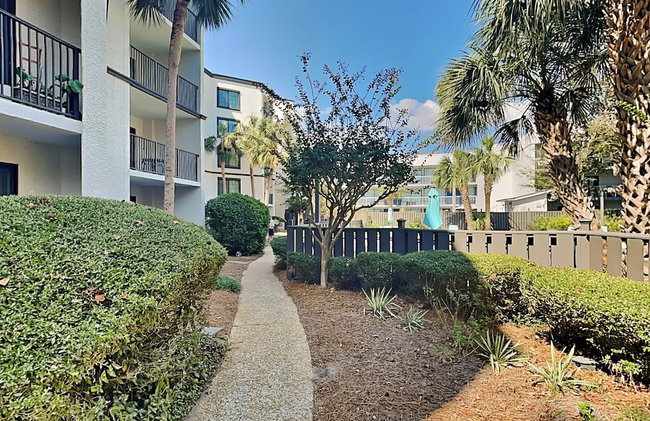
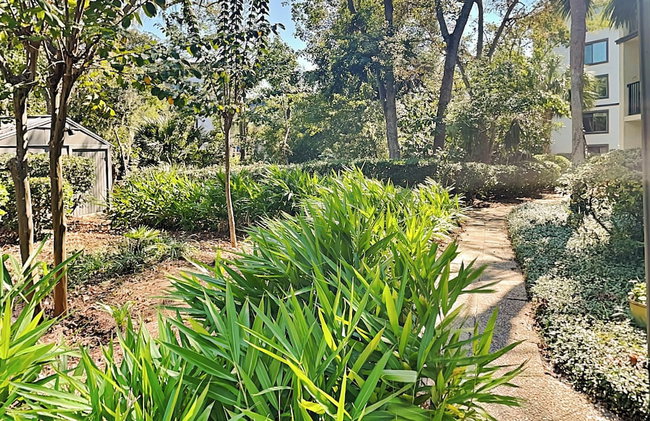
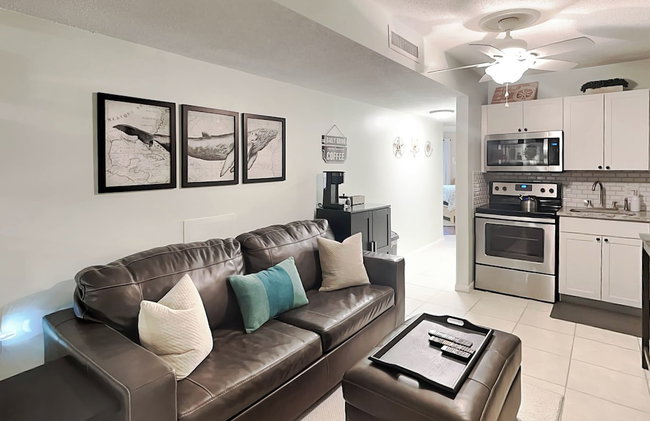
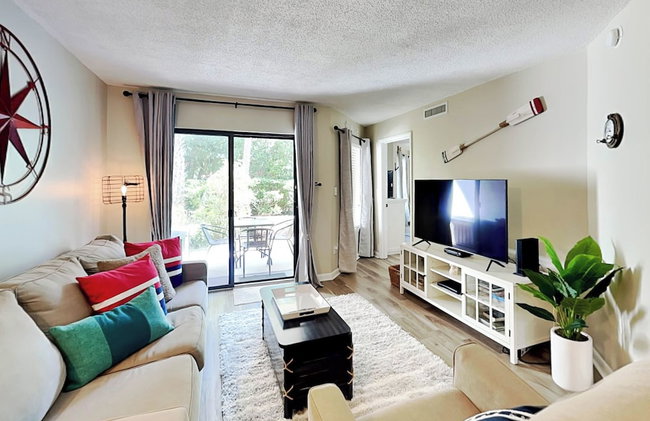
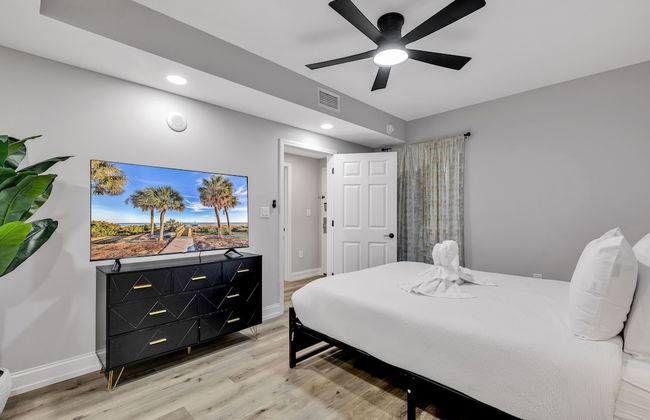
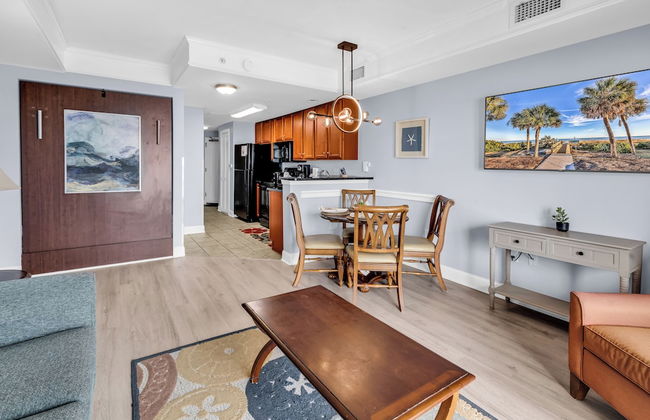
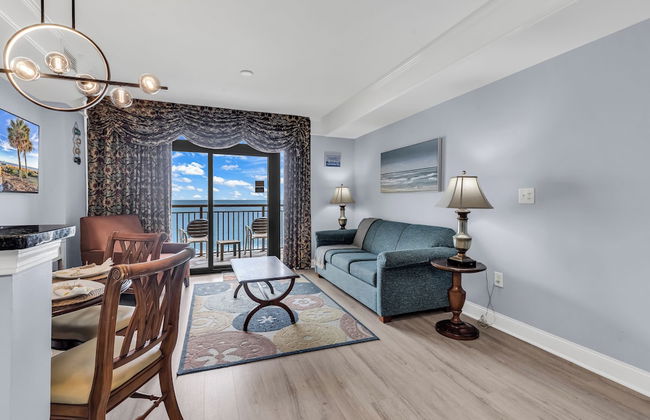
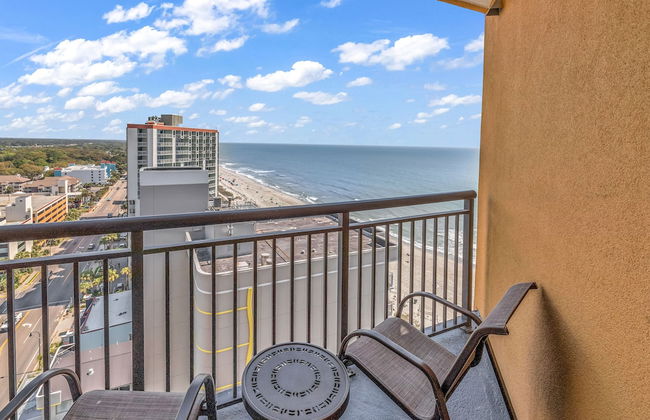
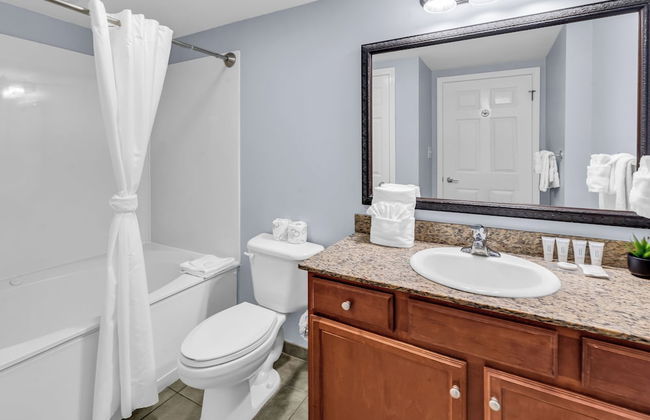
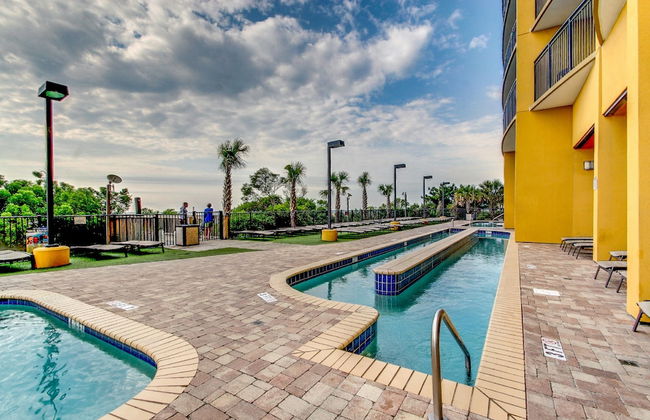
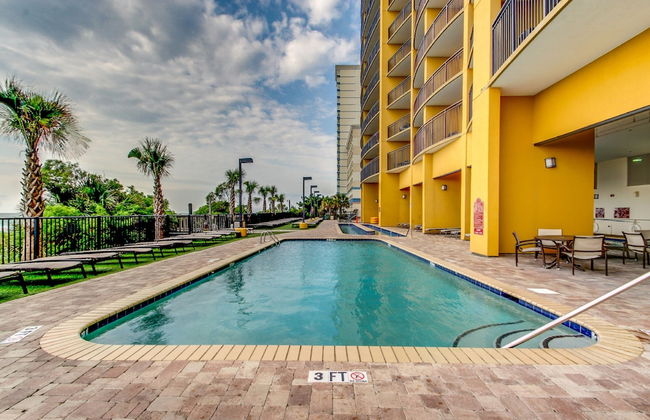
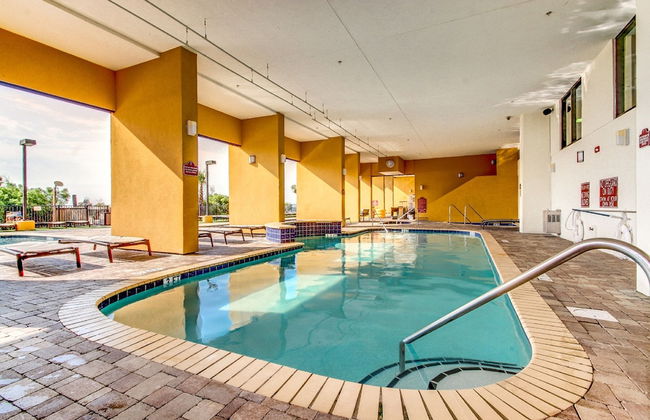
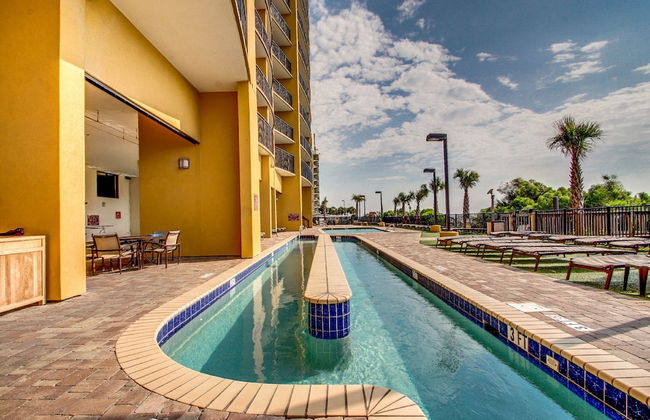
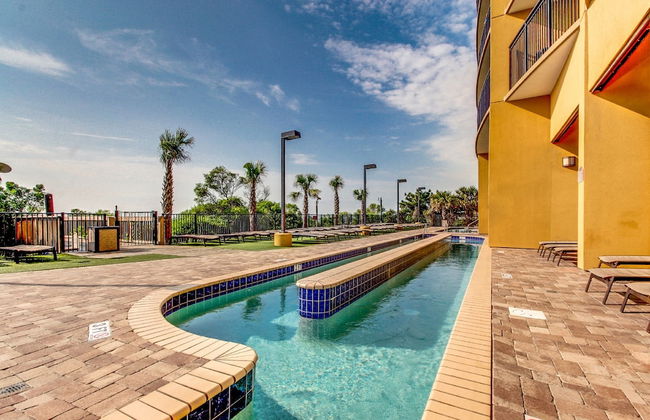
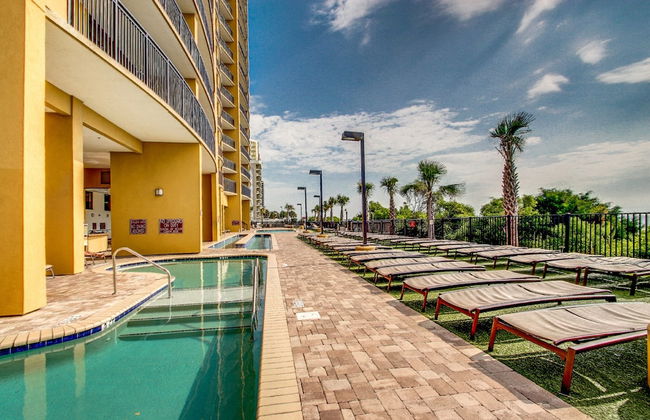
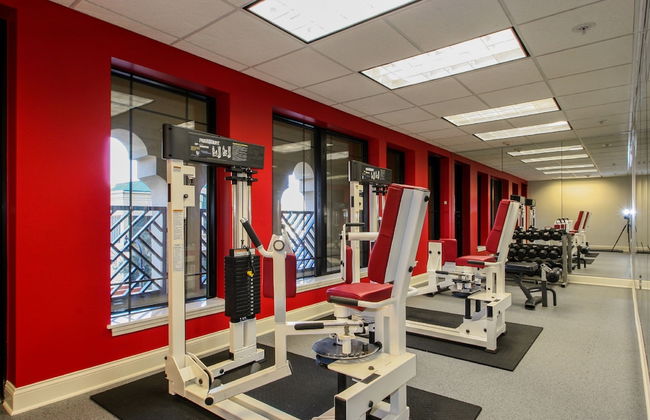
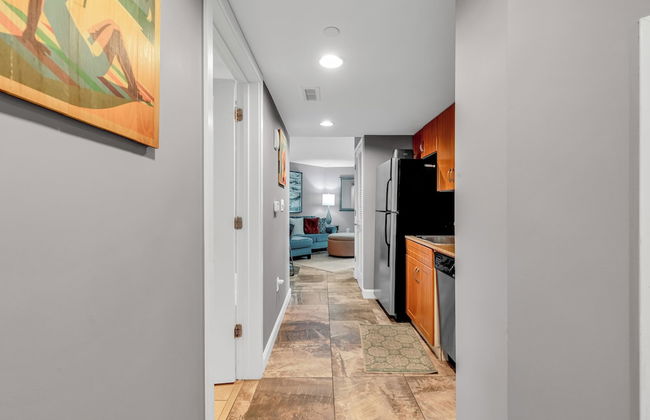
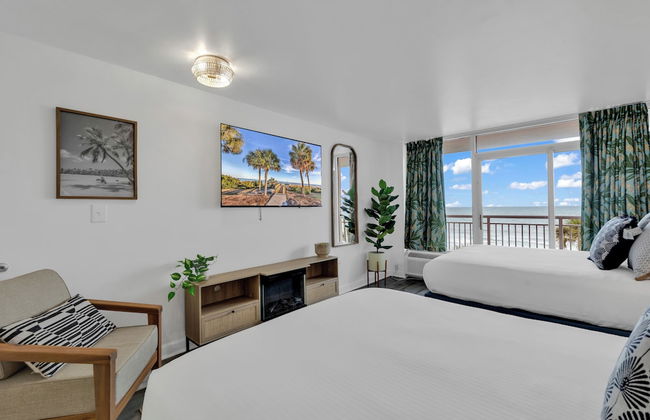
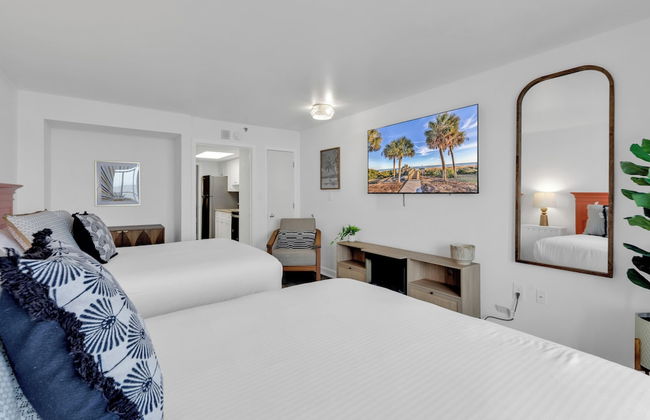
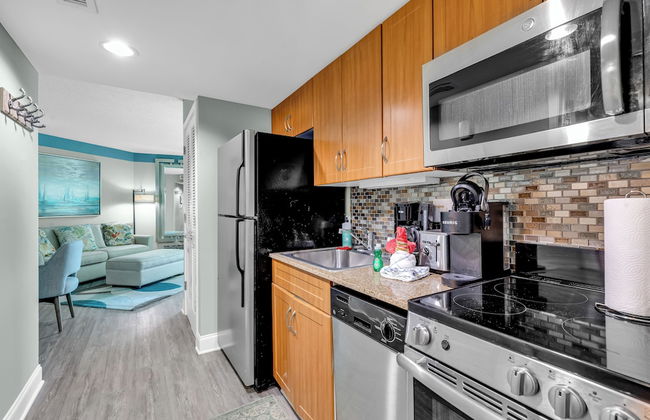
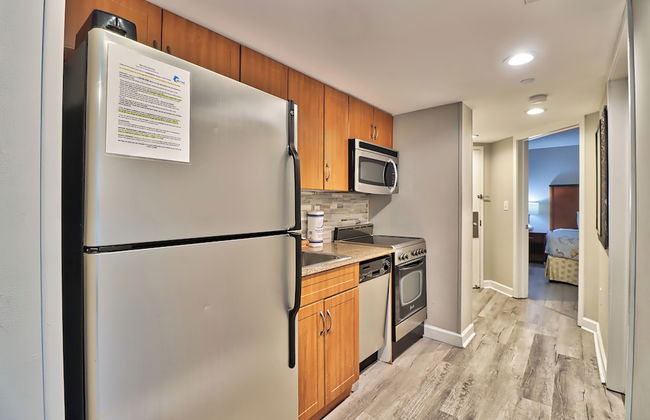
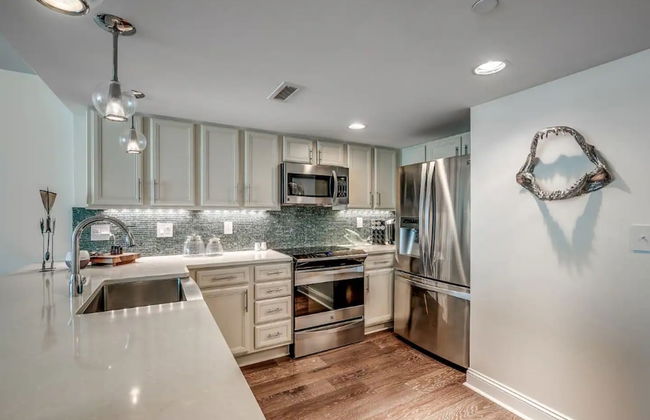
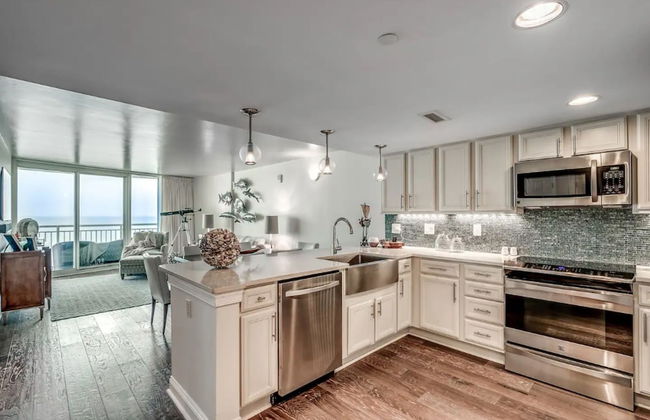
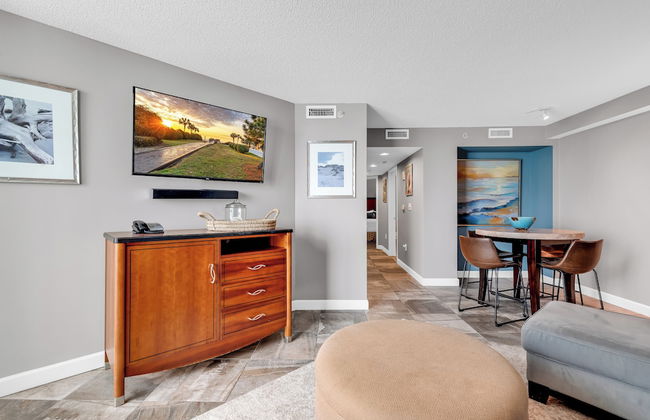
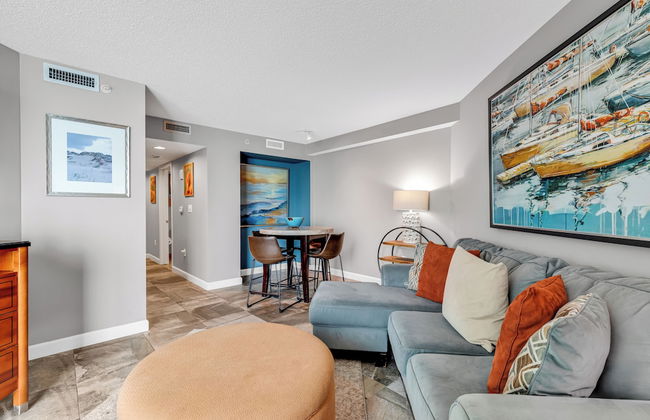
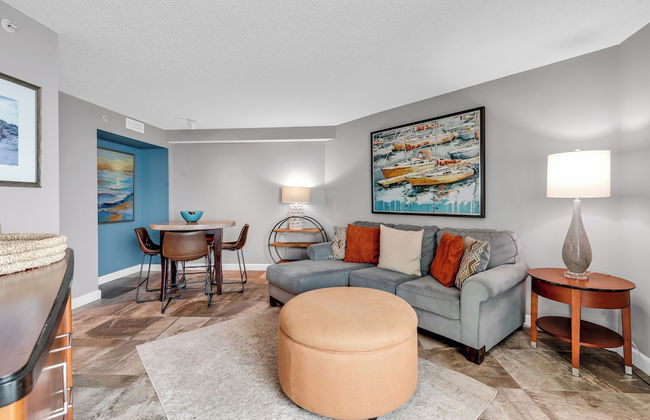
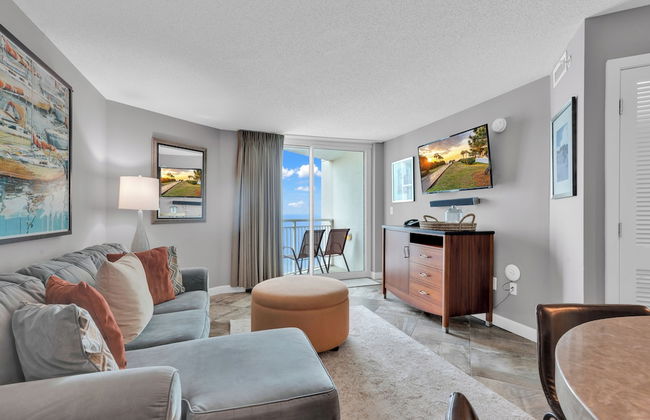
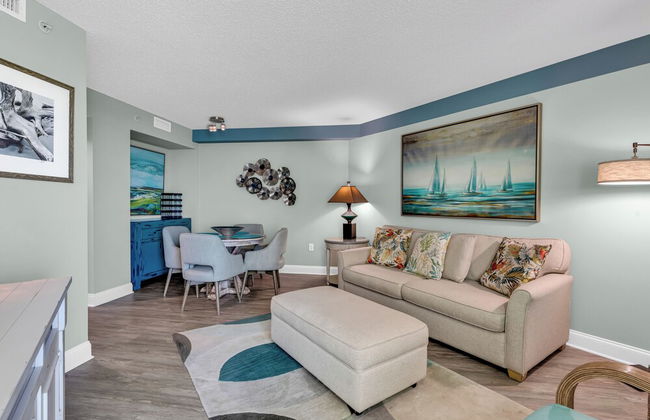
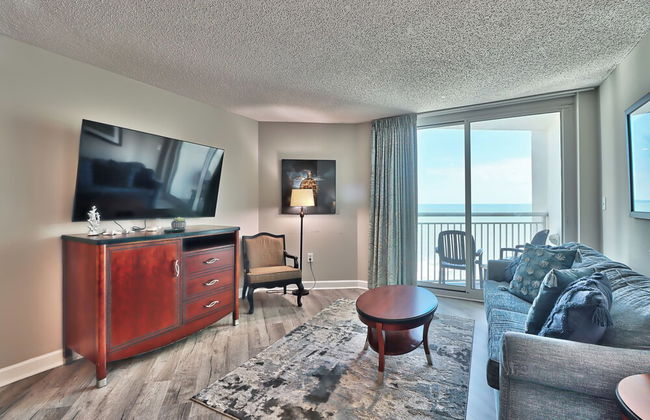
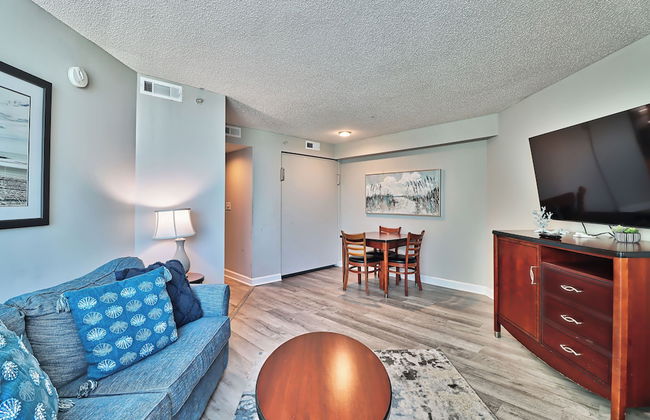
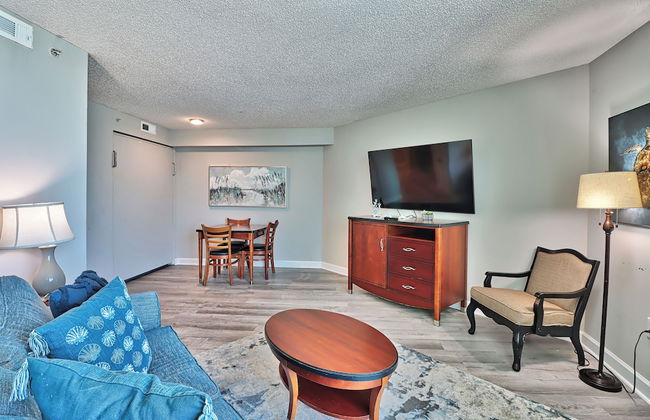
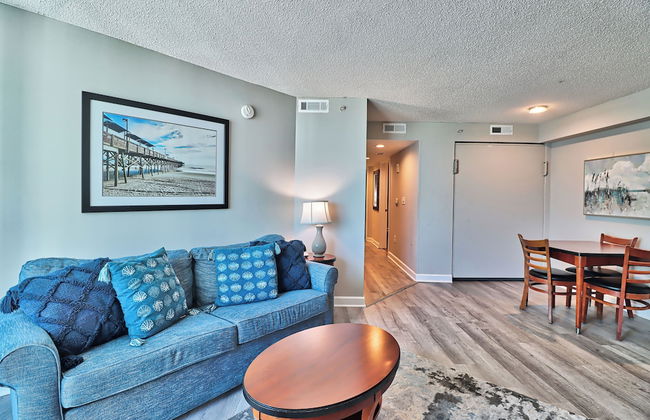
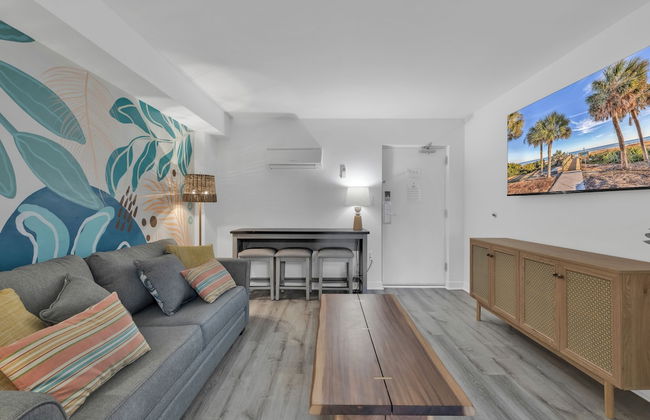
Jade Tree Cove
Myrtle - 7.8 km do centro
- 59 M2
- 6 pessoas
- Kitchenette
- Ar-condicionado
- Aquecimento
- Terraço
- Piscina
- Estacionamento
- Elevador
- Tv
- Churrasco
- Toalhas
- Lençóis
409 avaliações
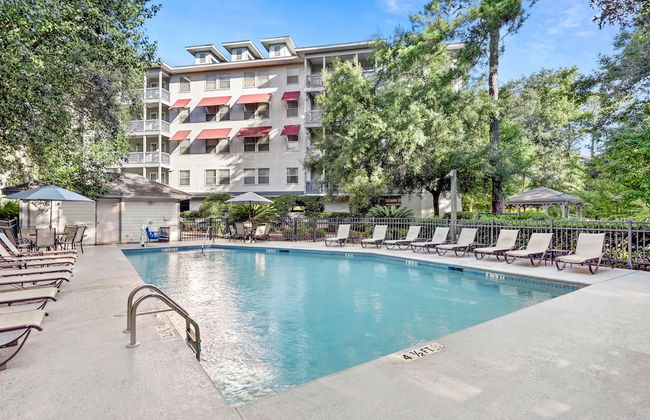

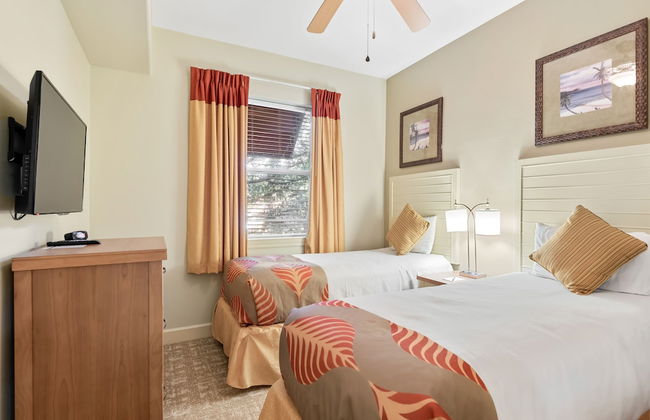


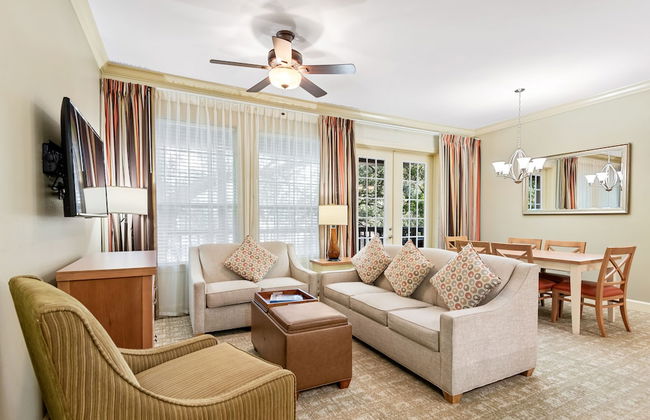


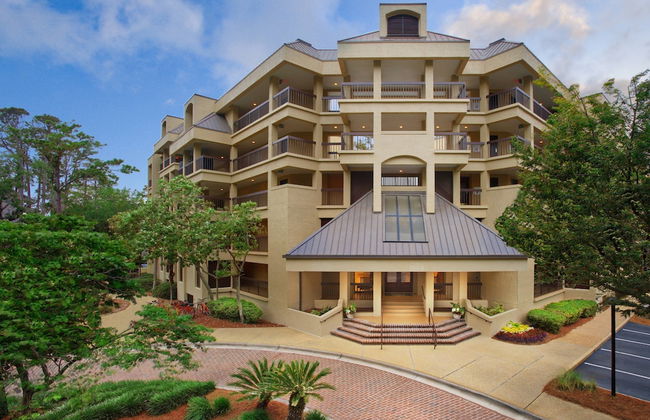
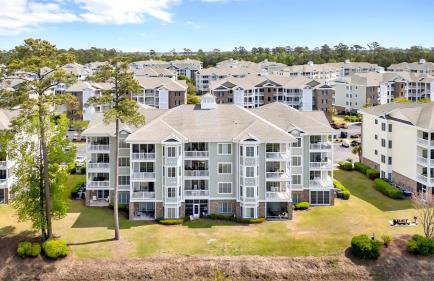
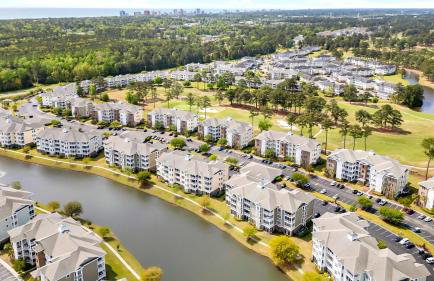
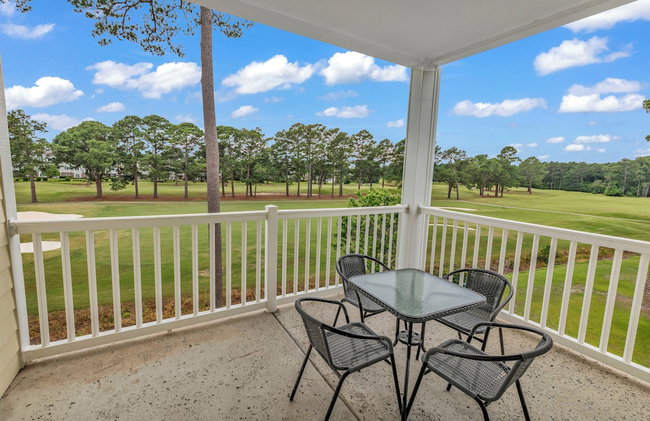
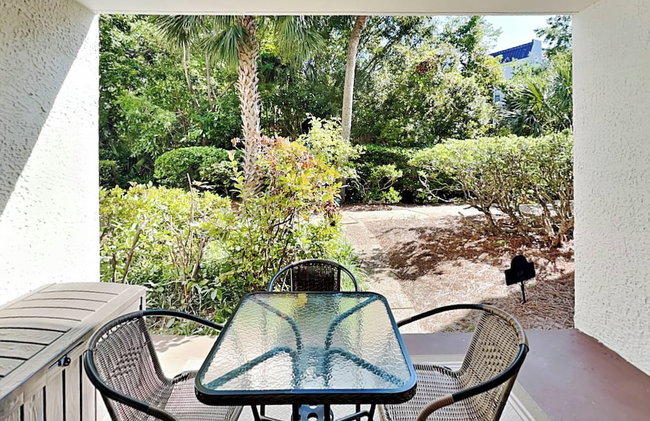
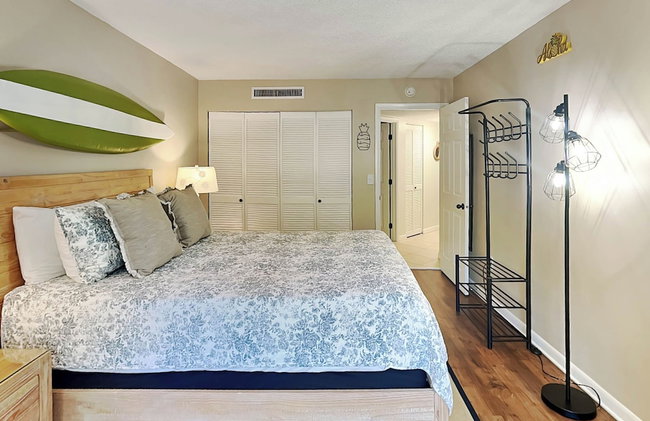
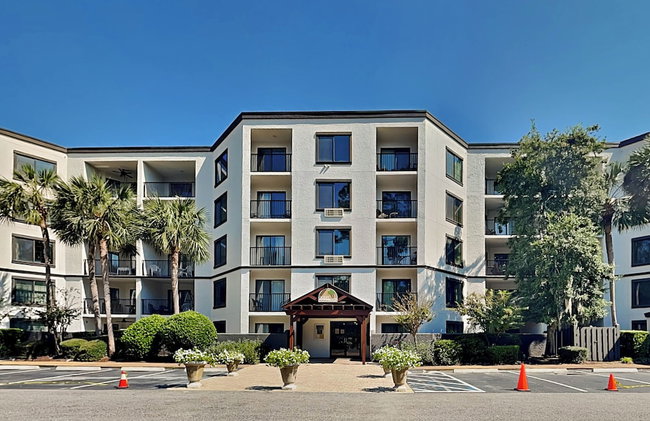
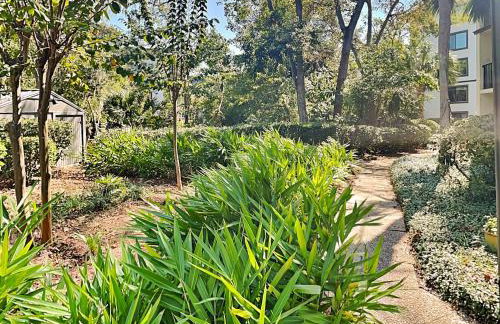
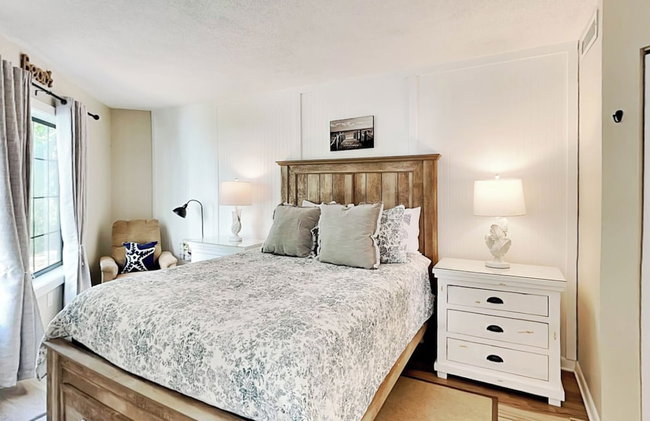
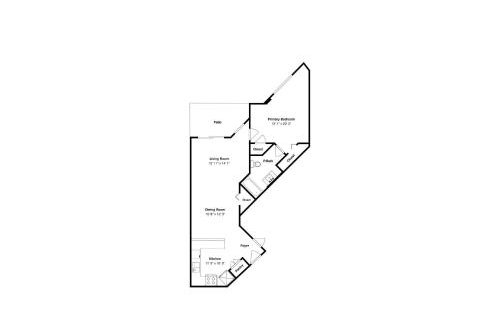
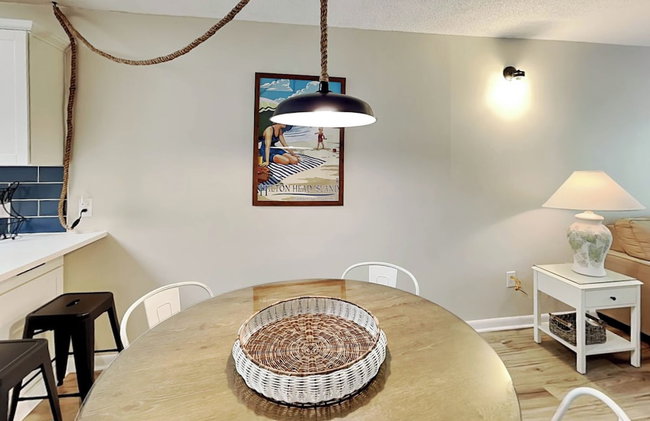
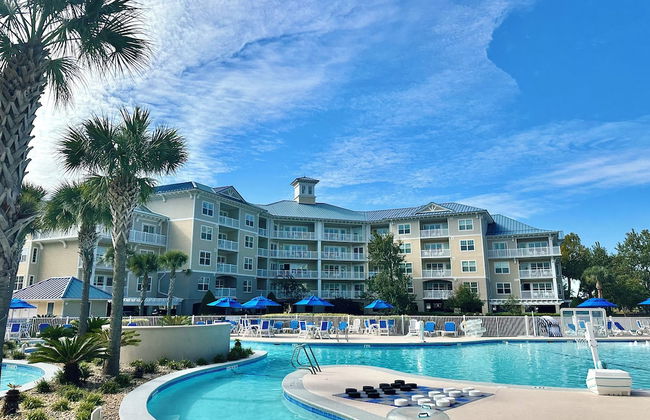
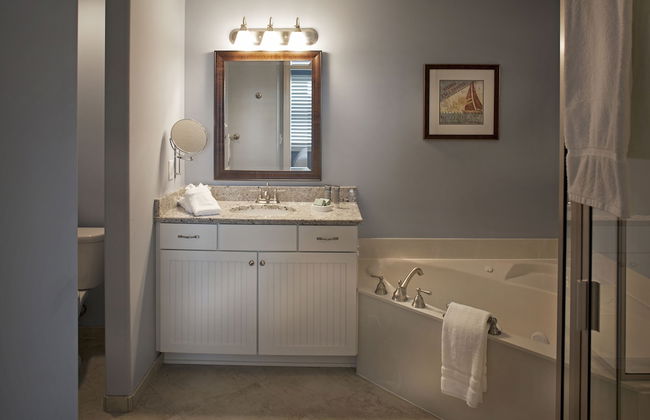
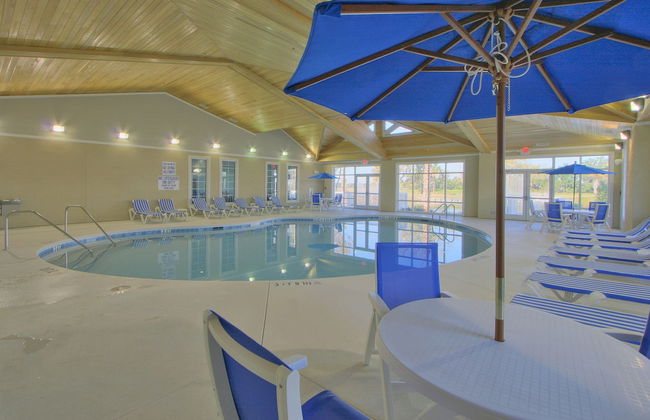
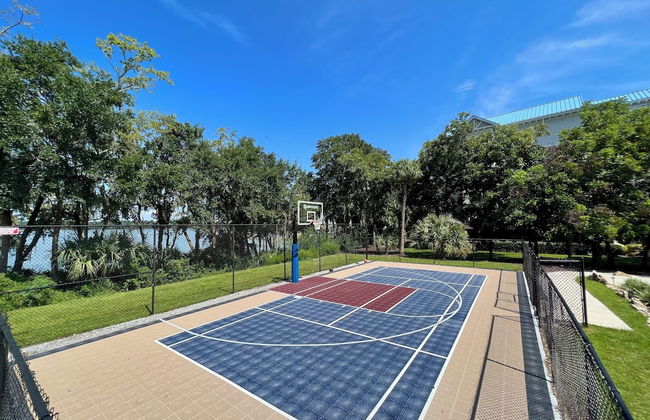
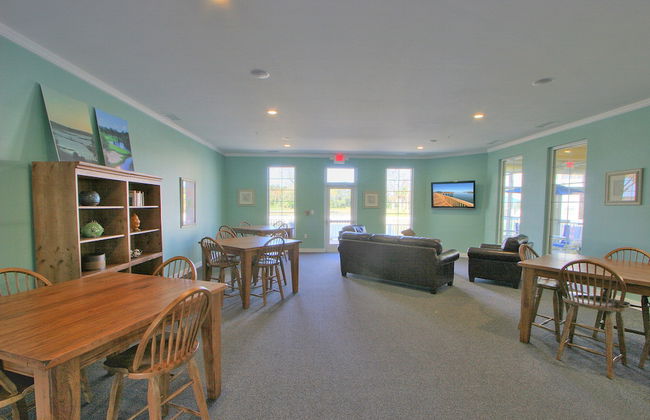
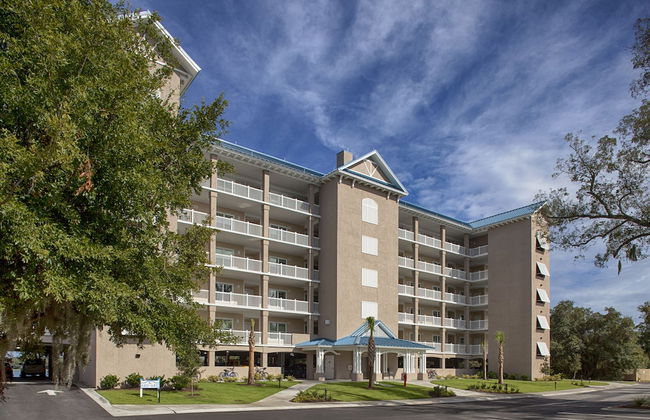
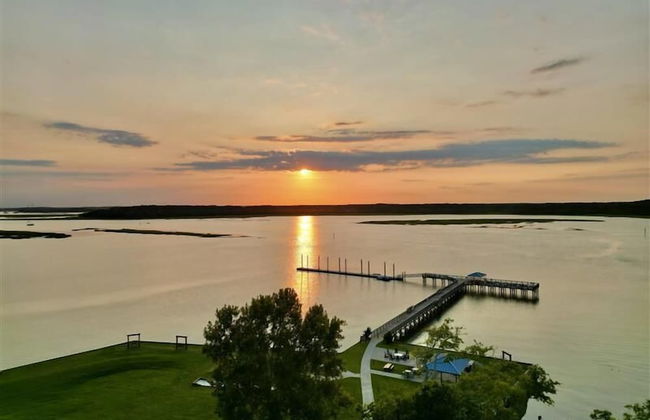
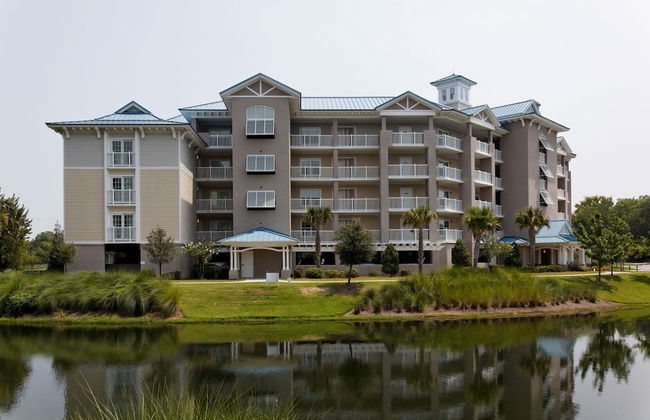
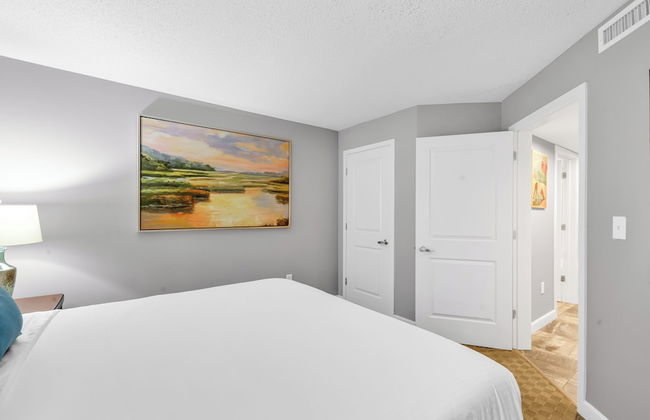
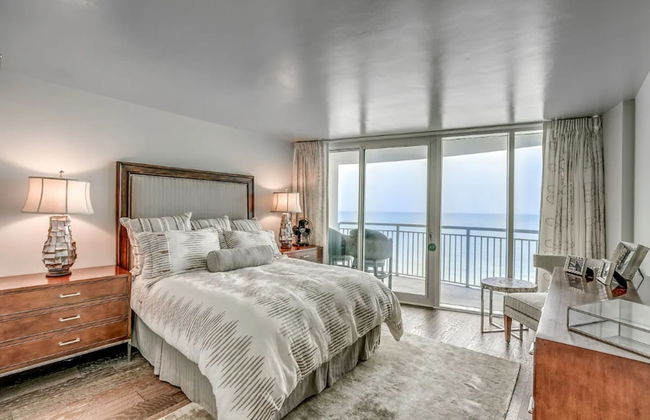
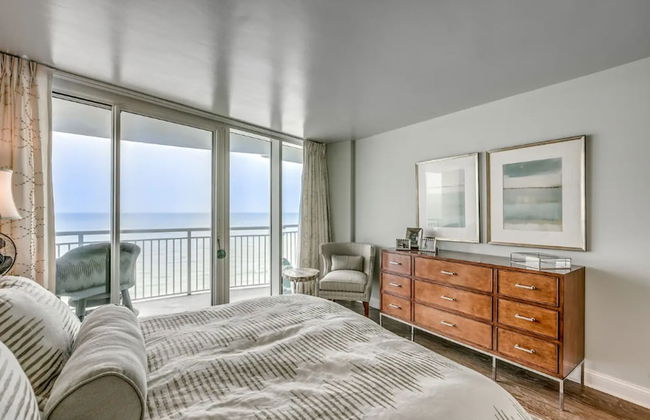
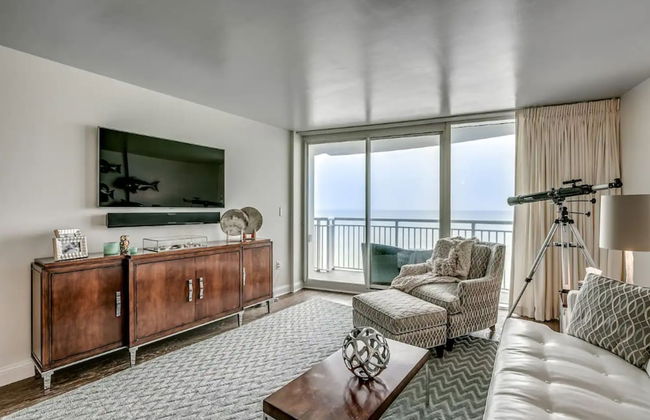
Royal Dunes Resort
Hilton Head Island - 8.9 km do centro
- 136 M2
- 8 pessoas
- Ar-condicionado
- Aquecimento
- Terraço
- Piscina
- Elevador
- Varanda
- Jardim
- Tv
- Máquina de lavar roupa
- Churrasco
- Toalhas
- Lençóis
187 avaliações


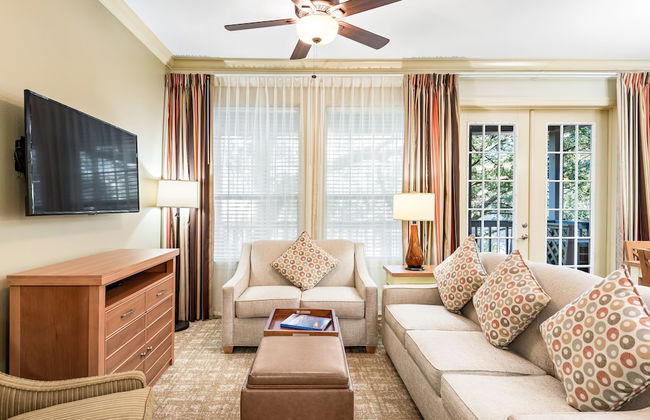
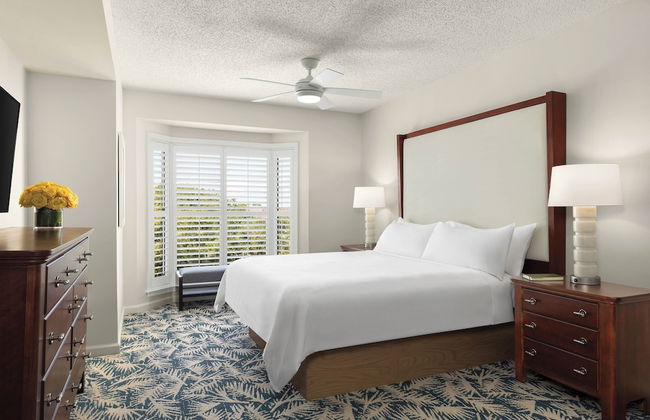
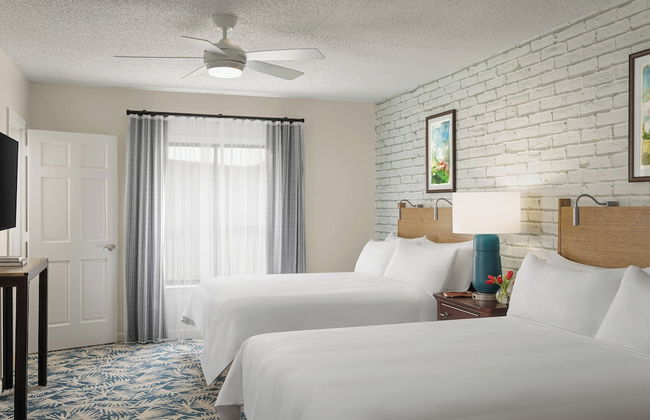
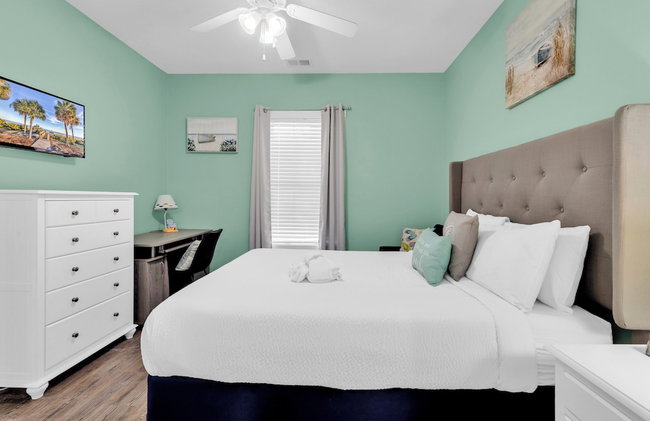
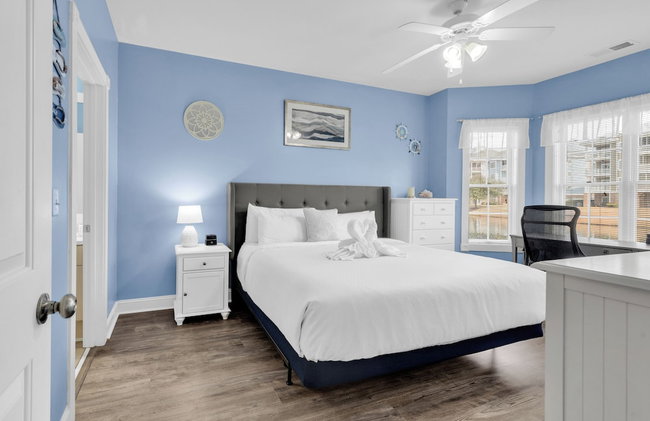
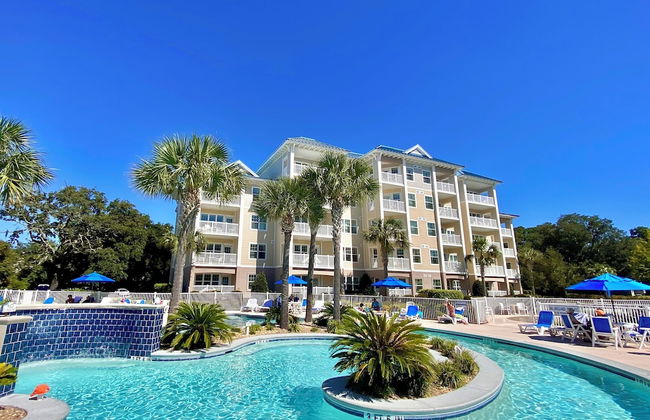
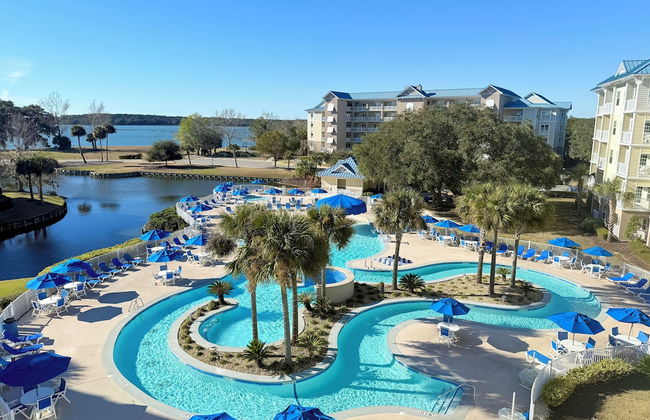
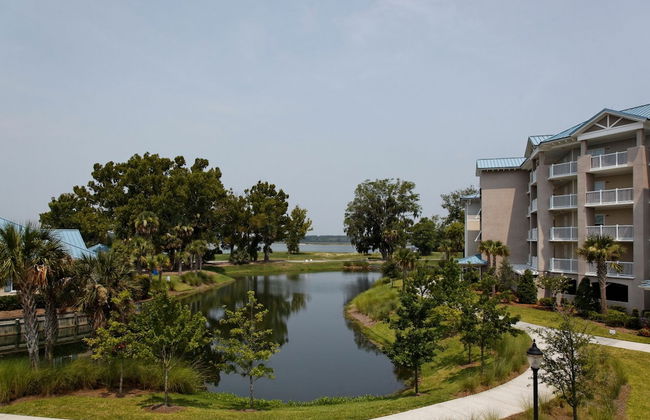
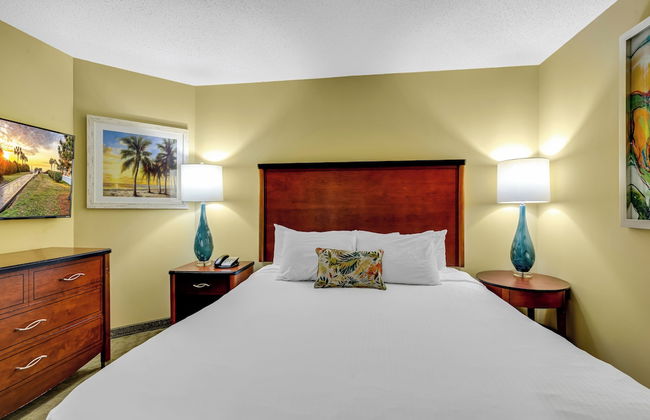
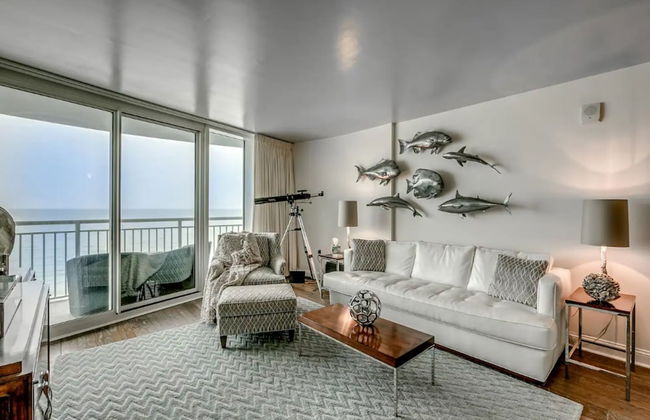
Island Links Resort by Palmera
Hilton Head Island - 8.4 km do centro
- 140 M2
- 10 pessoas
- Ar-condicionado
- Aquecimento
- Terraço
- Piscina
- Estacionamento
- Elevador
- Varanda
- Tv
- Máquina de lavar roupa
- Churrasco
- Toalhas
- Lençóis
345 avaliações


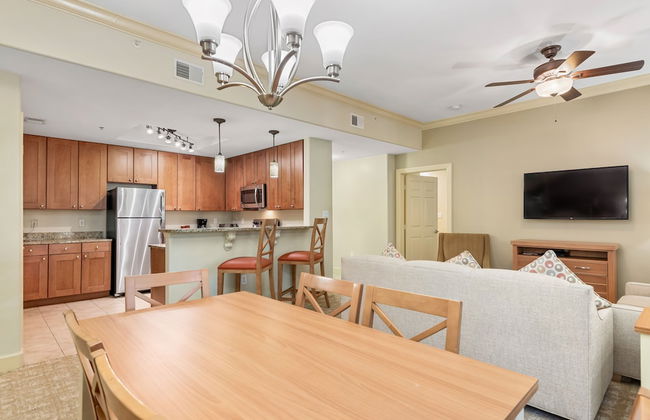
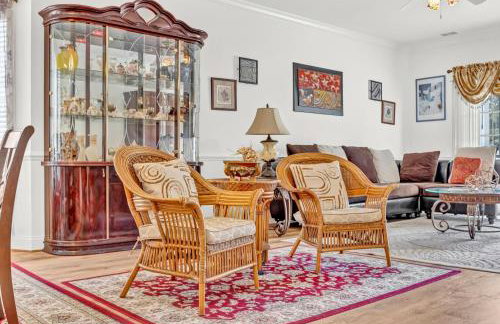
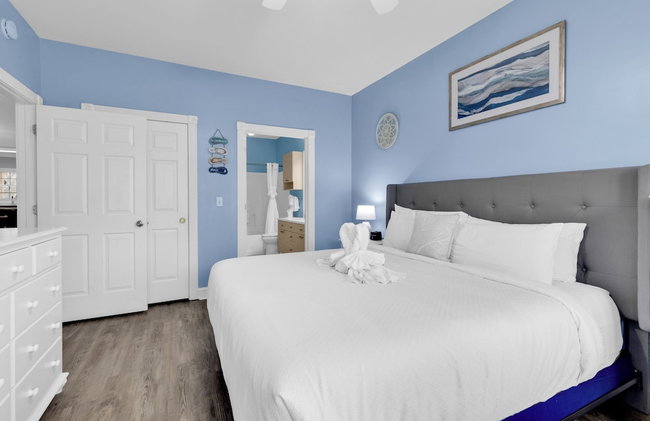
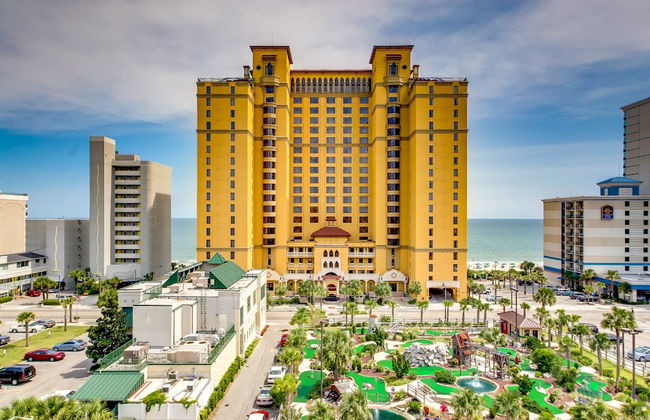
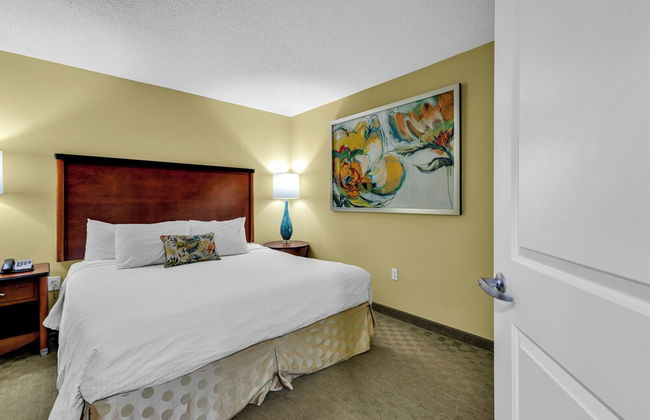
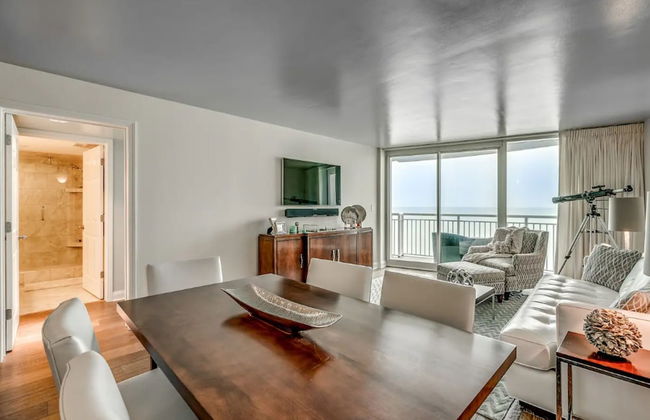
Atalaya Towers
Murrells Inlet
- 89 M2
- 8 pessoas
- Ar-condicionado
- Aquecimento
- Piscina
- Estacionamento
- Elevador
- Varanda
- Tv
- Máquina de lavar roupa
- Toalhas
- Lençóis
17 avaliações


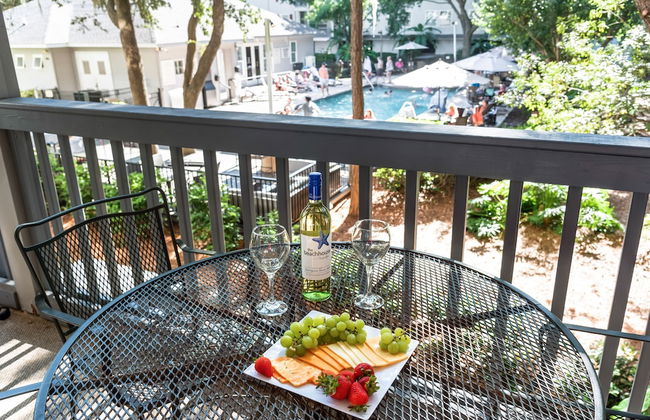
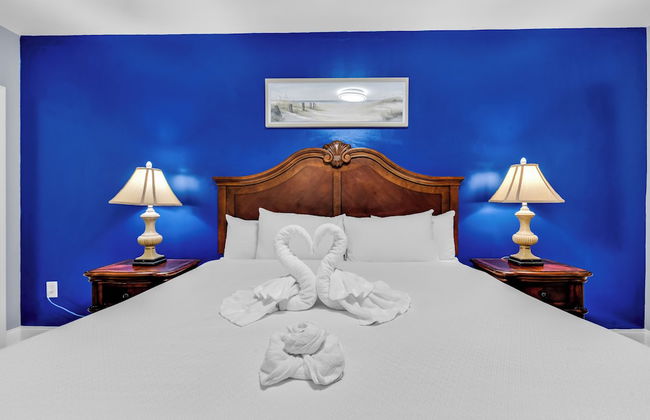
Marriott's Heritage Club
Hilton Head Island - 4.3 km do centro
- 136 M2
- 8 pessoas
- Ar-condicionado
- Terraço
- Piscina
- Estacionamento
- Elevador
- Varanda
- Tv
- Máquina de lavar roupa
- Churrasco
- Toalhas
- Lençóis
68 avaliações
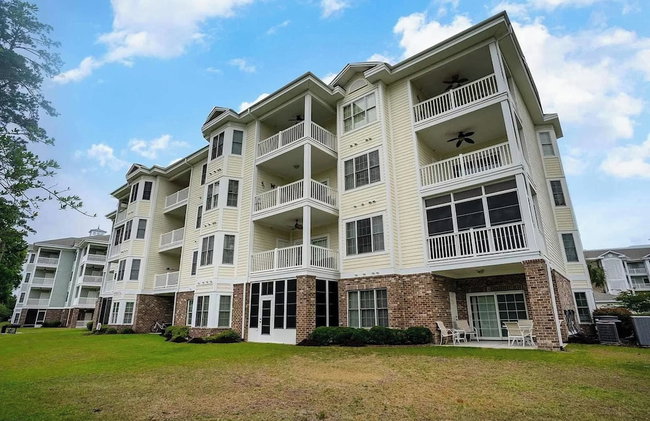
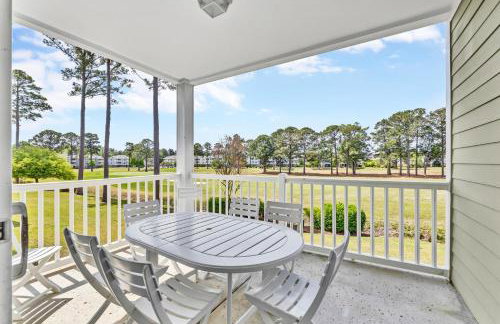
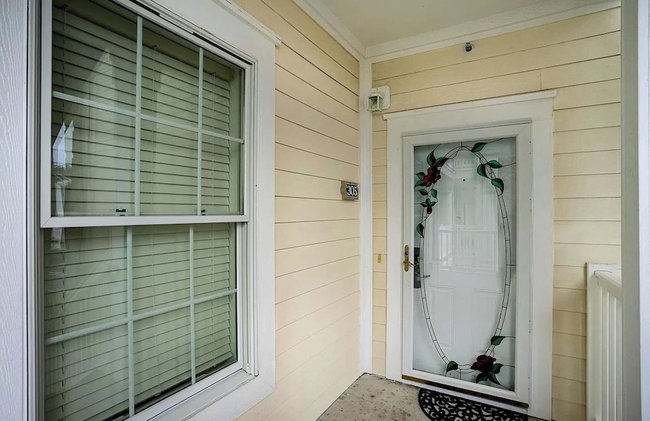
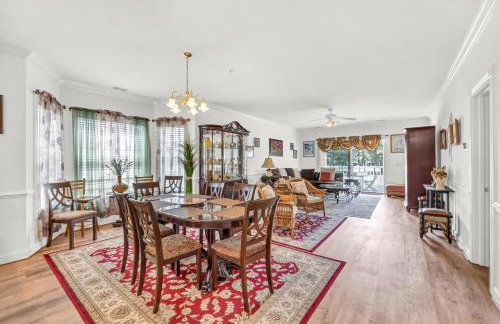

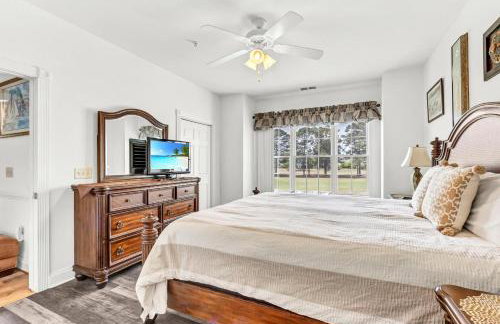
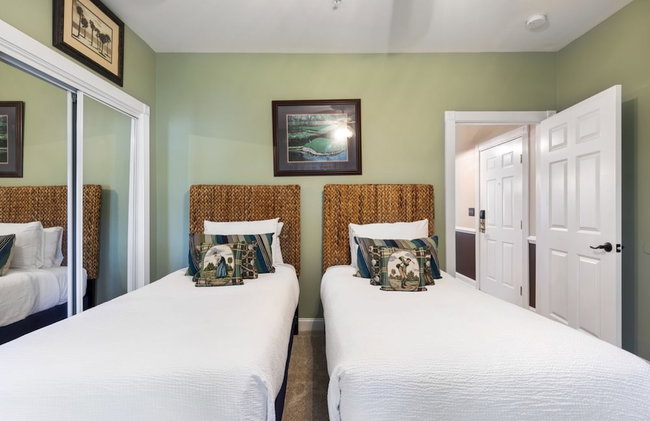
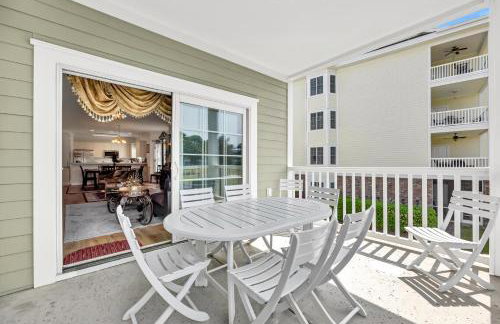
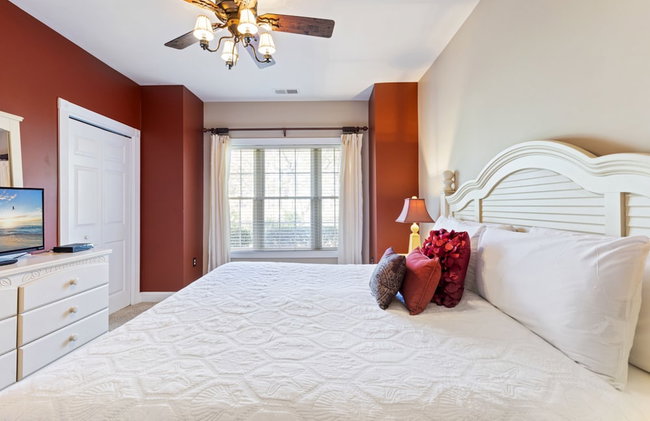
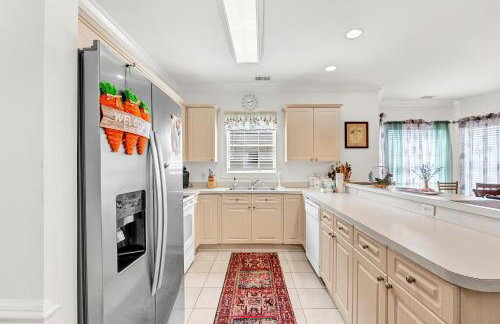

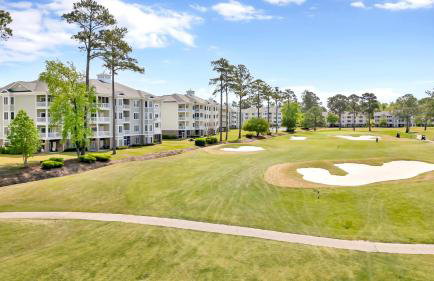
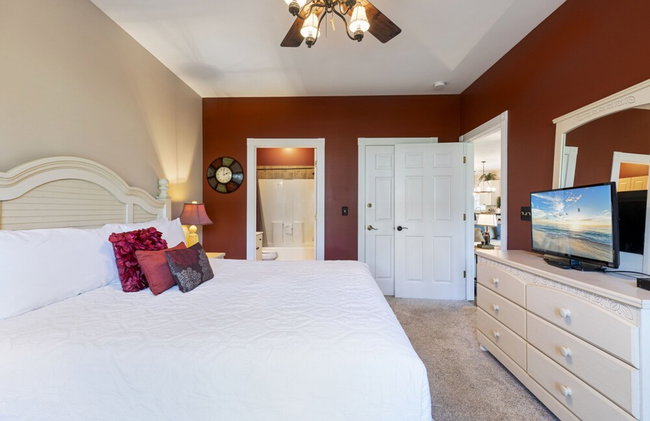

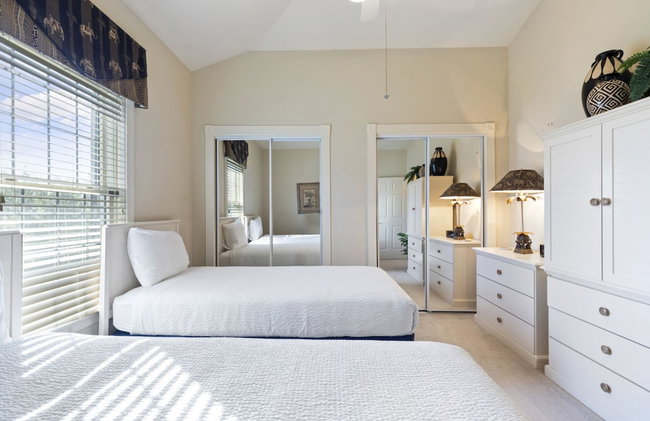
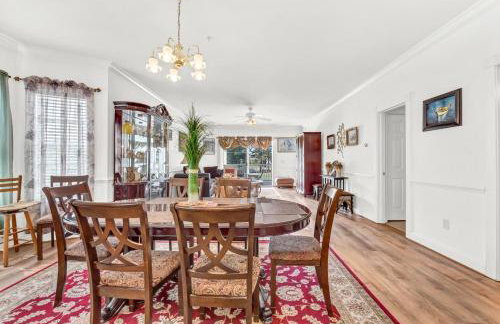
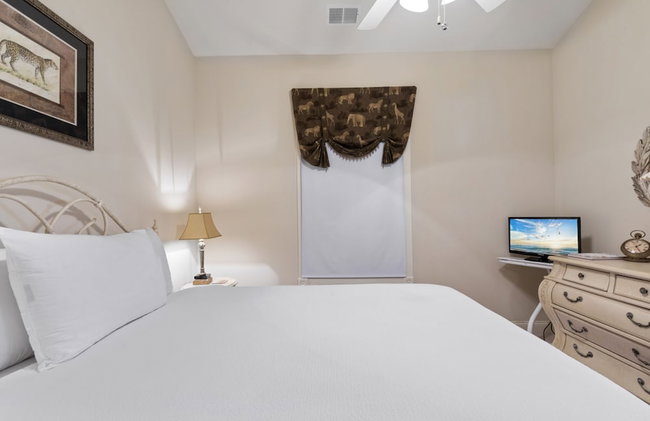
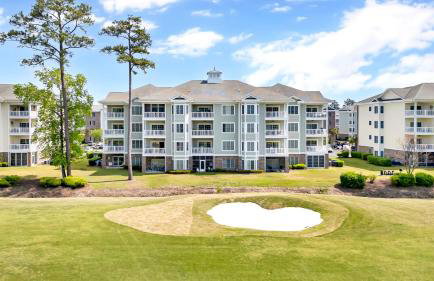
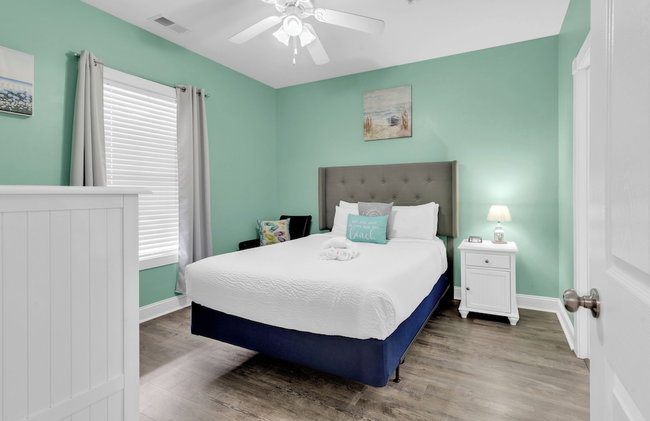
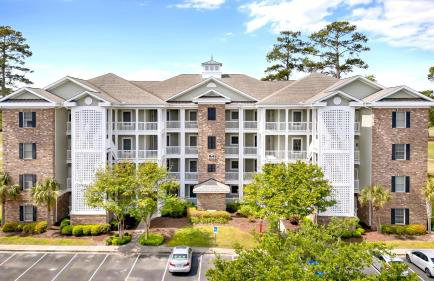
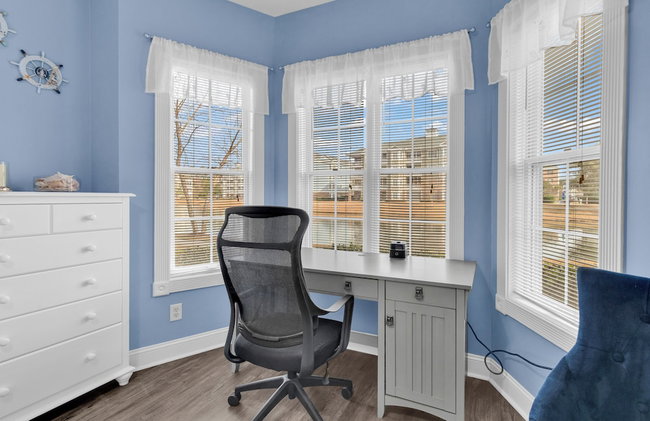
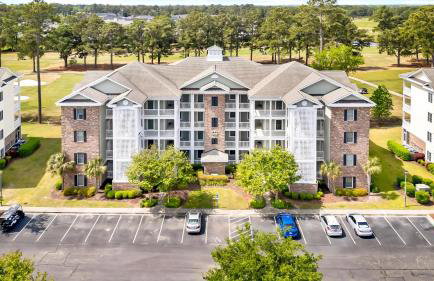

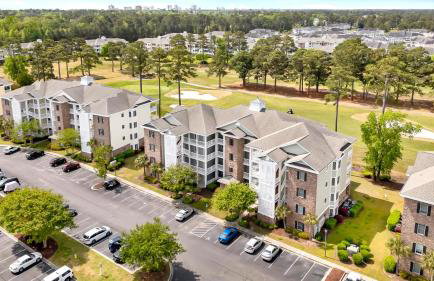
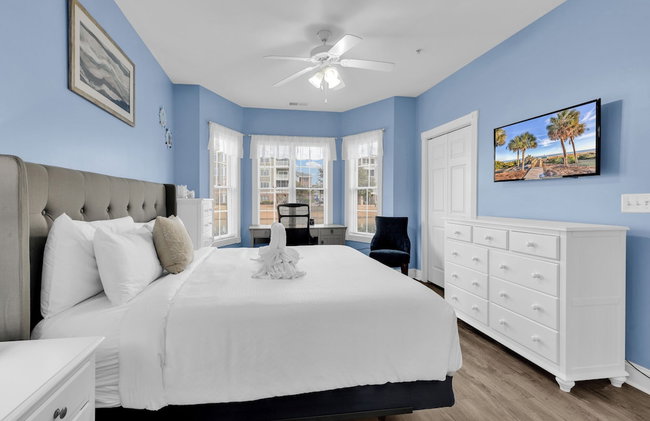
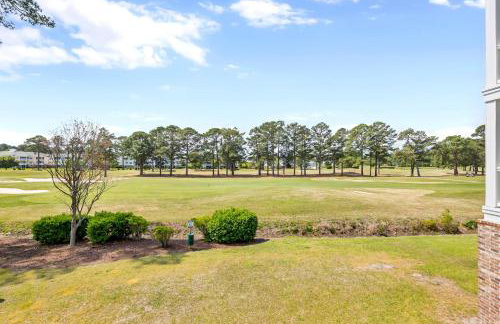
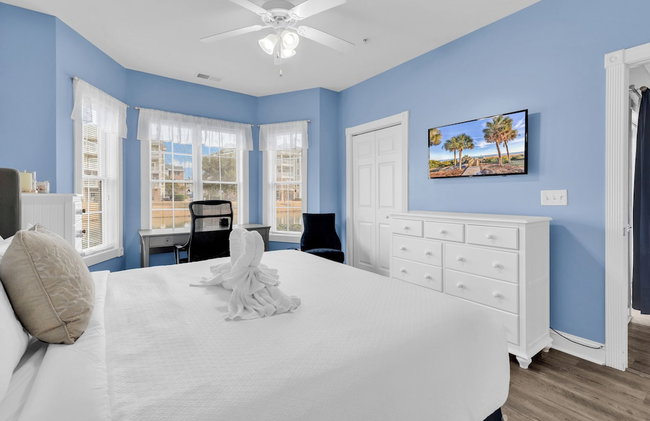


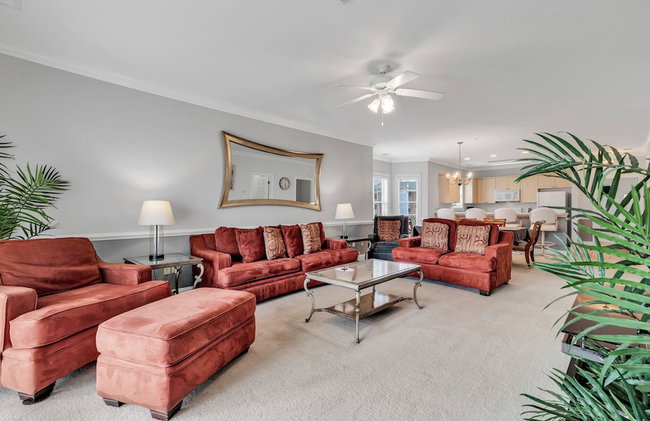
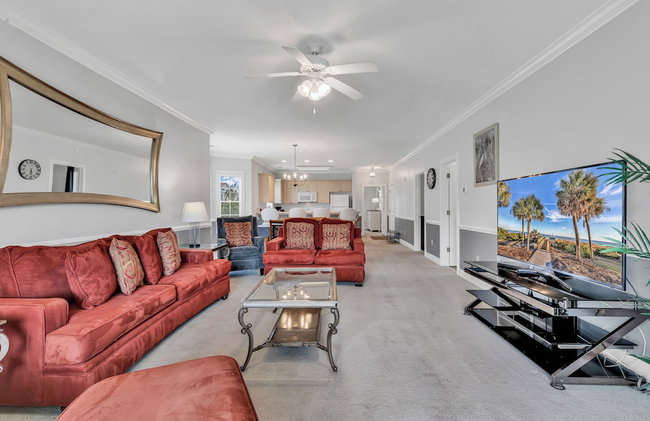


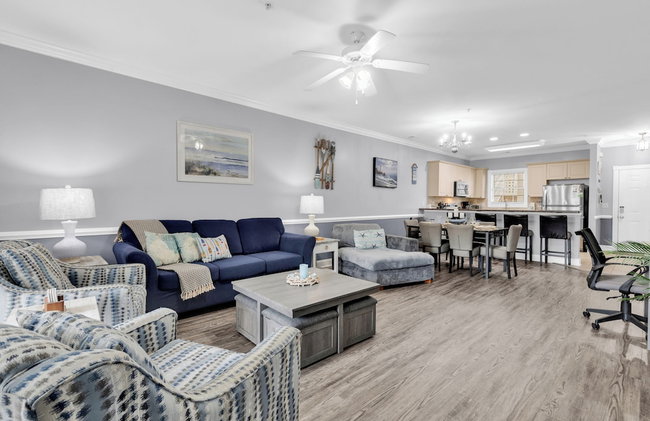
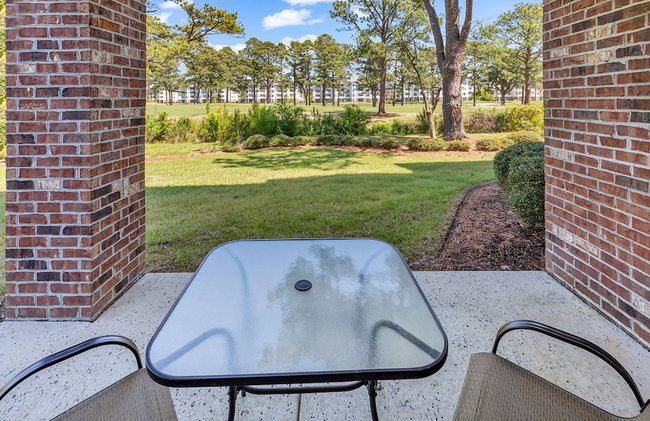
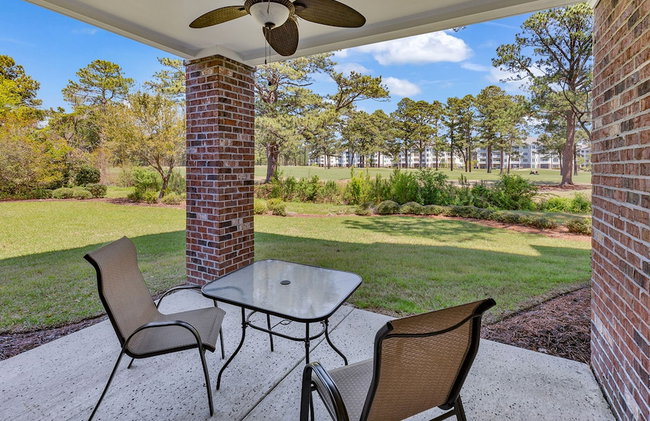
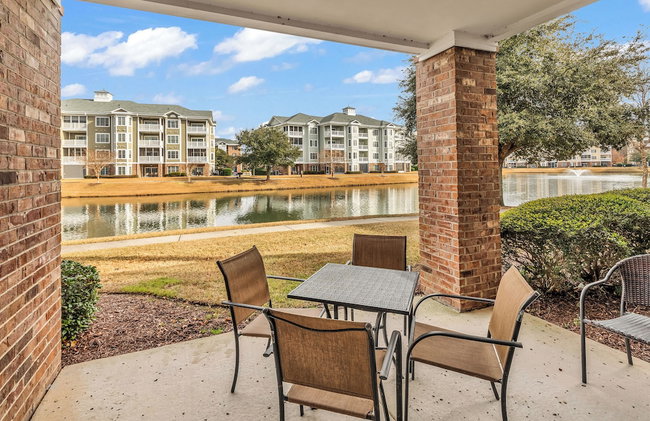
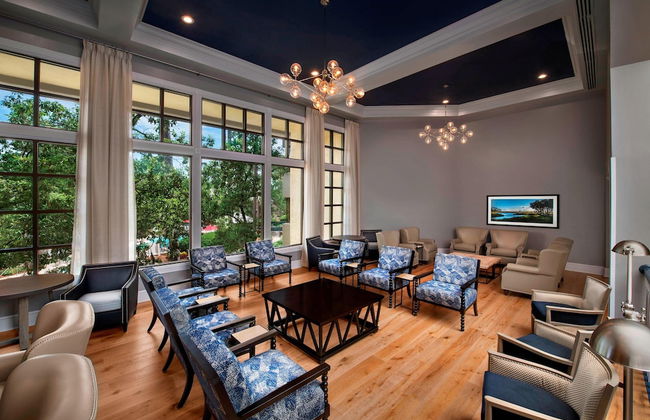
Magnolia Pointe - 201
Myrtle - 5.3 km do centro
- 121 M2
- 3 quartos
- 8 pessoas
- Ar-condicionado
- Aquecimento
- Terraço
- Piscina
- Estacionamento
- Elevador
- Varanda
- Jardim
- Tv
- Máquina de lavar roupa
- Churrasco
- Toalhas
- Lençóis
11 avaliações


Marriott's Monarch at Sea Pines
Hilton Head Island - 3.5 km do centro
- 149 M2
- 8 pessoas
- Ar-condicionado
- Aquecimento
- Terraço
- Piscina
- Estacionamento
- Elevador
- Varanda
- Jardim
- Tv
- Máquina de lavar roupa
- Churrasco
- Toalhas
- Lençóis
132 avaliações


Marina Inn Grande Dunes Condos & Suites
Myrtle - 9.5 km do centro
- 111 M2
- 6 pessoas
- Ar-condicionado
- Aquecimento
- Piscina
- Estacionamento
- Elevador
- Varanda
- Tv
- Máquina de lavar roupa
- Chaminé
- Toalhas
- Lençóis
149 avaliações


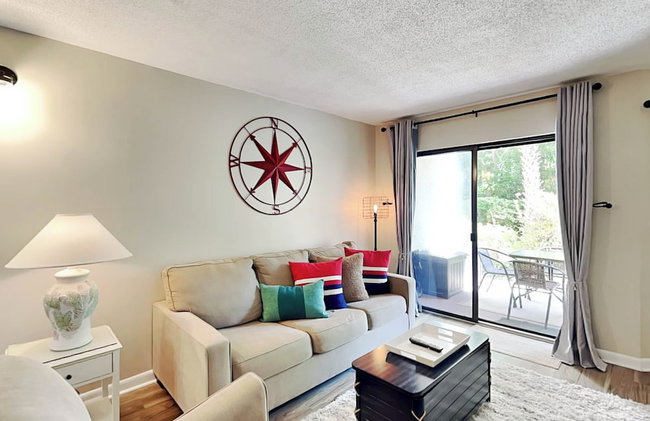
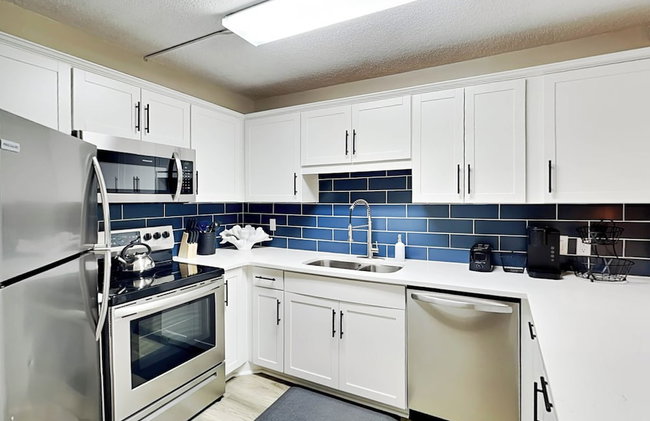
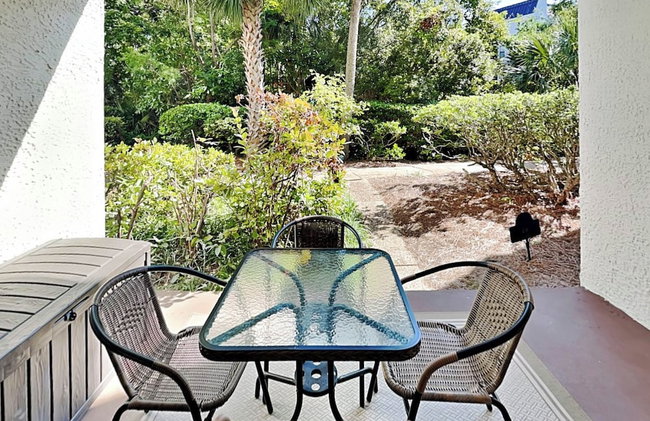
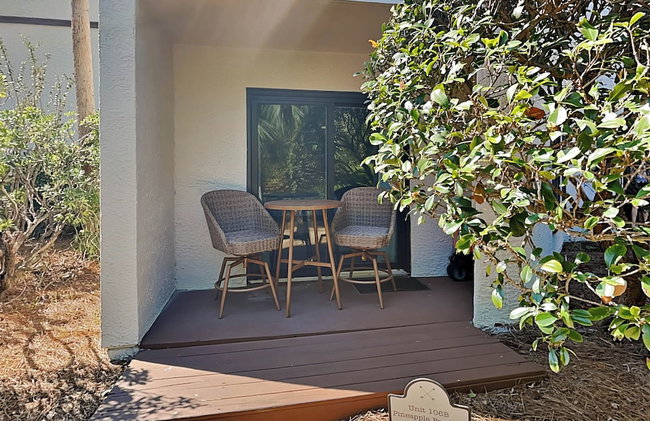

Ocean Walk 106 Manor by Hilton Head Retreats
Hilton Head Island - 1.1 km do centro
- 118 M2
- 1 quarto
- 8 pessoas
- Ar-condicionado
- Aquecimento
- Terraço
- Piscina
- Estacionamento
- Elevador
- Tv
- Máquina de lavar roupa
- Toalhas
7 avaliações


The Station by Compo Hotels
Travelers Rst
- 4 pessoas
- Kitchenette
- Ar-condicionado
- Aquecimento
- Estacionamento
- Tv
- Máquina de lavar roupa
- Chaminé
- Churrasco
- Toalhas
- Lençóis
19 avaliações


Bluewater Resort & Marina by Spinnaker Resorts
Hilton Head Island - 8.3 km do centro
- 167 M2
- 8 pessoas
- Ar-condicionado
- Aquecimento
- Piscina
- Estacionamento
- Elevador
- Varanda
- Jardim
- Tv
- Máquina de lavar roupa
- Chaminé
- Churrasco
- Toalhas
- Lençóis
152 avaliações


Deercreek Townhomes
Myrtle - 10.9 km do centro
- 196 M2
- 10 pessoas
- Ar-condicionado
- Aquecimento
- Piscina
- Estacionamento
- Varanda
- Tv
- Máquina de lavar roupa
- Churrasco
- Toalhas
- Lençóis
563 avaliações


Beachfront Anderson Condos by Hosteeva
Myrtle - 1.6 km do centro
- 63 M2
- 1 quarto
- 6 pessoas
- Ar-condicionado
- Aquecimento
- Piscina
- Estacionamento
- Elevador
- Varanda
- Jardim
- Tv
- Máquina de lavar roupa
- Toalhas
- Lençóis
24 avaliações


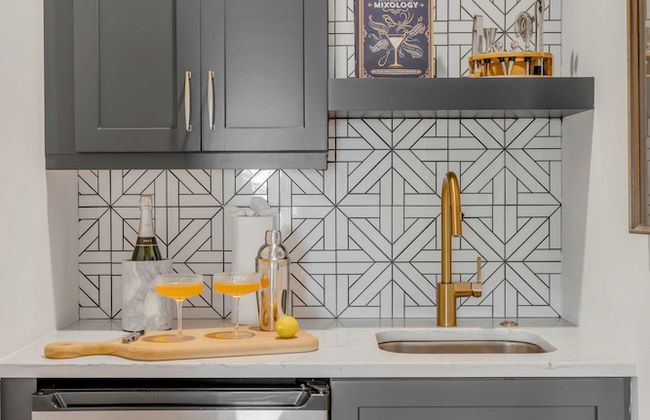
Frank Howard 111 Farmhouse
Clemson
- 65 M2
- 4 pessoas
- Ar-condicionado
- Aquecimento
- Estacionamento
- Tv
- Máquina de lavar roupa
- Toalhas
- Lençóis
10 avaliações


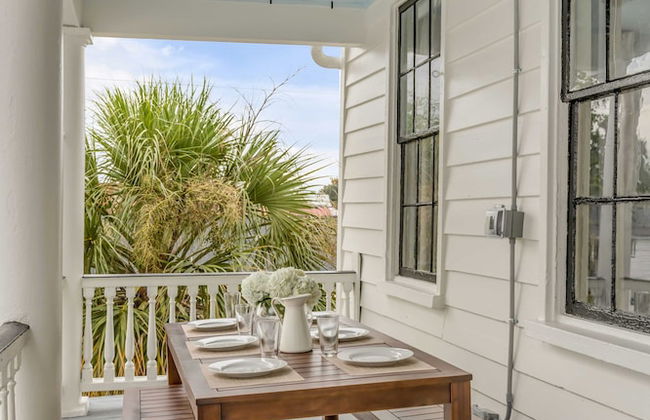
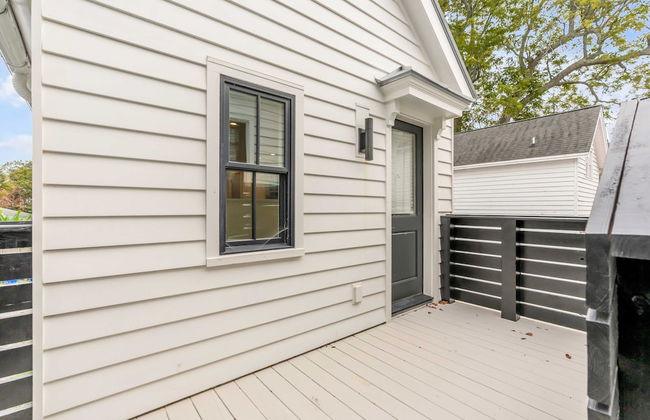


The Palmetto House
Charleston - Cannonborough-Elliottborough - 1.2 km do centro
- 8 pessoas
- Ar-condicionado
- Aquecimento
- Estacionamento
- Varanda
- Tv
16 avaliações


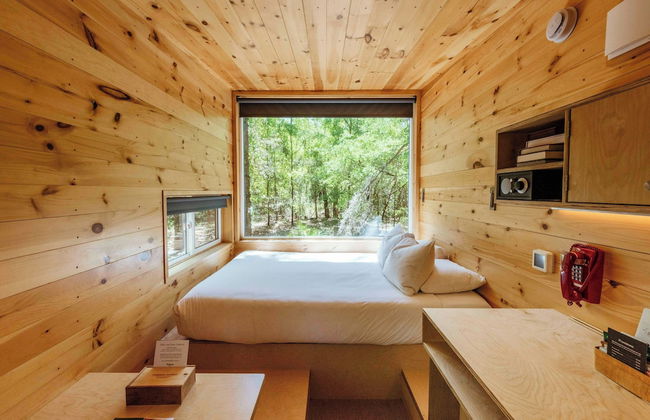


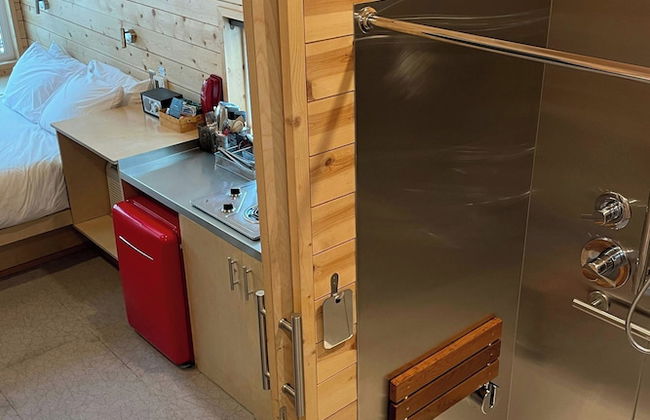


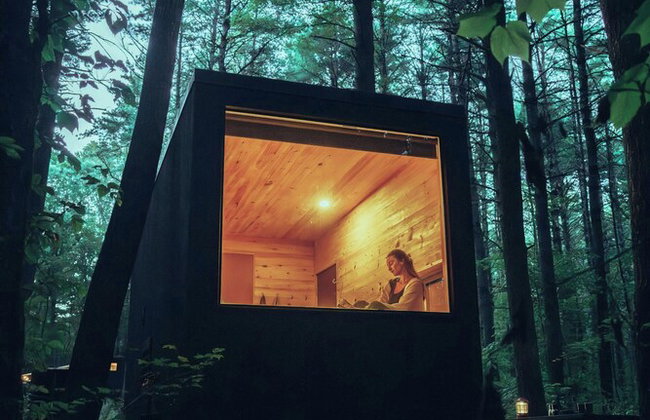


Postcard Cabins Lake Hartwell, Outdoor Collection by Marriott Bonvoy
Seneca
- 15 M2
- 4 pessoas
- Kitchenette
- Ar-condicionado
- Aquecimento
- Terraço
- Estacionamento
- Chaminé
- Toalhas
- Lençóis
80 avaliações


Amazing Place at the Beach III - Low Floor, Views
Myrtle - 10.4 km do centro
- 60 M2
- 2 quartos
- 6 pessoas
- Ar-condicionado
- Aquecimento
- Terraço
- Piscina
- Estacionamento
- Elevador
- Varanda
- Jardim
- Tv
- Máquina de lavar roupa
- Churrasco
- Toalhas
- Lençóis
121 avaliações


Wedgefield Bed & Breakfast
Georgetown
- 800 M2
- 2 quartos
- 4 pessoas
- Kitchenette
- Ar-condicionado
- Aquecimento
- Terraço
- Estacionamento
- Tv
- Toalhas
- Lençóis
52 avaliações


Condos at Sandy Beach by Beach Trips
Myrtle - 990 m do centro
- 64 M2
- 1 quarto
- 7 pessoas
- Ar-condicionado
- Aquecimento
- Piscina
- Estacionamento
- Elevador
- Varanda
- Tv
- Máquina de lavar roupa
- Chaminé
- Toalhas
- Lençóis
56 avaliações


Regency Towers
Myrtle - 3.7 km do centro
- 160 M2
- 8 pessoas
- Ar-condicionado
- Aquecimento
- Piscina
- Estacionamento
- Elevador
- Jardim
- Tv
- Máquina de lavar roupa
- Churrasco
- Toalhas
- Lençóis
22 avaliações