


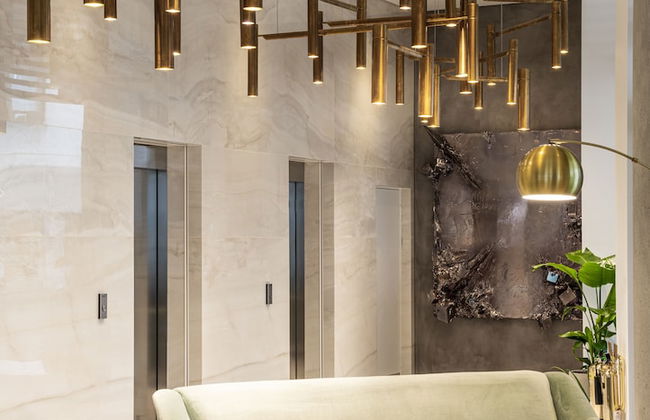


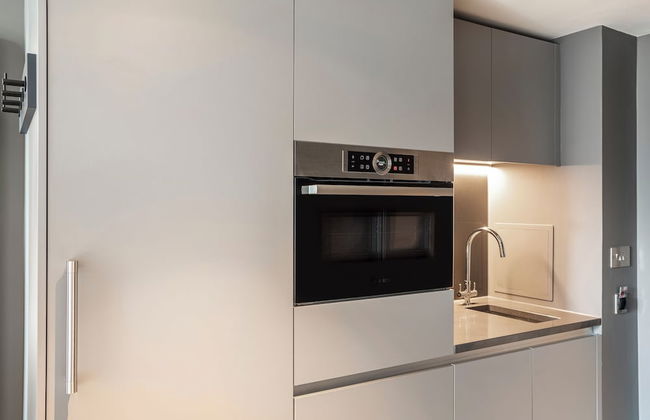


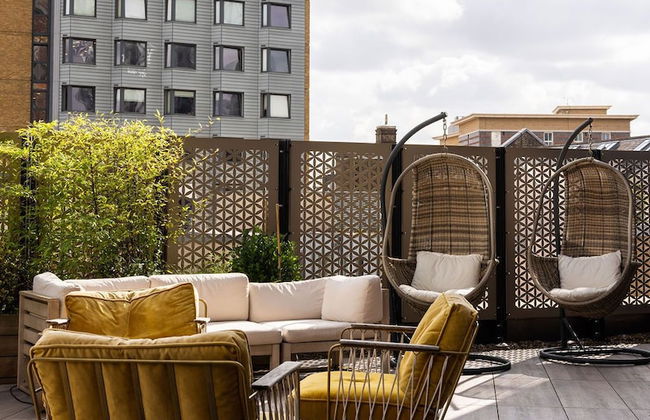


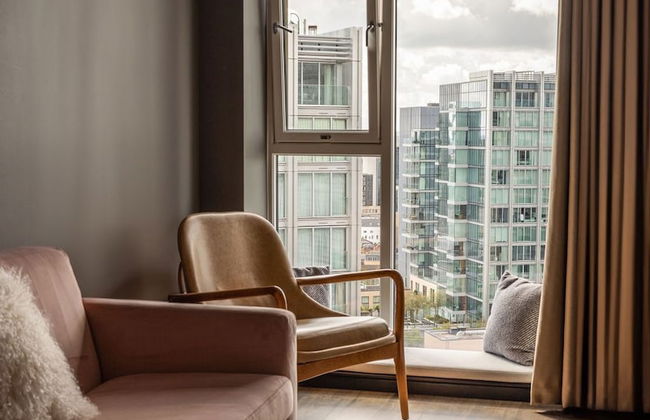


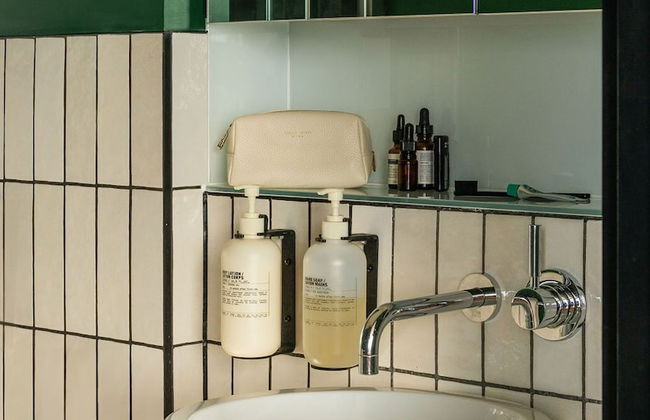


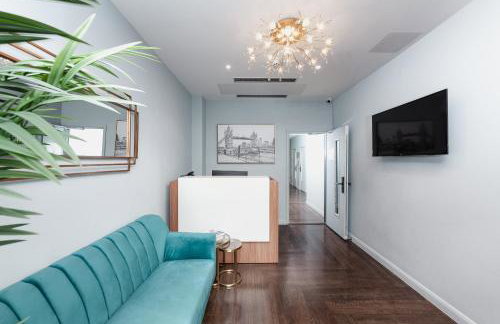
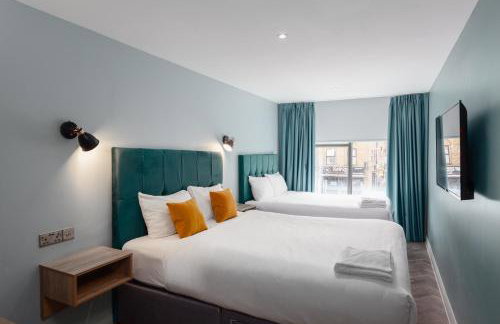
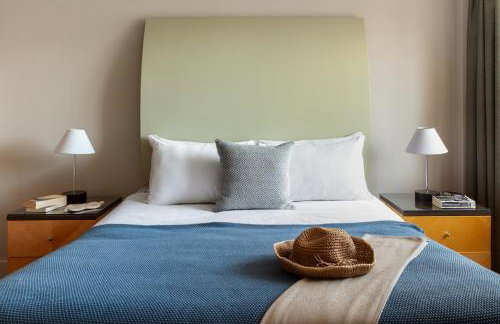
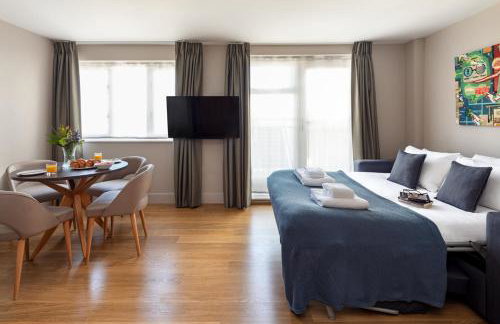
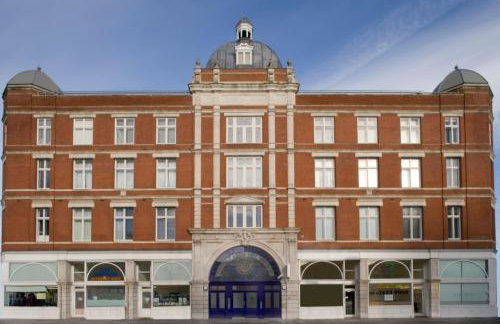
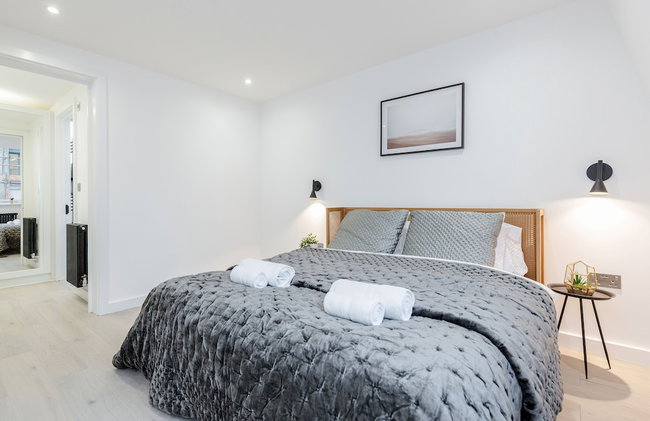
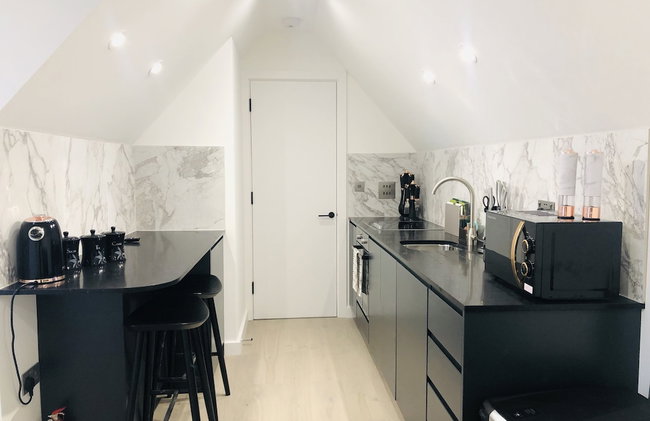
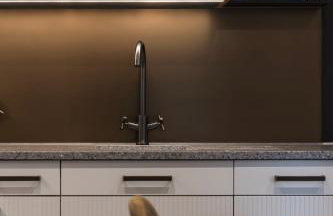
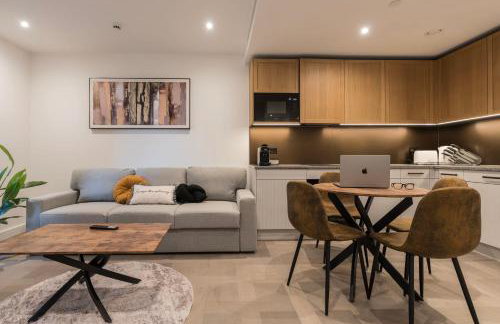
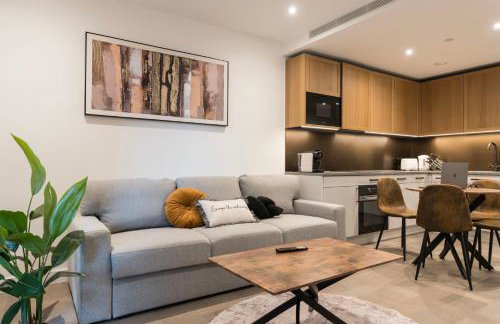
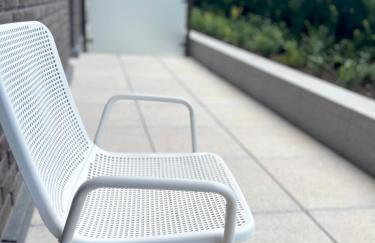
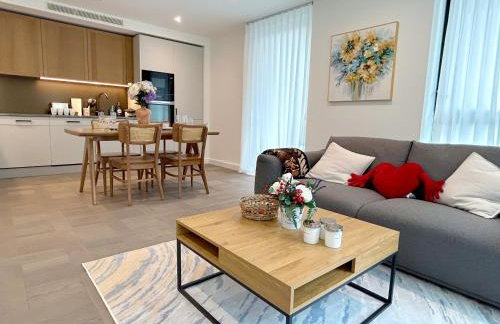
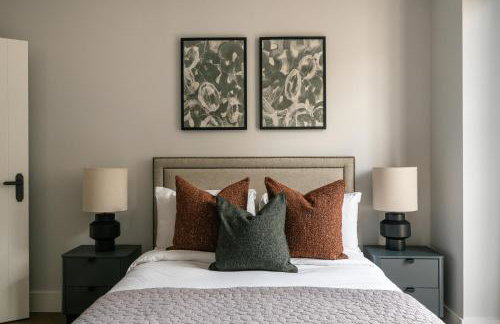
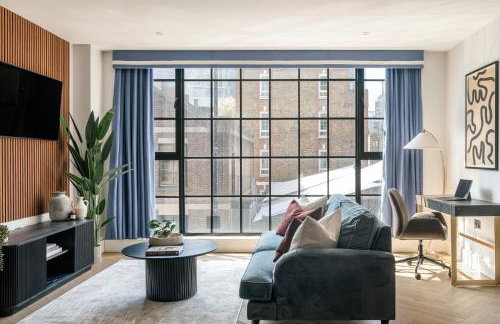
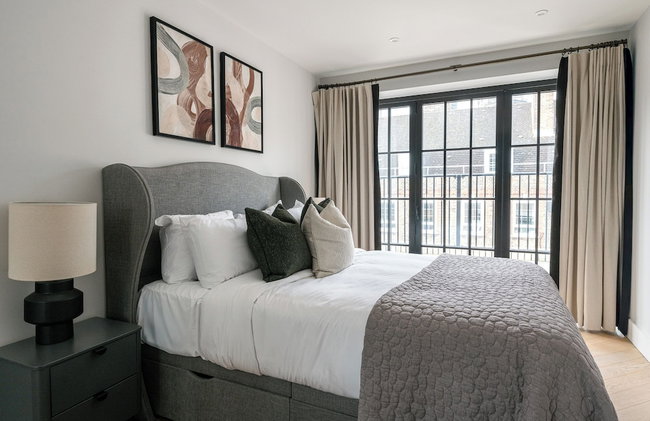
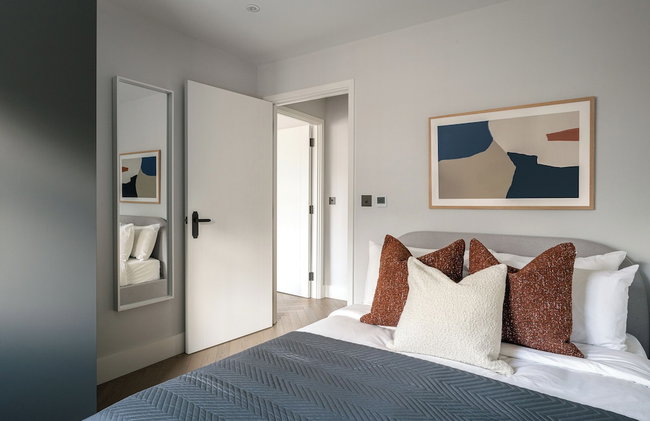
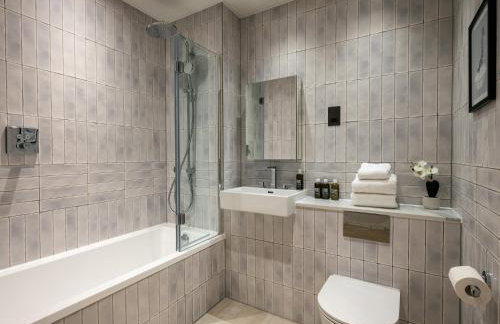
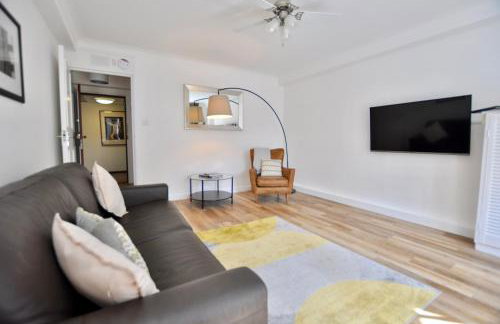
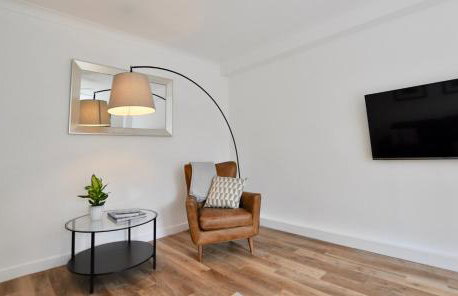
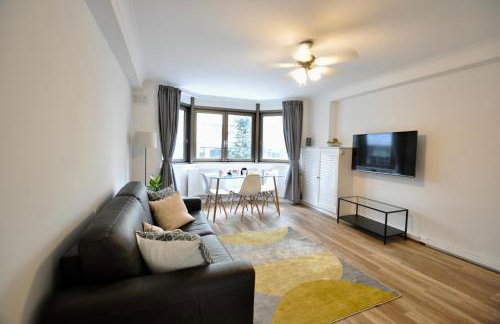
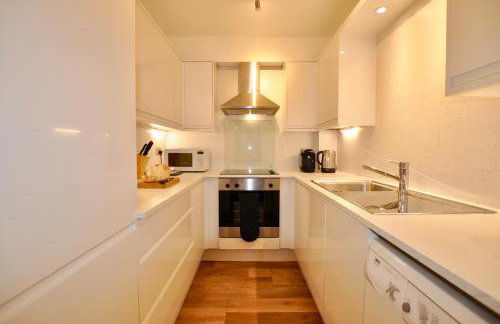
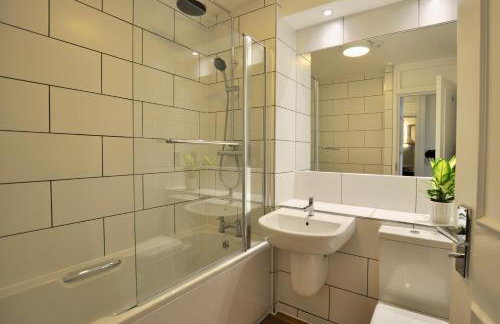
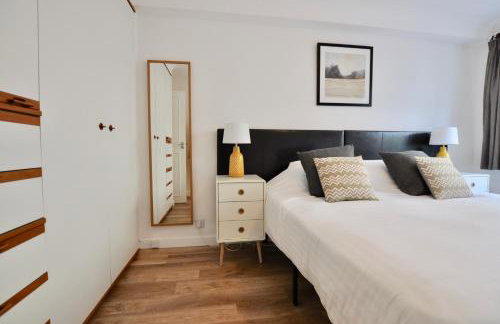
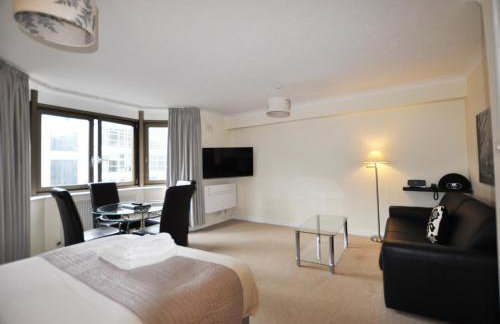
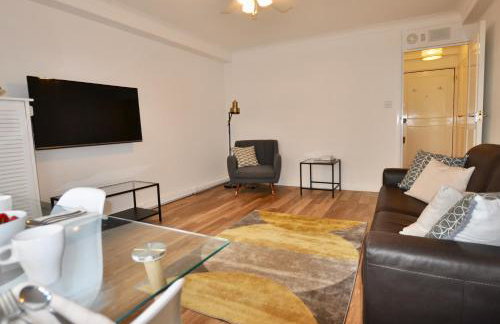
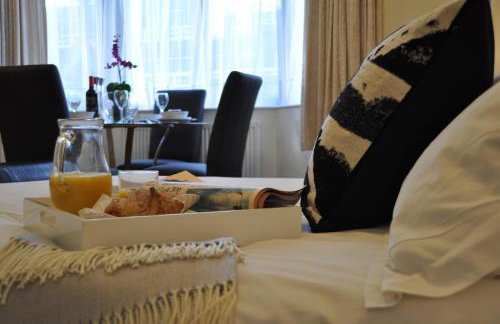
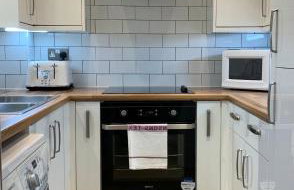
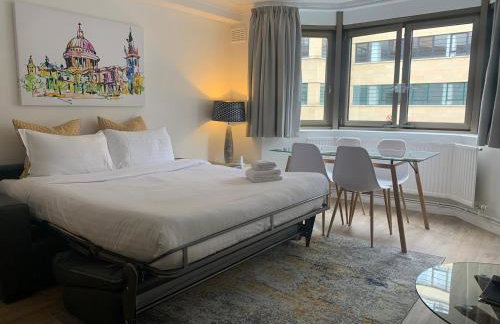
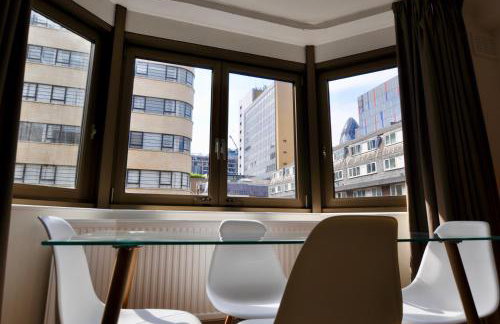
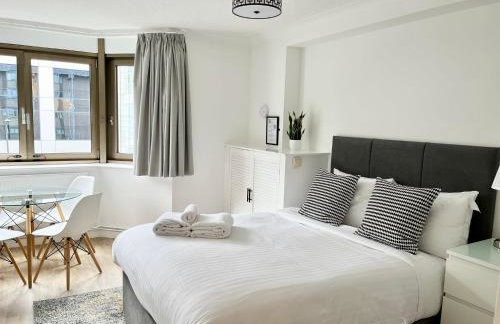
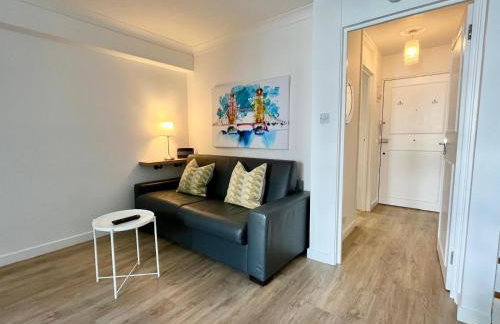
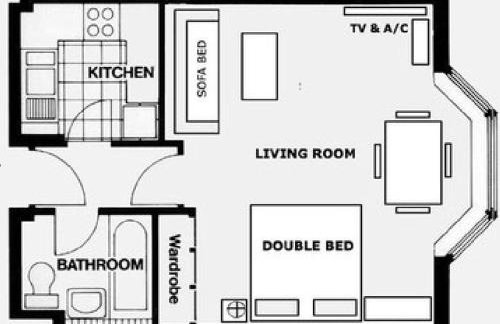
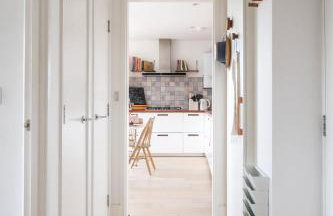
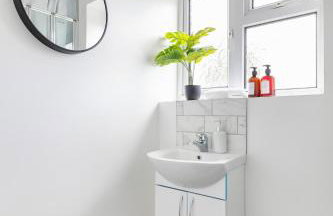
The Gate London City
Londres - Tower Hamlets - 3.7 km do centro
- 32 M2
- 4 pessoas
- Kitchenette
- Ar-condicionado
- Aquecimento
- Terraço
- Elevador
- Jardim
- Tv
- Toalhas
- Lençóis

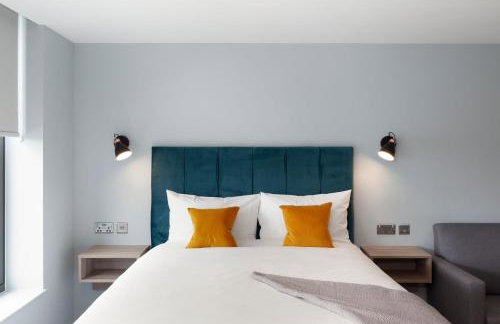

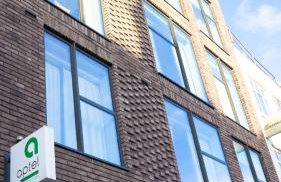

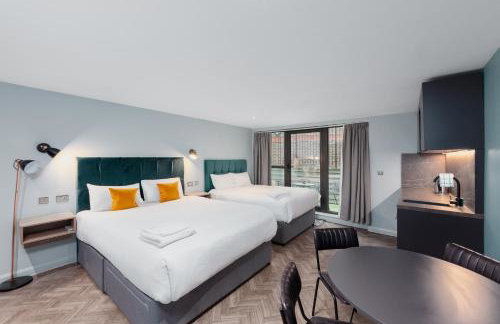

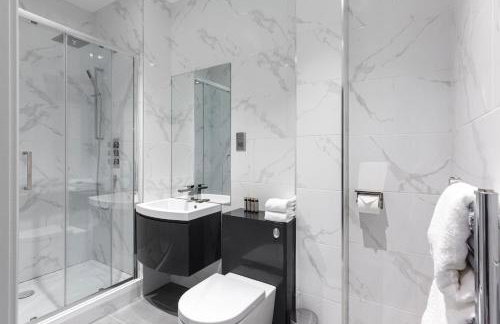


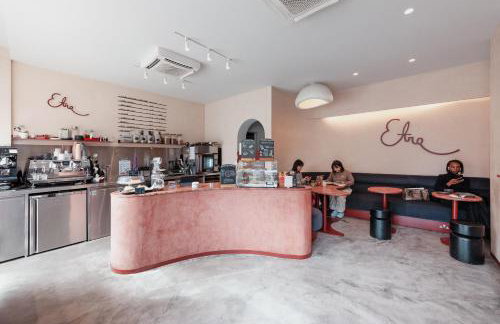


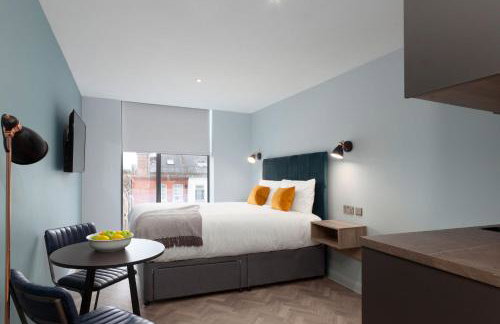


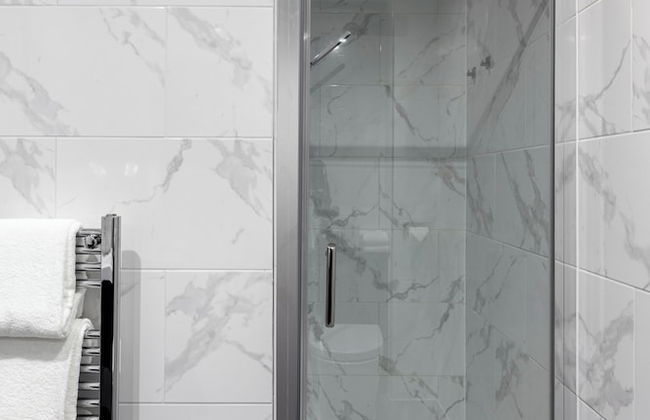
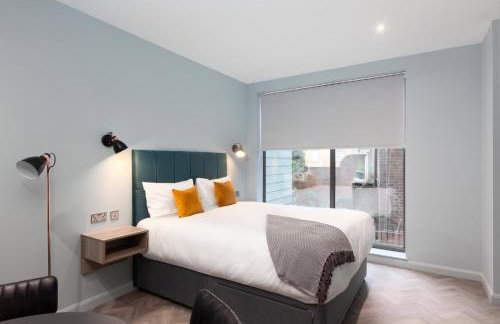


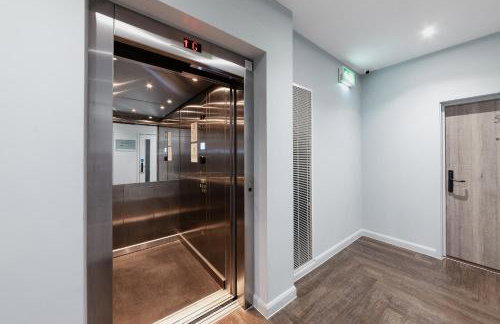

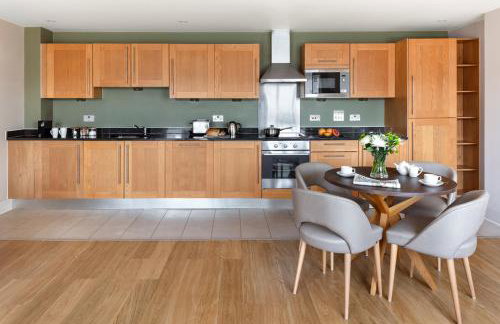
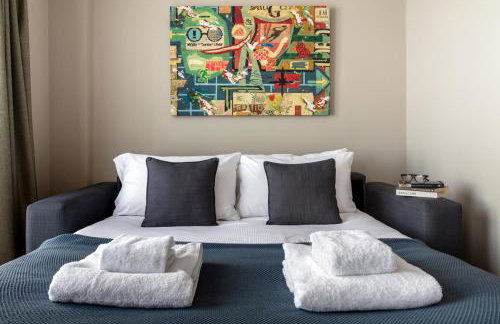
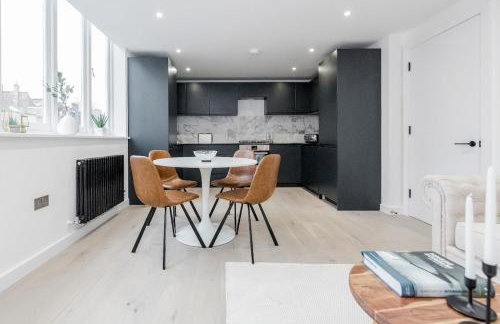
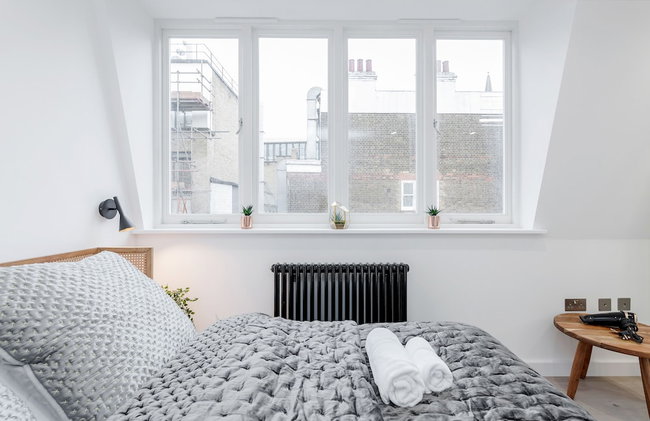
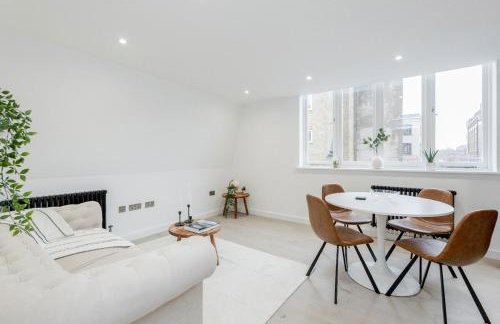
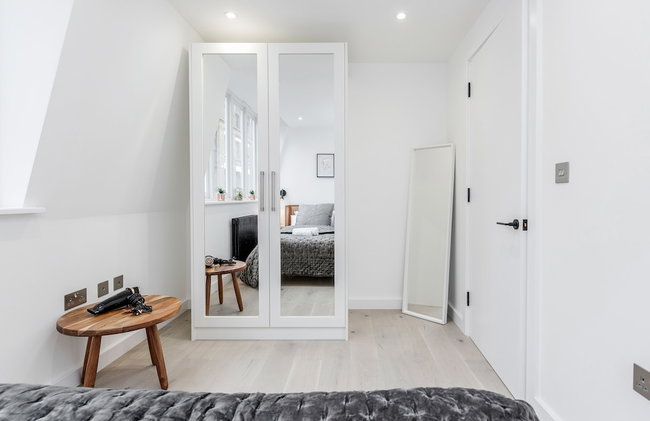
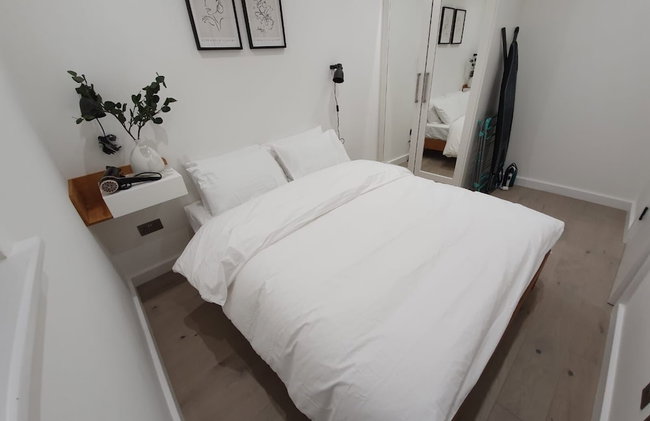
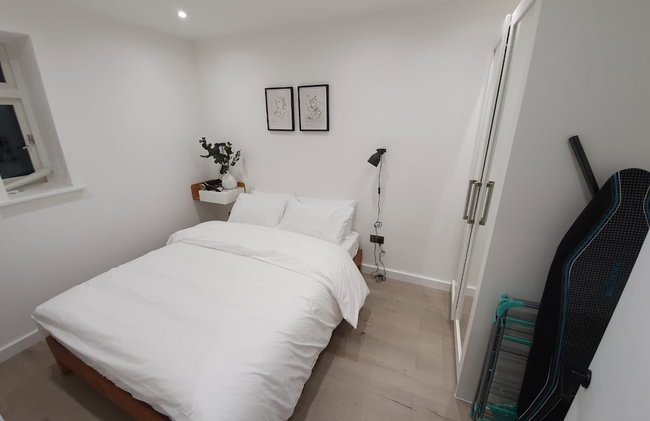
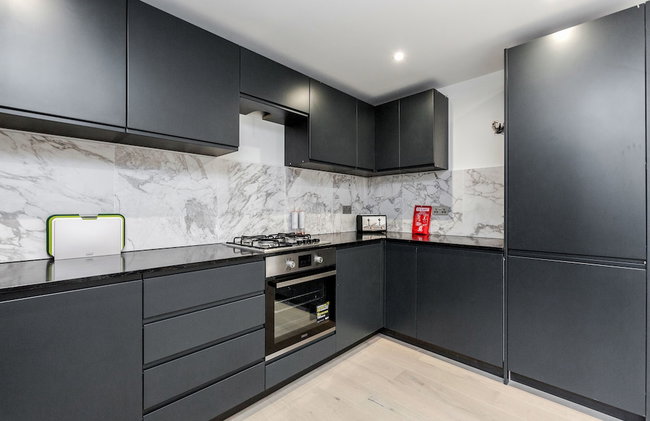
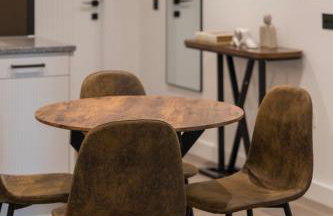
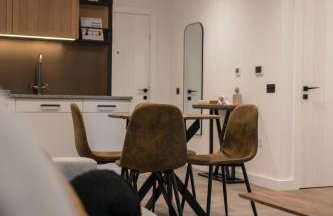
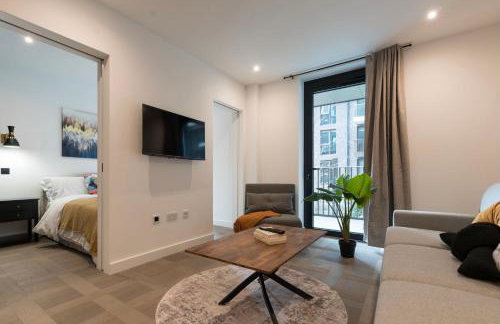
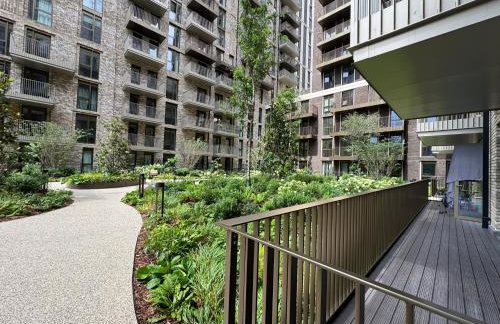
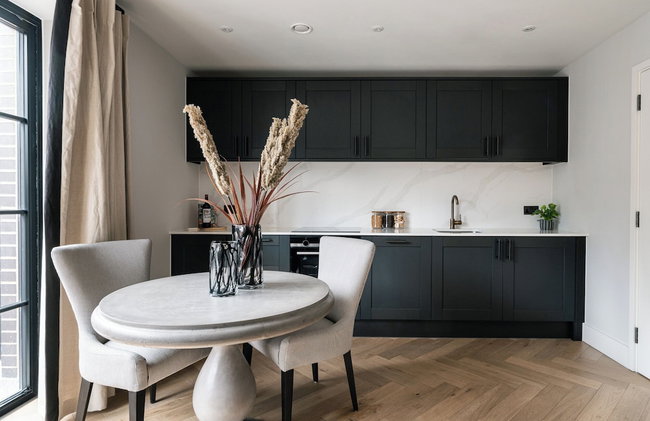
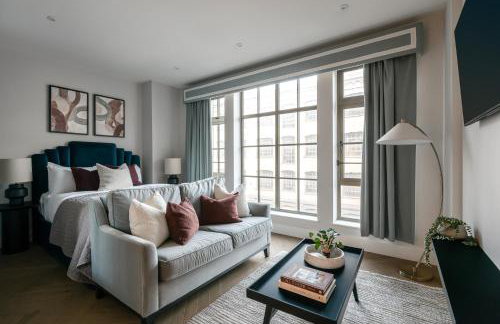
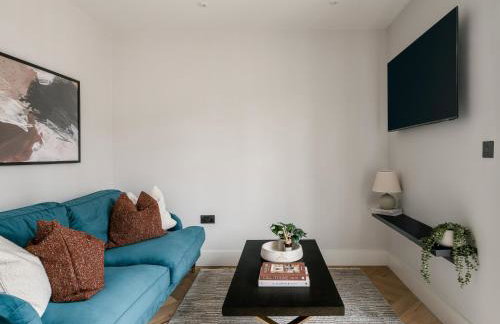
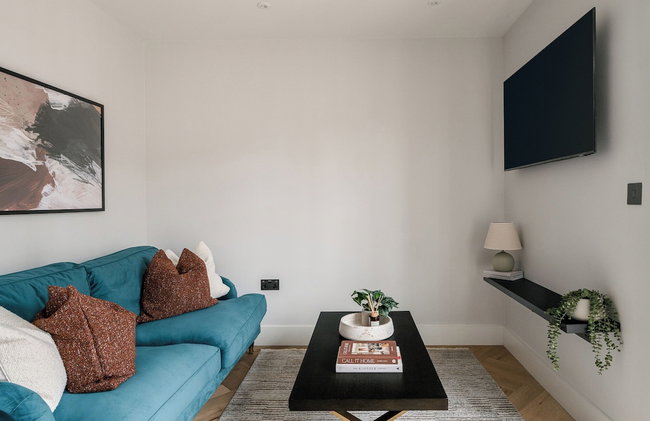
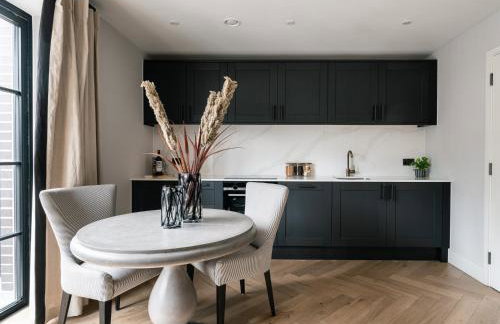
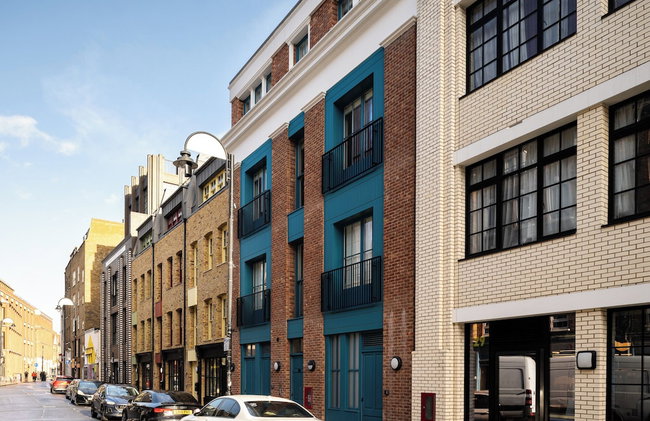
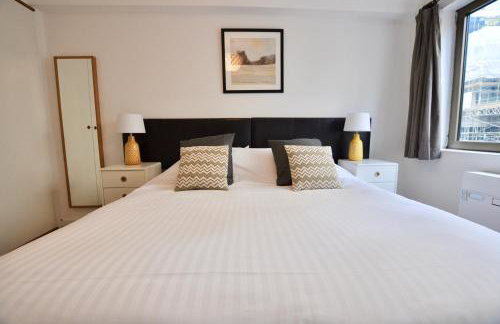
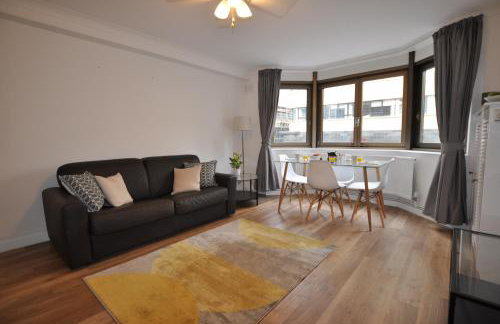
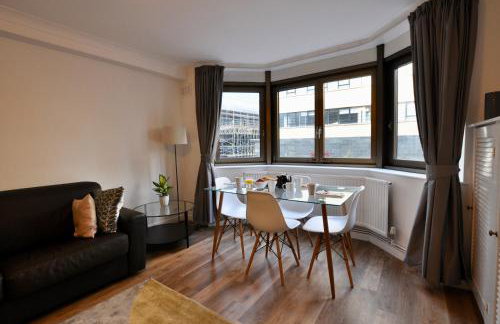
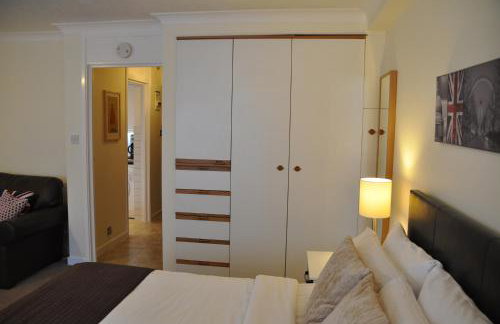
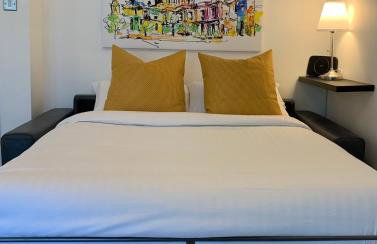
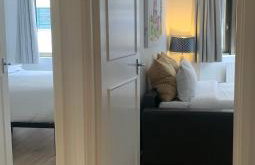
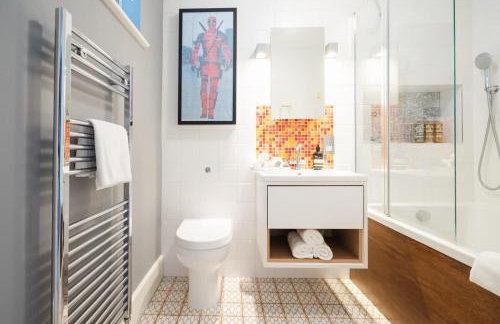
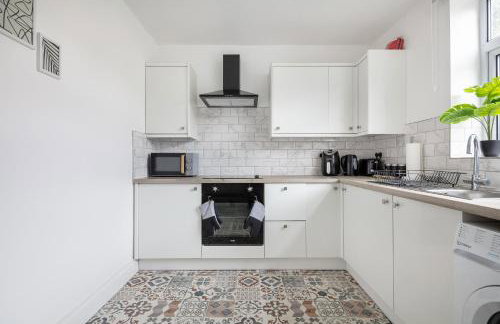
Aptel East
Londres - Tower Hamlets - 4.2 km do centro
- 25 M2
- 1 quarto
- 4 pessoas
- Kitchenette
- Ar-condicionado
- Aquecimento
- Terraço
- Elevador
- Tv
- Toalhas
- Lençóis

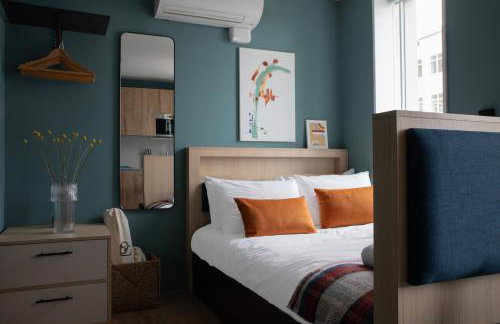

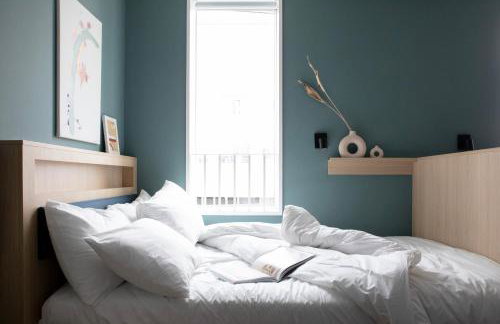

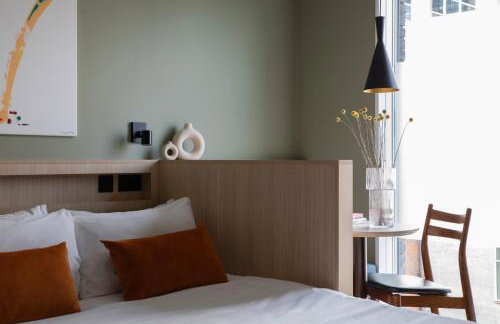

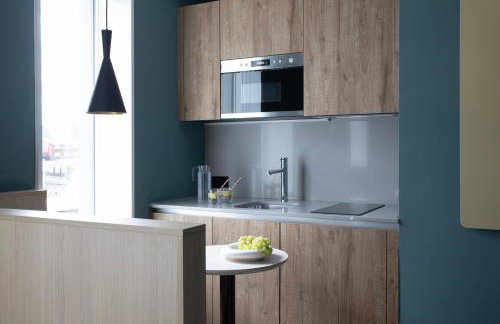

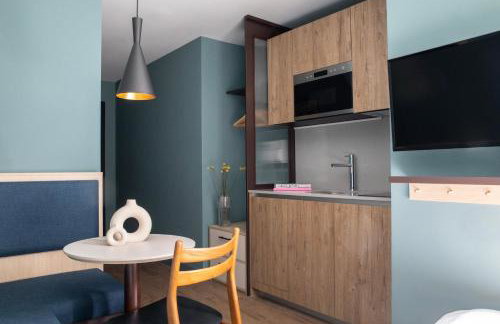

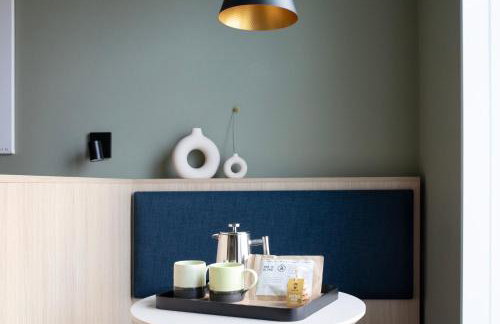

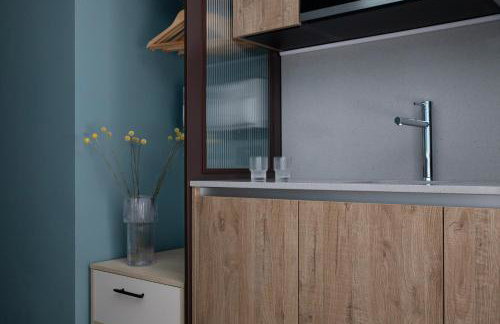

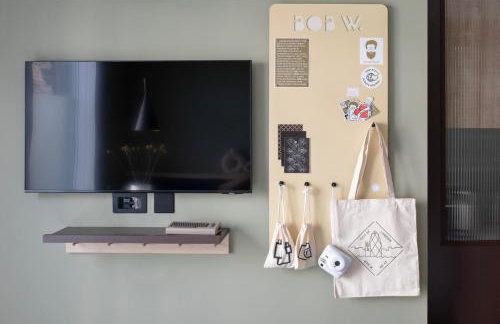

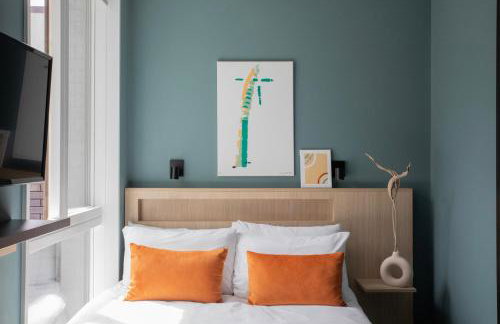

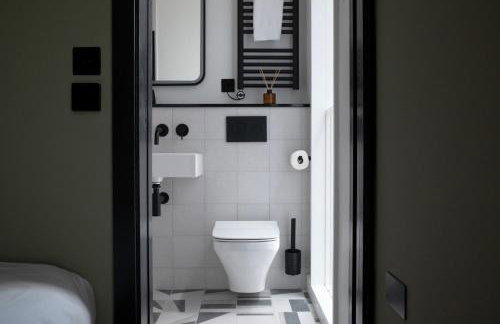

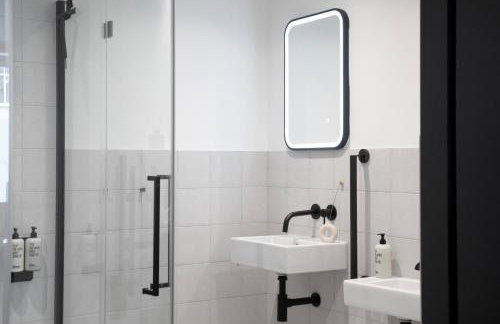

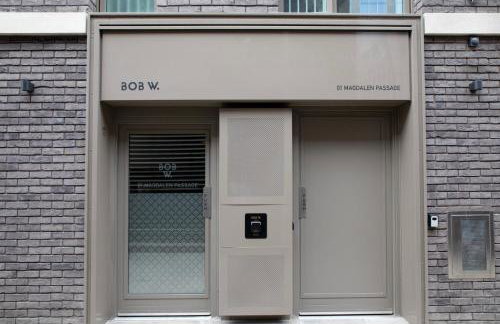


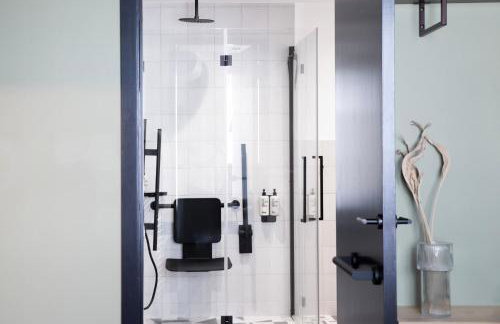


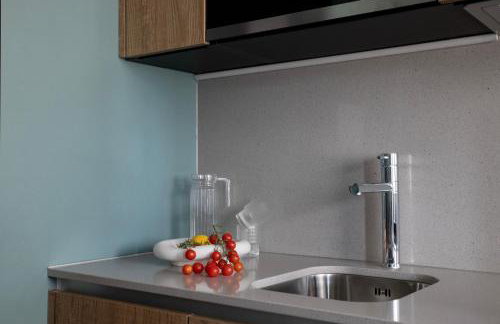


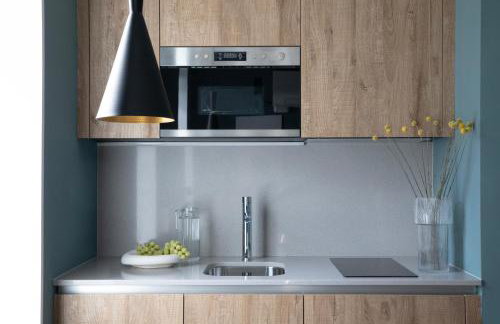


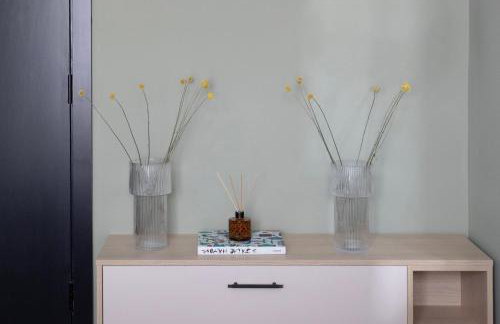

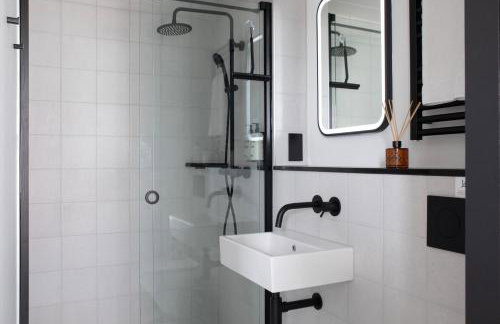

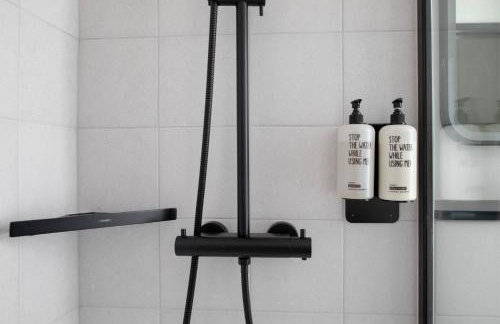

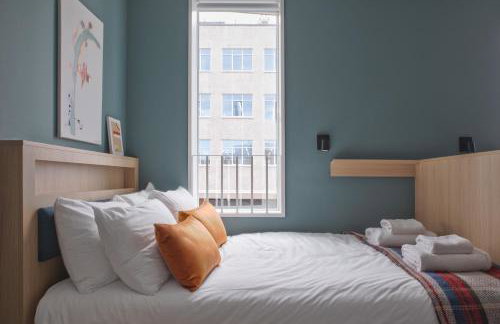

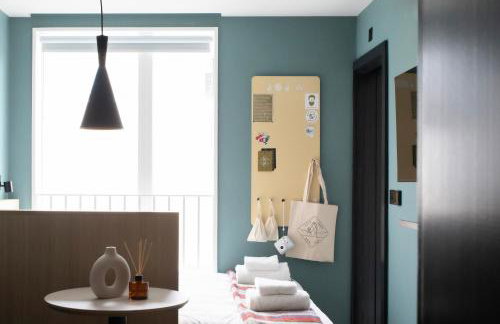

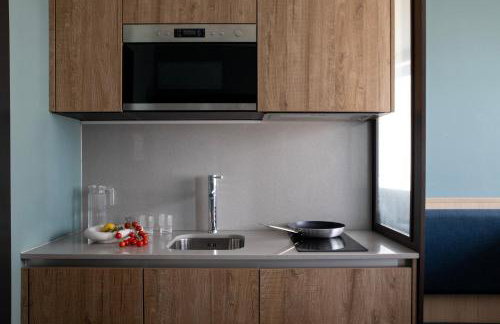


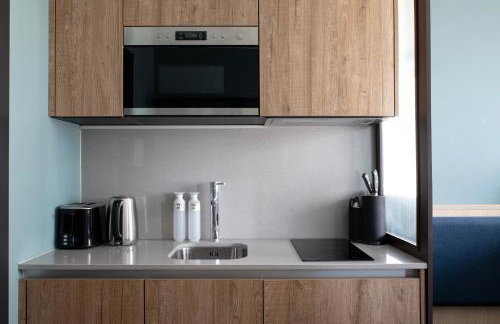

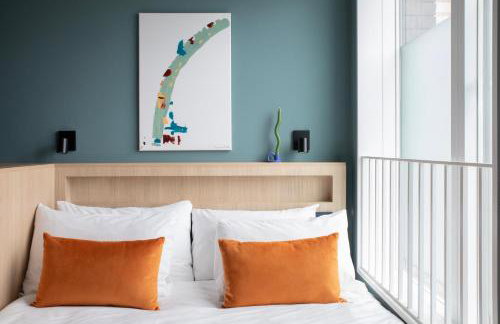


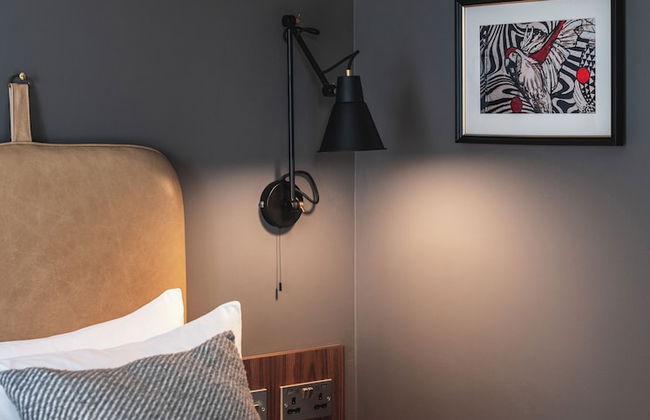
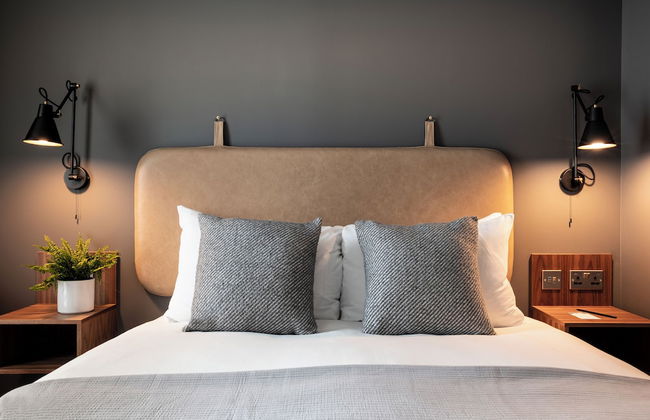
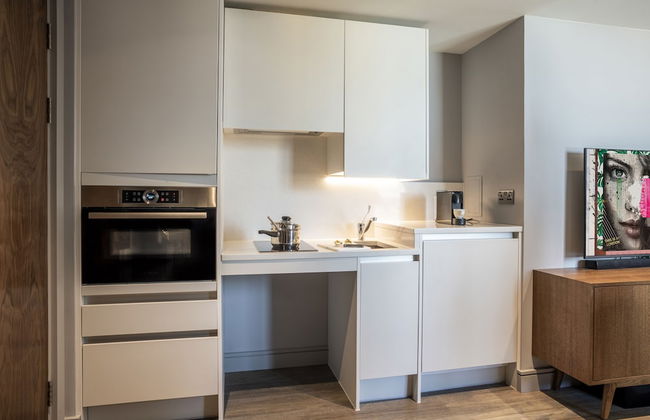
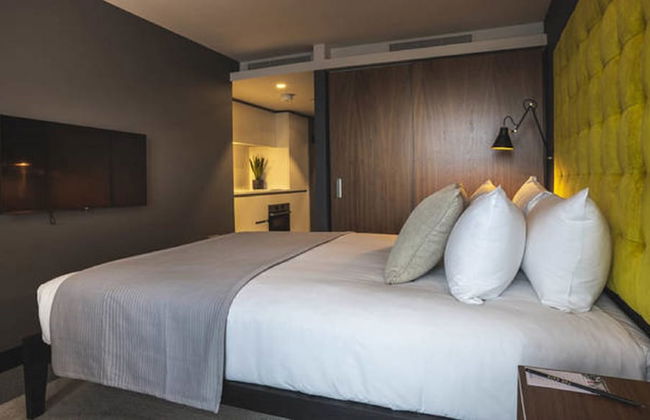
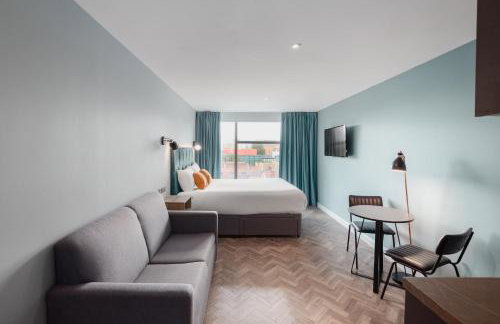
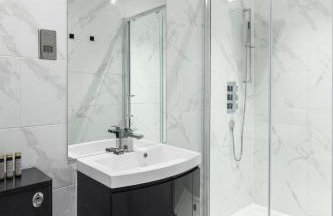
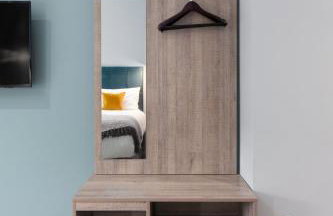
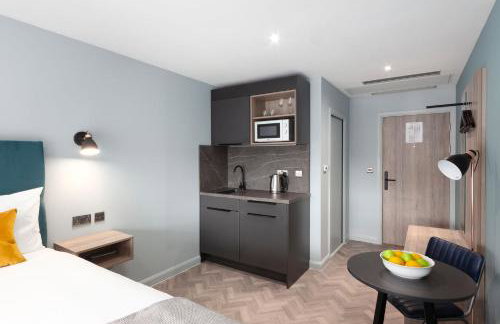
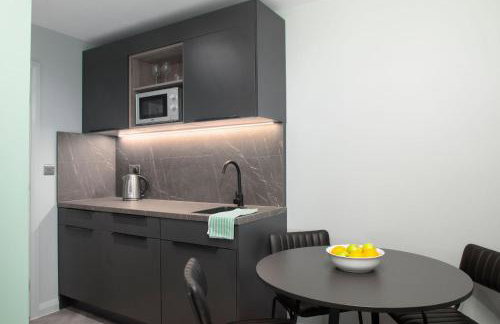
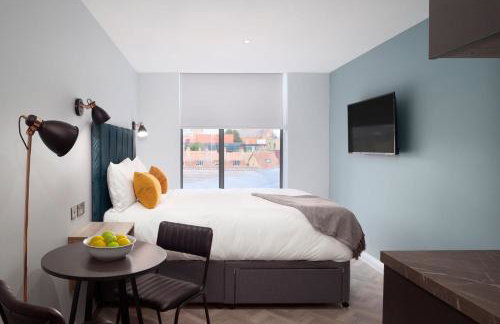
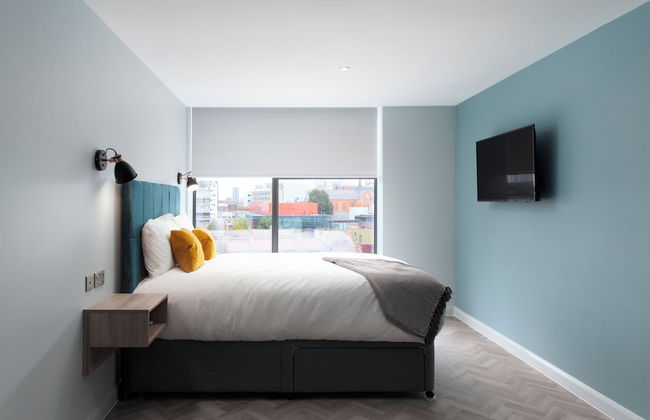
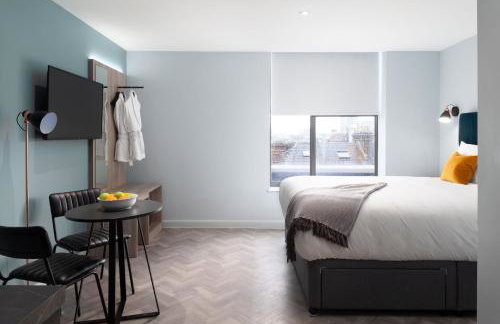
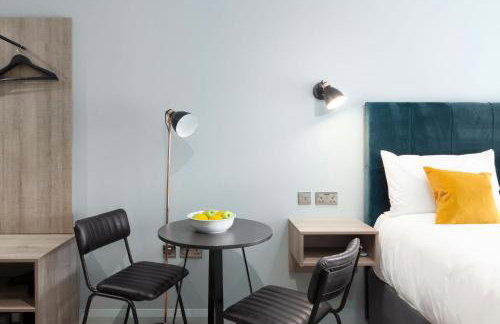
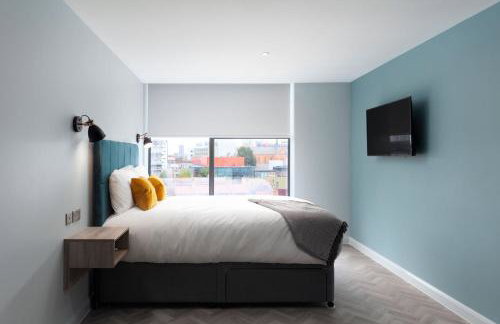
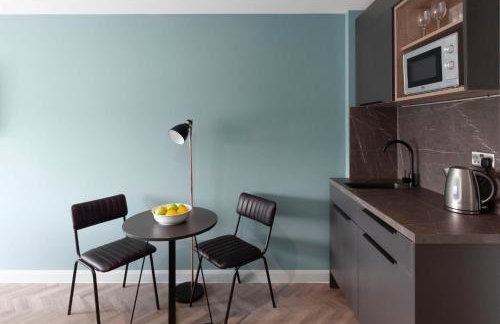
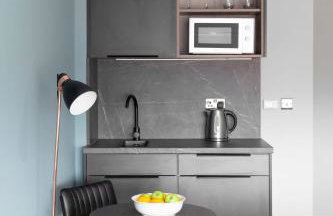
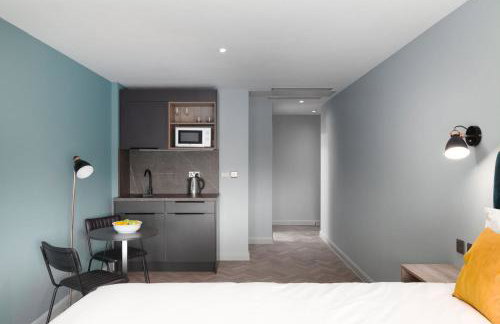
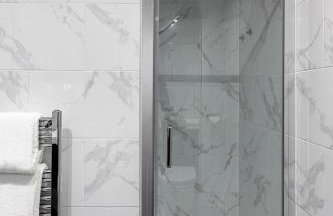
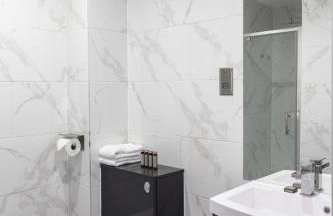
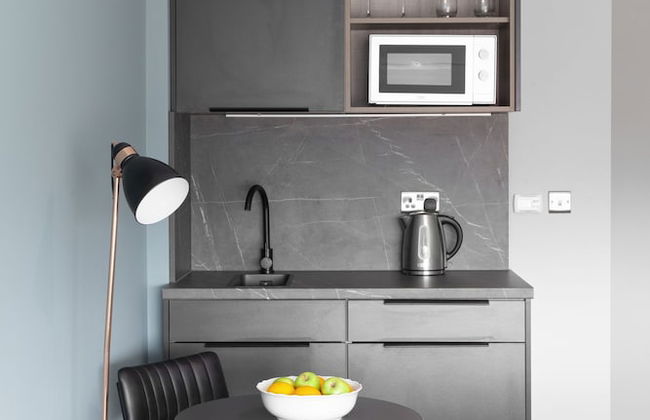
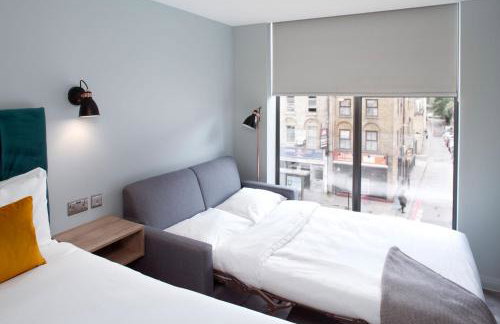
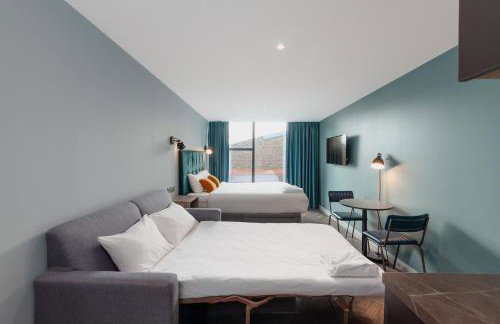
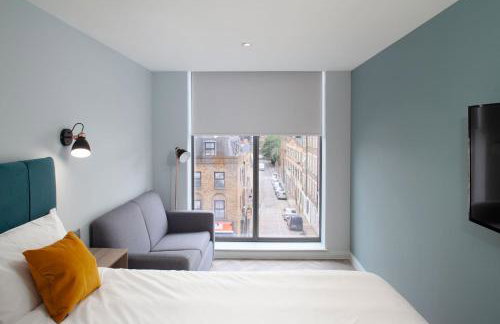
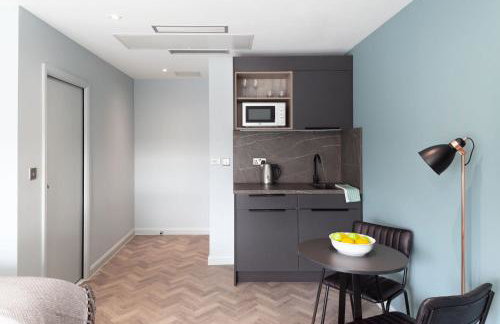
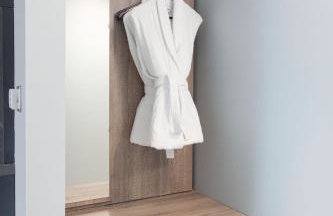
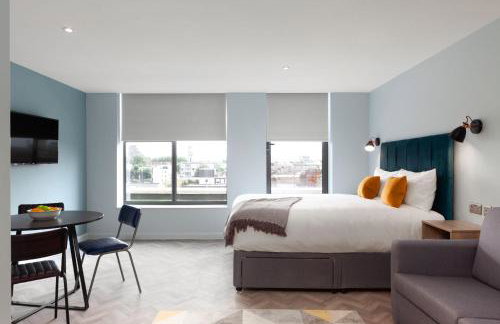
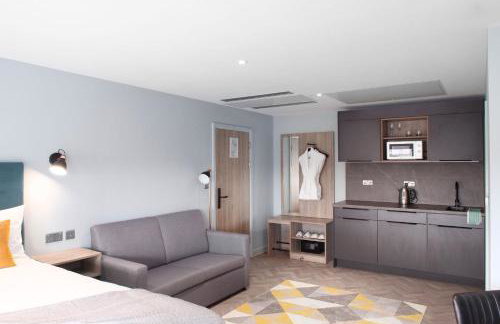
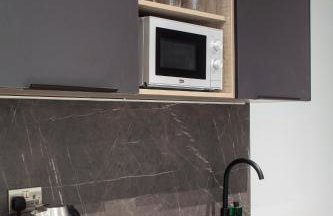
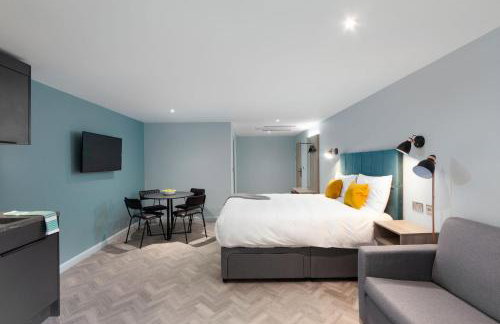
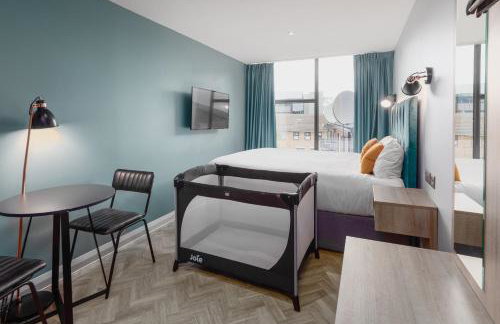
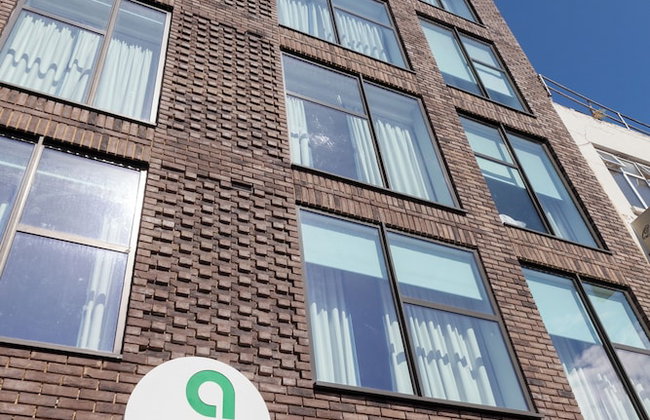
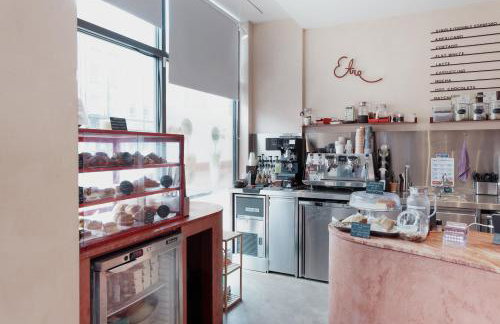
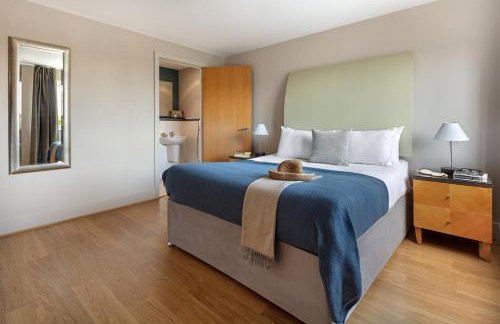
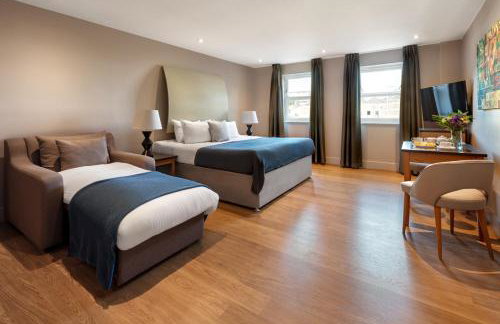
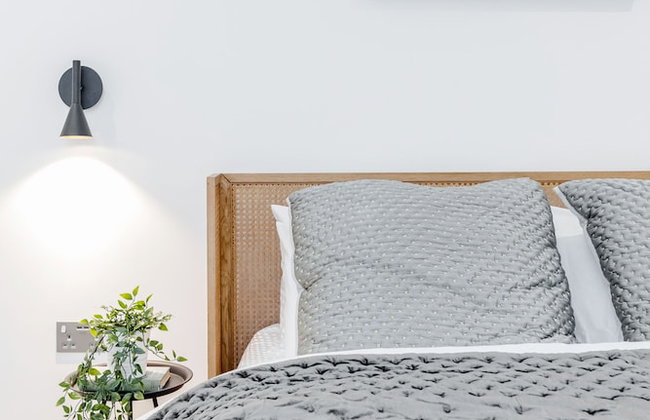
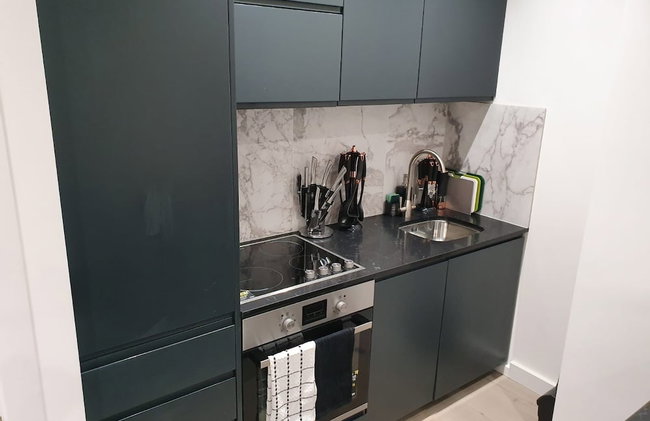
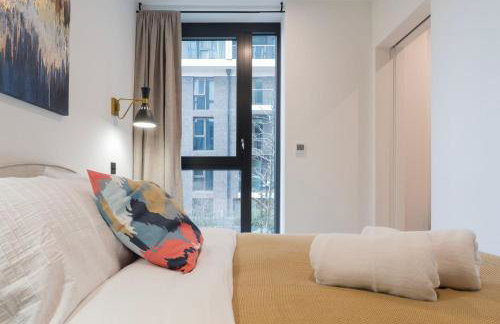
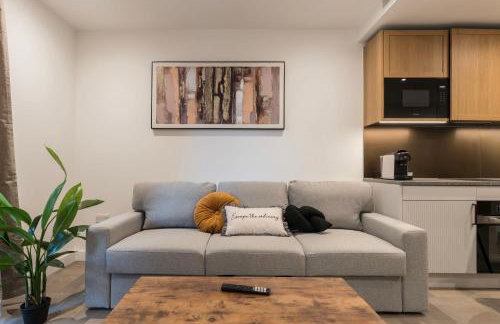
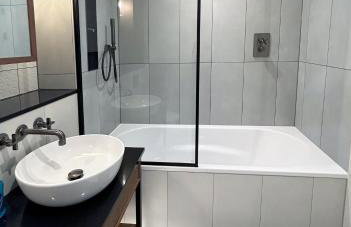
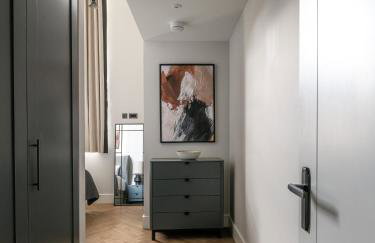
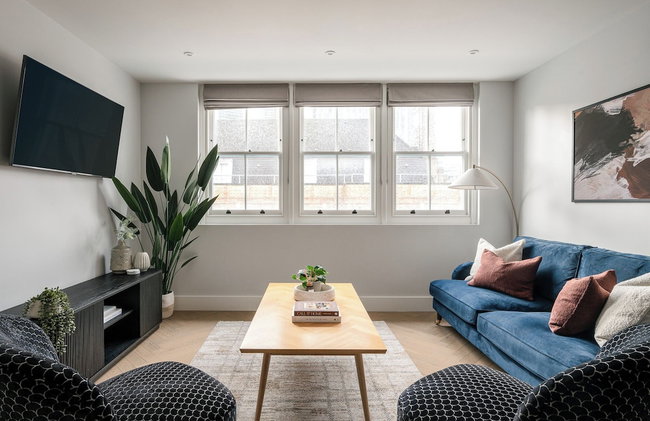
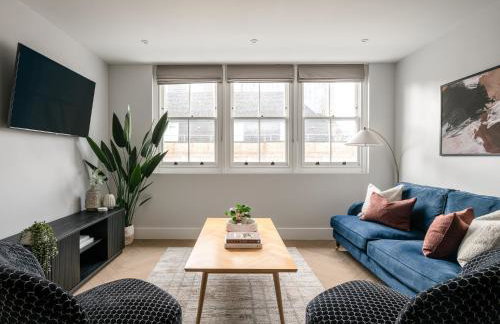
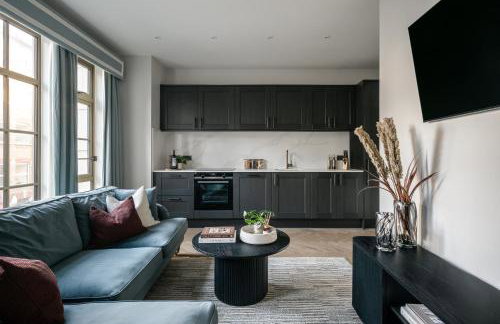
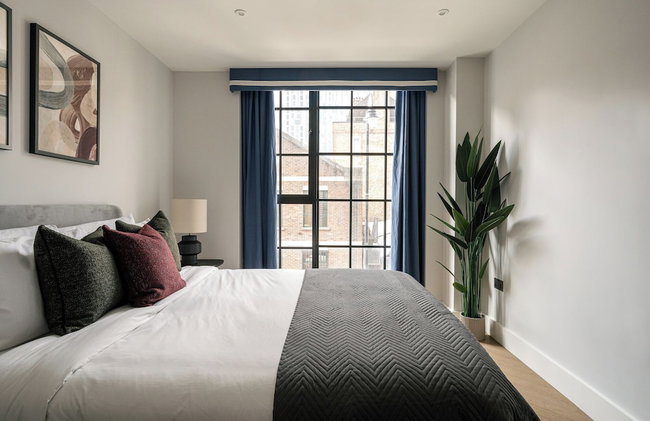
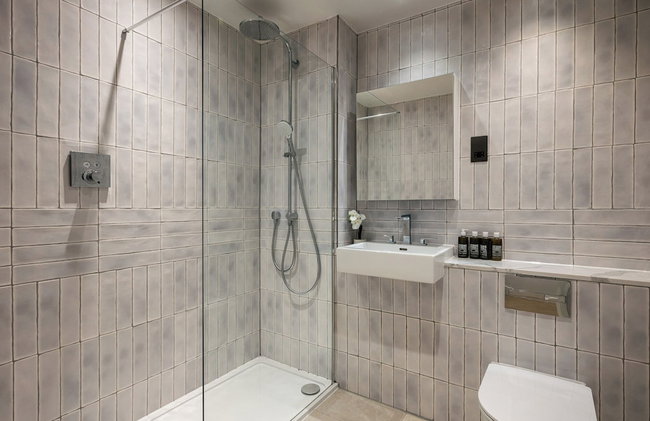
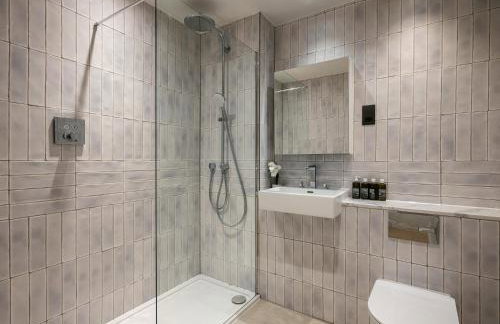
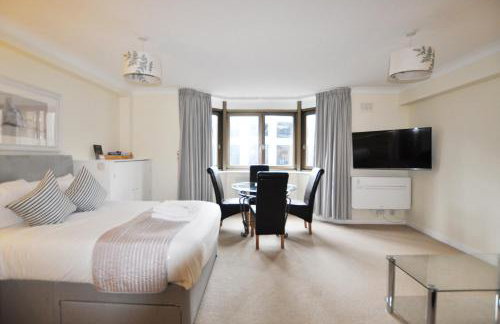
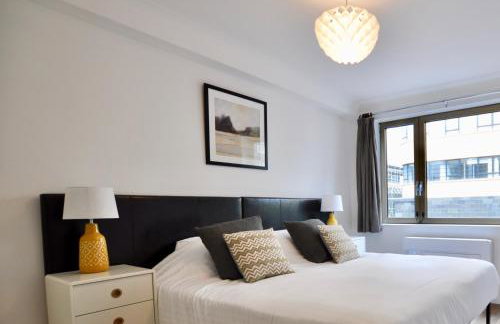
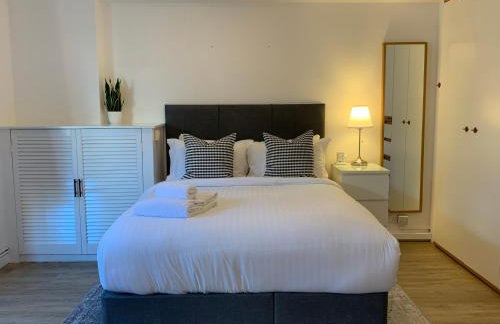
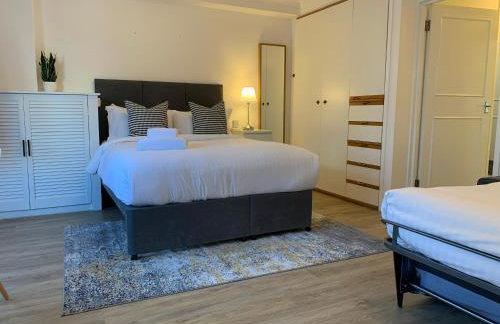
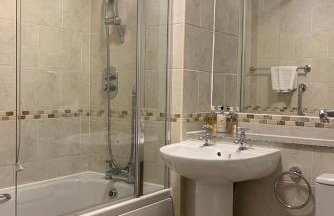
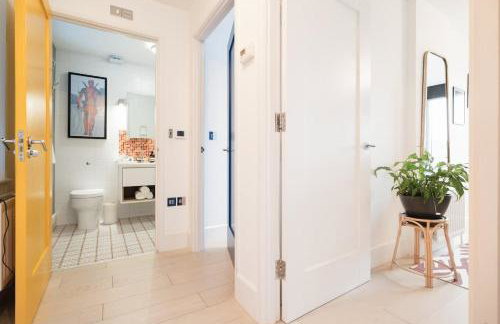
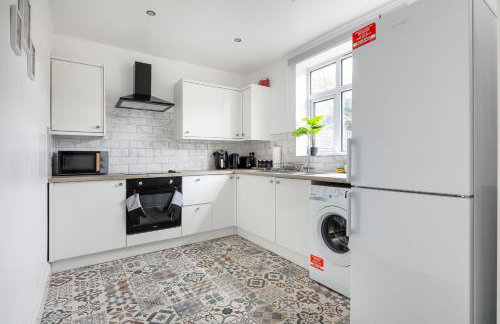
Bob W London Tower Hill - Studios
Londres - Tower Hamlets - 3.5 km do centro
- 21 M2
- 2 pessoas
- Kitchenette
- Ar-condicionado
- Aquecimento
- Elevador
- Tv
- Toalhas
- Lençóis


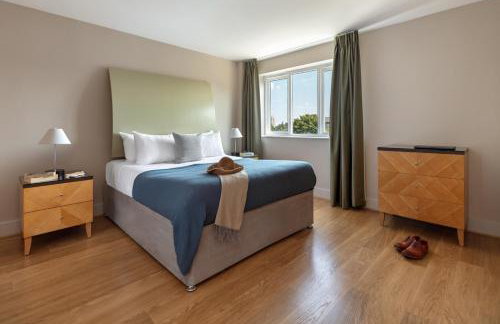


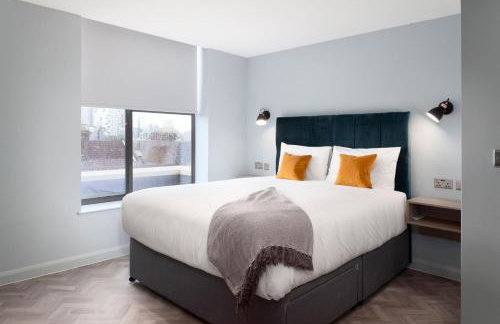
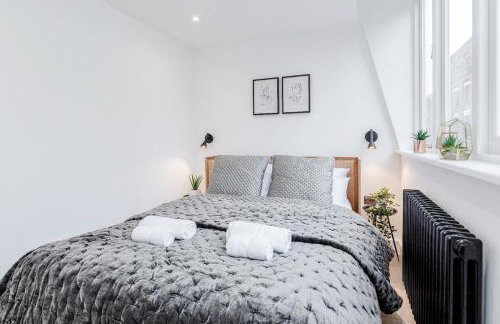
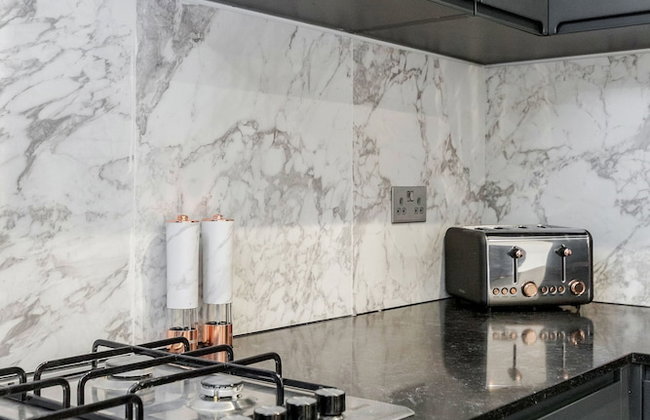
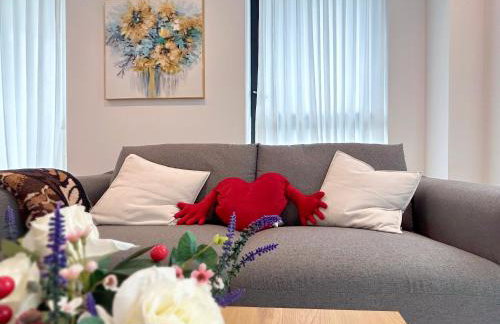
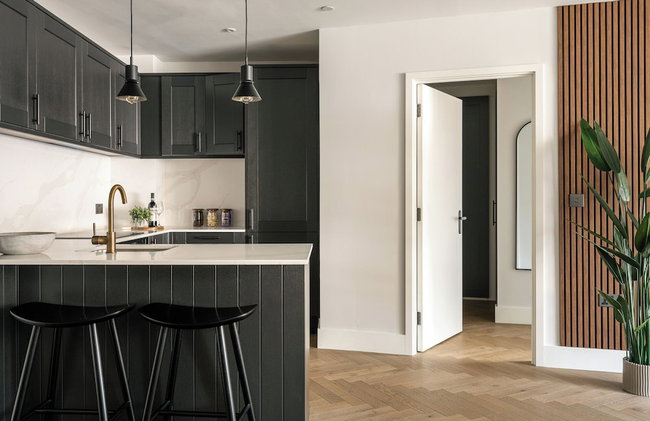
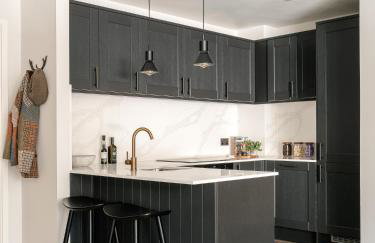
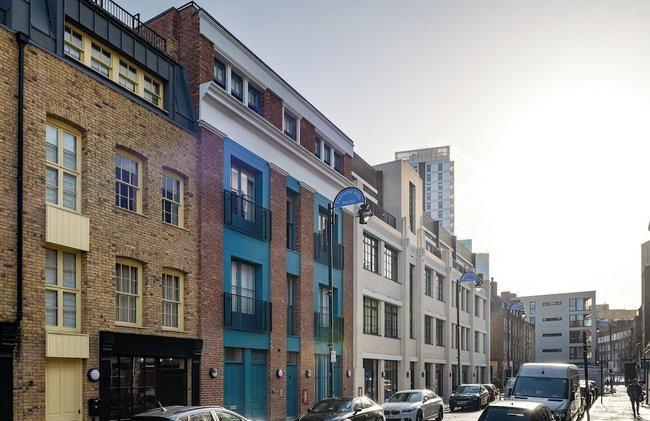
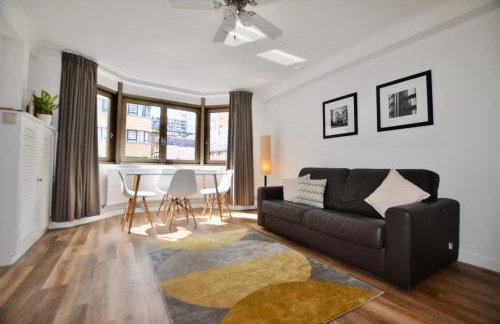
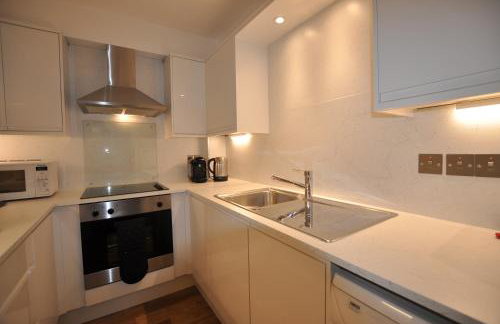
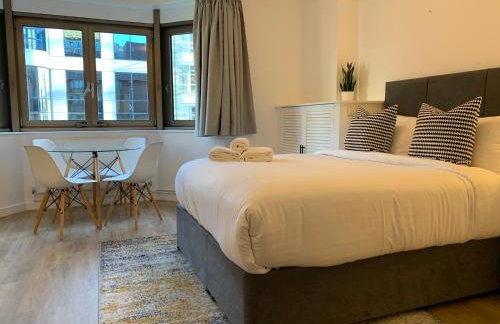
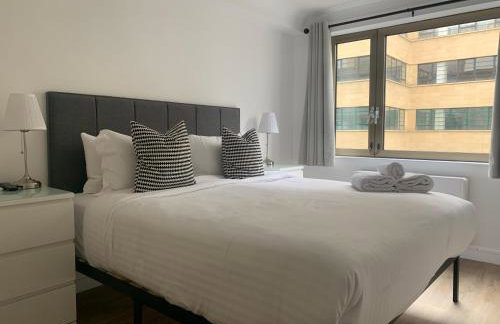
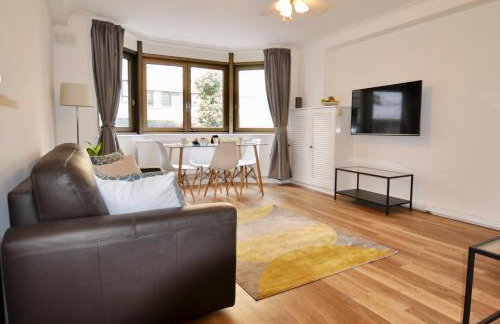
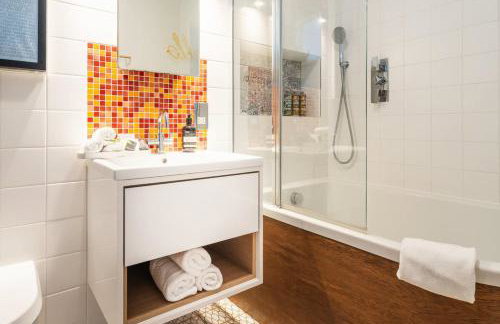
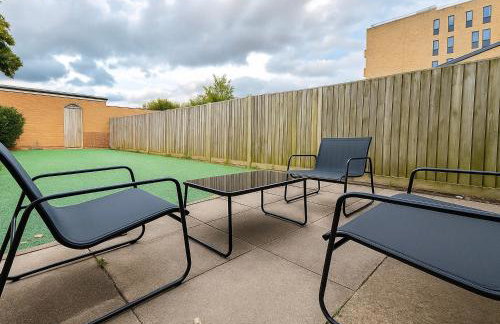
Marlin Apartments Commercial Road - Limehouse
Londres - Tower Hamlets - 5.4 km do centro
- 65 M2
- 2 quartos
- 8 pessoas
- Aquecimento
- Elevador
- Jardim
- Tv
- Máquina de lavar roupa
- Toalhas
- Lençóis


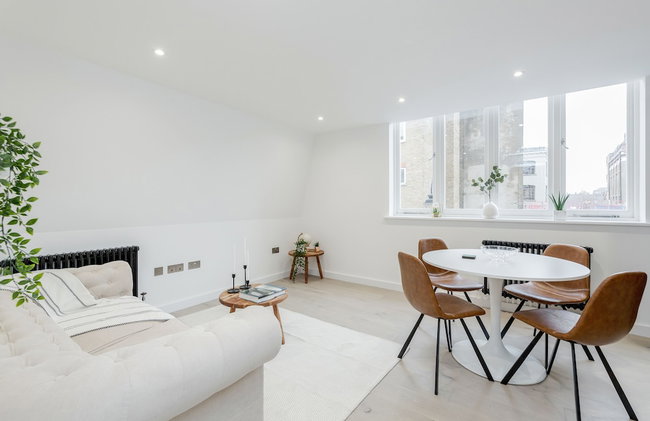
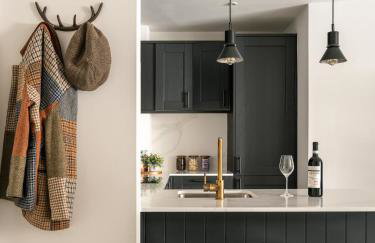
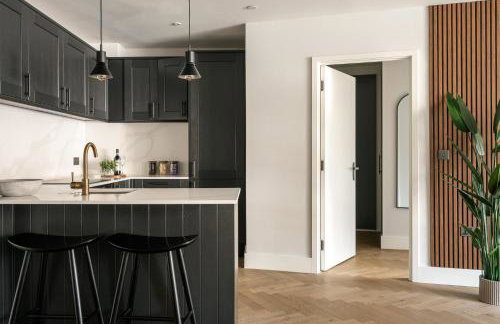
Central London 3-bed Apt, Sleeps 6, 3 Mins to Tube
Londres - Tower Hamlets - 3.5 km do centro
- 120 M2
- 3 quartos
- 6 pessoas
- Aquecimento
- Máquina de lavar roupa
- Toalhas
- Lençóis


Rockwell East
Londres - Tower Hamlets - 3.3 km do centro
- 2 pessoas
- Kitchenette
- Ar-condicionado
- Aquecimento
- Elevador
- Tv
- Máquina de lavar roupa
- Toalhas
- Lençóis


2Bed 2Bath Apartment in Liverpool Street, Steps to Brick Lane, Spitalfields & Shoreditch
Londres - Tower Hamlets - 3.4 km do centro
- 70 M2
- 2 quartos
- 6 pessoas
- Aquecimento
- Tv
- Toalhas
- Lençóis
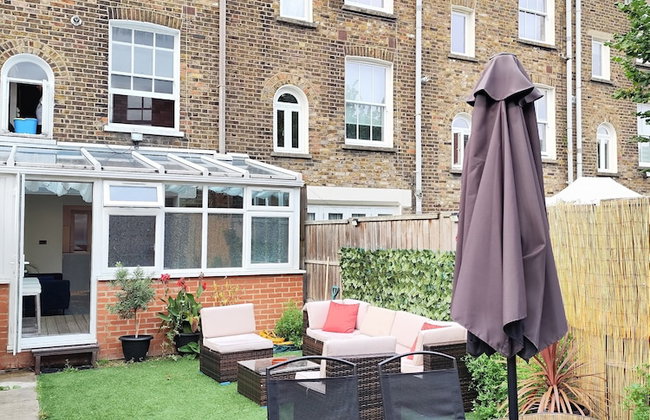


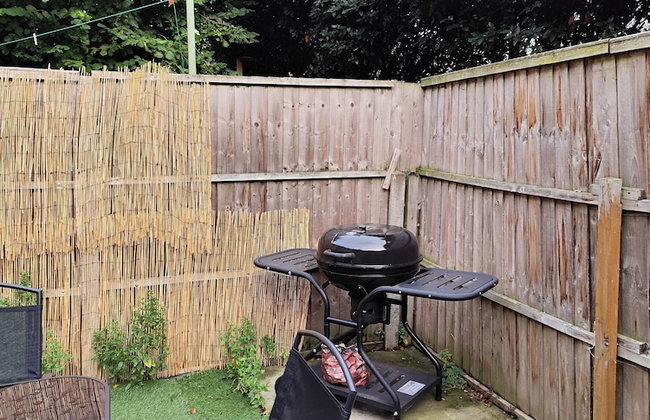
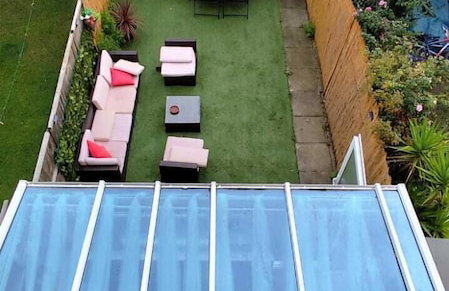
Tower Bridge Property
Londres - Tower Hamlets - 4.9 km do centro
- 150 M2
- 8 pessoas
- Aquecimento
- Terraço
- Jardim
- Tv
- Máquina de lavar roupa
- Churrasco
- Toalhas


Beautiful Apartment next Tower Bridge E with AirCon
Londres - Tower Hamlets - 3.8 km do centro
- 50 M2
- 1 quarto
- 5 pessoas
- Ar-condicionado
- Elevador
- Jardim


Chapel House
Londres - Tower Hamlets - 3.7 km do centro
- 10 pessoas
- Aquecimento
- Tv
- Máquina de lavar roupa
- Lençóis


2 Bed Shoreditch Skyline Modern Flat By Station
Londres - Tower Hamlets - 3.5 km do centro
- 82 M2
- 2 quartos
- 6 pessoas
- Aquecimento
- Terraço
- Elevador
- Jardim


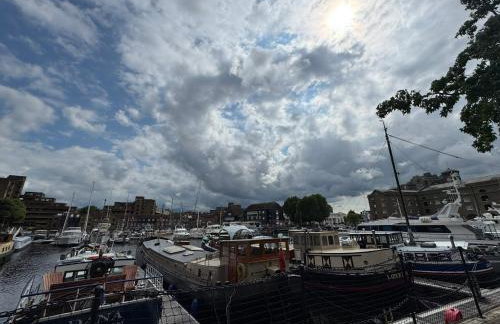
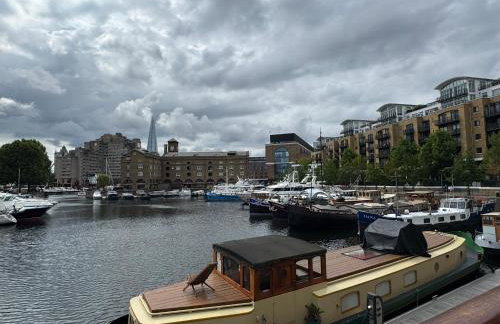
Entire Boat at St Katherine Docks 2 Available select using room options
Londres - Tower Hamlets - 290 m de Tower Bridge
- 14 M2
- 4 pessoas
- Aquecimento
- Estacionamento
- Jardim


Luxury Designer 2Bed 2Bath by Tower Bridge
Londres - Tower Hamlets - 3.7 km do centro
- 80 M2
- 2 quartos
- 4 pessoas
- Ar-condicionado
- Terraço
- Jardim
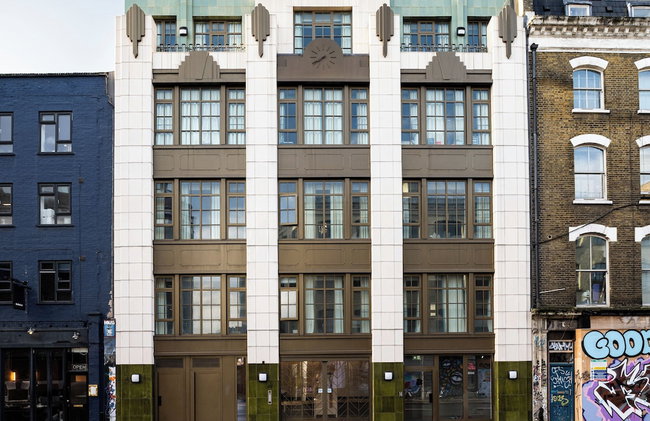

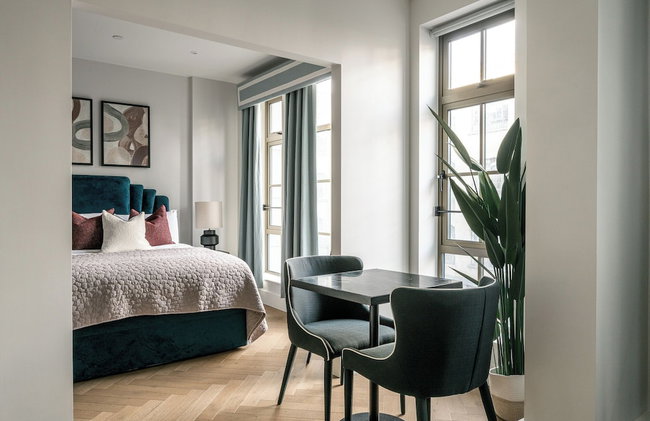
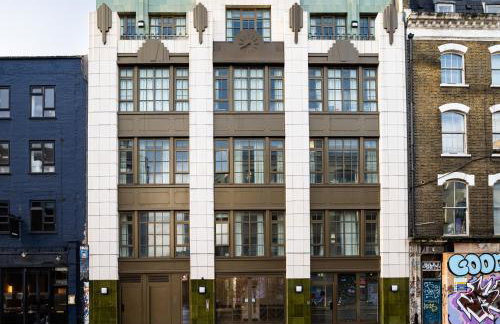


The Spitalfields Works by Urban Rest
Londres - Tower Hamlets - 3.4 km do centro
- 61 M2
- 2 quartos
- 4 pessoas
- Aquecimento
- Elevador


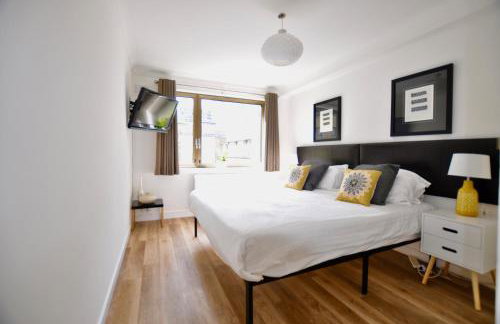


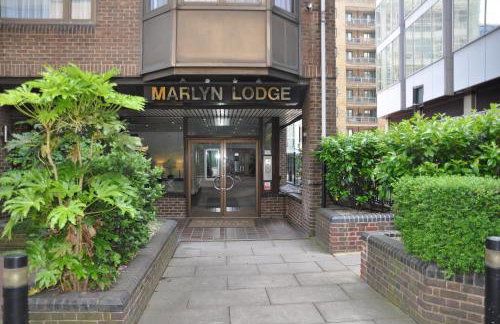
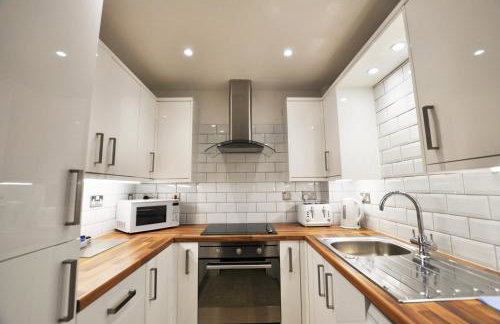
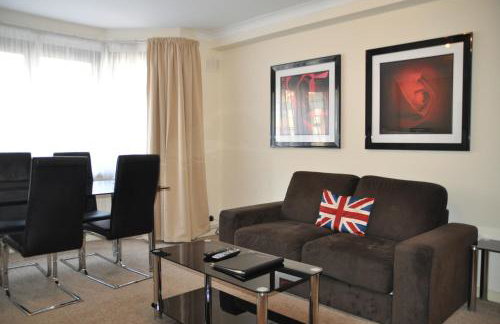

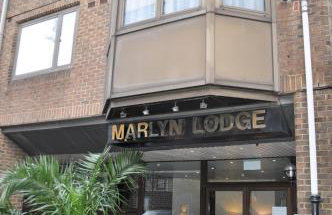
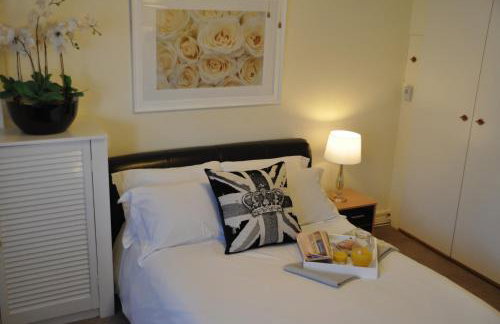
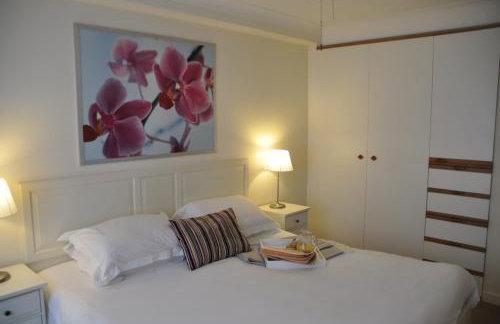


Marlyn Lodge - City of London
Londres - Tower Hamlets - 3.3 km do centro
- 35 M2
- 4 pessoas
- Ar-condicionado
- Aquecimento
- Elevador
- Jardim
- Tv
- Máquina de lavar roupa
- Toalhas
- Lençóis


Amazing location 1 BD flat on St Katharine's Docks
Londres - Tower Hamlets - 370 m de Tower Bridge
- 40 M2
- 1 quarto
- 4 pessoas
- Terraço
- Estacionamento


Serenity in the Heart of London
Londres - Tower Hamlets - 380 m de Tower Bridge
- 72 M2
- 2 quartos
- 4 pessoas
- Terraço
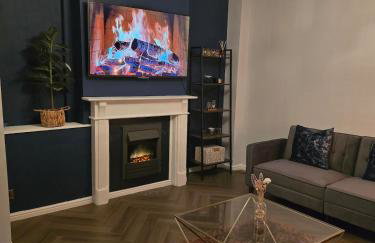
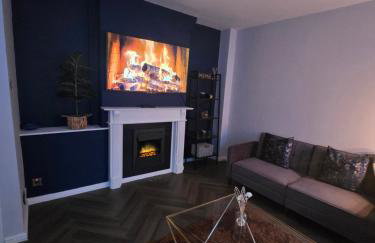
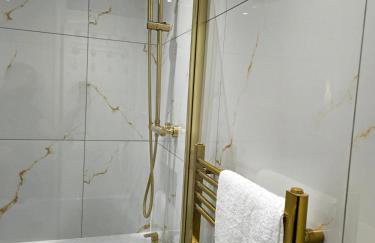
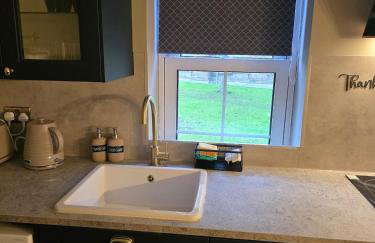
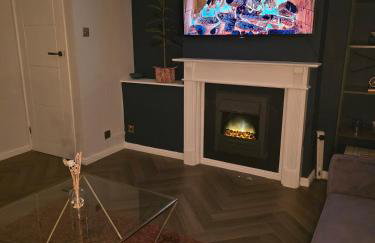
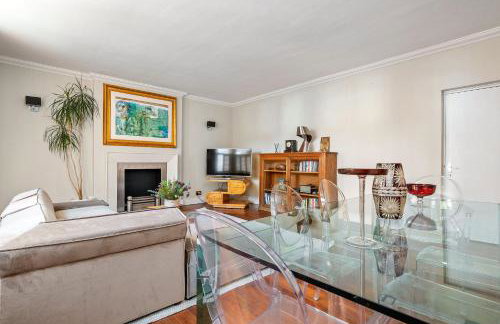
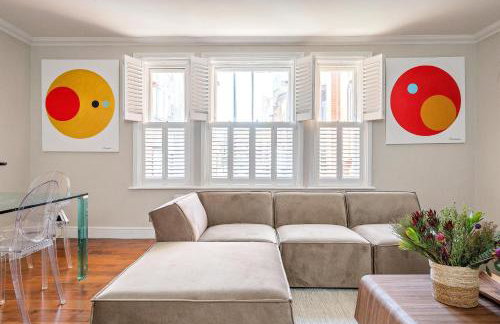
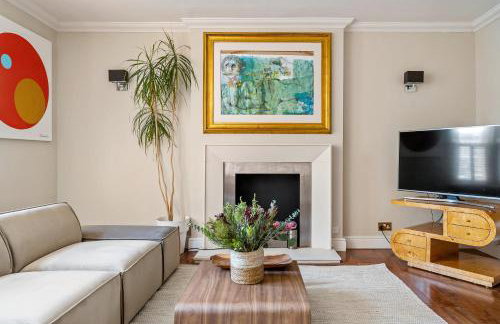
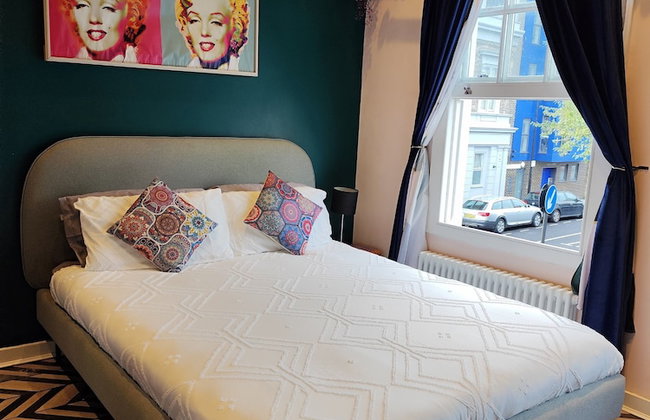
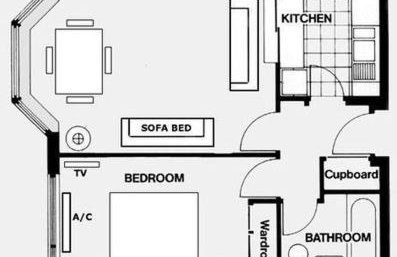
Contemporary & Spacious 1BD - Fireplace with Modern Comforts
Londres - Tower Hamlets - 4.5 km do centro
- 47 M2
- 1 quarto
- 5 pessoas
- Aquecimento
- Estacionamento
- Jardim
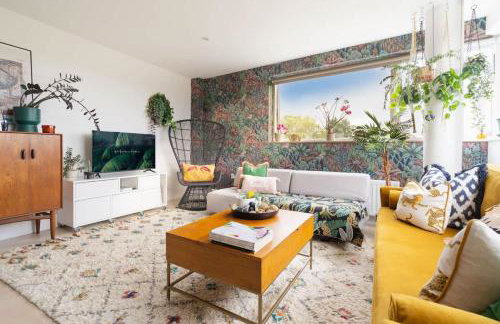


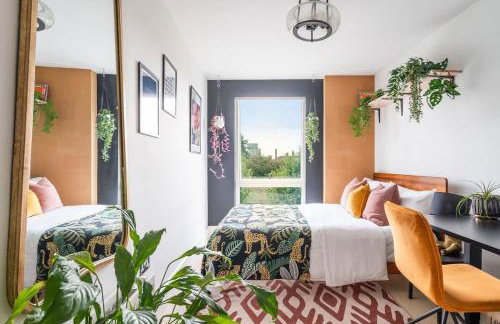


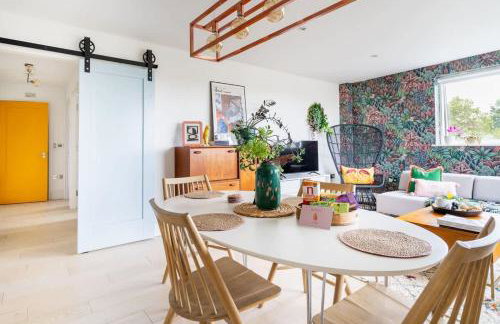
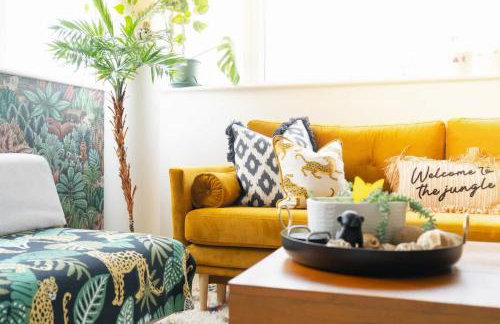

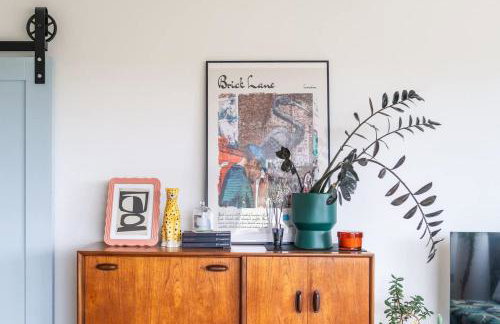

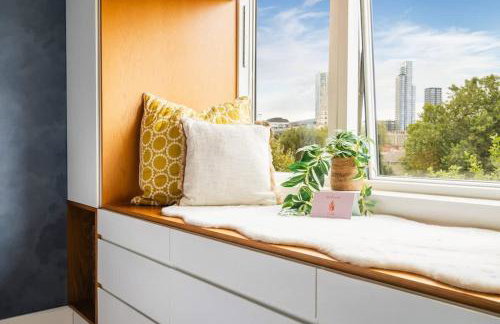

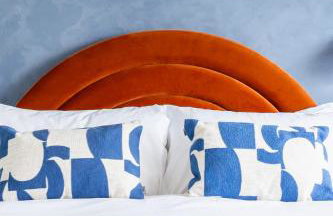
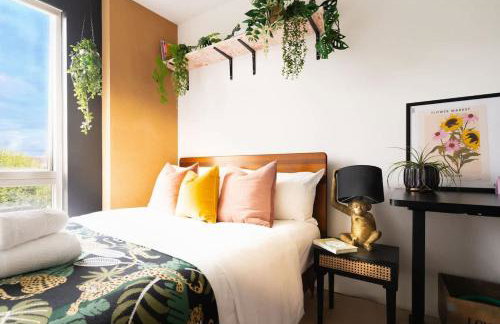
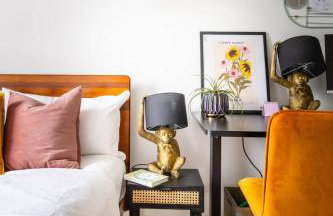


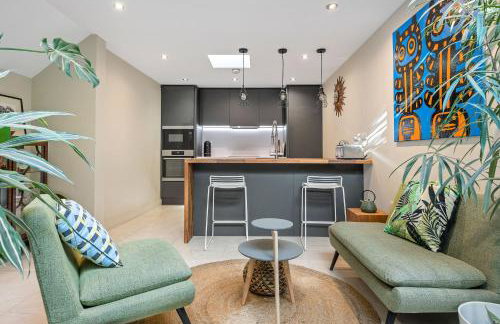
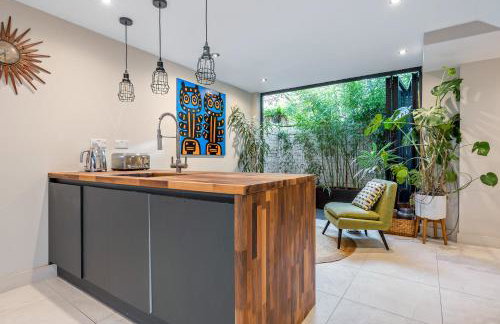
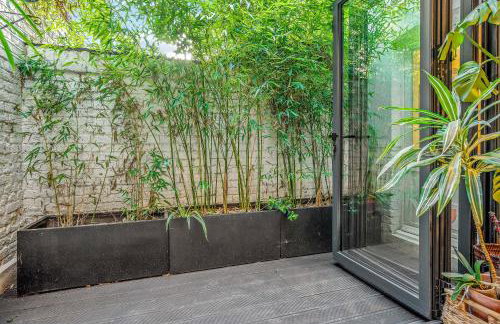
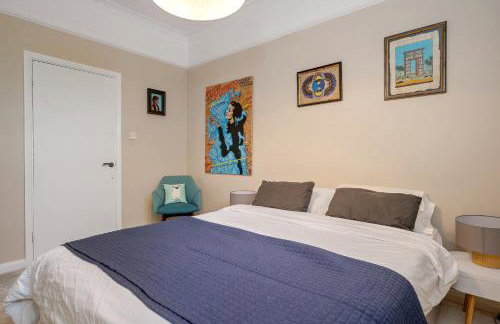
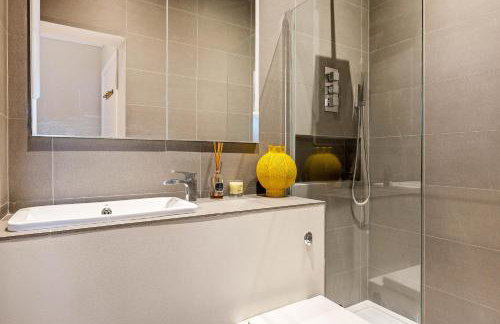
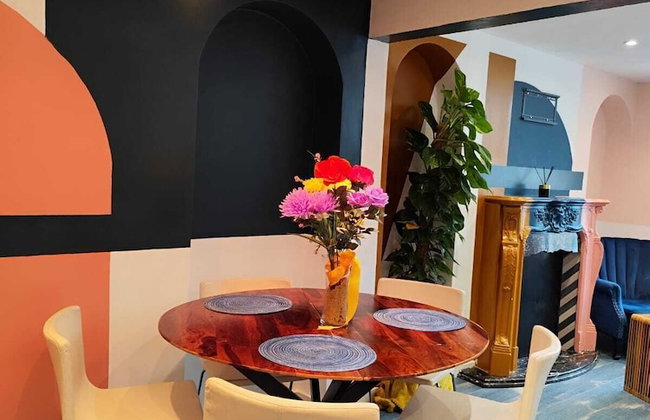
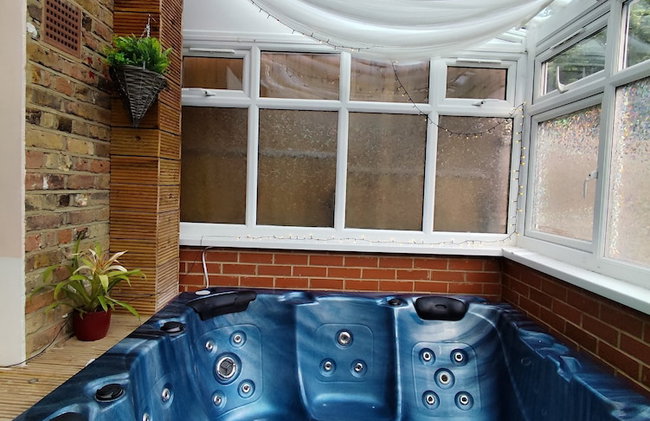
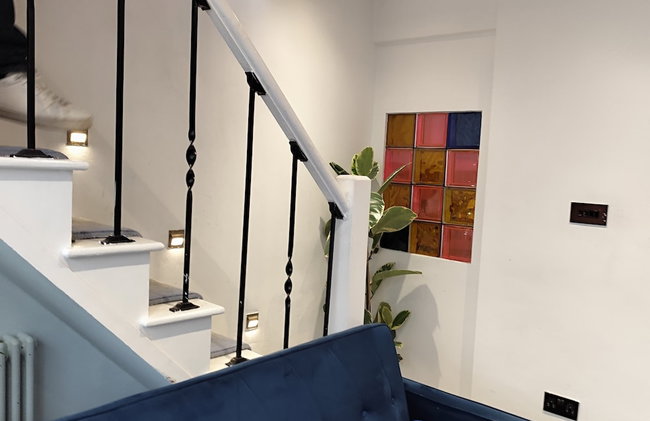
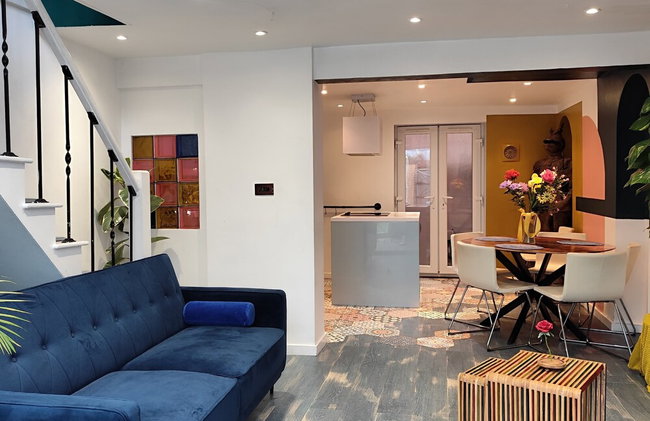
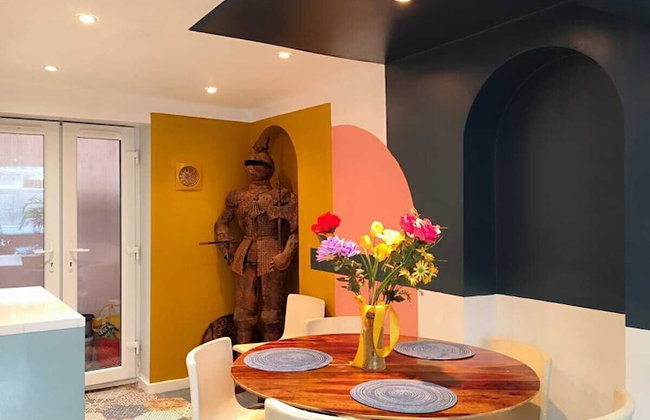
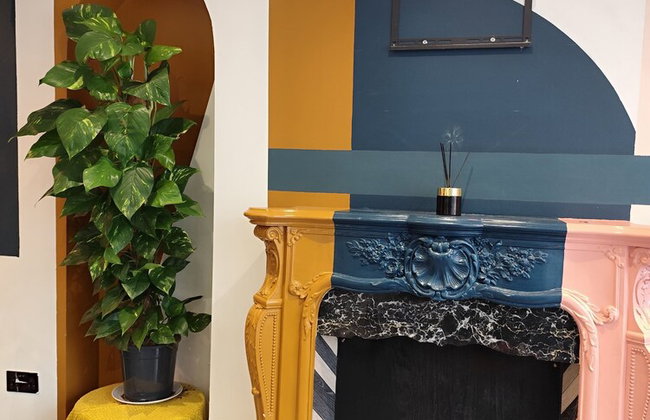
Boutique Brick Lane 2-Bed, Colourful City Vibes
Londres - Tower Hamlets - 3.7 km do centro
- 68 M2
- 2 quartos
- 5 pessoas
- Aquecimento
- Elevador


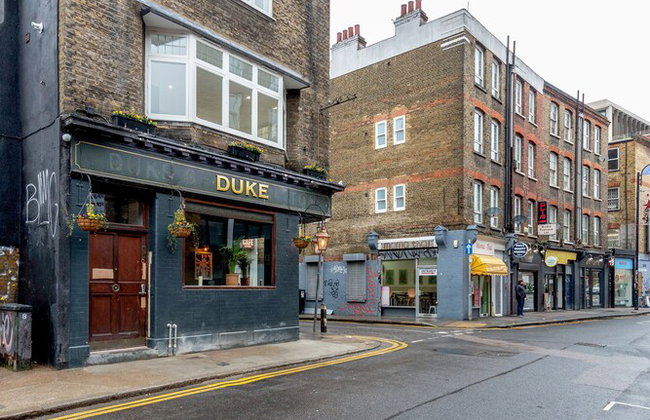
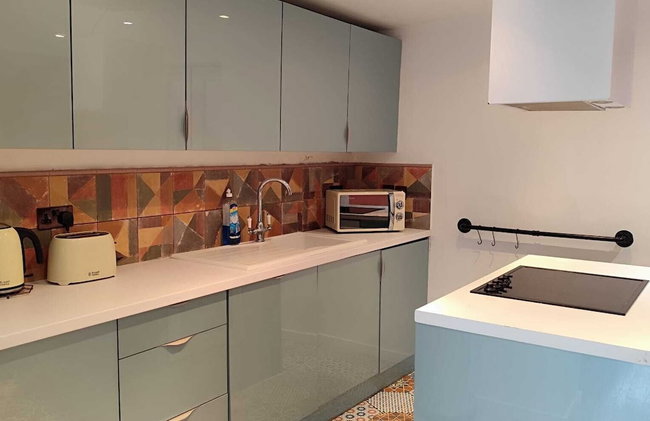
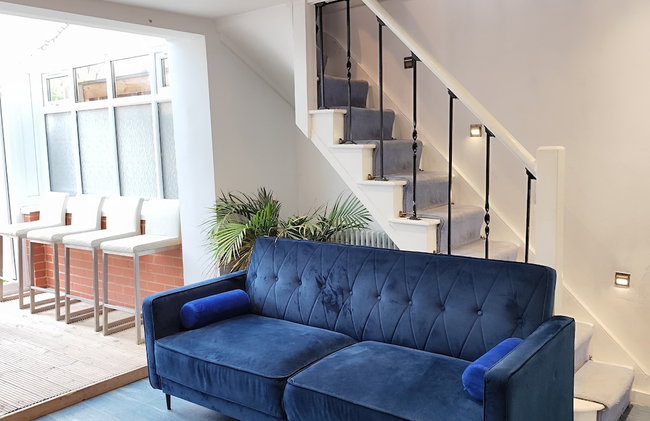
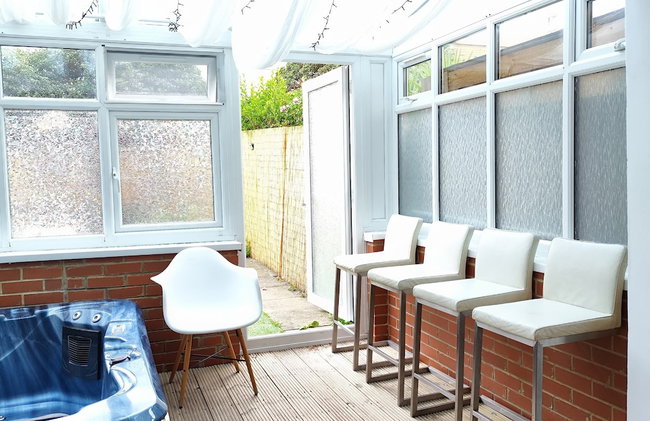
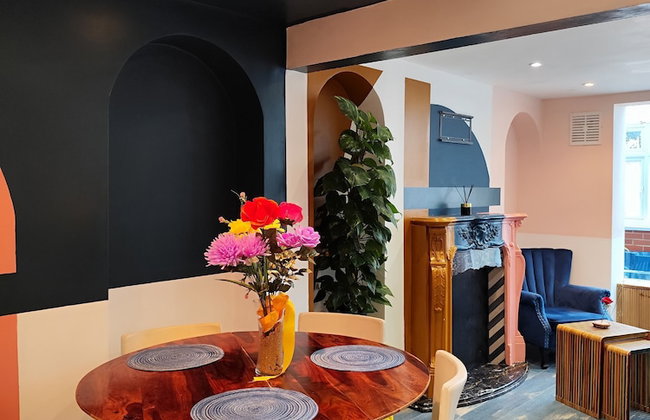
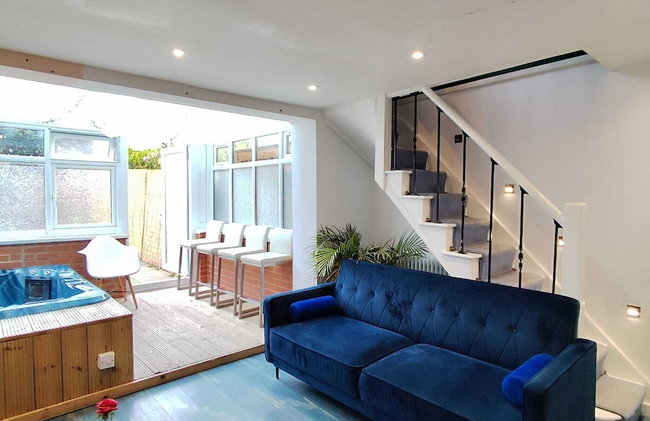
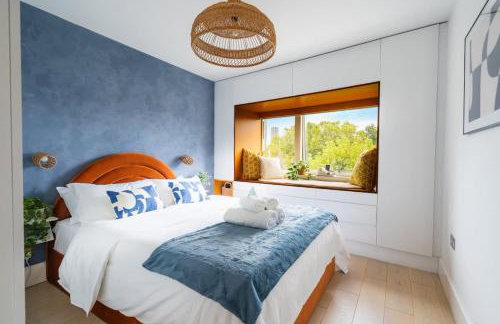
City Gem - 2 Bed House, 6 mins from Liverpool Street, Shops & Restaurants
Londres - Tower Hamlets - 5.5 km do centro
- 78 M2
- 2 quartos
- 6 pessoas
- Jardim