
205 Apartamentos em White


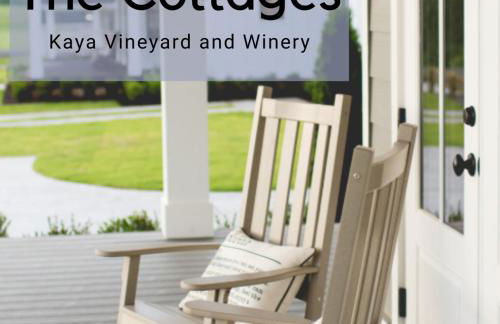


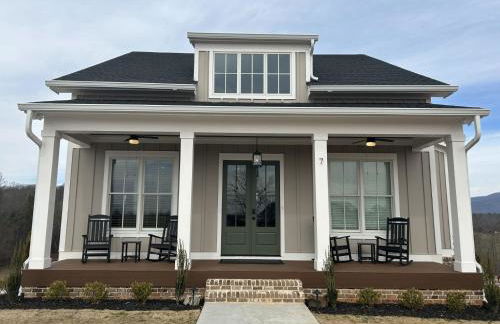

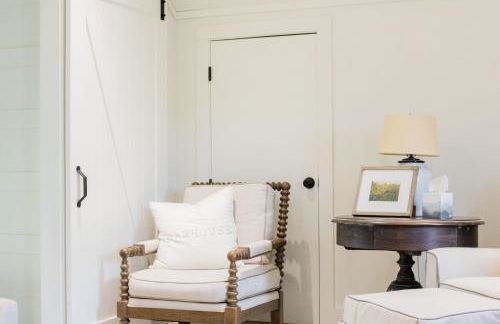
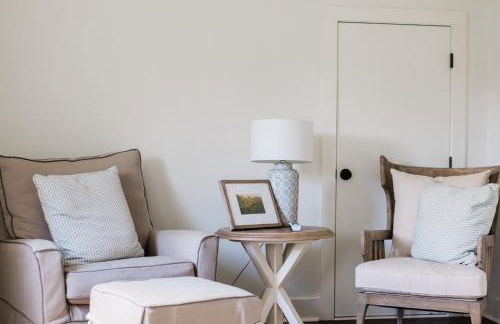
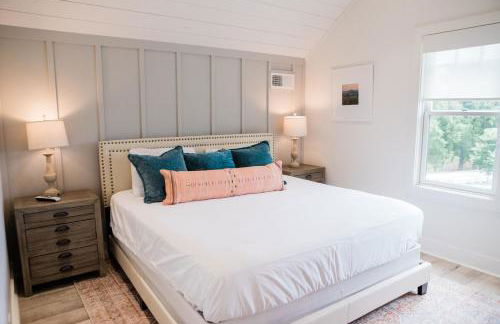

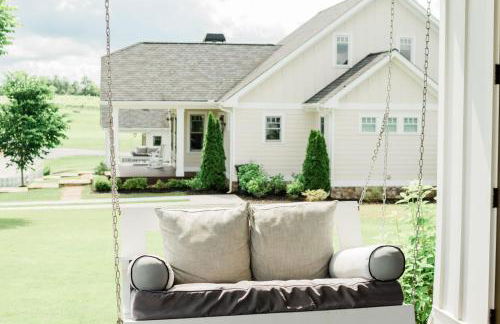


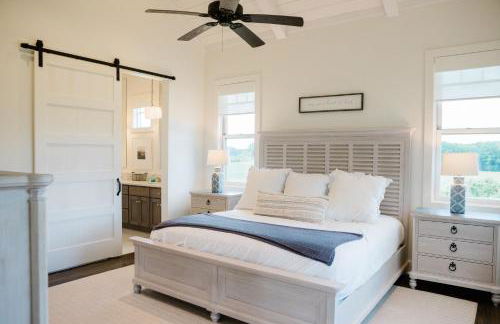


Kaya Cottages
- 139 M2
- 3 quartos
- 8 pessoas
- Ar-condicionado
- Aquecimento
- Terraço
- Estacionamento
- Jardim
11 avaliações


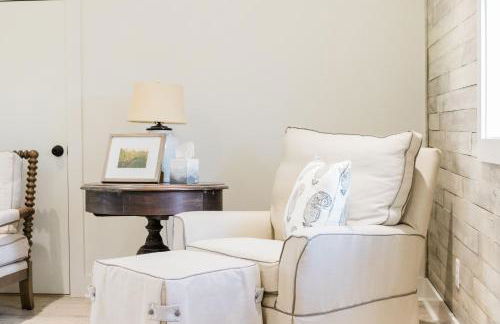
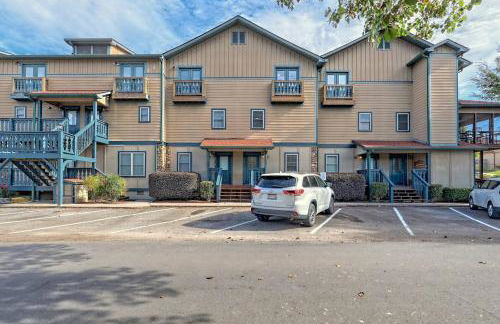
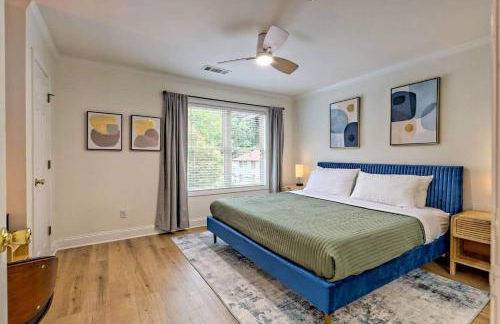
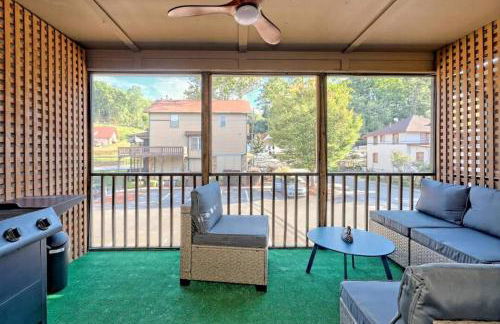
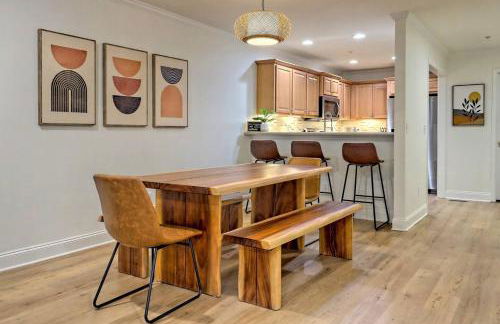
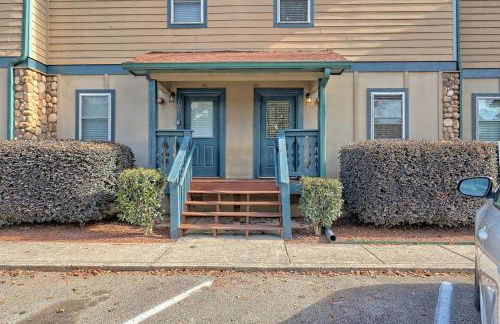
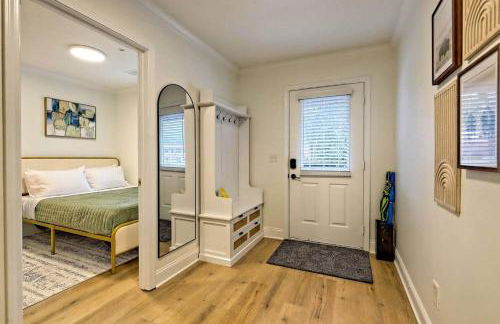
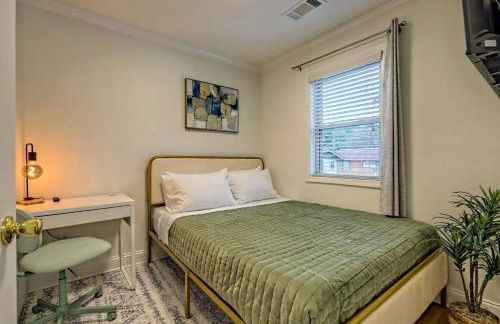
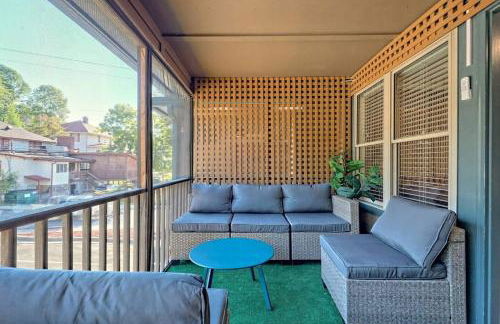
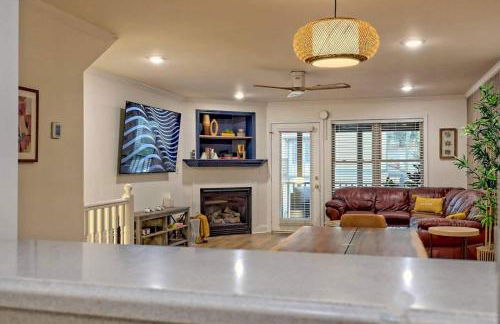
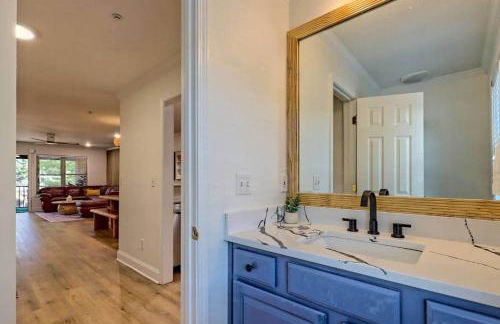
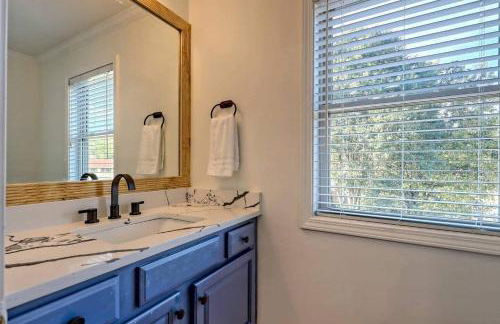
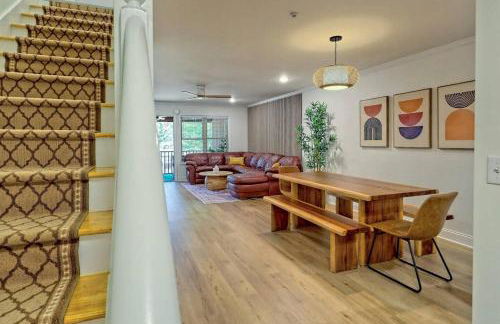
Walk to Helen Downtown-Gated Golf Resort
Helen
- 167 M2
- 2 quartos
- 4 pessoas
- Ar-condicionado
- Terraço
- Piscina
- Estacionamento
- Jardim
- Churrasco
111 avaliações


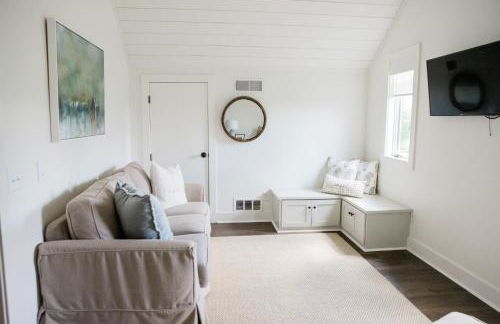
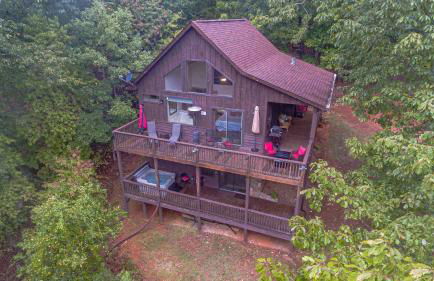
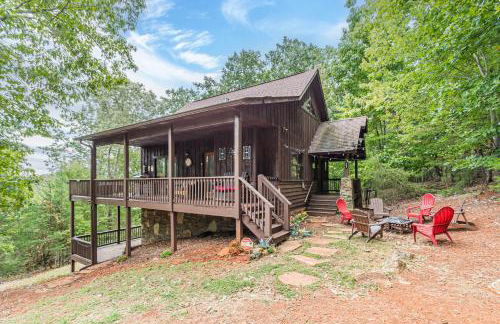
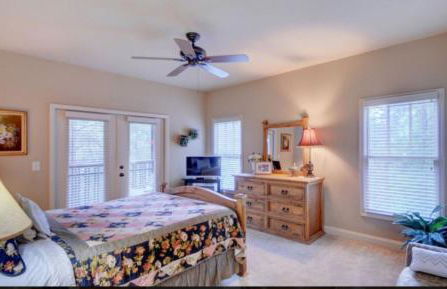
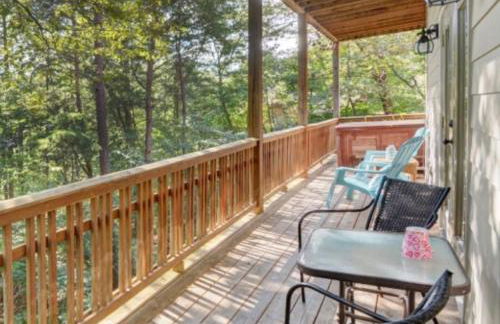
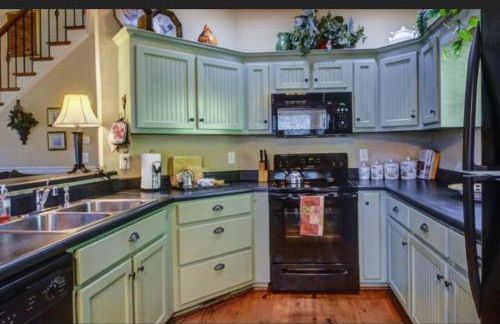
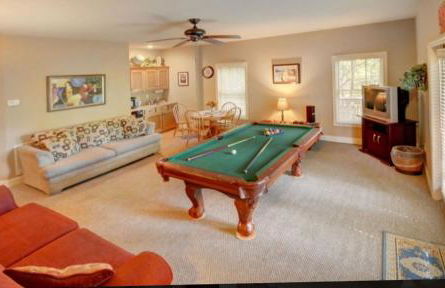
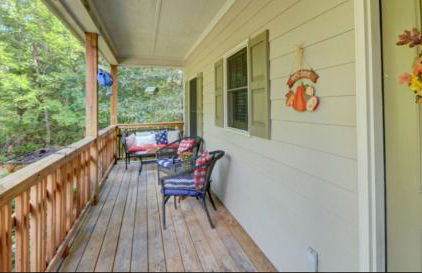
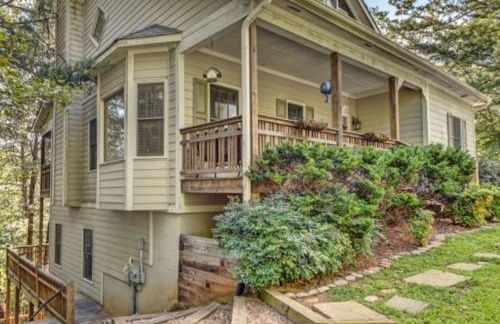
Spacious Home in Helen w/ Porch & Balcony!
Helen
- 232 M2
- 4 quartos
- 8 pessoas
- Aquecimento
- Terraço
- Piscina
- Estacionamento
35 avaliações
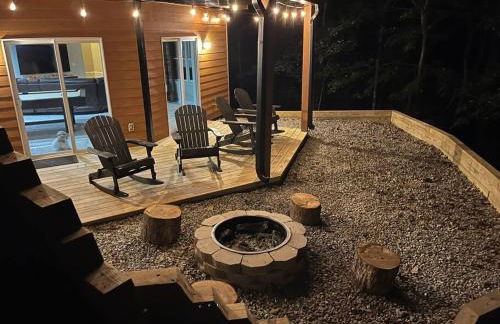
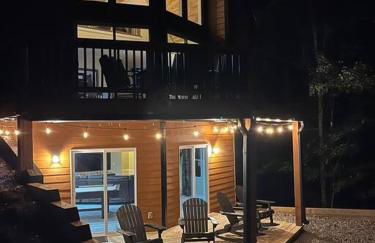
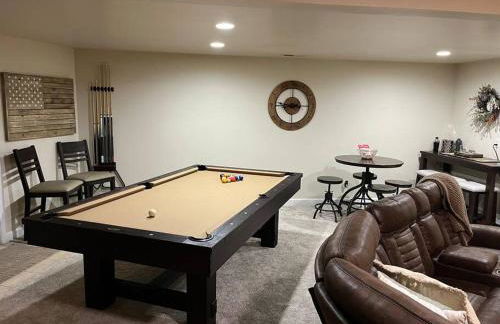
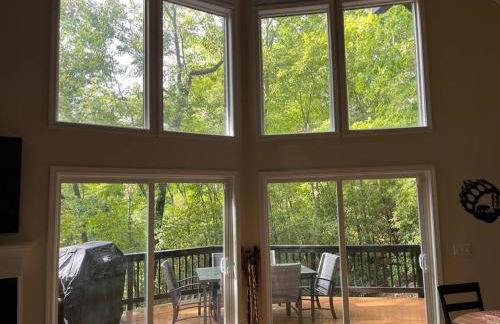


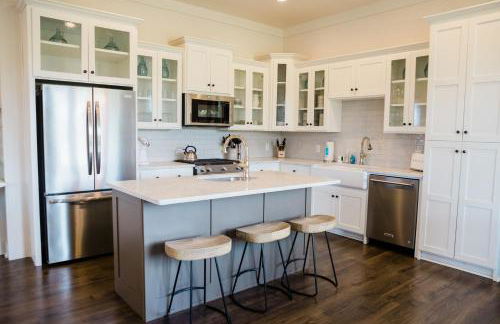
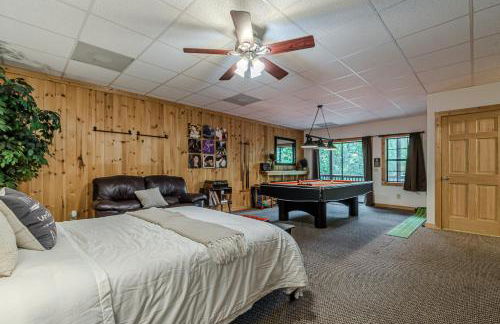
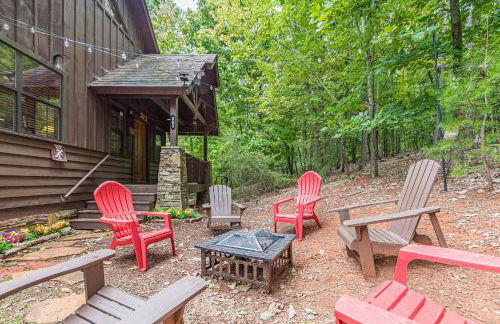
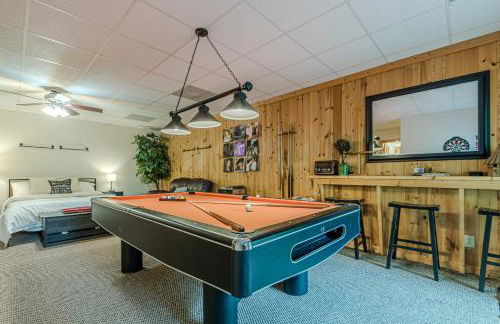
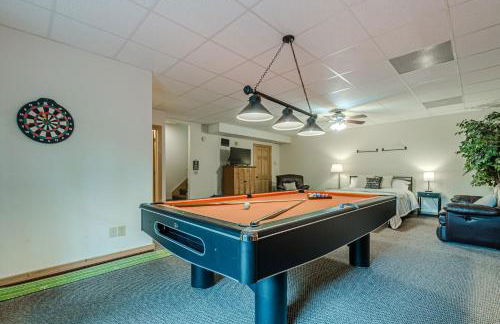
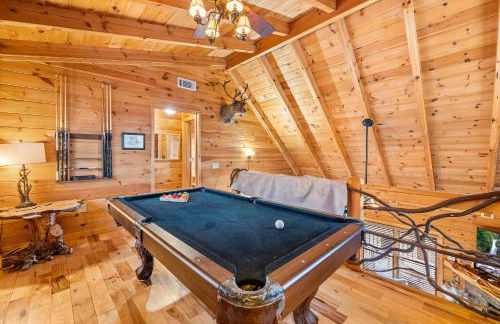
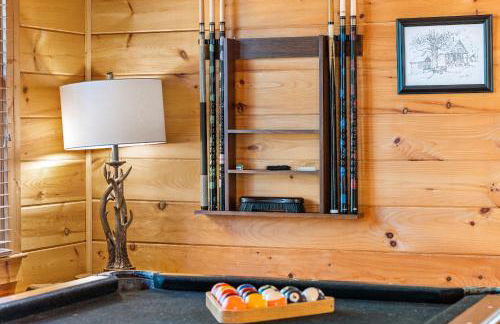
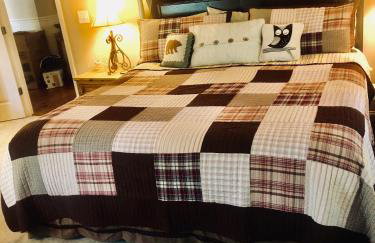
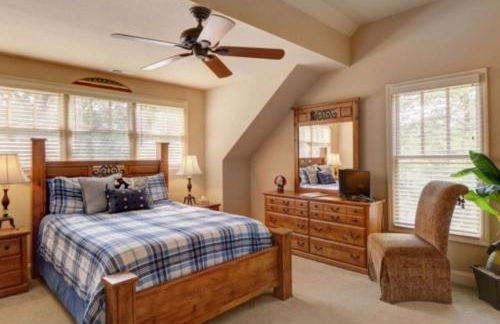
Helen, GA Bear Paw Haus 4 bdrm, sleeps 10, fire pit, pool table, on Golf course
Helen
- 11 M2
- 1 quarto
- 10 pessoas
- Ar-condicionado
- Piscina
- Estacionamento
- Churrasco
18 avaliações


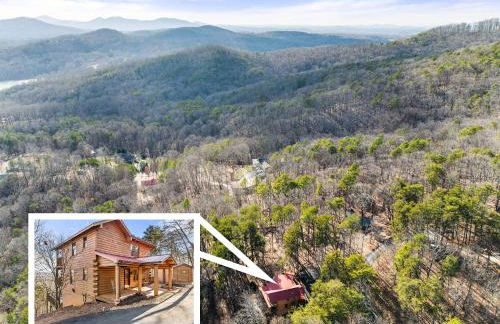
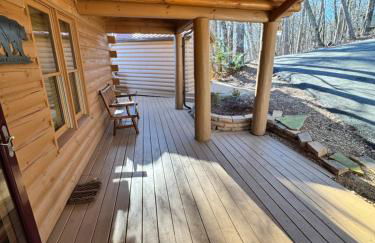
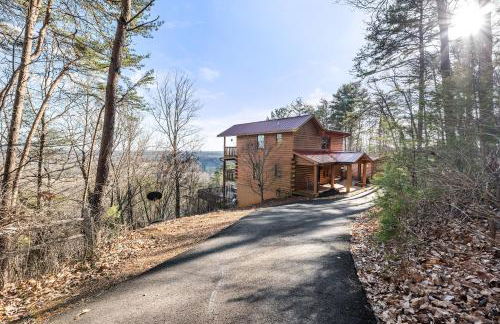
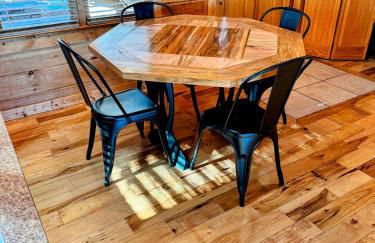
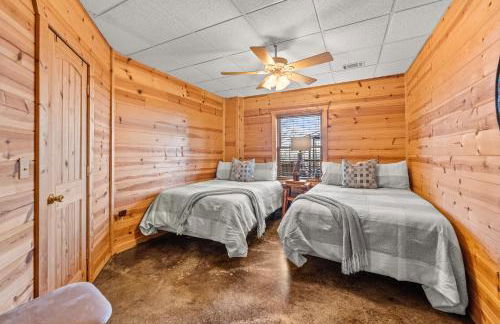
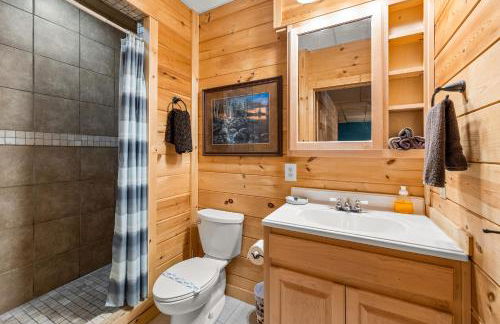
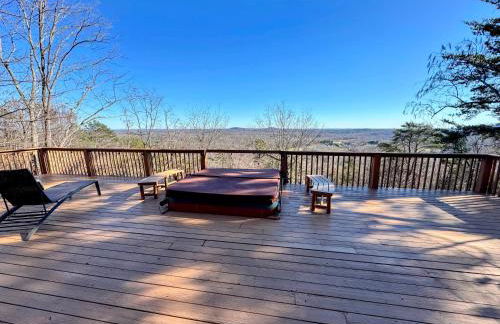
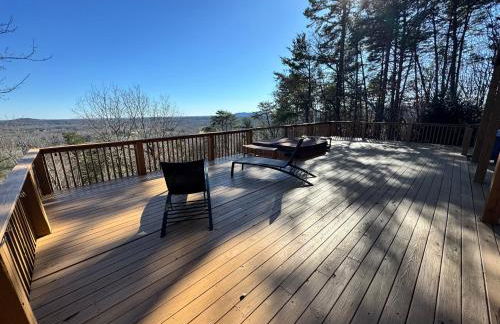
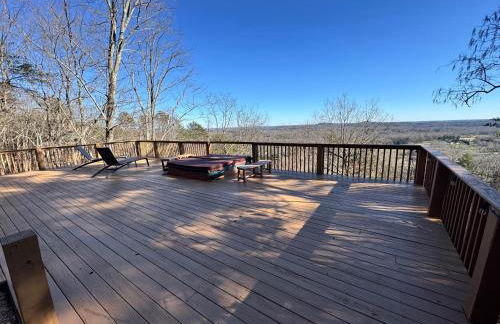
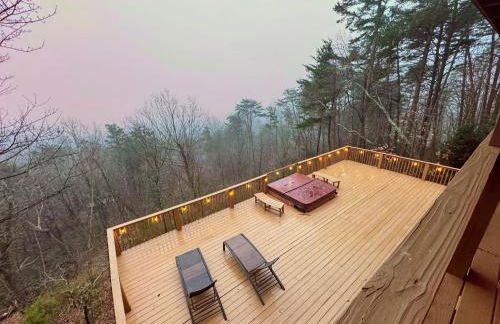
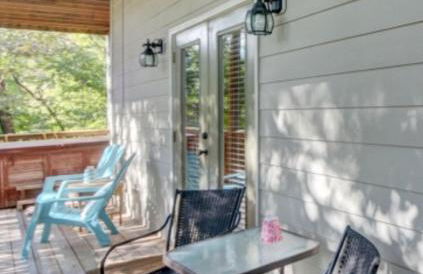
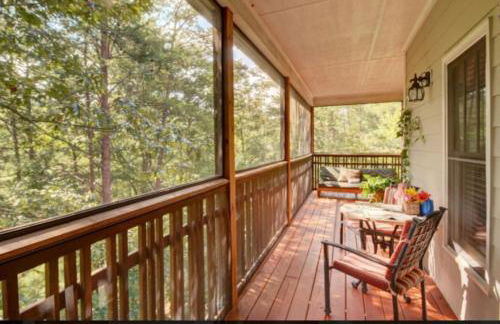
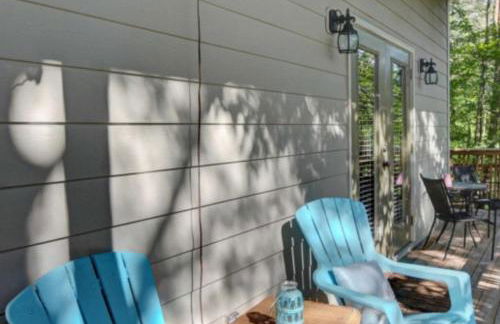
Hot Tub & EV Charger: Helen Getaway w/ Views!
Helen
- 167 M2
- 3 quartos
- 7 pessoas
- Aquecimento
- Piscina
- Estacionamento
19 avaliações


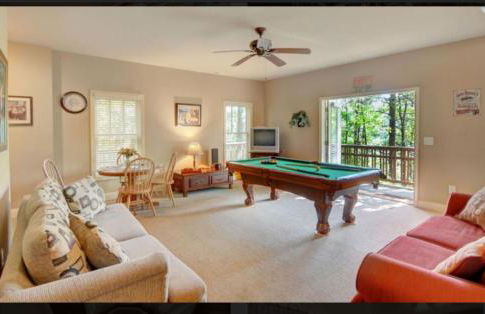
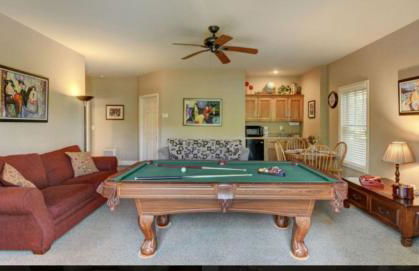
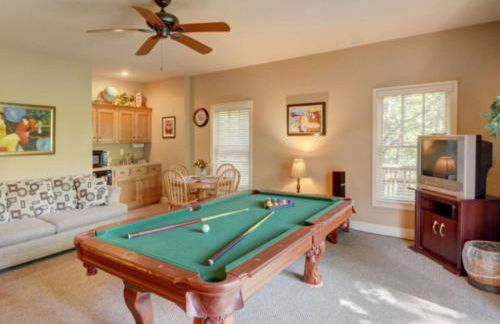
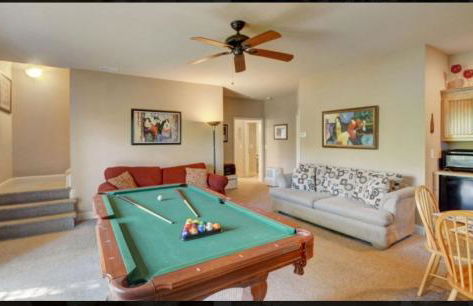
Par-Tee Haus I- Game Room & Hot Tub-Walk to Helen
Helen
- 161 M2
- 3 quartos
- 8 pessoas
- Ar-condicionado
- Piscina
- Estacionamento
- Churrasco
49 avaliações


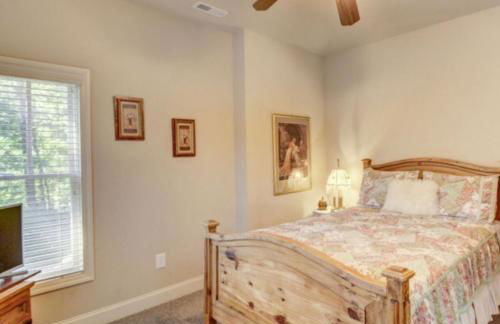
Firefly Lodge - Cozy 4 bedroom cabin minutes to Helen
Sautee Nacoochee
- 131 M2
- 4 quartos
- 8 pessoas
- Ar-condicionado
- Aquecimento
- Terraço
- Estacionamento
- Jardim
- Churrasco
24 avaliações


Mountain-top Cabin Get-away with Hot tub and a View
Sautee Nacoochee
- 56 M2
- 2 quartos
- 4 pessoas
- Ar-condicionado
- Aquecimento
- Terraço
- Estacionamento
- Jardim
- Churrasco
46 avaliações


Hootenanny at Horton Creek: Creekside Escape!
Helen
- 130 M2
- 1 quarto
- 5 pessoas
- Aquecimento
- Estacionamento
36 avaliações


Romantic Tip Top Hideaway, 10 MINUTE FROM H
Cleveland
- 149 M2
- 2 quartos
- 4 pessoas
- Ar-condicionado
- Estacionamento
10 avaliações


The Bears Den
Helen
- 88 M2
- 2 quartos
- 4 pessoas
- Ar-condicionado
- Aquecimento
- Elevador
- Jardim
- Churrasco
17 avaliações


2 bed Cabin HOT TUB close to Helen #16
Helen
- 2 quartos
- 4 pessoas
- Ar-condicionado
- Terraço
- Estacionamento
- Jardim
- Churrasco
31 avaliações


Hoot Nanny's Cottage on Mossy Creek
Cleveland
- 78 M2
- 2 quartos
- 6 pessoas
- Ar-condicionado
- Aquecimento
- Estacionamento
- Jardim
16 avaliações


Lil' Log at Hearthstone Cabins and Camping - Pet Friendly
Helen
- 23 M2
- 1 quarto
- 5 pessoas
- Ar-condicionado
- Aquecimento
- Terraço
- Estacionamento
- Jardim
- Churrasco
16 avaliações


Ridge Retreat at Hearthstone Cabins and Camping - Pet Friendly
Helen
- 116 M2
- 3 quartos
- 8 pessoas
- Ar-condicionado
- Aquecimento
- Terraço
- Estacionamento
- Jardim
- Churrasco
18 avaliações


Above and Beyond, Cabin with Massive Views Near Helen
Cleveland
- 178 M2
- 3 quartos
- 8 pessoas
- Ar-condicionado
- Estacionamento
- Churrasco
20 avaliações

Helen Hilltop Haven
Helen
- 297 M2
- 5 quartos
- 13 pessoas
- Ar-condicionado
- Aquecimento
- Terraço
- Piscina
- Estacionamento
- Jardim
19 avaliações


Alpine Crest Resort
Helen
- 8 pessoas
- Ar-condicionado
- Aquecimento
- Estacionamento
- Chaminé
- Churrasco
- Toalhas
- Lençóis
163 avaliações


Alpine Escape
Helen
- 177 M2
- 3 quartos
- 8 pessoas
- Ar-condicionado
- Aquecimento
- Terraço
- Estacionamento
- Jardim
- Churrasco
26 avaliações


Charming Downtown Helen Getaway
Helen
- 46 M2
- 1 quarto
- 2 pessoas
- Ar-condicionado
- Aquecimento
- Terraço
- Estacionamento
- Jardim
- Churrasco
10 avaliações